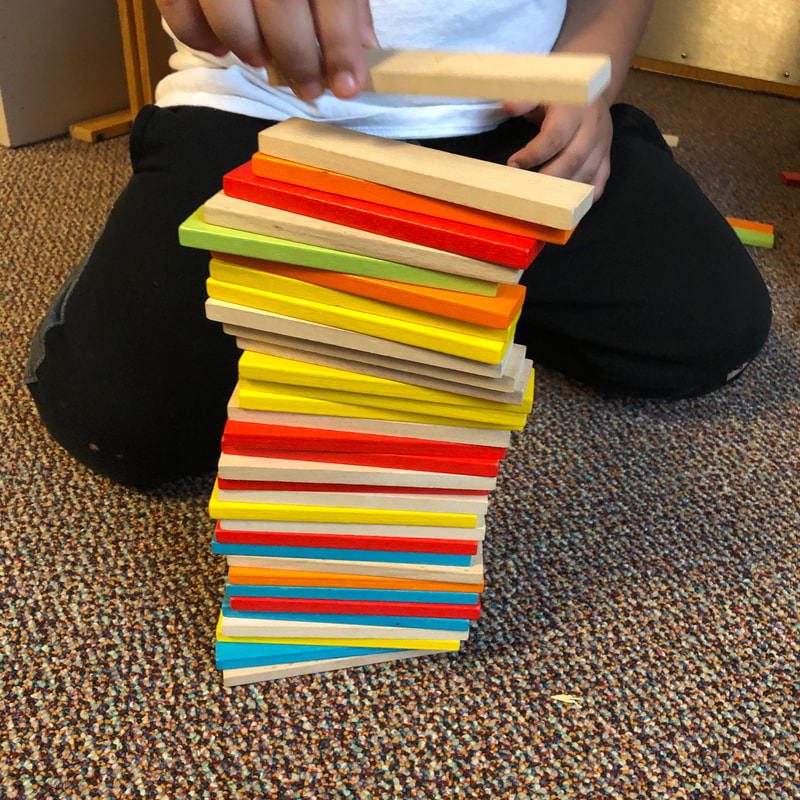
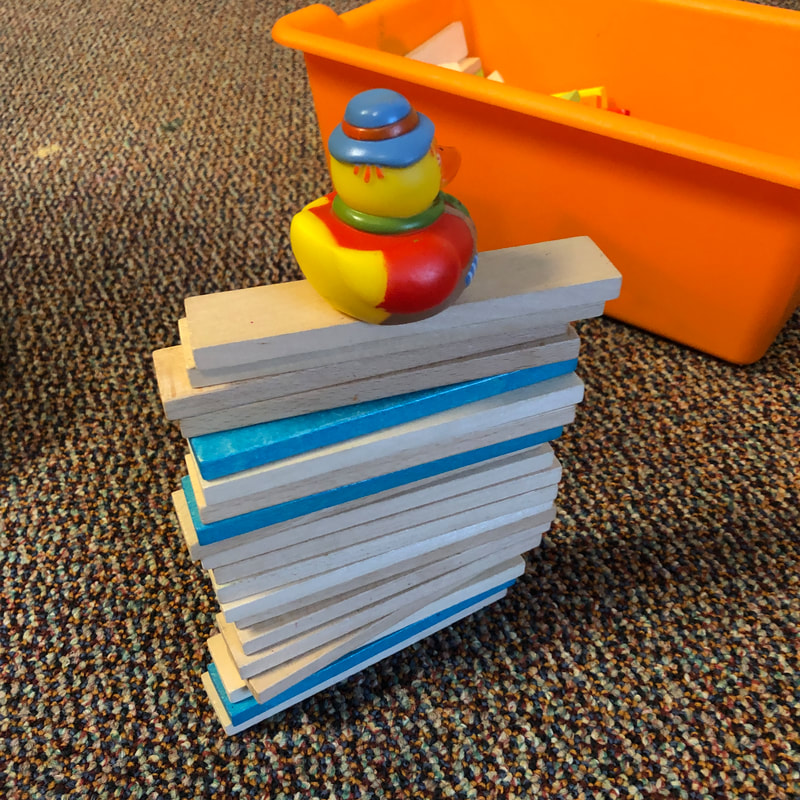
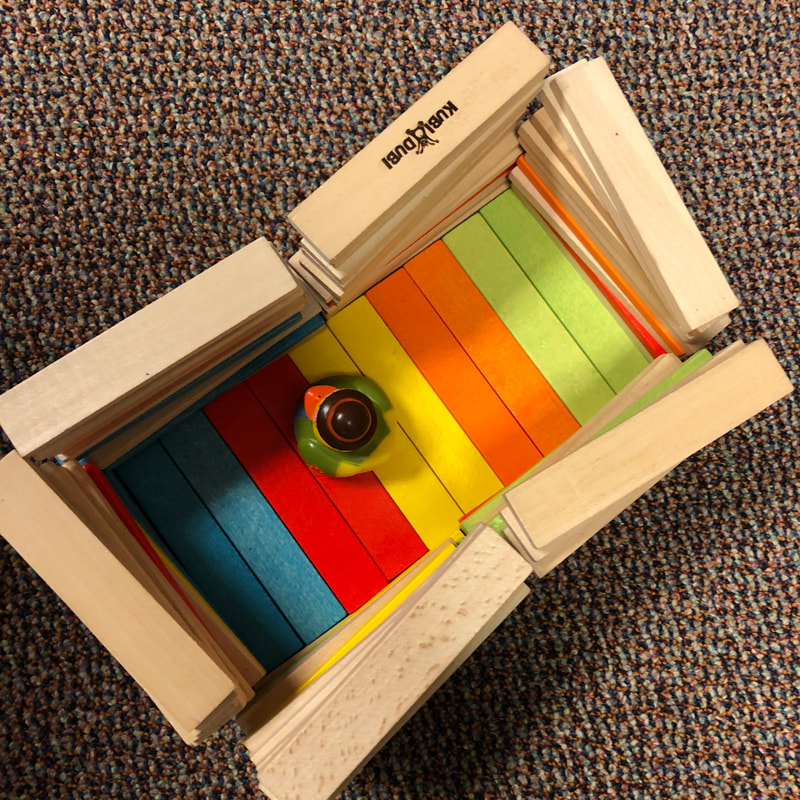
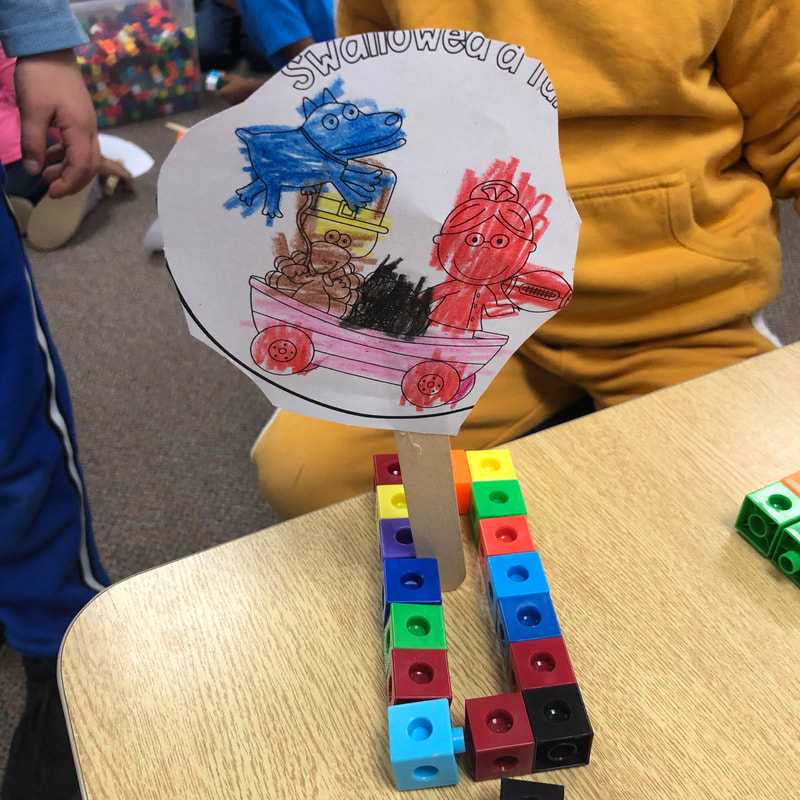
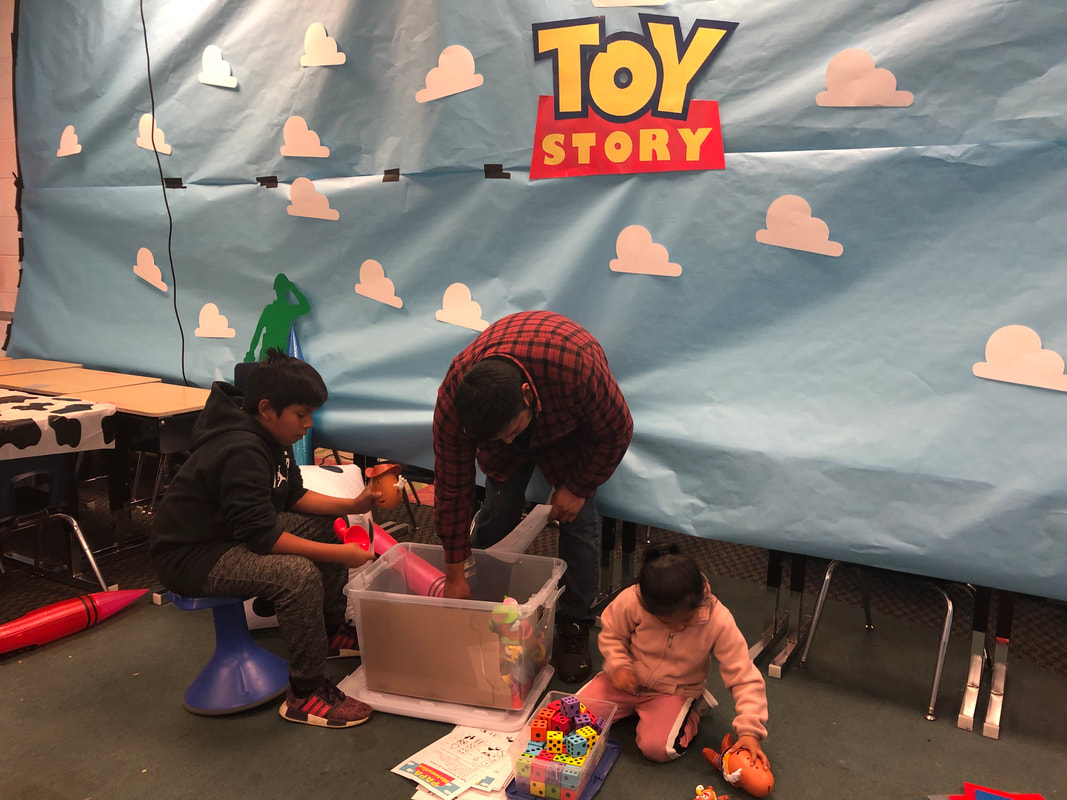
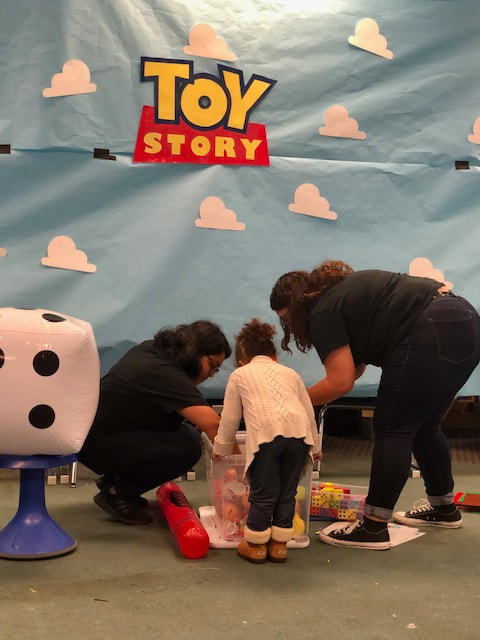
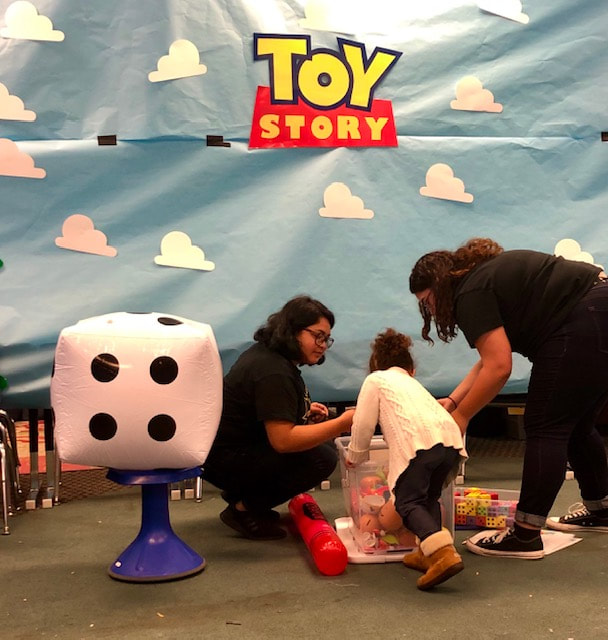
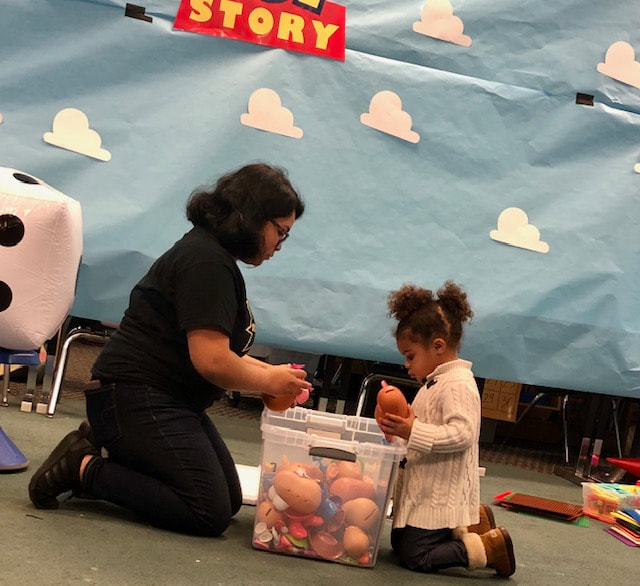
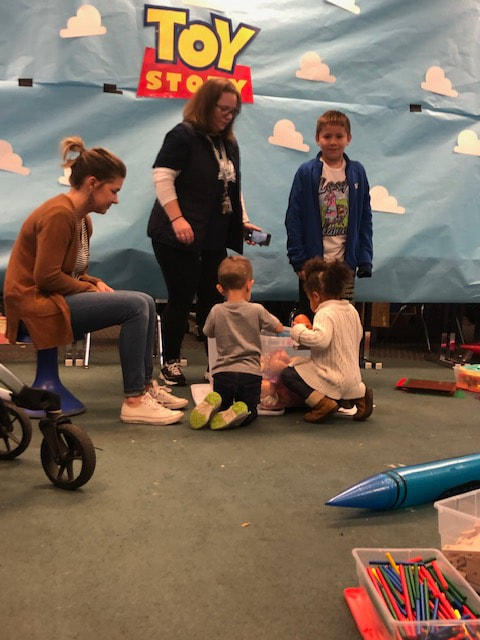
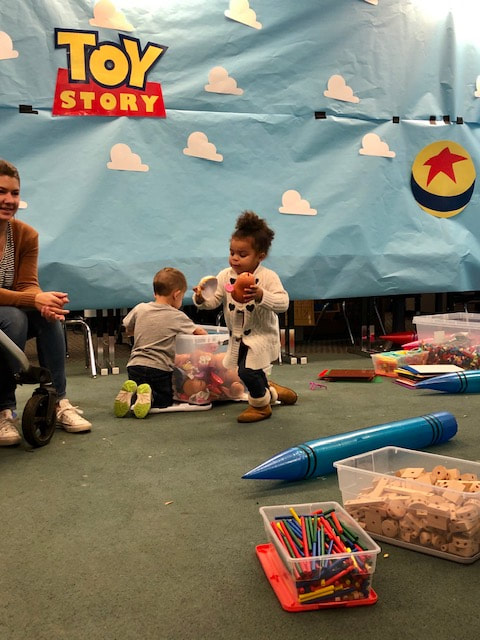
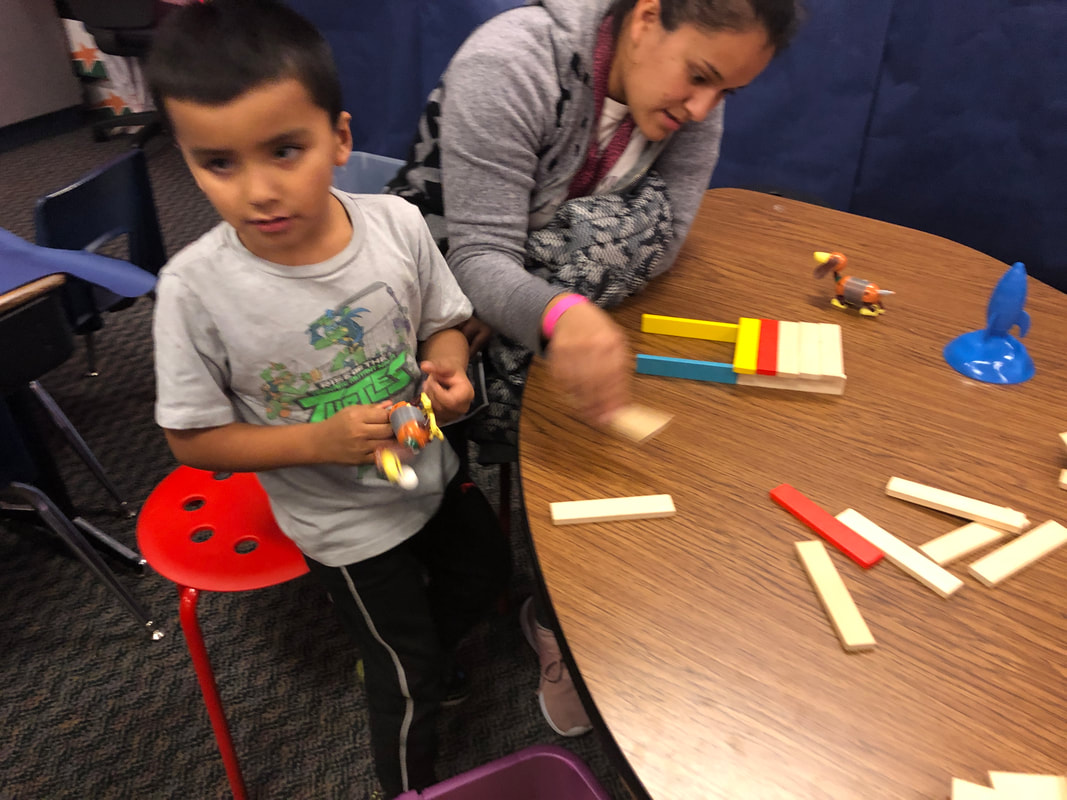
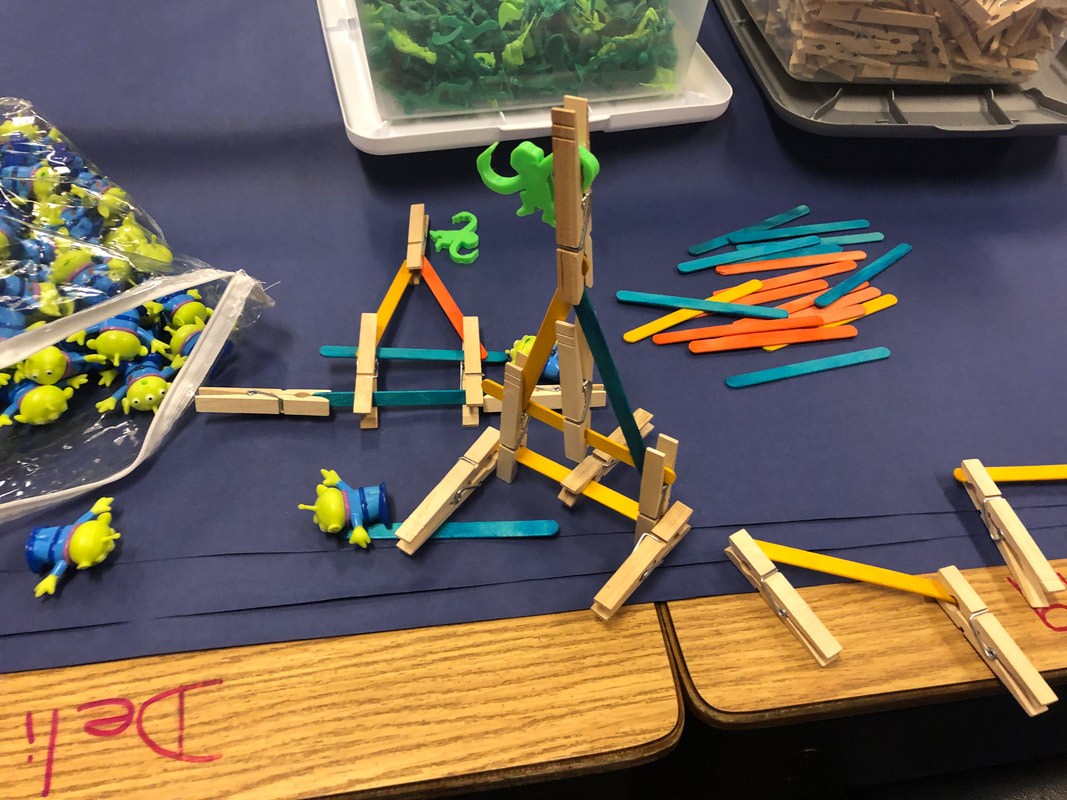
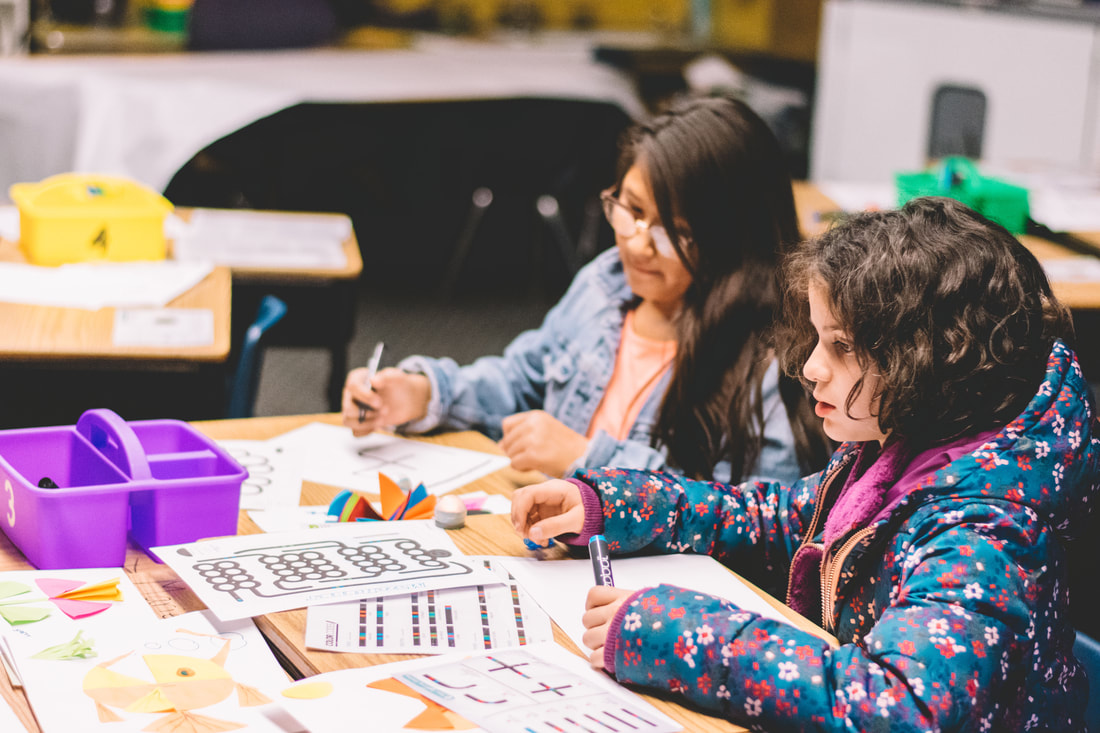
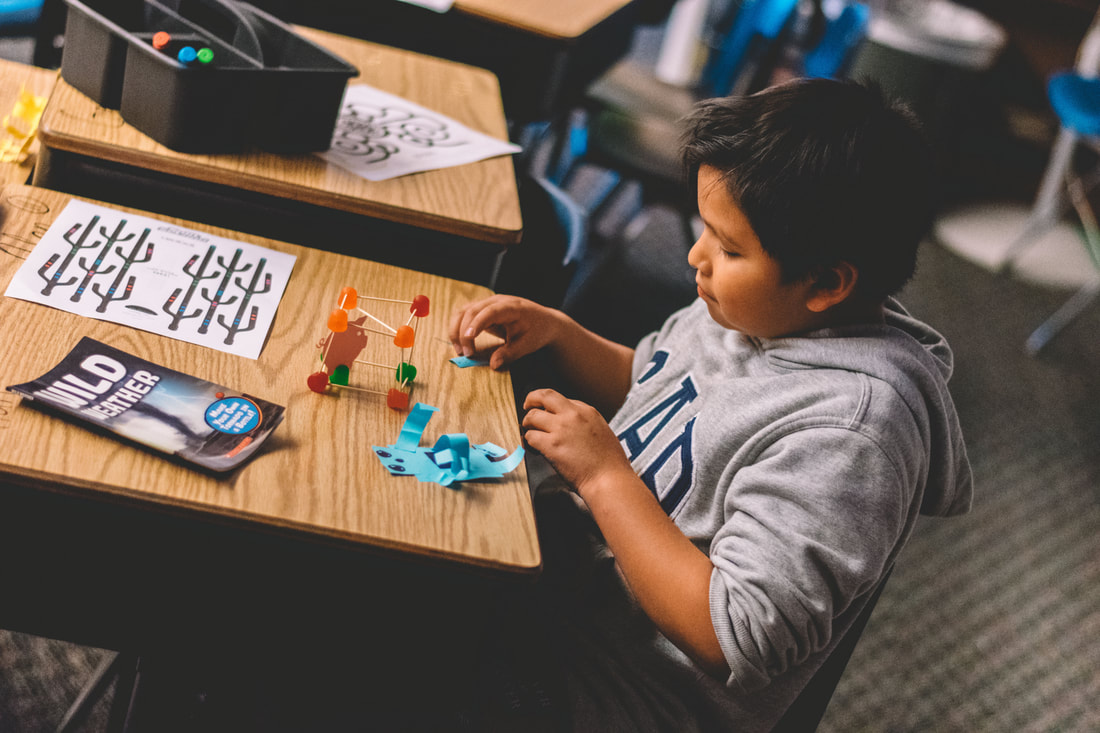
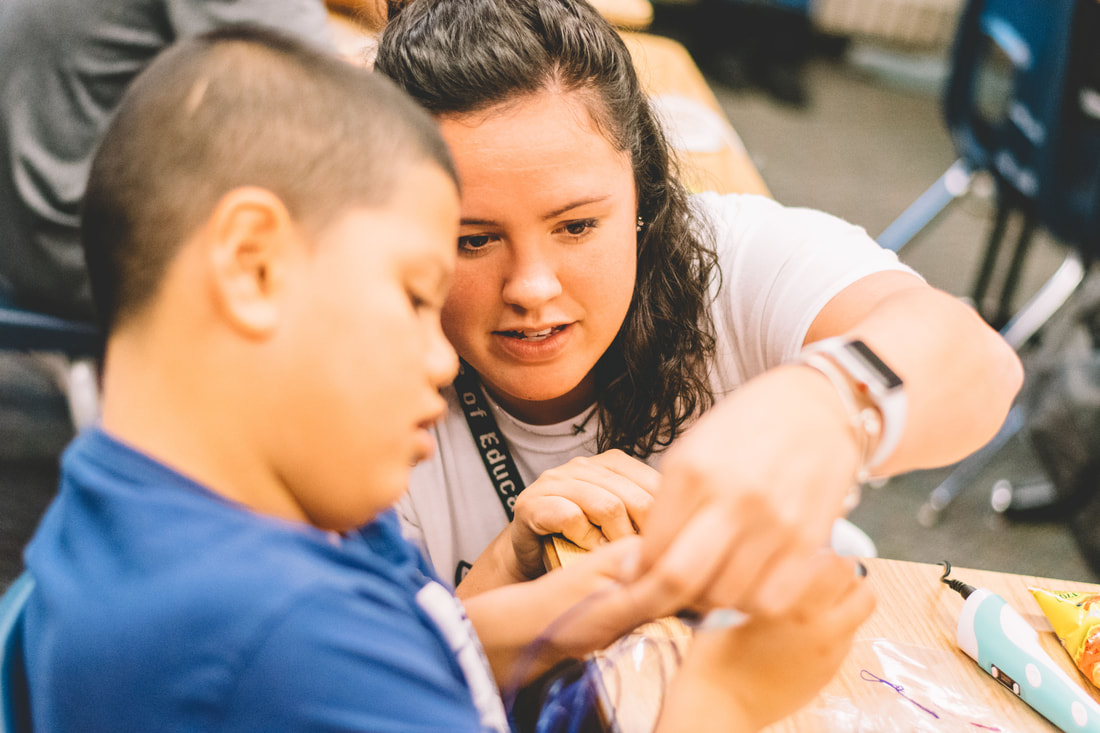
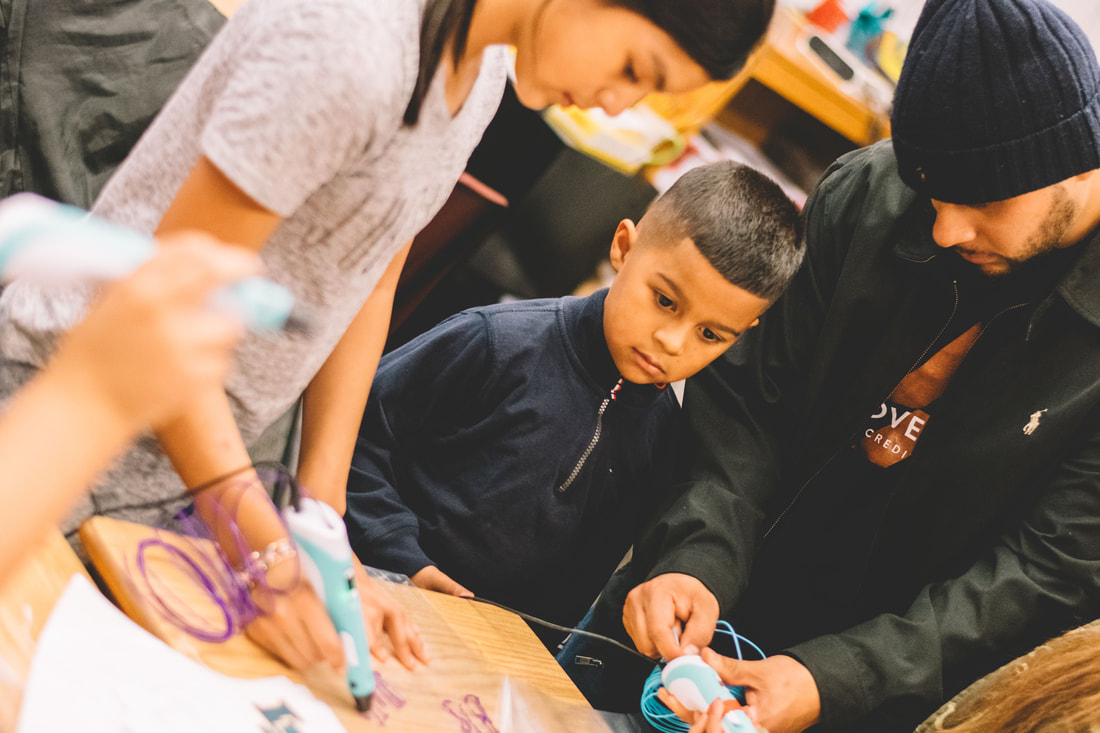
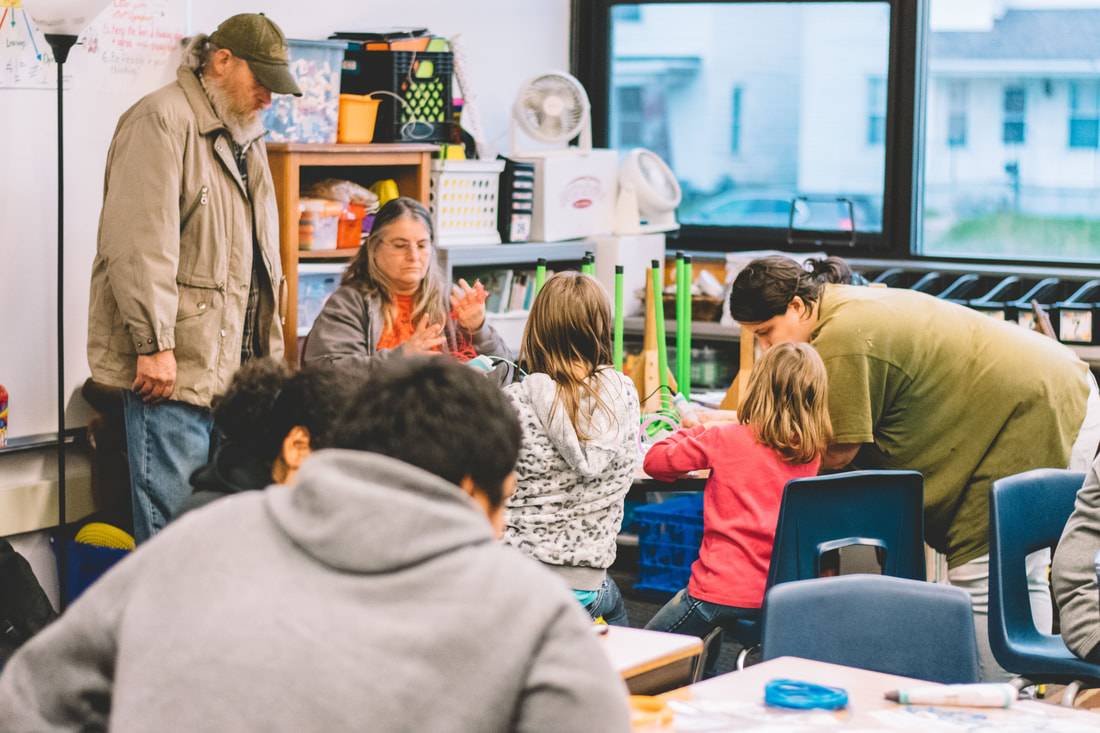
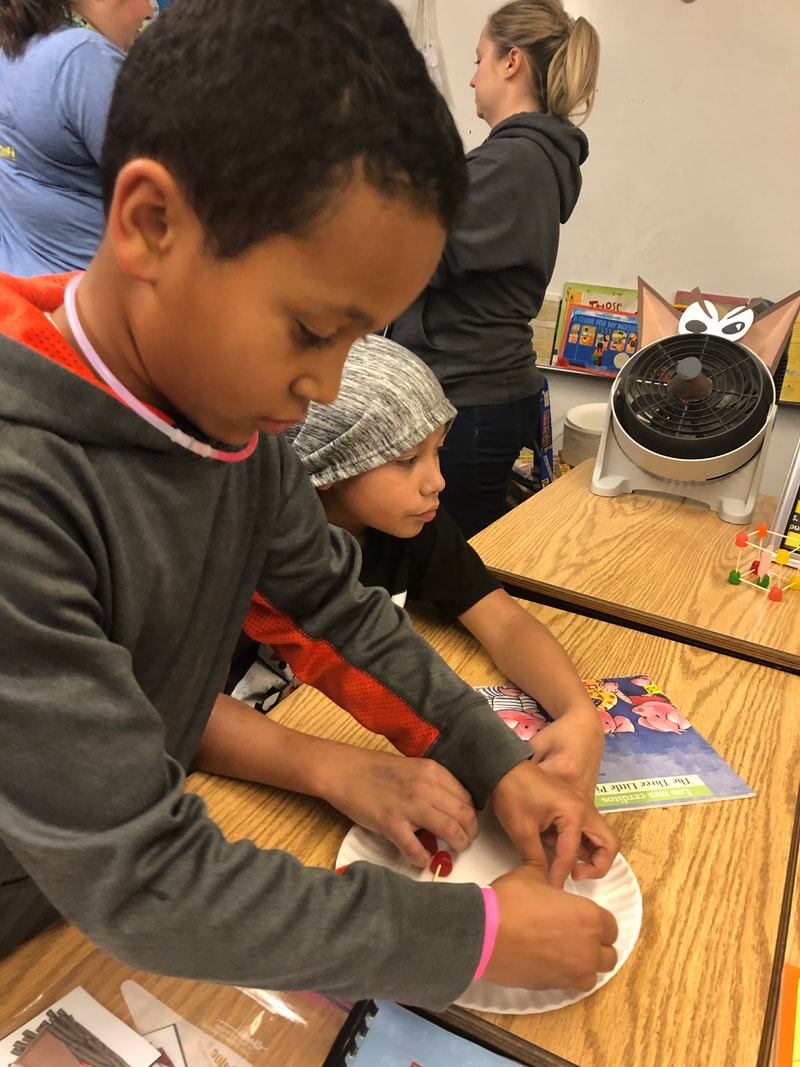
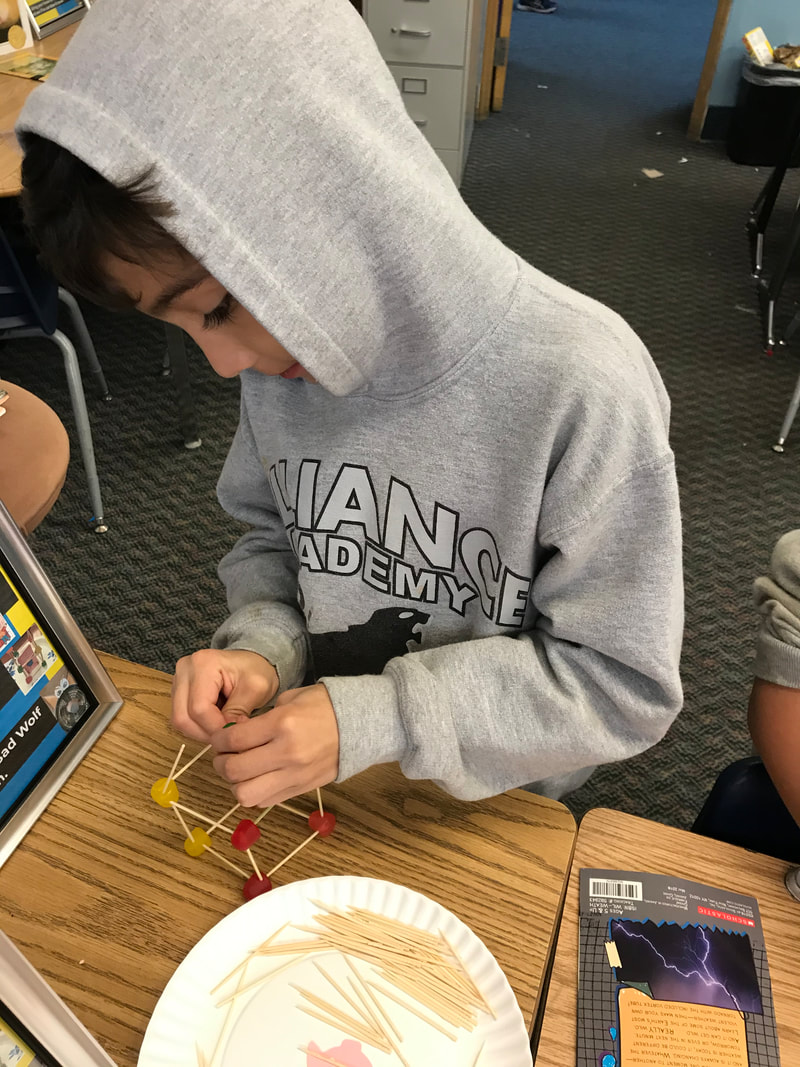
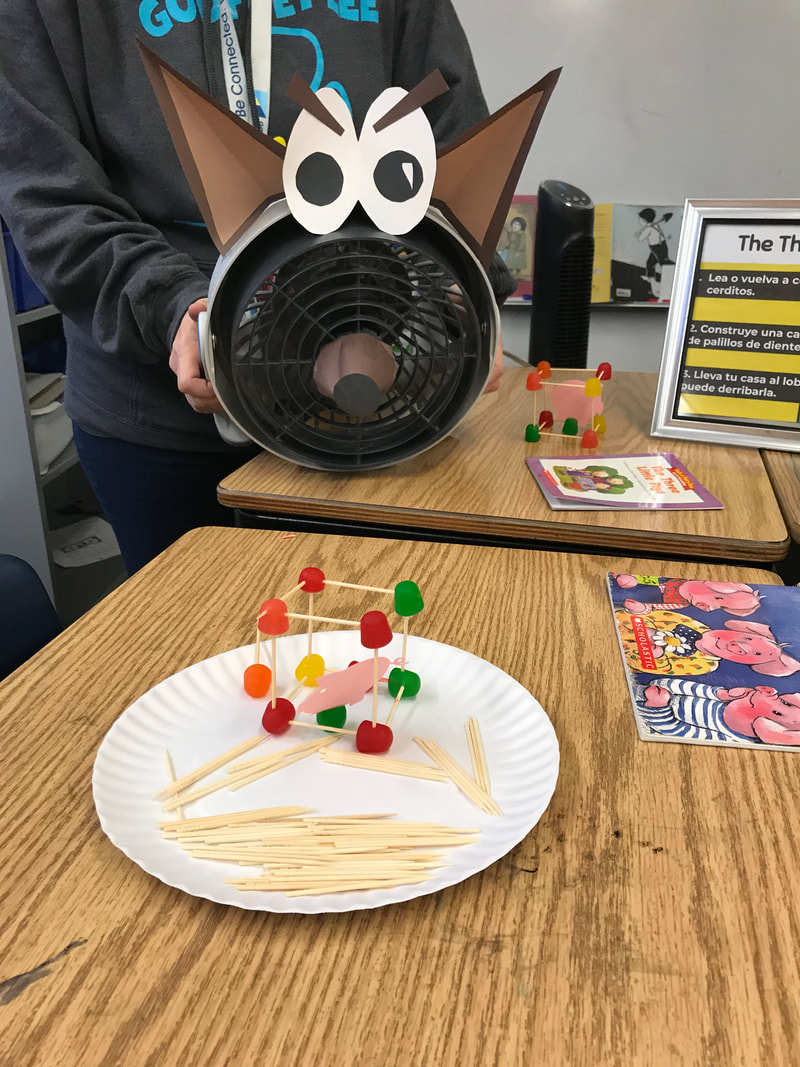
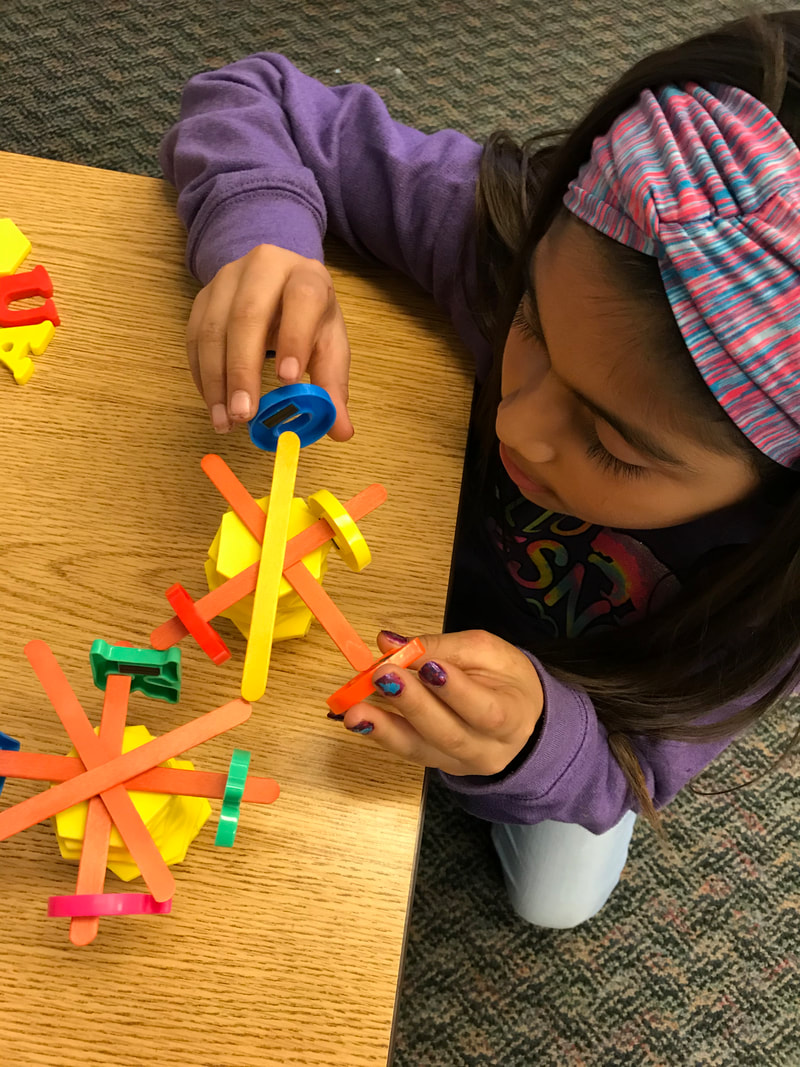
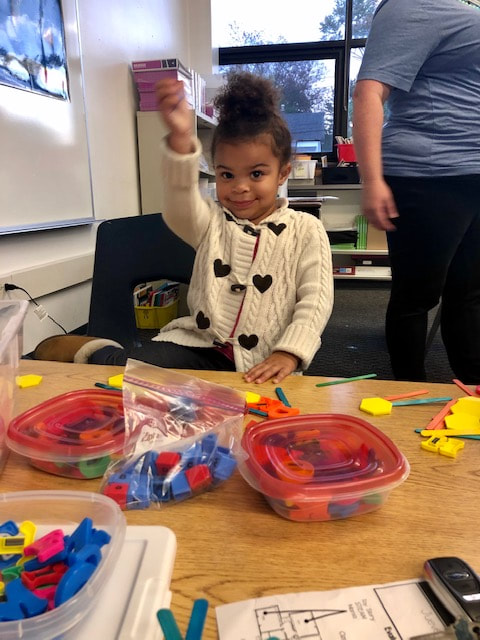
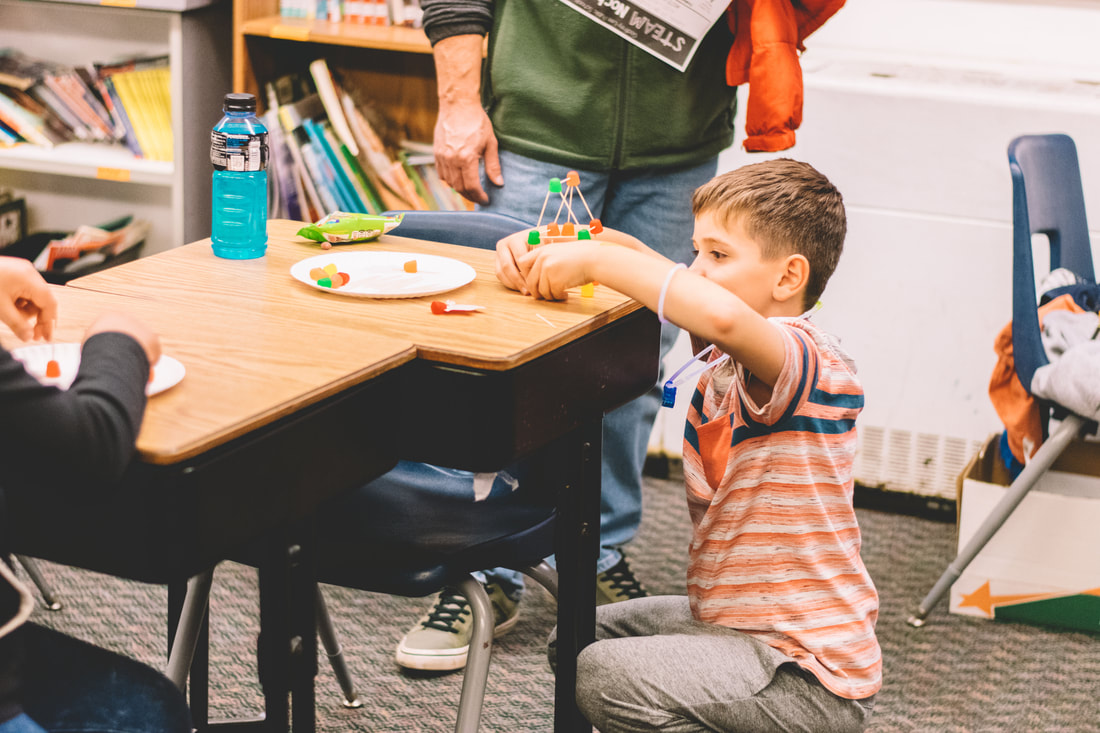
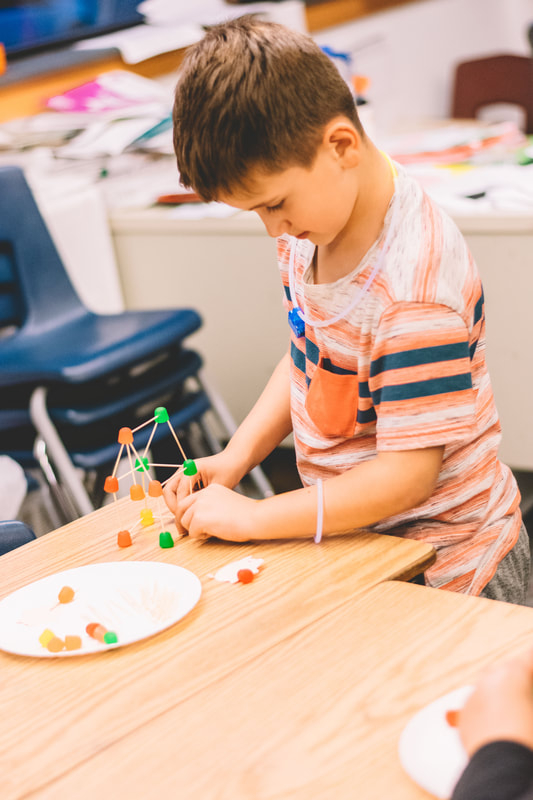
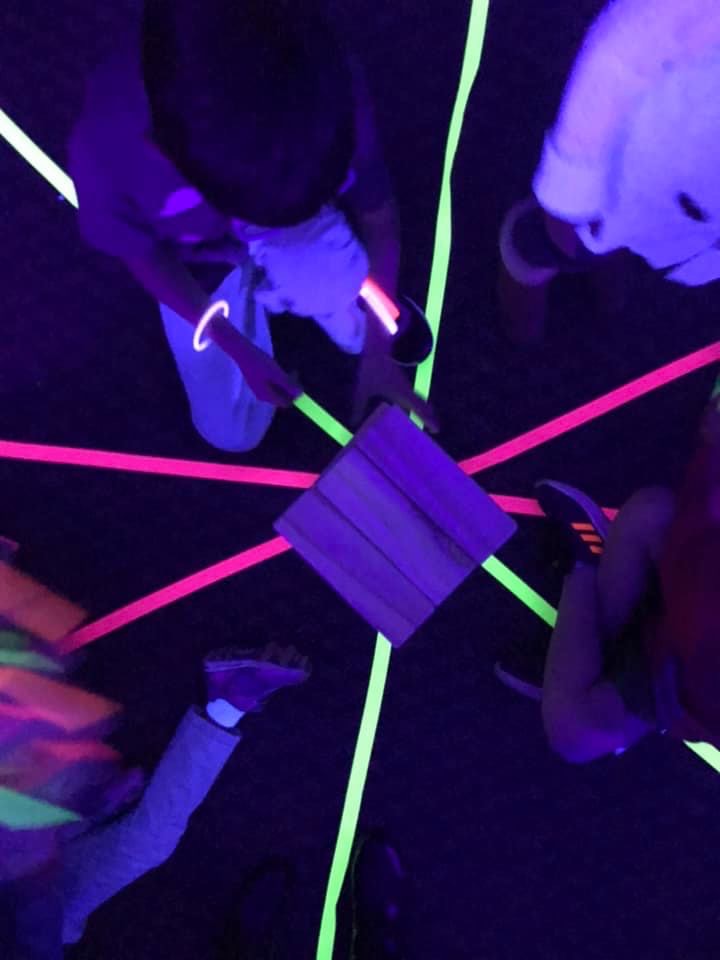
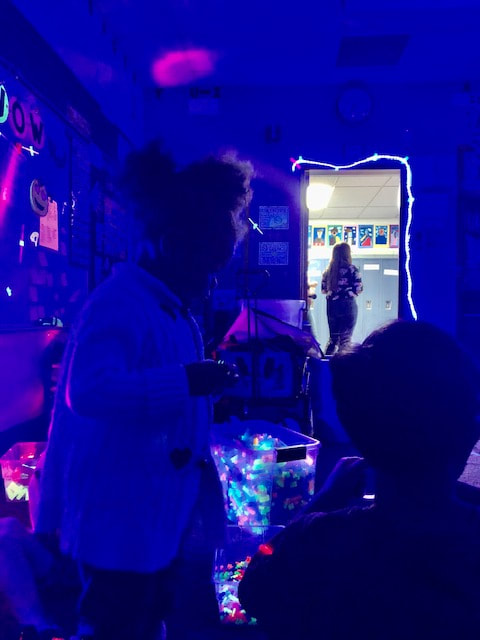
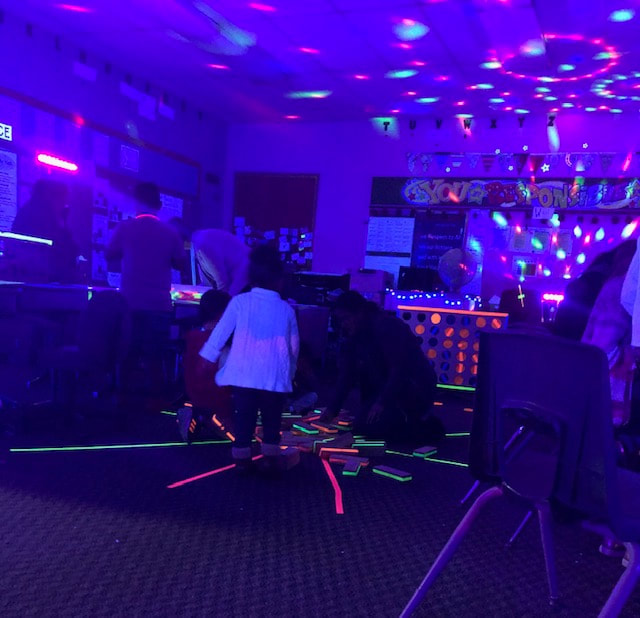
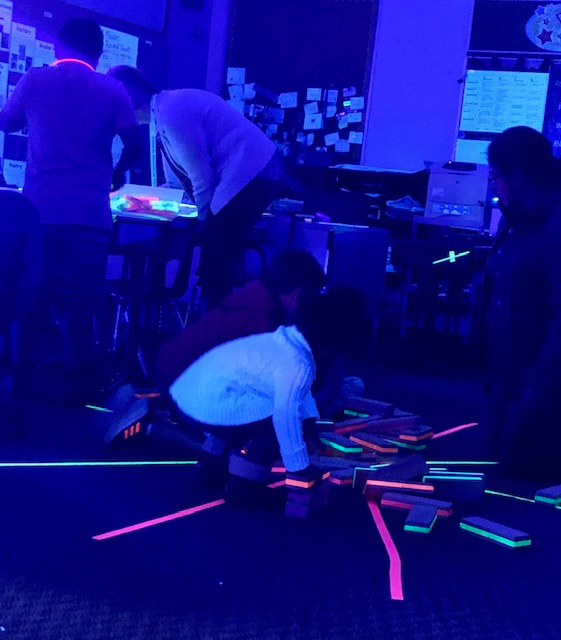
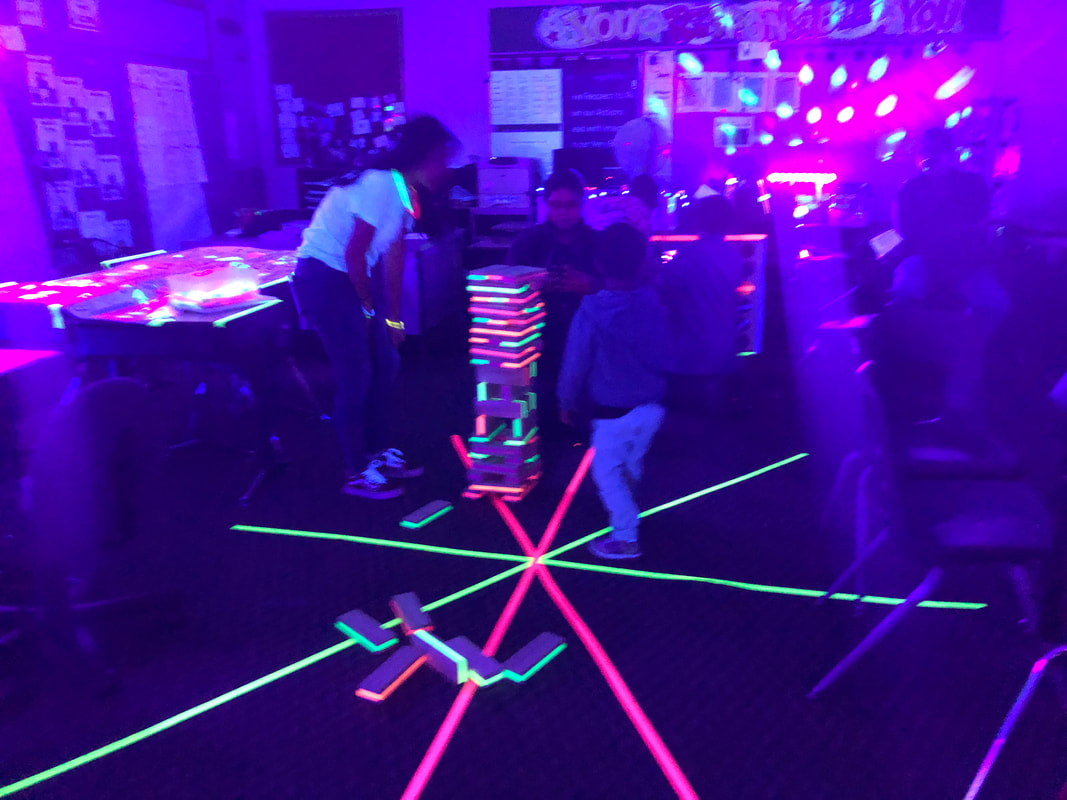
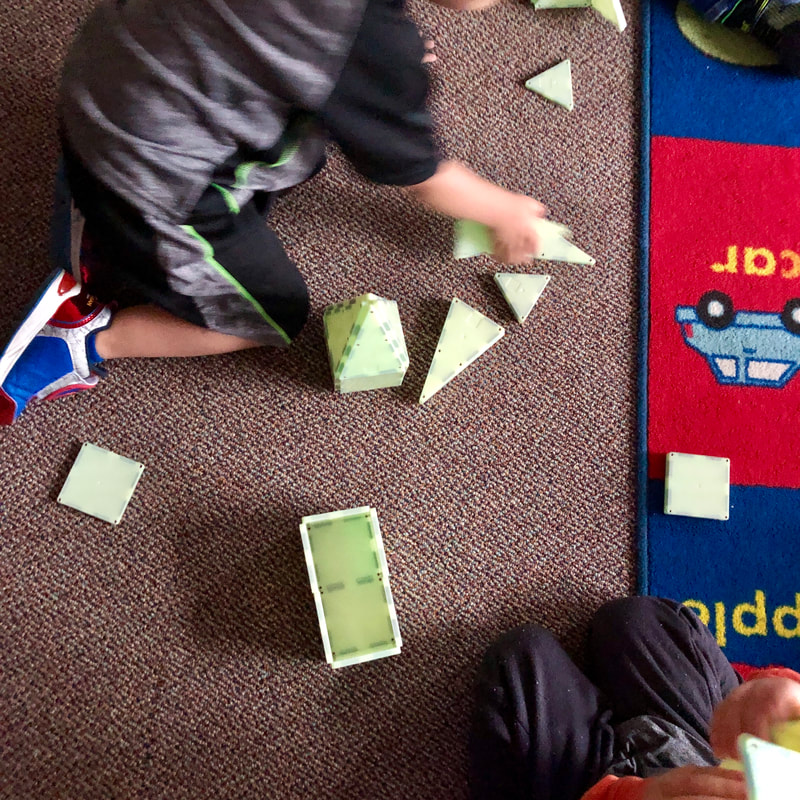
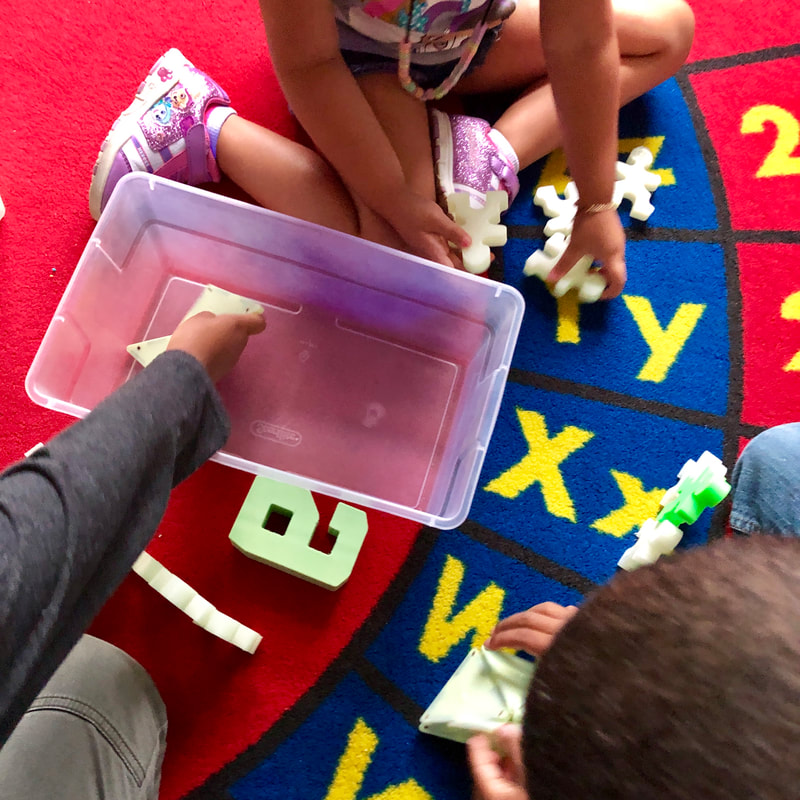
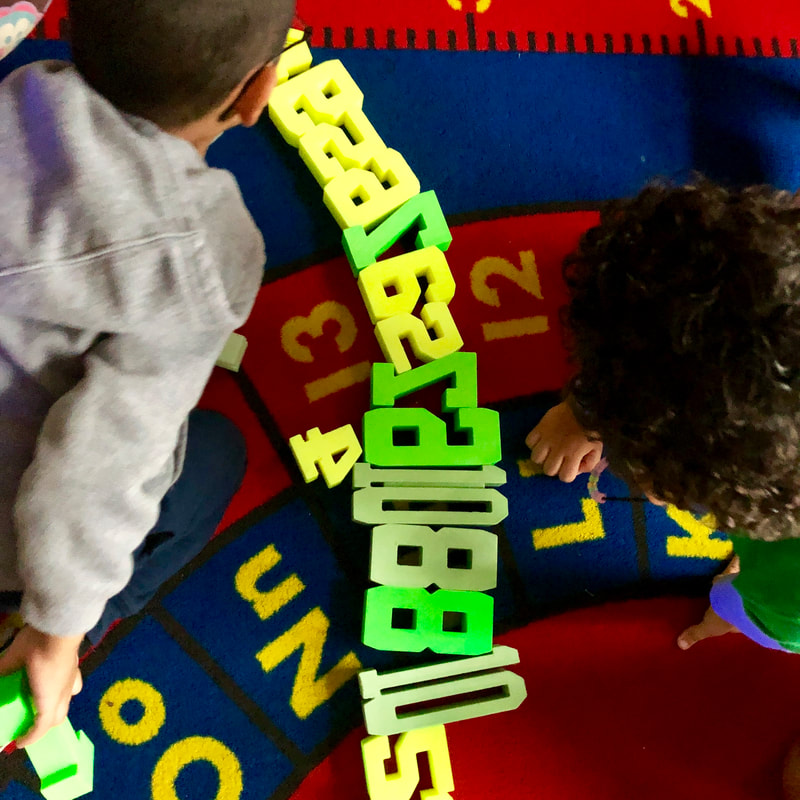
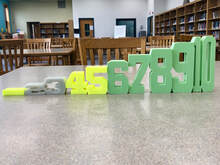
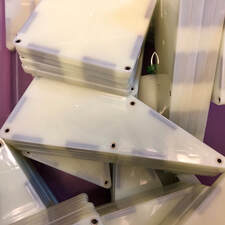
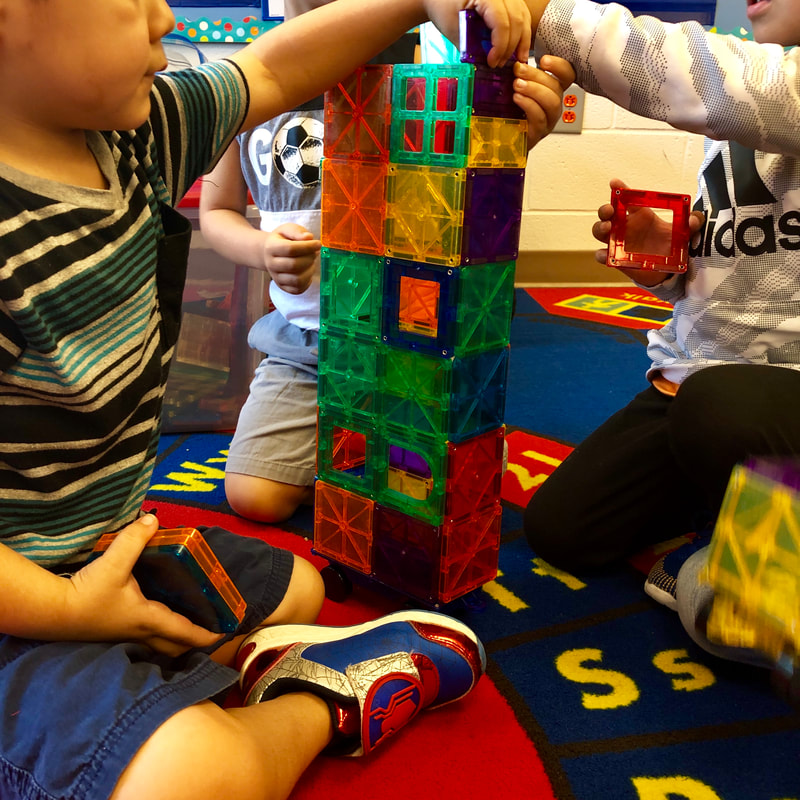
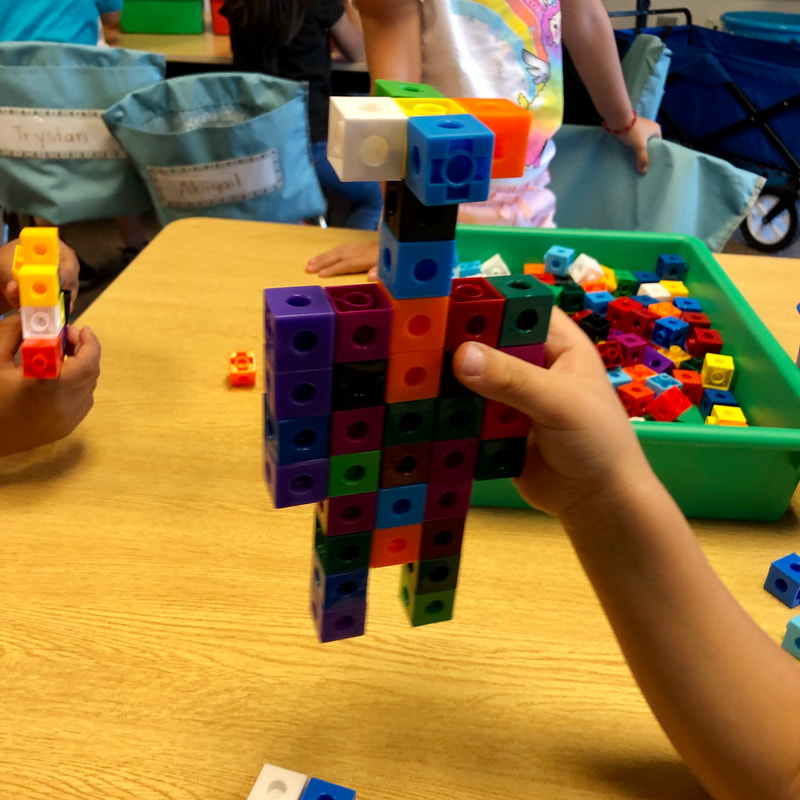
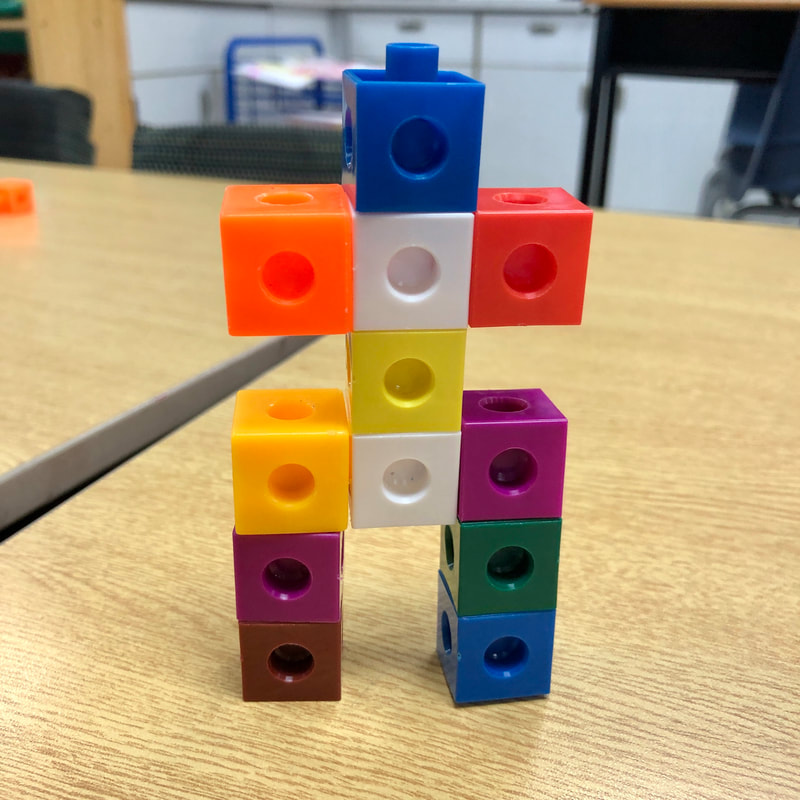
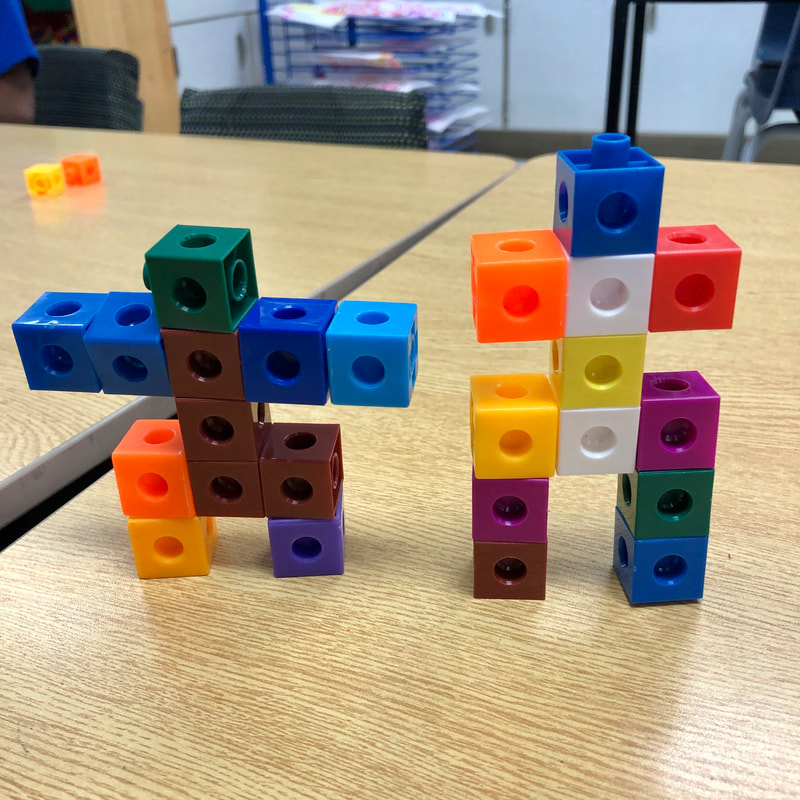
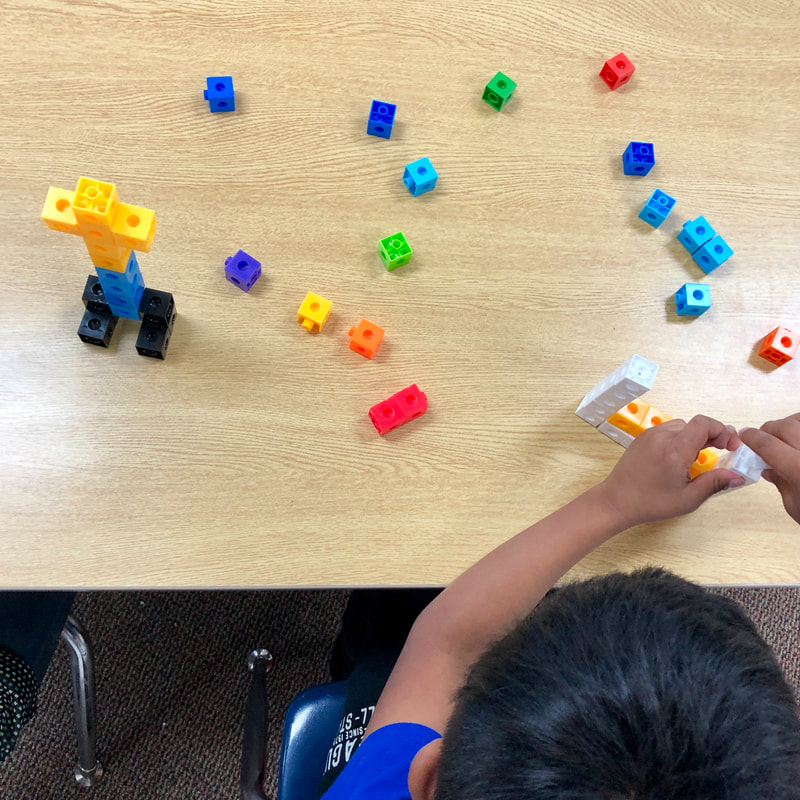
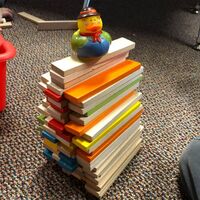
This week in Y5 and T1 we read the story, "There Was an Old Lady Who Swallowed Some Leaves" and then got busy building! At the end of the story, the old lady sneezes up a scarecrow, so I thought it would be perfect to bring out the scarecrow rubber duckies. I asked students to build (in partners) the tallest freestanding tower possible with the wooden planks they had in their containers. Once they had built their tower, they had to see if they could balance a scarecrow rubber duck on top. This definitely tested their building skills - there was a lot of building, rebuilding, and then even some more rebuilding. Even before they began building, we discussed some of the different ways that you can build with the planks (standing up on the short side, standing up on the long side, laying down on the flat side). I told them it was important to build with their partner to come up with one idea (as they are getting good with sharing a container of materials, but we are still working on building together) and then build it together. They worked through it though and some groups had some successful builds!
0 Comments
We have been working really hard the past couple of weeks in Y5 and T1 building, engineering, and using some serious critical thinking skills. This week I wanted to focus on the "A" of STEAM (I use "aesthetics" instead of "art"), and see what they would come up with for the story, There Was an Old Lady Who Swallowed a Turkey. This activity allowed them to focus on some fine motor skills such as coloring, cutting, and gluing. We read the story, they colored one of the circles, and then they cut out the circle. We hot glued it on a popsicle stick (for the instant hold and dry), and ta-da! They had a craftivity that they could take home and share about the story we read in class. After building our Story Sticks, we then used Creation Cubes to build stands to display our new works of art. This was definitely challenging for them and I am so glad that I decided to add this at the last minute. They struggled with how do they build something to hold up their stick and make it look different from everyone else's. There was such great conversation and kids naturally gravitated towards helping each other. Over the summer as I was starting to think about the beginning of the school year, I started thinking about possibly putting on a STEAM Night. We have STEAM classes at the middle school and just added it for K-5, so I thought it could be a good opportunity to share with parents what STEAM looks like in the classroom. After thinking it over a bit and starting to formulate an idea for how it might look, I proposed the idea of a Family STEAM Night to our 3-5 principal and Assistant Superintendent. They were both on board, so the planning began! I had attended a STEAM Night in my own children's district last year, and really liked the format of the evening. It was set up "school carnival" style where you could easily move from room to room exploring different activities. This easily allowed you to try a variety of new things and revisit things that were already familiar - and you were not committing yourself to one room for the whole evening. So, I reached out to some of our teachers and coaches/specialists in the district and asked them if they would like to lead/facilitate a room based on their area of expertise. I filled in most of the remaining rooms in the building with a variety of activities that had been explored in STEAM classes. I also worked with our high school Spanish teacher (who leads the Spanish Club) to incorporate a culturally responsive room that was designed and led by the Spanish Club. Take a look below at some videos, pictures, and activity descriptions for what we incorporated into our first Family STEAM Night! VideosWelcomeI really wanted the Family STEAM Night experience to begin even before people stepped foot in the door. One simple way to do this was through chalk! I had students who were helping set up take a container of chalk outside and get creative. My only directions were to make sure it was appropriate and welcoming. They did a great job of using the space and making sure everyone was welcome even before they entered the building. We also had the night publicized on the digital sign out front, so between the chalk, sign, people, and cars, you could not miss that something was taking place at school that night! Another small welcoming sign that I felt was very important was a photo release statement. Basically, I wanted everyone know that they were welcome, but we also wanted to be able to capture the fun and learning that was taking place. We provided pink paper bracelets that people could choose to wear if they did not want to be on video or photographed. It was great for our student and staff photographers and videographers to quickly place themselves in a room to protect the privacy of others while still capturing the essence of the evening. Toy Story STEAM Mania - Andy's RoomThe Toy Story STEAM Mania rooms were an extension of the Toy Story STEAM Mania activities that I had been working on with my Young 5s, Transitional 1st, and 4th grade STEAM classes. For Family STEAM Night, I took it a step further to really set the stage to engage and did a room transformation. When you walked into the classroom, you had the feeling of Toy Story and being in Andy's room. It was great hearing the comments from people as they walked in to the room and were totally surprised by the atmosphere. The activities that we had in this room were:
Toy Story STEAM Mania - Pizza Planet The activities that we had in this room were:
CodingThis room was lead by EdTech Consultants Keith Tramper and Craig Steenstra from Kent ISD. We always love when they are able to come out and be part of events and help out with classroom needs - they rock! The activities that we had in this room were:
OzobotsThis room was set up so that kids and families could freely explore the world of coding through drawing. We set out calibration and coding direction sheets as well as some example sheets (from the Ozobots website) and then simply let the creativity flow! I saw a variety of designs from simply exploring with colors and then more elaborate designs with different coding algorithms. Picture PieThe activity in this room was led by one of our elementary art teachers and was based off the book, Picture Pie by Ed Emberley. Kids and their families used paper circles that they folded, cut, and then glued to make works of art. This was a great activity to combine fractions and art! Hoop FlyersIn this room, kids and their families had the opportunity to build Hoop Flyers. Hoop Flyers put a twist on the traditional paper airplane and use strips of paper to create hoops that are attached to a straw. Varying the kind of paper used, length of the straw, or adding weight (such as paper clips) changes how the hoop flyer will glide. It is a great way for kids to jump in to the design process and work through revisions so that it will fly. RoboticsOur high school Robotics Team lead this room with one of their coaches. They brought some of their smaller robots (not the large 8+ foot one!) for students to try moving, picking up blocks, and seeing how a robot works. They also shared information with parents with how the Robotics Team works, how they attend competitions, and what students can look forward to as they move towards high school. One of the really awesome things that they did was brought one of their tool sets, a bunch of screws and nuts, and let kids learn how tools work, how a nut can be screwed on to a screw, and how the different tools have different functions in building their robots. I am so grateful they were able to share all of their awesome work with the community! 3D PensThis was definitely a popular room throughout the evening for everyone (parents included!). I love 3D pens as it provides an easy way for kids to understand that in order for something to be 3D printed, it must be printed in layers. This helps them understand why some 3D printer jobs take a really long time to print. I saw many people using some of the templates we had, creating representations of their names, animals, jewelry, and even a fantastic Starry Night image! Storybook STEAMThe activities in this room were designed by some of our AMAZING ELL and Literacy coaches. The activities that we had in this room were:
Button Making and EngineeringWe were so grateful that our local library, the Kent District Library, was able to be part of our event! They are so awesome and we always love it when they can be part of our special events and promote literacy and the many resources that a public library offers. The activities that we had in this room were:
STEAM in Physical EducationAs I was thinking about activities for the evening, I wanted to make sure that we had some kind of activity that allowed kids to move around. Insert physical education here! I think this was great to show kids and families that something that might appear as just "playing around" actually involves a lot of science and math! I found some activities on the S&S Blog and I knew they would be the perfect addition! Our AWESOME elementary P.E. teachers were so gracious to oversee the room. This was definitely a hot spot for the evening! The activities that we had in this room were (as found on the S&S Blog):
Math GamesThis room was lead by our SUPER elementary Math Coaches. They came up with some great ways to incorporate math in a fun way (it was often heard from parents in this room that, "This is not math!"). Their activities were centered around geometric puzzles (tangrams, pattern blocks, 3-d shapes) in order to reach a large age range (a few puzzles will be quite challenging for adults while remaining accessible to young kids) and emphasize the critical thinking and trial and error parts of mathematics that often get overlooked. Mathematicians think long and hard about the problems they encounter and often have to look at it from a different perspective to get out of a rut. They also created a communal Sierpinkski Triangle (fractal) with each participant being represented in the whole piece by a tetrahedron they decorated to represent themselves. LoteríaThis room was a special part of the evening. In our district, we are working on being culturally responsive in our teaching and student learning, and as it is a district focus, I wanted to make sure that this was part of our Family STEAM Night. Our high school Spanish Club planned to facilitate two rooms of Lotería, a type of Mexican bingo that many of our families play when together with their extended families. Students in the Spanish Club led games throughout the evening and did an awesome job of decorating and facilitating the game so that it was fun for everyone - whether you play Lotería every week or have never played before! Glow GamesGlow Rooms are one of my favorite activities to do in the classroom, as it completely changes the environment with simply lighting. What is included beyond the lights really puts the learning in a new "light"! Based on survey results and from observations, this room was ranked the top as far as favorites. The activities that we had in this room were:
CircuitryI love when a complex topic such as Circuitry can be presented in a way that is hands-on and really help kids understand how electricity works. I have used these in STEAM classes and kids LOVE them! When setting up this room, we started with the resource geared towards younger students (Power Tiles Circuits), then moved to the Snap Circuits, and then the littleBits (geared towards upper elementary students). This allowed the people to take what they had learned and use that knowledge as they moved up in complexity across the room. Without a doubt, the Snap Circuits fan challenge is always a hit because when you turn off power to the circuit, it sends the fan flying into the air. Who wouldn't enjoy that?! The activities that we had in this room were: FoodLast, but DEFINITELY not least, we offered food for sale (the only thing throughout the evening that had a cost associated with it). We all know that food is love, and when an event at school falls during dinner time, we wanted to make sure that we were providing an option for families so they did not have to choose between having a meal and attending an educational event at school - they could do both! We sold authentic tamales (so delicious!), drinks, snacks, and candy. Last ThoughtsThis was the first Family STEAM Night that I had organized and implemented, so there are definitely things I learned that worked well and areas that need improvement for next time. We had a fantastic turnout and I was so excited that we were able to provide this learning opportunity for our community. This night would not have been possible without the AMAZING teachers, staff, and students who volunteered their time and talents. For the most part, students were running the rooms and quickly became experts on the areas that they were in charge of for the night. I am grateful to be surrounded by a community that made this evening possible - I can't give enough thanks to them for all they did!
As we moved on from our Toy Story Mania theme in Y5 and T1, we moved into our fall/Halloween theme. We read the story "How to Catch a Monster" and the students LOVED the story (I personally loved the cute rhymes)! After we read the story, I told the students that we were going to draw our own monsters and then do some magic to make them disappear. You know they perked up when they heard the word "magic"! For our monster activity, we drew monsters on coffee filters. I told the students that they needed to have at least 3-4 colors for the magic to work (in reality, so they had a variety of colors that would blend together). After their monsters were drawn, we used pipettes to do our "magic" and make our monsters disappear. We talked about the proper way to use the pipette to do the magic (not squeezing it out all at once, but instead using a lot of small drops), and how no more than 2 pipettes full of water were to be used. I told them the magical part was not only did their monsters disappear, they were left with a beautiful piece of art! I wish I had taken more pictures of the final products as some turned out really neat, but making sure the coffee filters were safely moved without spilling colored water all over the place was more of a priority. :) This week was Rock Your School Week, and boy did we rock out our kickoff to Toy Story STEAM Mania in our STEAM classes! I am planning on doing a Toy Story STEAM Mania theme over the next couple of weeks with my Y5, T1, and 4th grade classes, so this was a perfect week to kick it off! In Y5 and T1, we started our Toy Story STEAM Mania off with some Potato Head Math. We started off with the Toy Story book and then practiced some of the number recognition and number correspondence skills that Y5 students were working on. We used the Potato Heads to practice some of those skills, and it was a hit!. Students were partnered up and then had to roll a dice, identify the number, match the number to a chart to find out what body part to add to their Potato Head, and then select the appropriate part and put it on the Potato body. We are really working on how we work with partners, use our words to share ideas, and how to share materials, so this was a perfect opportunity to practice some of those skills. We even had some time at the end to have some free play and design whatever Potato Head they wanted. In T1 we did the same activity, but then took it one step further to incorporate some of their math skills - patterns. After the number recognition activity, I told the students that they could build whatever Potato Head they wanted to - and they came up with some great creations! I told them that they were now the teachers and their Potato Heads were now their students. It was their job to teach their Potato Heads about patterns by building patterns with pattern blocks and explaining why it was pattern. The students really seemed to enjoy mixing something that was normally "play" with learning - and it was so fun for me to see what they came up with they had the opportunity to be creative. EnglishSpanishMy little students have been showing some responsibility with using materials as well as taking care of them, so I thought I would try something that I know they would find super exciting. A book, a black light, a chameleon, and some fun glow in the dark/black light reactive activities for the win! We started out by reading the story Neon Leon by Jane Clarke. This is such a fun story about a chameleon trying to fit in despite being so bright. The students were fascinated by the black light ("but Mrs. Wood, why is the black light purple?") and how their clothes changed color when they were by the light. Main ActivitiesChameleon Cut OutsAfter reading the story, the first thing we did was a little scavenger hunt. I gave each student a chameleon card and asked them to walk around the room holding their chameleon up to different things in the room. Our chameleons blended in to everything! To make the chameleon for students to explore their surroundings with, I found an image of a chameleon on The Noun Project (my go-to for simple images!). I then made a template using Cricut Design Space to cut out the rectangles and chameleons. With a quick lamination and cut, they were ready to go! Glow in the Dark NecklacesAfter our little scavenger hunt, student made a necklace that had neon beads as well as UV reactive beads. These beads were just like chameleons - they change based on the lighting around them! This was a great fine motor activity for the students and they had something to walk away with to share with their parents at home. Free Play ActivitiesAs I am still learning about this group of young students, I am trying to incorporate some free play time at the end of all of our activities. This allows them to use the materials we had as part of our lesson in a way that is meaningful and creative in their own way. This also gives them opportunities to communicate and collaborate together to build new things. For the free play time this week, I wanted to introduce some resources that interact with the black light. The kiddos had a blast! Stacking Number BlocksThese blocks are not the traditional wooden SumBlox. I have some and students really like them, but often are frustrated with the number 4 in particular. I looked on Thingiverse and actually found some Stacking Numbers, resized them so they are a bit larger (for the little hands and big thinkers!) and could work interchangeably (for the most part) with the wooden numbers. I love how these numbers help students make visual connections between numbers! These can be downloaded from Thingiverse if you would like to print your own! Glow in the Dark Magnet TilesLast week I used the Magnet Tiles with this group of students and to say they enjoyed them would be an understatement. I only have a small set of the glow in the dark Magnet Tiles, but know what a hit they are for students (especially under the lights) makes me want to get a few more sets so more students can experience them. Stacking PeopleI have seen the amazing wooden Flockmen before and love the open-ended play that they provide. I do not have any of the wooden ones, but found the dimensions on their website, so I 3D printed some. I opted to print them in glow in the dark or neon filament so that they can be used in regular classroom lighting as well as Glow Days. Are they perfect? No. Did the students love them? Yes! These can be downloaded from Thingiverse if you would like to print your own! It is week two of school and I feel like students are starting to settle in a bit. I have realized that with the Young 5s and Transitional 1st classes I am working with this year that I need to really focus on collaboration and communication. Developmentally these are difficult skills and even learning to share resources and then build with at least one other person will take some time and practice. Last week I tied the activity we did in with a book and it worked really well for introducing an activity, so I think that will mostly be my approach with these classes. Plus, who doesn't love a good book?! This week I read the story "The Pigeon Has to Go to School" by Mo Willems. I LOVE Mo Willems and even before I could turn the book around to show the students the story for the day, they were already excited because they saw the pigeon. You can't go wrong with a Pigeon book I guess!
In the story, the pigeon ends up taking a bus to school. We talked about the different ways the students get to school (walking, bus, parent drop off in a car, bike) and then created a way for the pigeon to get to school. I had printed and laminated cut outs of the Pigeon and the students used Magnet Tiles to build some sort of mode of transportation for the pigeon to get to school. I told them they could be creative and come up with whatever they wanted, but the vehicle must have the pigeon inside as well as be able to move. Many groups wanted to build the tallest bus possible, but realized that when they went to move it, it often fell right apart due to all the weight. This lesson had a lot of reconstruction that took place! In the end, most groups were able to build some sort of vehicle even if they had to do a quick rebuild at the starting line to see if it would move. They worked hard through it though and did not give up despite the number of collapses that took place. I also learned that this was the first time for many students using Magnet Tiles and they were so intrigued with the different ways they could connect and stick to one another. I love it when I can share new resources with kiddos - their excitement is contagious! Week one of school and already shared a Click Clack (Doreen Cronin) book...that didn't take long! I love these books not only are they entertaining and silly, but they offer great opportunities to engage kiddos in the story. This story and activity I did with a Young 5s class as well as a Transitional 1st and both were excited to listen and then build. The prep that I had to do for this was minimal, but the thinking and building for the students was big! I simply took pictures of some of the characters, items, or places in the book and laminated them. Easy peasy! After reading the story to the students, I explained how we were going to build things from the book with the Creation Cubes. I started with putting Farmer Brown up on the board. We talked about some of his characteristics (black boots, blue pants, yellow shirt, red bandana, yellow hat) and how those were things we could incorporate into what we were building. I said it did not have to look exactly like the picture, but I was challenging them to build something that was recognizable as the picture on the board. We didn't get through many character/item/place, but after they worked on Farmer Brown, I gave them the option to build something else from the story. Some went with some of the other things on the cards I had while others built things like the truck they took from the farm to school. My hope was simply for them to begin to start working their brains on how to build and share materials - it can be super hard for the little kiddos! I would say it was a success based on how they didn't want to take their creations apart - a sign they really cared about what they created!
|
Like What You See? Show Me Some Love!Follow MeWould you like e-mail notifications? Enter your e-mail address below to subscribe.
Categories
All
Archives
December 2022
|