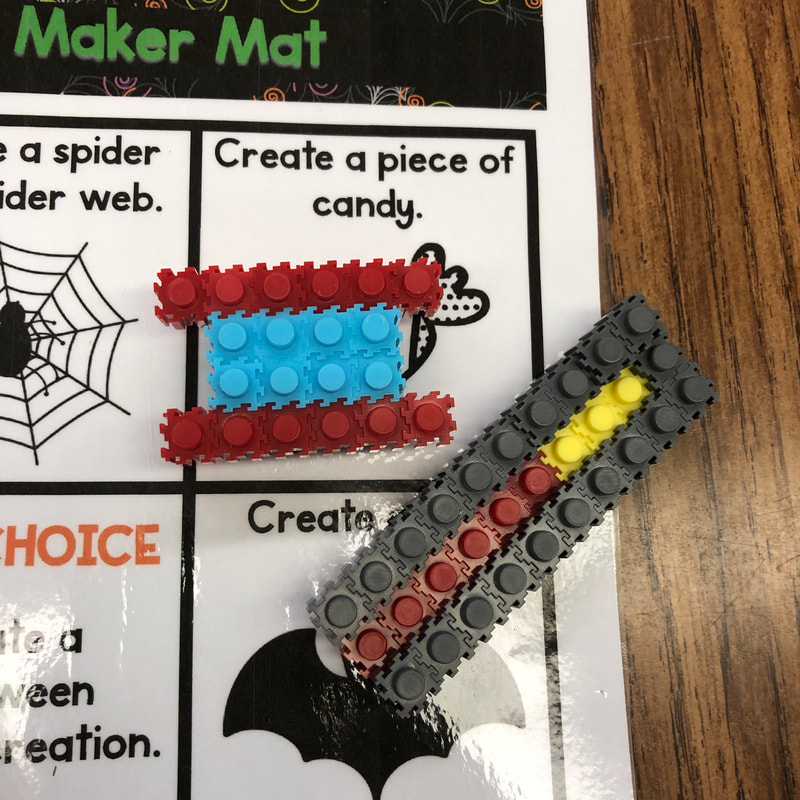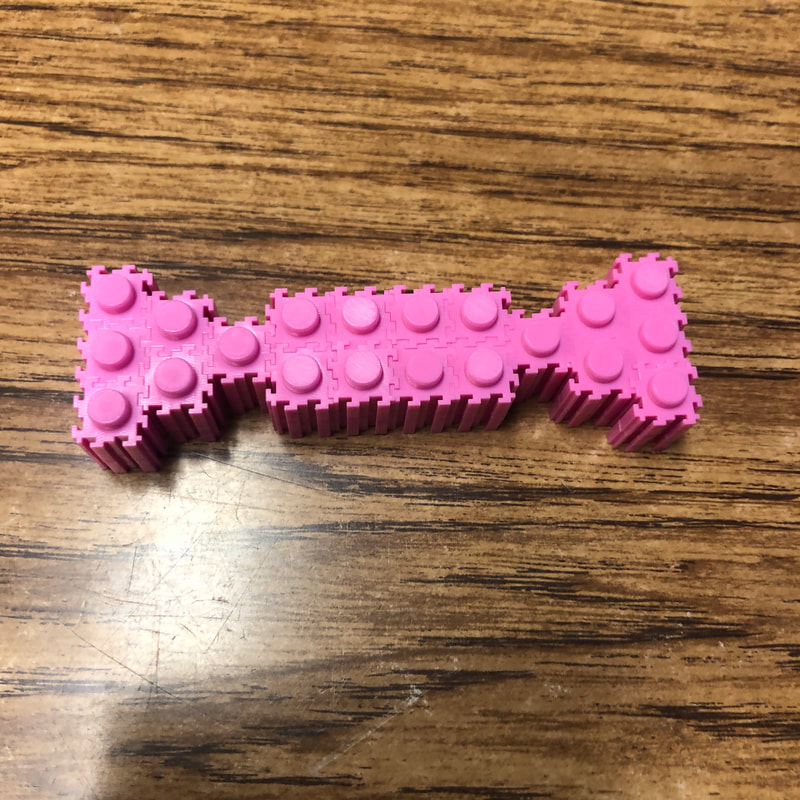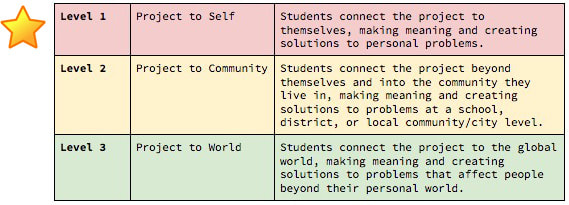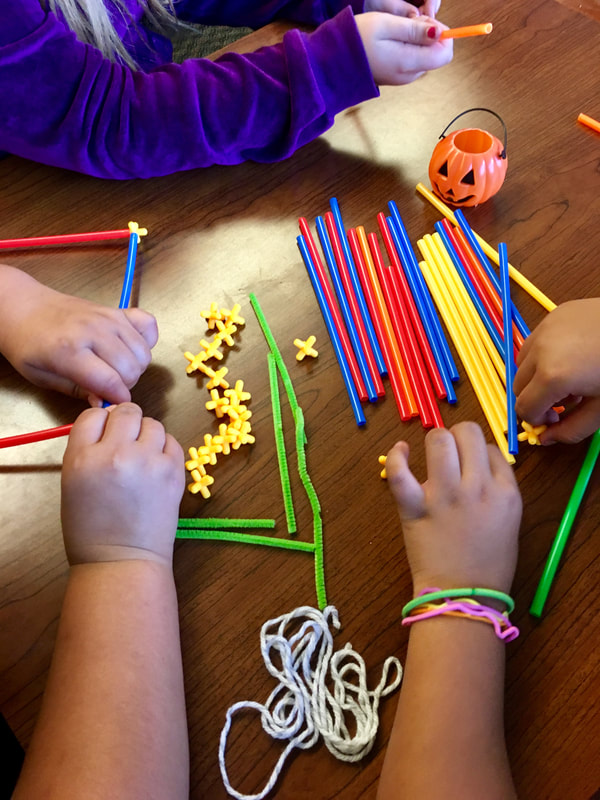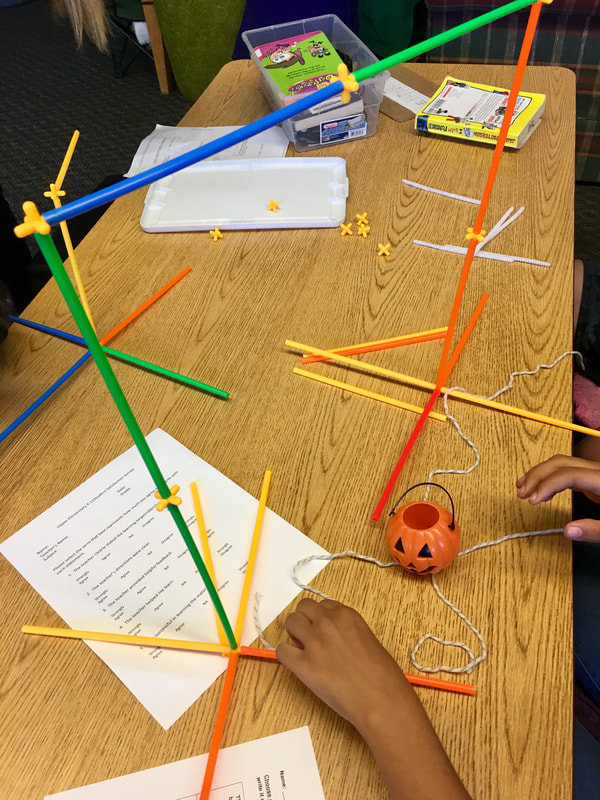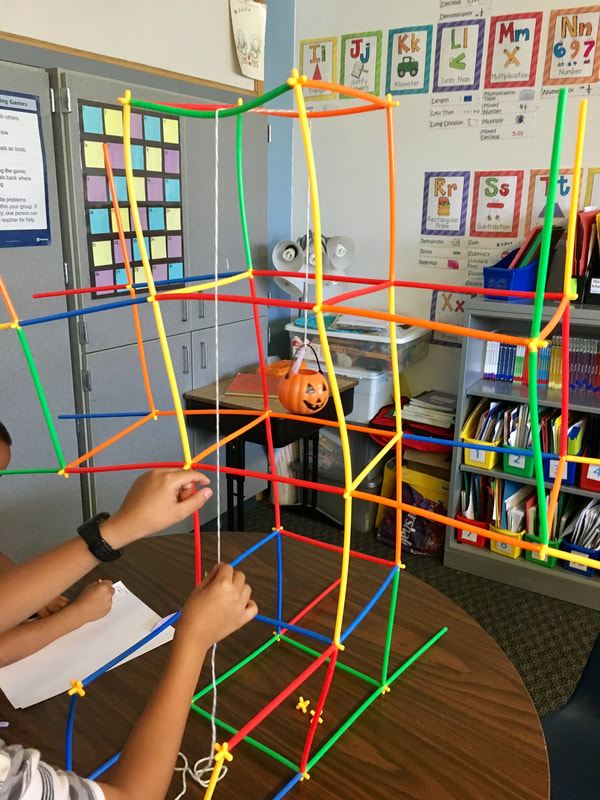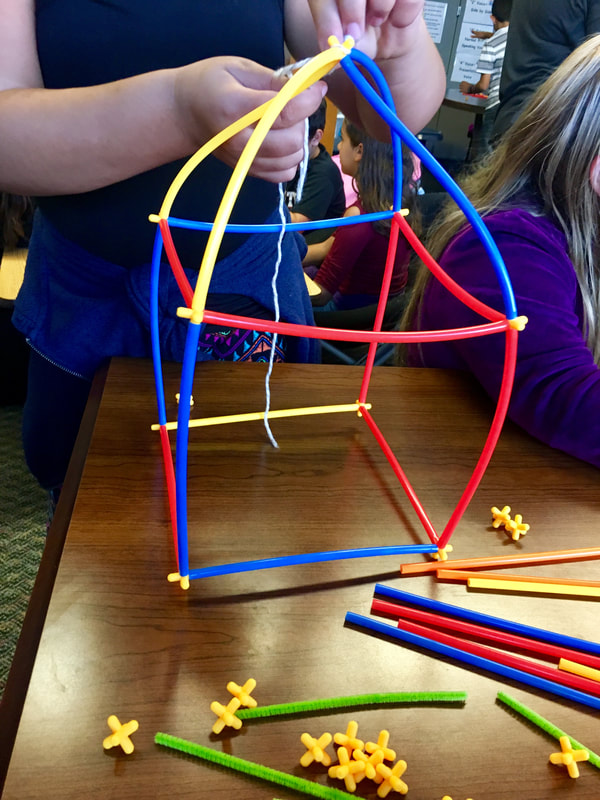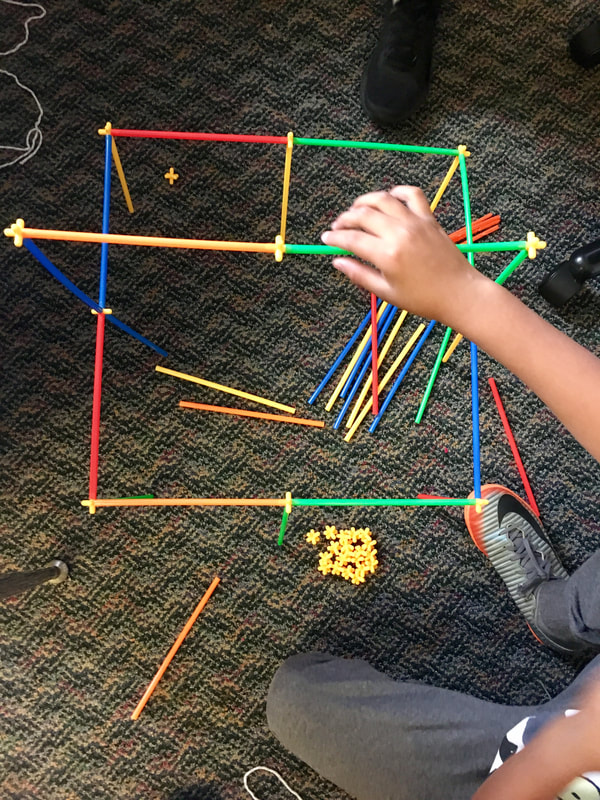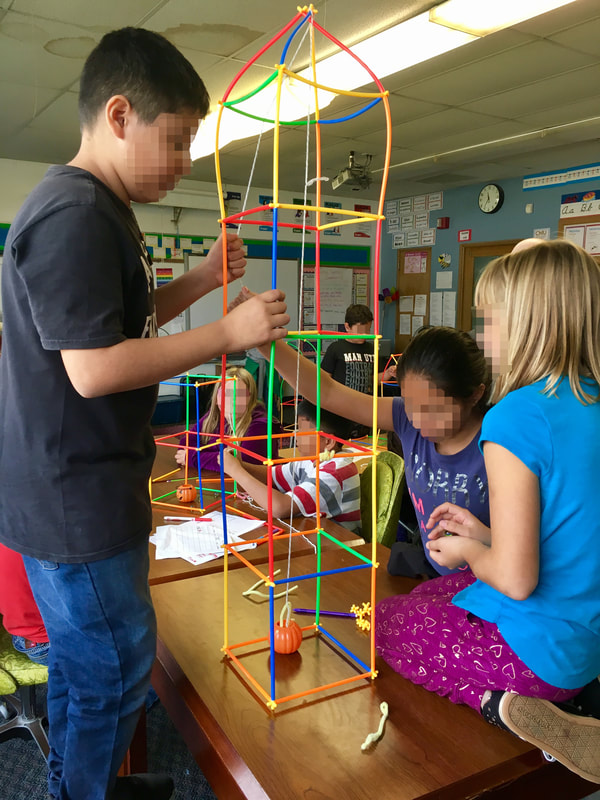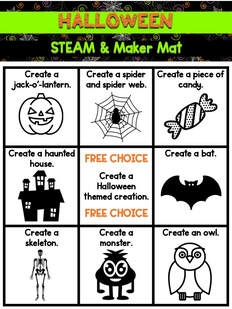
If I haven't said it in about every other post I have made about Maker Mats, I would just like to mention that I love Maker Mats. :) I think I would say that when I use them in class, students love them just as much! They know they can pick anything on the mat to begin creating and that I am okay with that (there is no specific order in which items should be created). When I hand out the Maker Mats, I always hear great conversations among work partners about what they should start to begin building. This also works in opportunities for them to respectfully disagree and share their opinions. Usually with a brief conversation, they can decide on their first two designs they want to build and then get started with the first.
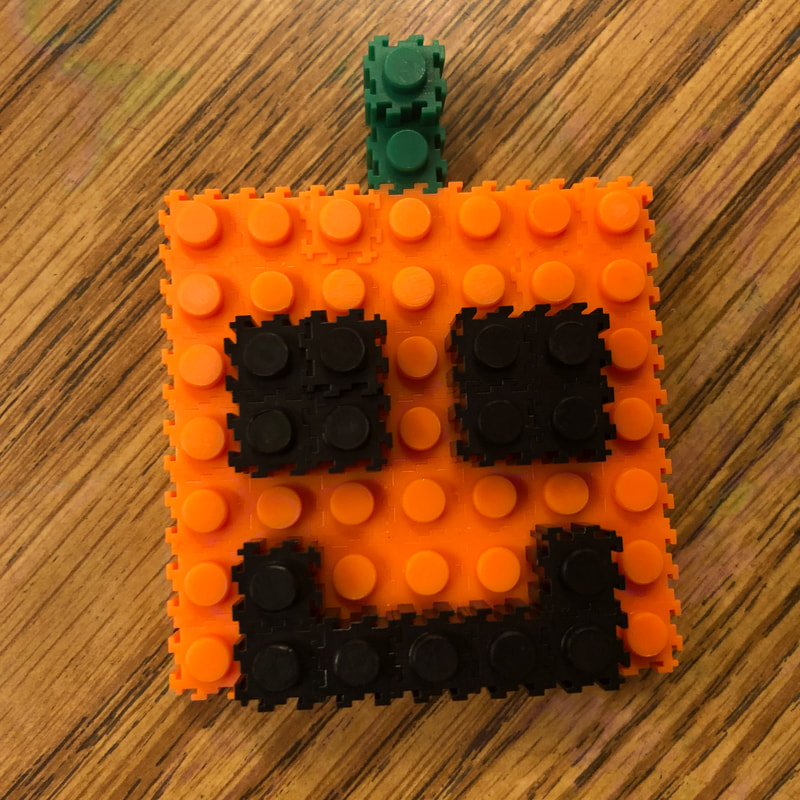
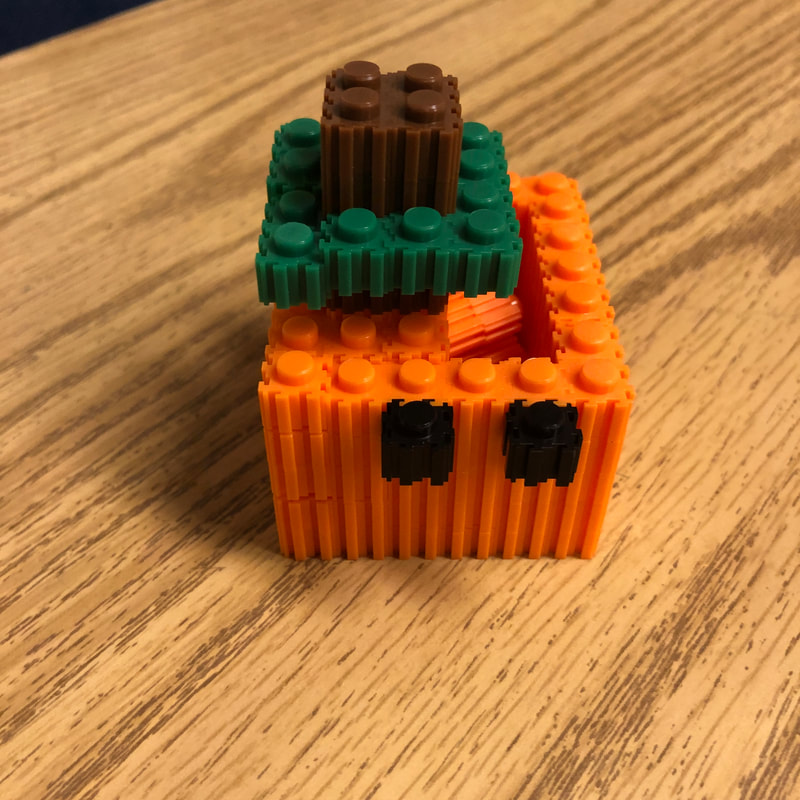
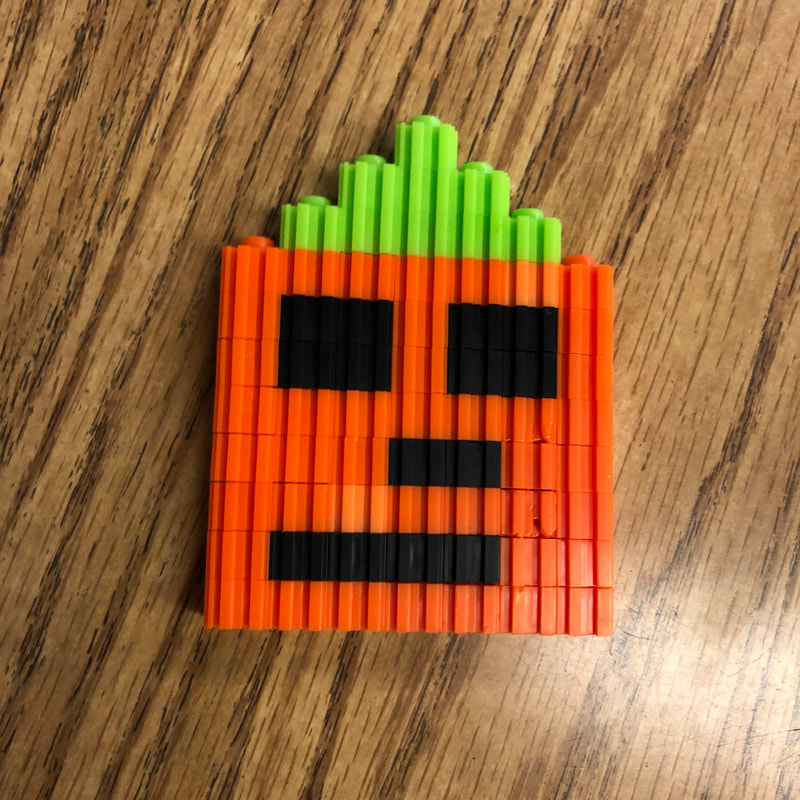
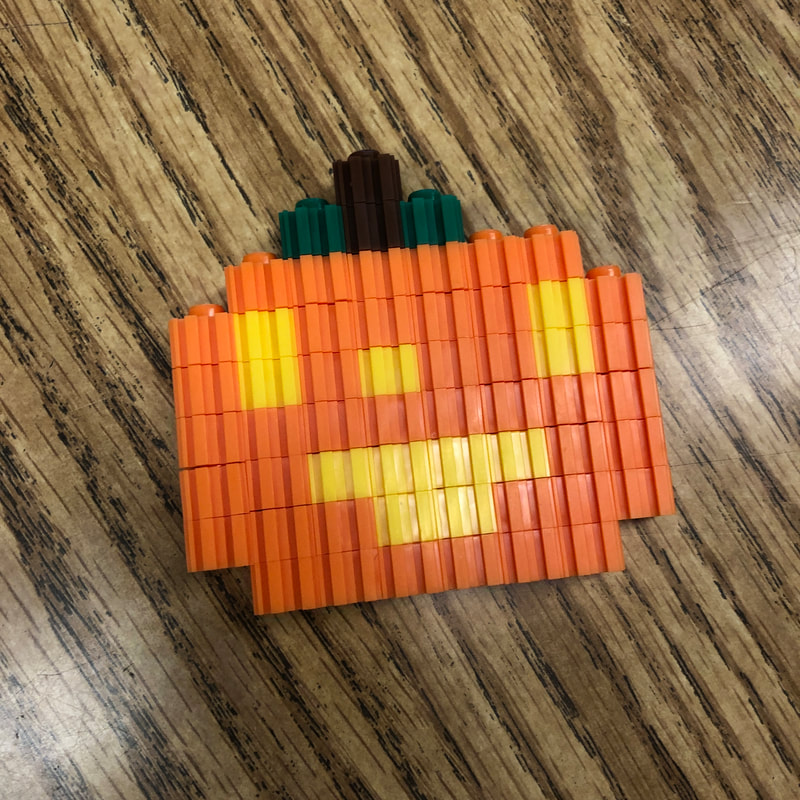
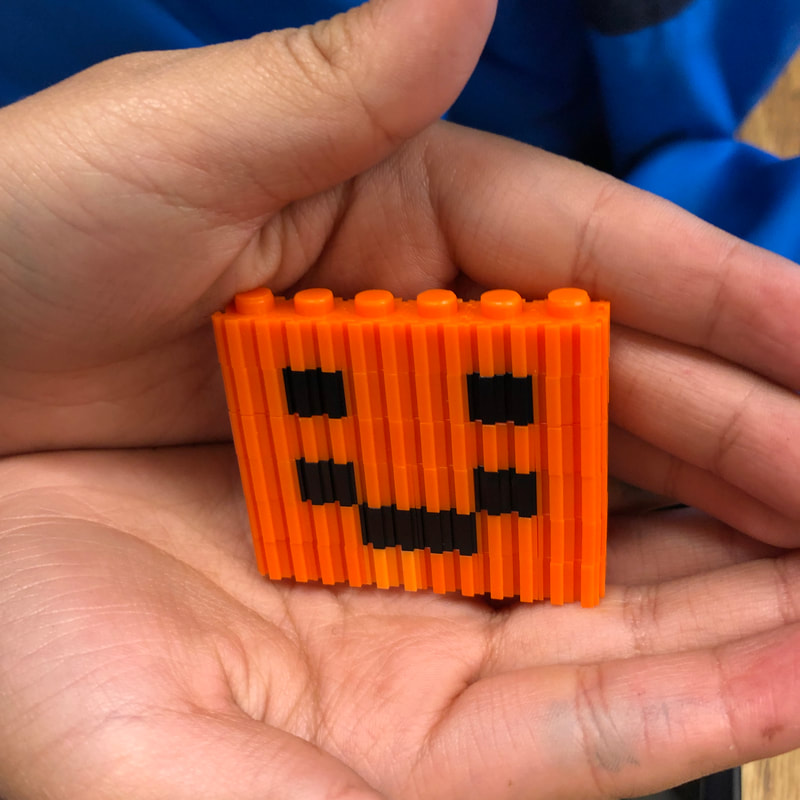
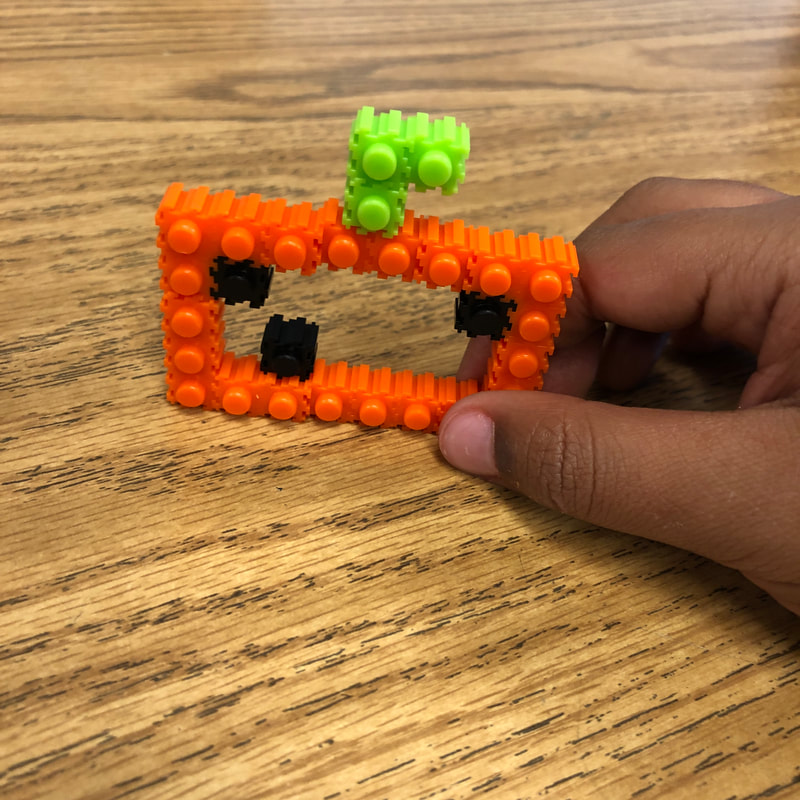
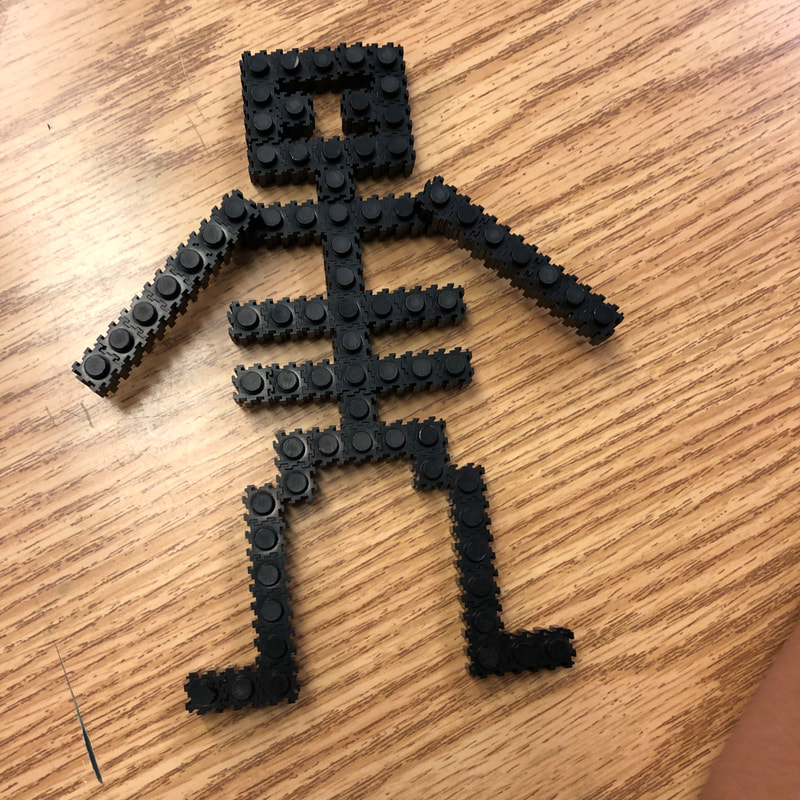
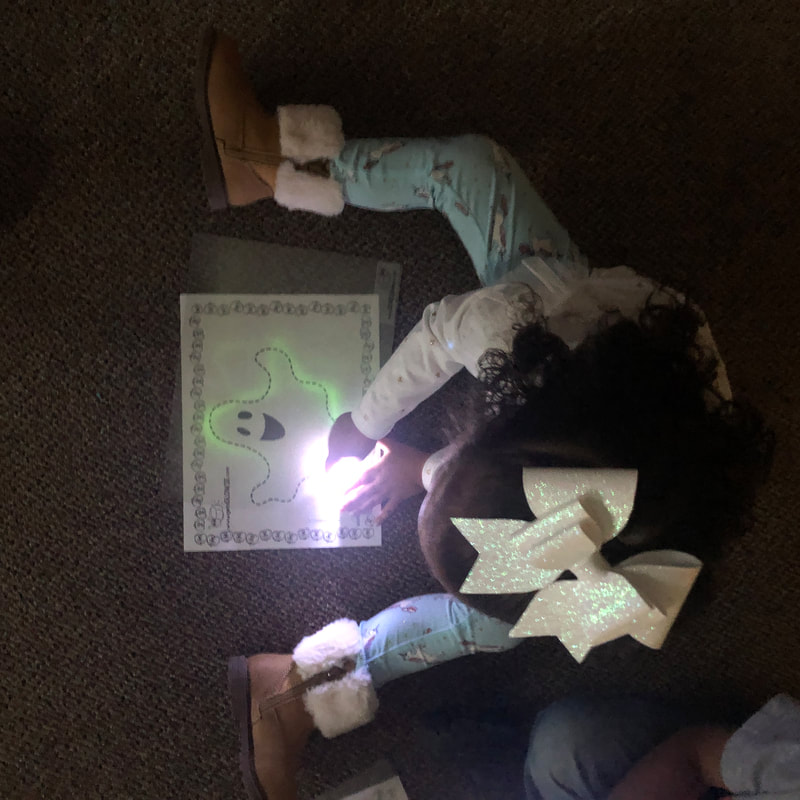
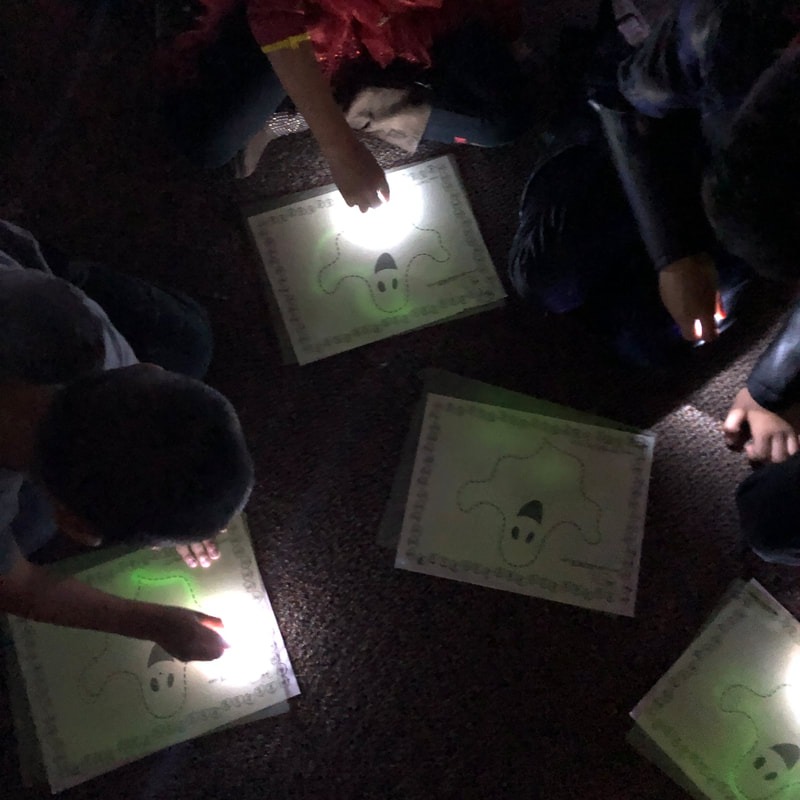
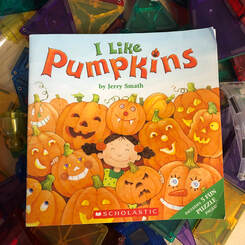
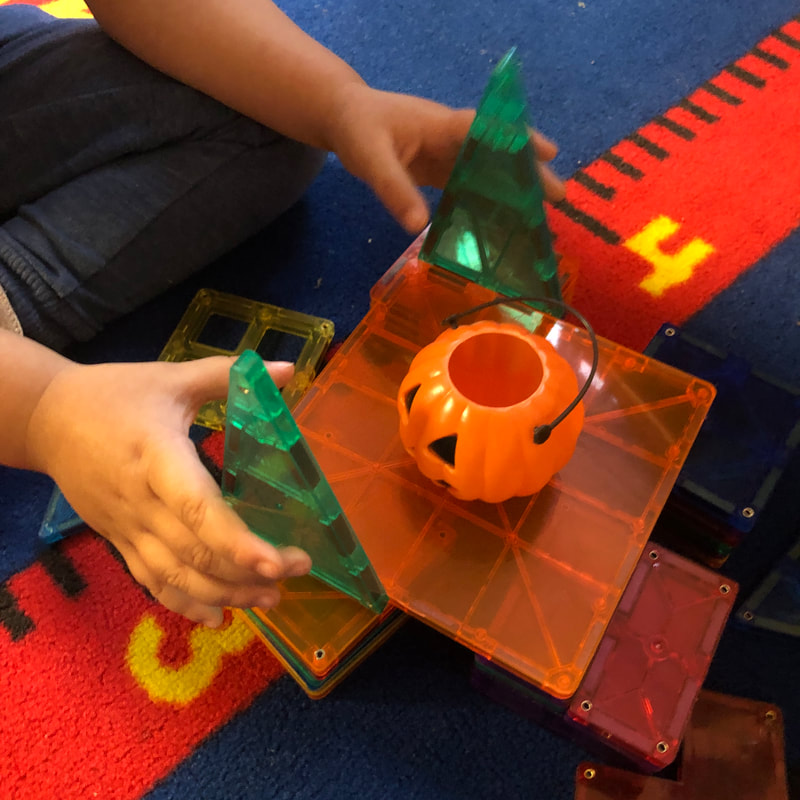
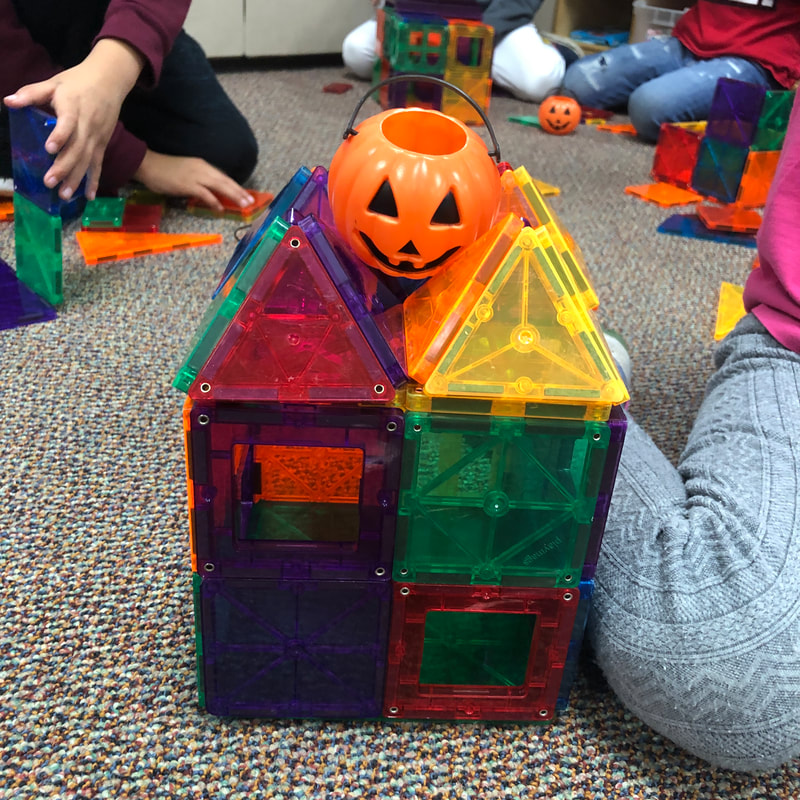
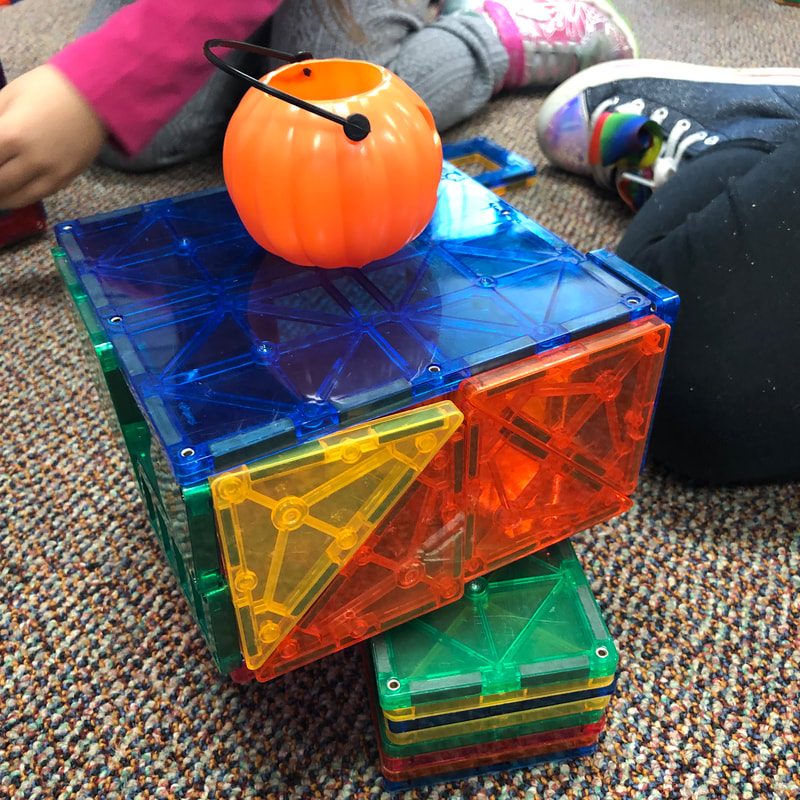
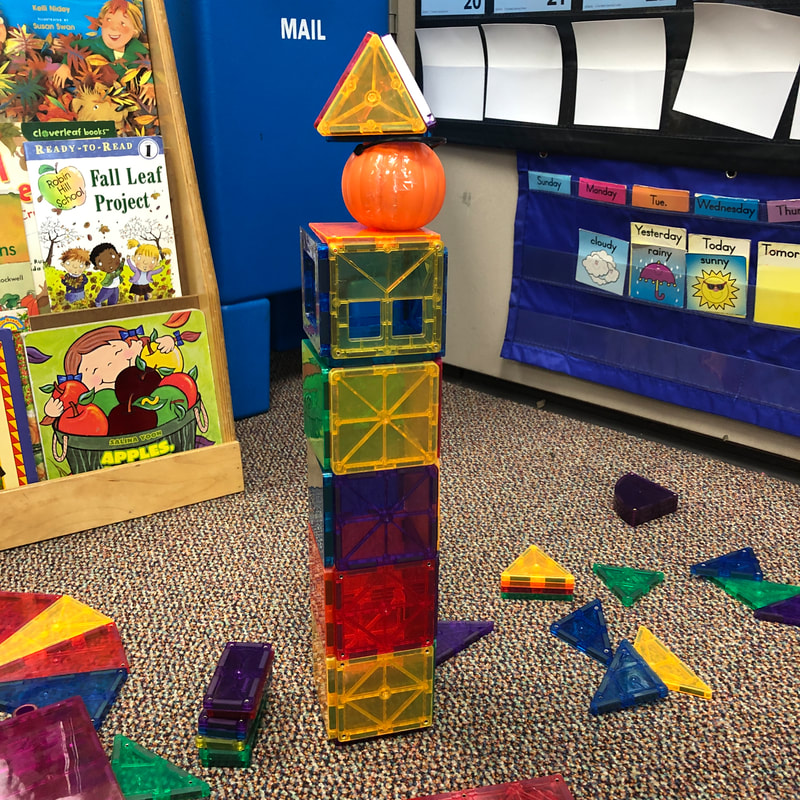
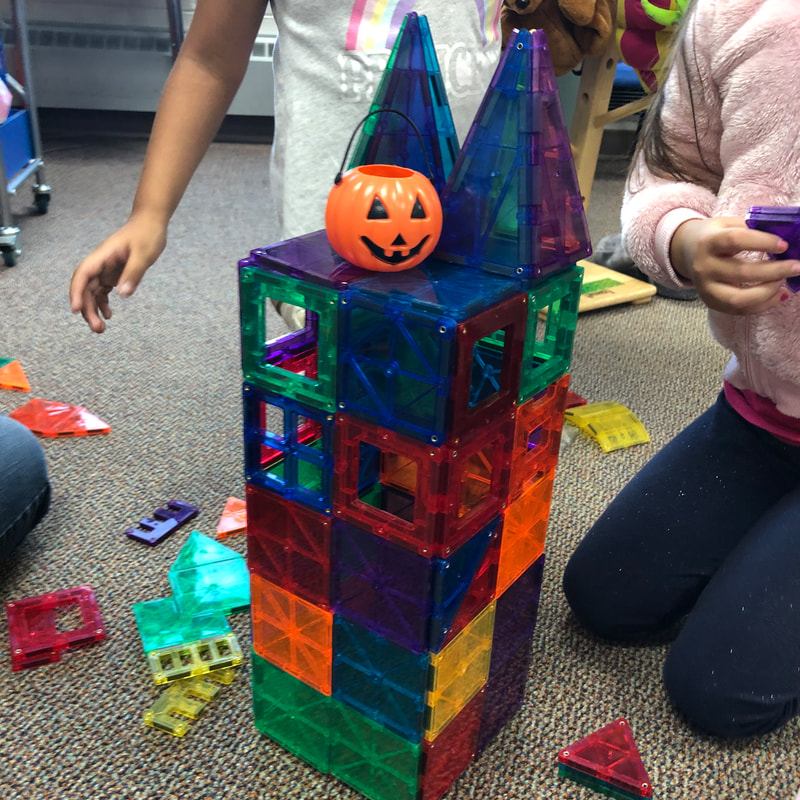
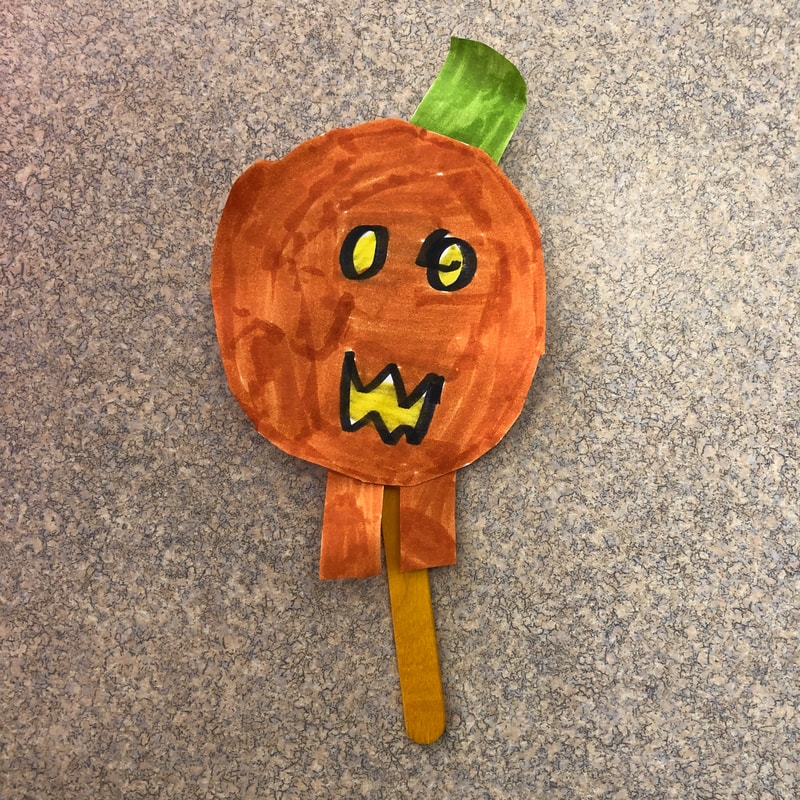
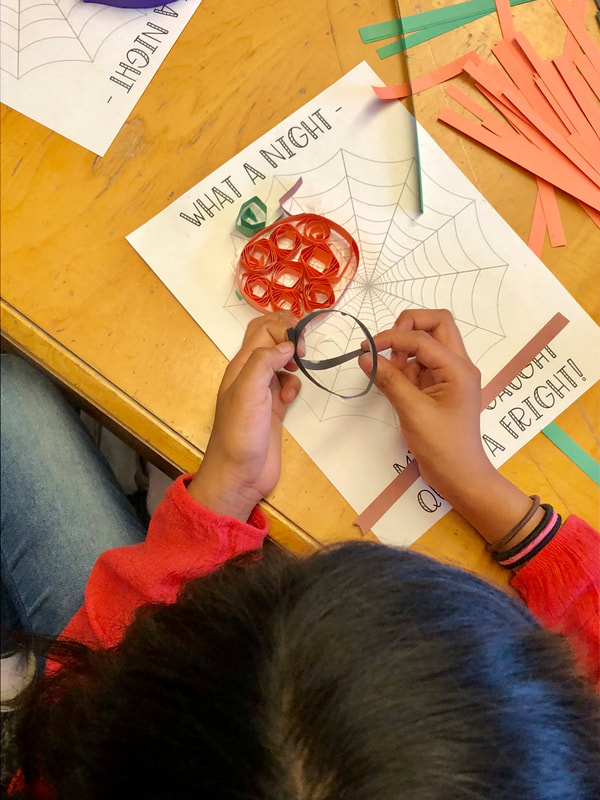
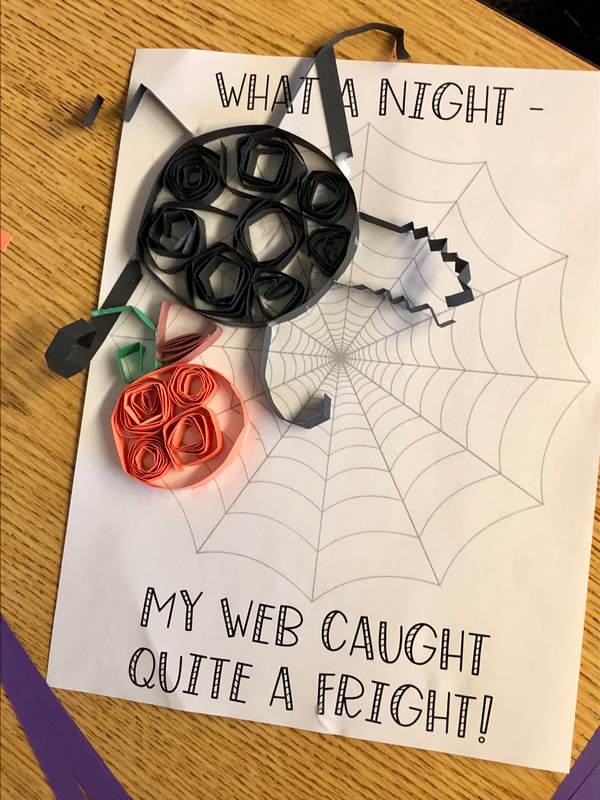
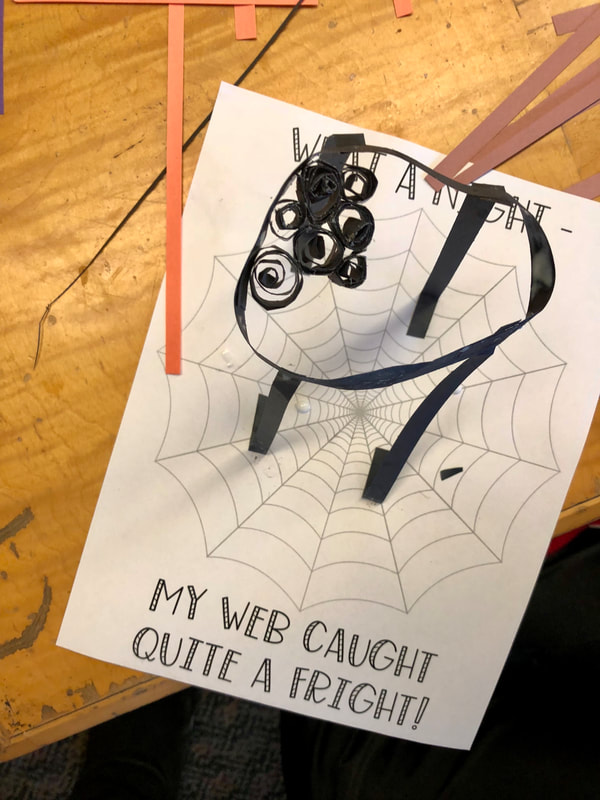
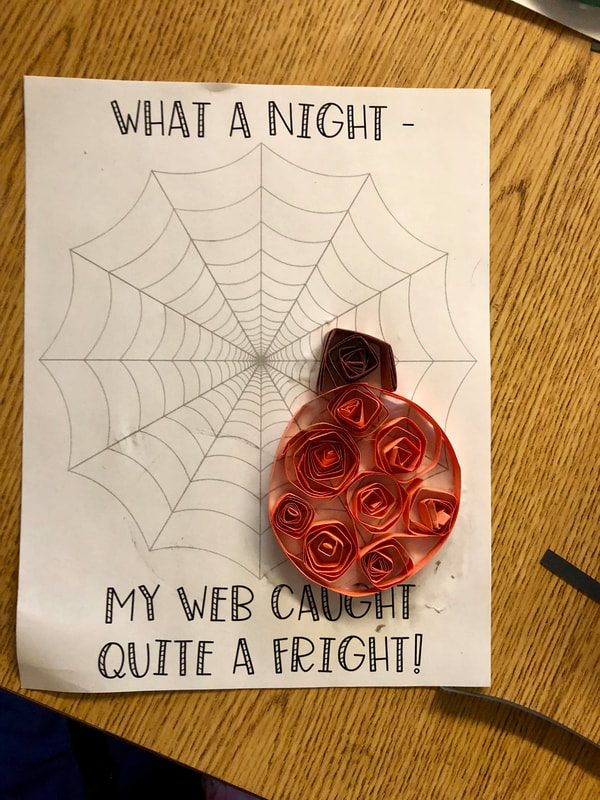
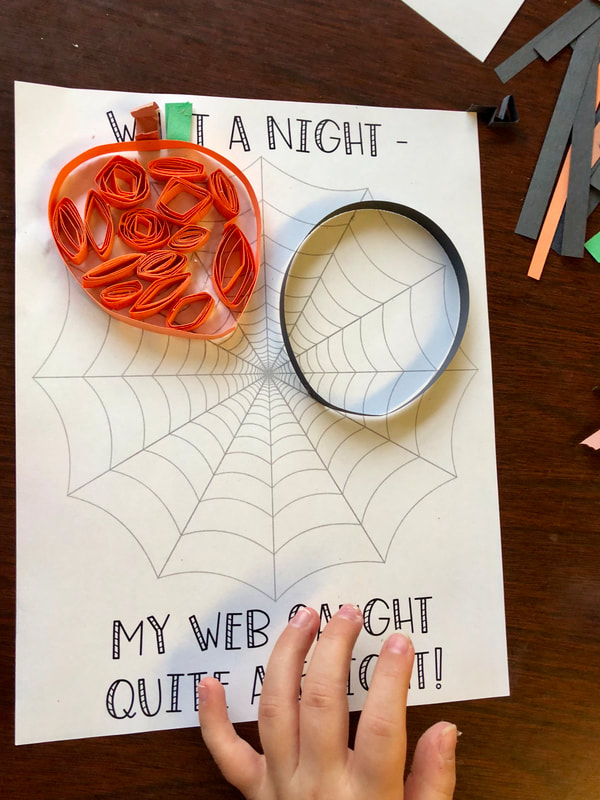
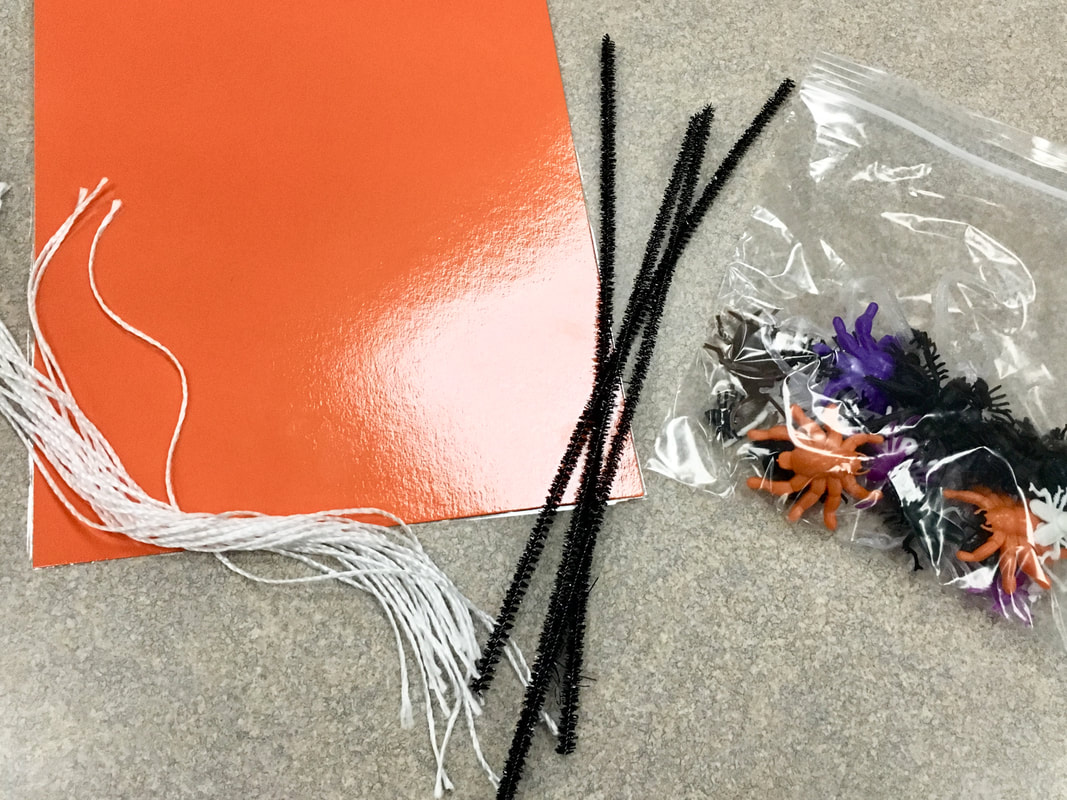
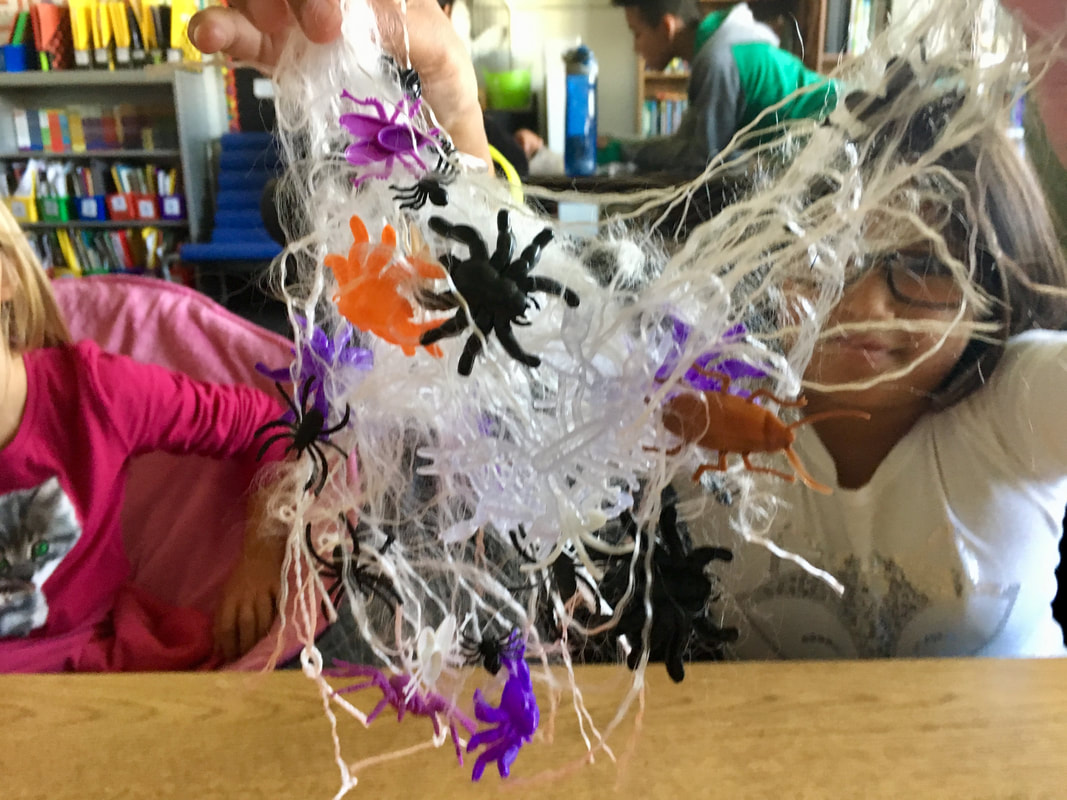
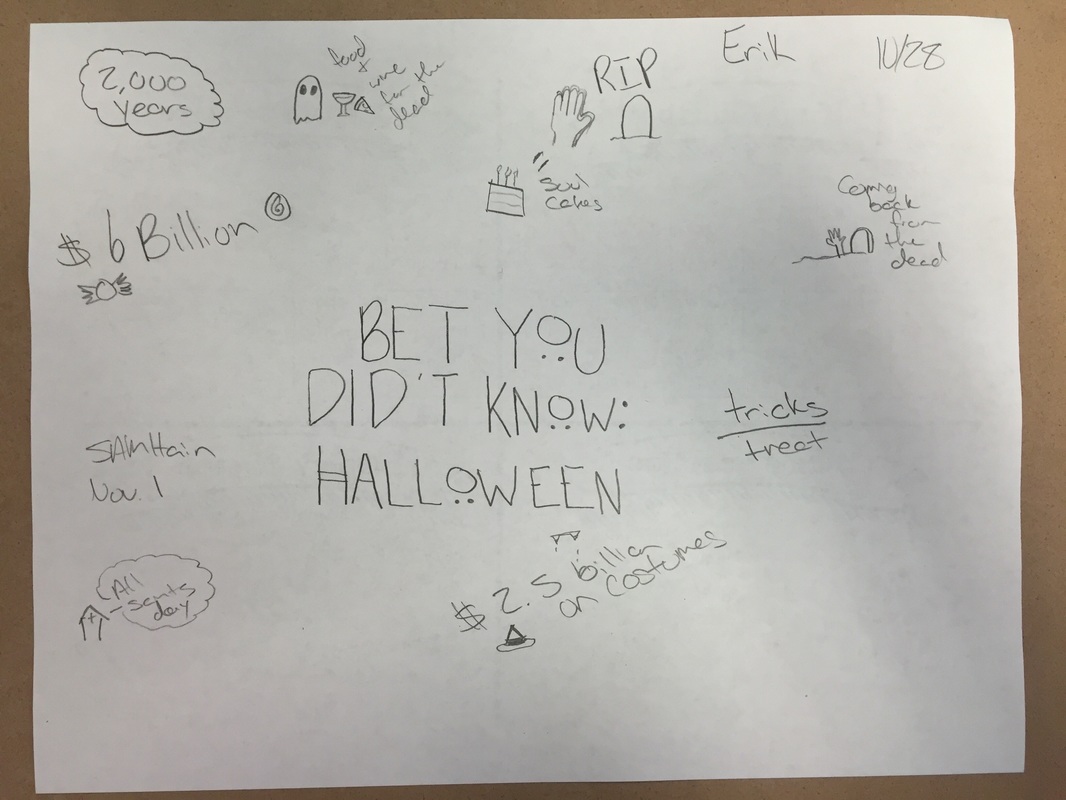
As it was the week of Halloween and one of my classes falling on Halloween itself, I knew this would be a great activity as the energy in the room was, let's say, palpable.
As it was the week of Halloween and one of my classes falling on Halloween itself, I knew this would be a great activity as the energy in the room was, let's say, palpable.
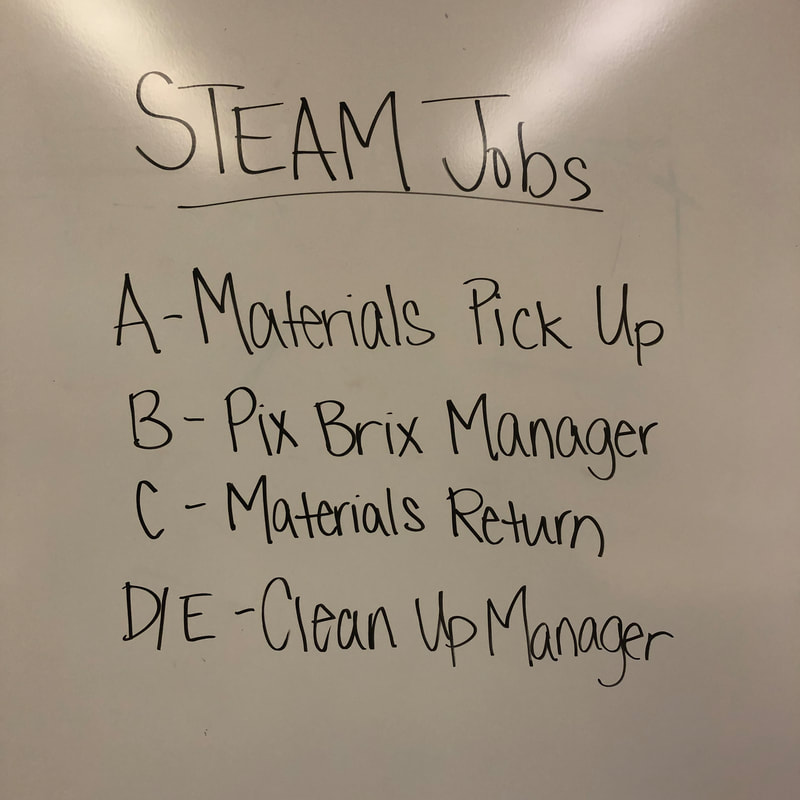 |  |
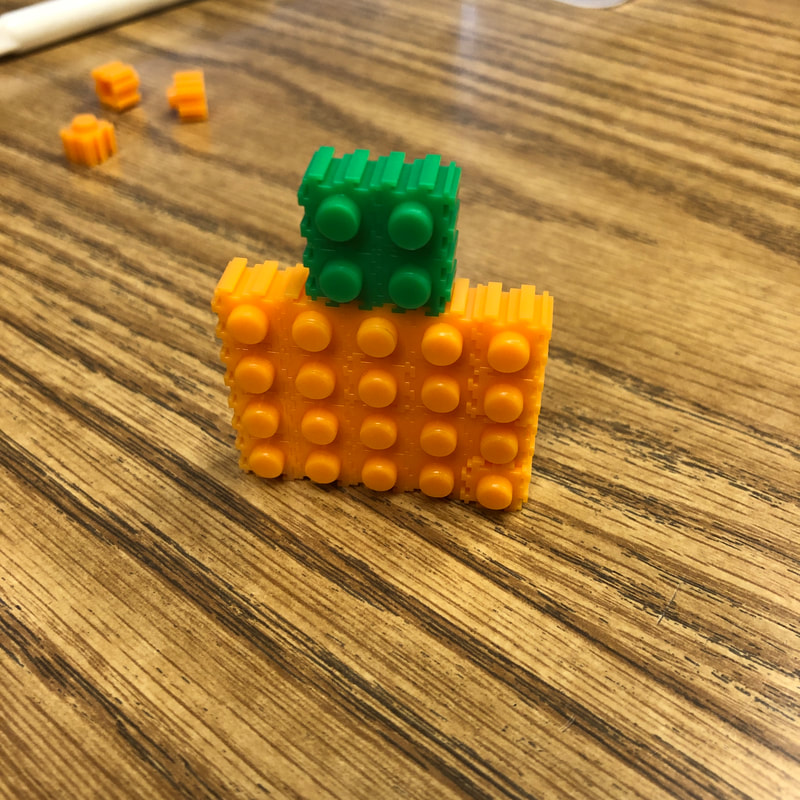
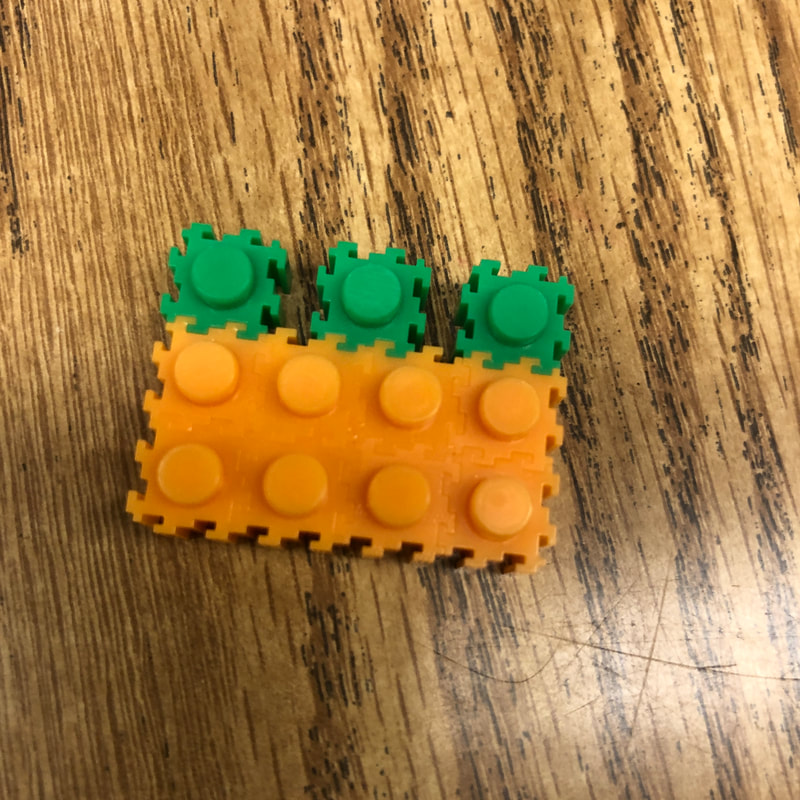
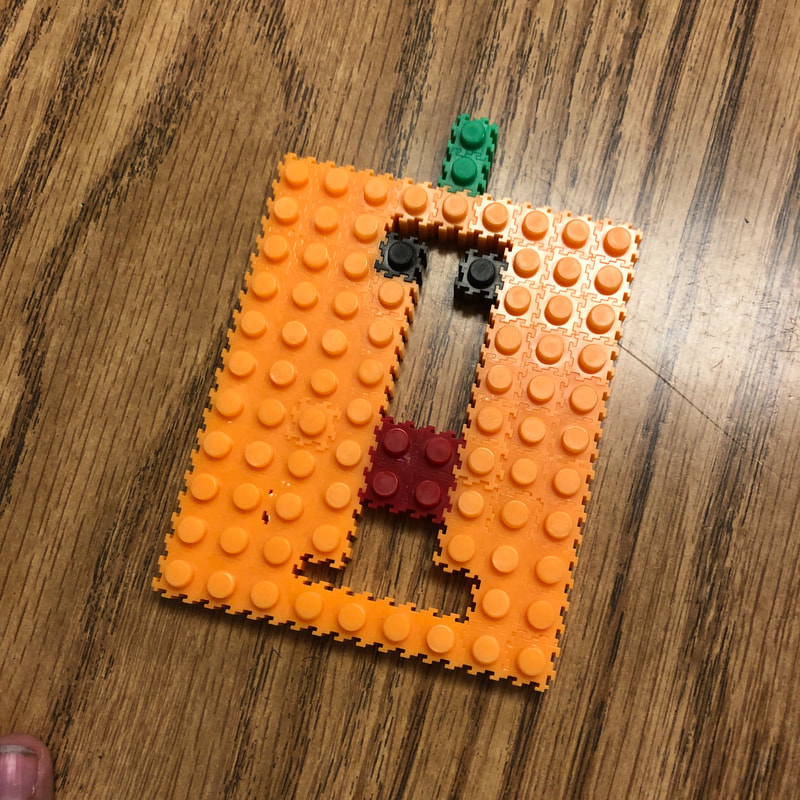
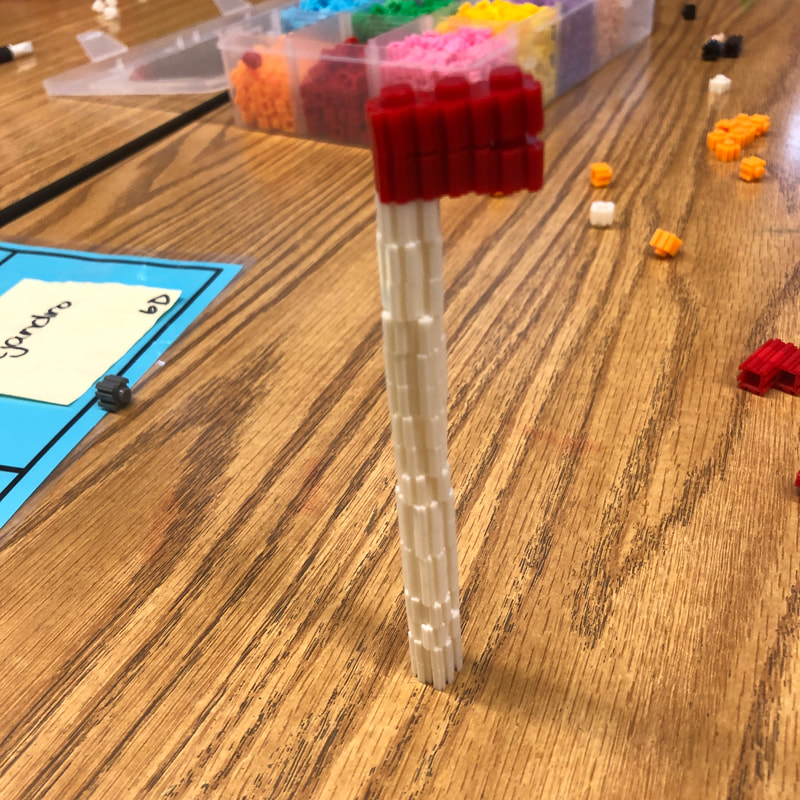
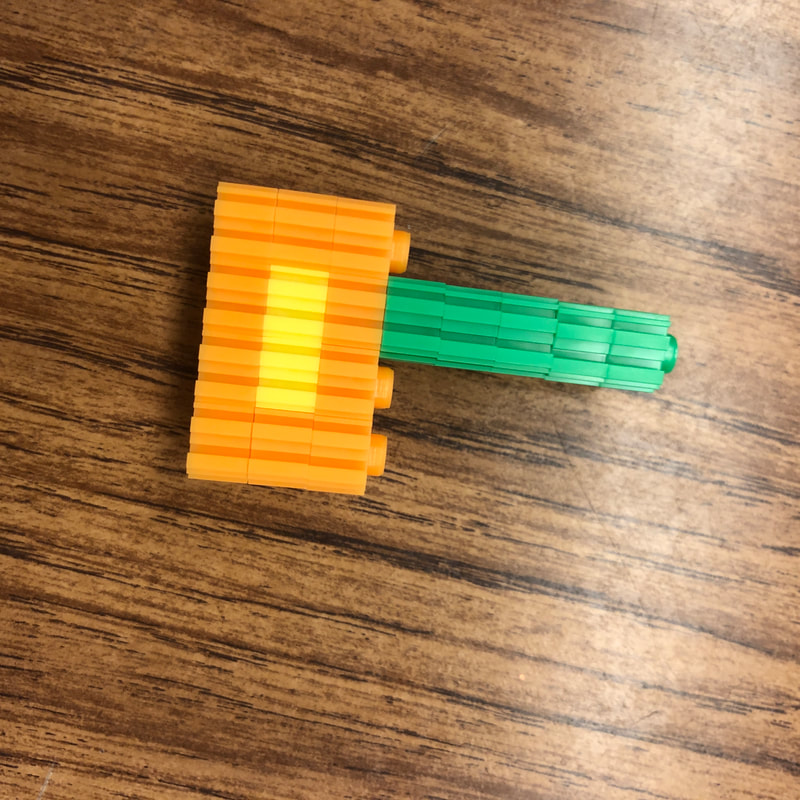
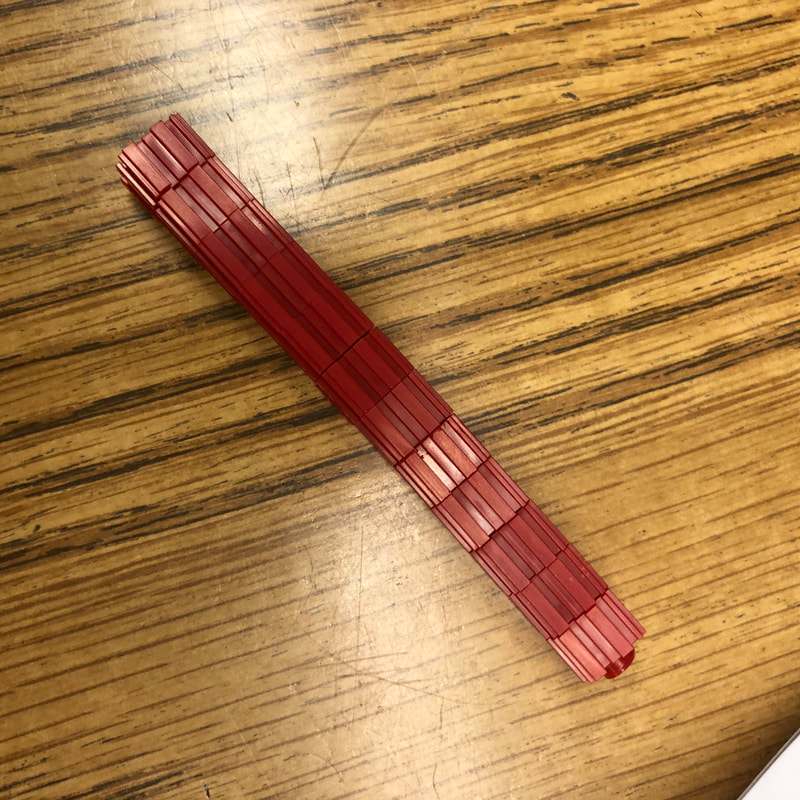
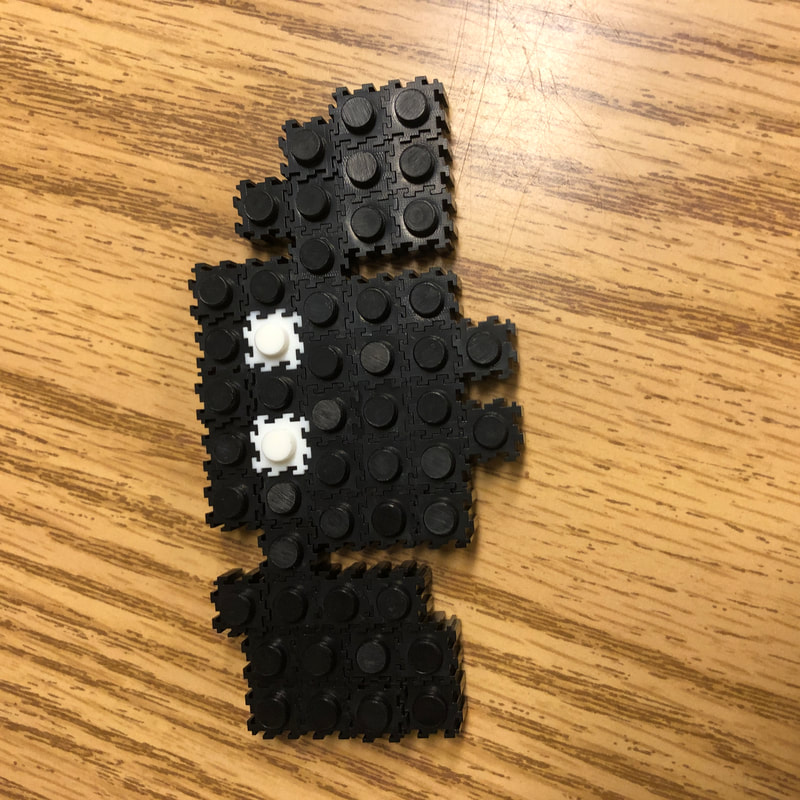
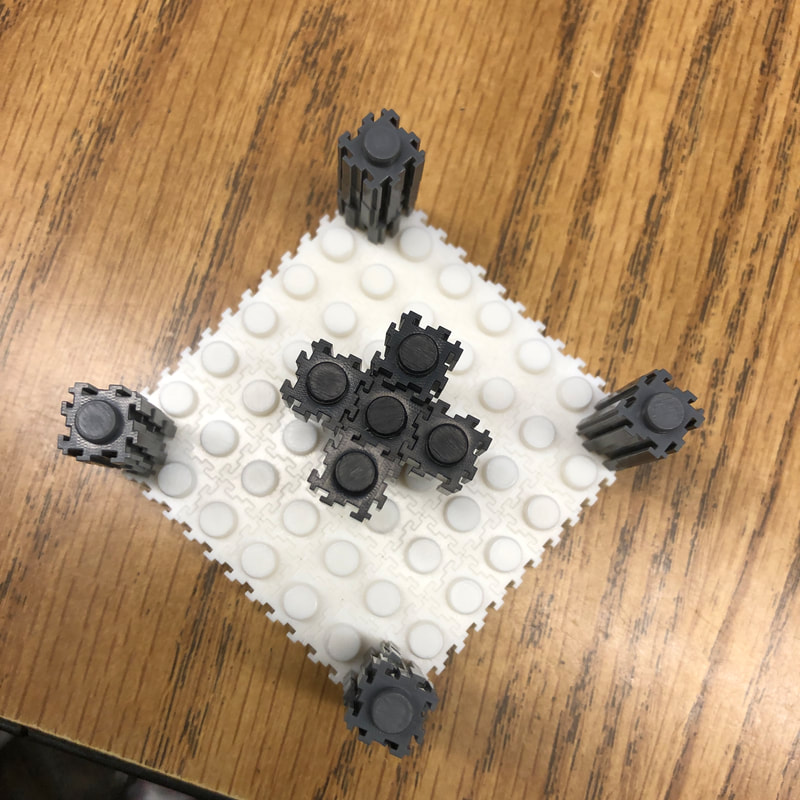
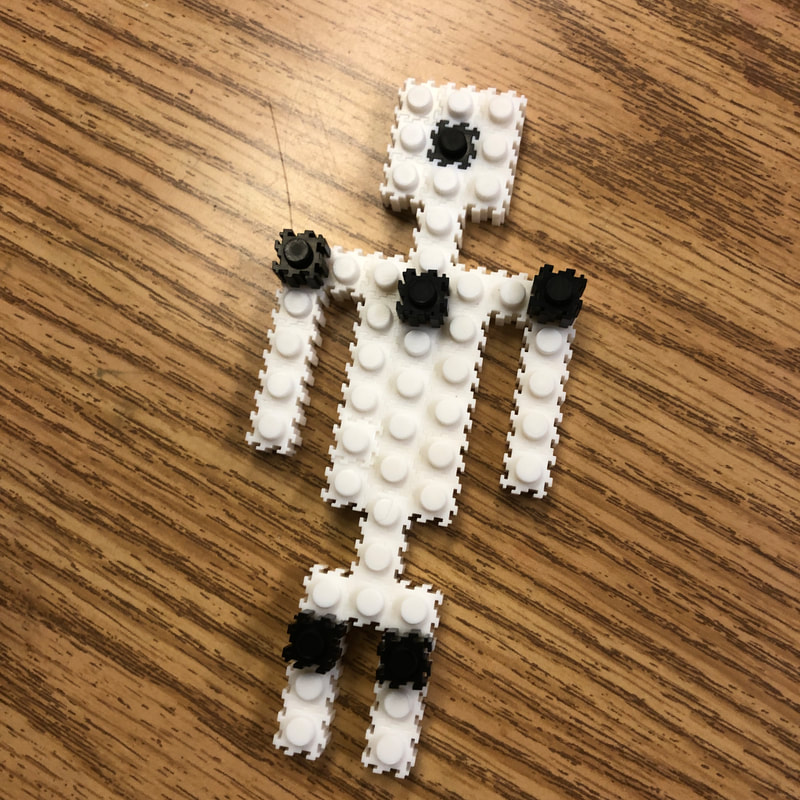
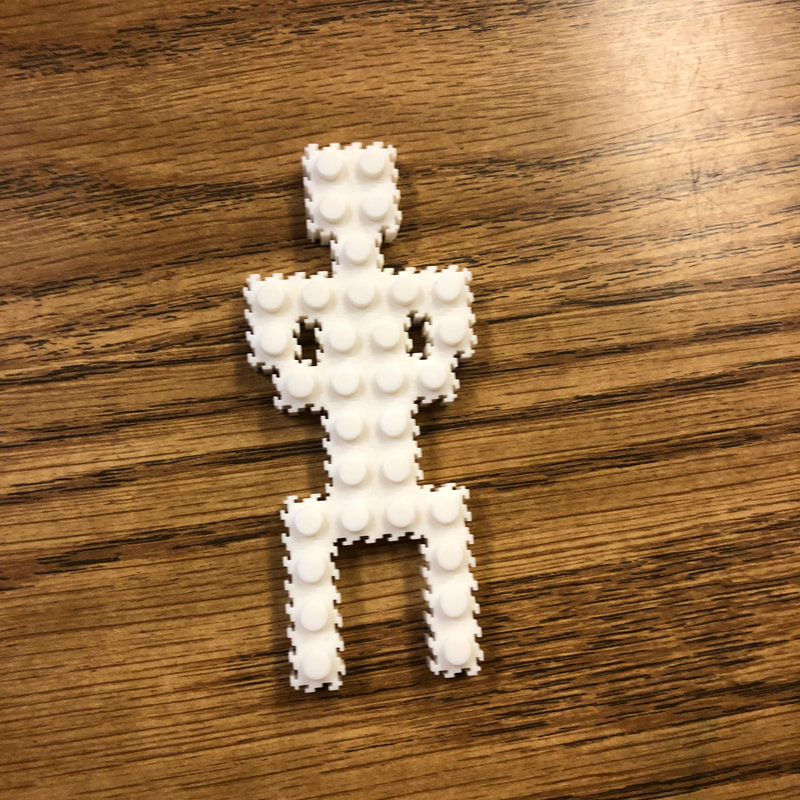
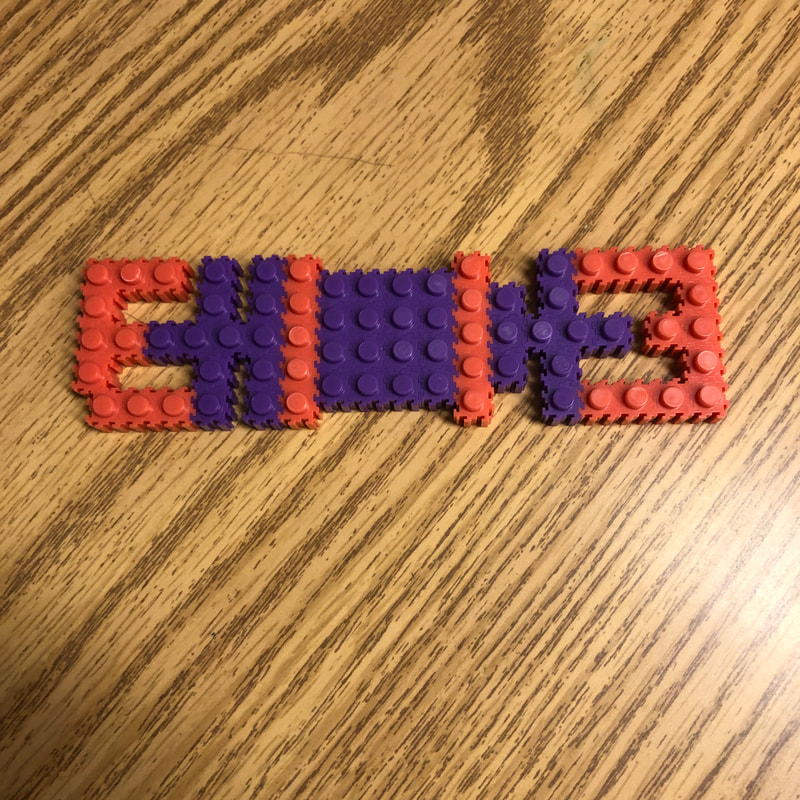
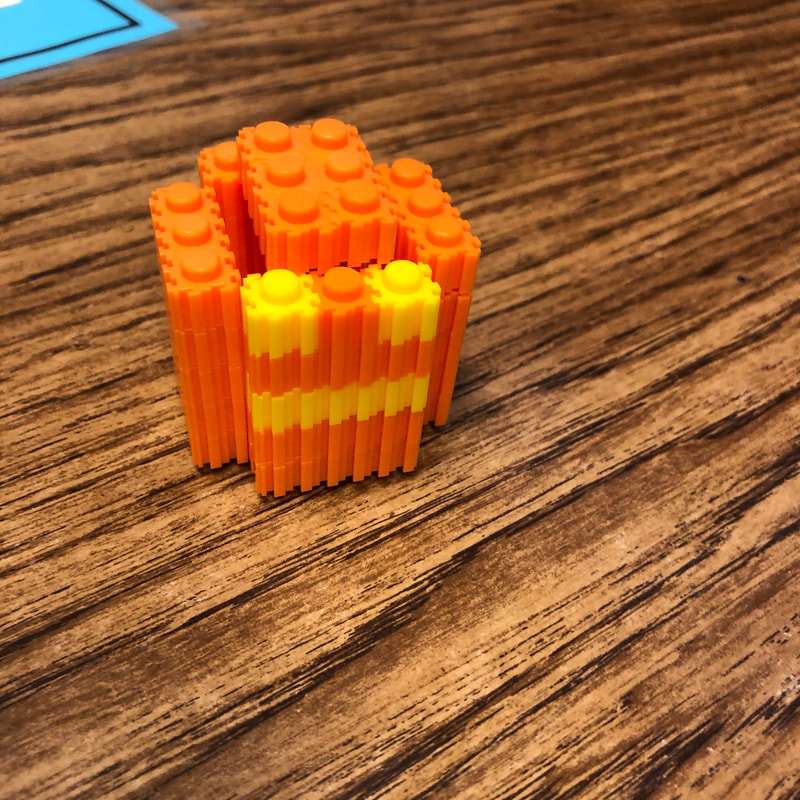
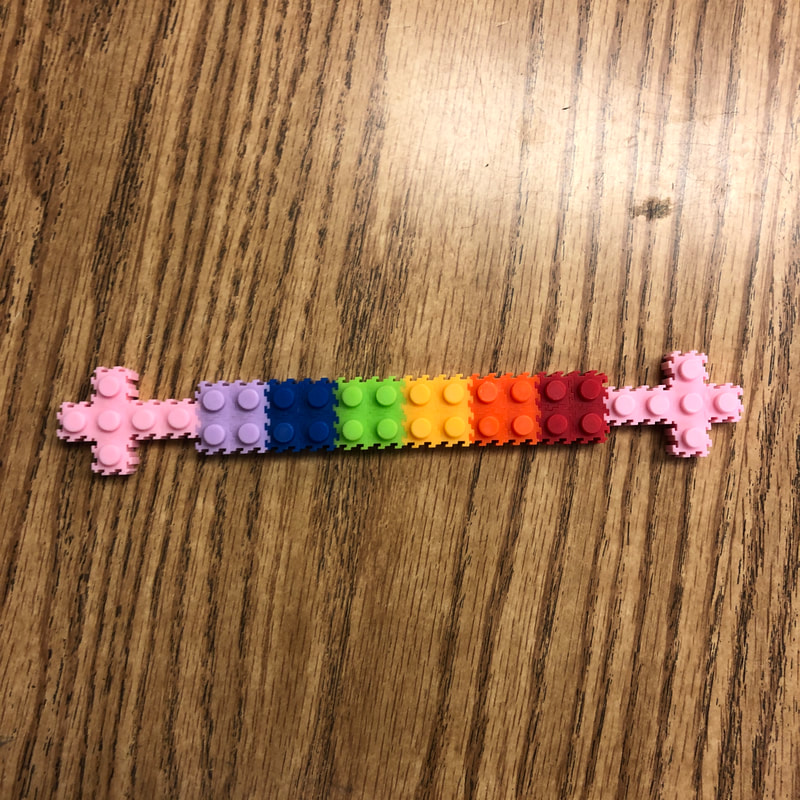
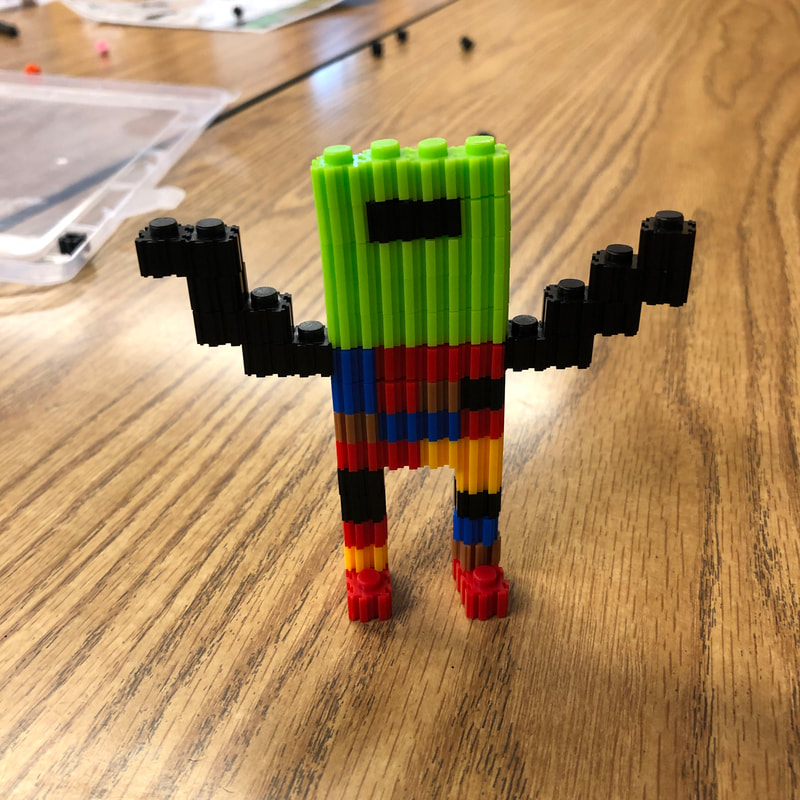
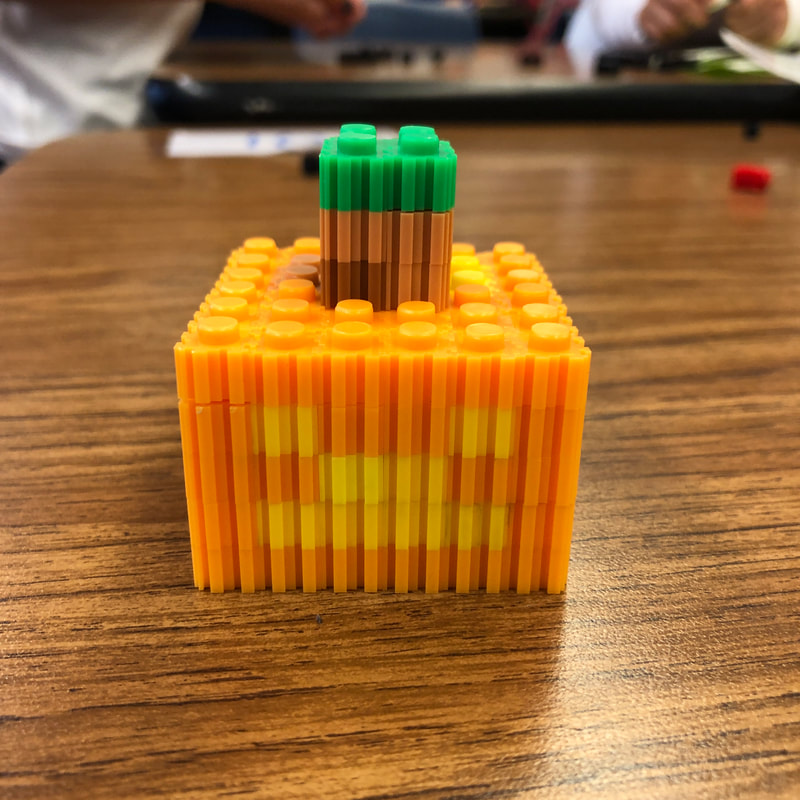
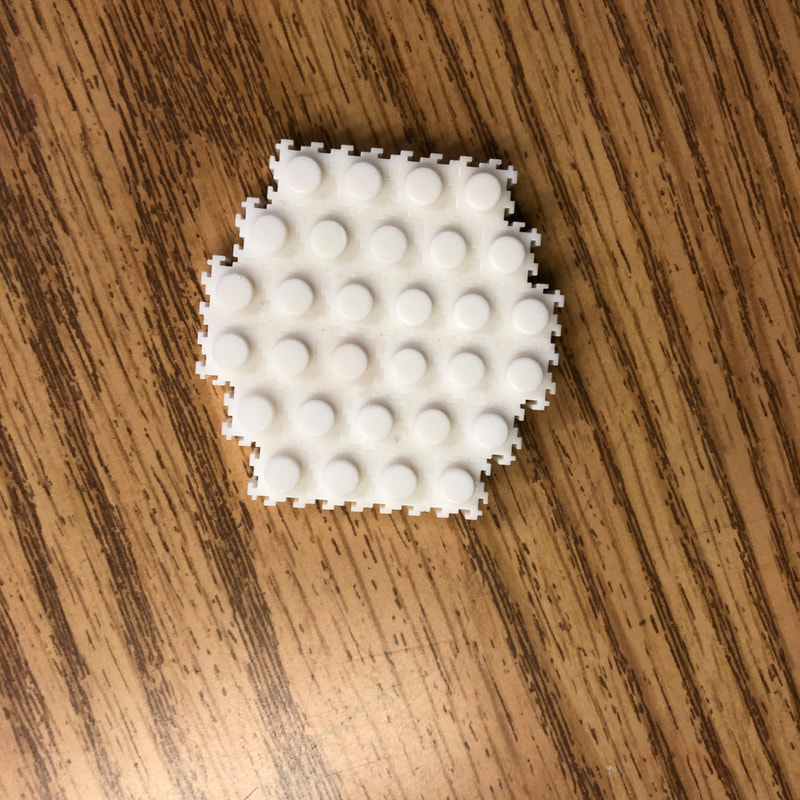
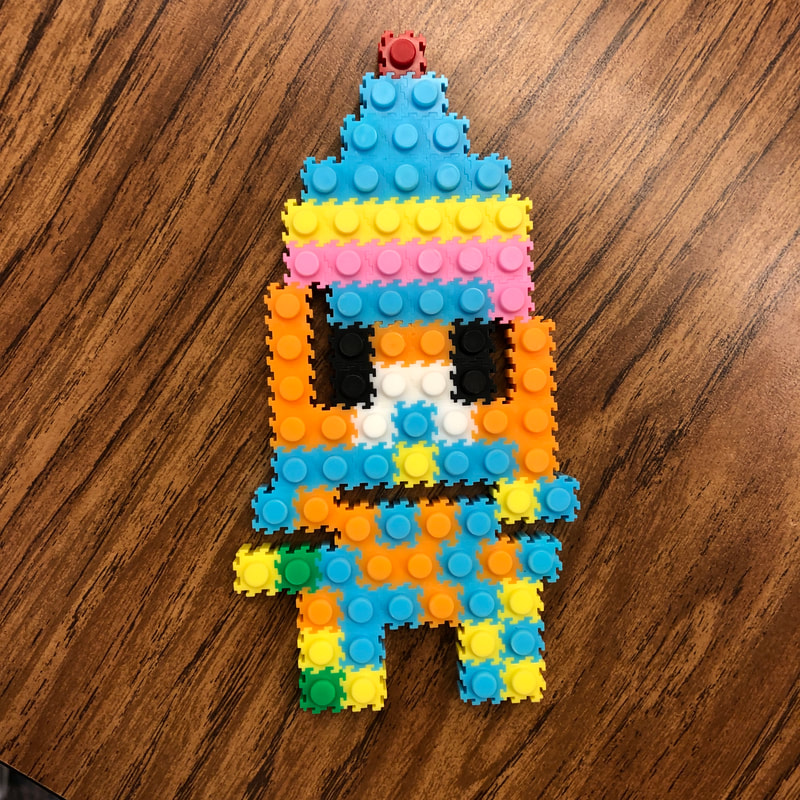
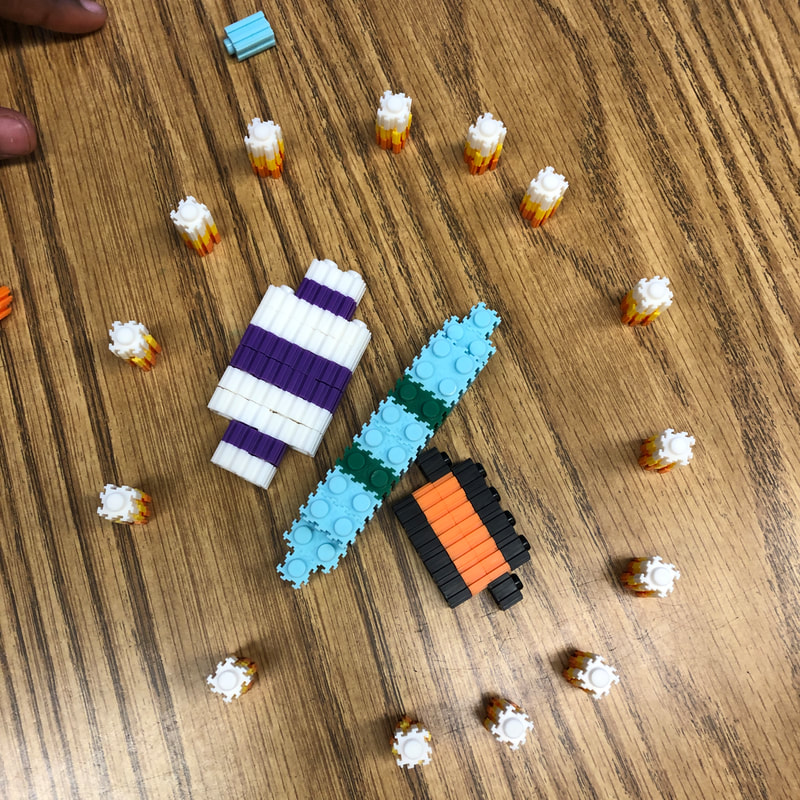
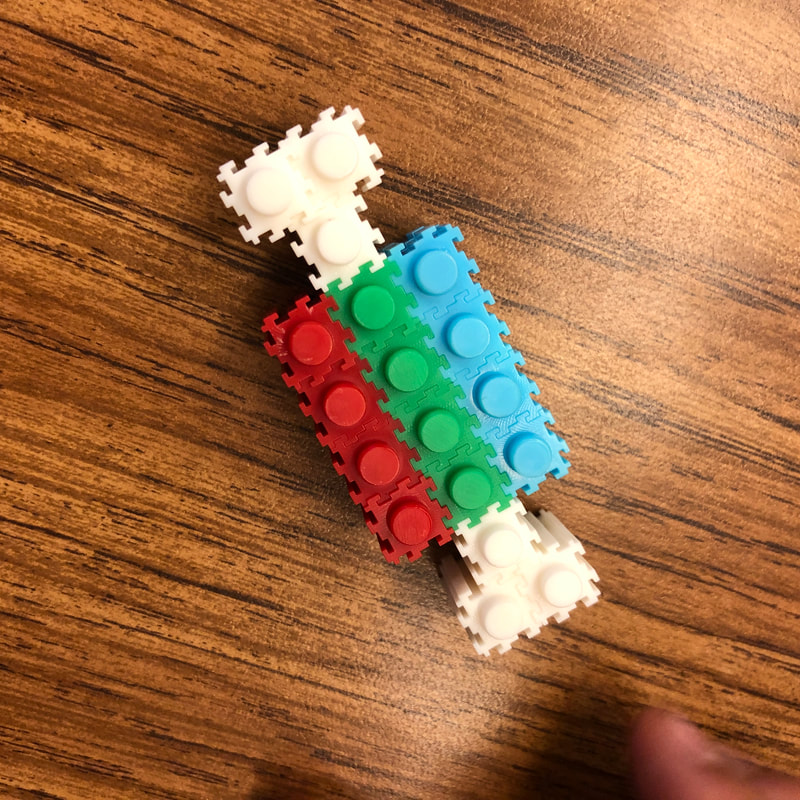
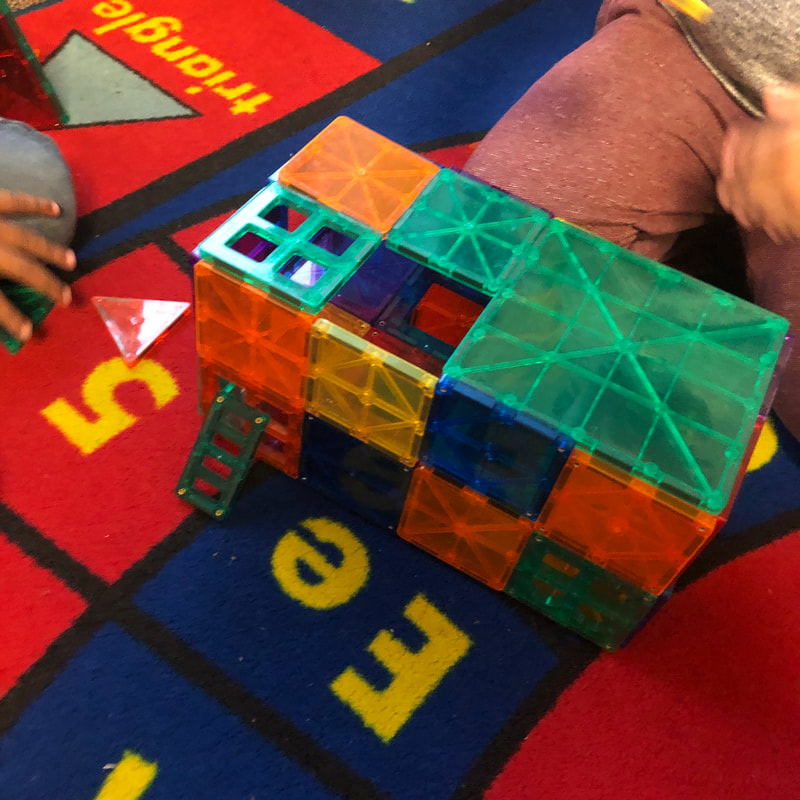
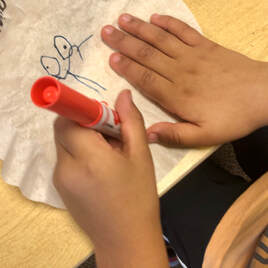
For the Maker Mats this time, I introduced Pix Brix. I love how they are a combined take on Legos and Plus Plus. One shape that fits in multiple ways. I feel with that with Pix Brix, there is a bit of a learning curve, despite its simple shape. Learning how to stack, slide, and take apart takes a bit getting used to, as it is different from familiar building tools. At one point when he was taking apart one of his creations (my rule before moving on to the next design) stated that, "These make my fingers depressed". After having a good inward laugh to myself, we talked about how his fingers could be made happier by breaking his design into smaller pieces instead of trying to break the whole thing apart like you can with Legos. Once they started feeling more comfortable with the Pix Brix, their designs really took off!