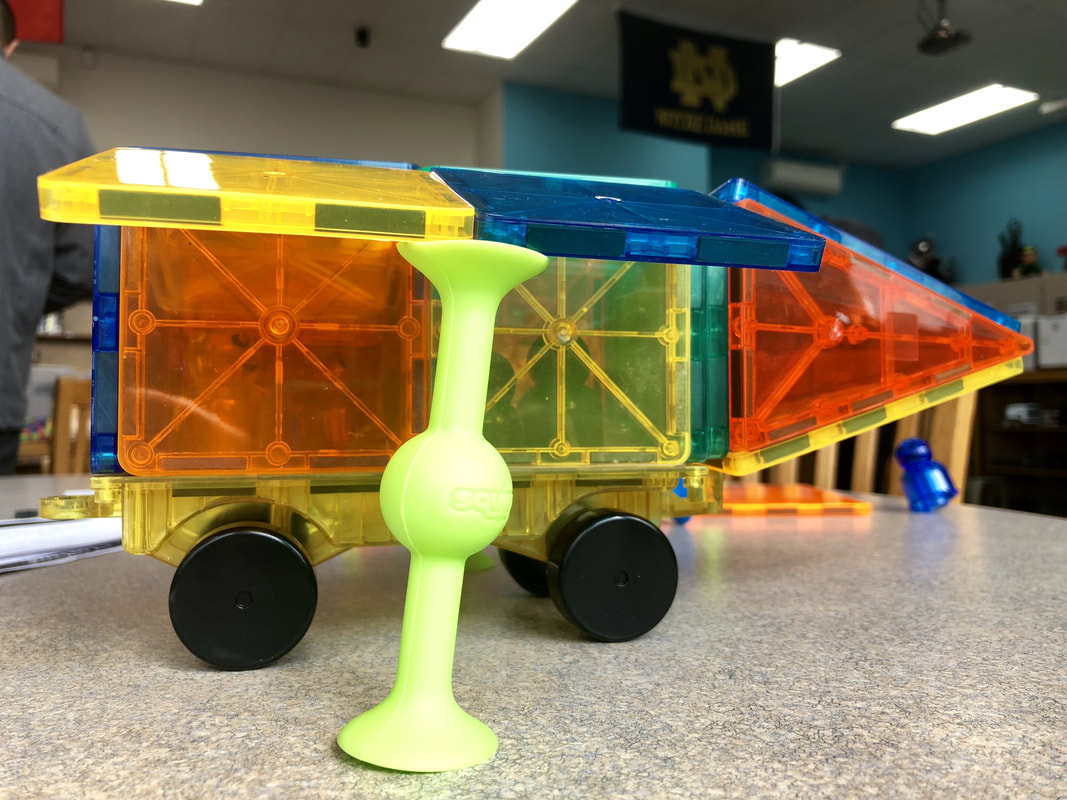
 My photo-taking set up, complete with Squigz as a phone holder!
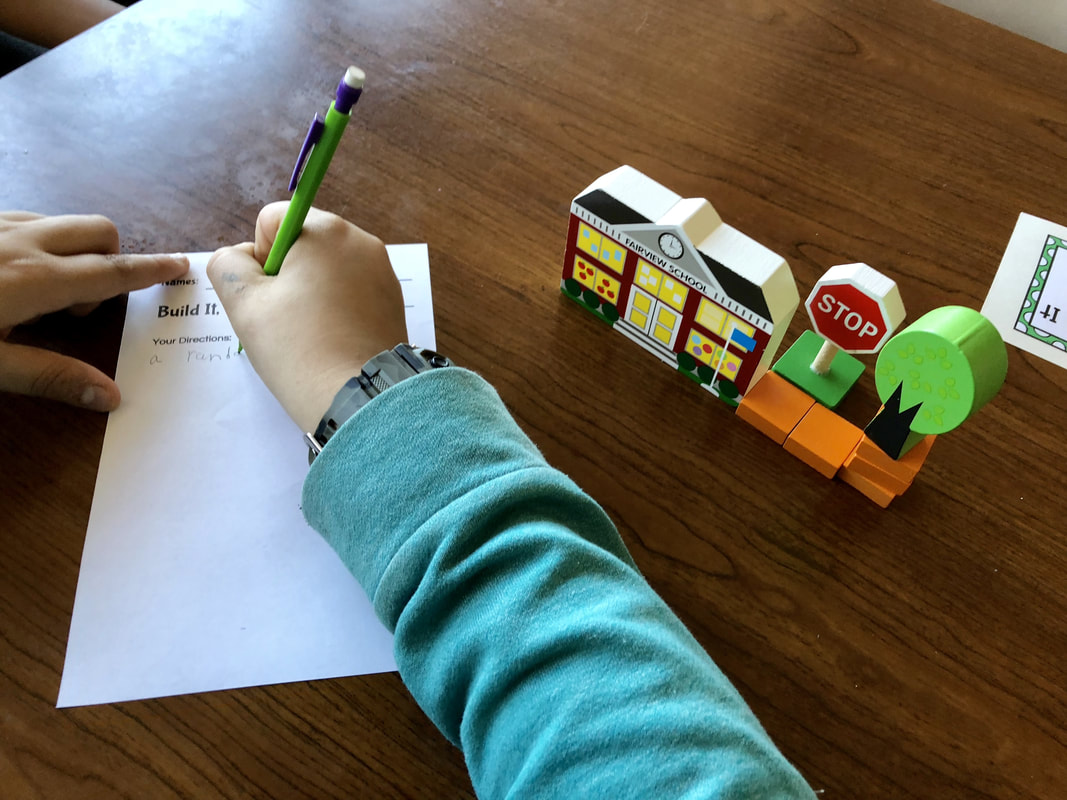
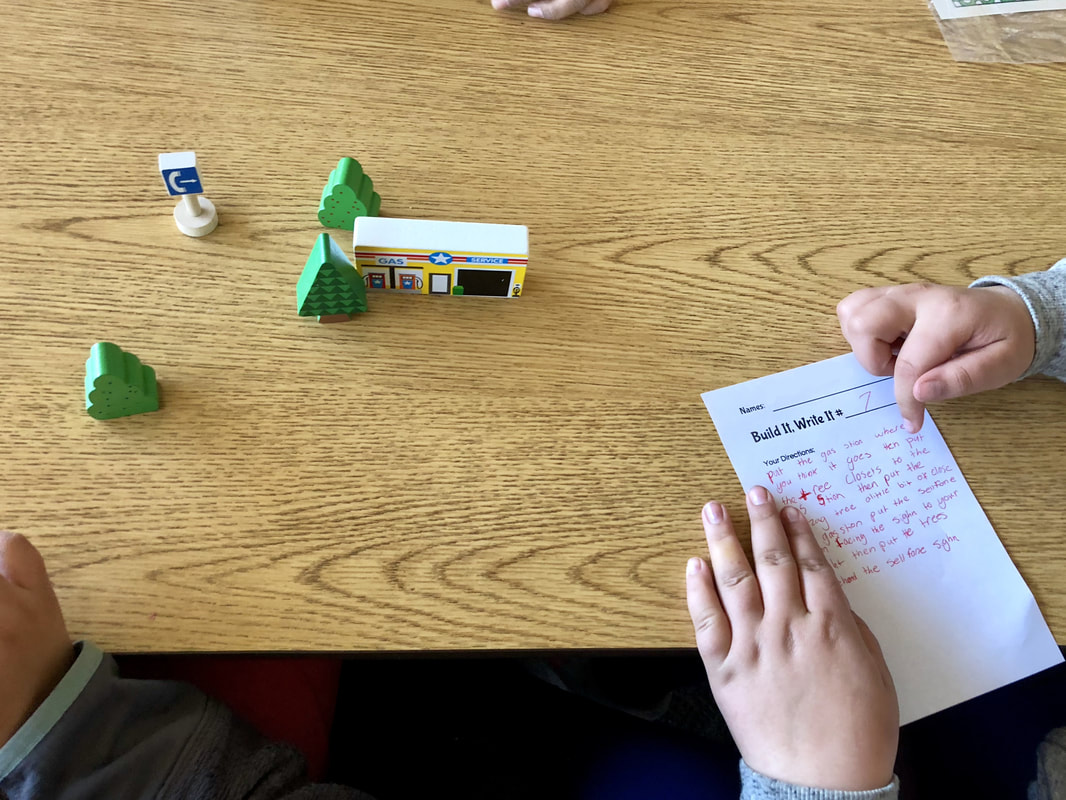
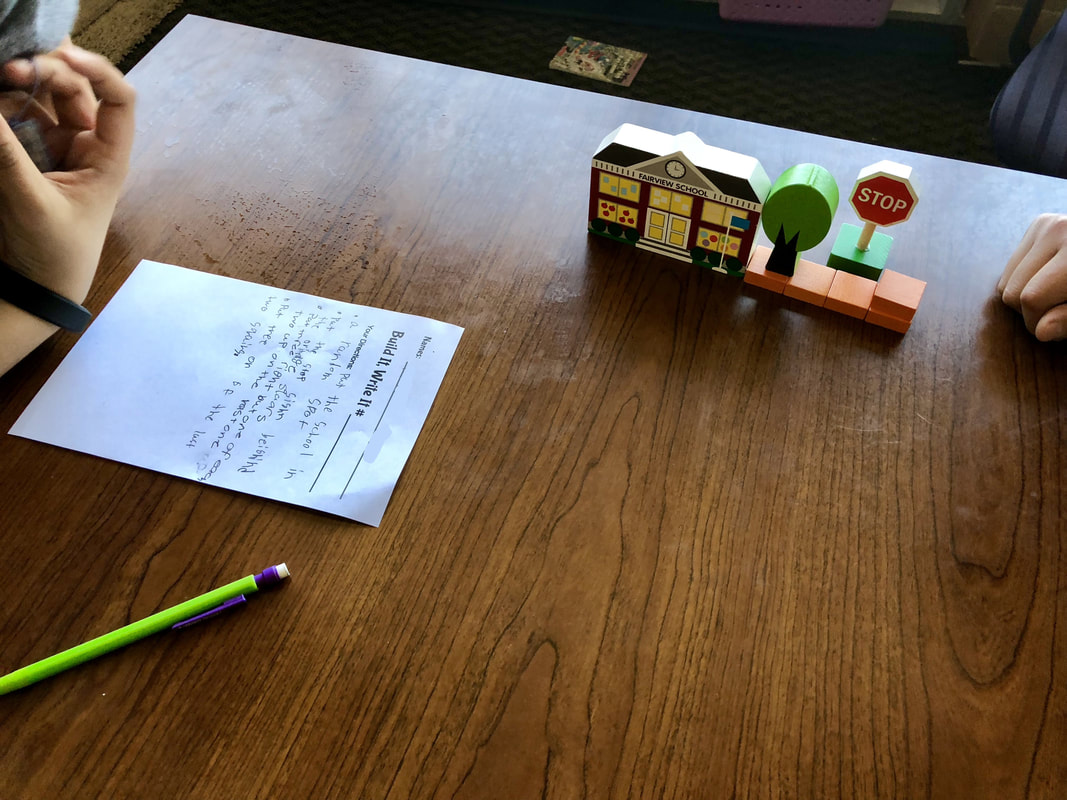
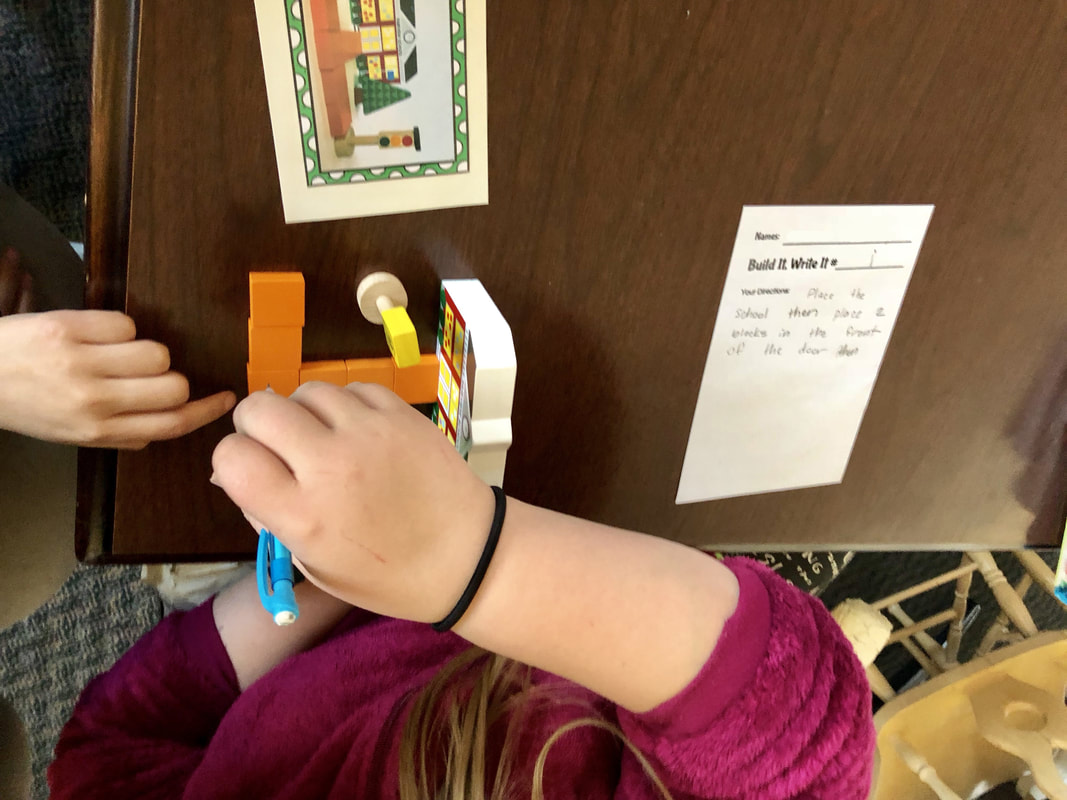
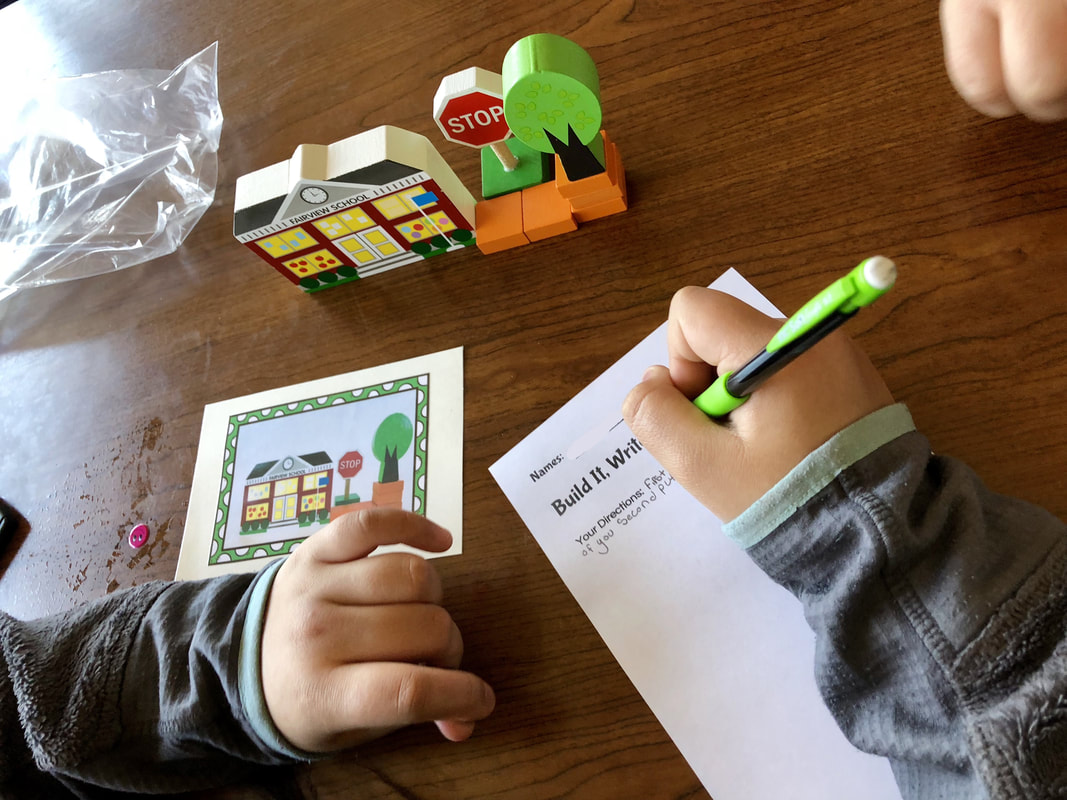
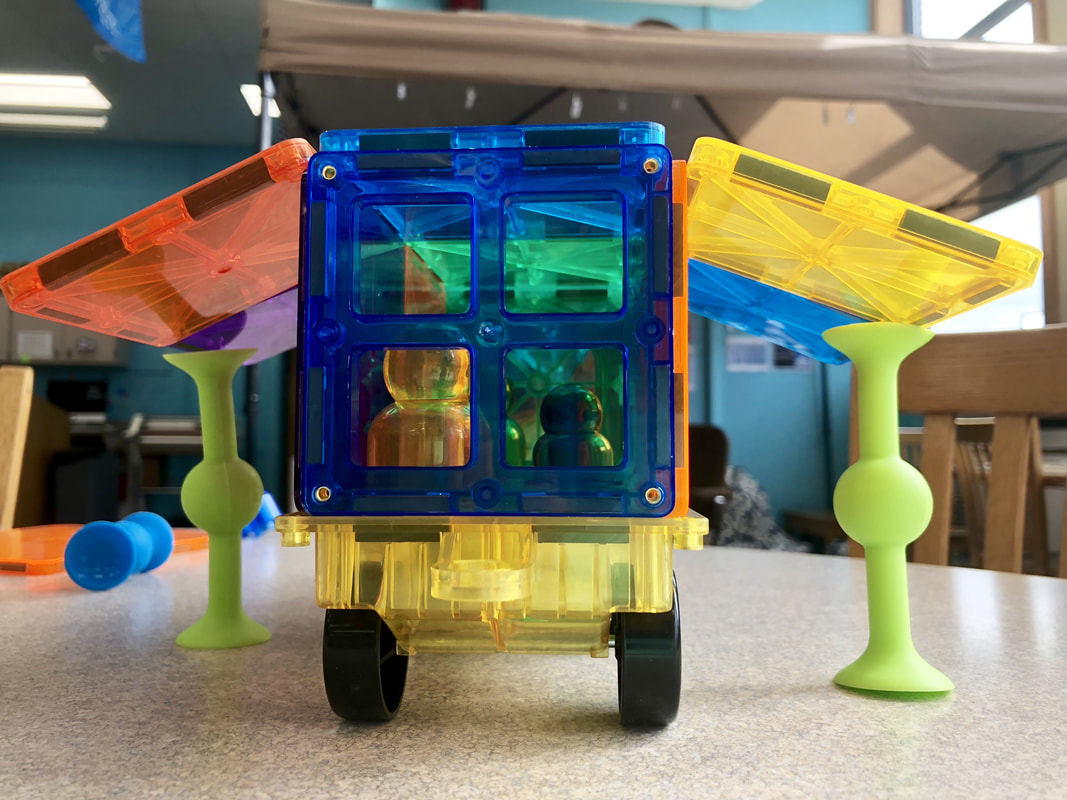
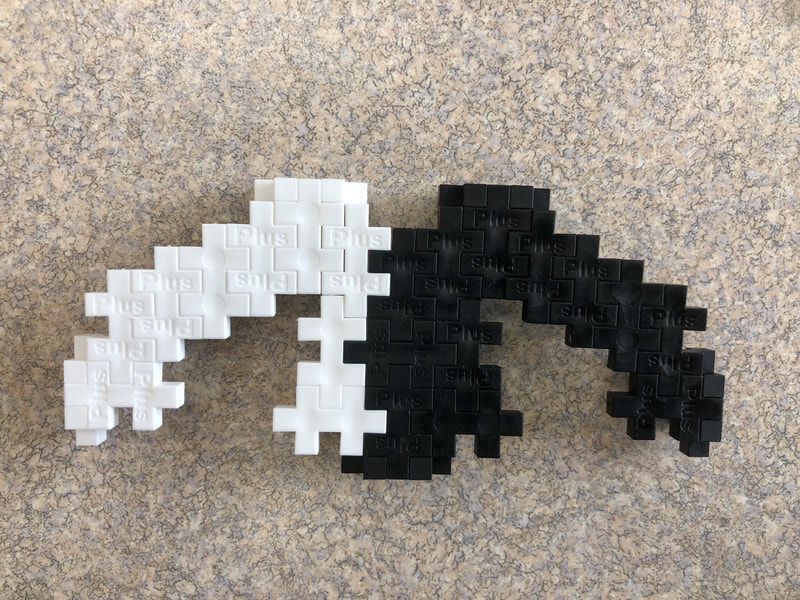
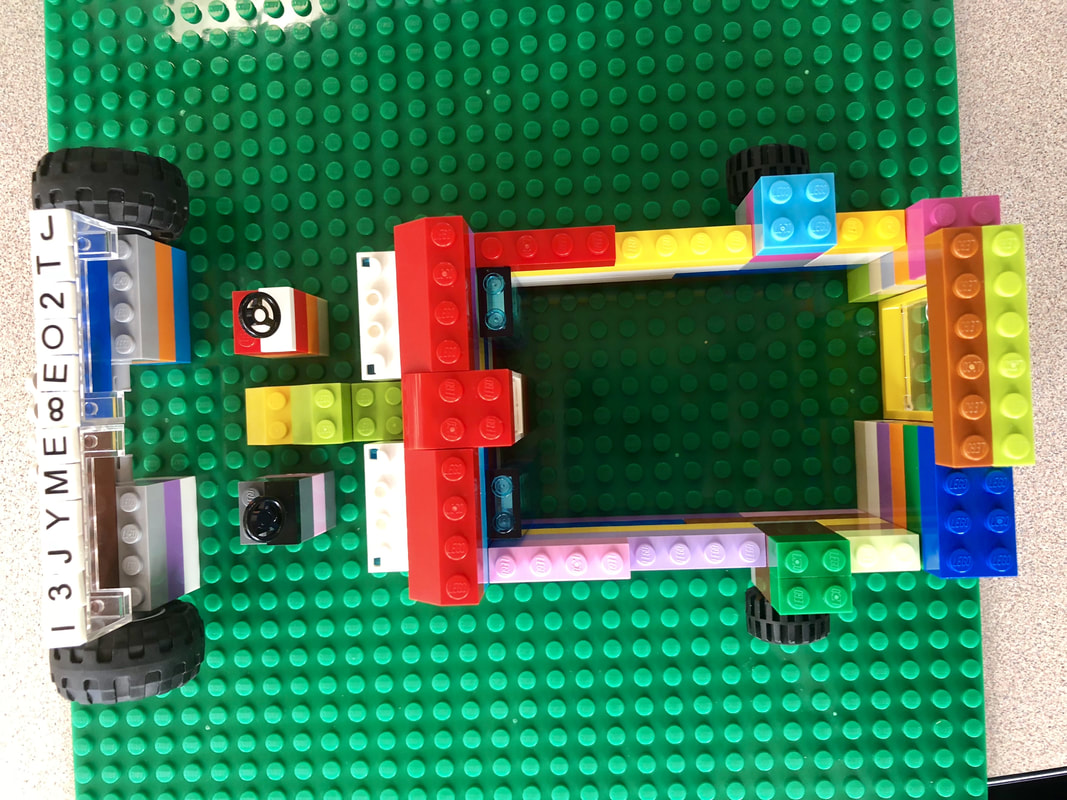
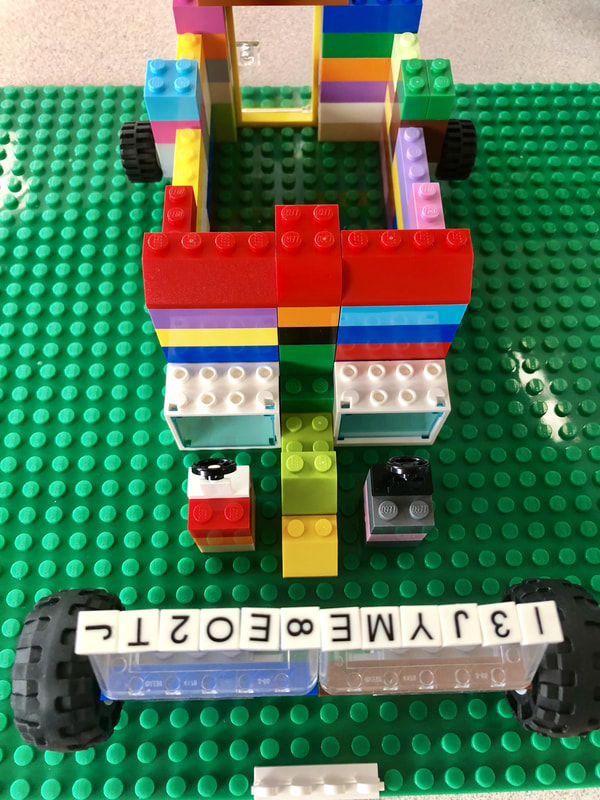
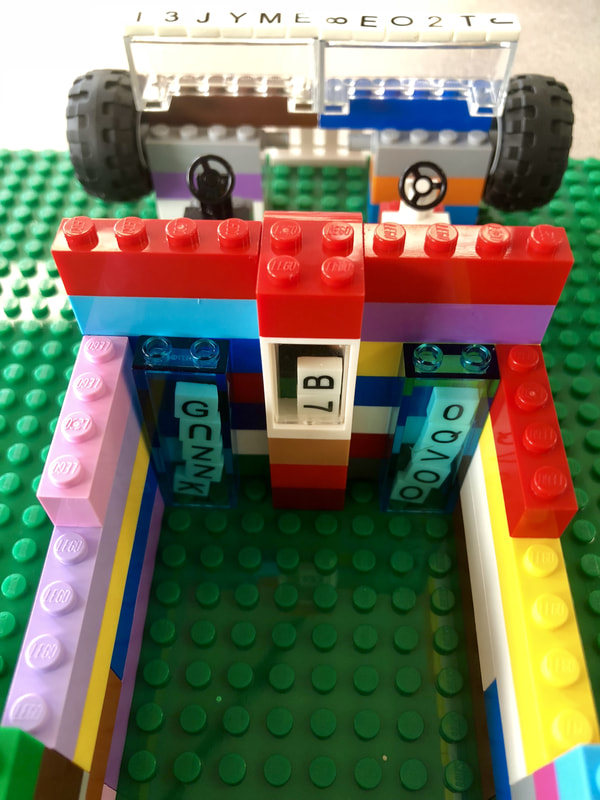
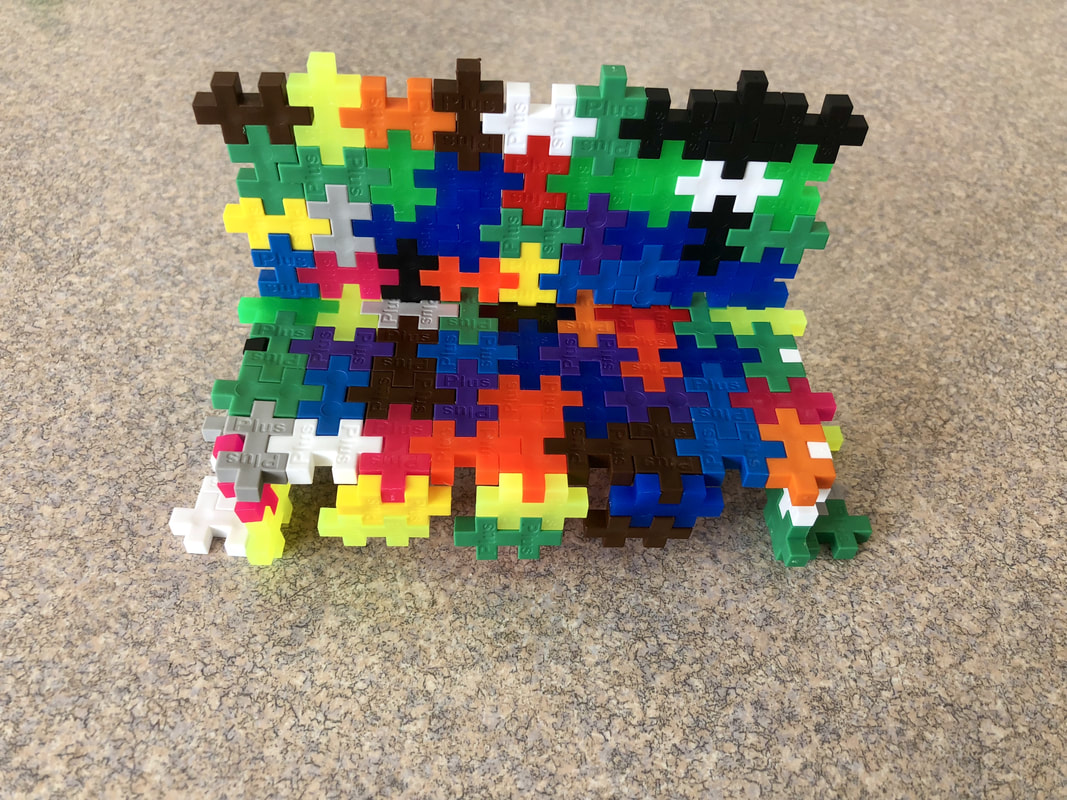
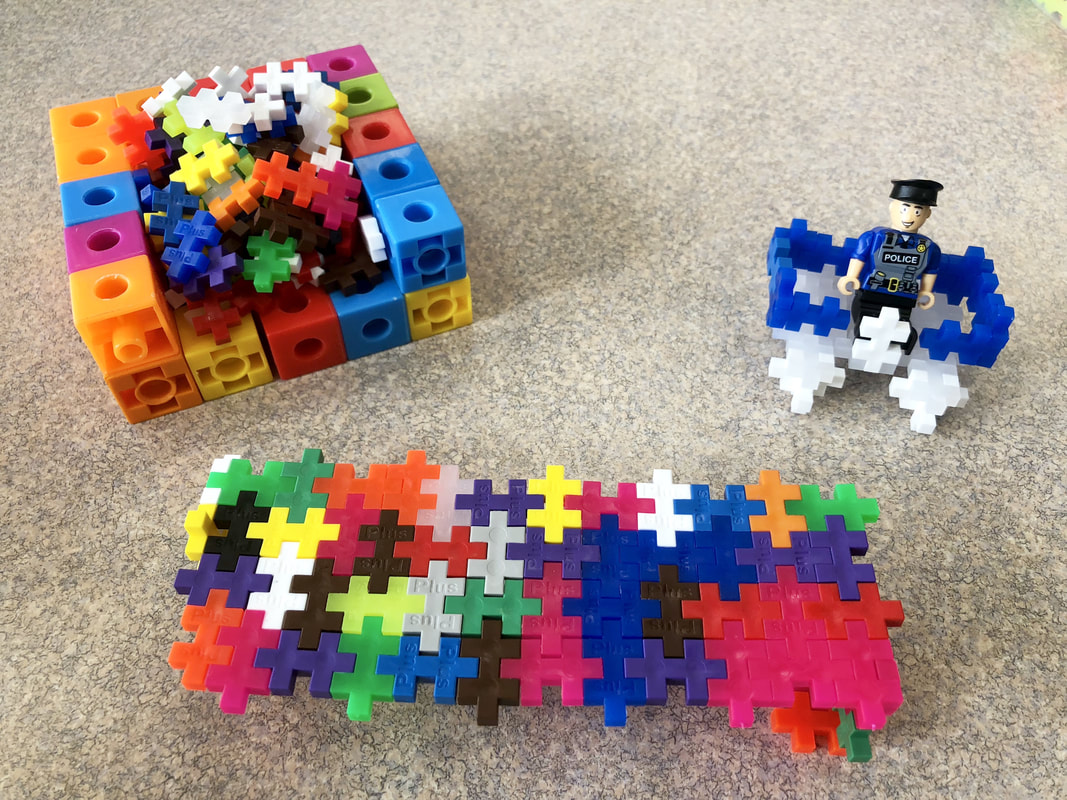
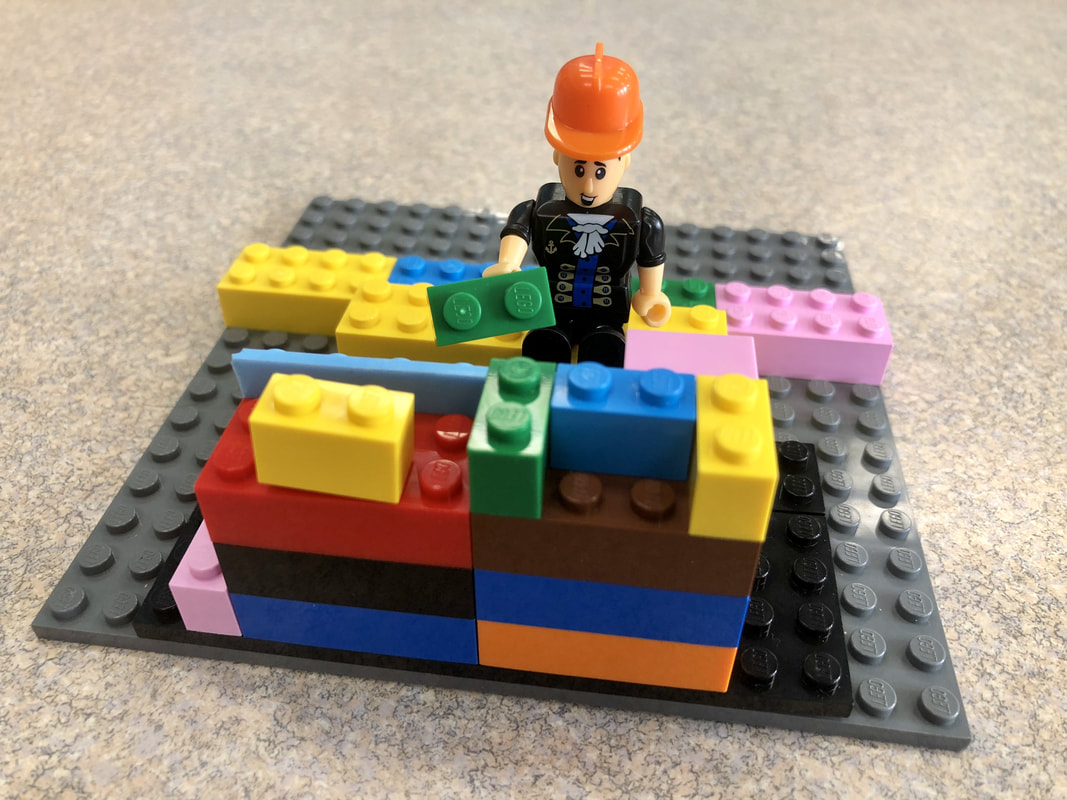
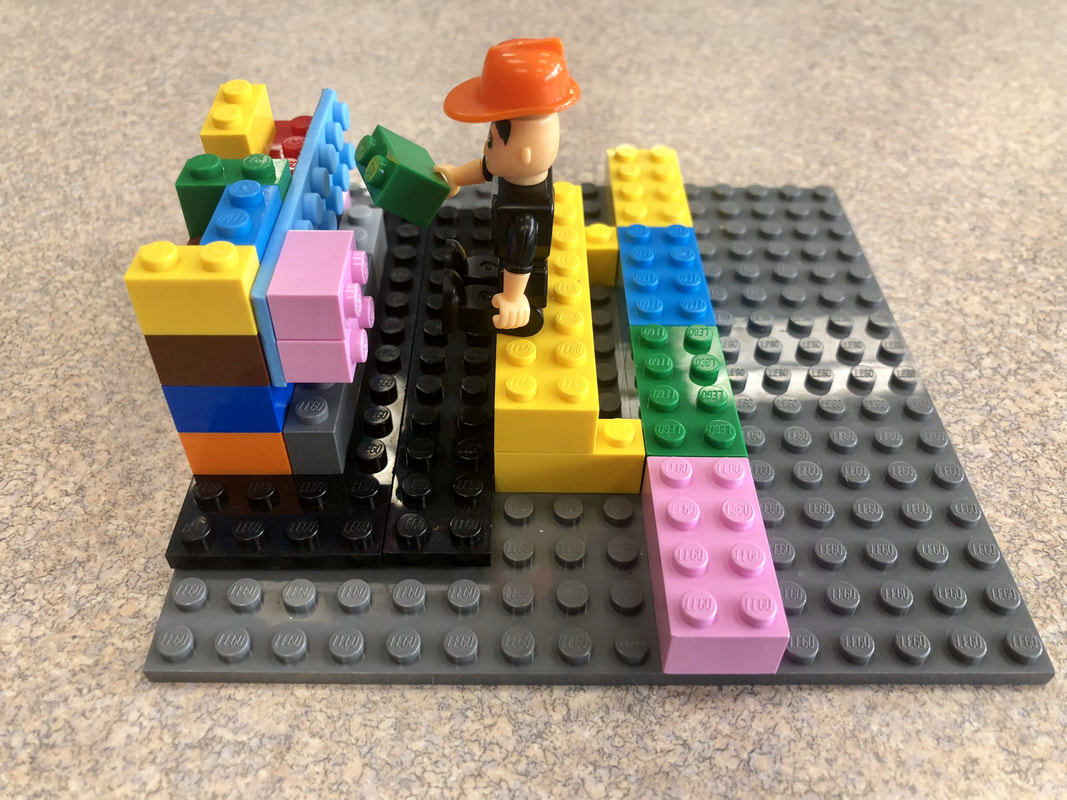
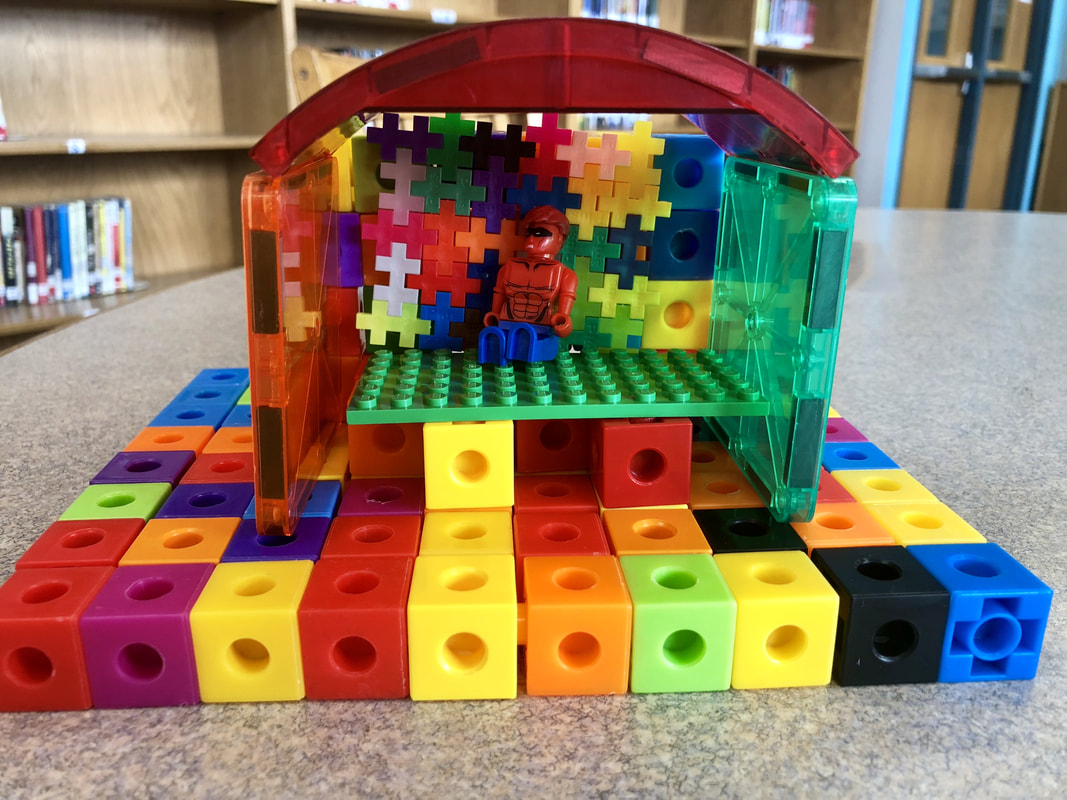
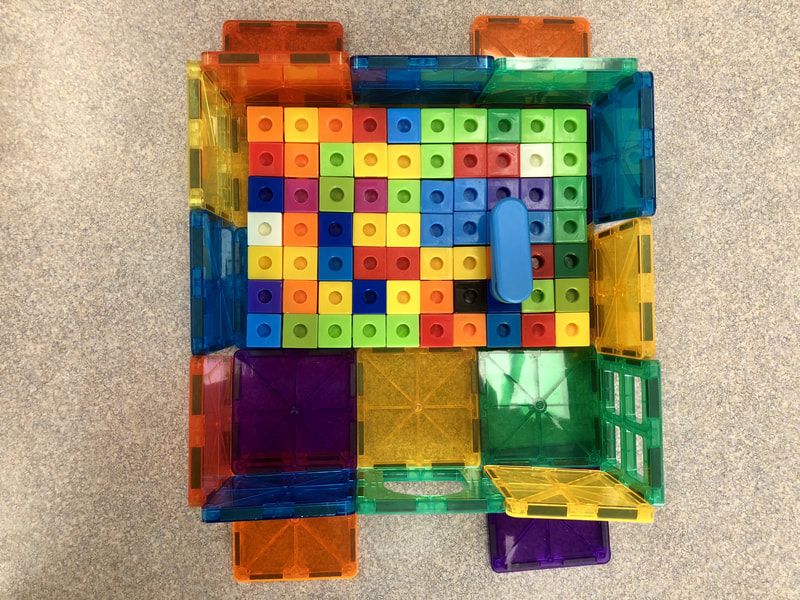
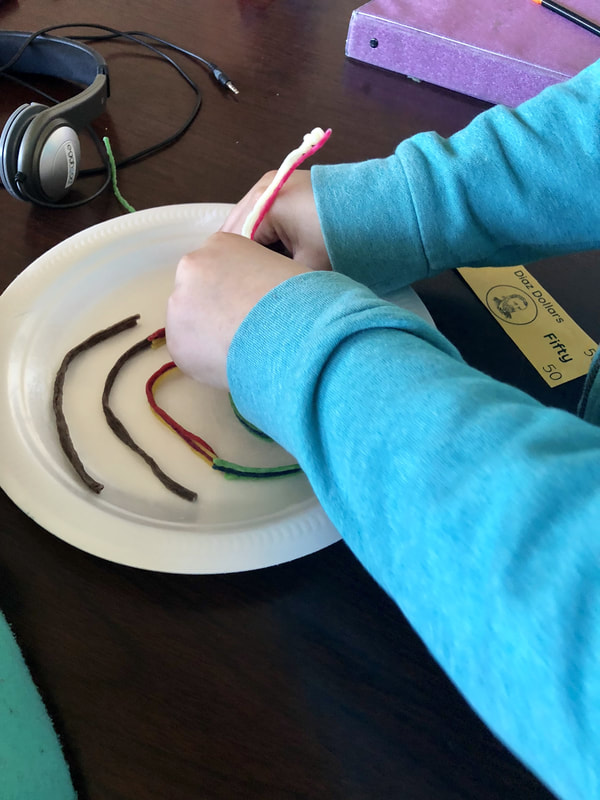
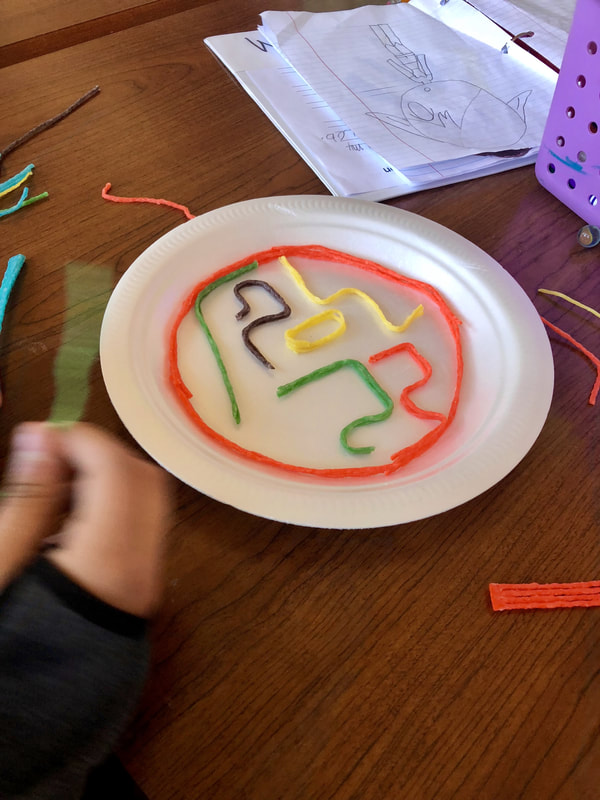
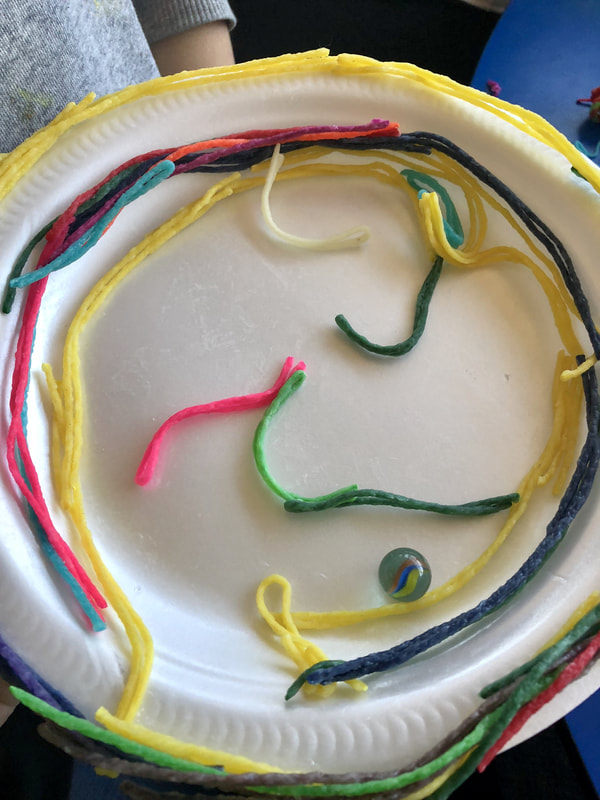
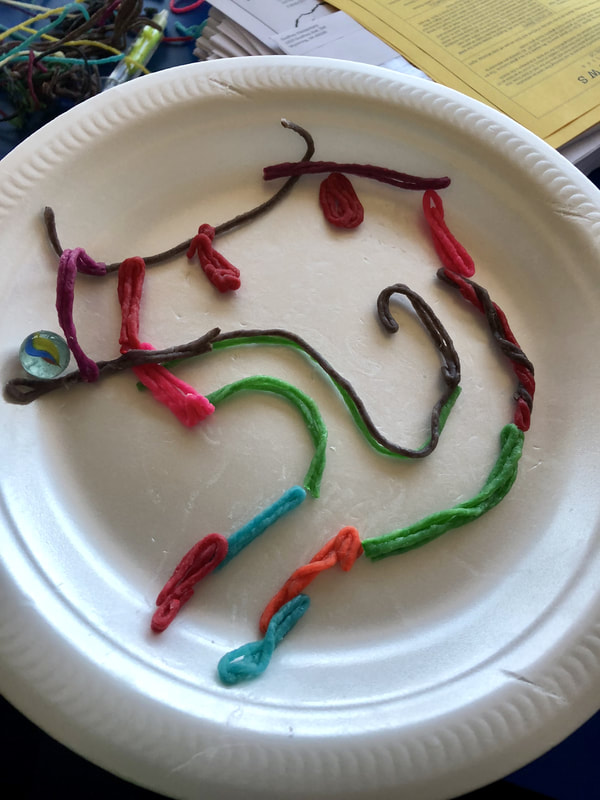
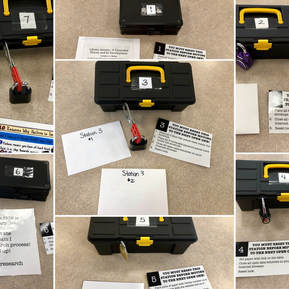
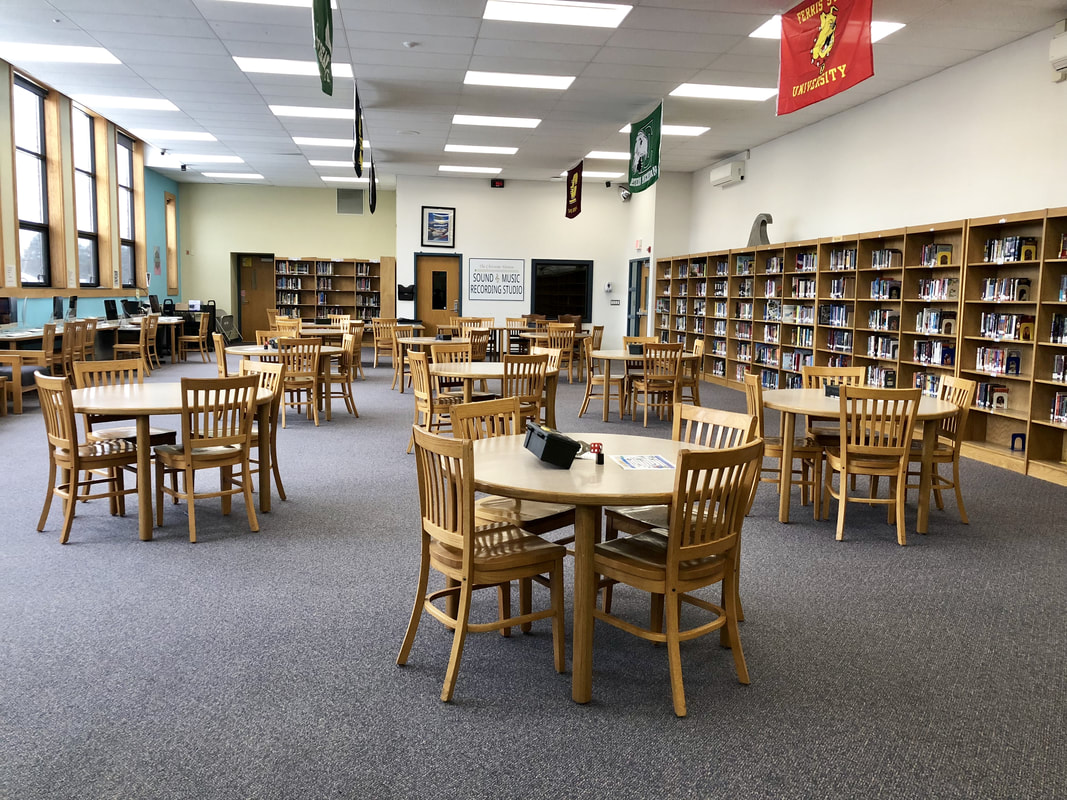
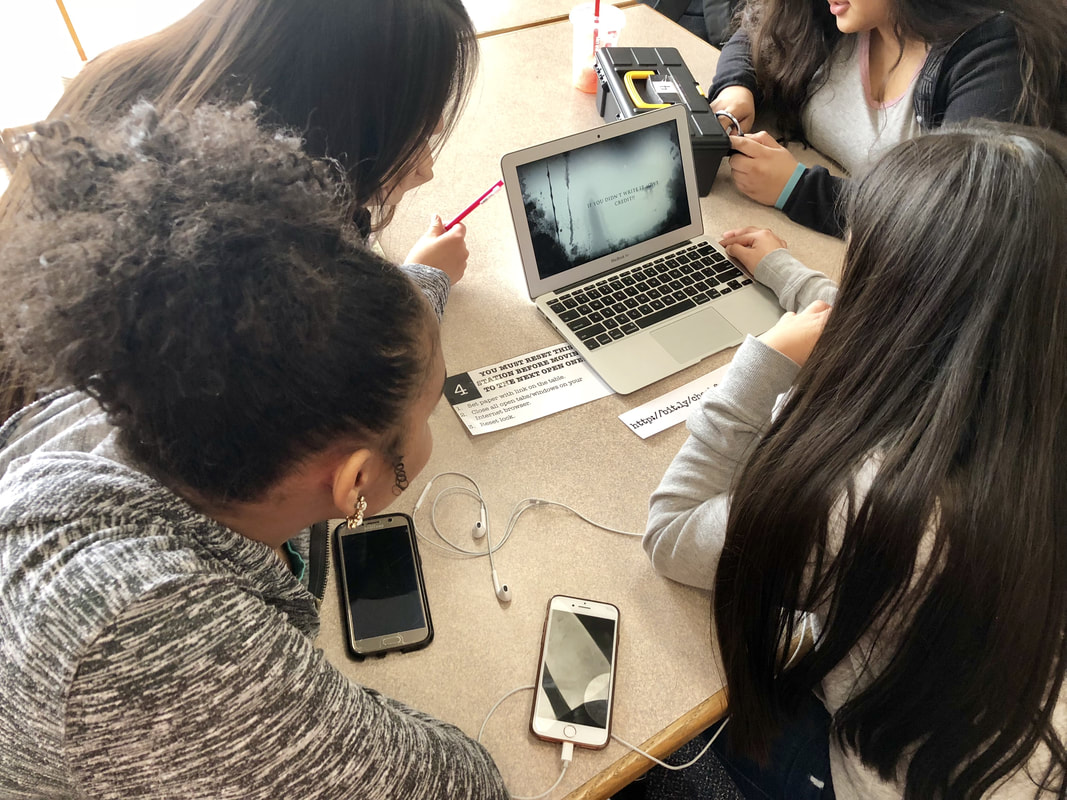
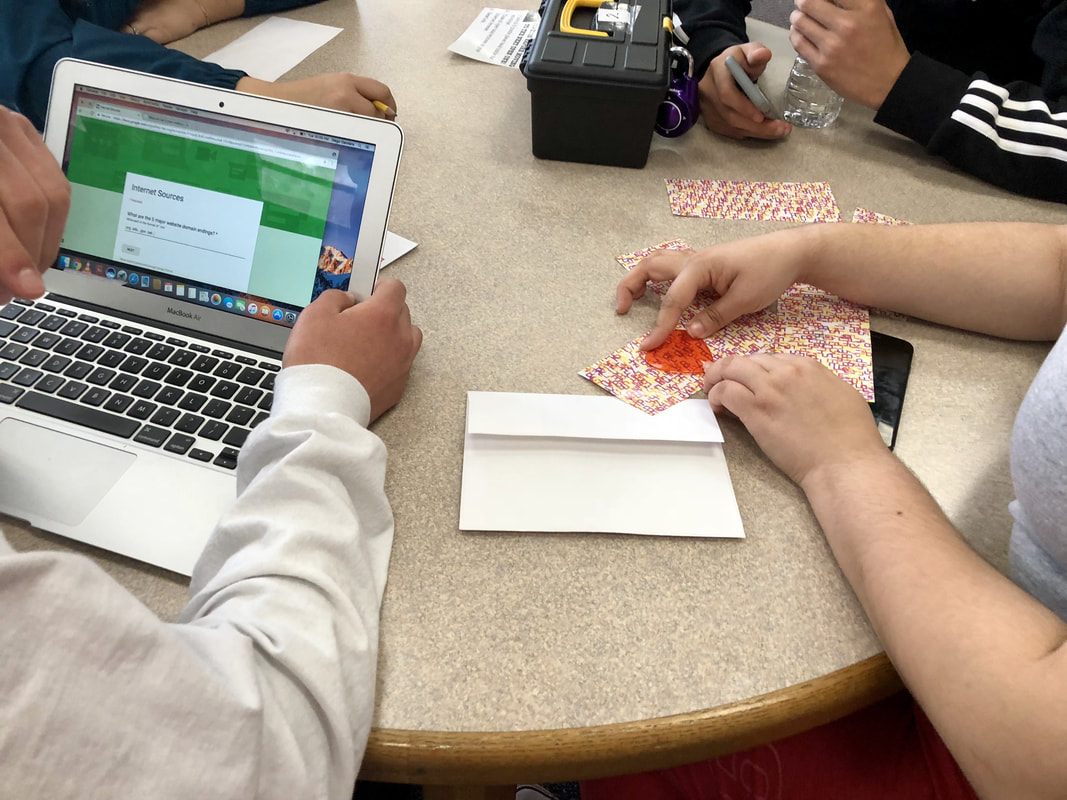
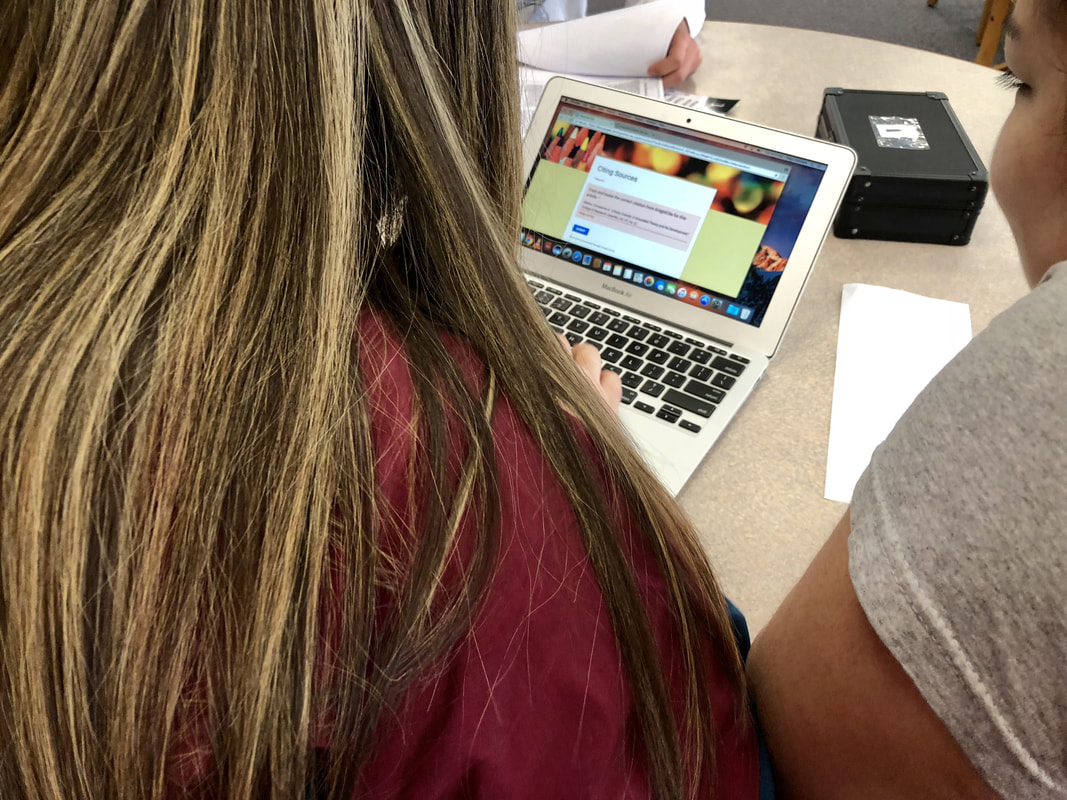
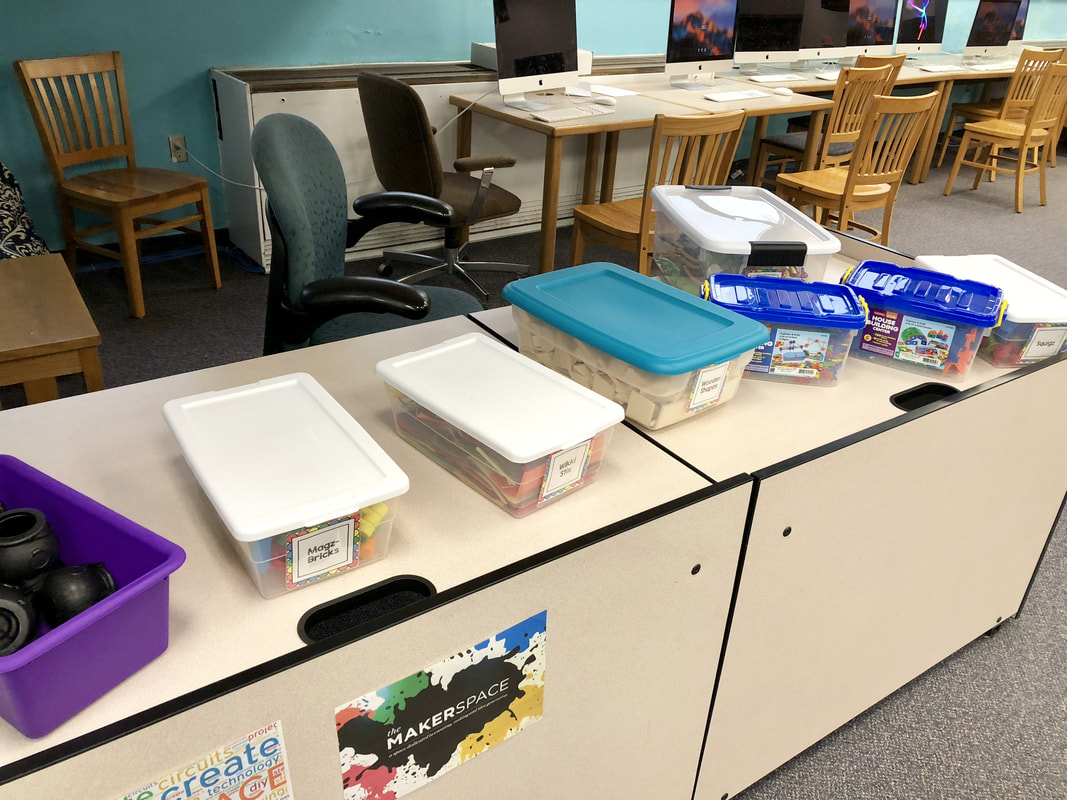
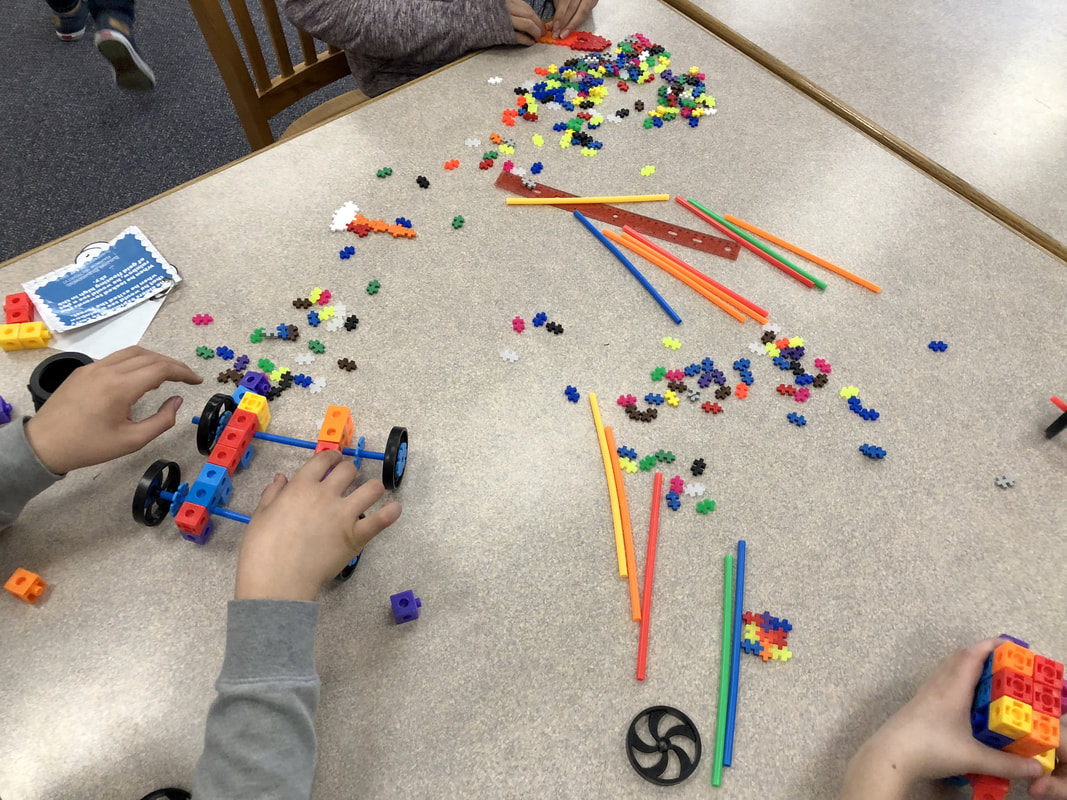
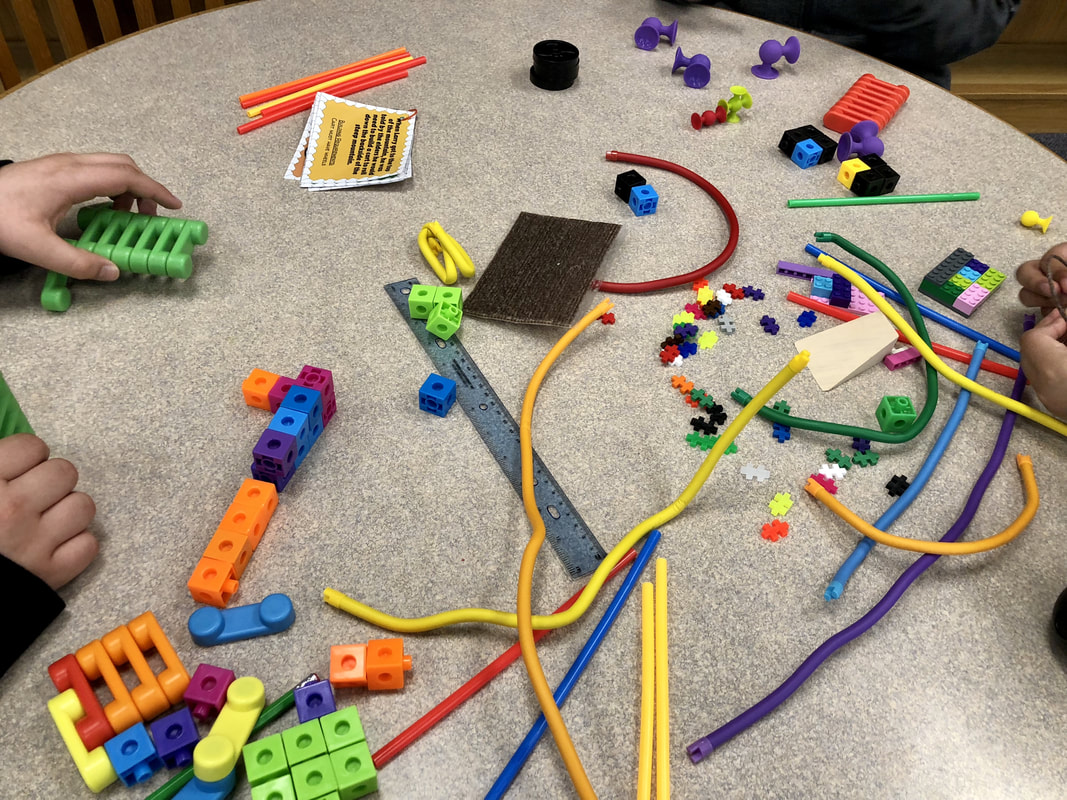
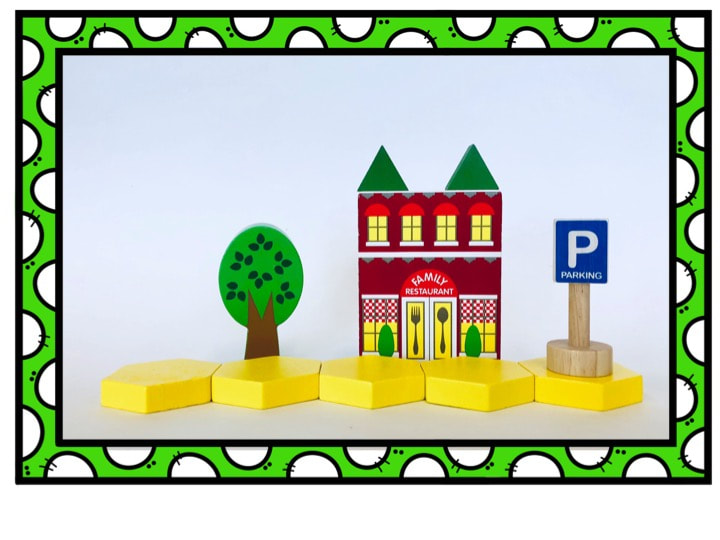
 As I was planning for the weekly STEM time I have with my usual 4th grade class, I was feeling the need for something a bit different. And I was feeling a bit drained as Spring Break was right around the corner. So something new it was! This activity could be done with pretty much any building resources you have on hand, but these were the ones I used for this specific set up.For this activity, I wanted to focus on writing and following directions. Although when I do STEM/STEAM/STREAM activities, I try to leave things open-ended for the most part because I would not want to stifle anyone's creativity. Sometimes there is a need for some directions though - especially when safety and care/use of resources is involved! For this activity, I set up some scenarios for students using picture cards. I gave each pair of students a picture card in which they had to:
- Rebuild what I had constructed
- Write directions for how to rebuild the set up exactly as it was on the picture
- Tear down the creation
- Make sure the picture card was face down (so you could not see it, just the station number).
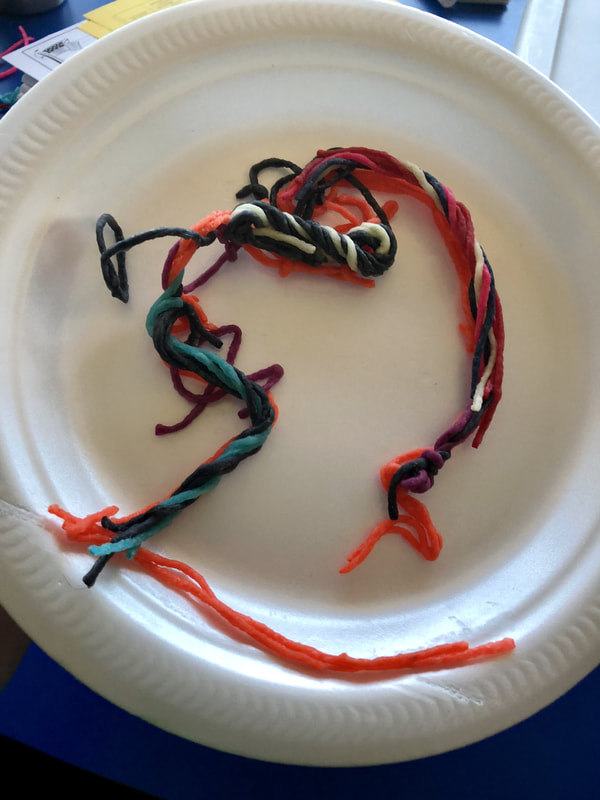
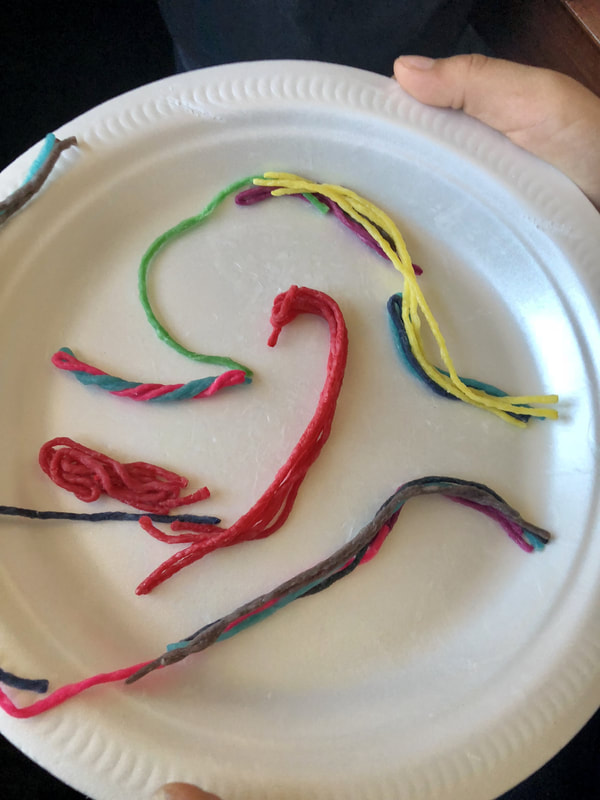
 |  |
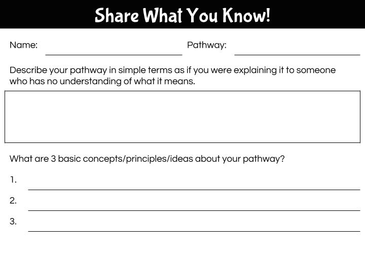
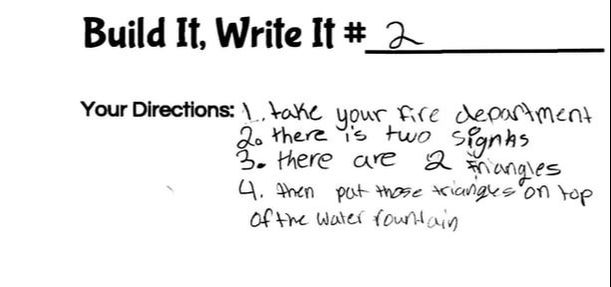
It was so interesting to see the changes in how the students wrote their directions from the first write to the second. We took some time after the first write to talk about what didn't go well with the directions and what would make a better set of directions. The second set was definitely improved!
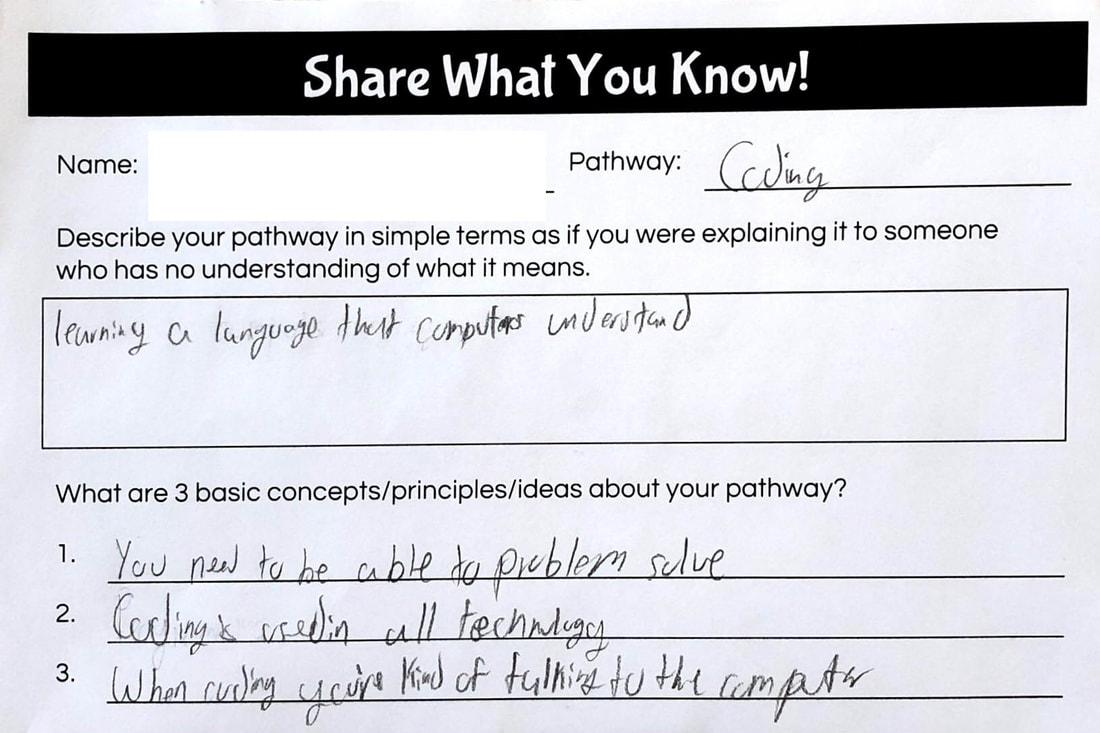
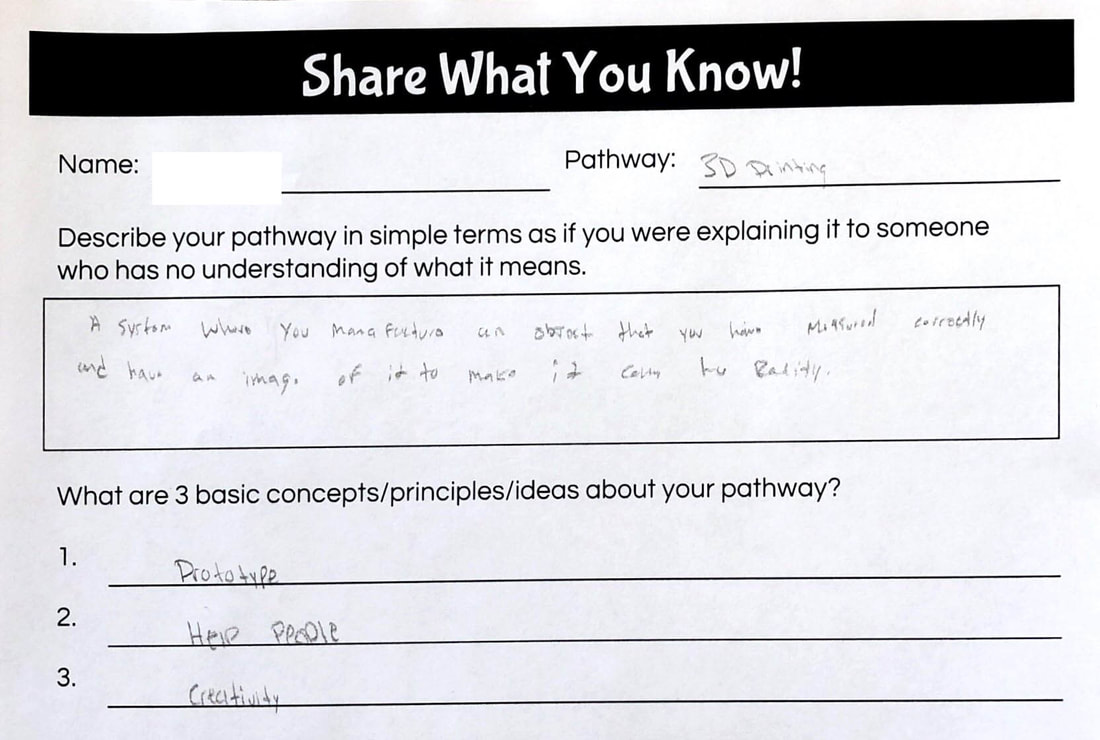
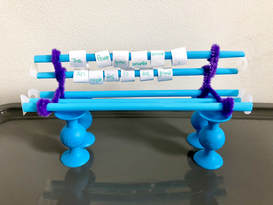
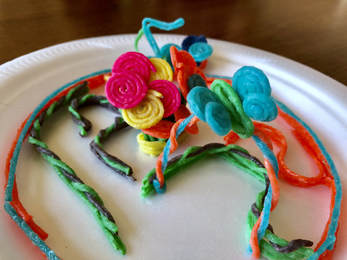
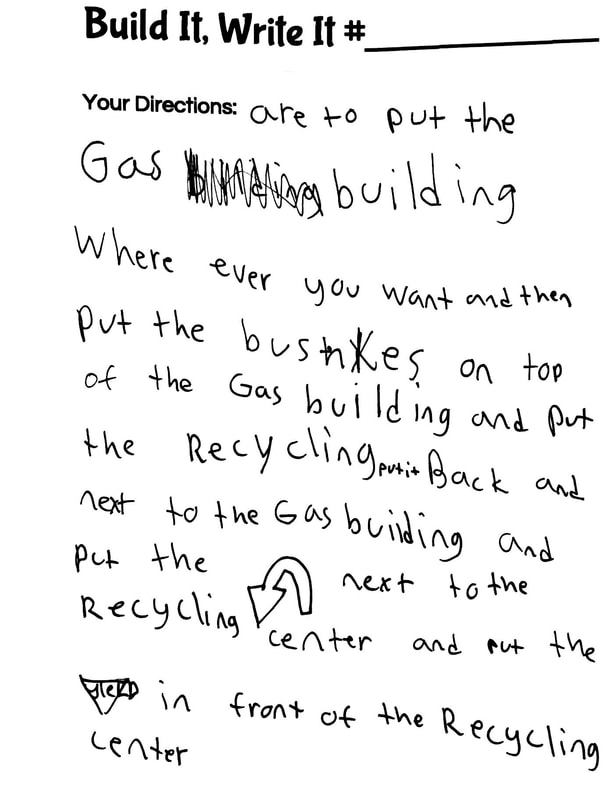
Student Example #1
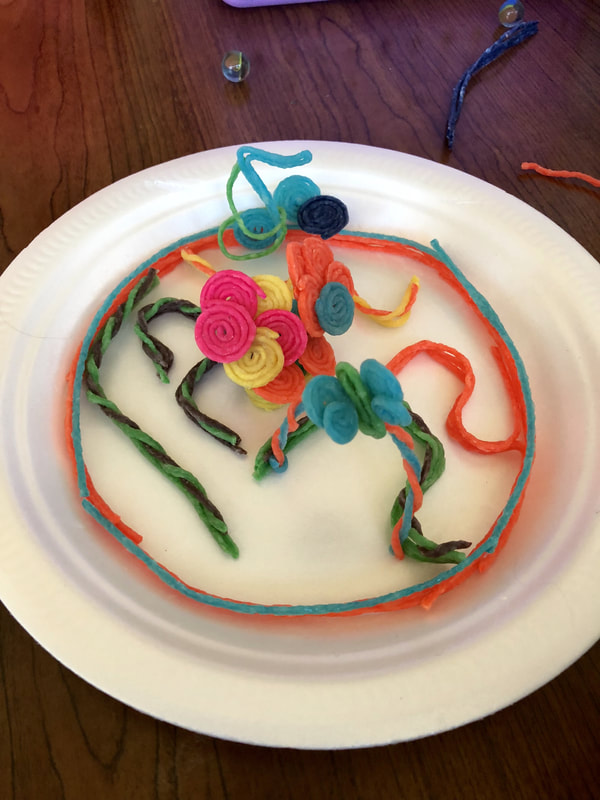
 | 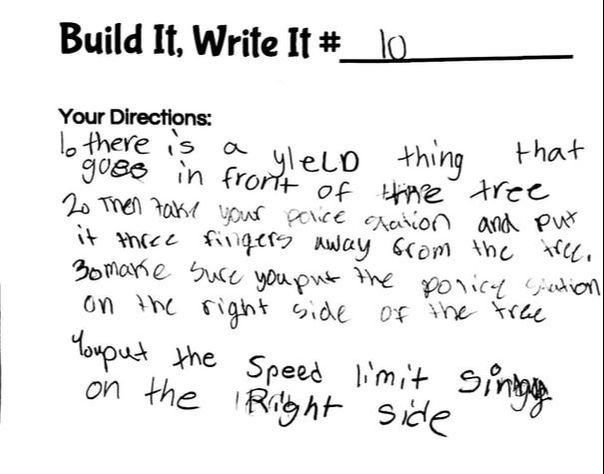 |
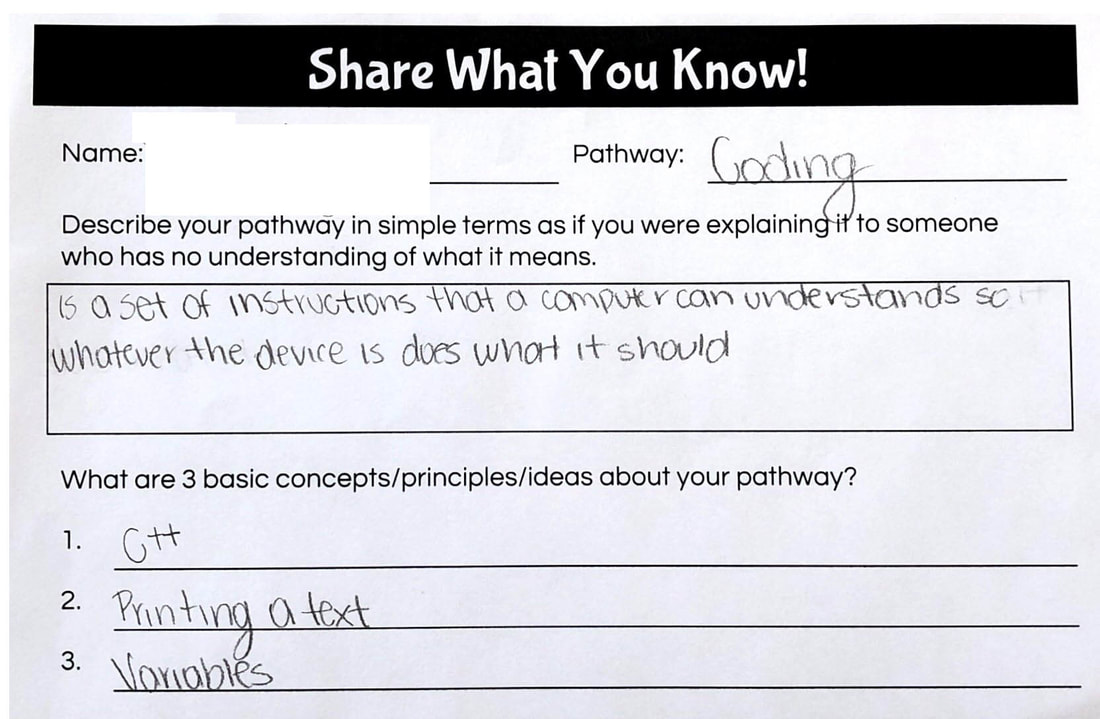
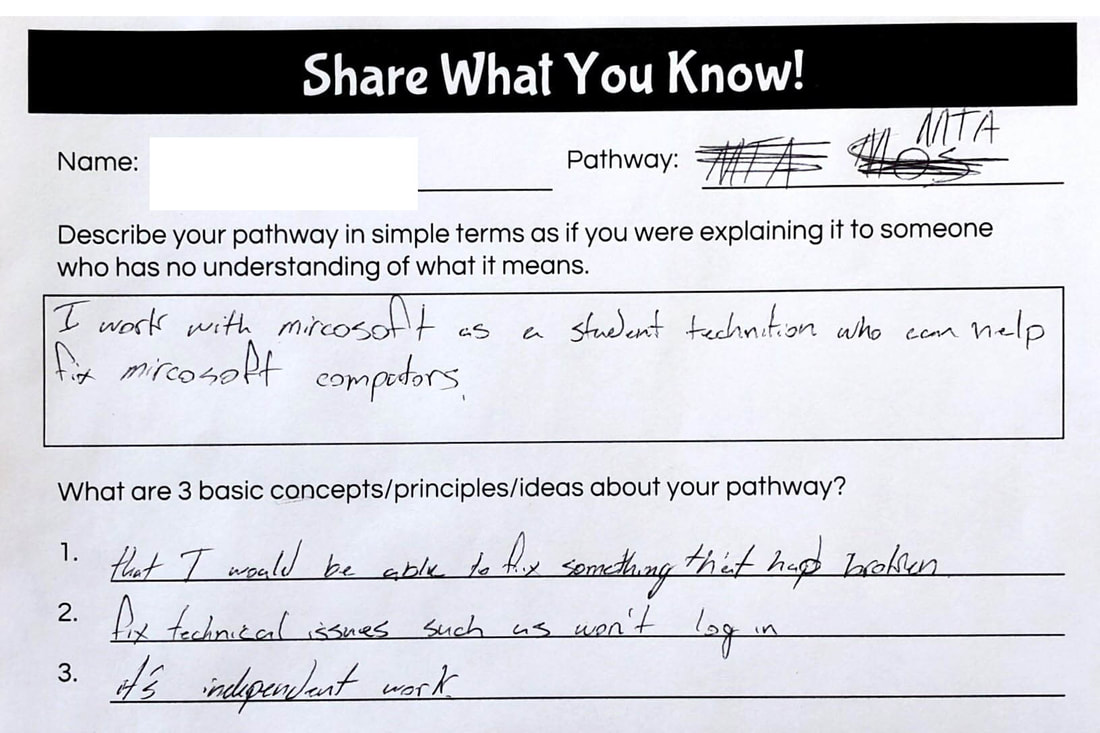
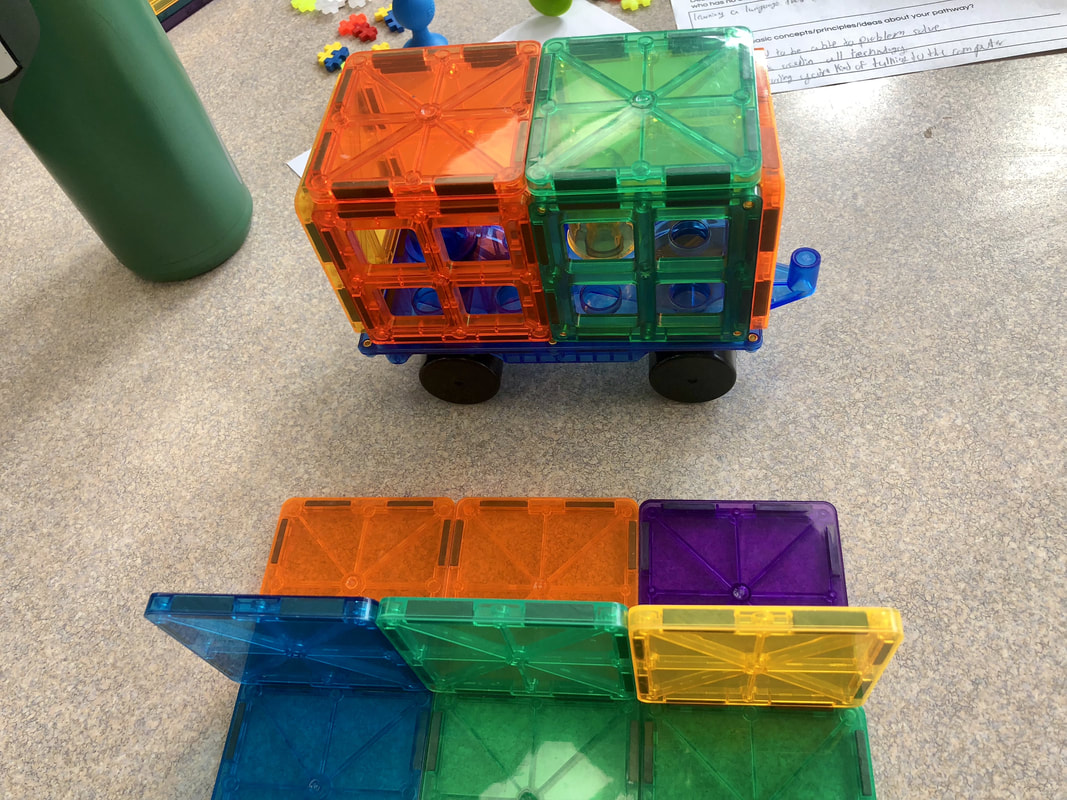
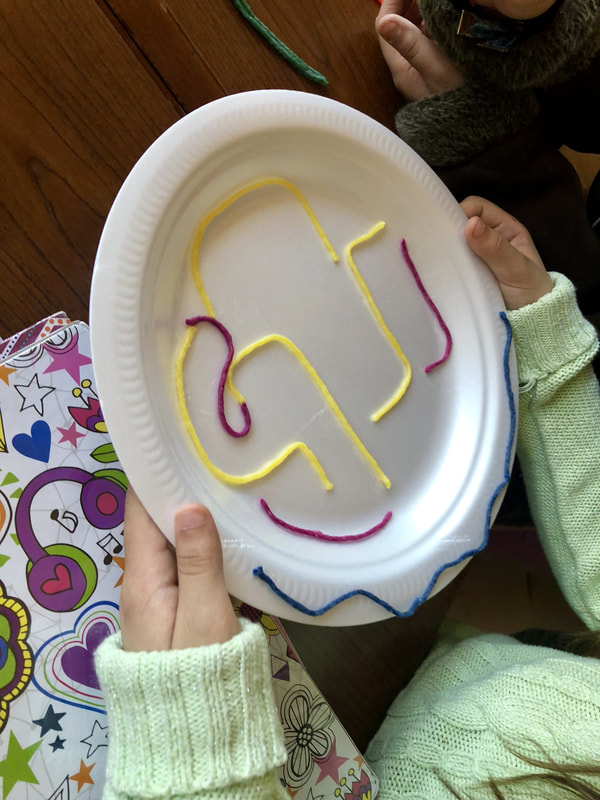
Student Example #2
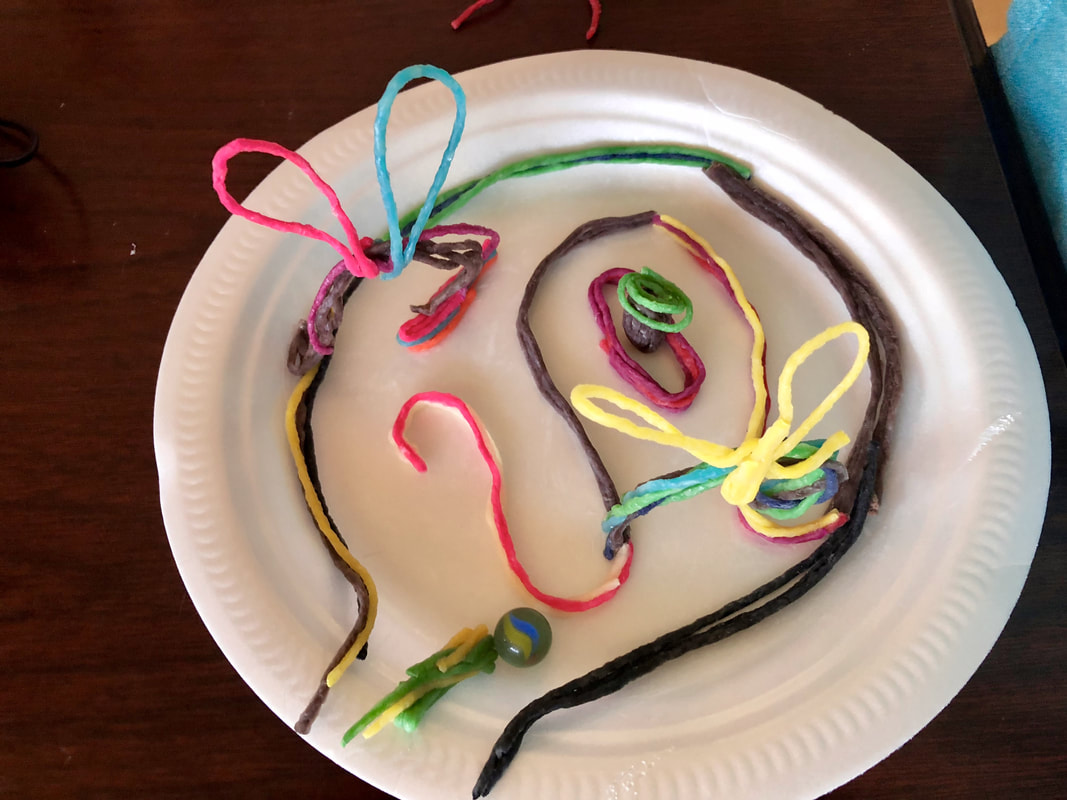
 |  |
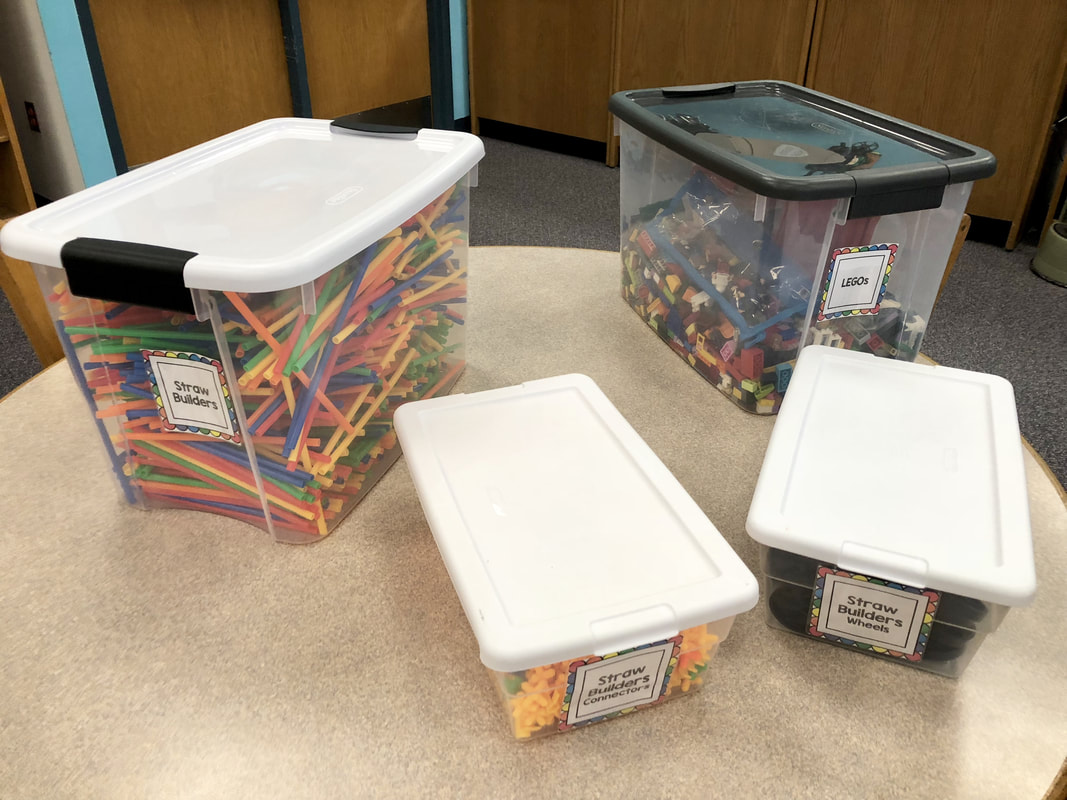
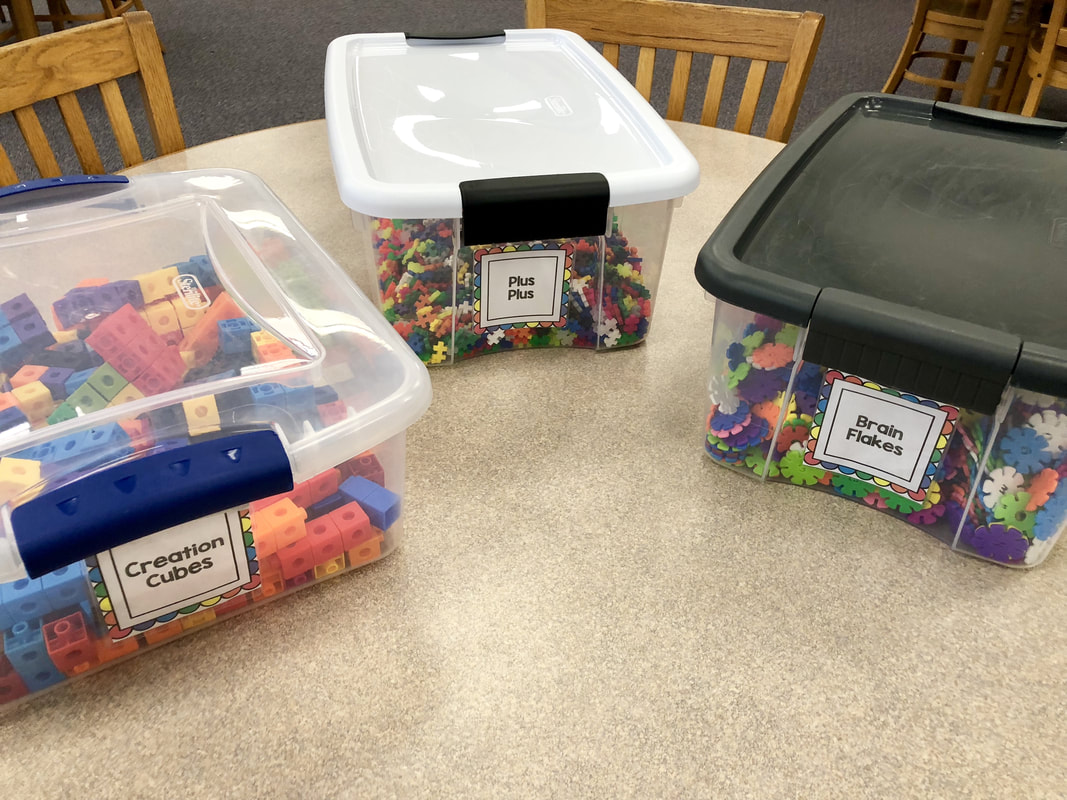
This was a different kind of STEAM activity than what I have previously done with this group. It was a nice change of pace and next time I would let them build their own creations instead of using predetermined set-ups. I would also change up which materials I used for creation building - maybe use LEGOs, Creation Cubes, different wooden blocks, or pretty much anything from my STEAM building stash! I wasn't sure how long it would take for the writing directions part of the activity, but doing two rotations in about 45 minutes worked perfectly. It was a great way to wrap up our weekly STEM time before spring break!