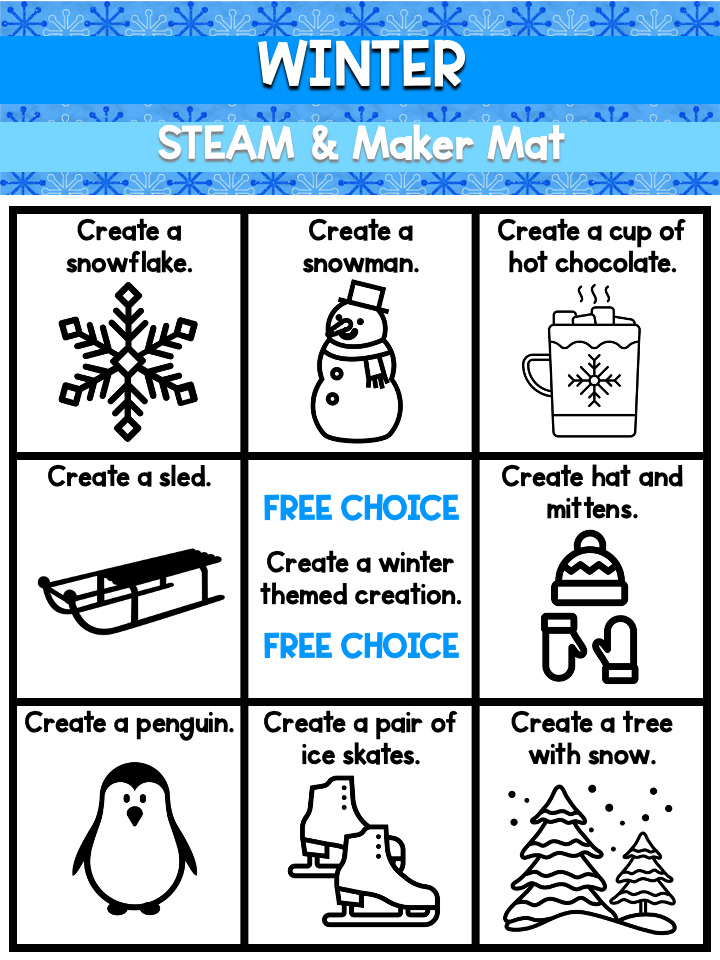
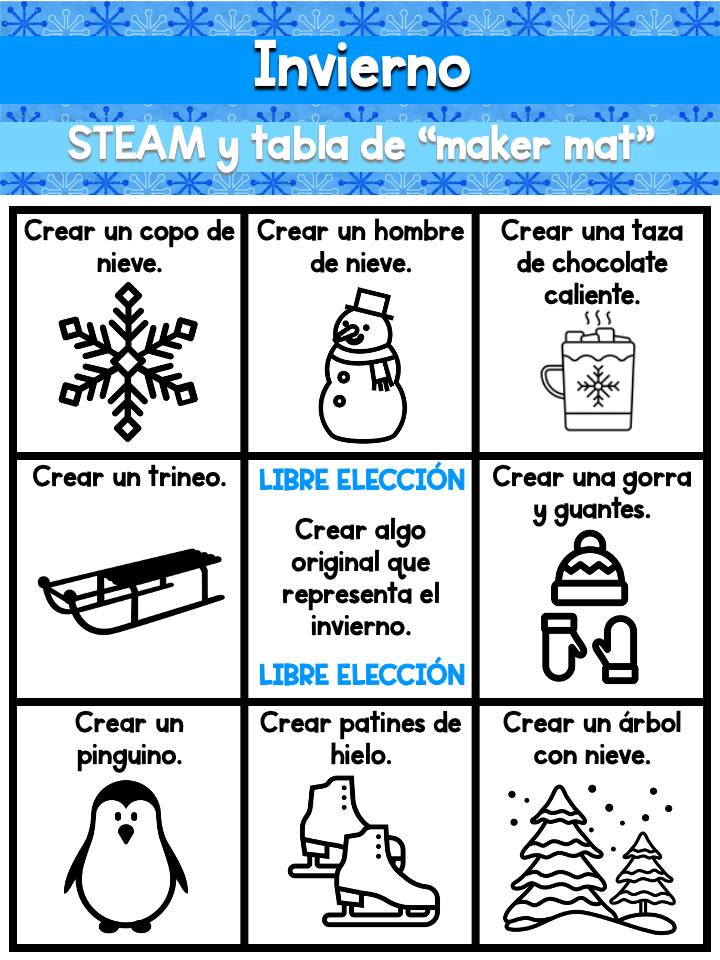
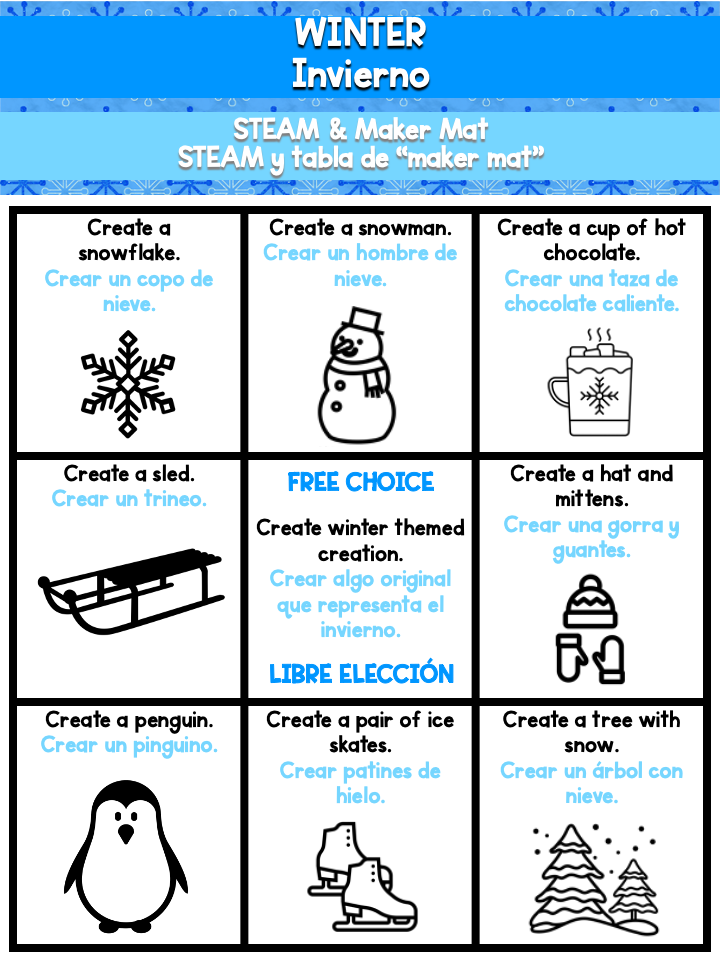
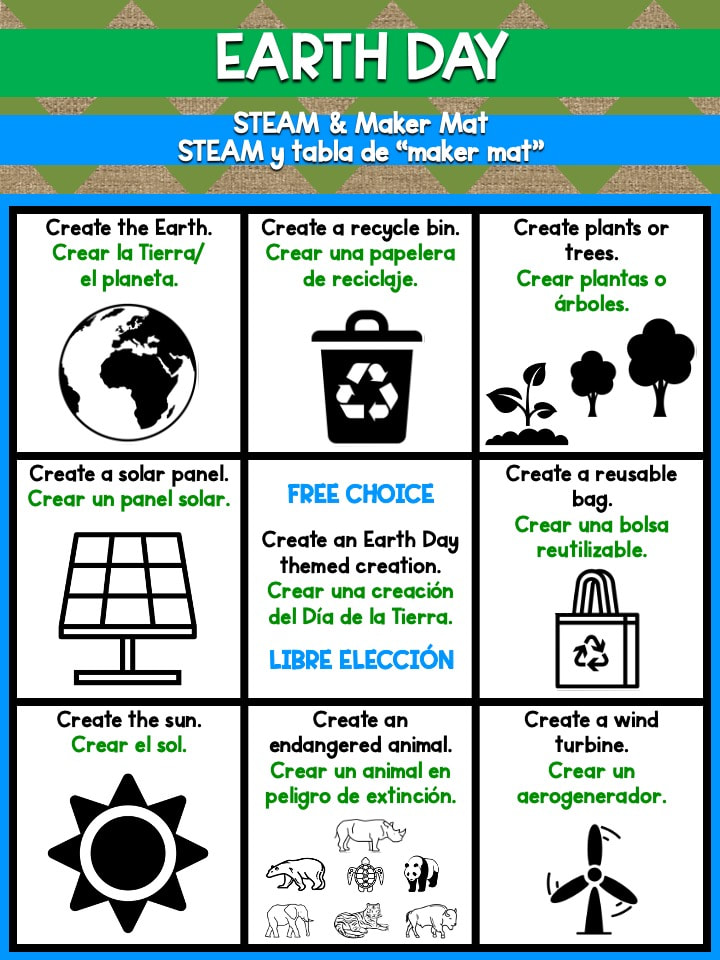
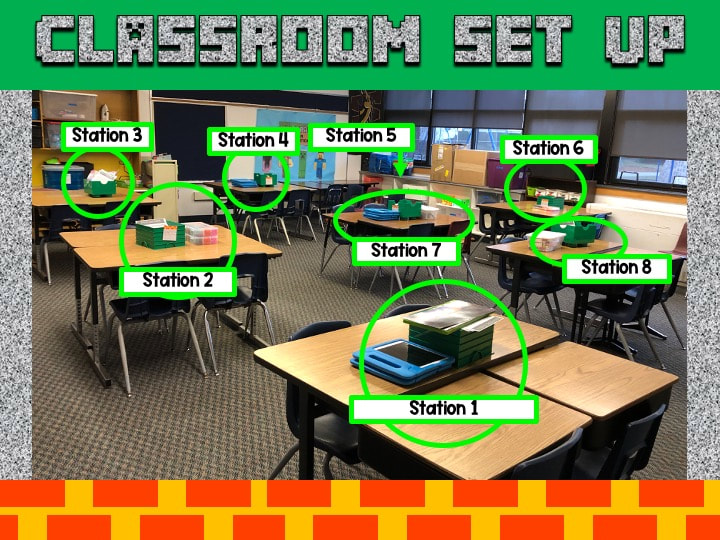
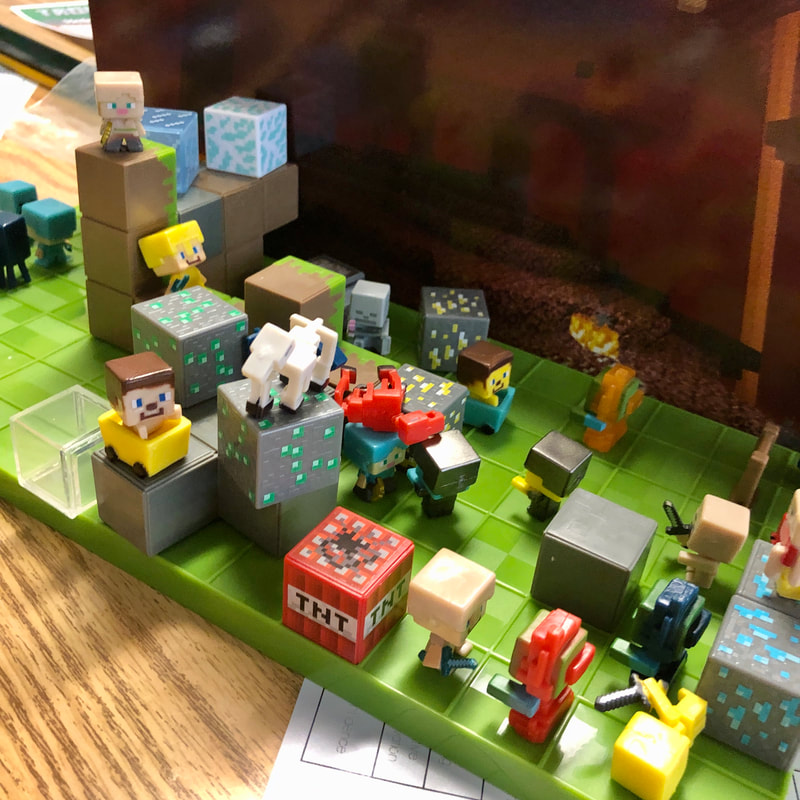
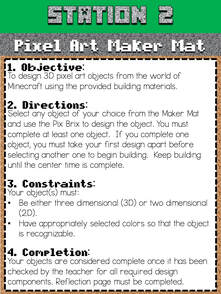
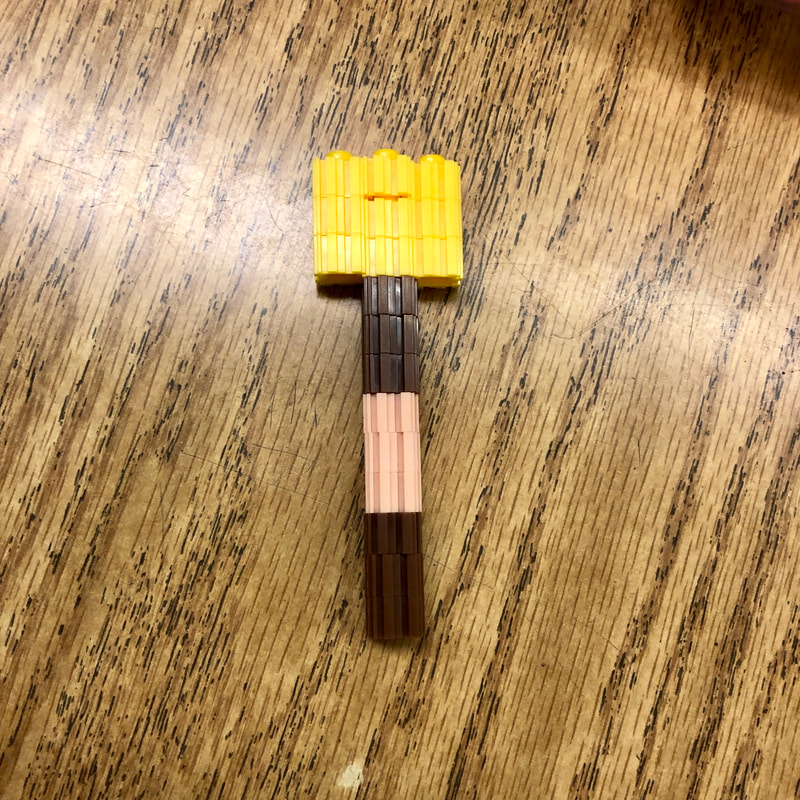
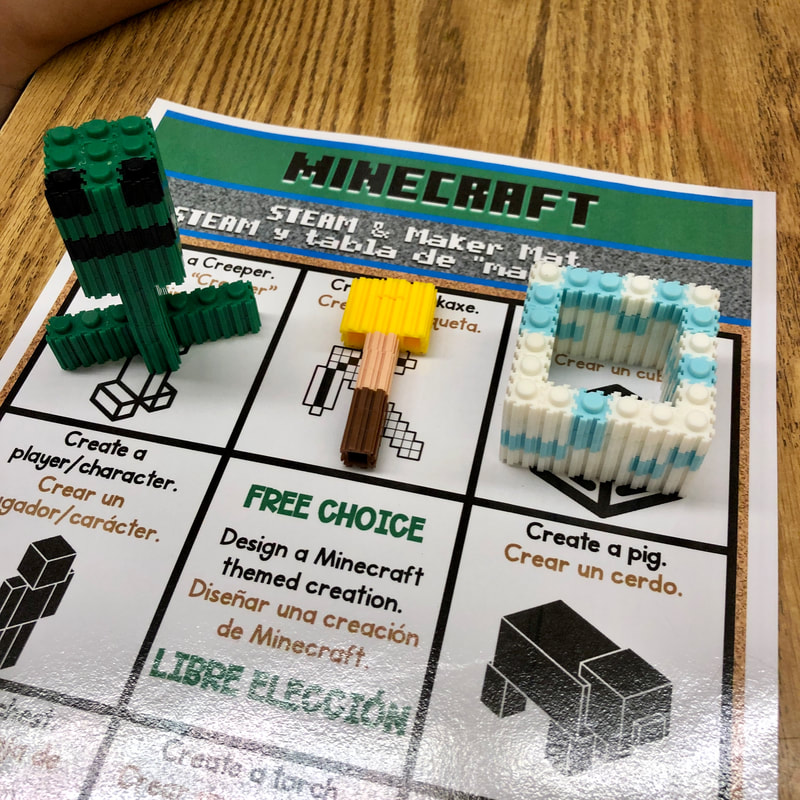
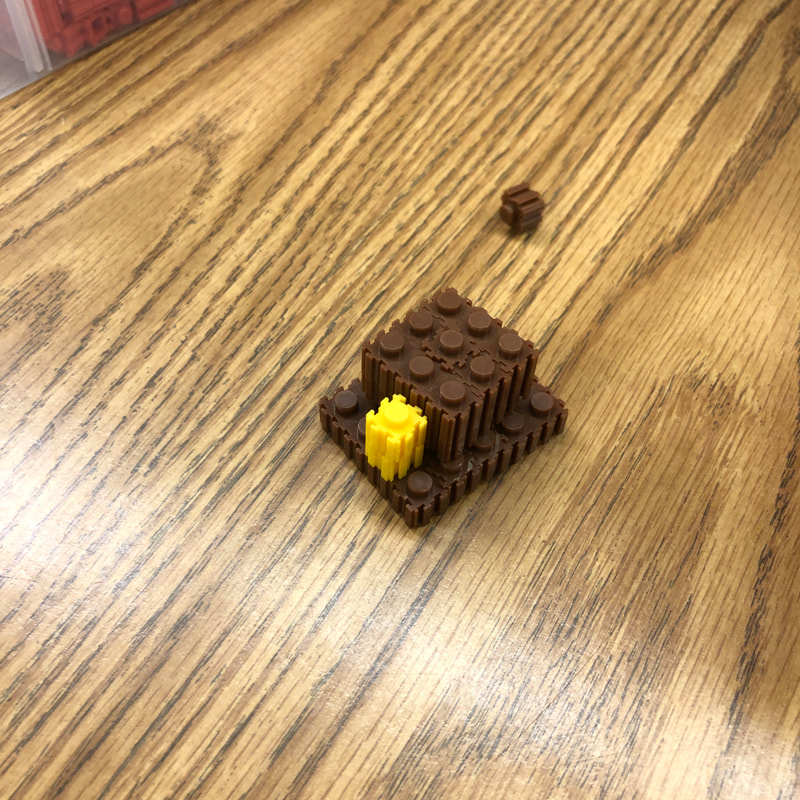
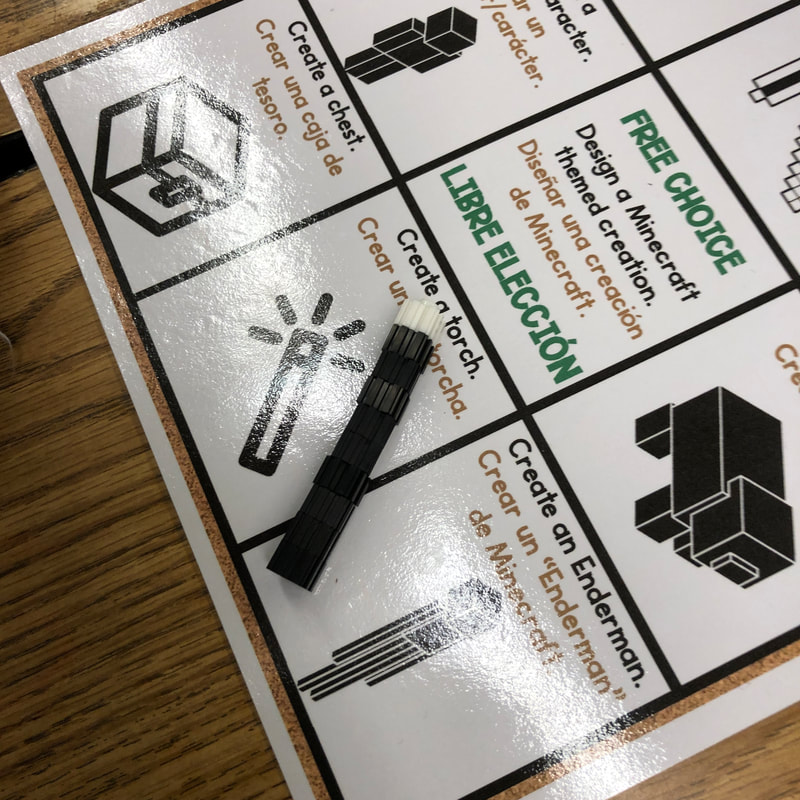
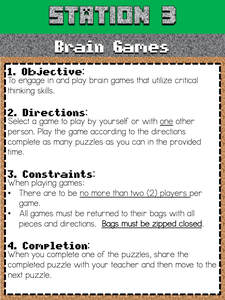
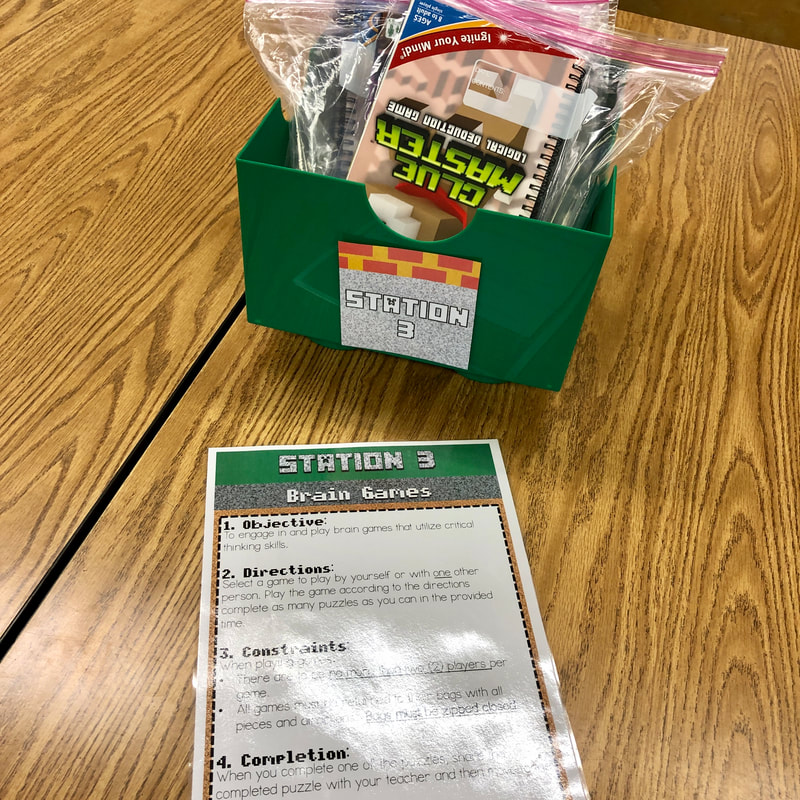
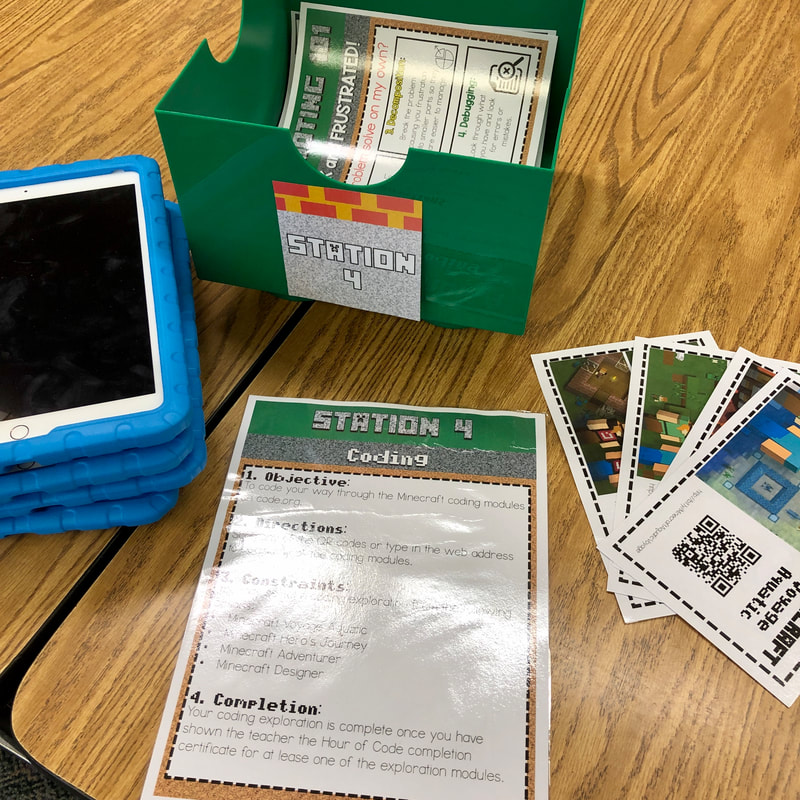
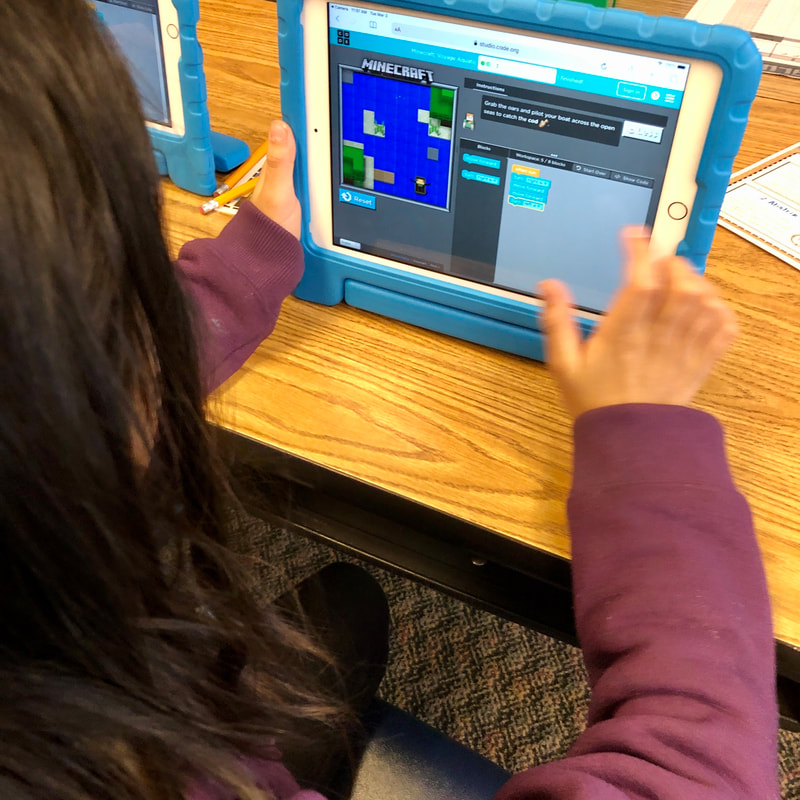
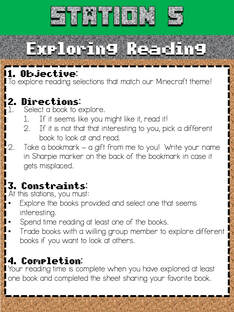
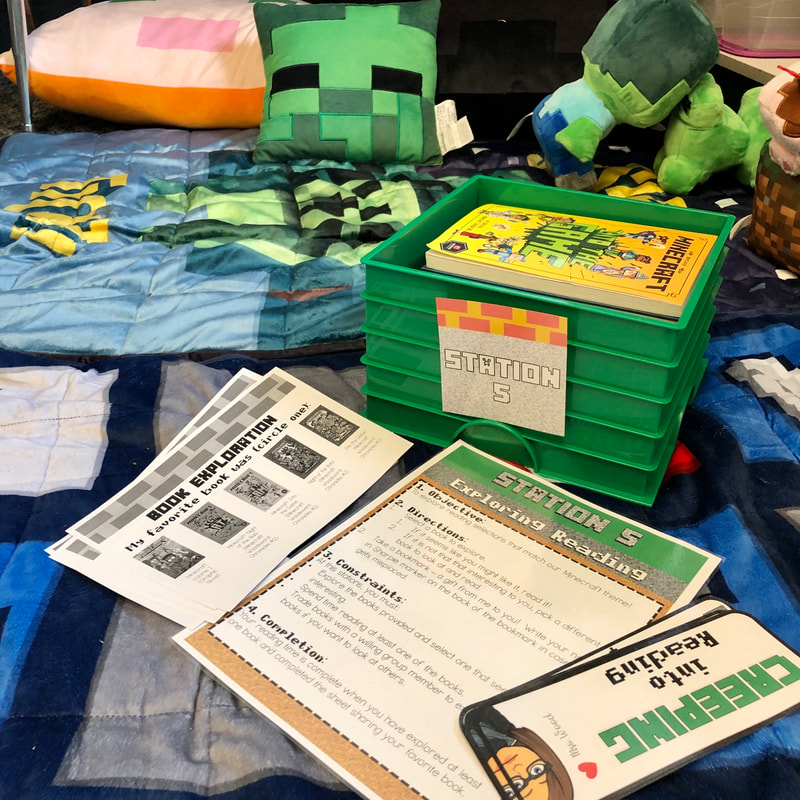
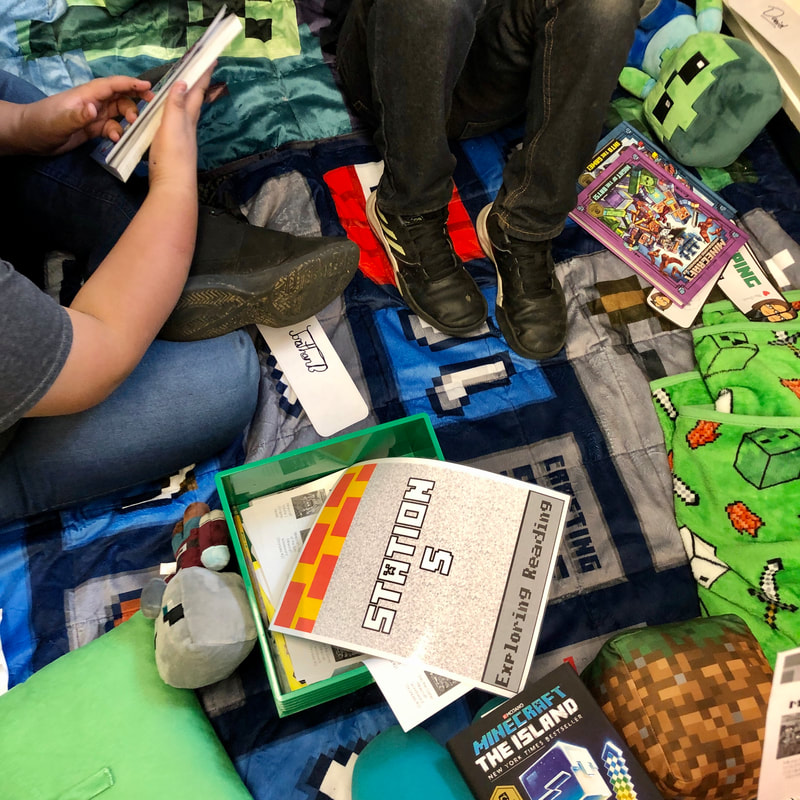
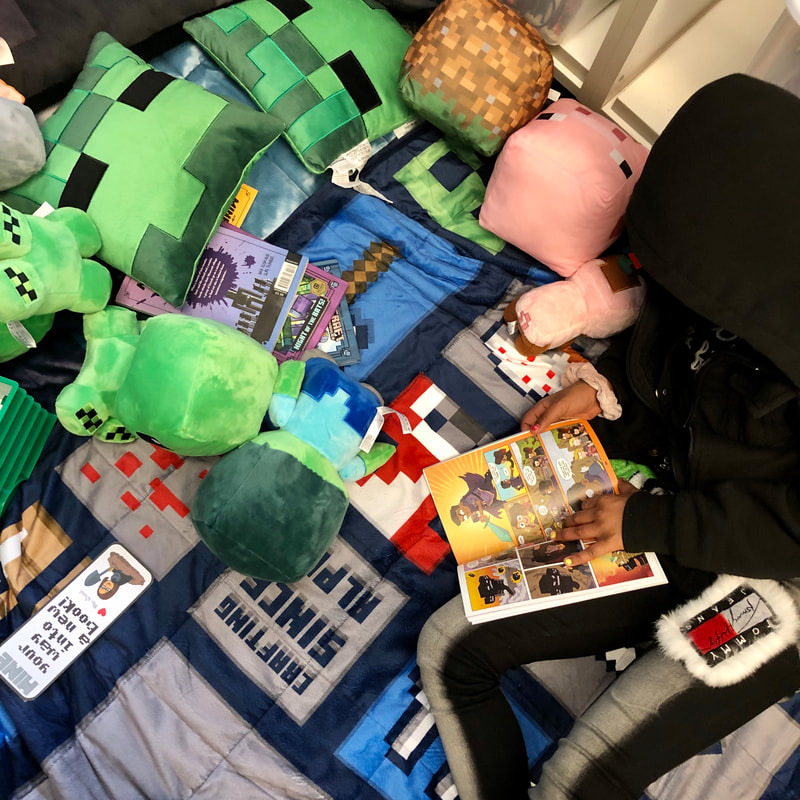
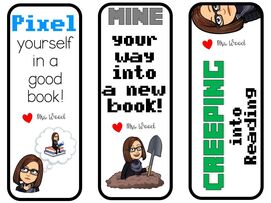
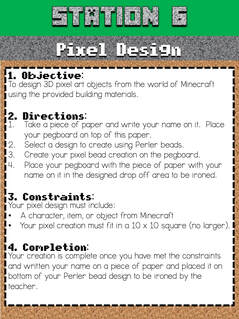
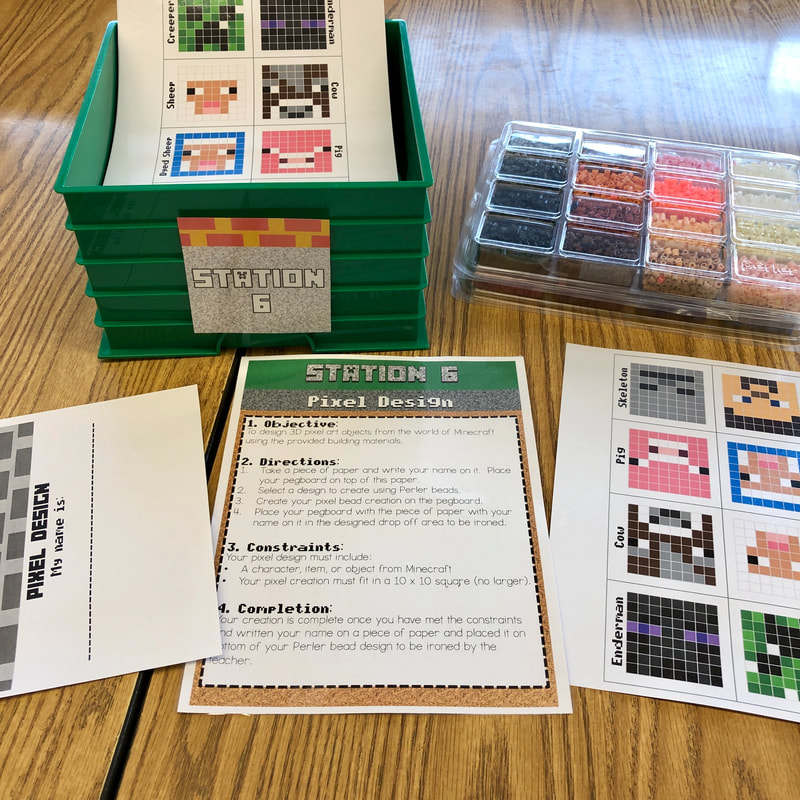
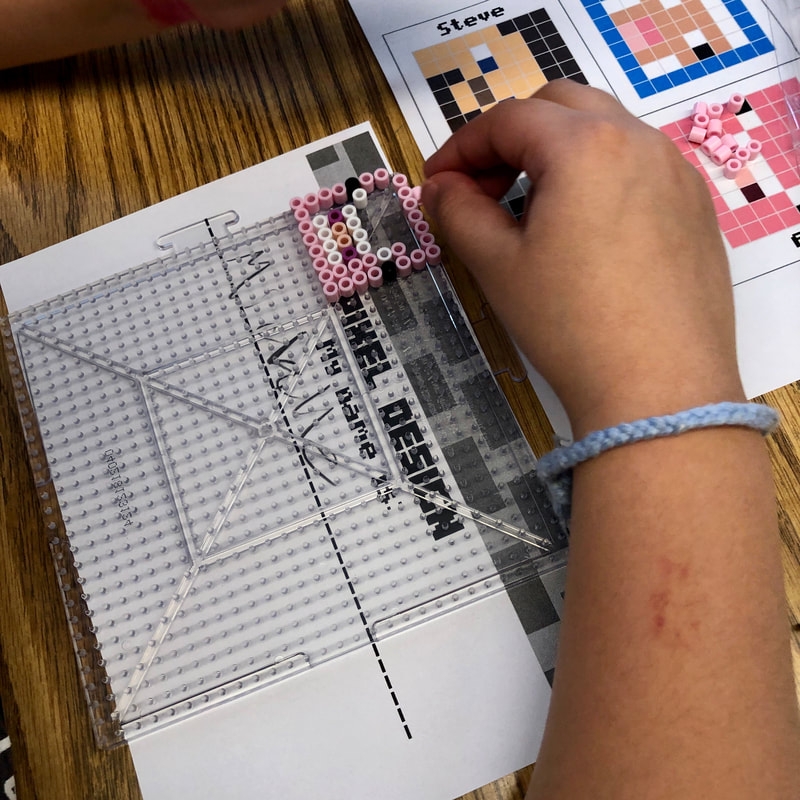
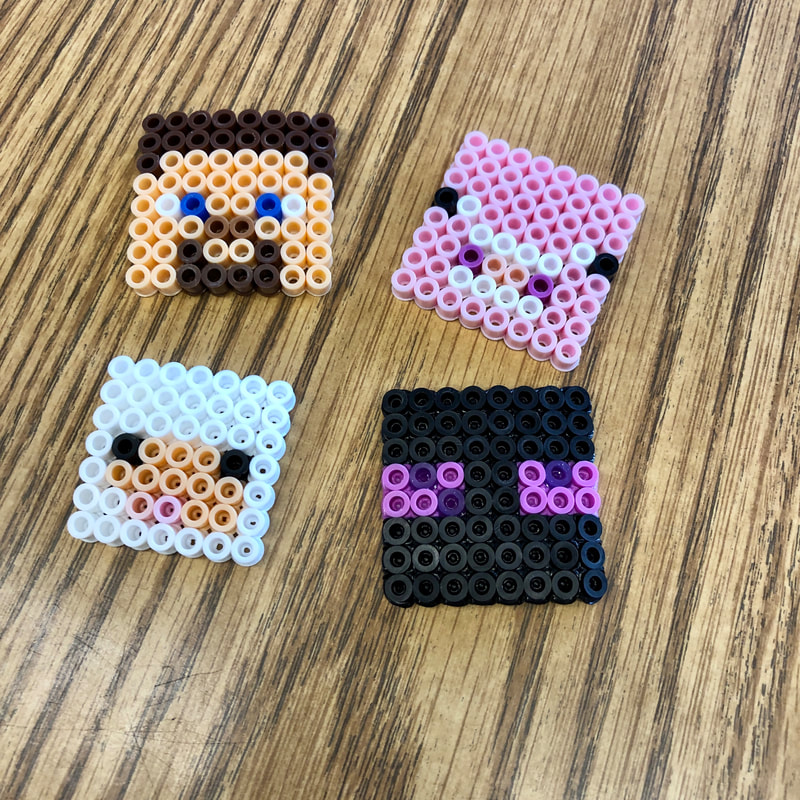
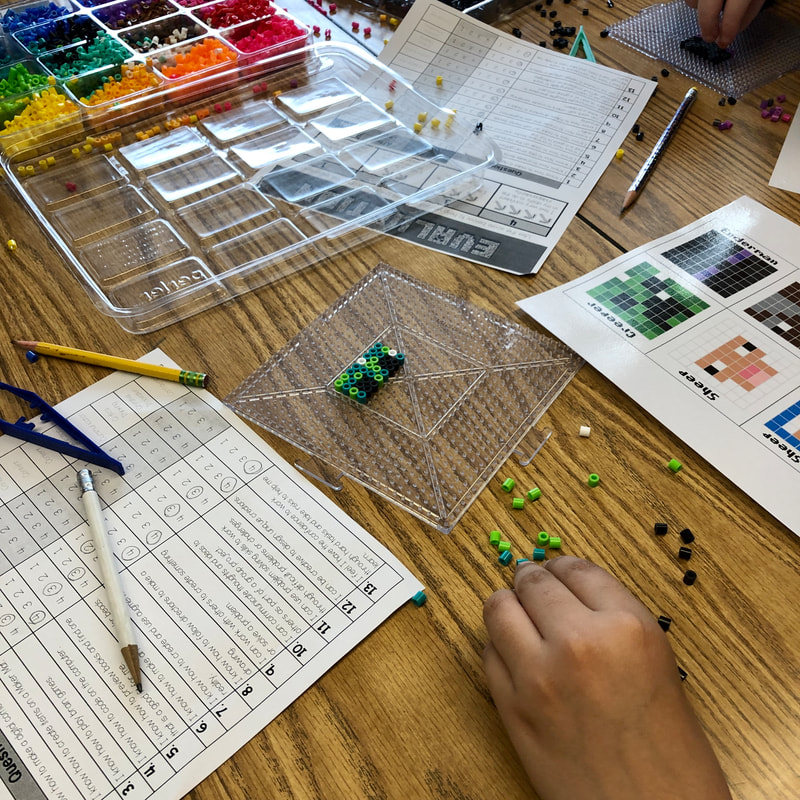
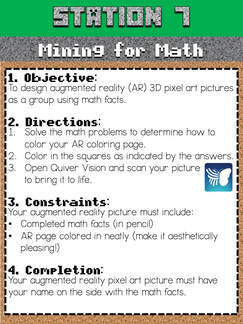
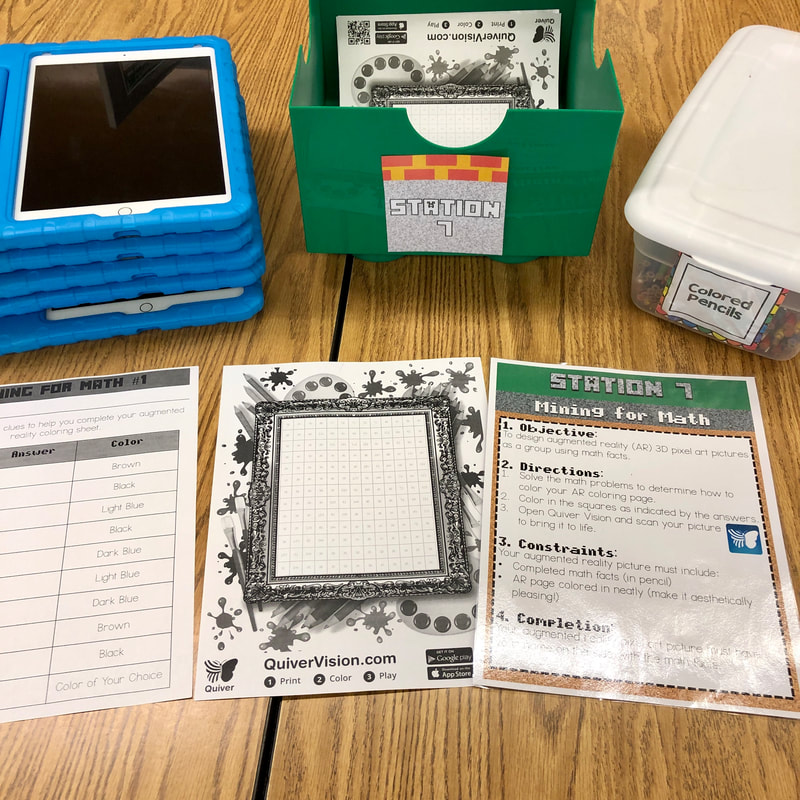
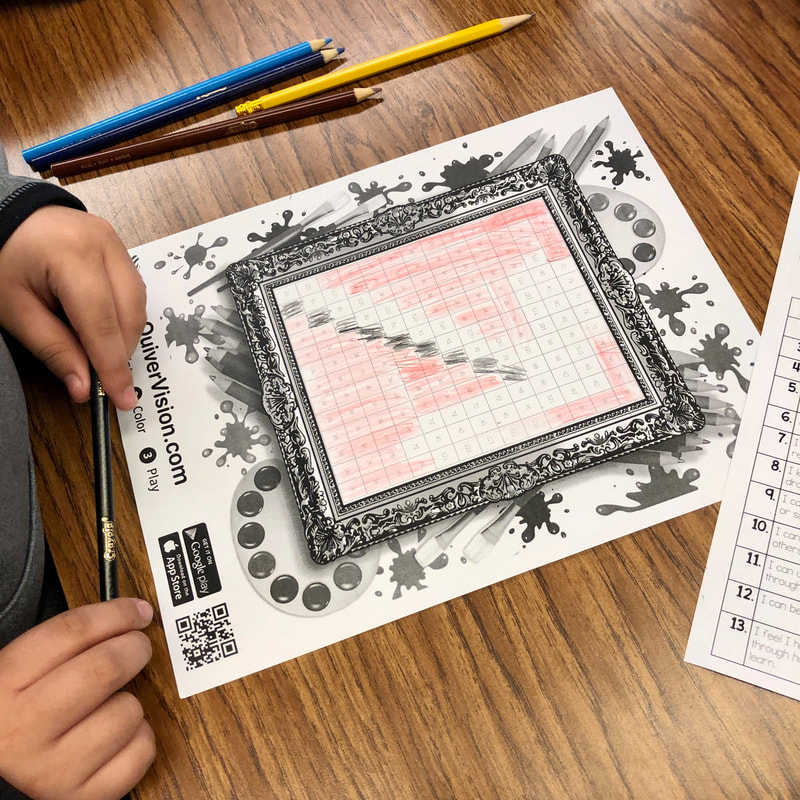
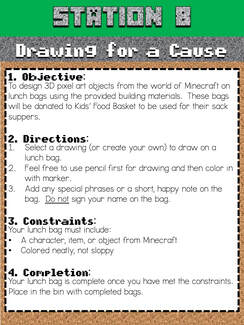
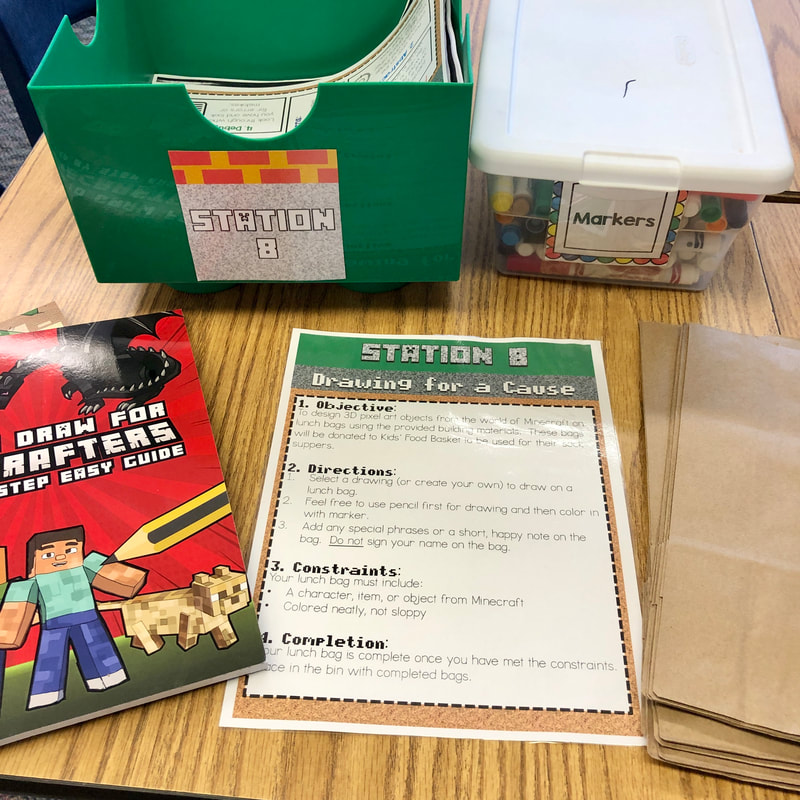
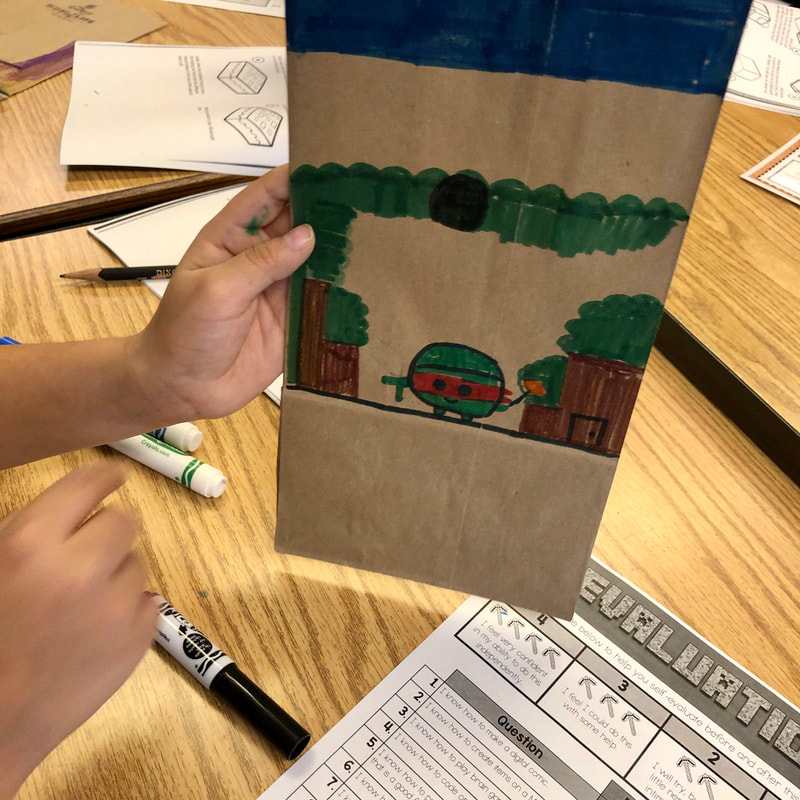
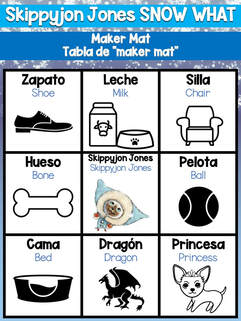
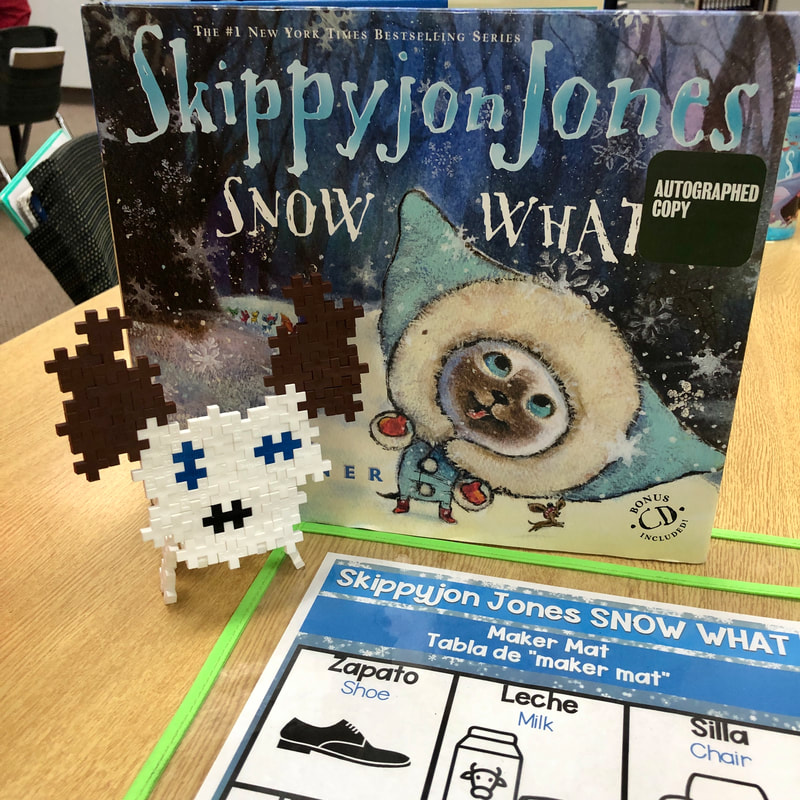
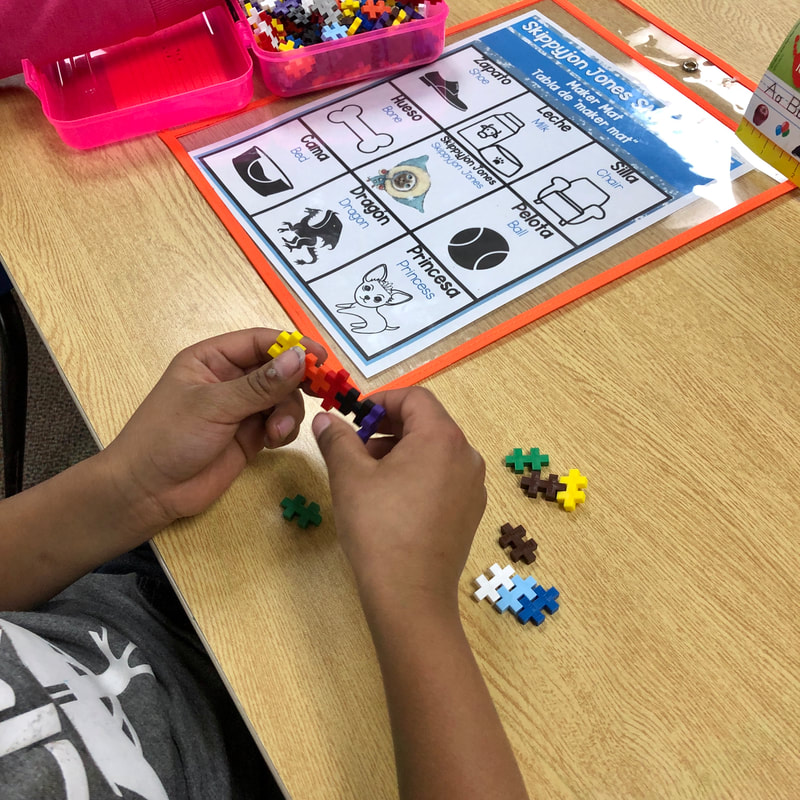
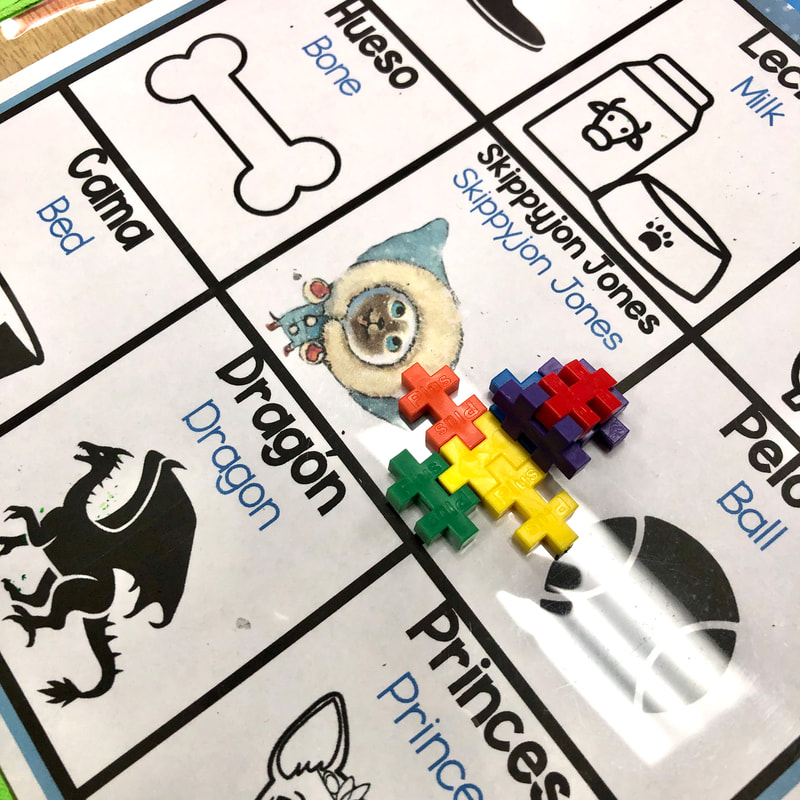
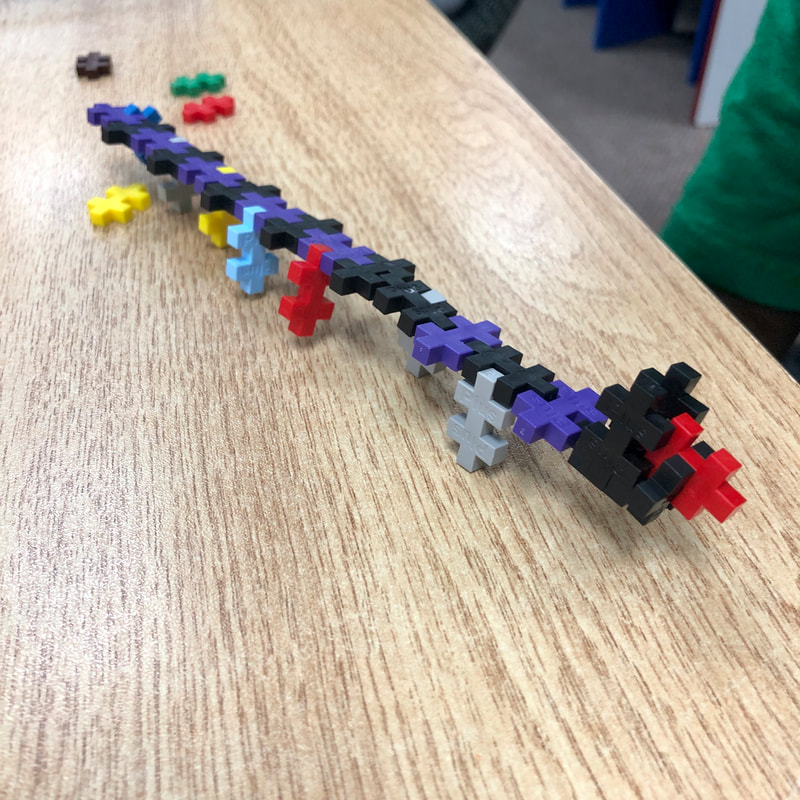
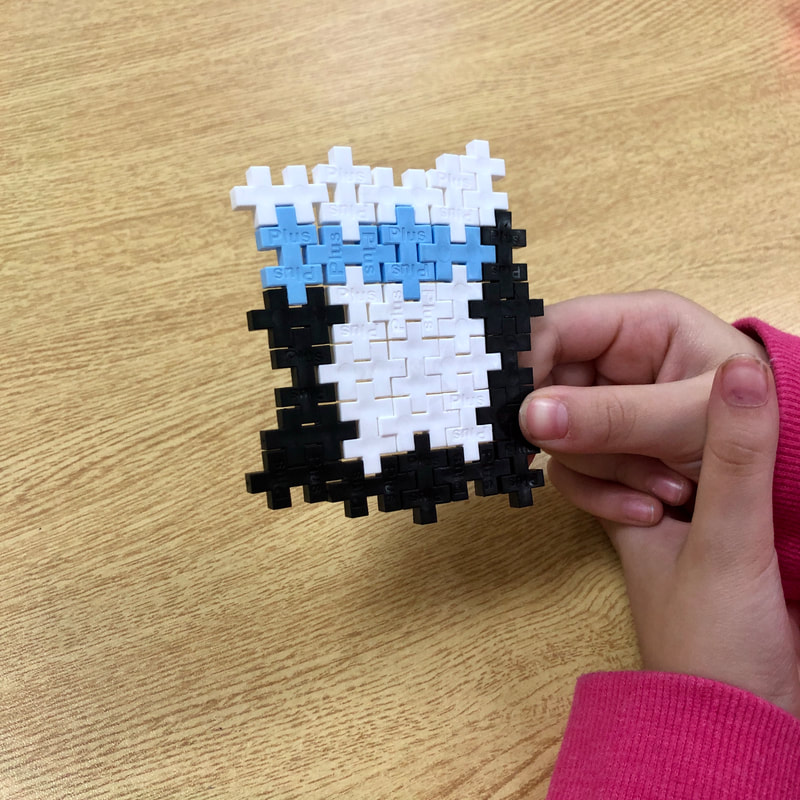
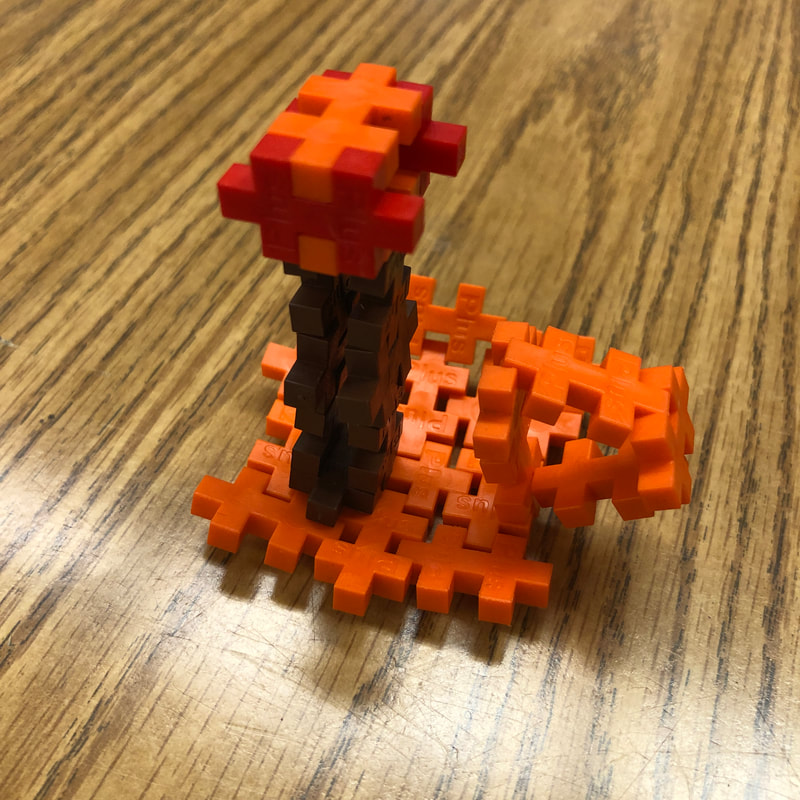
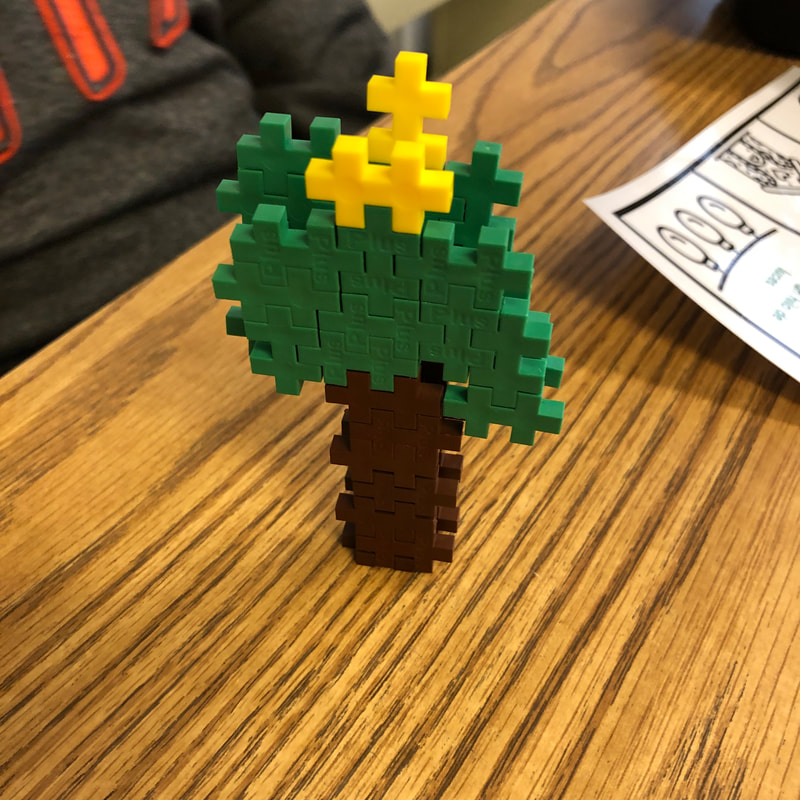
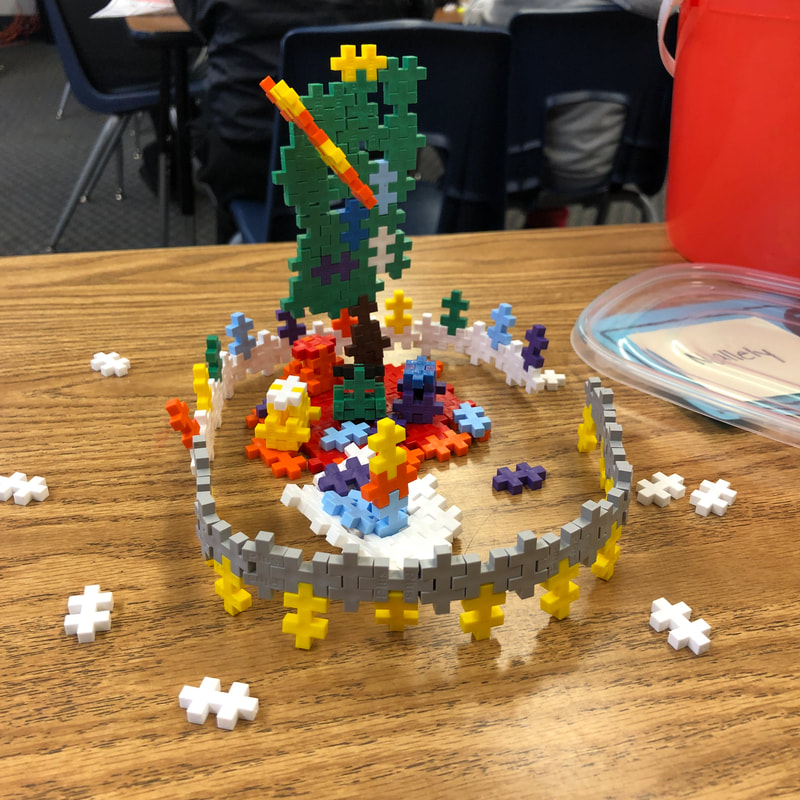
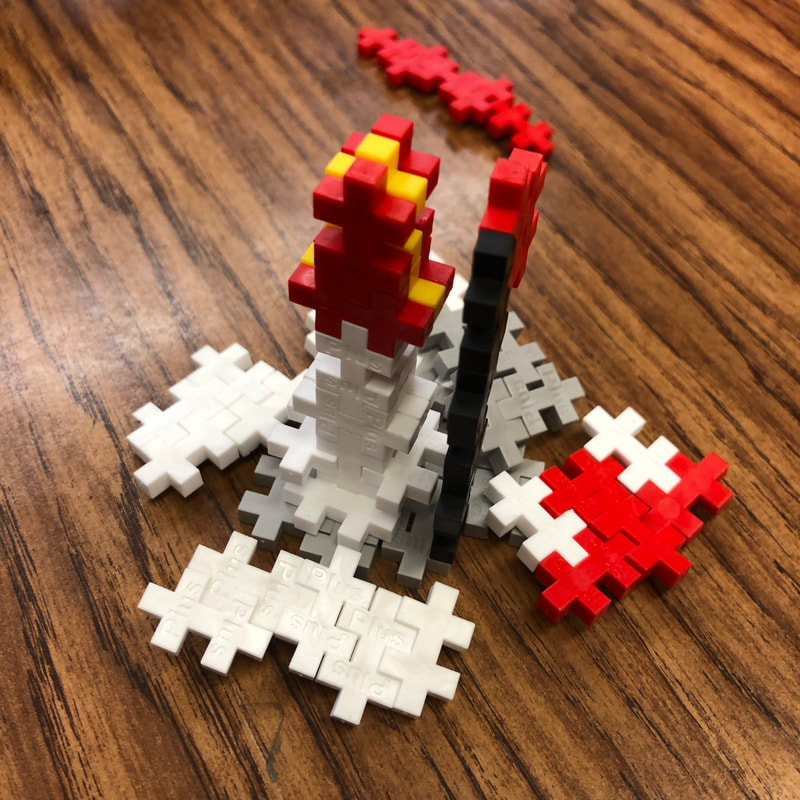
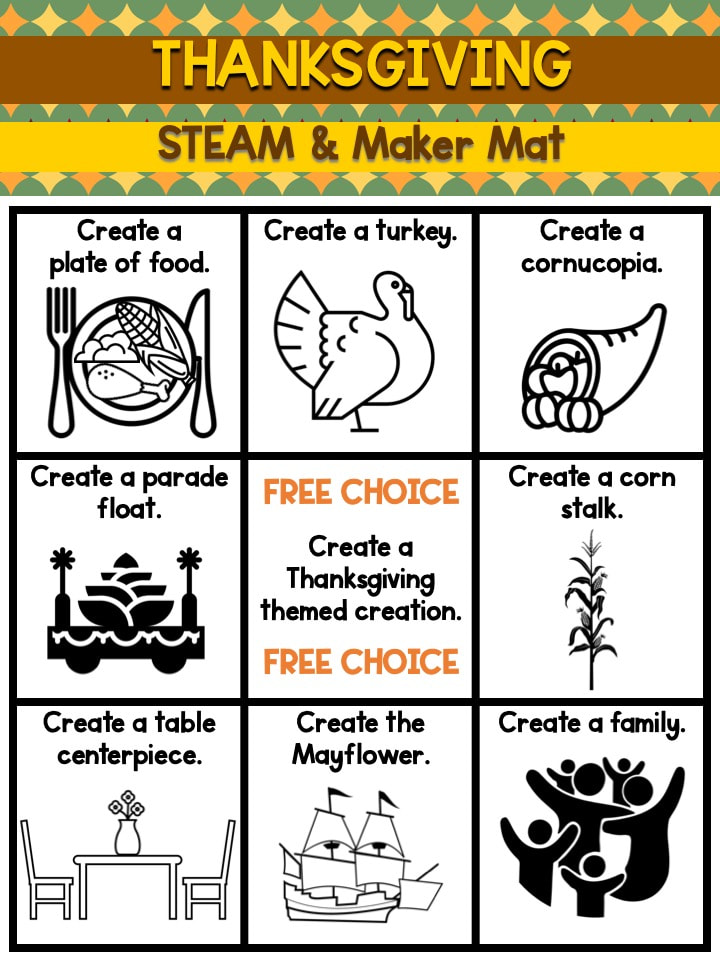
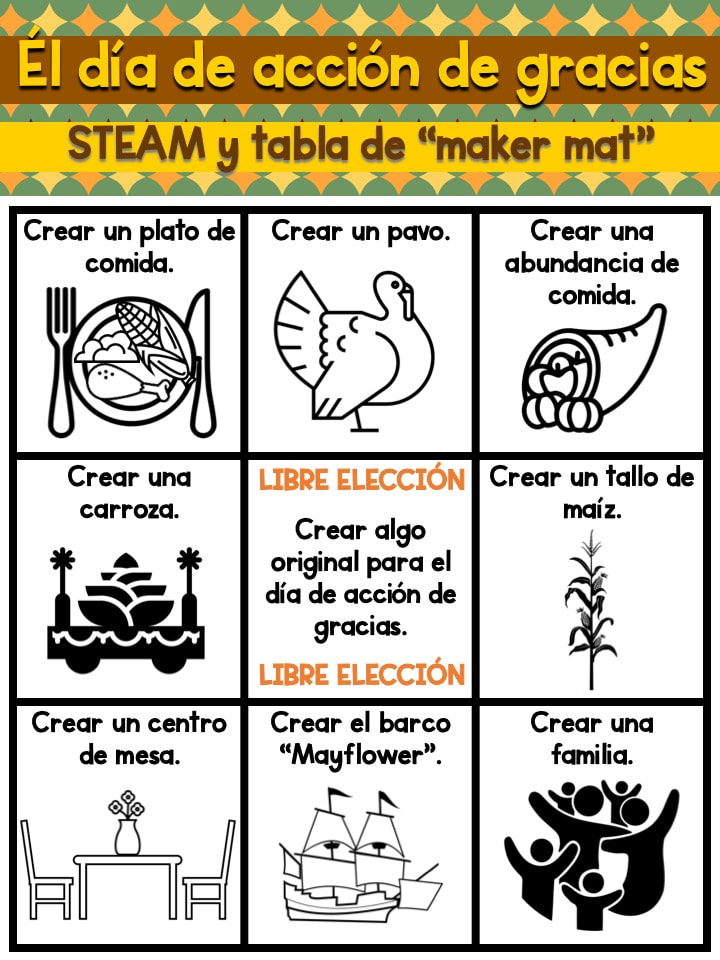
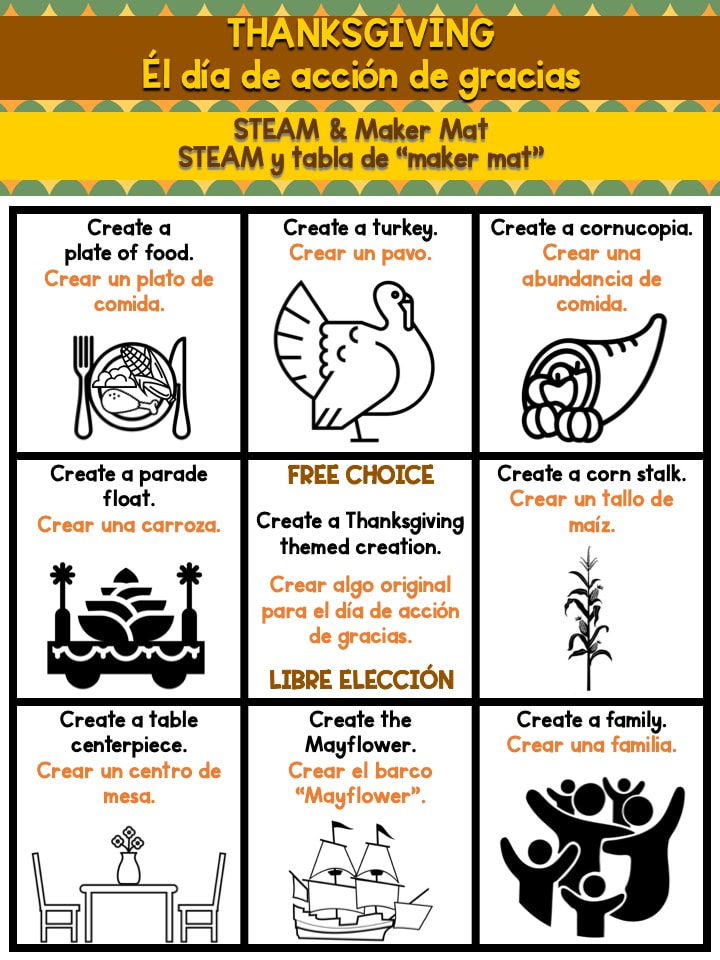
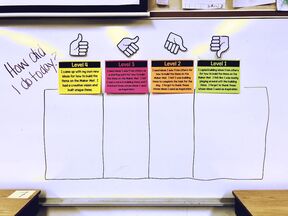
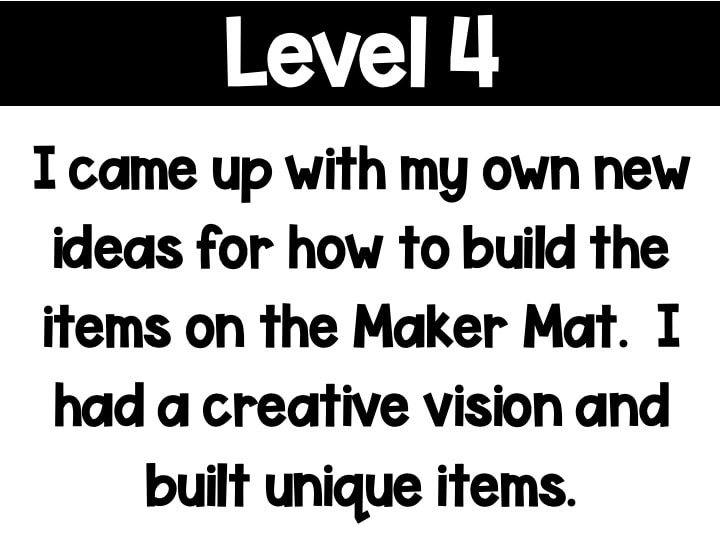
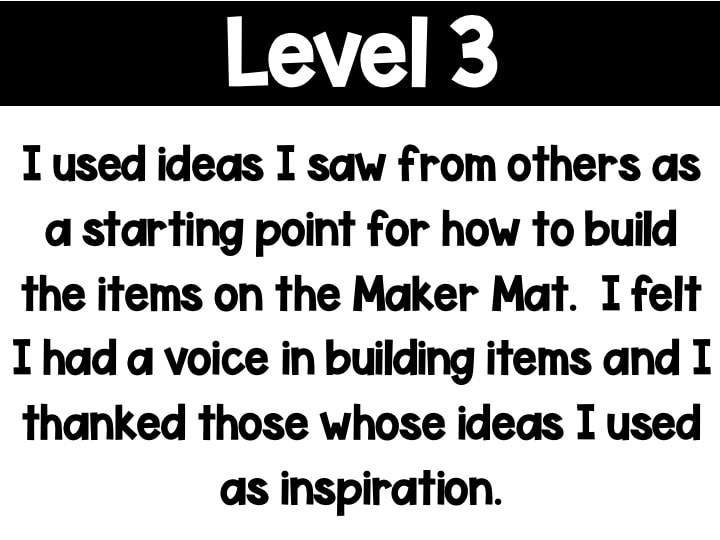
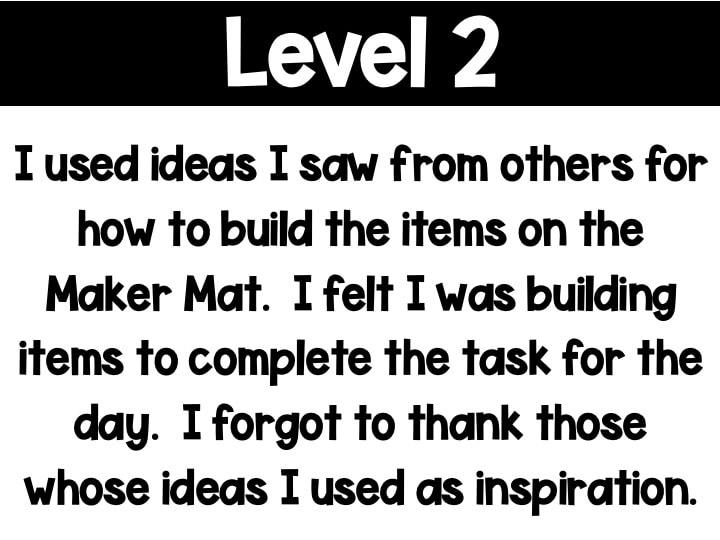
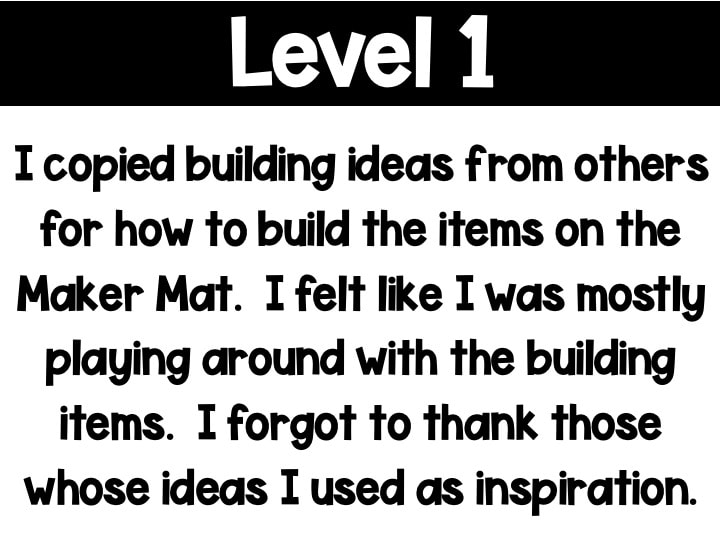
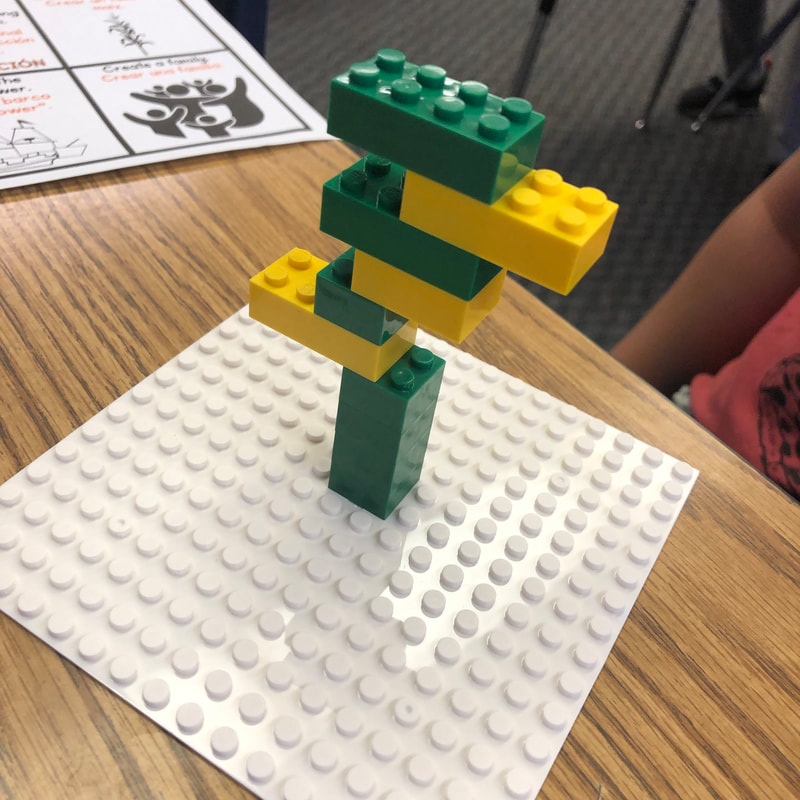
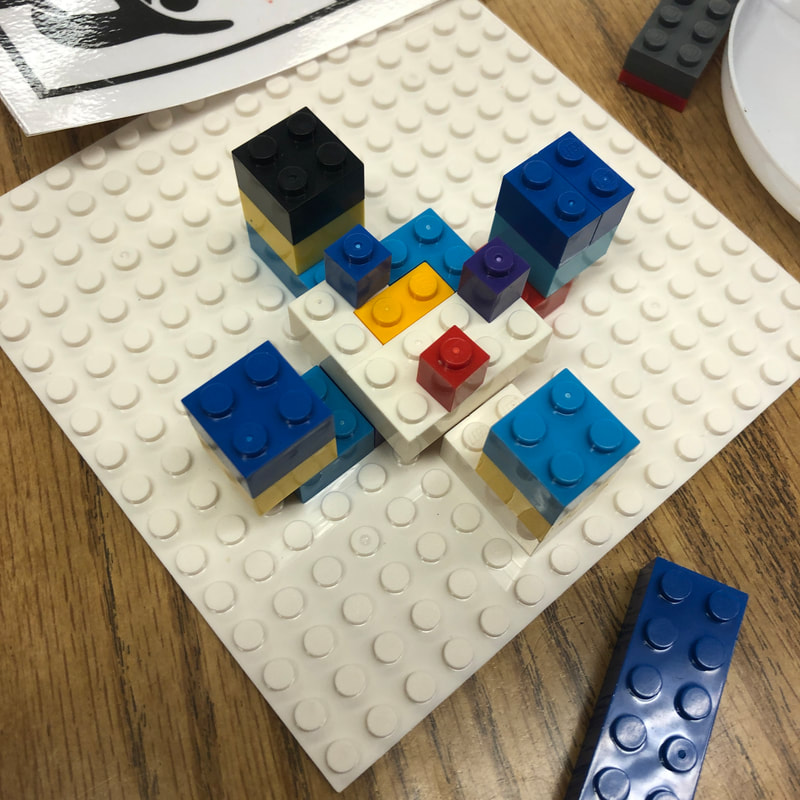
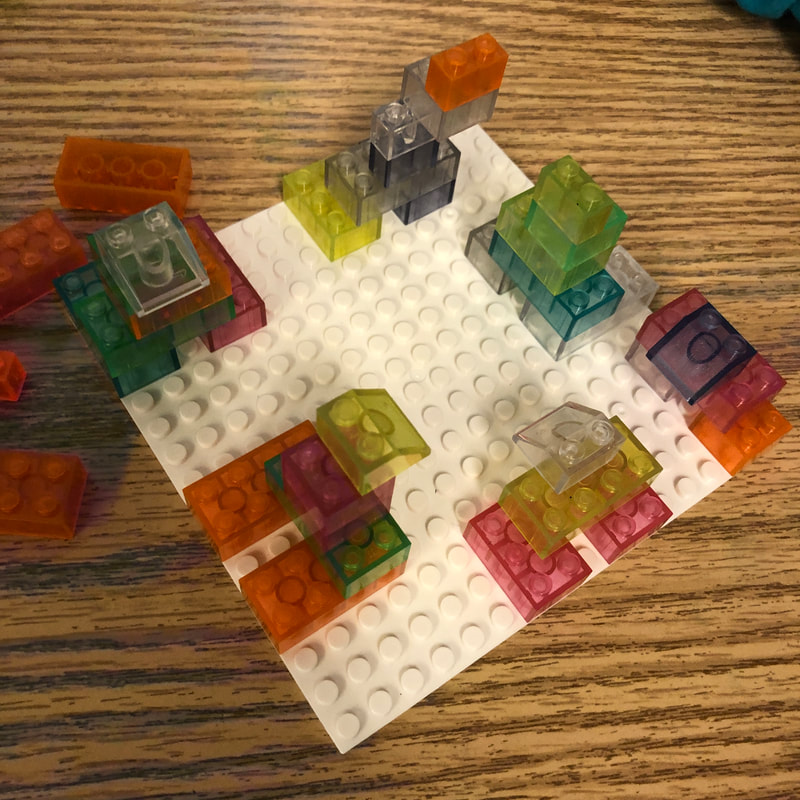
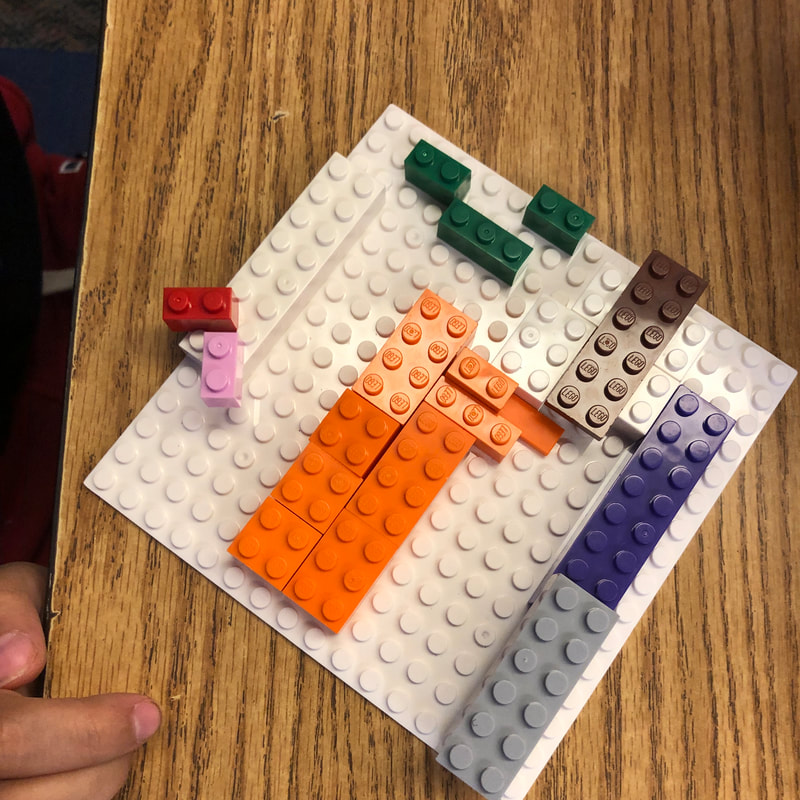
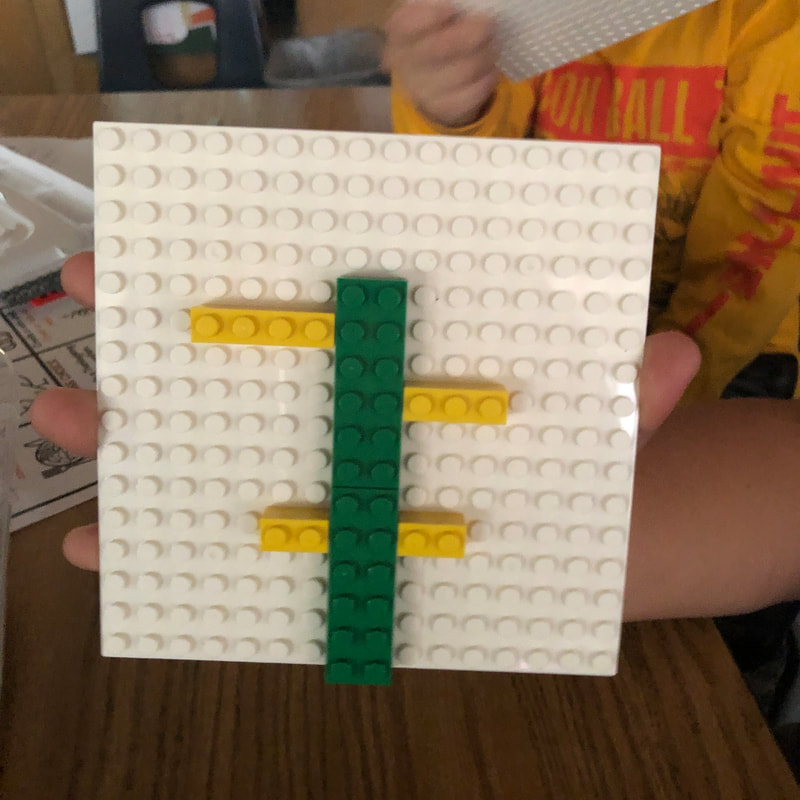
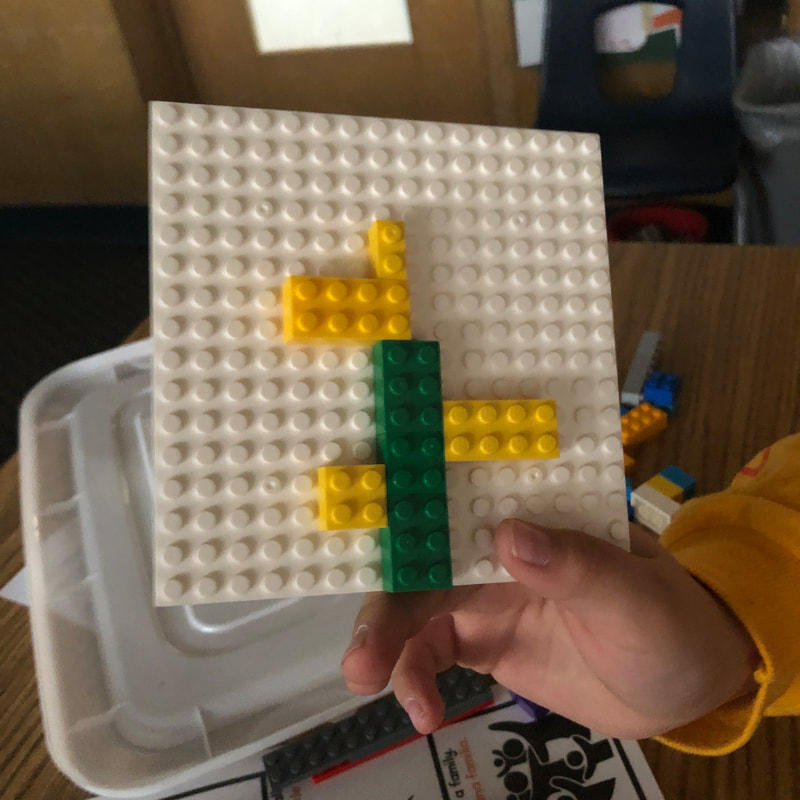
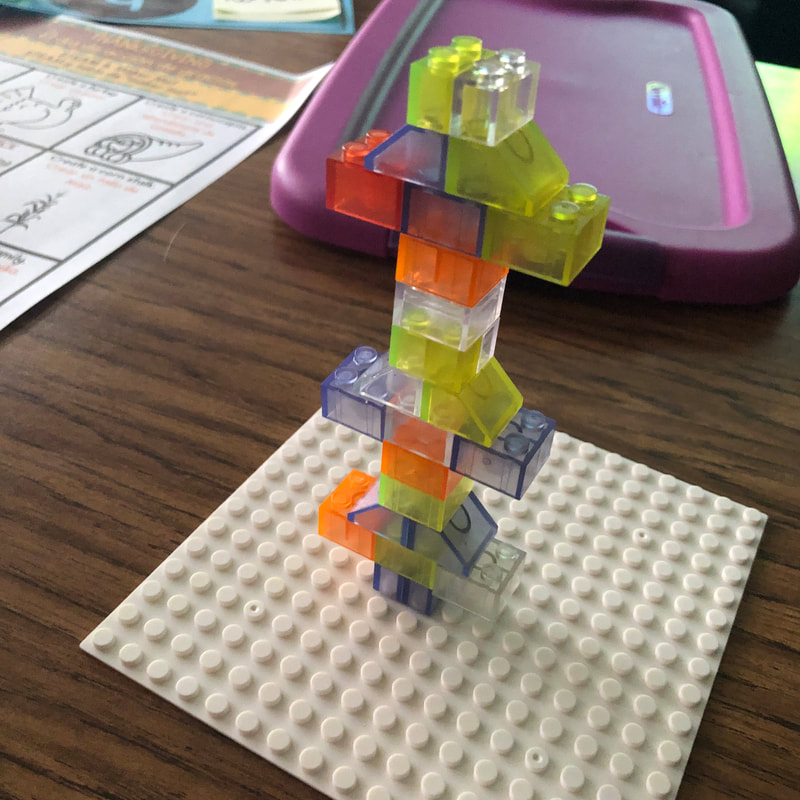
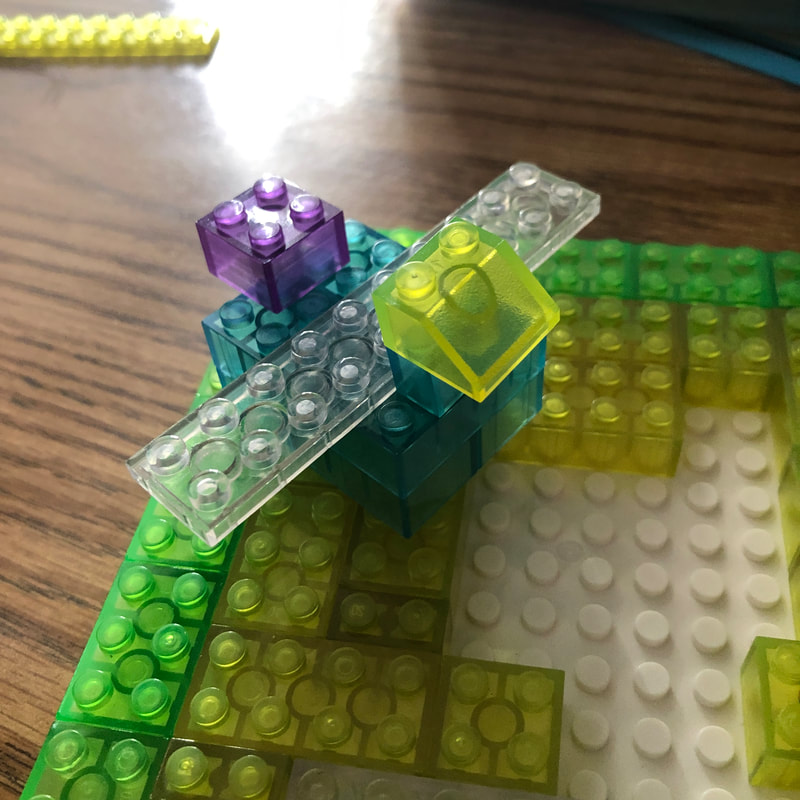
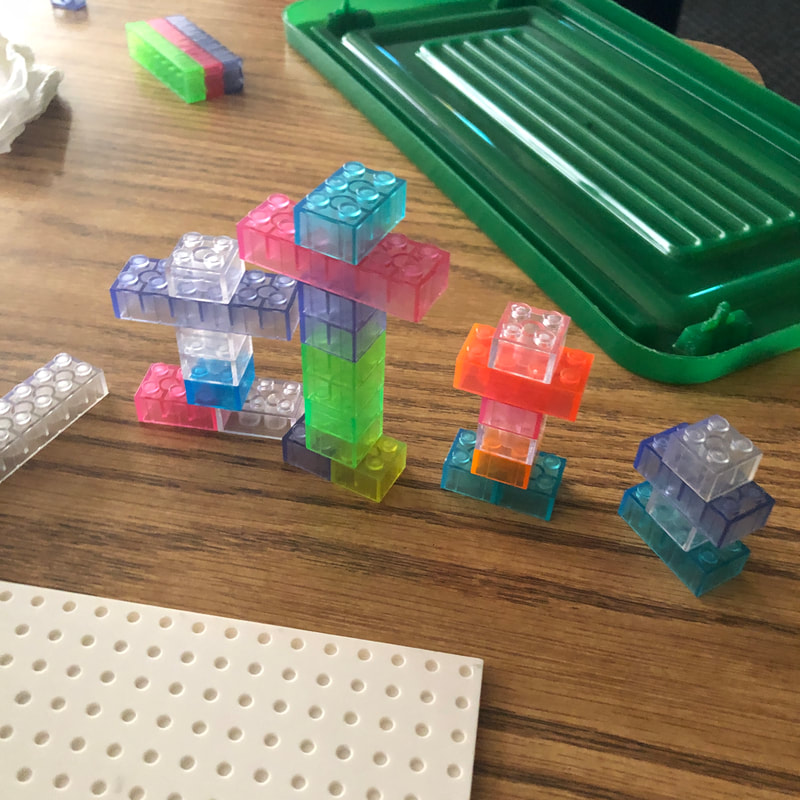
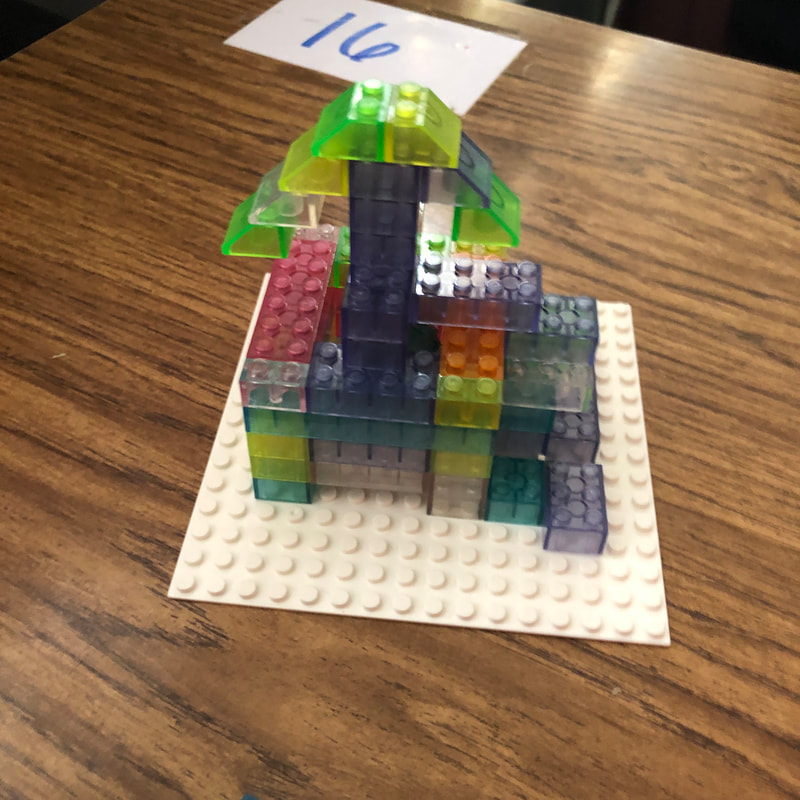
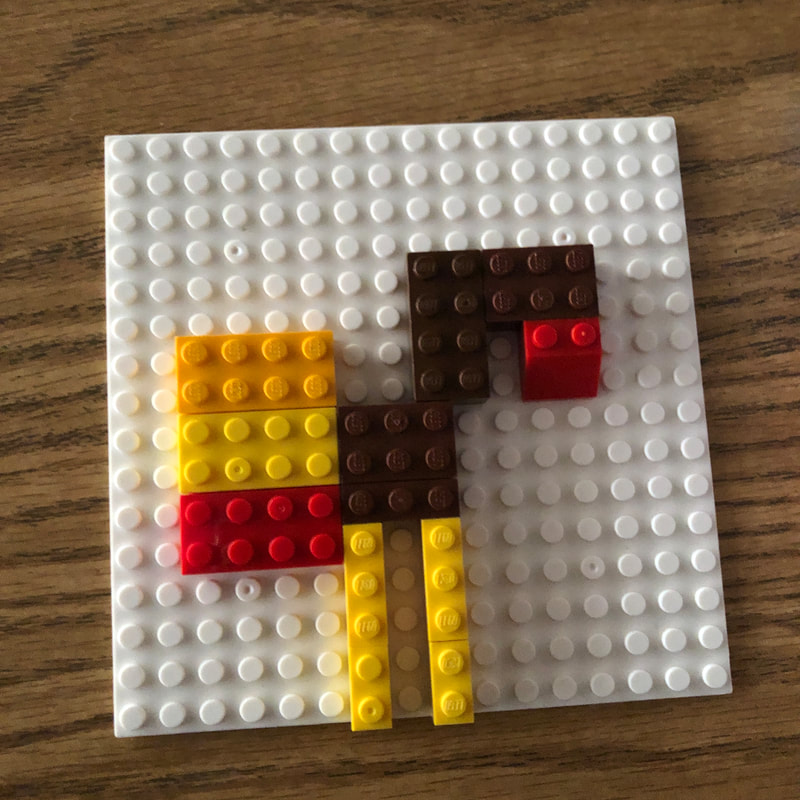
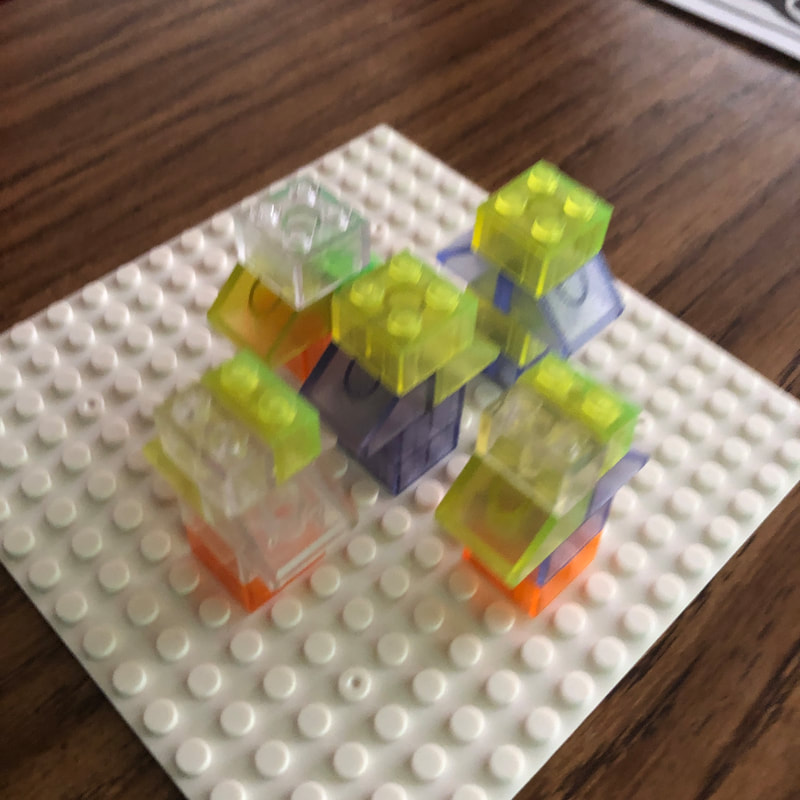
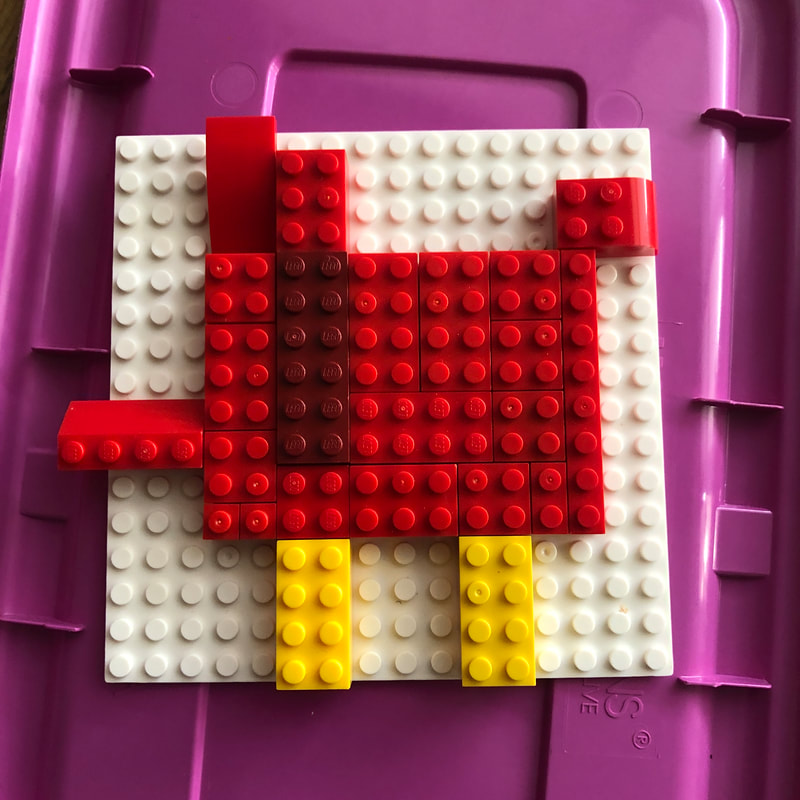
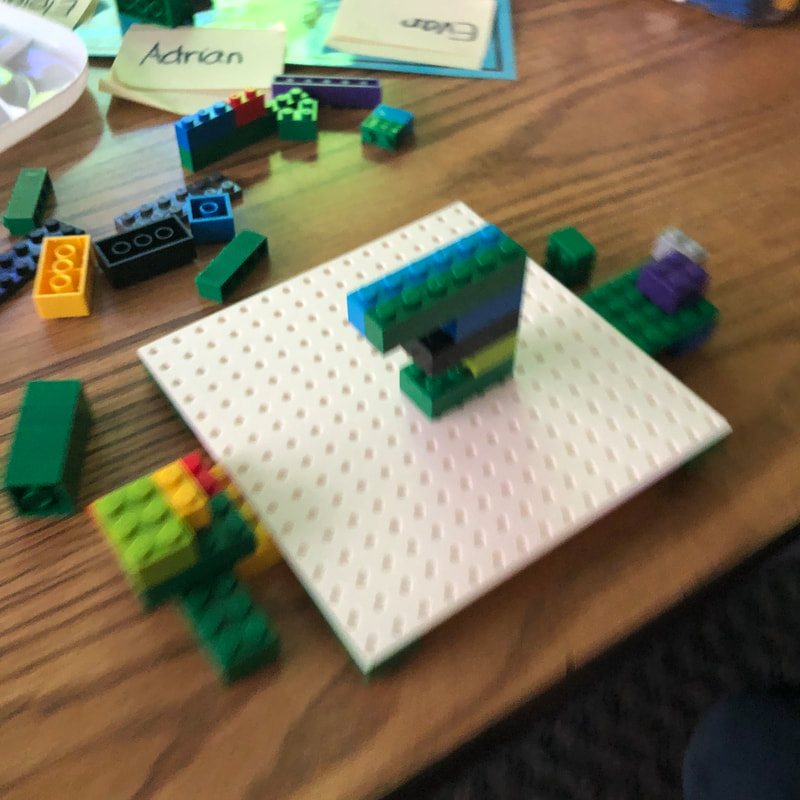
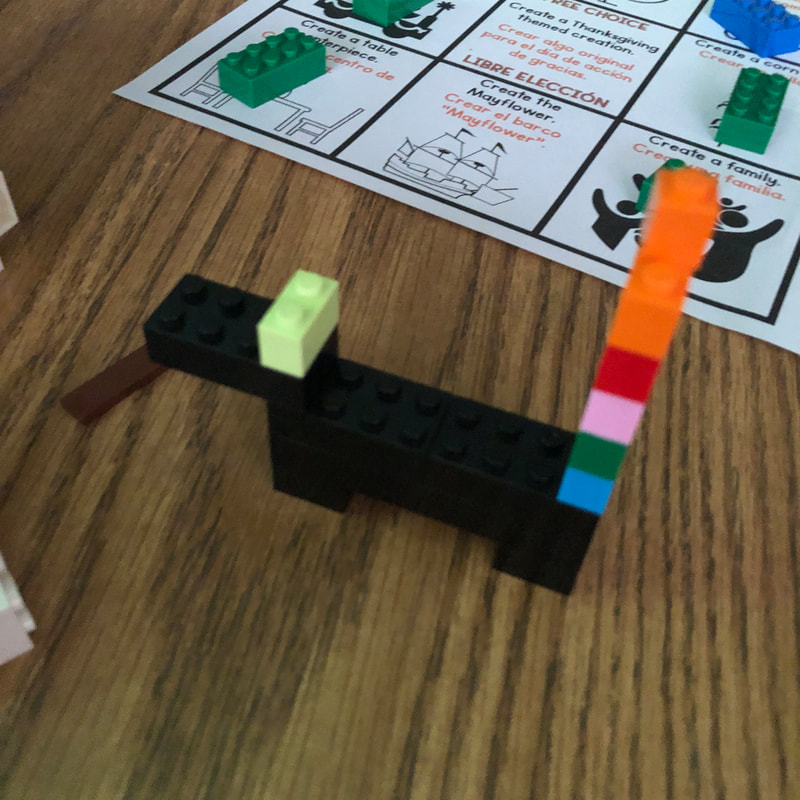
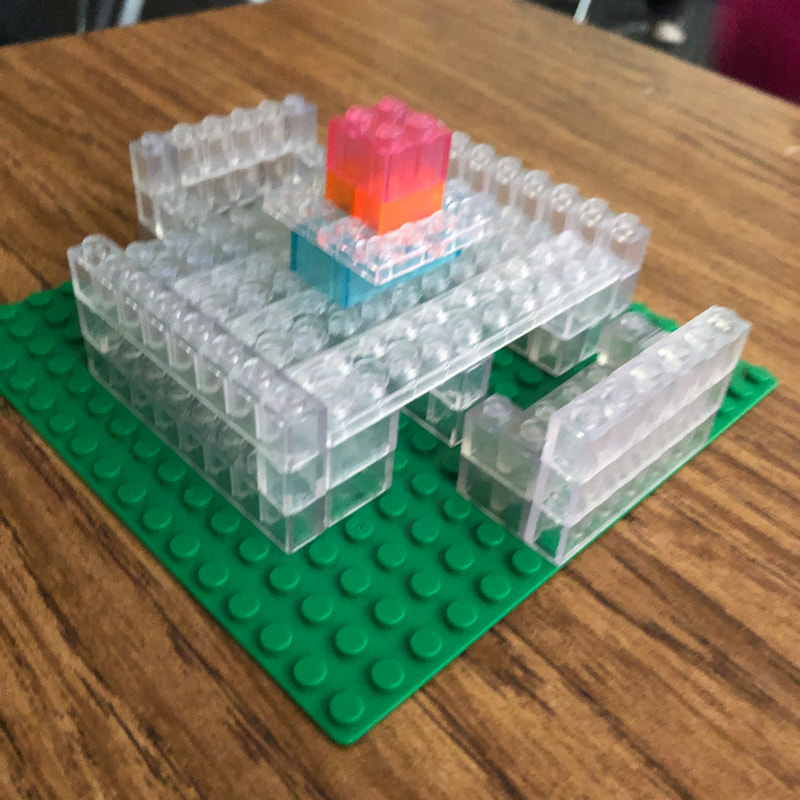
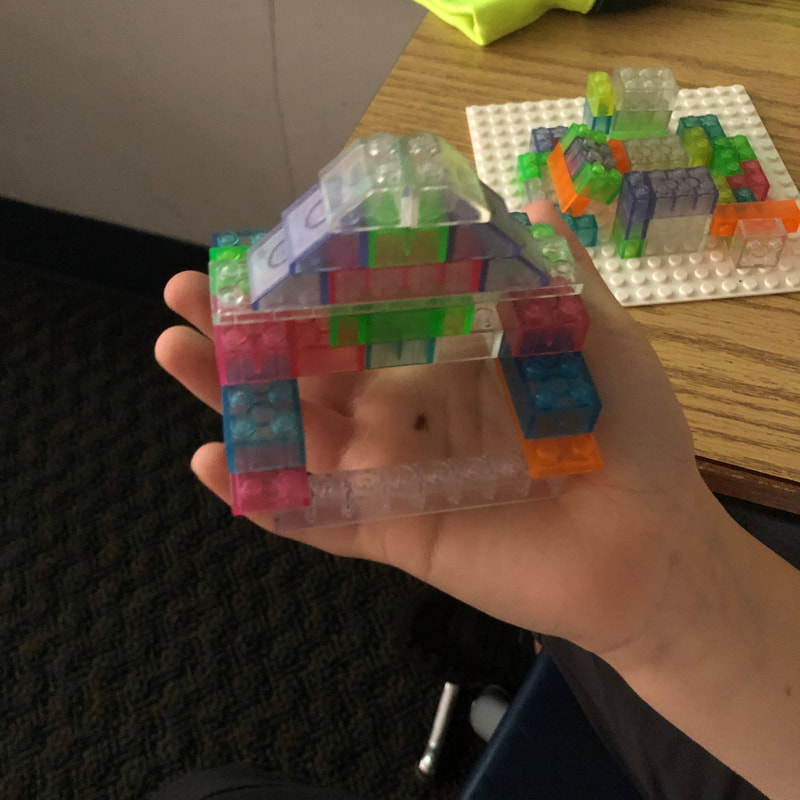
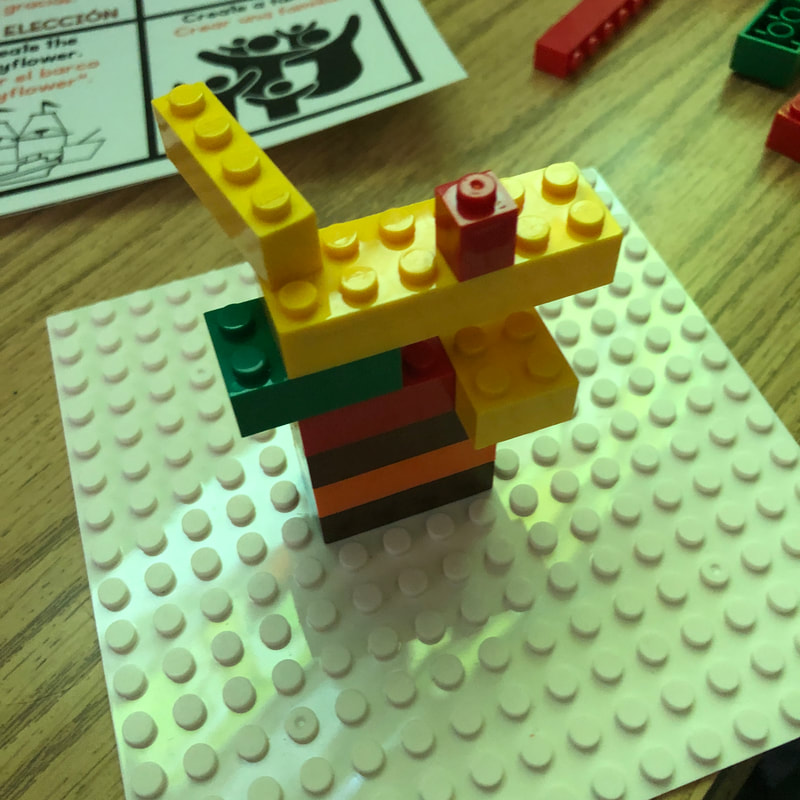
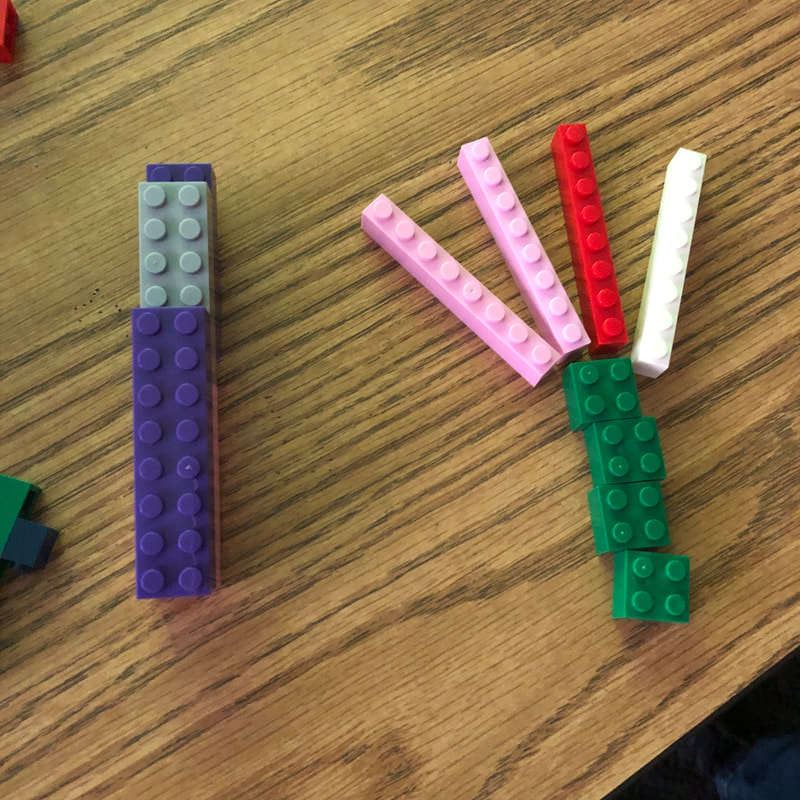
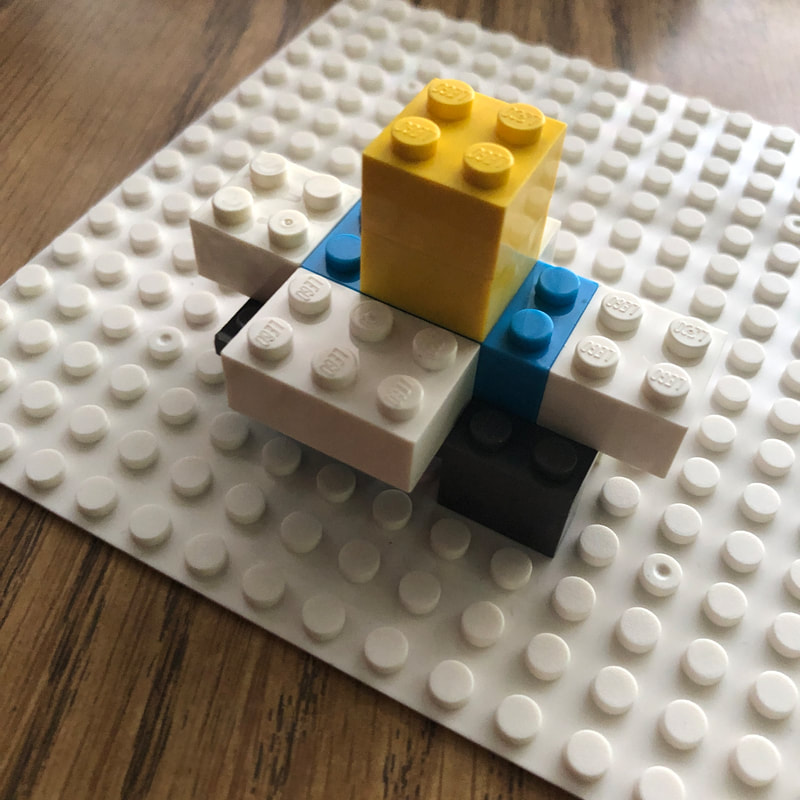
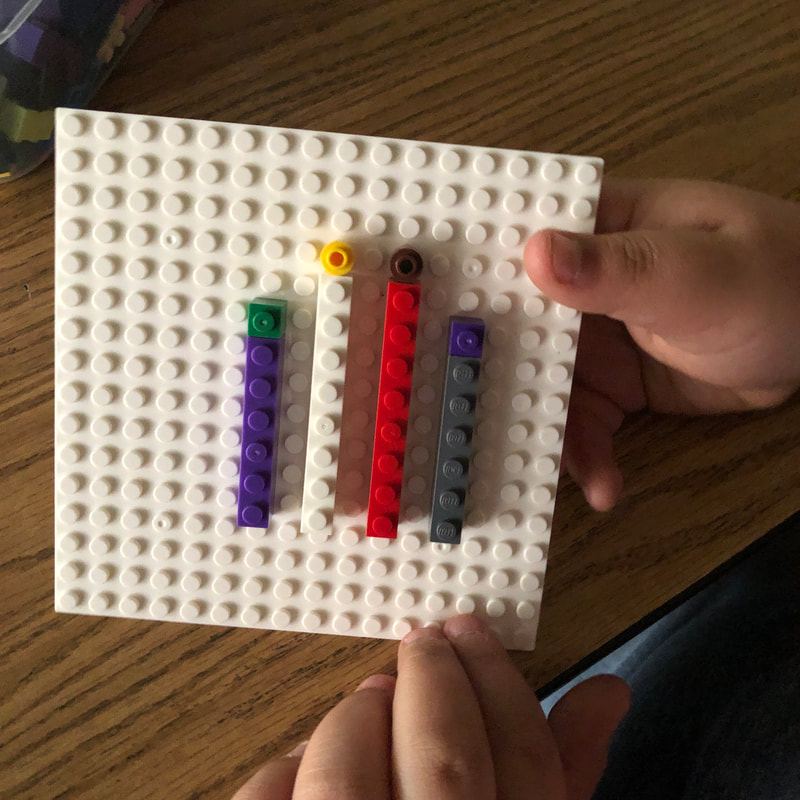
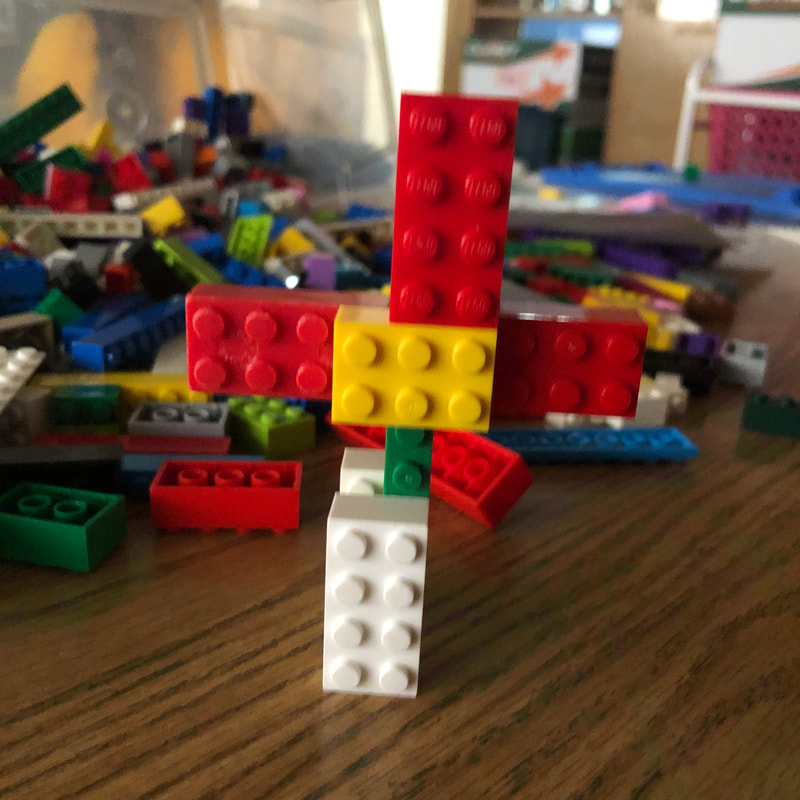
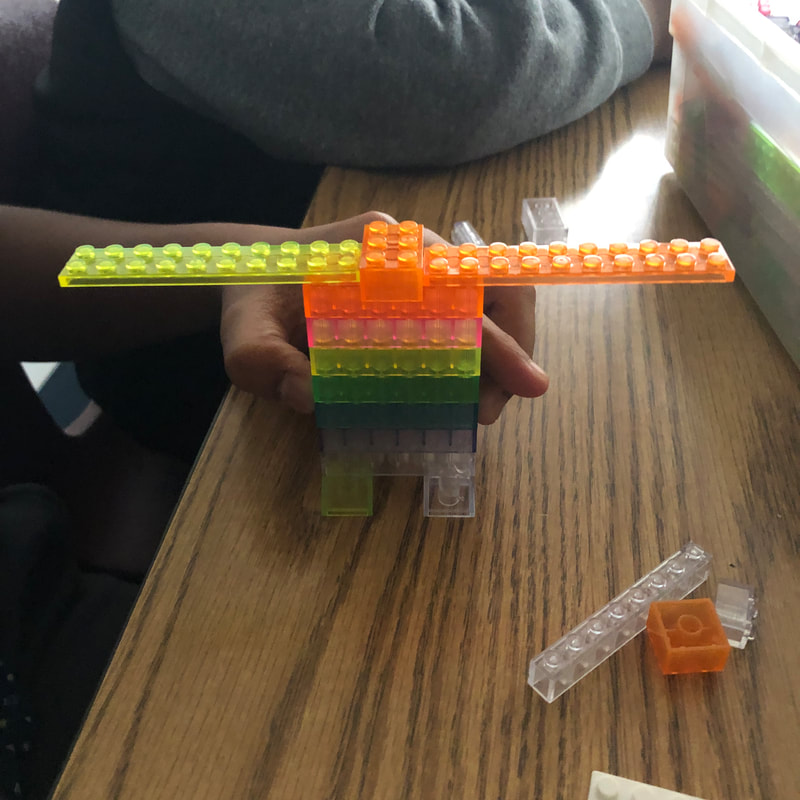
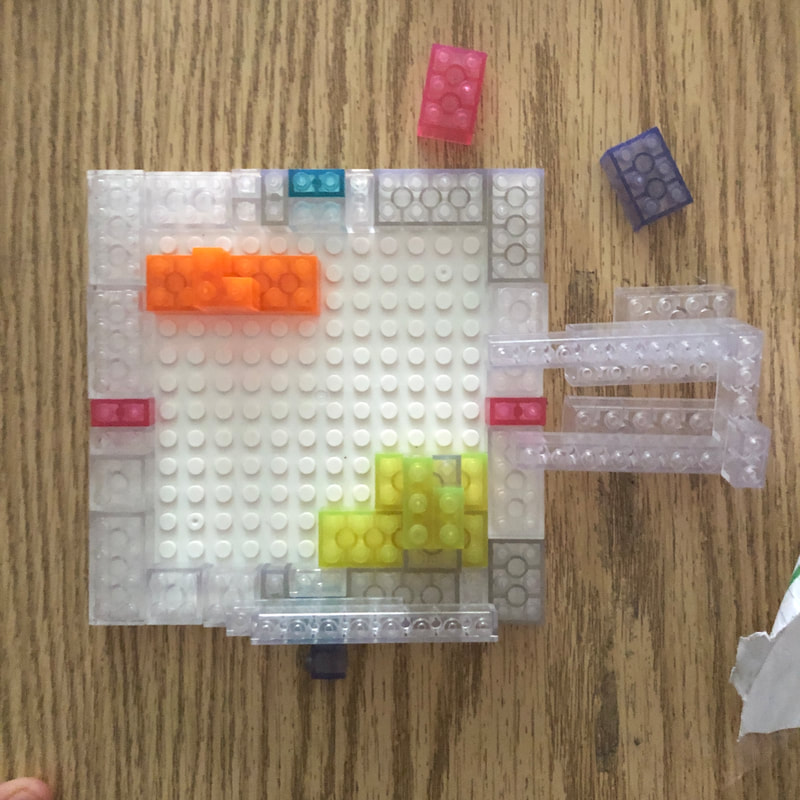
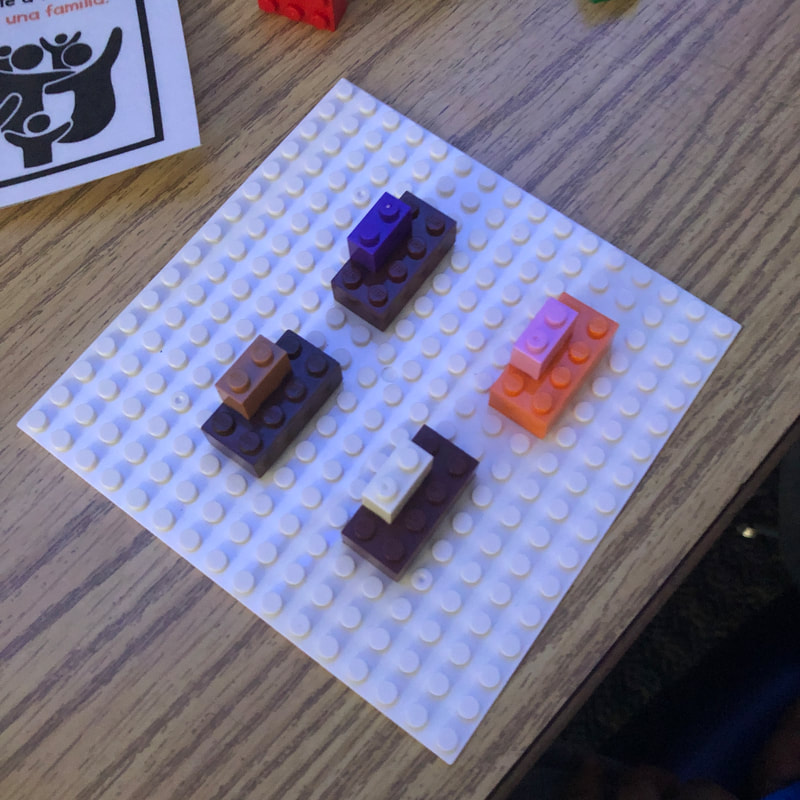
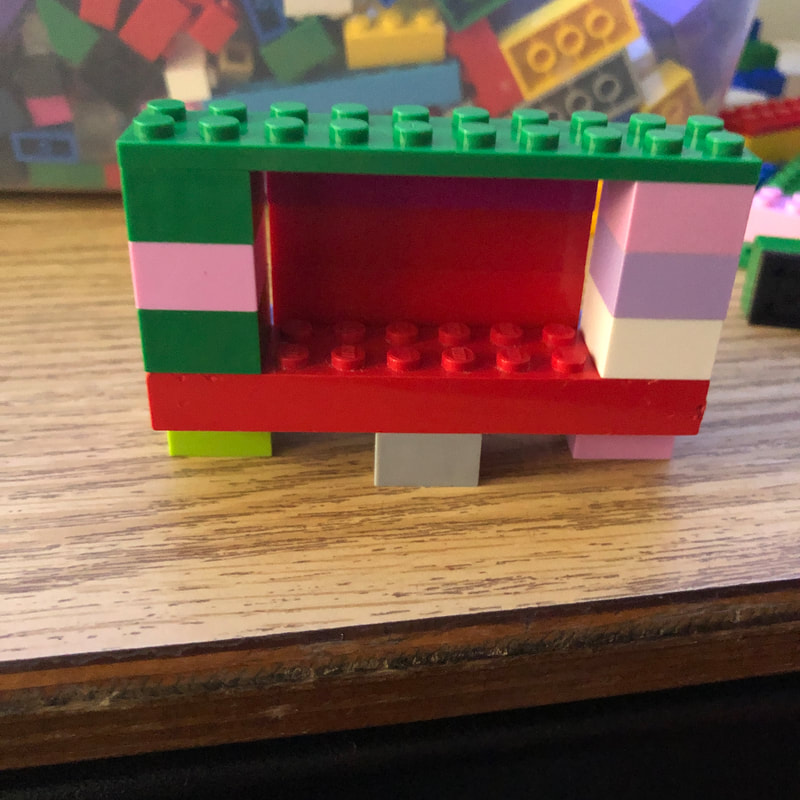
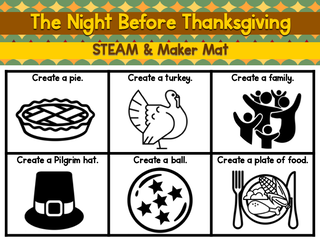
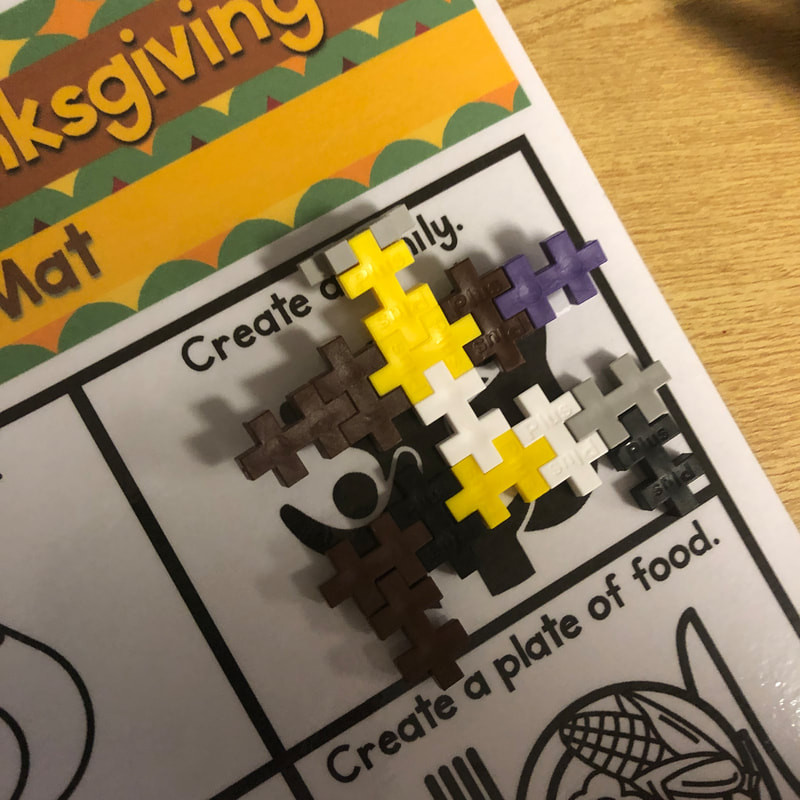
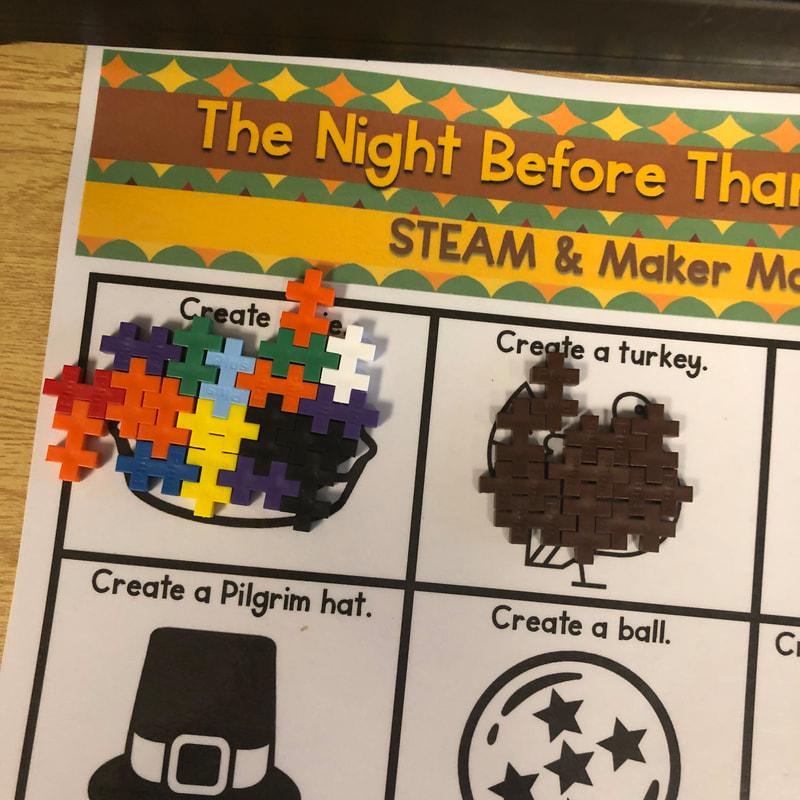
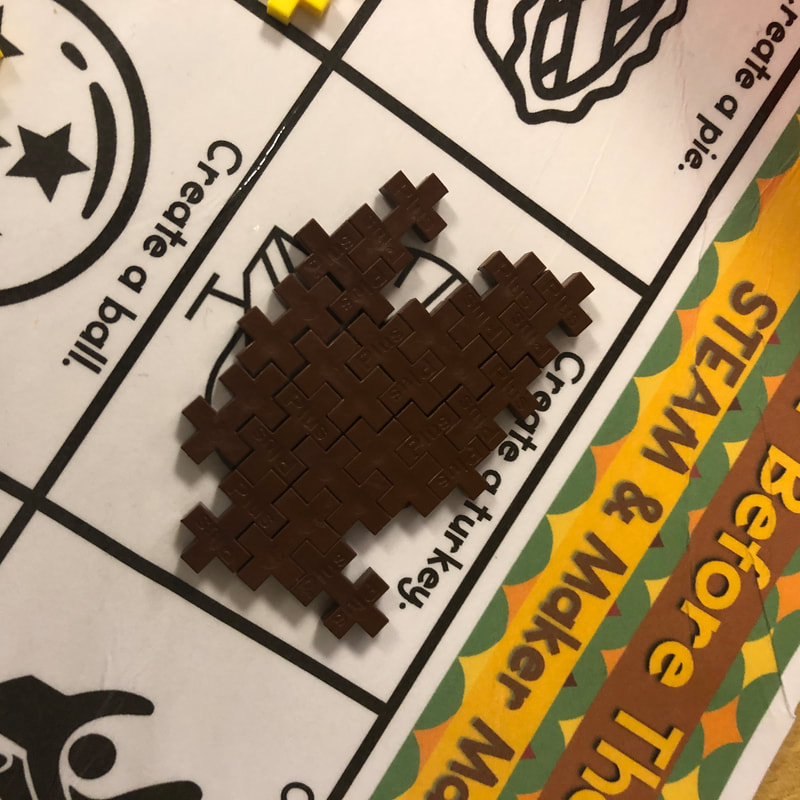
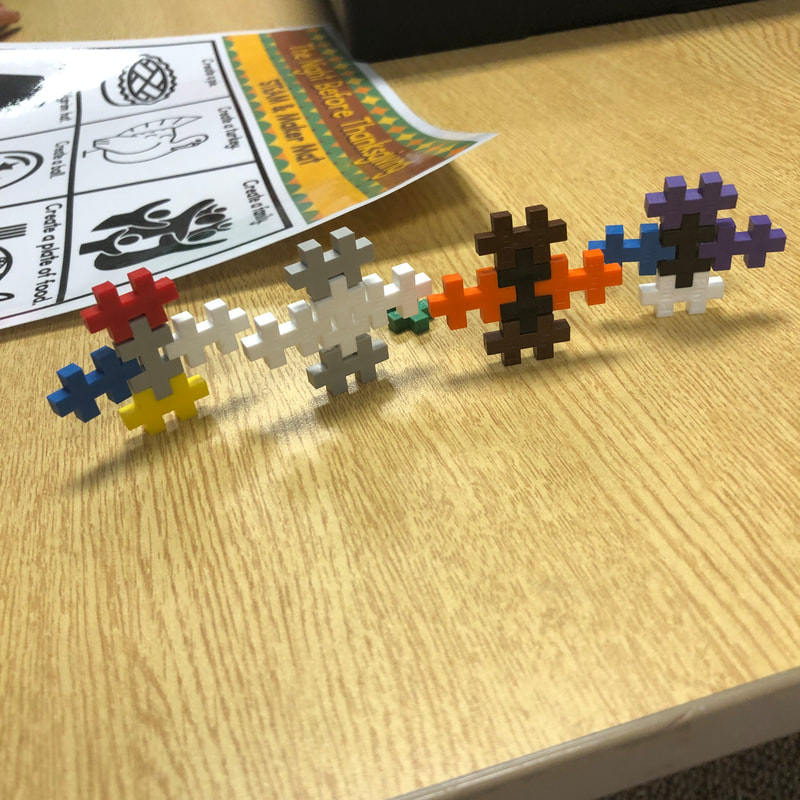
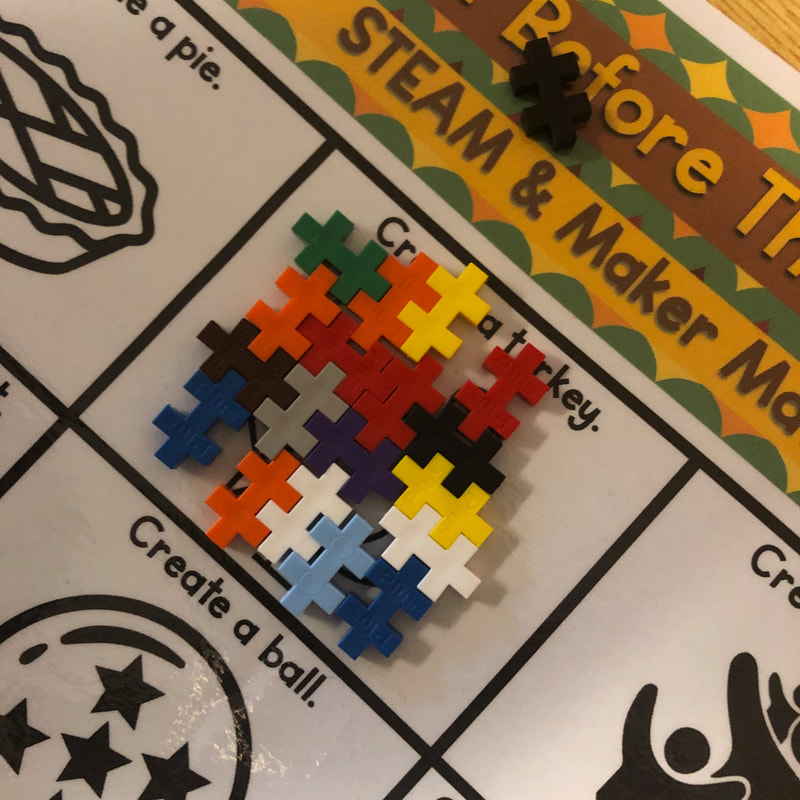
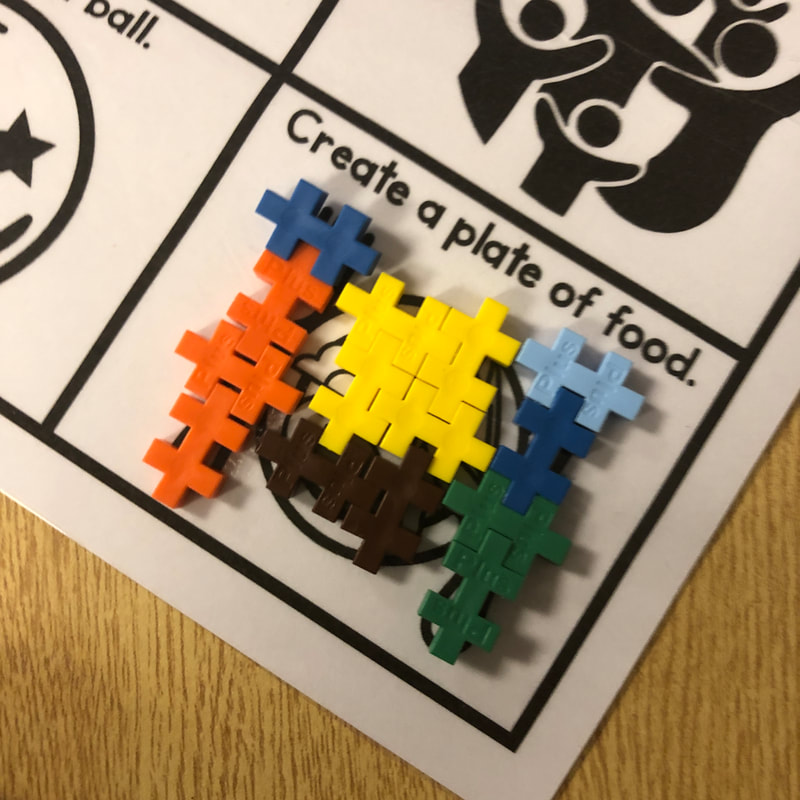
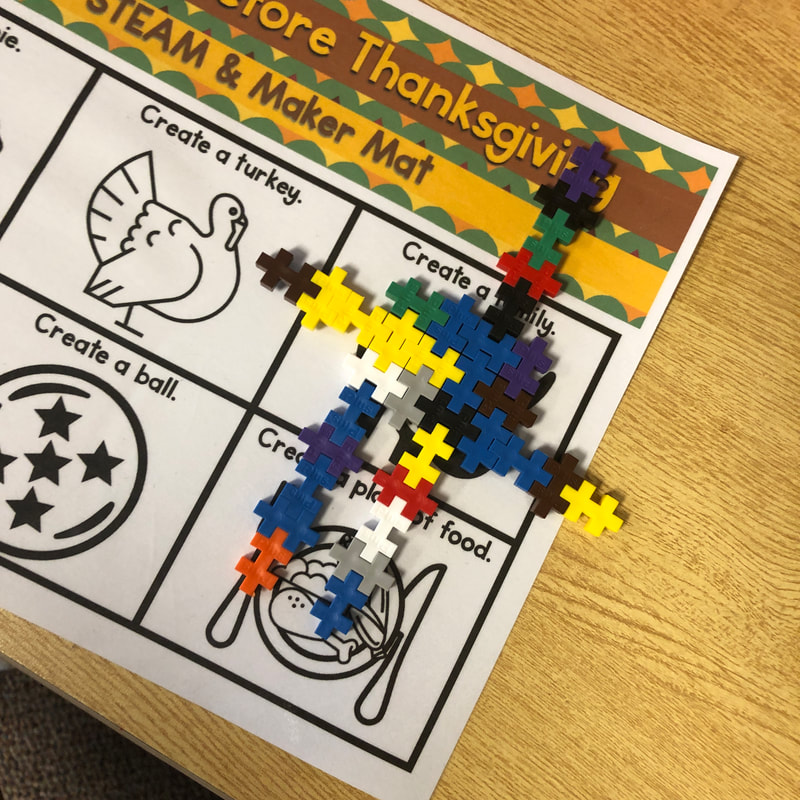
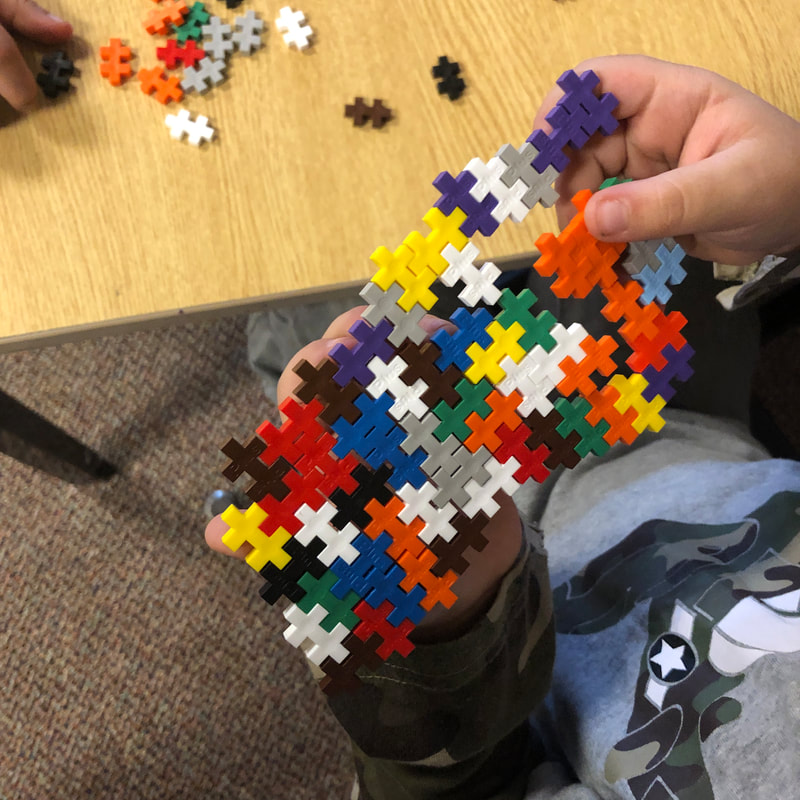
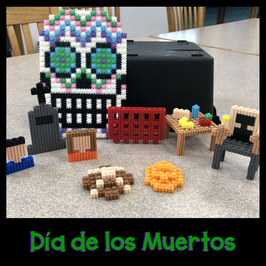
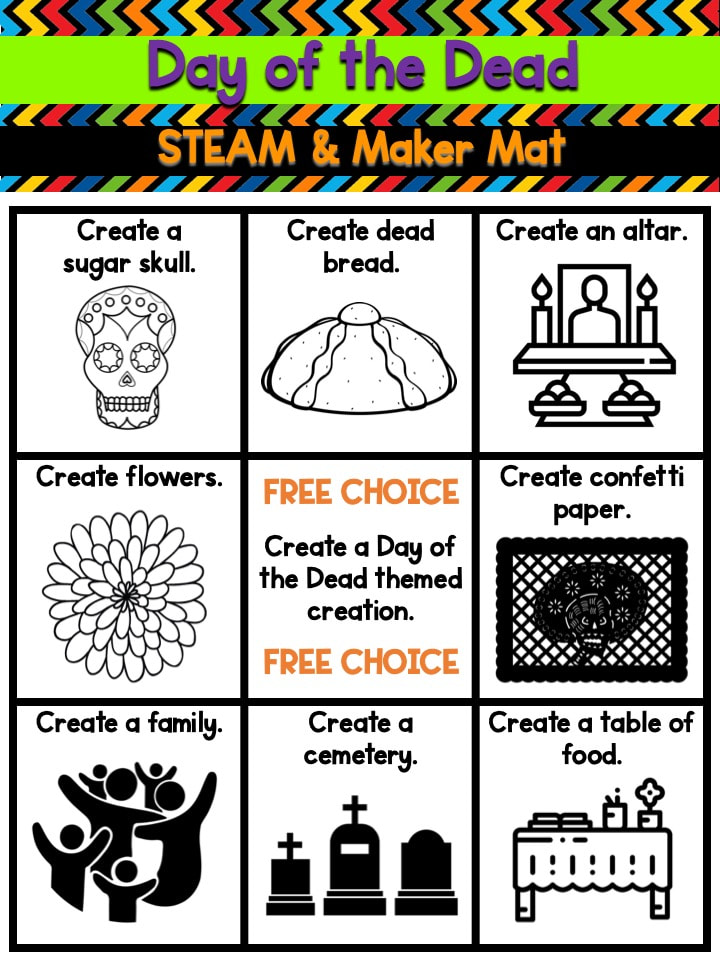
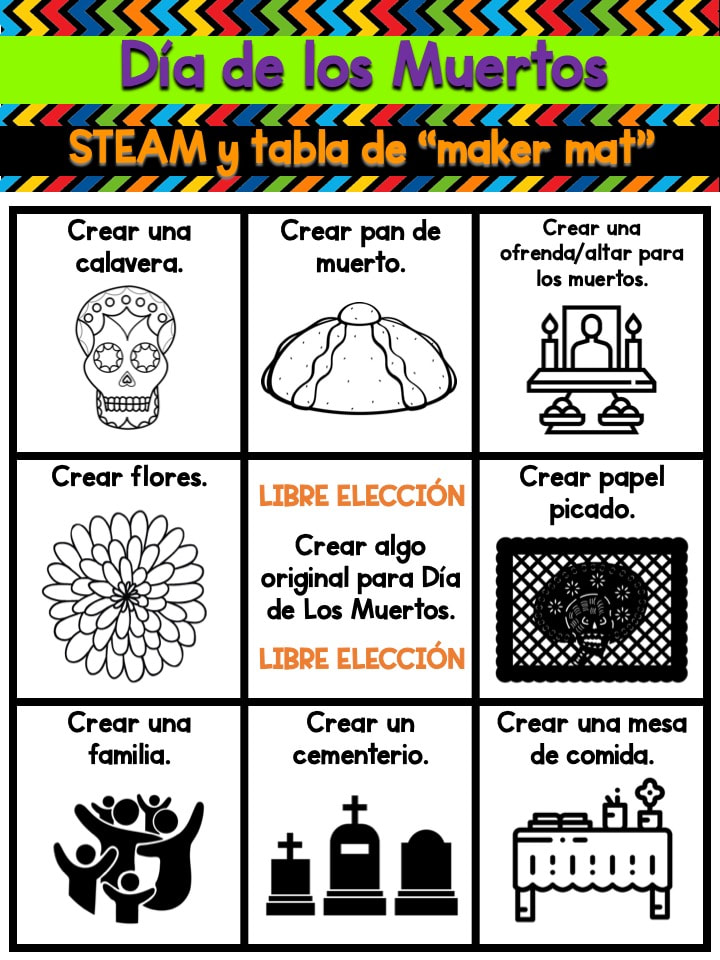
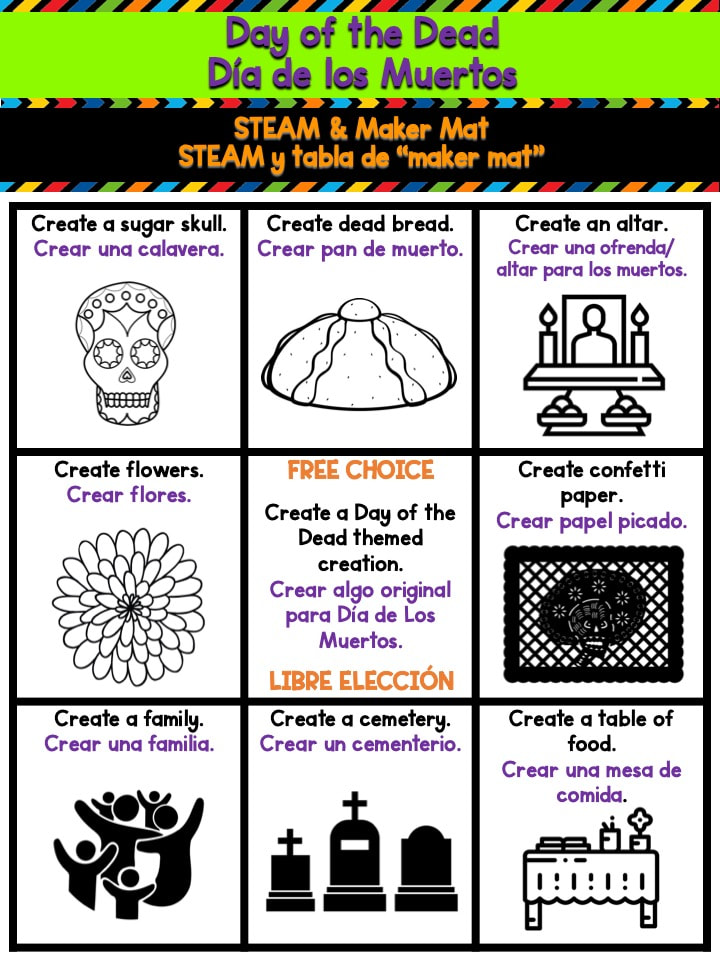
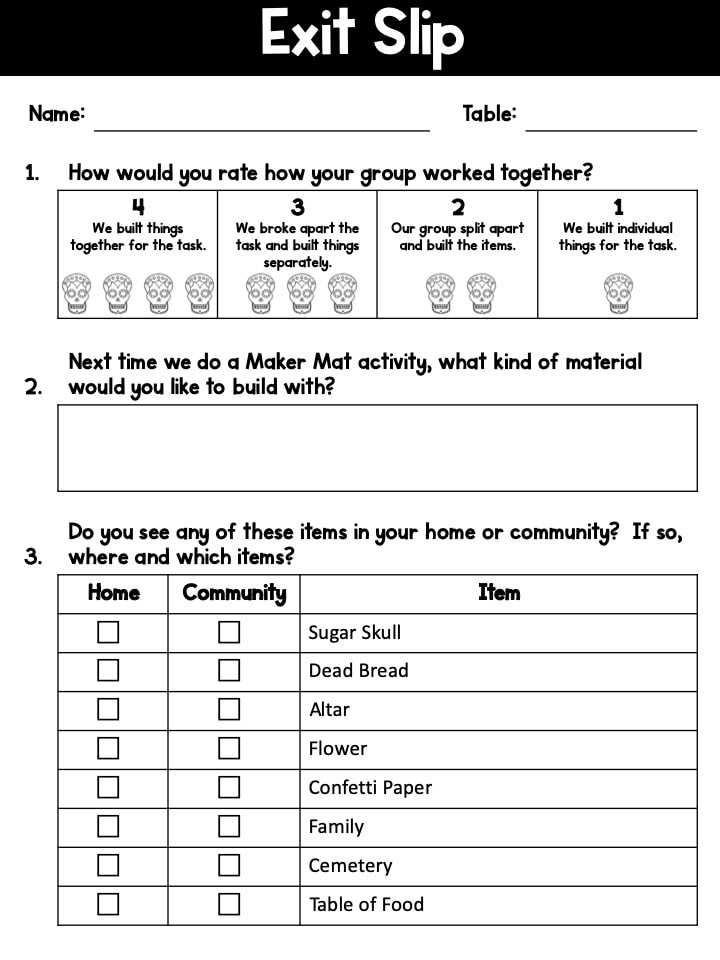
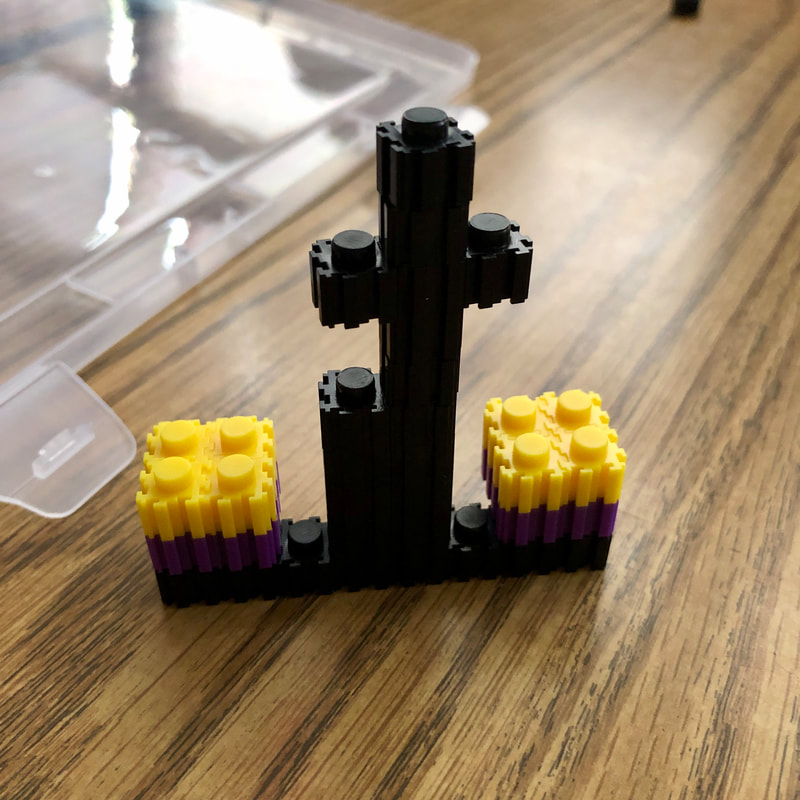
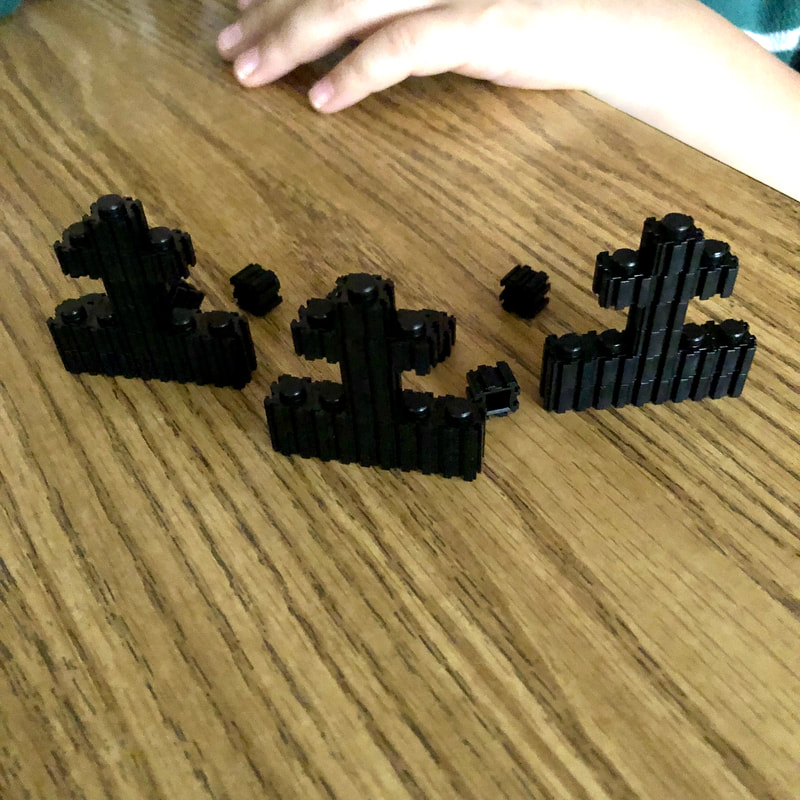
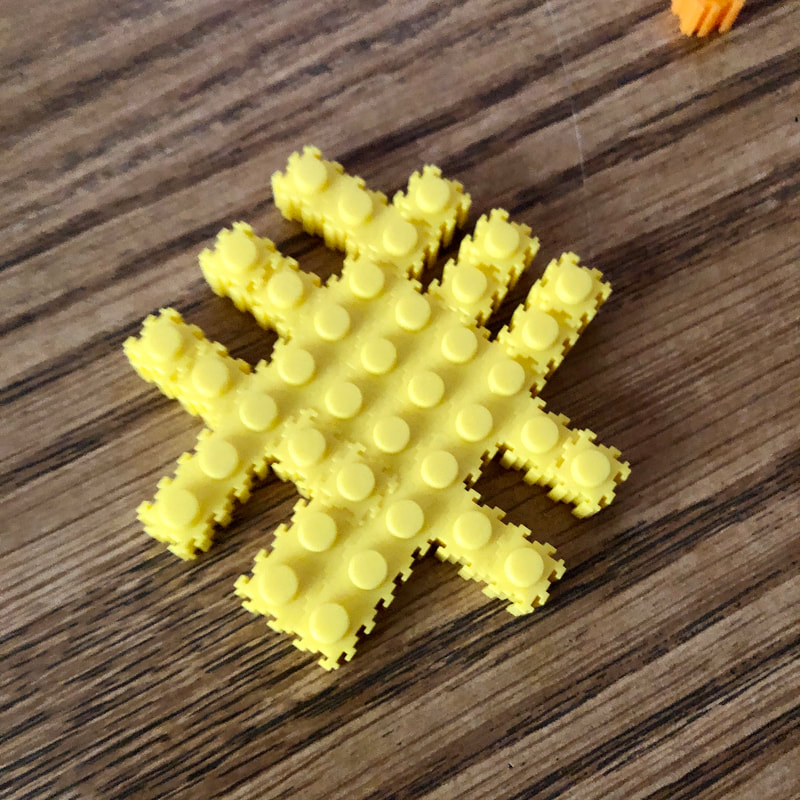
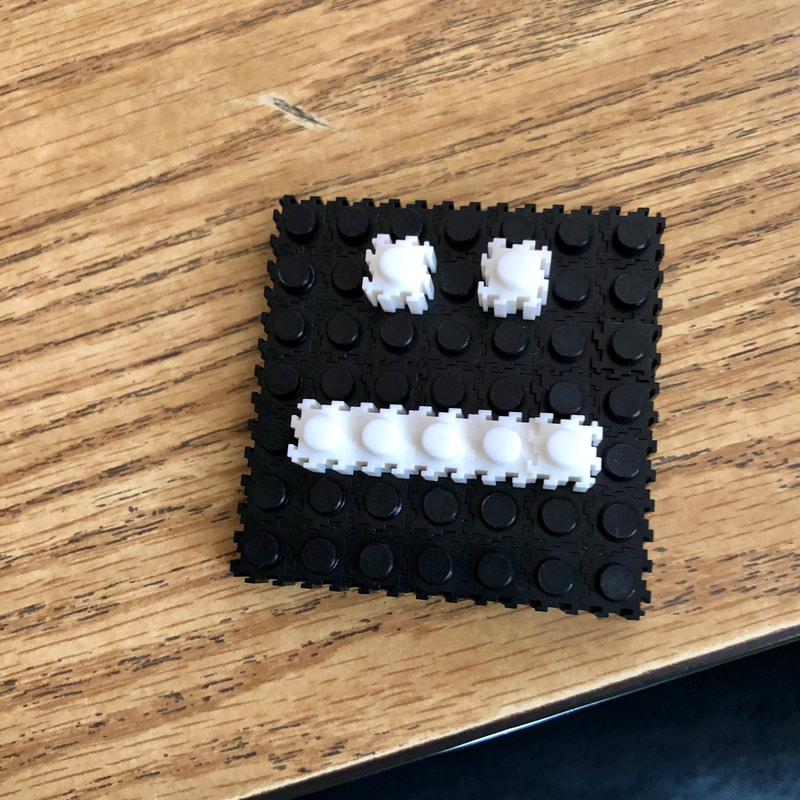
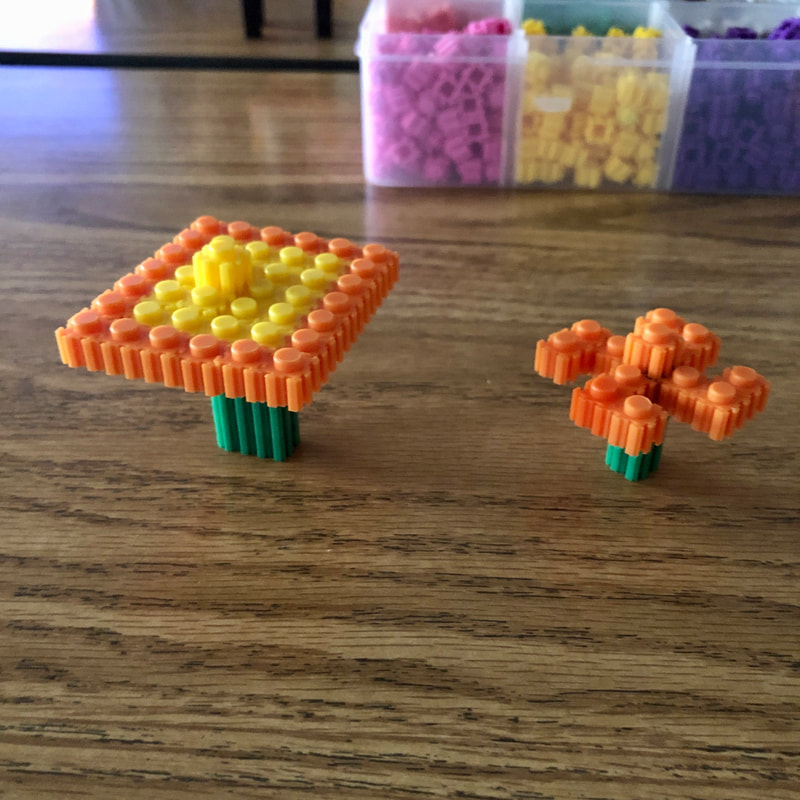
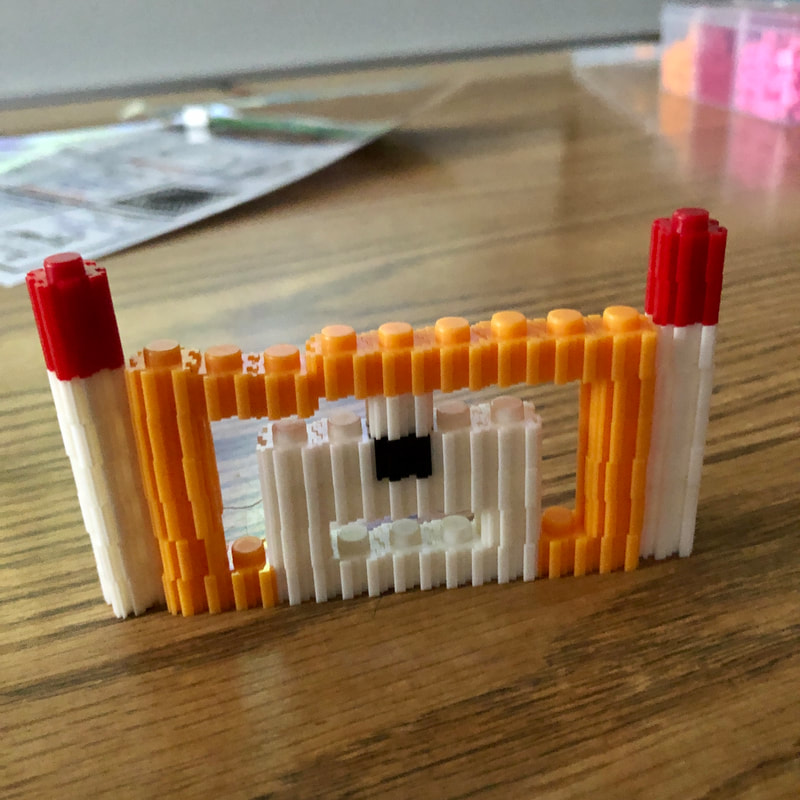
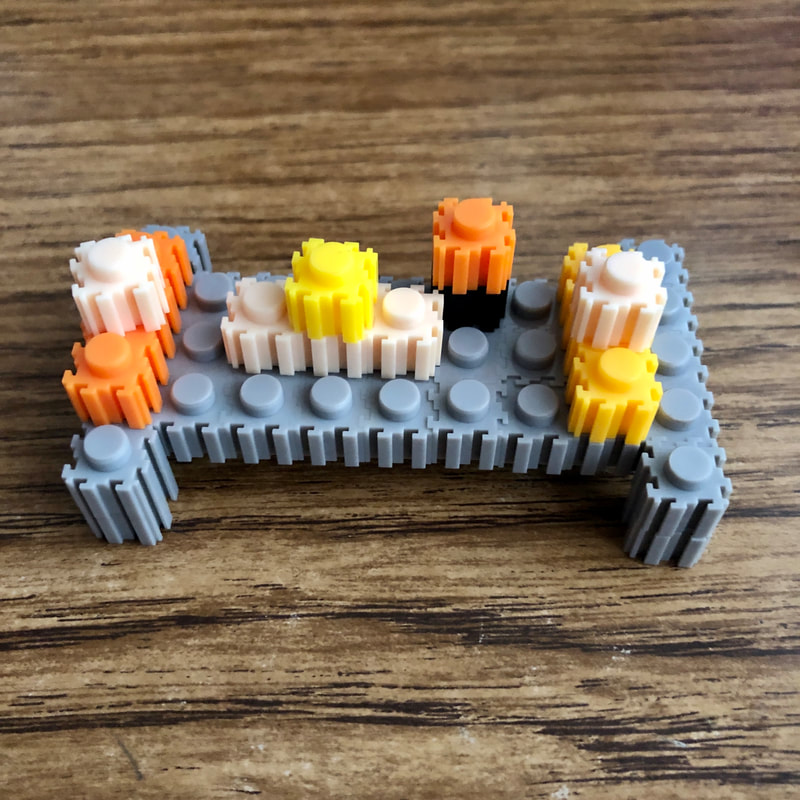
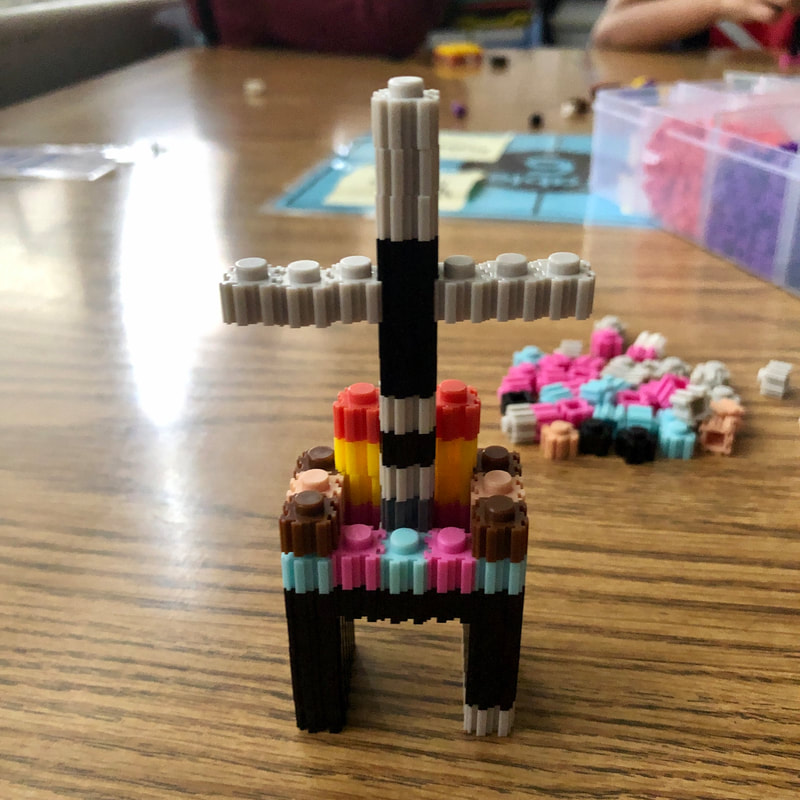
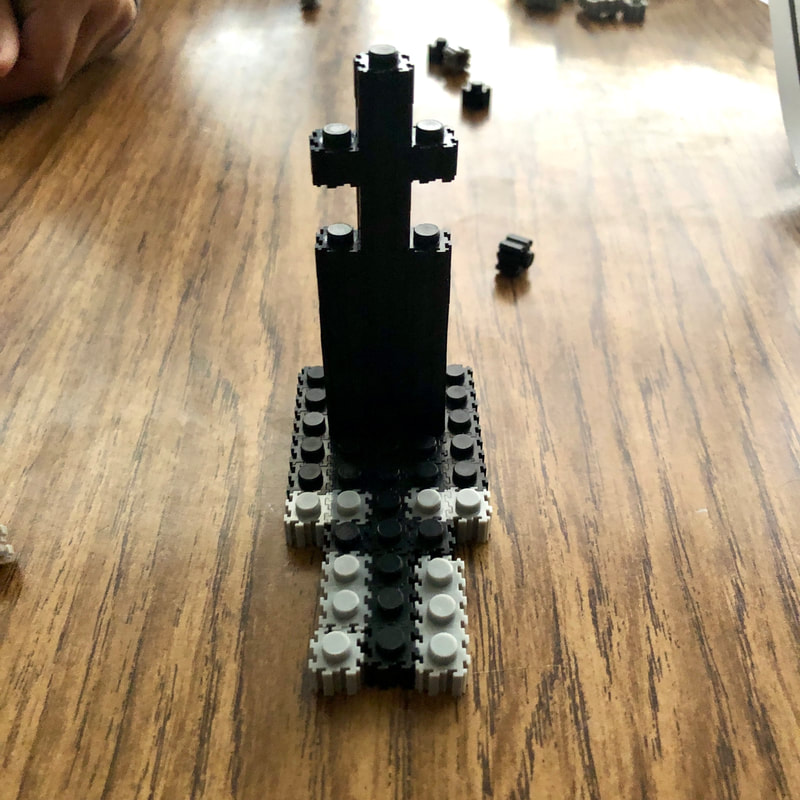
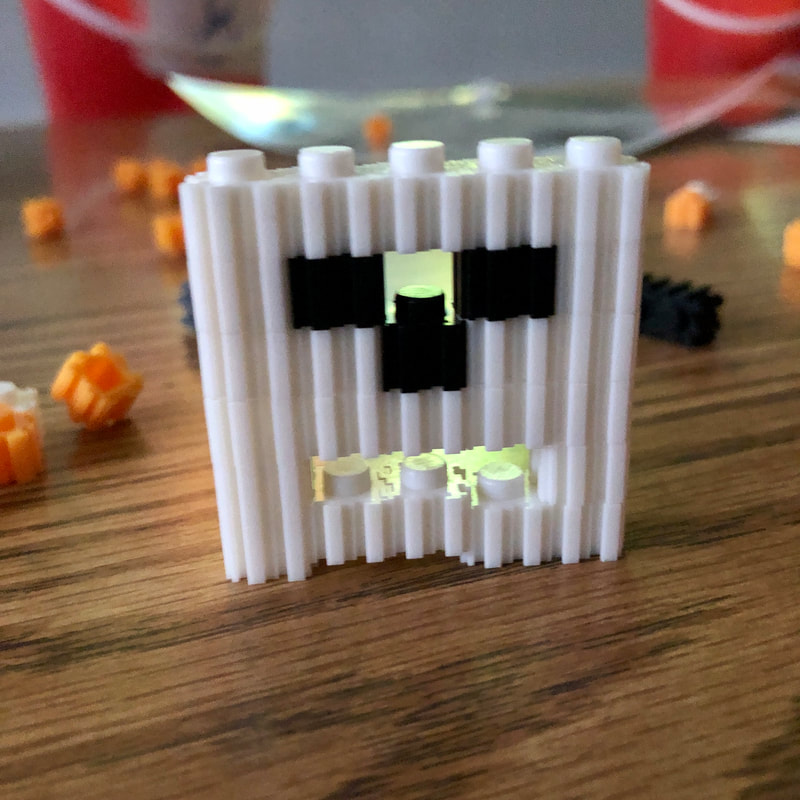
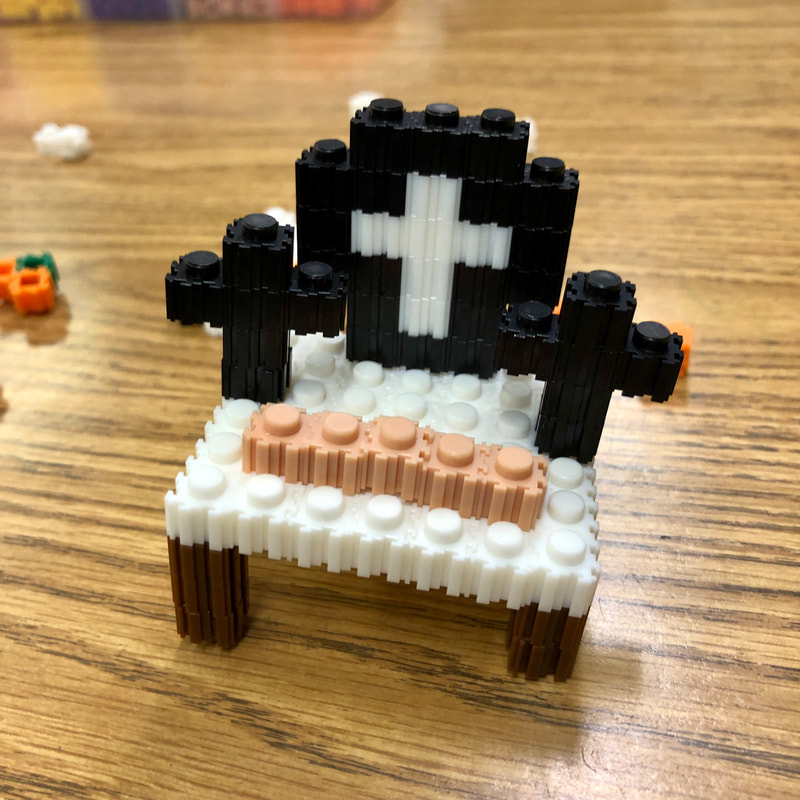
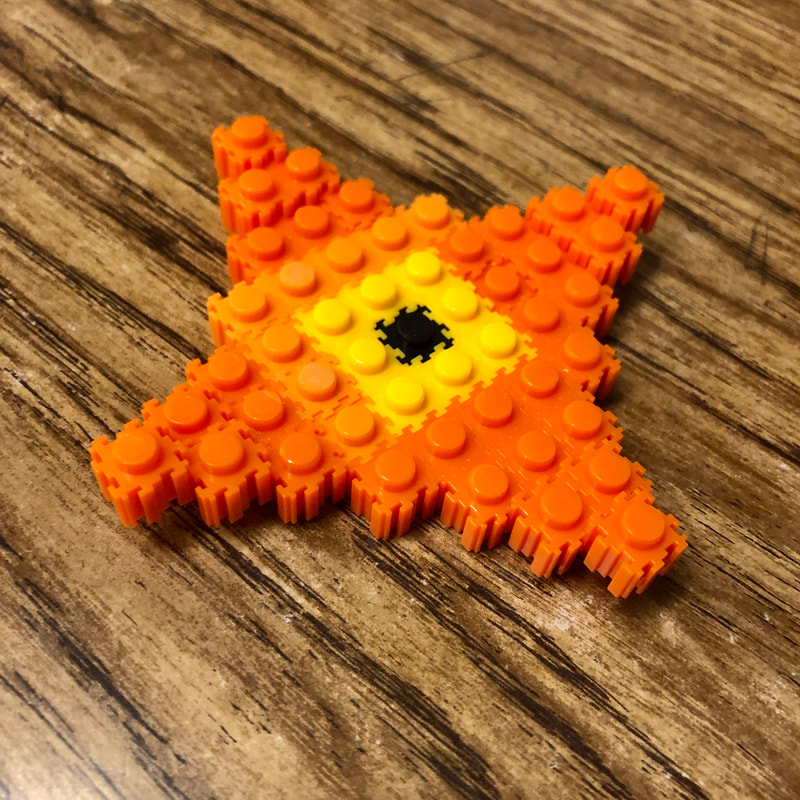
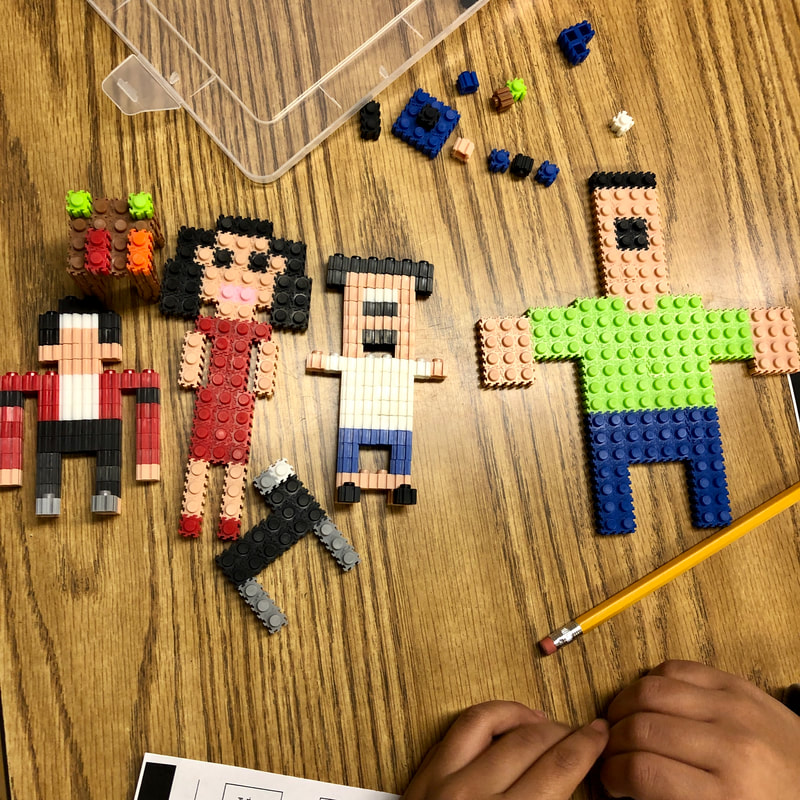
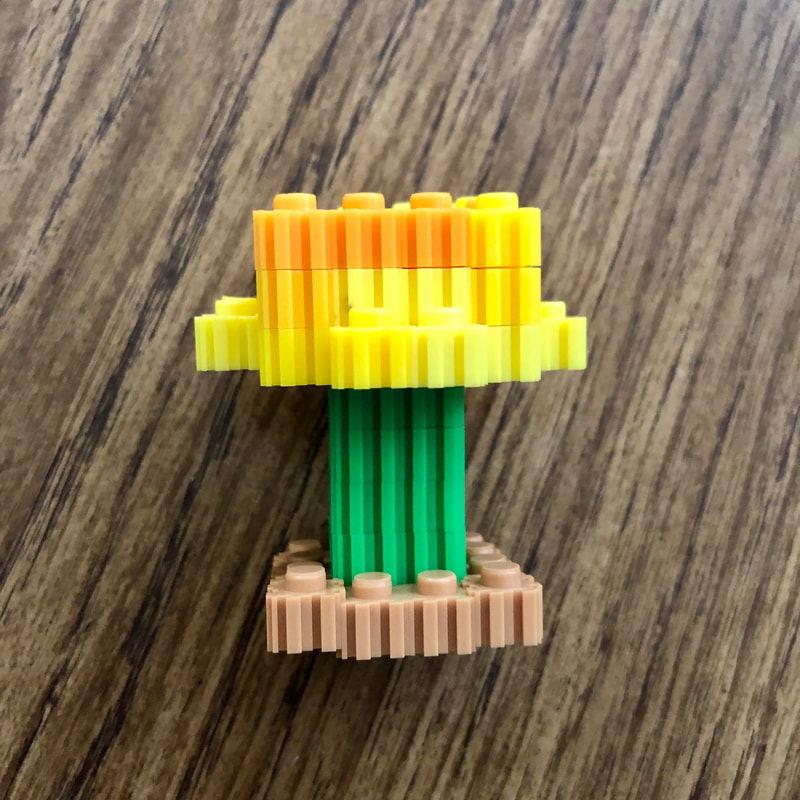
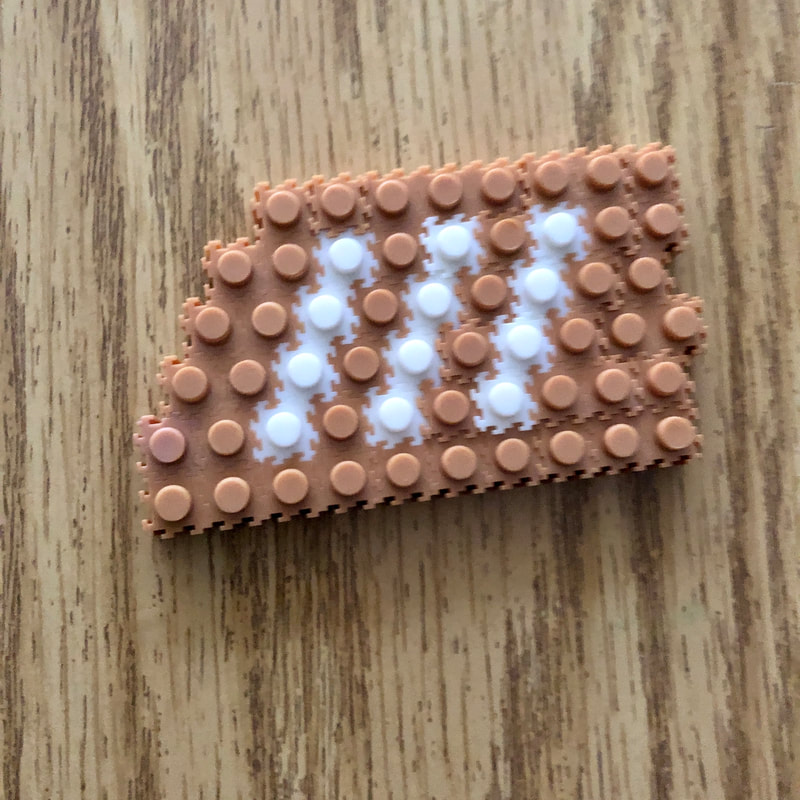
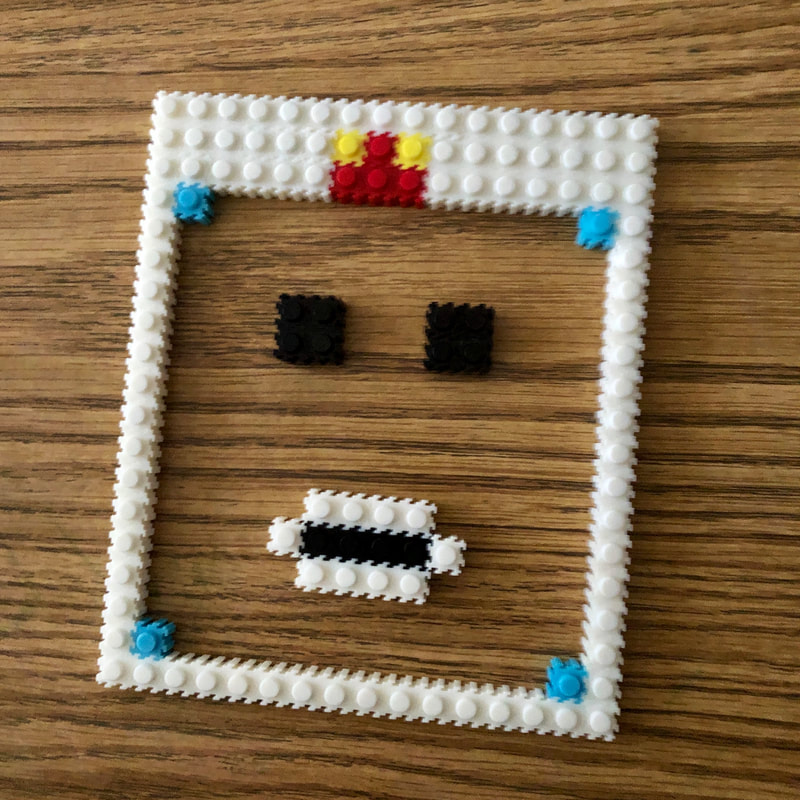
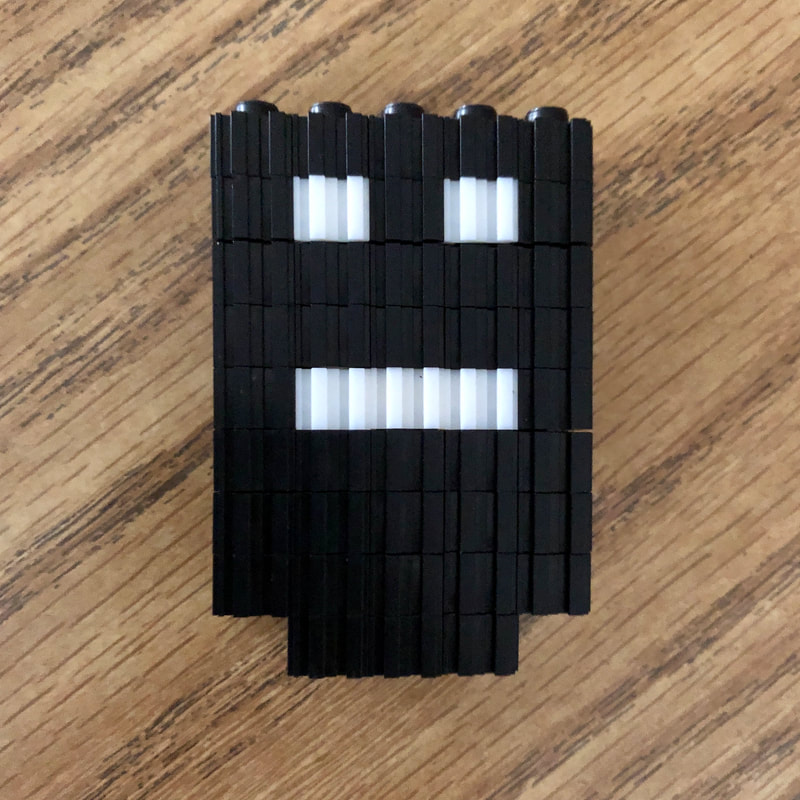
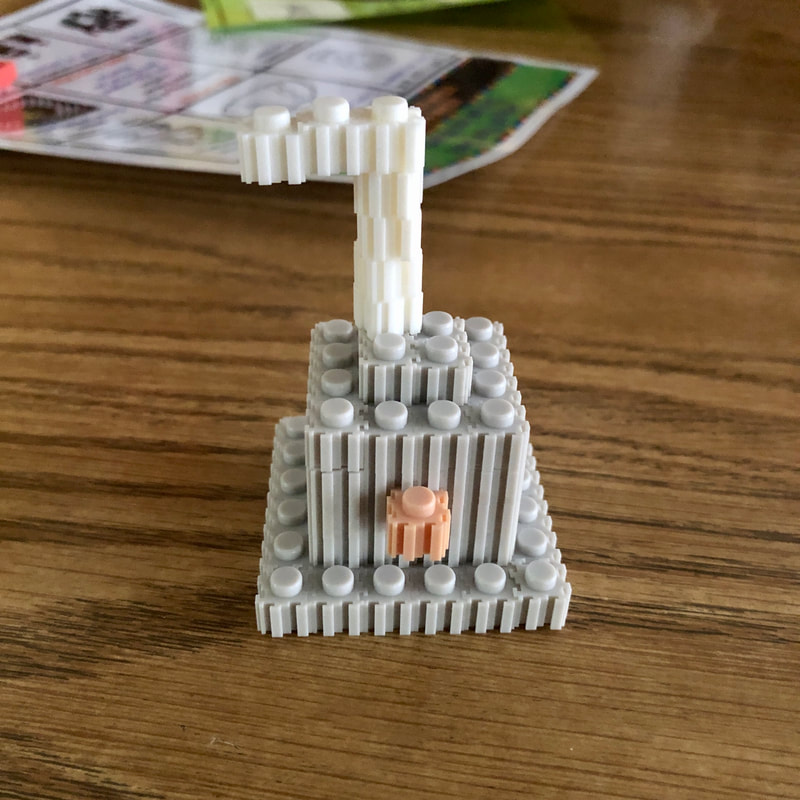
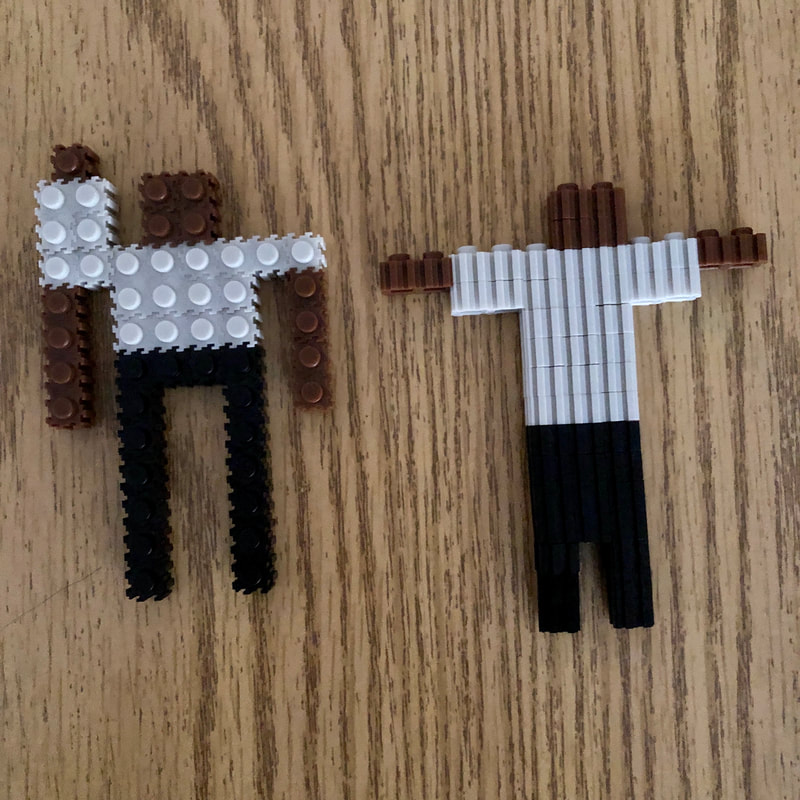
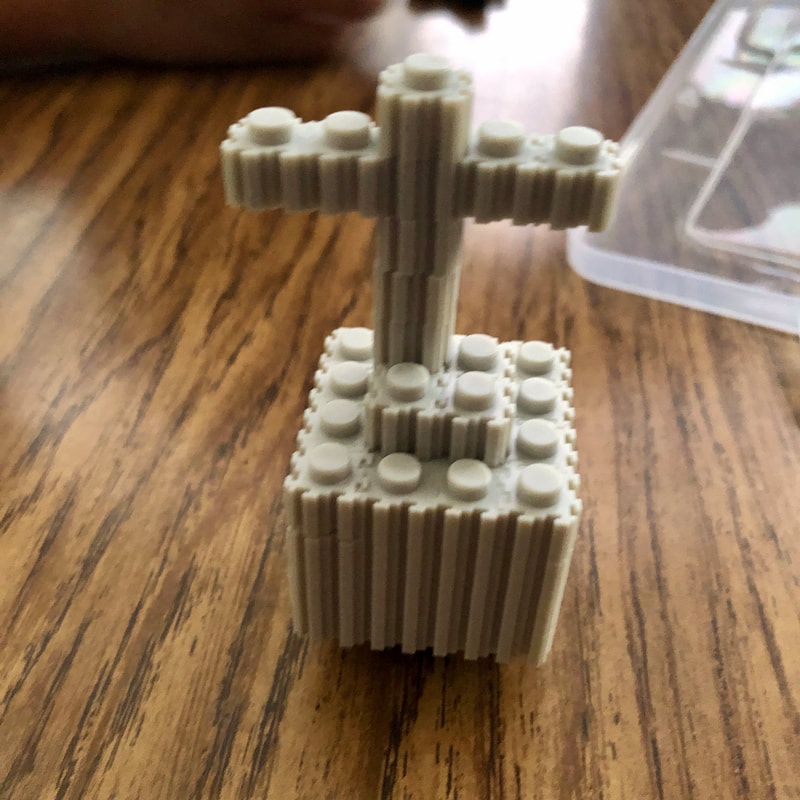
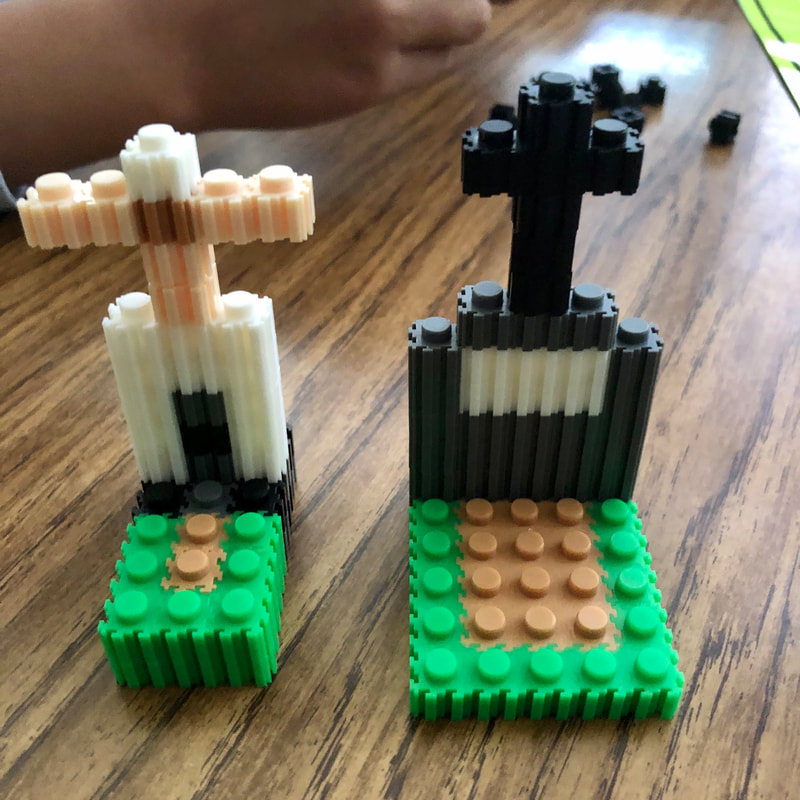
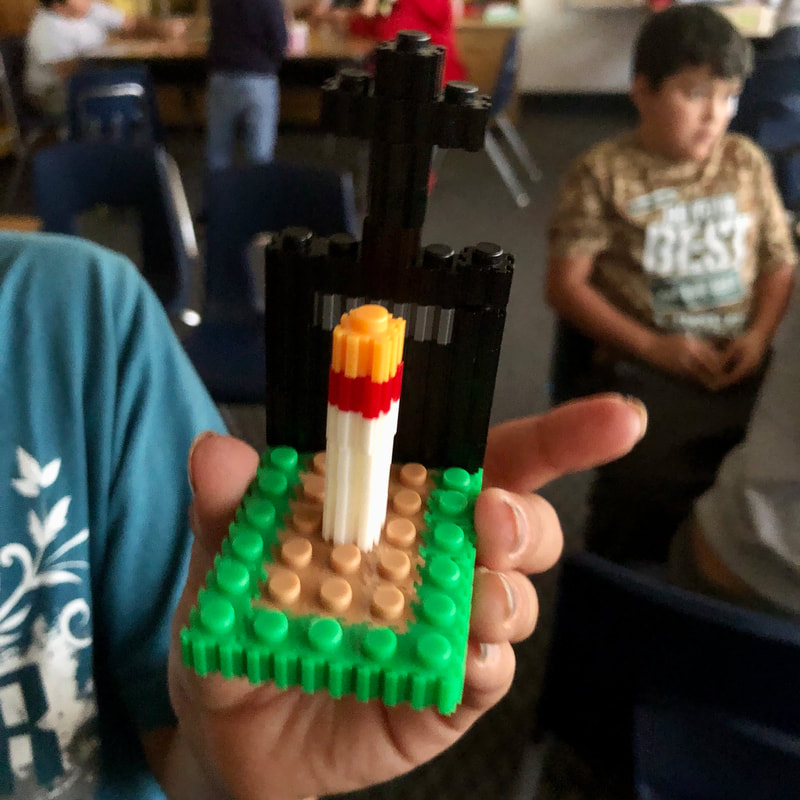
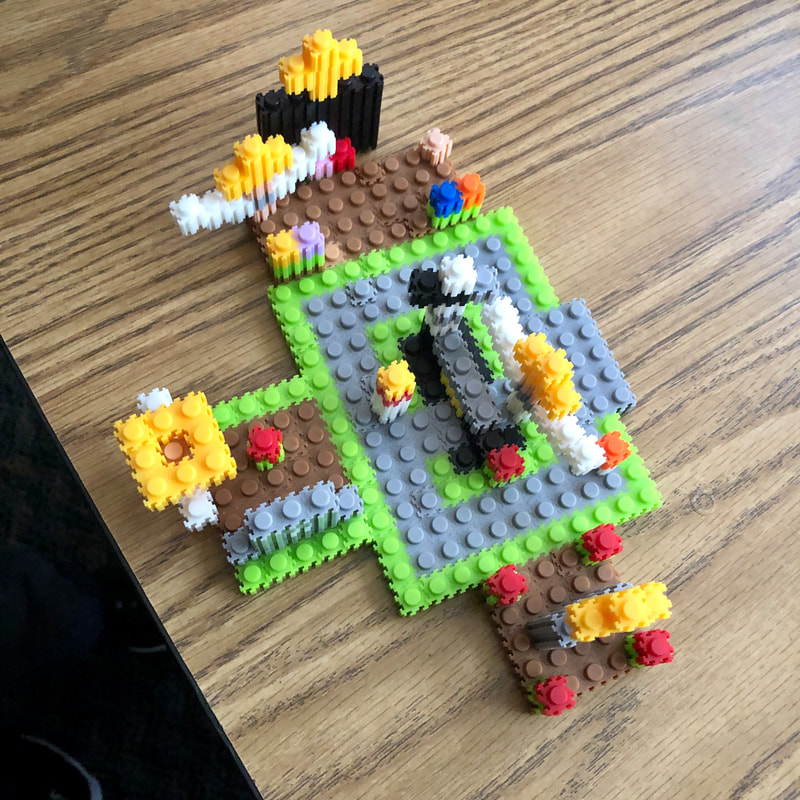
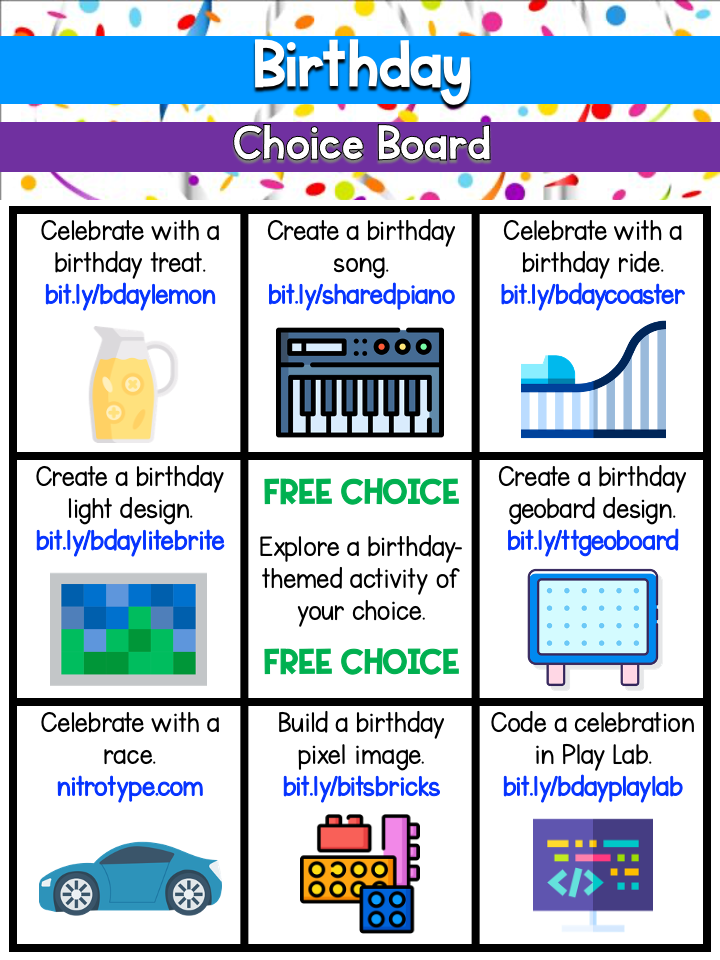
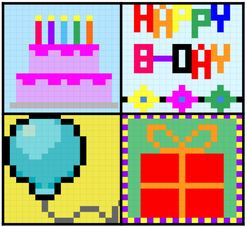
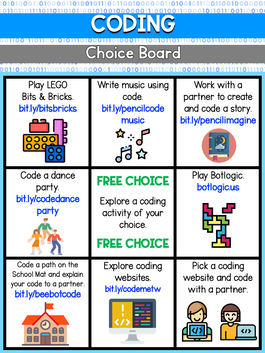
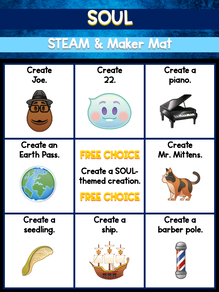
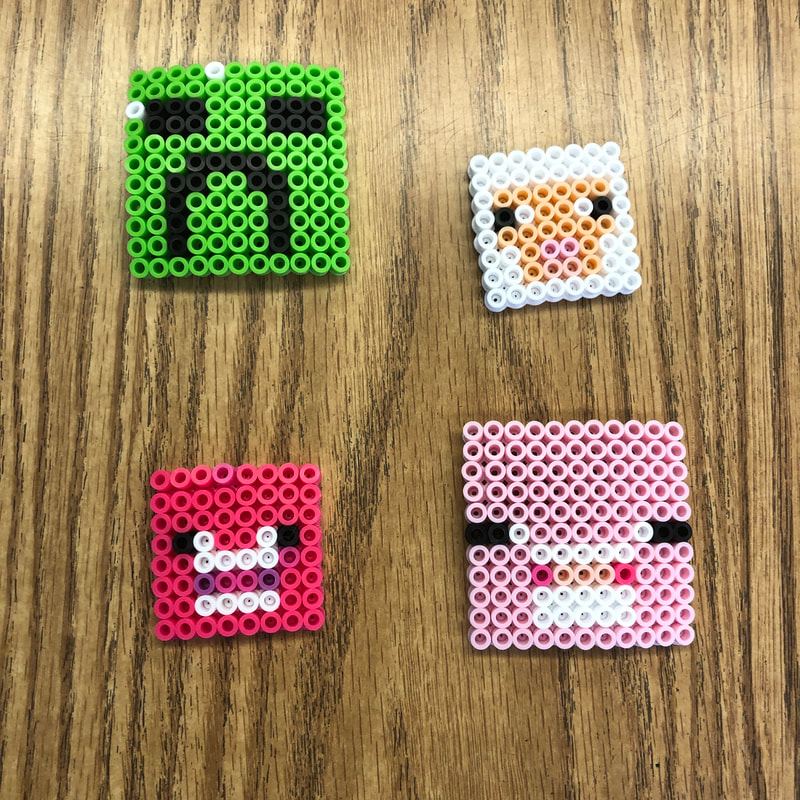
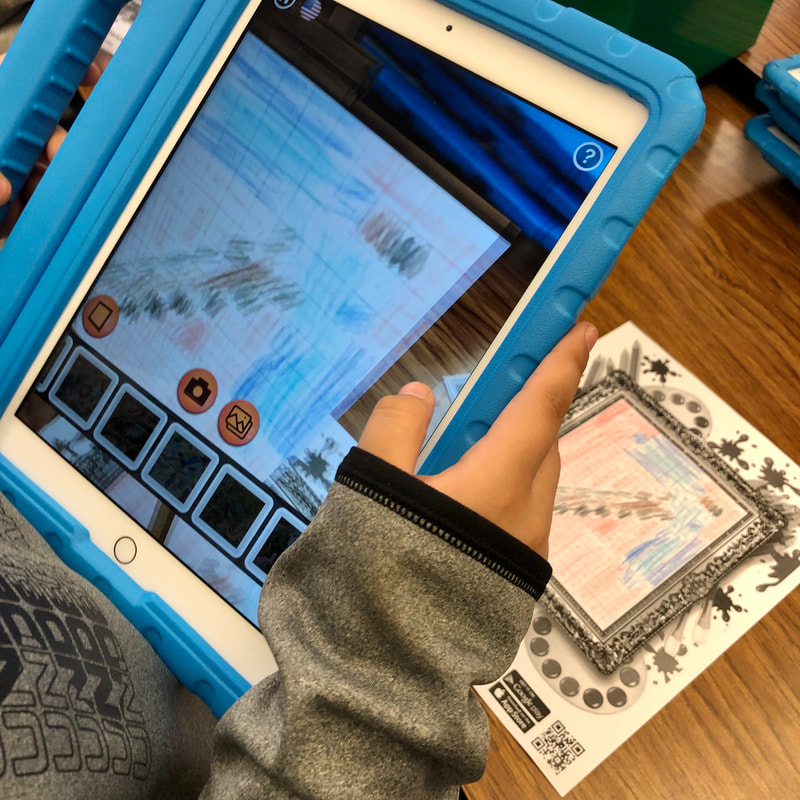
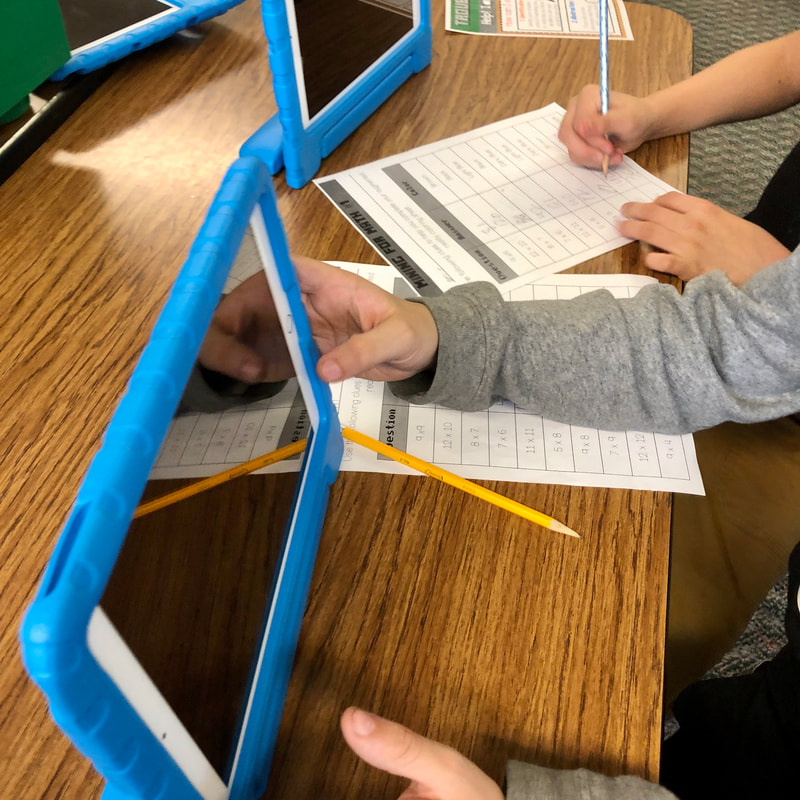
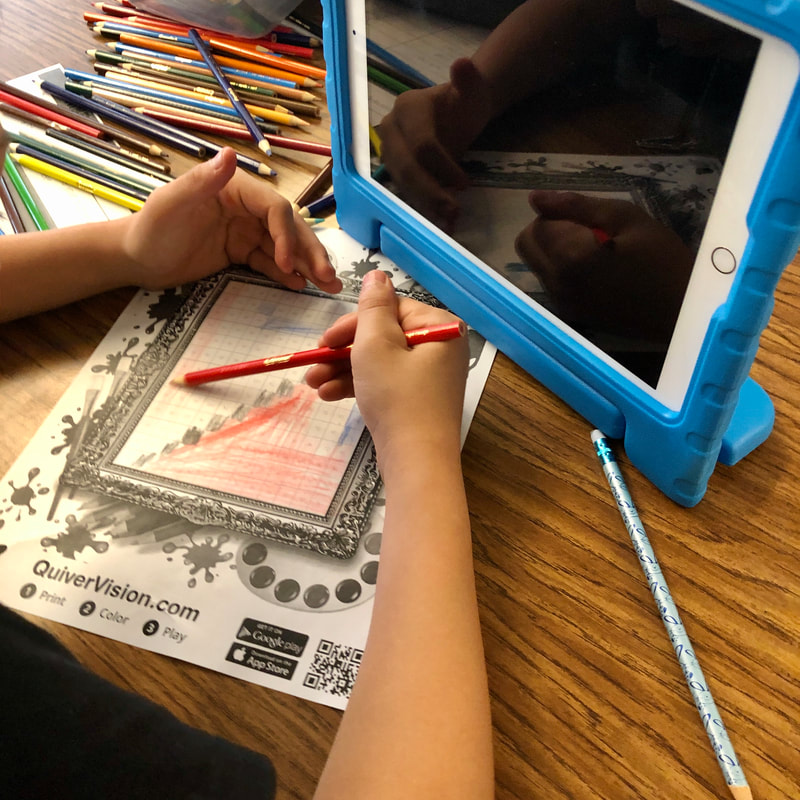
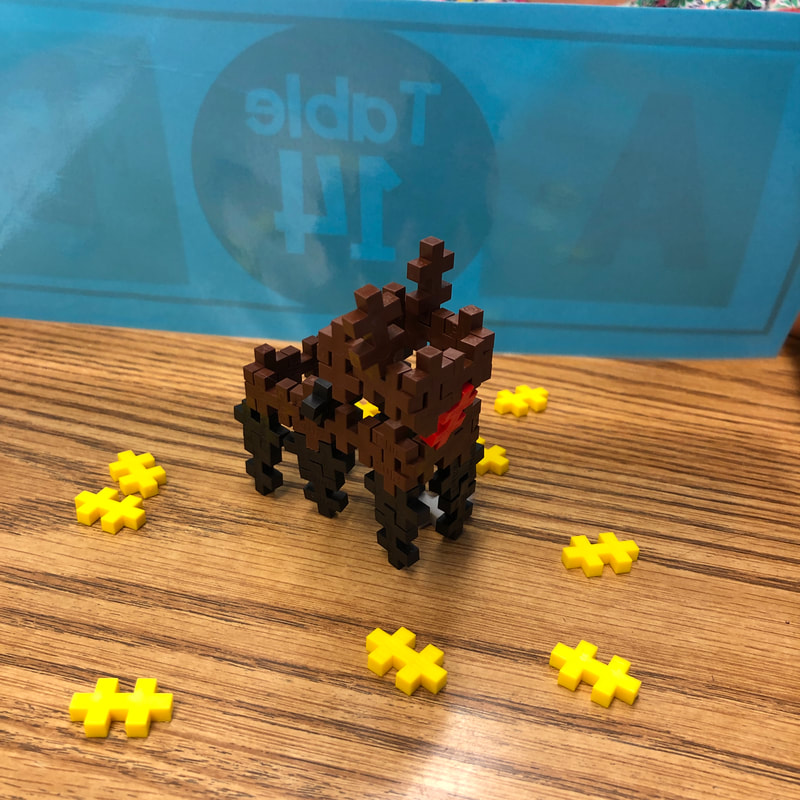
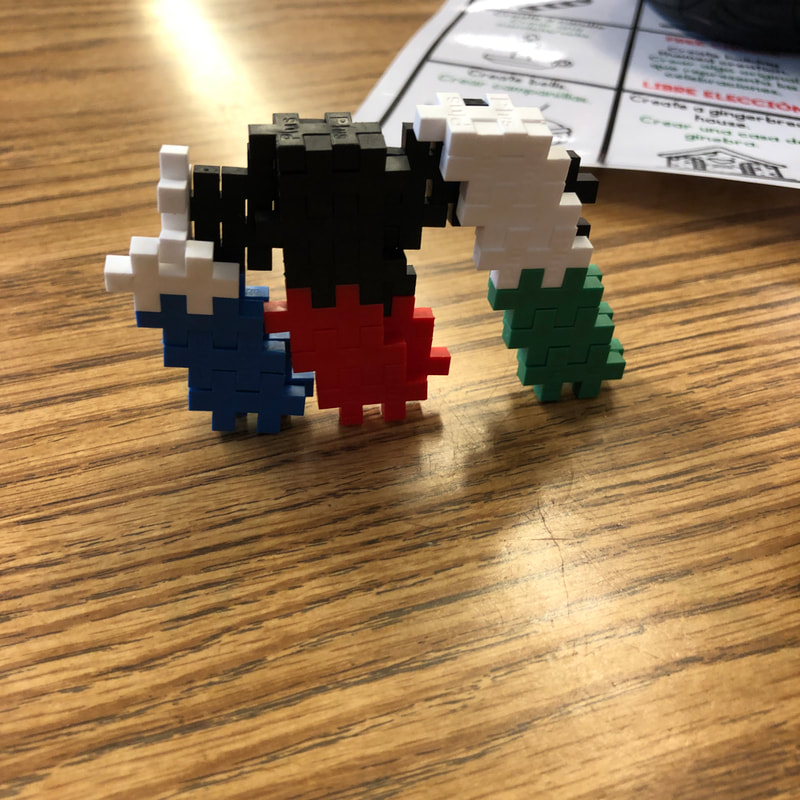
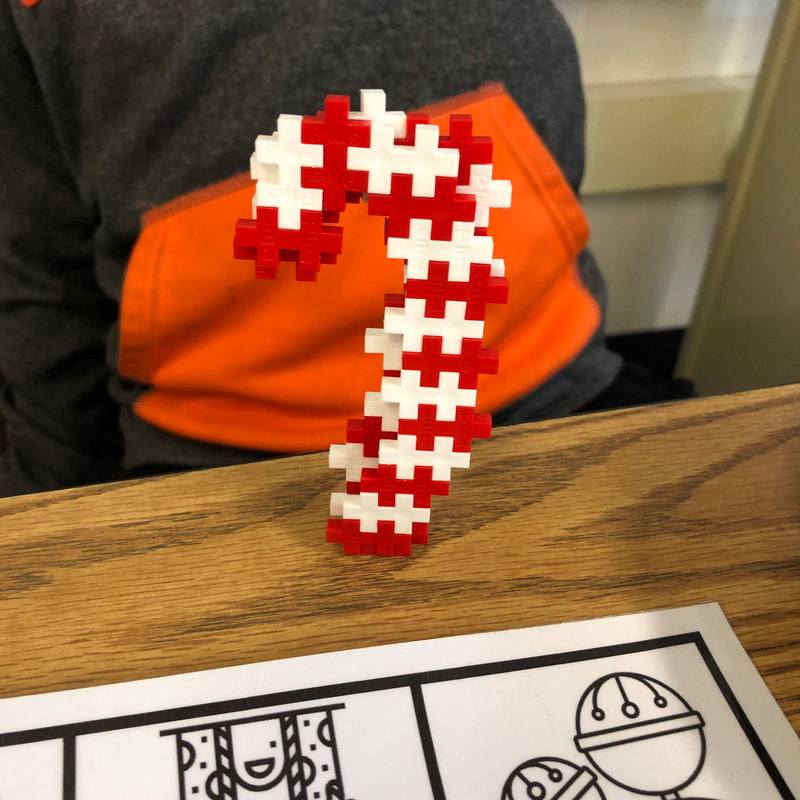
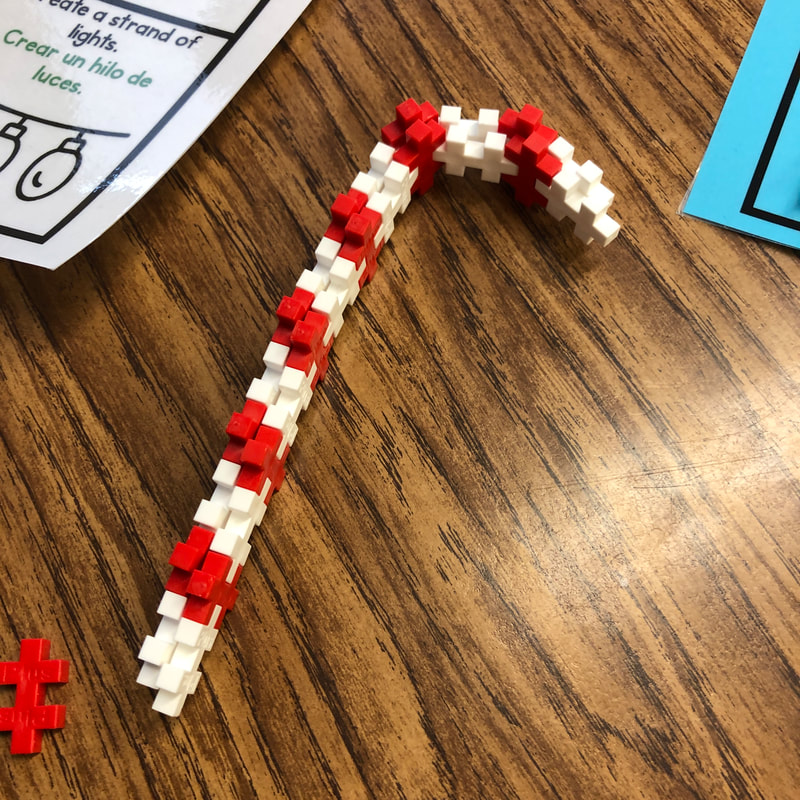
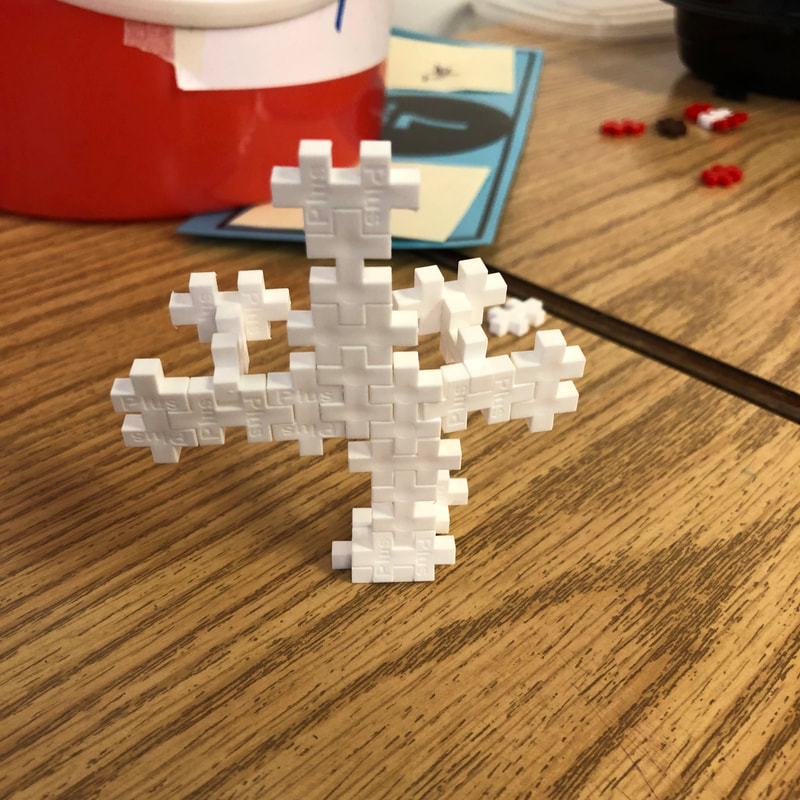
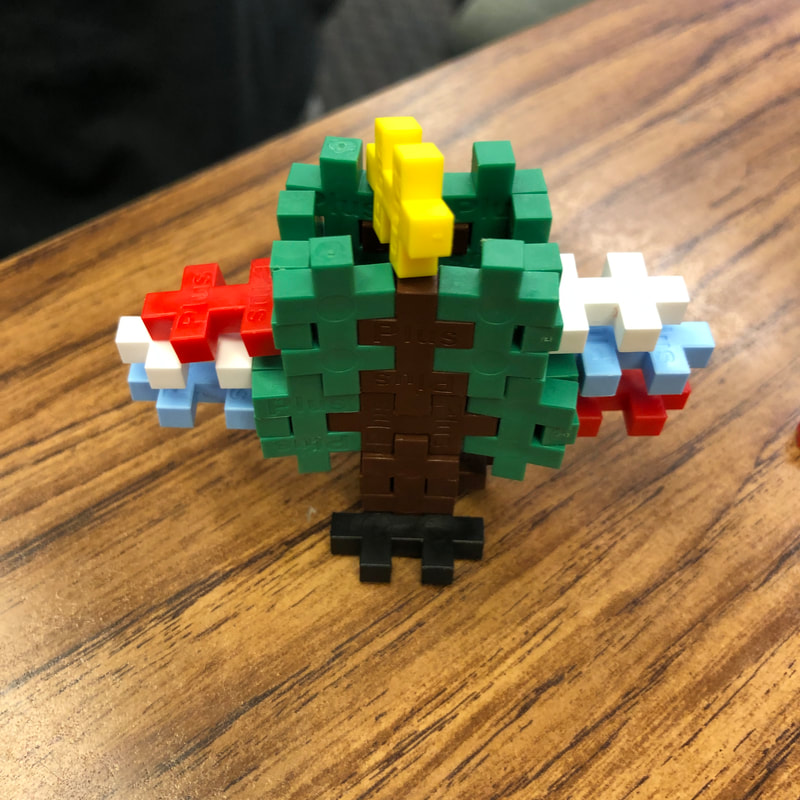
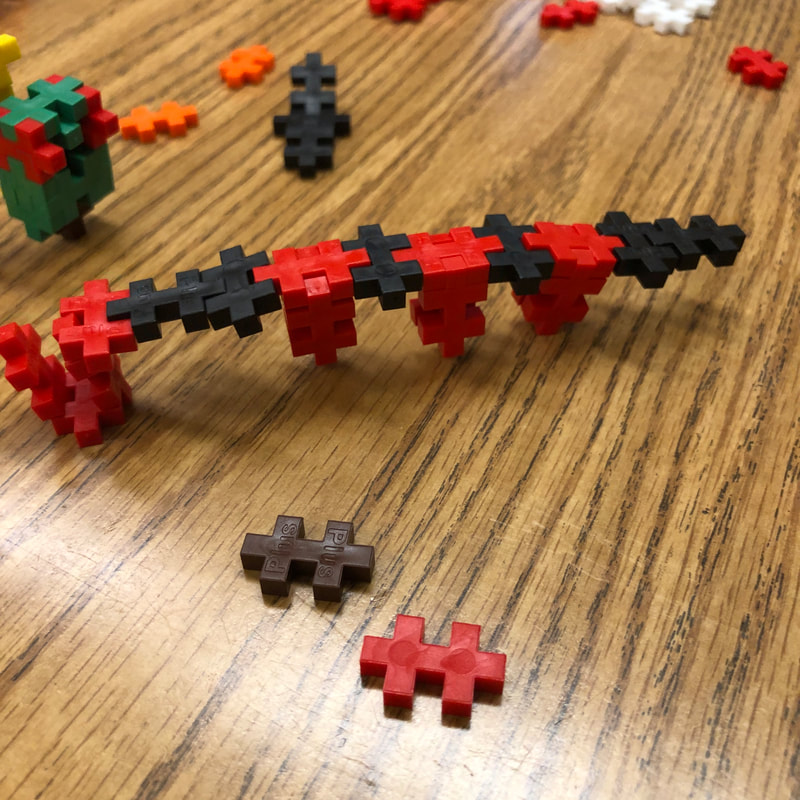
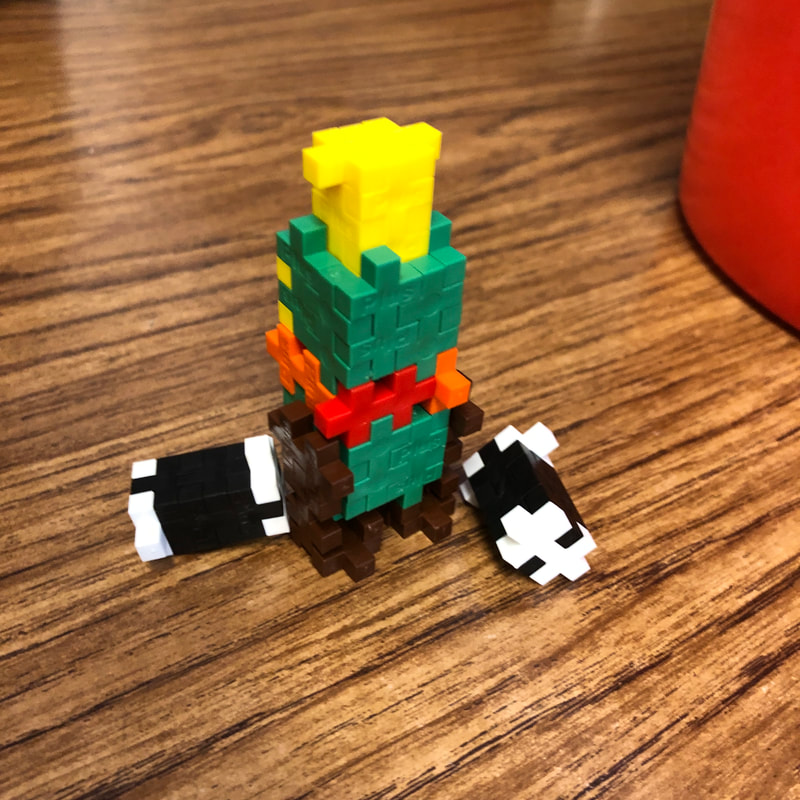
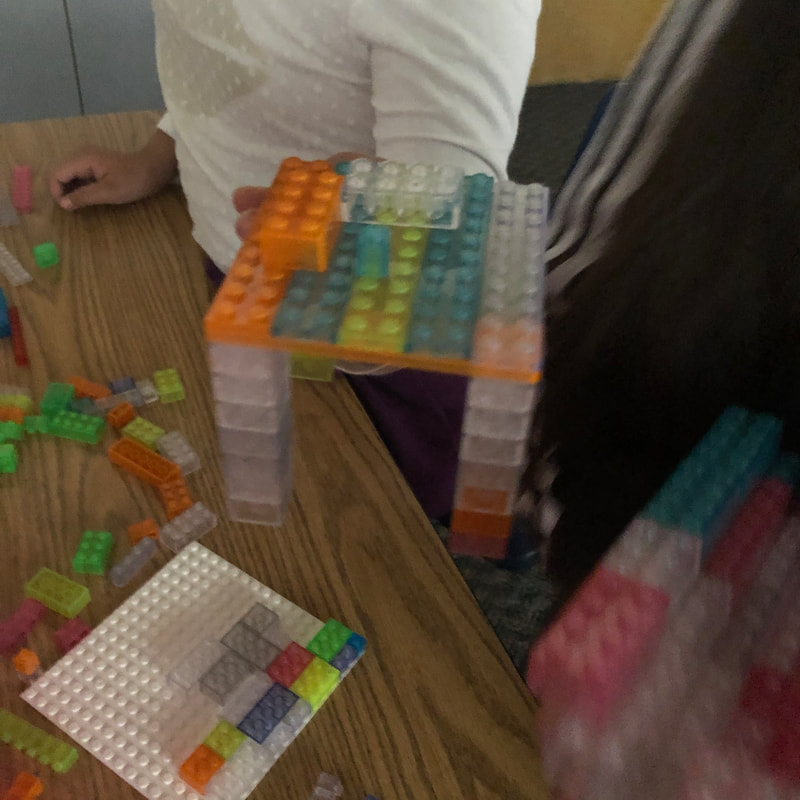
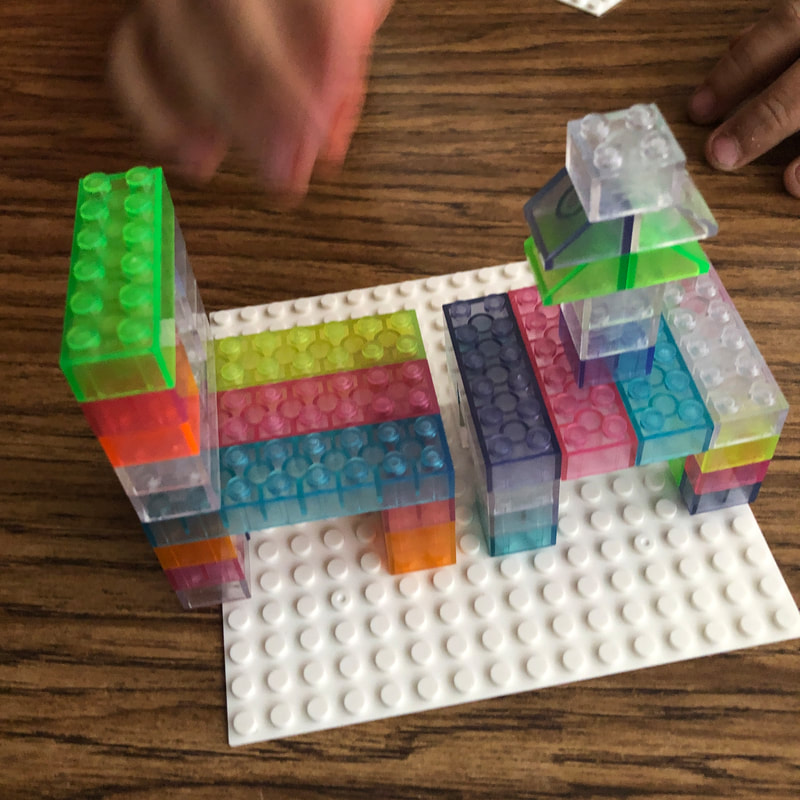
In celebration of all birthdays in all times of the year, I thought I would put together some fun STEAM activities! Whether it be a Maker Mat, a Choice Board, and a pixel art activity, any (or all!) can easily be integrated for some student creativity and critical thinking.
2 Comments
Recently, I watched Disney/Pixar's latest movie, Soul, with my family. It was such a cute movie that made you think deeper about yourself. I loved how it talked about finding purpose and how your purpose doesn't matter much if you don't find the time to live while pursuing it. Such a great message for kiddos about how they can be something bigger than themselves through their personality, purpose, and living life as your best self.
As I was watching the movie and seeing how my own kiddos were drawn into the story, I thought it would be a great theme motivator for digital activities. Although 2020 may be coming to a close, we still aren't in the clear and distance learning is still part of our reality. I love when I can put a spin on something that students are interested in to draw them into the learning. I put together some of my favorite types of activities below using Soul as the theme. Feel free to use (if you share, please give credit)! How about we start out with a Google Slide as a welcome agenda? Google Jamboard Warm Up
Why not start a day/lesson off with a little warm up? I love using Google Jamboard for activities like this where I want students to think creatively. With this prompt, students are to place themselves in the shoes of Joe and think about what he might be writing on the board to share with his students. Simply have students add text or a sticky note, and you can start collecting responses!
Pixel Art Review
To say I have been a bit obsessed with pixel art lately would be an understatement. I love pairing the pixel art concept with Google Sheets to make interactive review/question and answer type sheets. Possibly just a glorified worksheet, but it engages students and self-checks along the way. It can open up communication among students when they reach a question/problem that they are having difficulty with, as it provides instant feedback on if the answer is correct or not. These type of activities could be great for students to be paired up online and complete together.
Below are two different links - one to the blank template and one to an example of content inserted (using multiplication facts). Choice Board
For the online version, I created a digital Maker Mat using digital building blocks. Students can select any of the bricks and copy and paste them to make new bricks. This is a great way for students to practice keyboard shortcuts, manipulating objects, and being creative.
SPARK (Bingo) Game Boards
Let's be honest, we all have one of those games we play on our phone that is a bit of a guilty addiction. I will admit, I have played Disney Emoji Blitz for longer than I would like to admit. ;)
With the release of the movie, the game had a special event in which you can earn characters and keyboard items. So why not a fun, bingo (let's call it SPARK as this is Soul-themed after all) game! I created this game using flippity.net, as they have an easy bingo template that works with Google Slides. If you click on the button below for the "Online SPARK Boards," you not only have the option to print boards, but you can also have students access an online bingo board as well as a wheel to spin for the teacher (under the "Play" tab). Some ways to use this SPARK board:
These are just some ideas for how I might use the theme of the movie to get started with some STEAM/EdTechy activities for students. But really, the possibilities are endless? How would you integrate the movie/theme of the movie into your curriculum?
I guess you could say this is a new twist on an old thing. Previously, I had shared winter-themed task cards. They were ones I had used with students when we were building with LEGOs for a STEAM activity. To be honest though, sometimes I like task cards and sometimes I like Maker Mats. It depends on how I am running the activity, what is available for building, and how students are collaborating together.
As I had volunteered to provide an activity for my son's holiday party before break, I thought I would send my Winter Maker Mat and some pipe cleaners for students to create. As many of the maker mats I create are targeted towards an elementary audience with English Language Learners and other special populations, I try to incorporate an English version, a Spanish version, and one with both English and Spanish as well as pictures on all. I want to make sure the activity is accessible to all learnings. The great thing is that in my experience, students rarely recreate the picture as is when they are creating! They use their creativity to take their background knowledge and design something new and amazing! Well, I had originally planned this lesson before we closed face-to-face classes for the year, but realized it was something that my STEAM students could easily do from home as well. Much like when we would do Maker Mats in class, I set this one up the same way, but added a bit of informational text to give more meaning to the Maker Mat (and explain a bit about Earth Day). I made a short video of me reading the informational text (in English) as I know it would be helpful to several of my students. After reading or listening to the text, students would choose at least 3 different items to create from the Maker Mat. They are always welcome to do more, especially as this will be completed at home and possibly with siblings. Below is a link to the Maker Mats. There are three different versions, but all the same content. One in English, one in Spanish, and one with both. Another fun resource I found that I shared with students is the song below. If you are unable to view the video below, please click here.
In teaching several STEAM classes this year, I have been able to get to know elementary students on a deeper level. On the first class of the school year with my 4th grade STEAM classes, I asked students to write their name on one side of a piece of paper and their favorite movie and activity/hobby that they like to partake in outside of school. I wanted to use this information to see what their interests were so that I could incorporate them into our STEAM activities throughout the year to make them more meaningful. Stemming from that simple interest inventory, I have learned how passionate my STEAM learners are about playing Minecraft, creating pixel art, coding, and having a chance to express themselves in creative ways that are meaningful and personal to them. The activities that we have done in class so far that have been tied to their interests (and the students’ reactions to them!) solidified my desire to keep providing them with learning opportunities that are driven by their individual interests and identities. Please enter Minecraft...
I knew I wanted to do something that would give my students a memorable learning experience, while being focused on areas of STEAM that we haven't spent much time on or at all yet. I wanted to give them a learning opportunity to explore how Minecraft is rooted in STEAM and can be a portal to their creative innovation, which can truly be limitless. In this unit, students will explore STEAM through the lens of Minecraft. The unit is designed with a centers-based model, with students having the opportunity to engage in eight centers over several weeks. The centers will provide students with learning opportunities that are of high-interest and incorporate content that is STEAM and literacy based, making it a culturally responsive teaching and learning opportunity.
Below is a button that links to all the materials I created for this unit. I tried to consolidate most materials into one file, so it is a big file! I included a link at the bottom of this post with all of the materials that I used to make this unit happen (some things I already had while others were acquired through grants). It took some time planning, but totally worth it!
Note: If you are teaching in a virtual environment, check out the virtual resources to facilitate this learning in when students are attending school virtually.
As students worked through each station, I marked off on their "Crafting Table" if they successfully completed the station requirements or not. I used these stamps to mark completion level when students were done at a station. They received a green stamp if they met the requirements on the station direction sheet, an orange stamp if the mets some of the requirements, a red stamp if they did not meet any of the requirements, and a brown stamp if they were absent that day. I chose to do this to give students an opportunity to self regulate their learning at subsequent stations, ask for help when they had exhausted their Computational Thinking prompts, and know that I am watching and looking for active participation and creation at all station activities.
At the beginning and end of the unit, I asked students to reflect on their experience at the station and how it fit in with the 6C Learner Profile that our district has adopted (based off the book, Becoming Brilliant by Roberta Michnick Golinkoff PhD and Kathy Hirsh-Pasek PhD). I wanted to know how students felt before they began the unit about some of the topics as well as their understanding of the personal "C" level. At the end I also marked the level where I feel students achieved a level of mastery. I really wanted them to be a part of the assessment and growth tracking process and have ownership in what they are doing instead of me just doing the assessing. The Content
At the beginning and end of the unit, I asked students to reflect on their experience at the station and how it fit in with the 6C Learner Profile that our district has adopted (based off the book, Becoming Brilliant by Roberta Michnick Golinkoff PhD and Kathy Hirsh-Pasek PhD). I wanted to know how students felt before they began the unit about some of the topics as well as their understanding of the personal "C" level. At the end I also marked the level where I feel students achieved a level of mastery. I put all of this information into a spreadsheet to help me track information, see trends, and see how students ranked themselves in their learning. I used the colored stamps that I gave them weekly to help me monitor their progress on a weekly basis.
Classroom Set Up
I set up the stations as indicated below. The only one that differs a bit from a traditional group center station is that of the reading station, as this was set up to be a comfortable space on the floor. To be honest, the creative person in me would have loved to have some fun Minecraft curtains or other decorations on the walls to really set the stage, but due to it being a shared classroom and the limited time I had to even set up the stations, it did not happen. Would the kids have liked it if I had? You bet! Did the like it even thought I didn't? You bet! There is always next time...
I created a presentation that I used to introduce the unit, as well as daily reminders and updates. I included the timers in this presentation so that I could keep myself organized instead of opening different tabs, but also to give students consistency in how our class time would be utilized. If you are unable to view the presentation below, please click here.
Station #1
At Station 1, students created a digital comic. They used the Comic Caption Meme Maker Lite app to a create comic using resources from the Minecraft Stop Motion Movie Maker kit. They used spinners to determine the WHO, WHAT, and WHERE part of their comic so that they could direct their energy in to creating the comic, and not trying to decide on what to include in their comic. This worked really well in focusing their energy in the right direction and keeping everyone on task. Most of the groups had about 4 students, so I had them work with a partner in the group to make their comic. This meant that everyone was actively building, creating, and designing instead of watching someone else do the work. I have to admit, there was a bit of struggle with this station at first because it was something completely new. Once students used the spinners to get their storyline setup, they moved to the digital portion which actually took most of their time! Getting their shot framed right, adding speech bubbles, and other details were very important to them!
Station #2
At Station 2, students created items based on a Minecraft-themed Maker Mat. I knew that not every student was as knowledgeable as others about the intricacies of Minecraft, so I made sure to include simple pictures of the items. They, of course, created things that were beyond what I could have ever imagined and I heard so many stories about the items they were building and how they experience those items when playing Minecraft at home. Students were so proud of their creations and thought the Pix Brix were a perfect building material for this station. "Miss! They are just like building blocks in Minecraft so what I am building looks just like the real thing!" We have done Maker Mats several times with different topics, but I have to say that what they created with the Minecraft Maker Mat was some of their best work I have seen! Their attention to details, colors, how pieces fit together, and overall aesthetics was top notch!
Station #3
At Station 3, students played pixel and Minecraft themed brain games. We have spent the previous weeks to this unit playing different brain games, so that when it came time for these, students knew that they had to read the directions to figure out their challenges and determine a strategy for how to solve them. These were a bit different from the other ones we have previously played, but the Code Master and Minecraft magnetic games were similar in their execution so students were able to identify and attempt to debug any problems at their table before asking for help from me.
Station #4
At Station 4, students used code.org to explore four different Minecraft coding activities. As a class, we had already done some coding on code.org as well as other block coding, so the process of coding was familiar to them. The students really enjoyed having options for coding and could move from one activity to another when they were done. I think a big factor in their engagement in this station was that they had choice in their learning. And they really seemed to enjoy all of the coding modules!
Station #5
At Station 5, students were able to explore a variety of Minecraft books. I have to admit, when I was organizing my thoughts and ideas for this station, I was nervous. I knew I wanted to incorporate reading (as it is one of the building goals as well as Reading Month), but also know that reading compared to some of the other stations would not seem as exciting to the students. I wanted to make this station an inviting space and one where students would want to explore. So, this station was amped up a bit with with blankets, pillows, and stuffies. Students were able to explore a variety of books and were even able to take home a special bookmark that I made.
Station #6
At Station 6, students explored pixel art through Perler Beads. We have previously built with Pix Brix and Station 2 actually had them building with Pix Brix from a Maker Mat, but wanted to give them a different representation of pixels. When we were learning about coding, we talked about everything being coded in ones or zeros and it was similar to that of a light being turned on and off. This was taking it one step further and turning that light on (a one) with color - as represented in their pixel art. As they only had 20 minutes per station, I gave them simple designs that they could work from. This allowed all students to be successful in building, even if they had not used Perler Beads before. As we were crunched on time during class, I had students place their completed designs (with a sheet of paper under with their name on it) on my desk and then I ironed them after class and gave them to their classroom teacher. This worked really well and I didn't have students hanging around asking for them and not making their way back to their classroom as they should be. I was really impressed how they took the designs I gave them and put their spin on it!
Station #7
At Station 7, students had a quick little review of multiplication facts. As I know they are well familiar with their multiplication facts, I selected some of the ones that sometimes trip students up to give them a little more practice. Once they completed their multiplication facts, the back of their sheet basically turned into a color by number. Once they colored in the squares on their sheet, they could use the Quiver app for augmented reality with their sheet. As one of the options on the front of their sheet gave them the option to color the background any color, most designs turned out a little different. Coloring styles, how dark or light they colored, and the colors themselves made for quite a variety of designs!
Station #8
At Station 8, students used how-to-draw books to decorate lunch bags. At the end of the unit, we are donating these to Kids' Food Basket for their sack supper program. I always tell my students it is important to show gratitude to others, even if you do not know who they are - and this was a perfect way to show gratitude for the work that KFB does for the community. Students decorated the bags with Minecraft-themed drawings and sayings. Several students were really proud of their creations and didn't necessarily want to hand it over to me, but a quick conversation about why I chose to structure that particular activity the way I did usually resolved any issue (and of course, taking a picture of it!).
Stamp
I love creating and sharing things with others as I know how much I enjoy when I can find something for free that I can use right away with students. This is the main thing that motivates me to share my own creations for free on my site here. I do ask that if you use what I share and really like it, please consider making a donation to my DonorsChoose or Amazon Wish List. I choose to do it this way as everything that is donated goes right into the hands of the students I work with, not my pocket.
One thing I did create and sell through my Zazzle shop (simply because I made it and purchased it myself through there!) is the stamp that I used to mark off completion on their Crafting Table sheets. Also, if you are interested in the hand stamp I used or my shirt, feel free to check out my Zazzle store. Resources
To see all of the resources that I used (with links to the items online), click on the button below. Like I mentioned earlier, this would not have been possible to implement as I did without grants and donations! I think the only thing that came out of my pocket was the stamp I designed on Zazzle, the green stamp pad (which my students told me smelled like an "animal enclosure"), and the paper lunch bags.
Speaking of donations, A HUGE THANK YOU goes out to the AMAZING team at Minecraft who heard about my unit somehow and sent some UNBELIEVABLE swag for our reading nook. I cannot even begin to put into words the impact that these items had on students. The Exploring Reading station was a favorite and students couldn't believe that someone cared enough from the other side of the United States about what we were doing here in our classroom to send these items.
THANK YOU for believing in my students. THANK YOU for being an advocate for STEAM education. THANK YOU for your generosity. THANK YOU for designing a platform that my students love! As I sit here and wish for winter to actually hit Michigan with some snow, I figure I am better off settling for a good winter book instead. What better book to share with my littles than one from the Skippyjon Jones series! Skippyjon has been a favorite at my house for years and I love how Judy Schachner weaves Spanish words into the story. So, this week we read Skippyjon Jones SNOW WHAT. After we read the story, I introduced students to a Maker Mat. With the Maker Mats, I let students choose an item from the mat to create. As this was the first time using the Maker Mat with this age level, I had students work by themselves so they could get used to self-selecting and independent building based on their choice. The items that I selected for this Maker Mat were based off of Spanish words that were in the story. I put the English words under the Spanish words so students could make connections between the images, the Spanish words, and the English words. Students loved the story and used Plus Plus blocks to build creations from the Maker Mat. After we were done with our Maker Mat activity, we had some free build time and they wanted to see what I could make from the Maker Mat. I tried my best at Skippyjon Jones! This week is our last week before Christmas Break and let me tell you, the struggle is real. I think everyone (teachers and students alike!) are ready for the much needed break. Sleep is definitely high on my priority list and I can't wait to not have to set an alarm! So this week was perfect for a Maker Mat - Christmas/Holiday style! As my students are very familiar with these, I like to change up some of the constraints and resources to keep them fresh and exciting. For this Maker Mat, I introduced students to Plus Plus blocks. Much like when I introduced the Pix Brix, there was a bit of a learning curve despite the simplicity of the building tool. I knew it would be easy for students to build creations that were flat and pretty much two dimensional. So, as part of their Maker Mat building with the Plus Plus, they had to build three dimensional objects. This proved to be more difficult than I anticipated! Students would build a flat object and had a hard time giving it dimension. We talked about how the pieces can be manipulated in different ways to build their flat object into something that can stand on its own and can be viewed from different angles. It is great when I saw the ah-ha moments after a period of struggle! Thanksgiving Maker MatToday in 4th grade it was Thanksgiving Maker Mat day! I think the kids know when one is coming now (before holidays or breaks), but they are great for keeping students on task during days that are filled with this, that, and the other thing. I focused on Creativity with their building, and even let them build alone to see what they could do by themselves. It always amazes me that how many groups ask if they could build together instead of working by themselves. There are also students who thrive when they work by themselves, so I try to change up the structure of how we work together. Before they began working today, I went through their exit slip that I had posted on the board. Each student had a small post-it note with their name on it and they had to place their sticky note in the appropriate column for how they feel they exercised their creativity today. As this was a Thanksgiving Maker Mat, I also worked in thanking those who served as inspiration as part of their self-reflection. I told them that no level was a "bad" level and it only shows them areas that they might need to work on to grow as a learner. The Night Before ThanksgivingIn Y5, we read the story, "The Night Before Thanksgiving." I had pre-select six different items from the book and put them on a Maker Mat. This was their first experience with me and using a Maker Mat, so I wasn't sure how it was going to go. Usually I have students work on building collaboratively, but for introducing Maker Mats, I wanted to see what they could create individually. I gave each student their own Maker Mat and they showed me their item they created before moving on to the next one.
As the district I work in has a high Hispanic population, I wanted to make sure that I was working to work cultural responsiveness into my teaching, especially with the time of the year. For our STEAM activity this week, I made a Maker Mat for Dia de los Muertos. I personally do not speak Spanish, but many of my students speak it in addition to English. I worked with the high school Spanish teacher to develop a list of items to be represented on the Maker Mat and then she translated it so that I could have it represented in English and Spanish.
I was honestly blown away by how this was received by students. Not all of my students are Hispanic or celebrate Dia de los Muertos, but most are familiar with the celebration (maybe because of the movie Coco?). In one of the classes, there were literally cheers of excitement as I shared the topic of our Maker Mat. They were so excited and started asking about some of the items they could build. Many of them were already included in the Maker Mat, but I told them that selecting the Free Choice square was also an option to build something that was not included, but may be meaningful to them. This was the first time I heard a lot of Spanish speaking as the students were working, but I could tell they were talking about Dia de los Muertos and related things (from the translations on the mat). Several students commented on how they liked that this one had the Spanish translations and asked if I had that on other Maker Mats. So, I am definitely reworking my Maker Mats to include the Spanish translations from this point forward! Maker MatsExit Slips
At the end of the activity, I asked students to complete an exit slip telling me how they worked together, what building material they would like to use for their next Maker Mat and to do a short checklist of the items from the Maker Mat that they see in their homes or community. It was great to see their responses! I also learned they are desperately wanting to build with Legos again (we had used Pix Brix for this Maker Mat as well as our Halloween Maker Mat).
Student Creations |
Like What You See? Show Me Some Love!Follow MeWould you like e-mail notifications? Enter your e-mail address below to subscribe.
Categories
All
Archives
December 2022
|