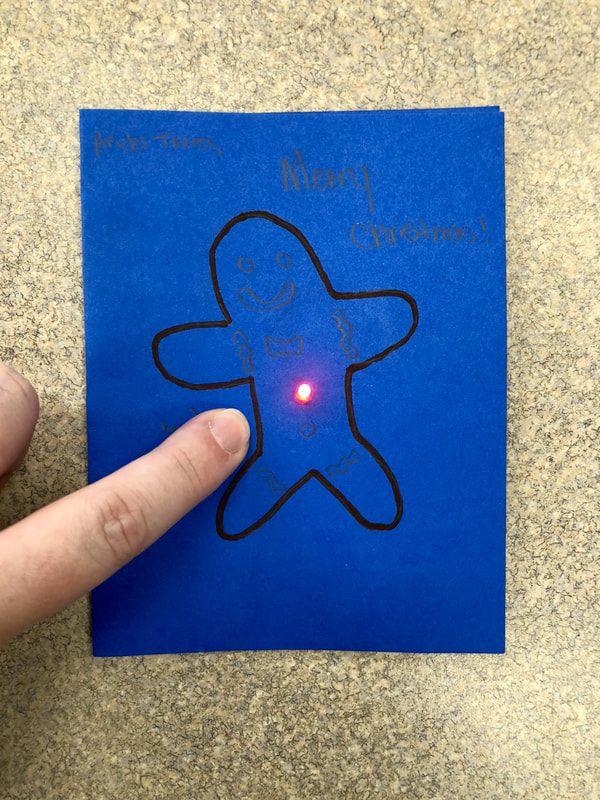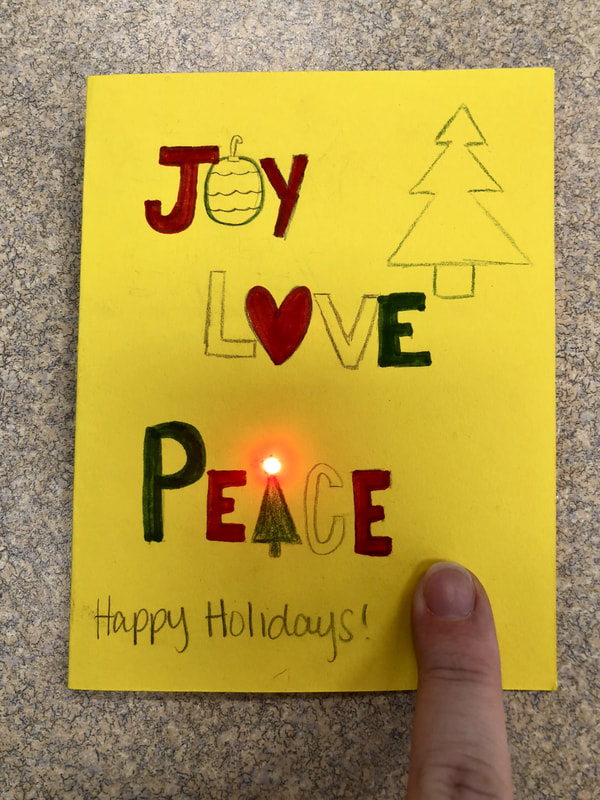
As part of our monthly Quickfires last year, our English 12 students made Christmas/holiday paper circuit cards for our local Senior Center. The students really enjoyed creating them and it was a great creative outlet. Due to the rigor of their classes as students get older, sometimes the content is deep and there isn't always a chance for the creative outlet, so I love working on creative projects for our older students.
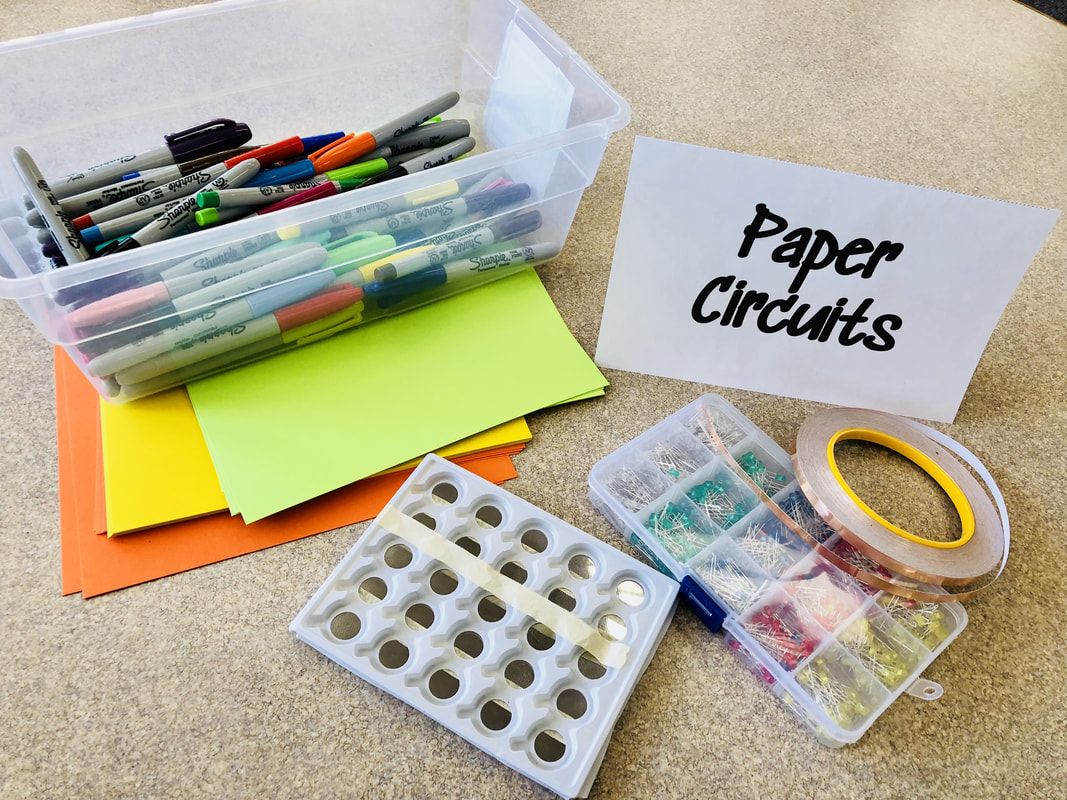
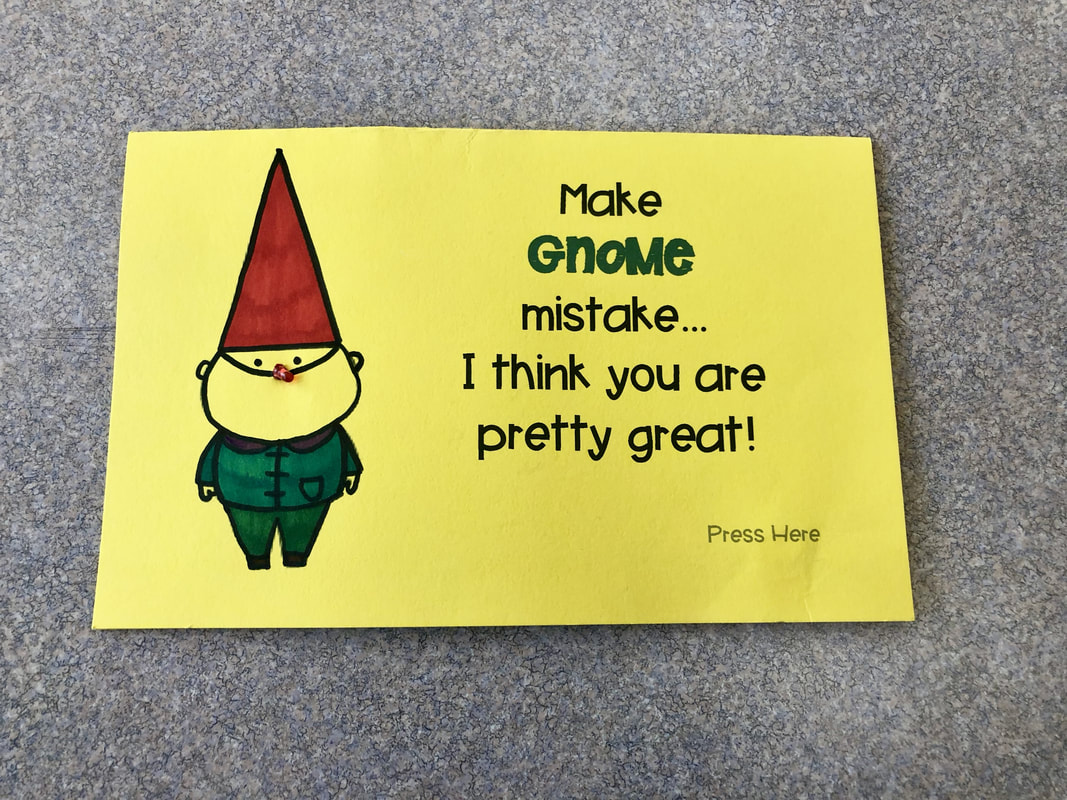
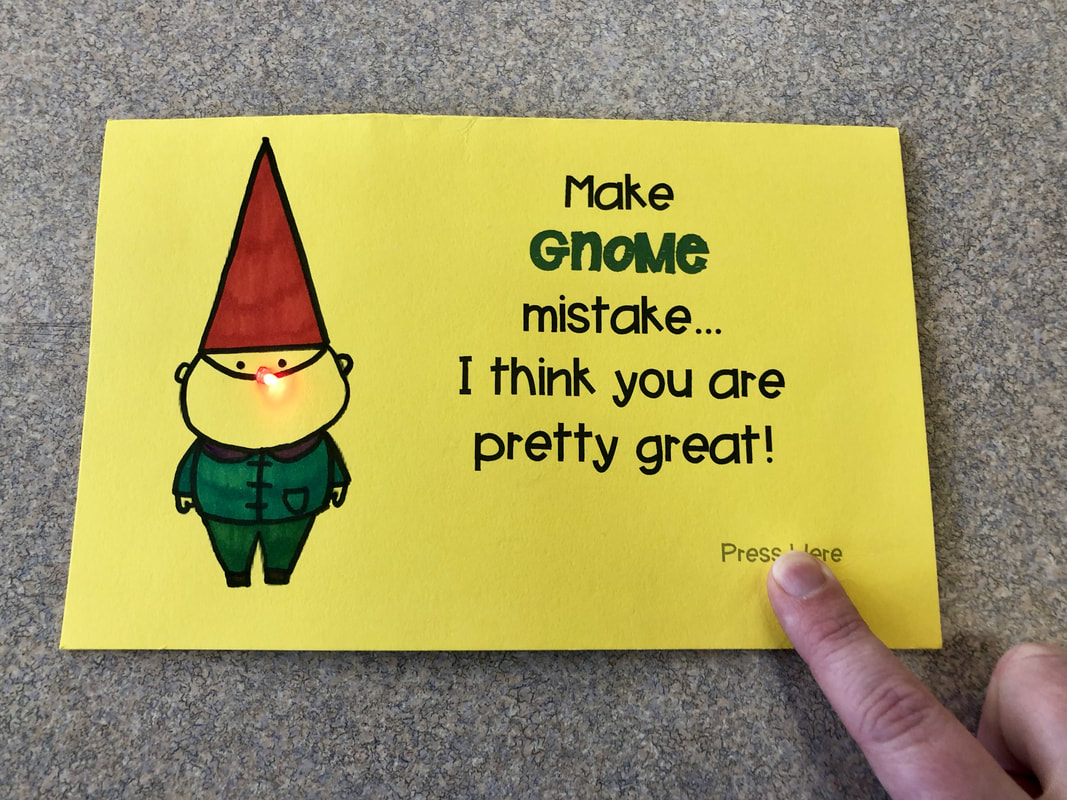
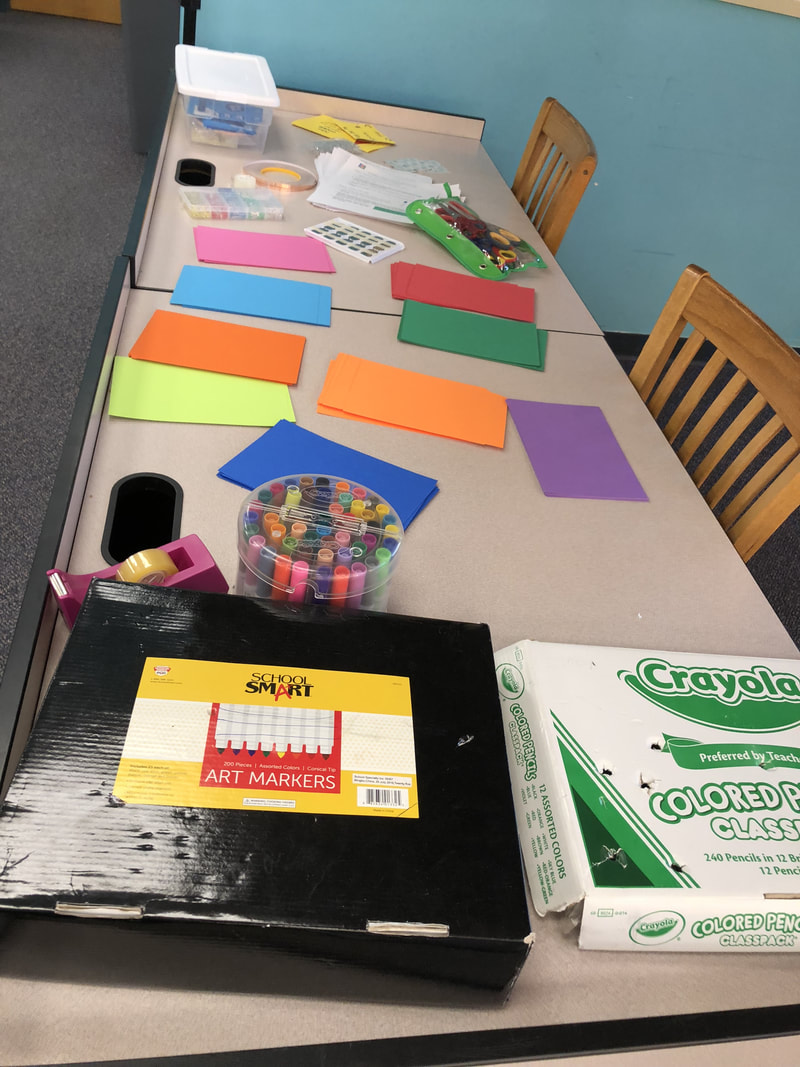
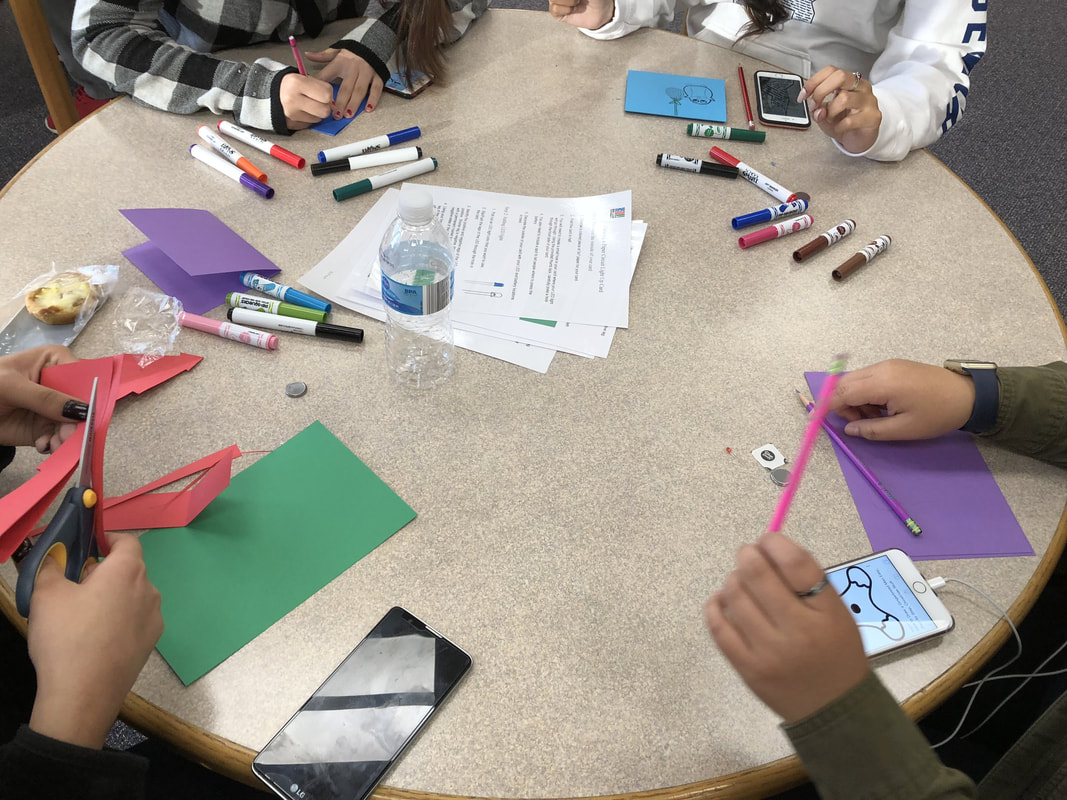
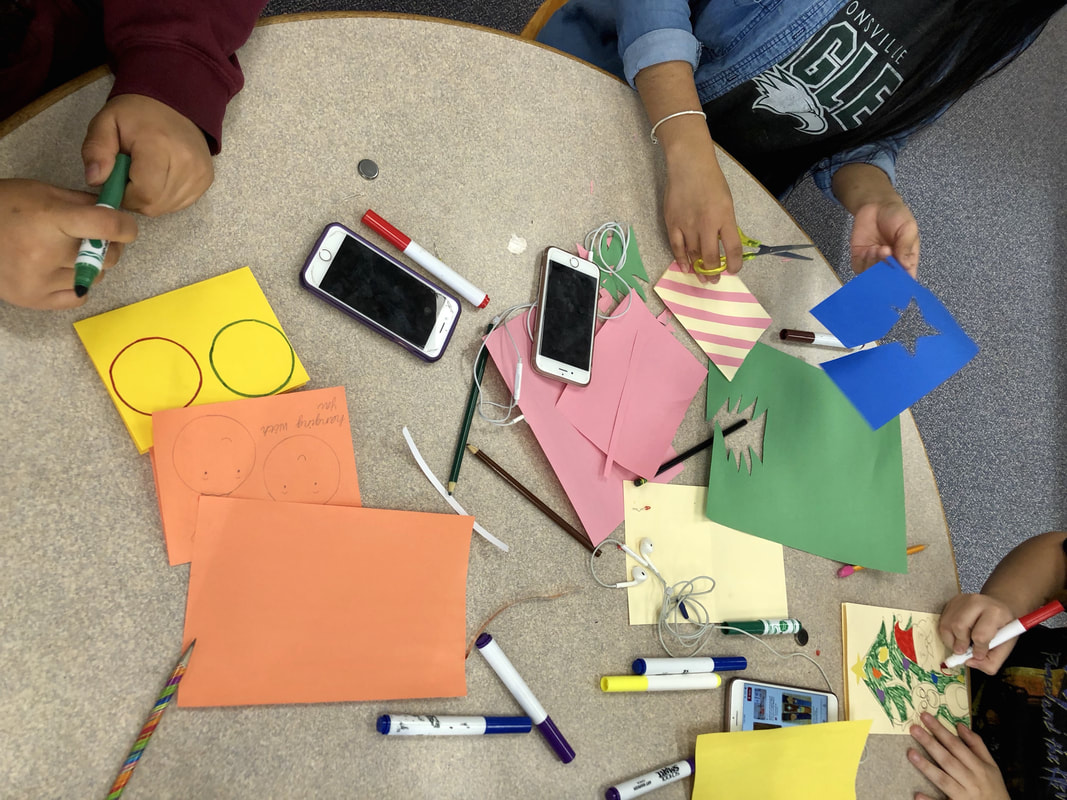
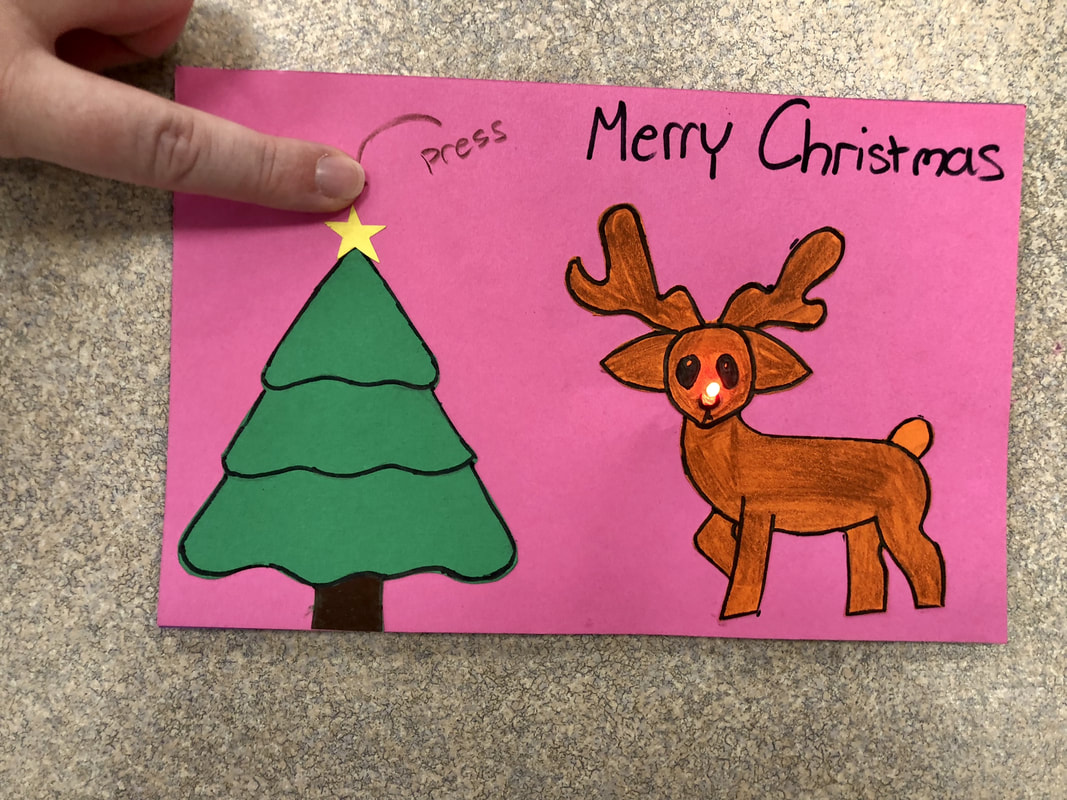
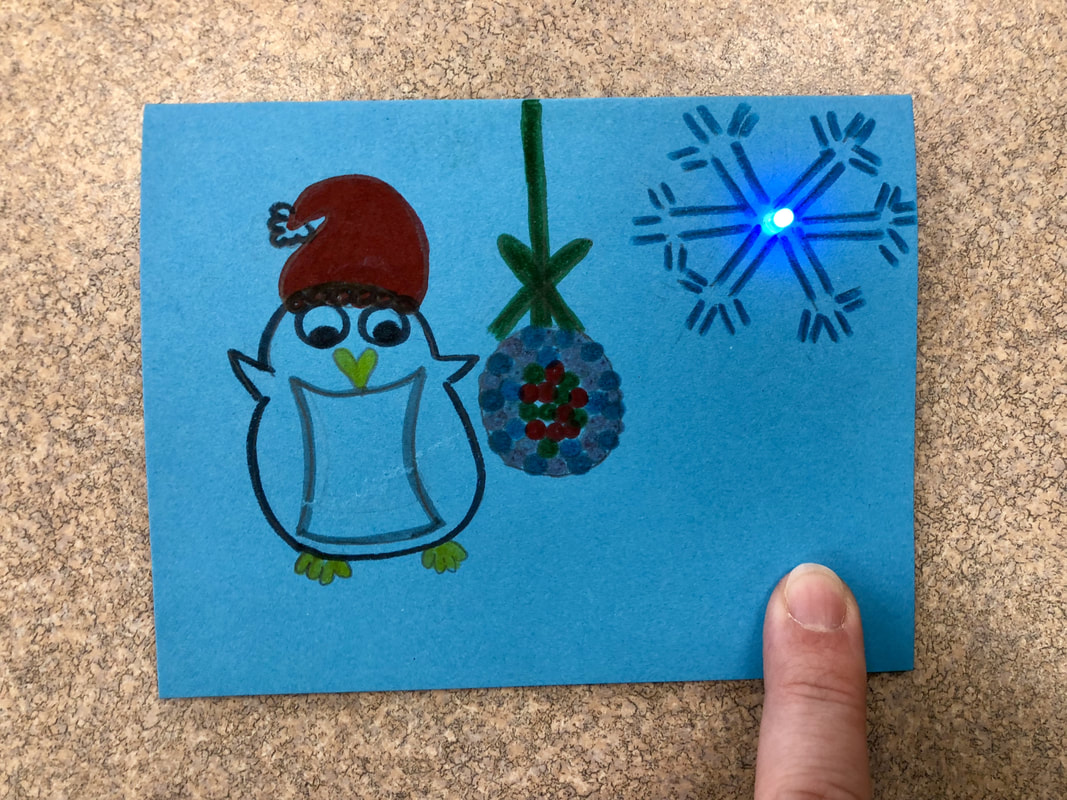
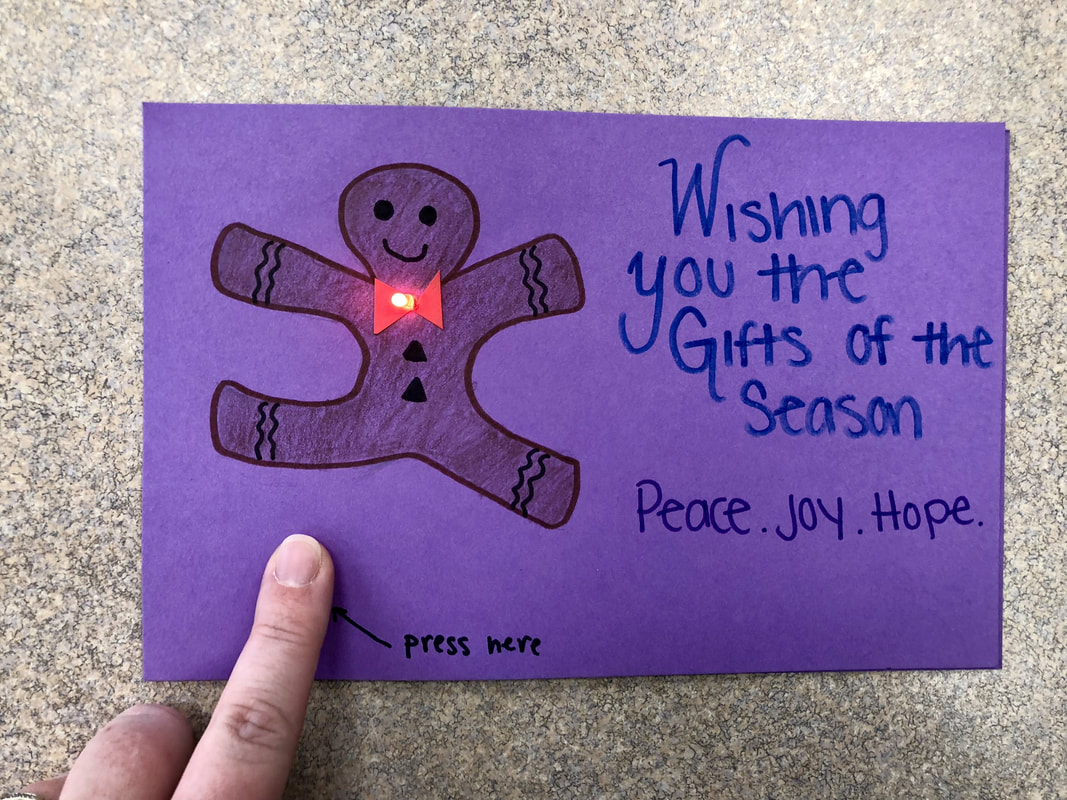
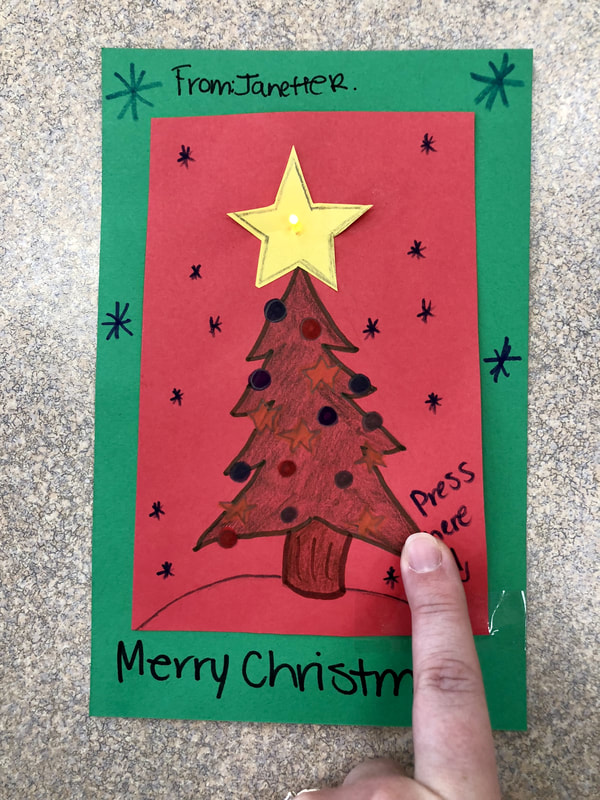
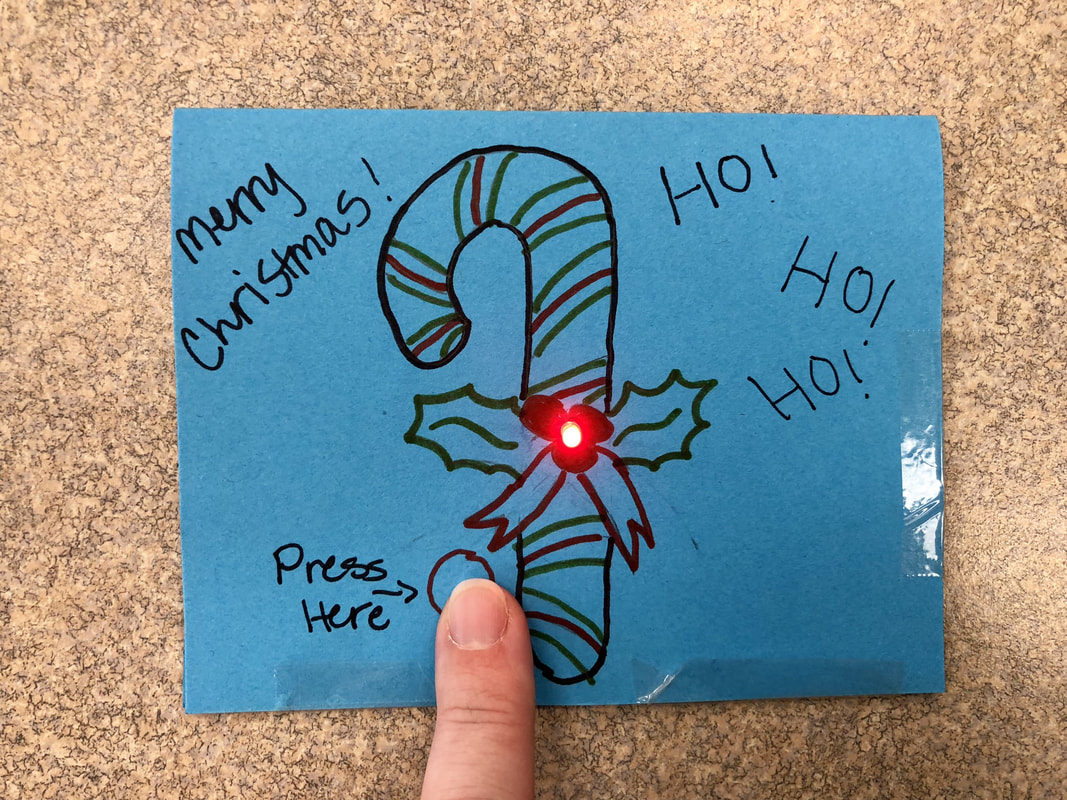
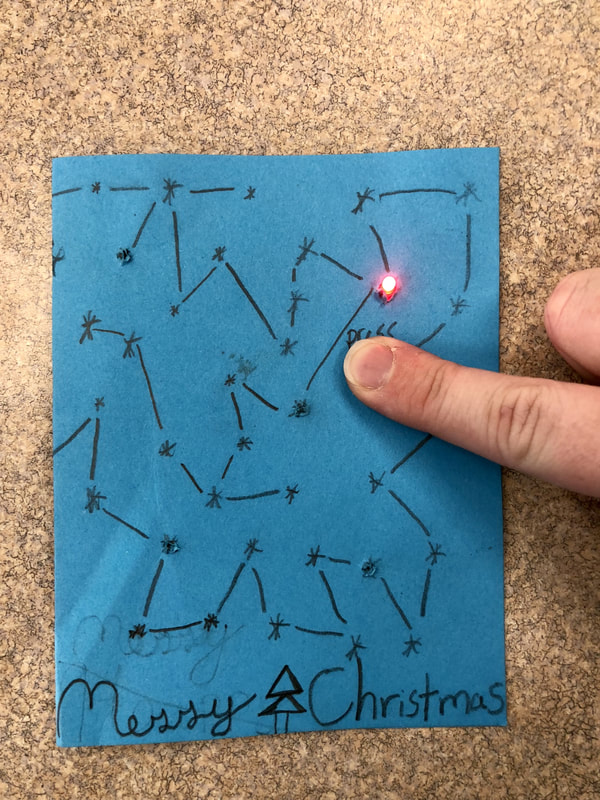
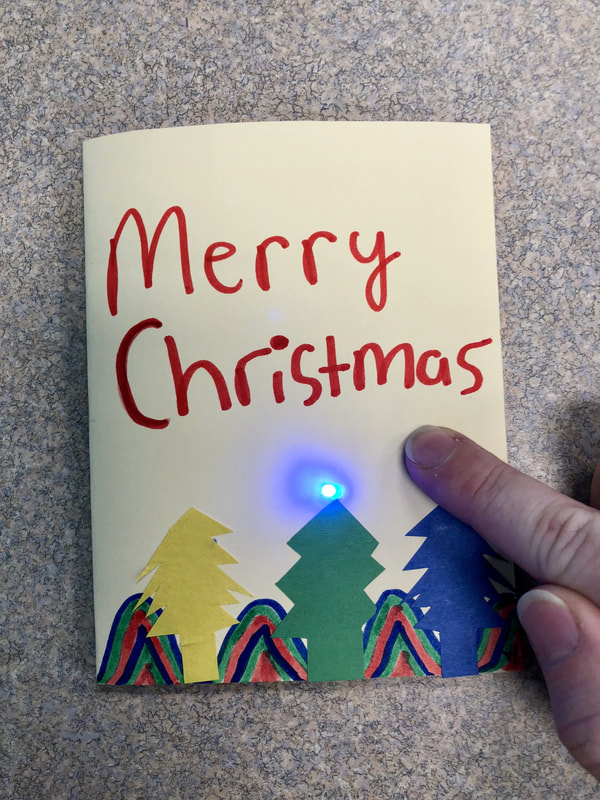
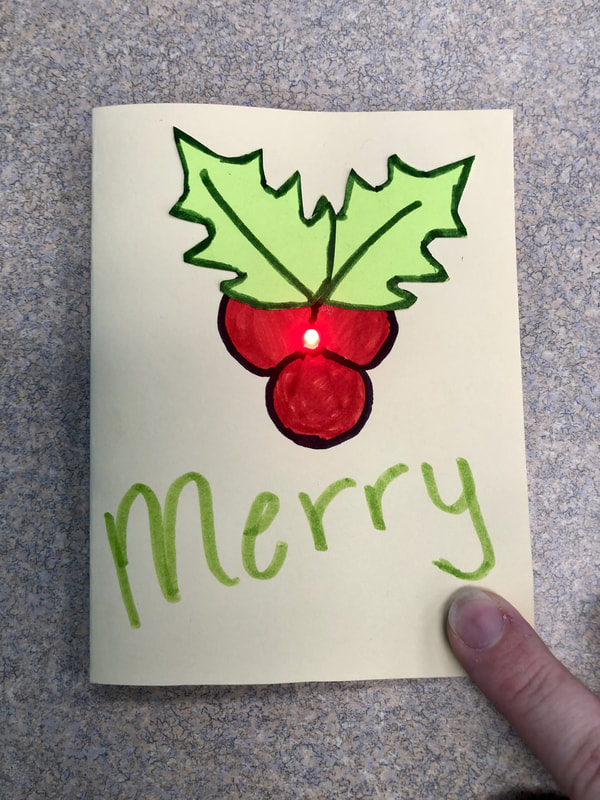
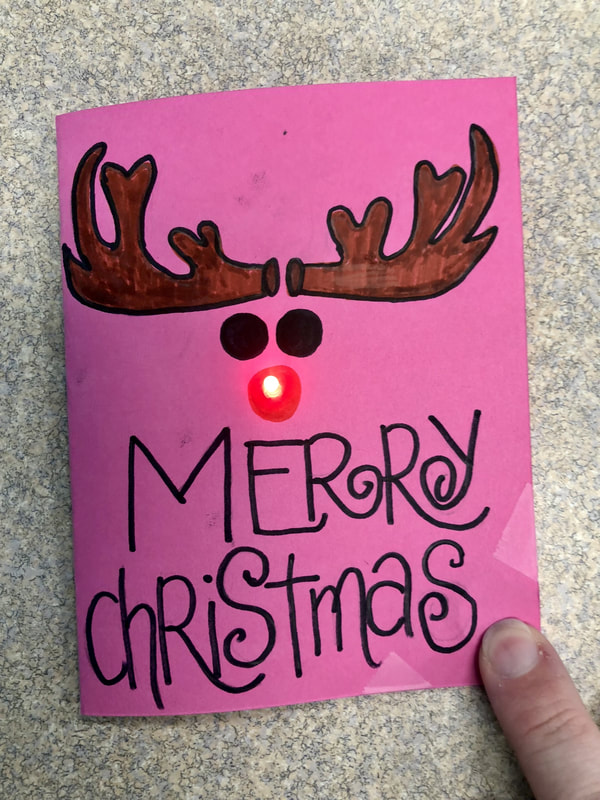
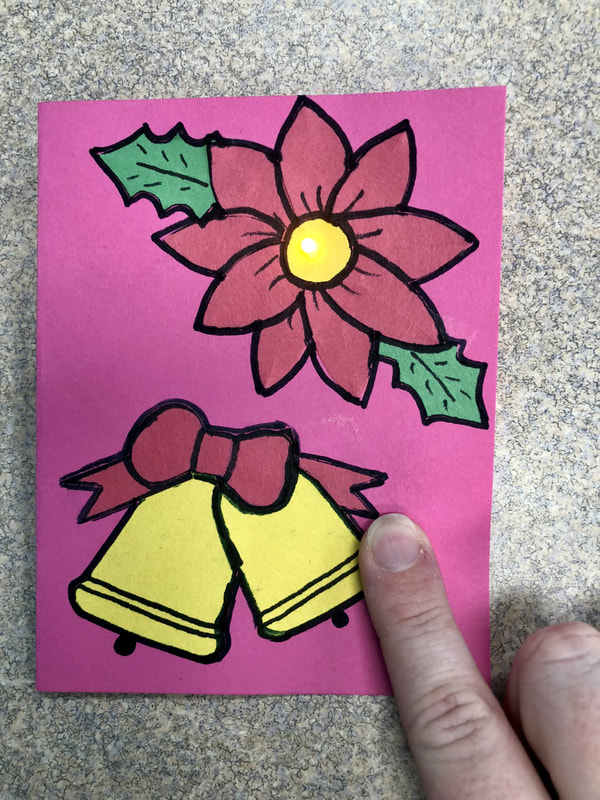
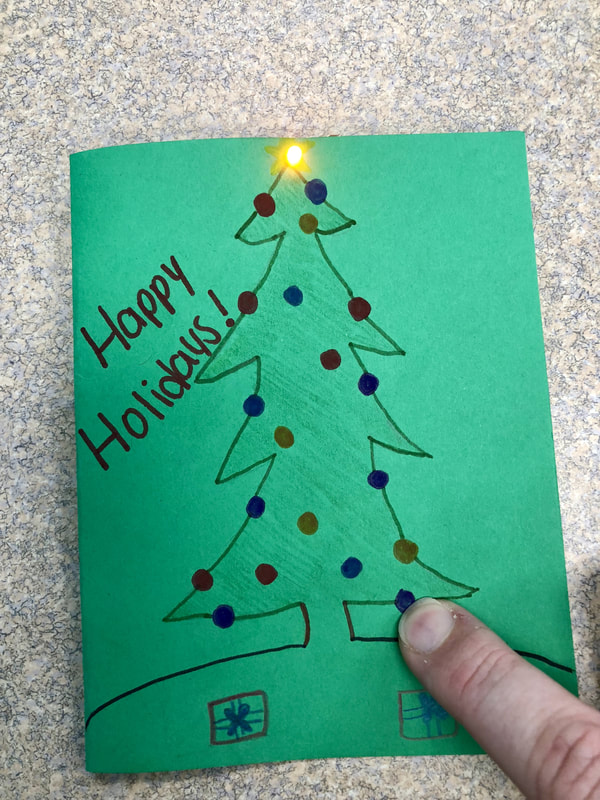
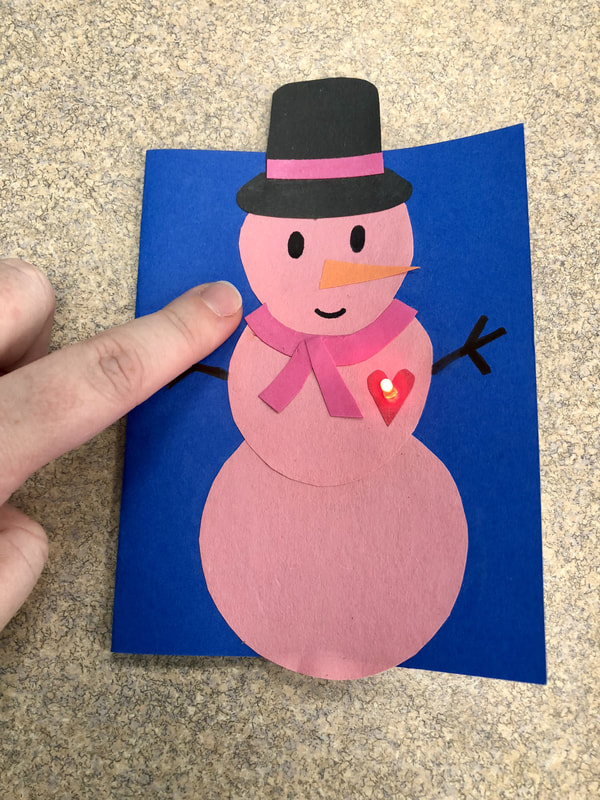
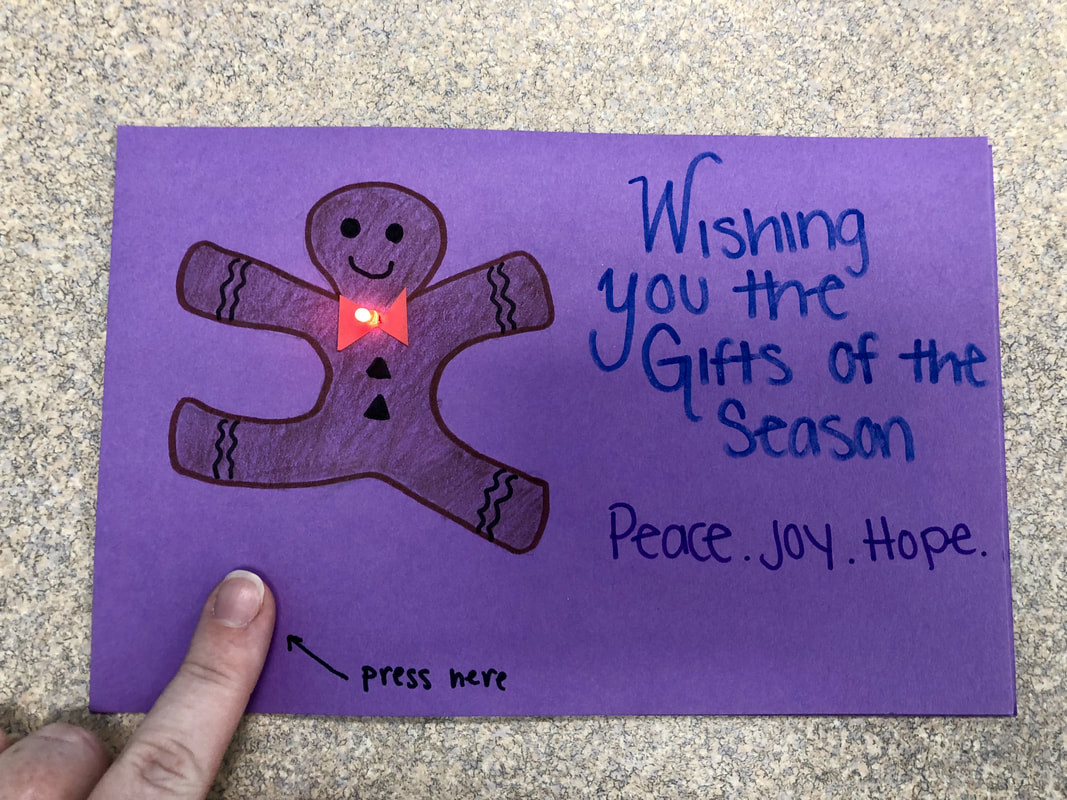
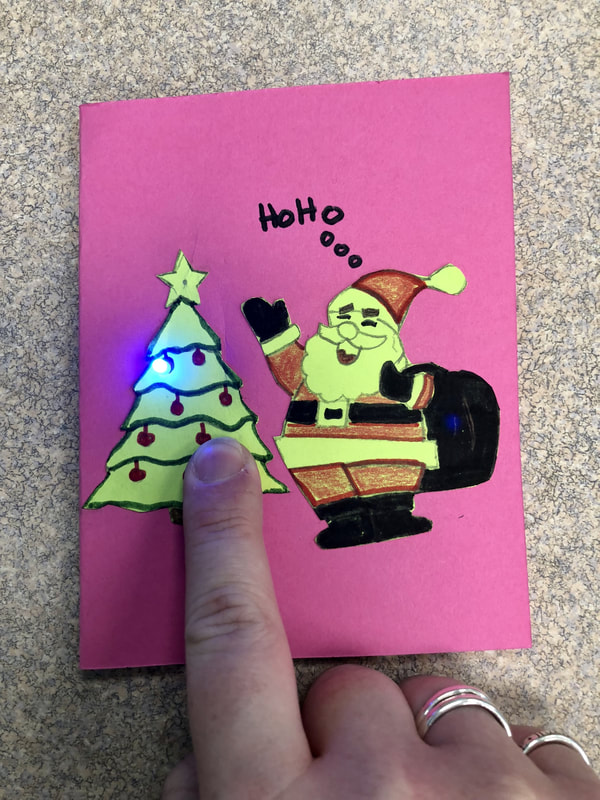
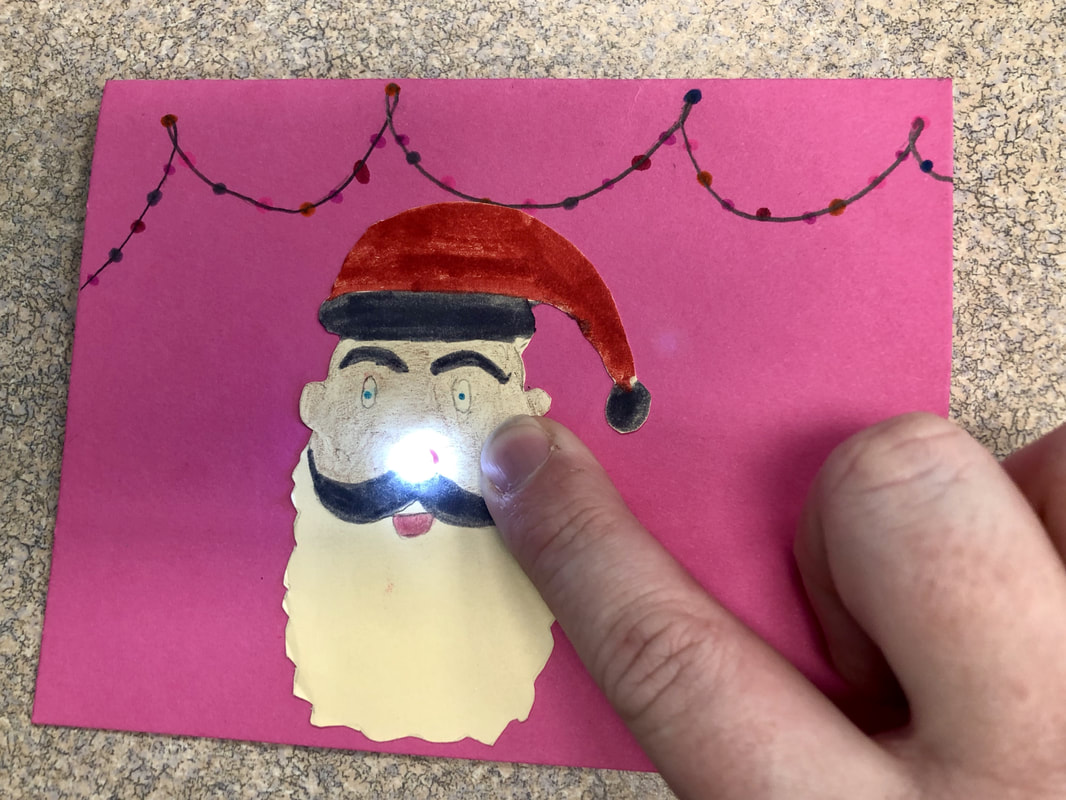
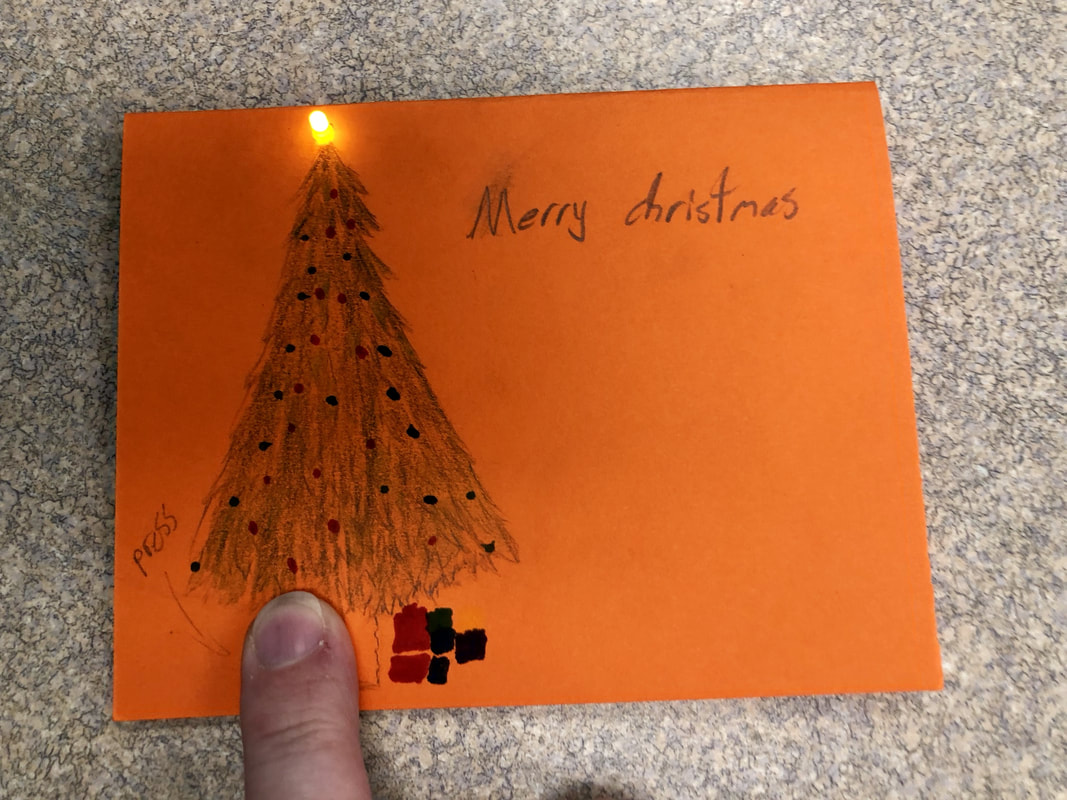
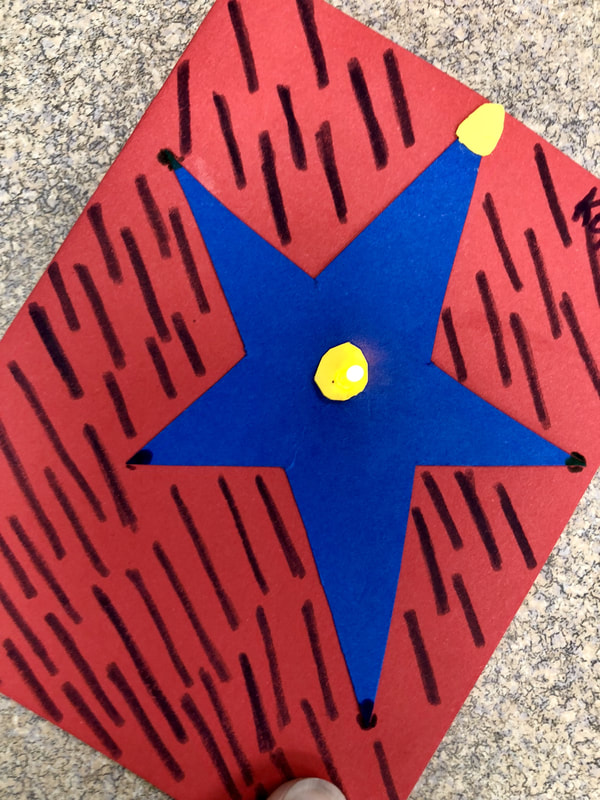
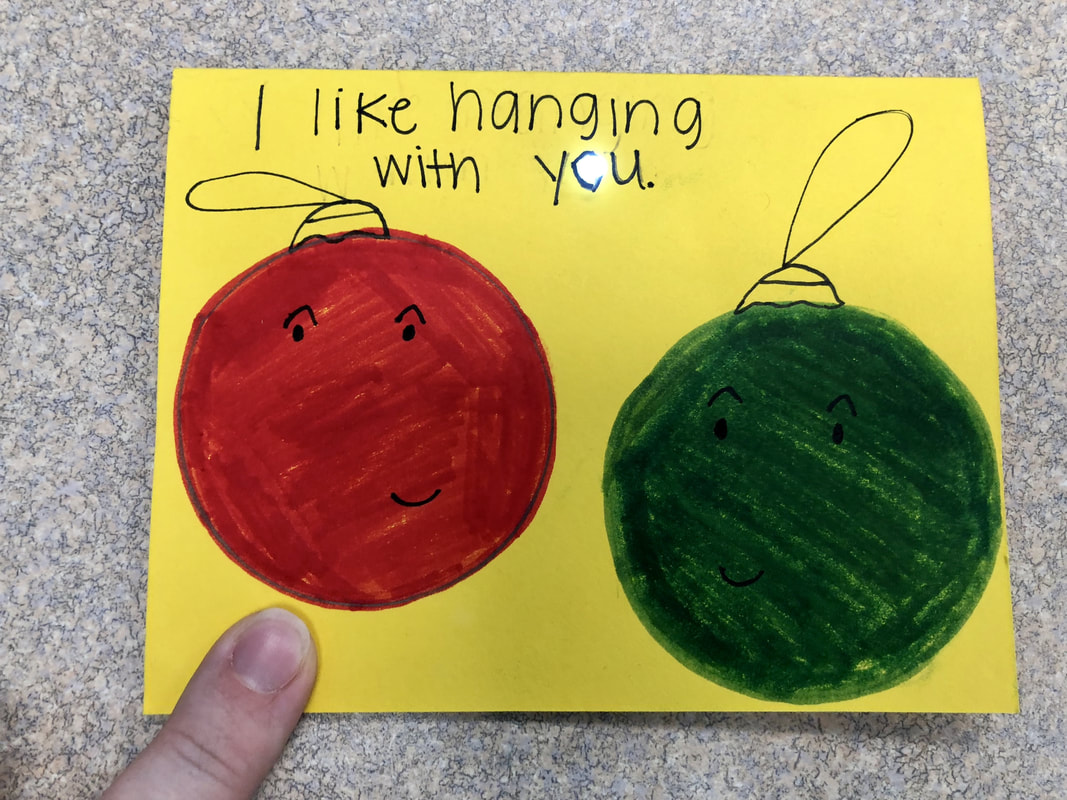
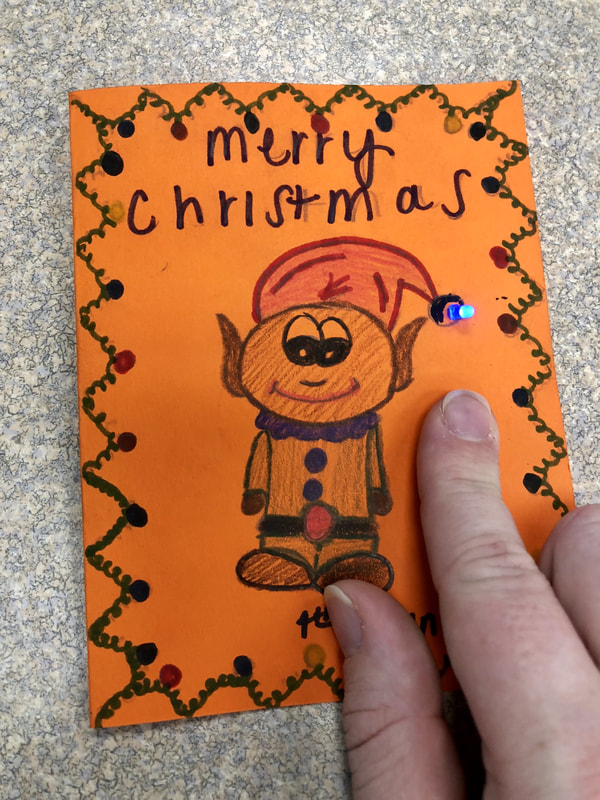
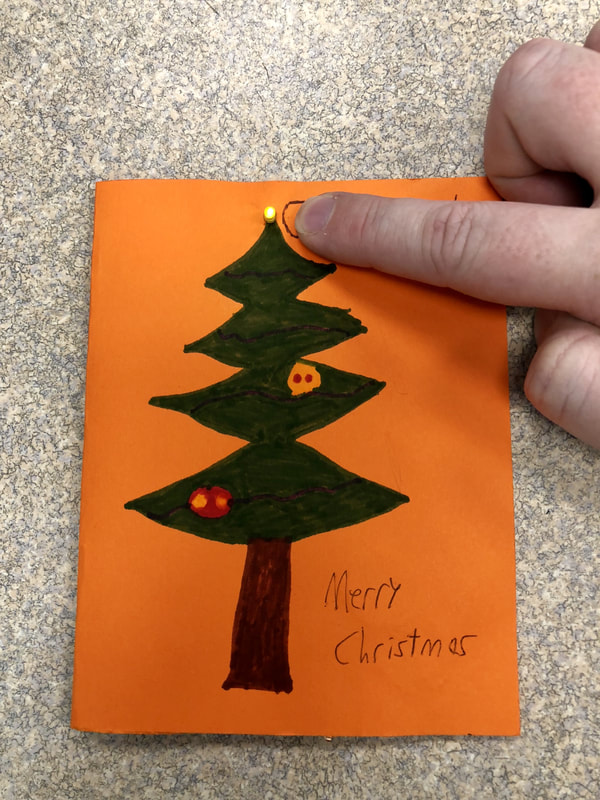
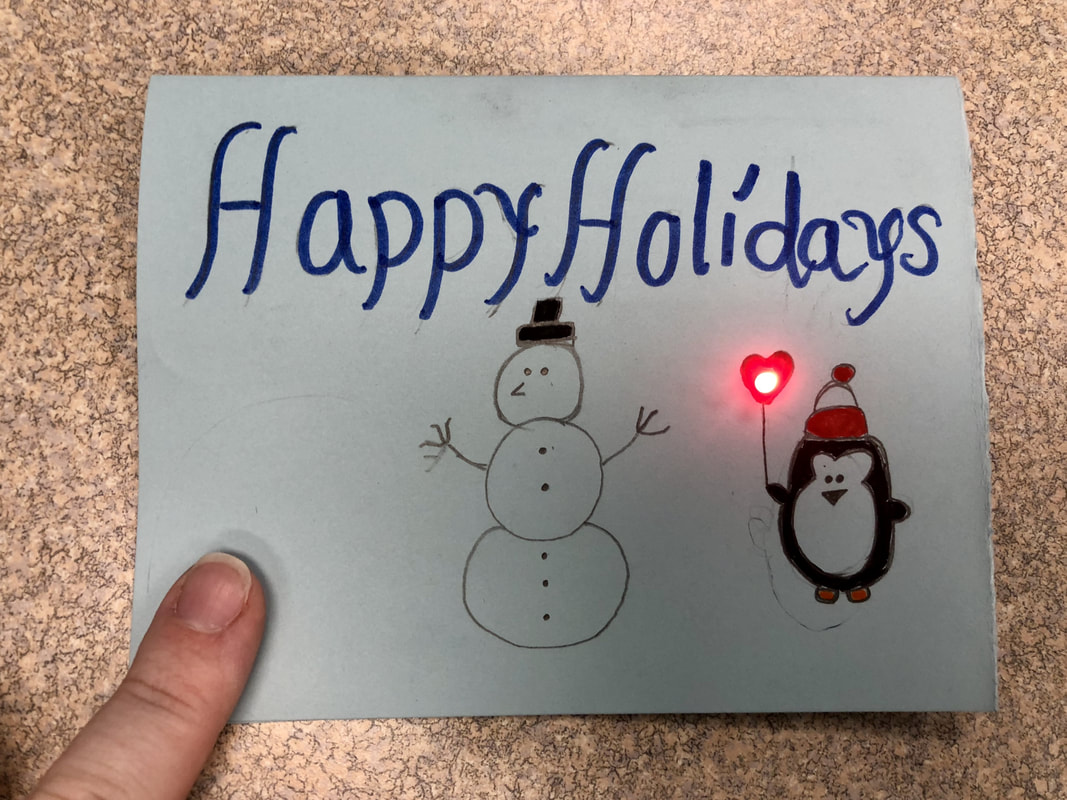
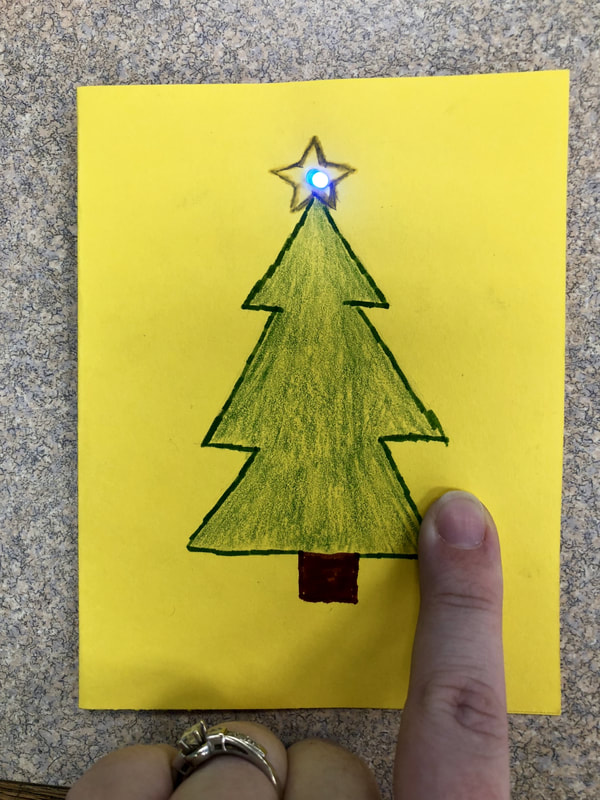
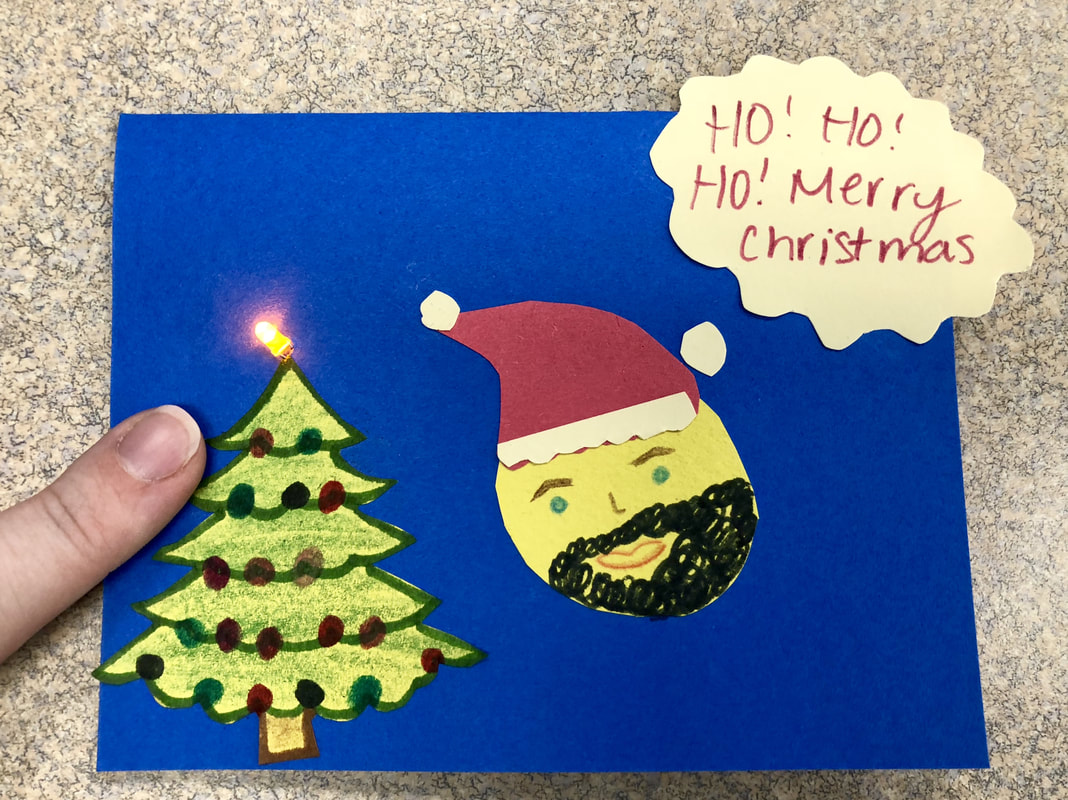
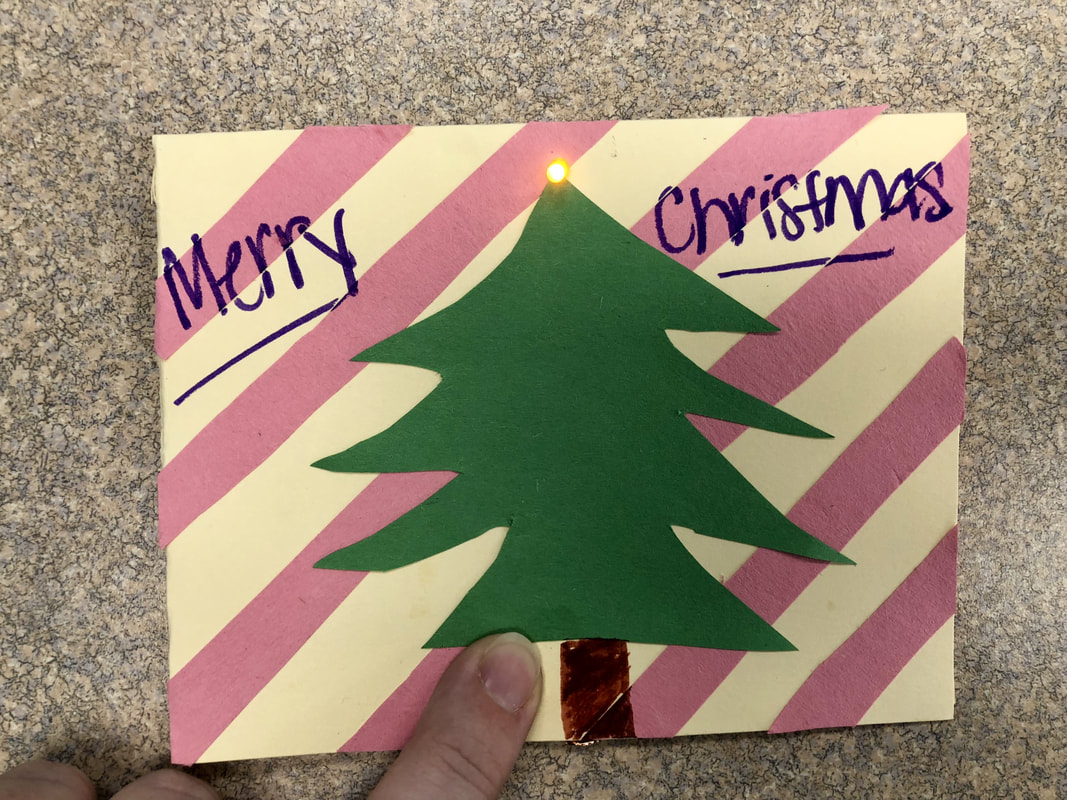
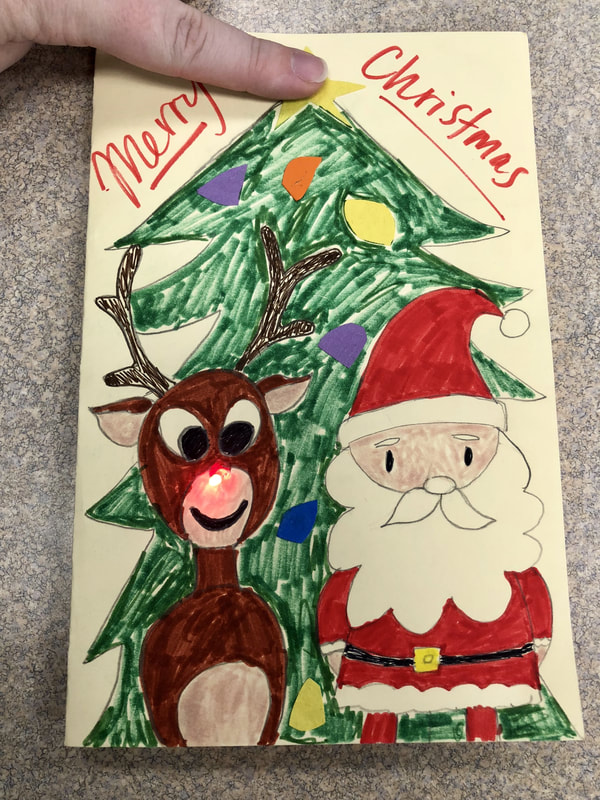
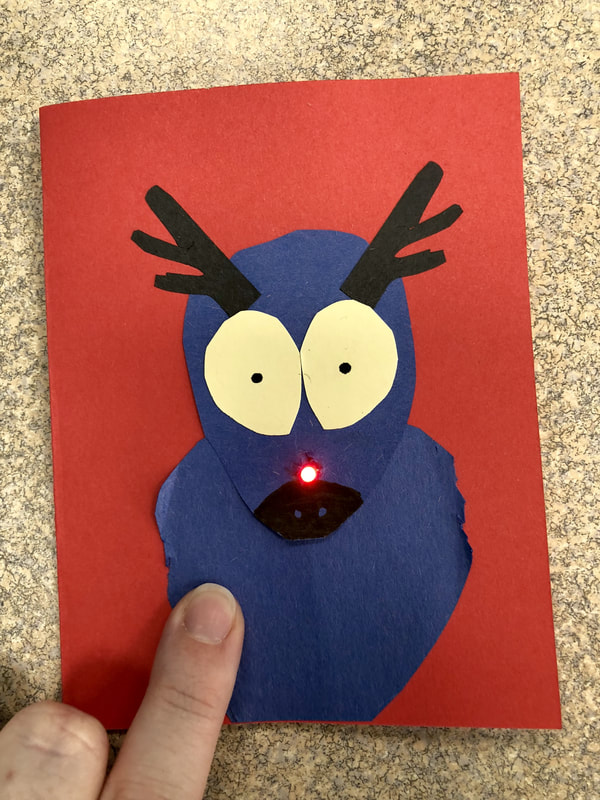
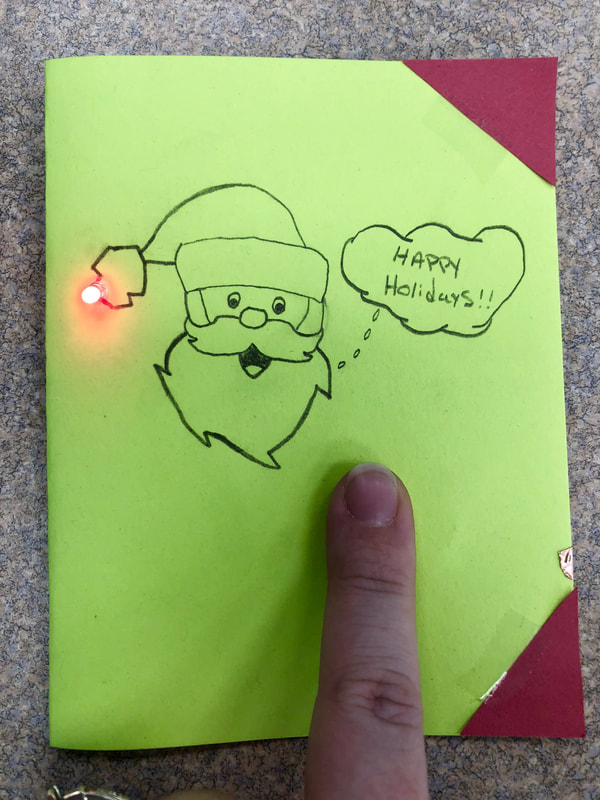
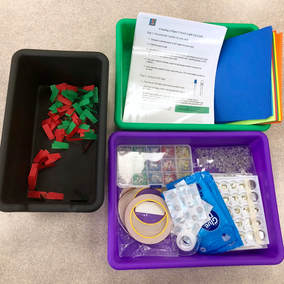
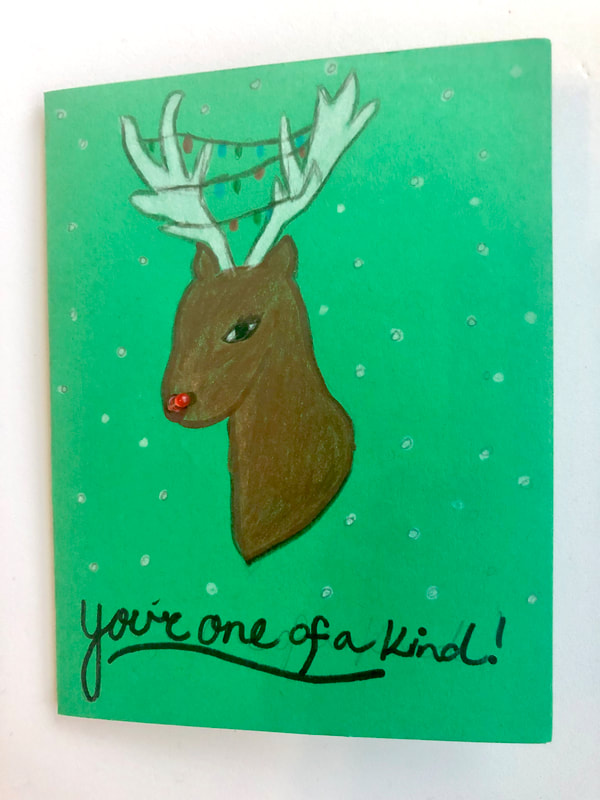
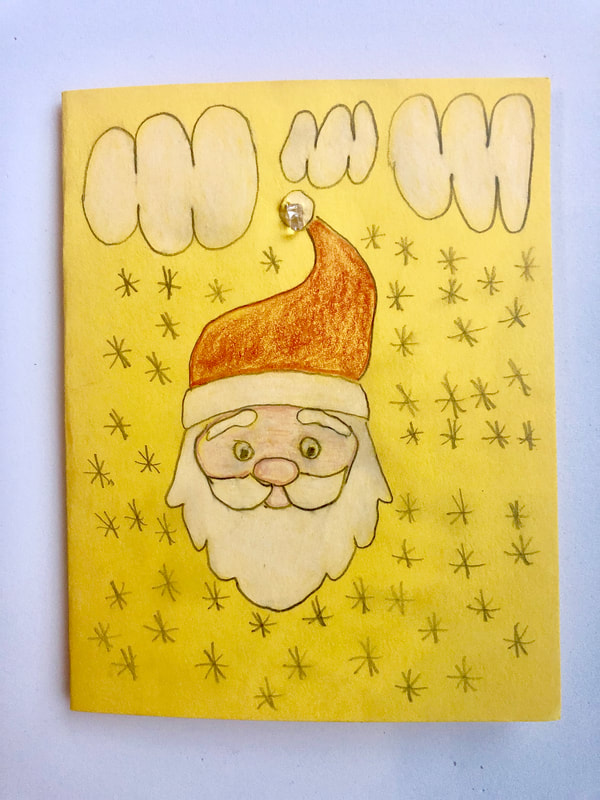
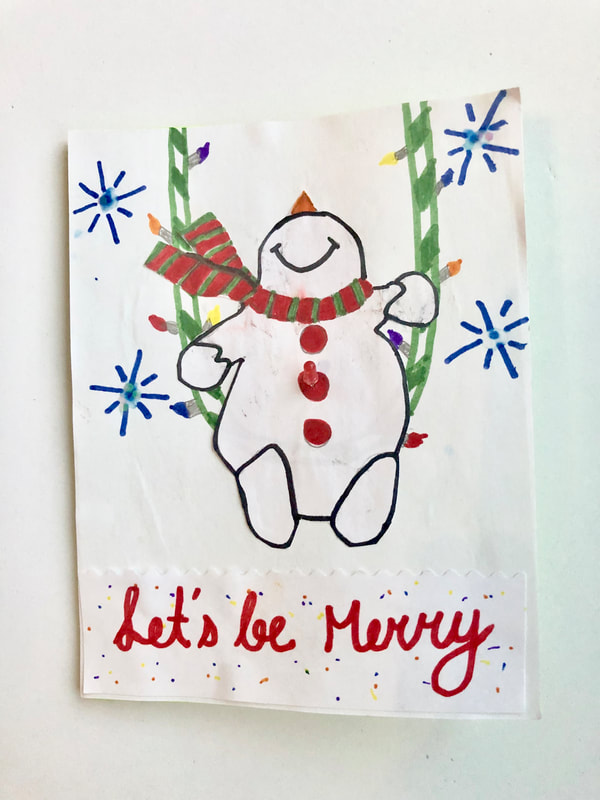
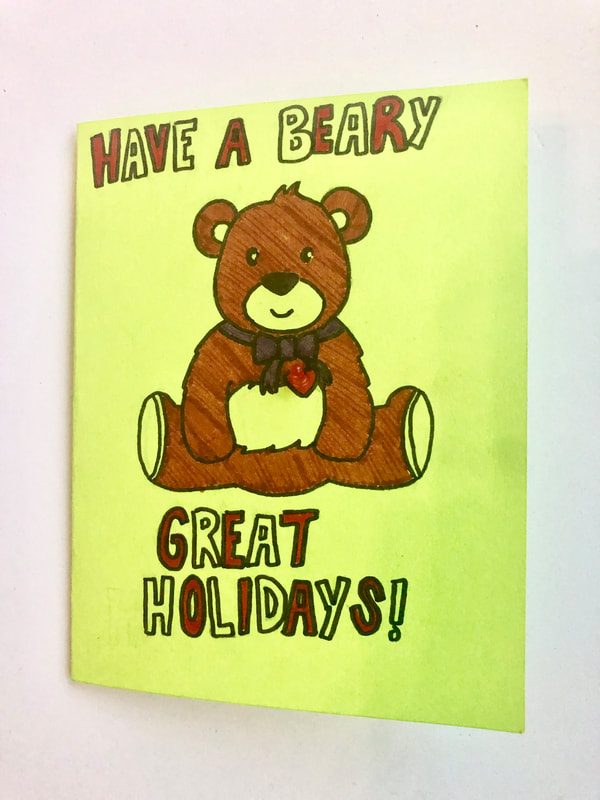
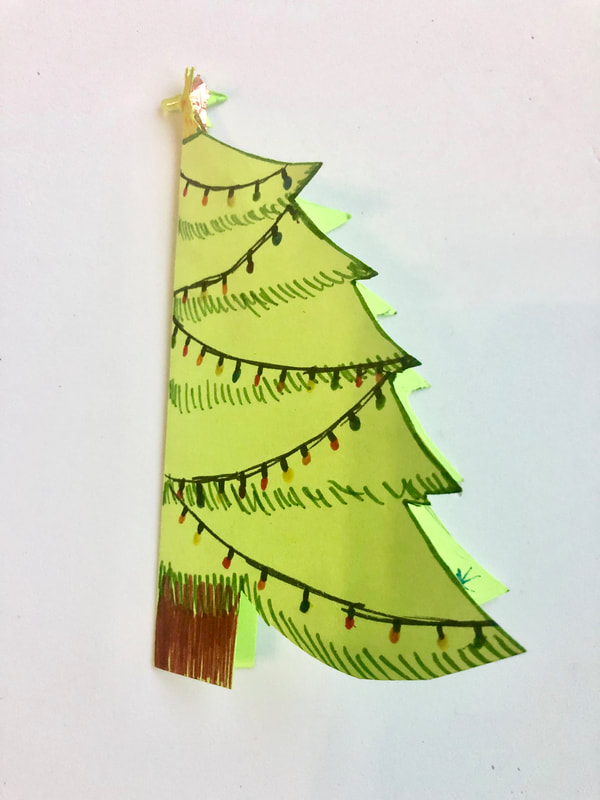
We liked the idea and outcome so much from last year, that we decided to do it again this year with the English 12 classes. We have had so many things that have hit our staff unexpectedly this year, that we decided to focus on staff as our recipients. We wanted to have a little pick-me-up for our staff when they came back from Thanksgiving break. We had students draw names of staff members (the red and green slips of paper in the black bin above), and then they created Christmas/holiday cards that were personal to that staff member. Some of their awesome work is below!
We liked the idea and outcome so much from last year, that we decided to do it again this year with the English 12 classes. We have had so many things that have hit our staff unexpectedly this year, that we decided to focus on staff as our recipients. We wanted to have a little pick-me-up for our staff when they came back from Thanksgiving break. We had students draw names of staff members (the red and green slips of paper in the black bin above), and then they created Christmas/holiday cards that were personal to that staff member. Some of their awesome work is below!


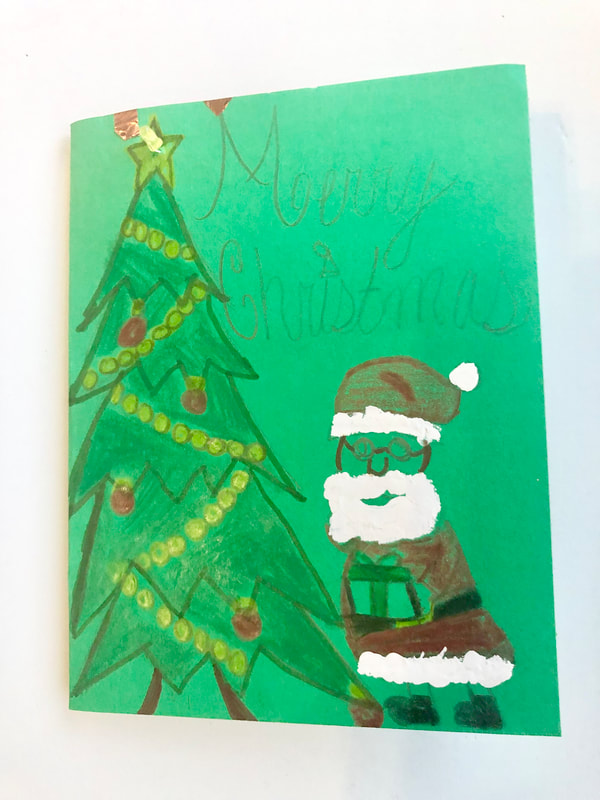

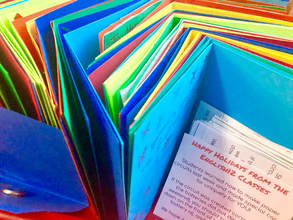
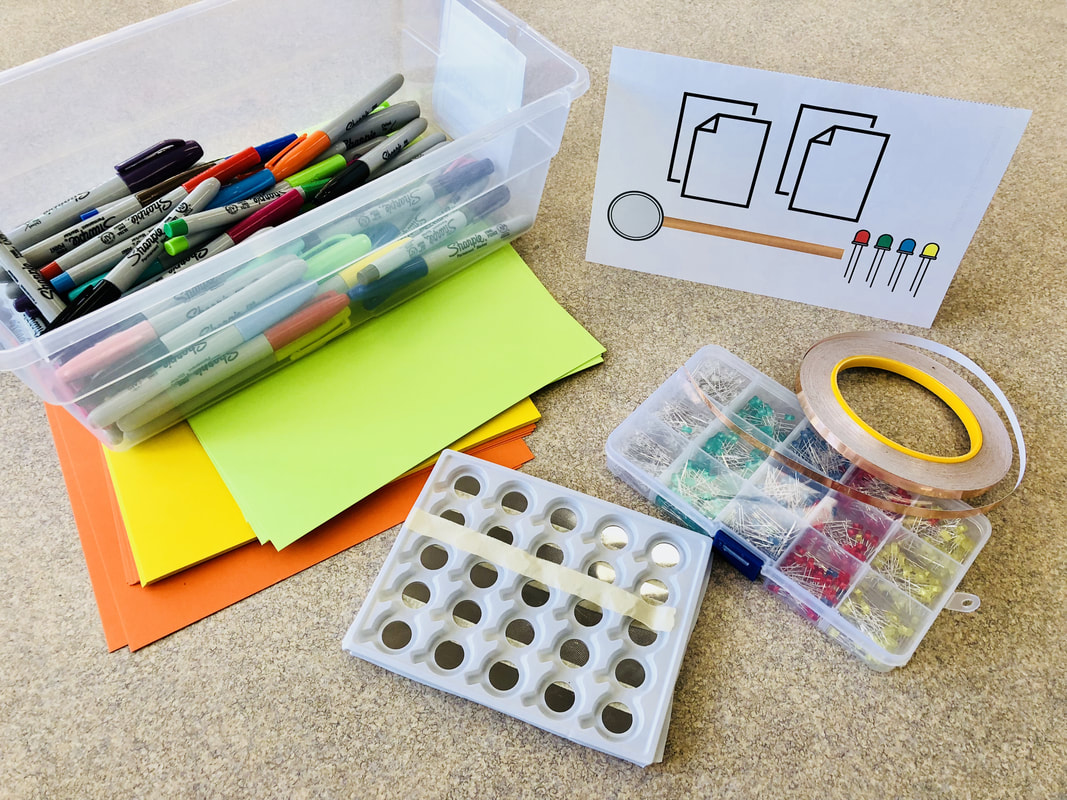
I made sure to get to work early on the first day back from break (plus a snow day added at the end!) so I could stick the cards in the staff mailboxes. We included a little note explaining how the cards work (so they can test student work), who made them, and a little holiday note. The students were so curious to hear about what teachers thought! It made the whole experience personal for them knowing the card was going to someone they knew.