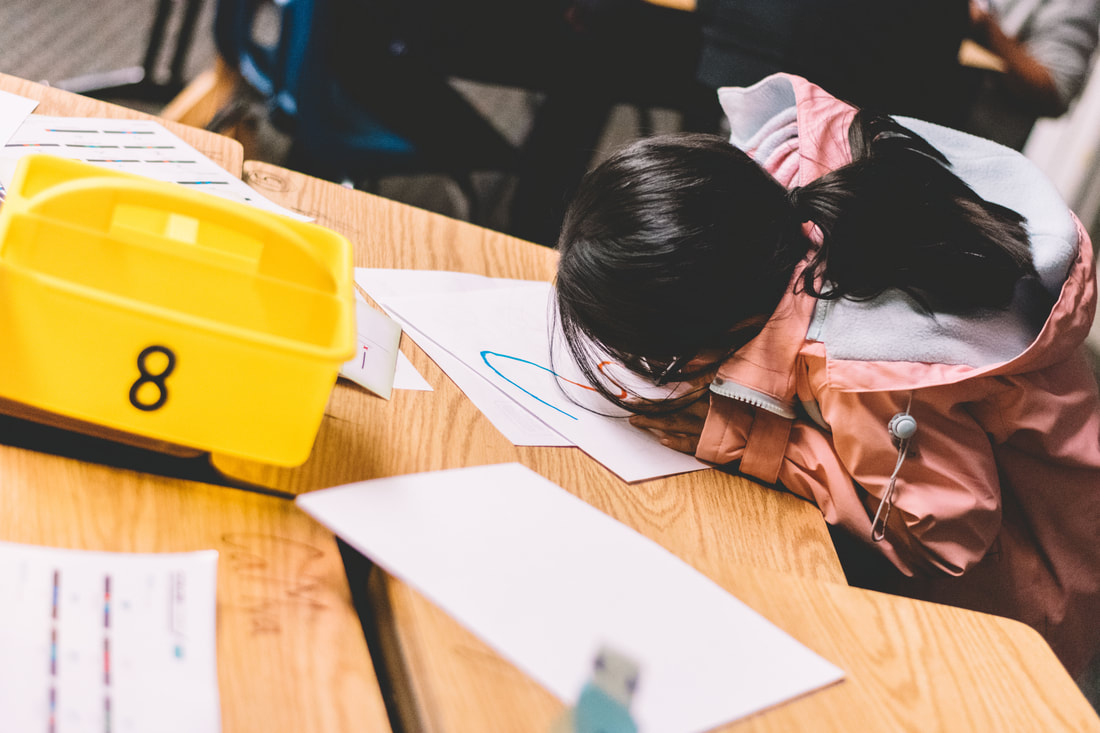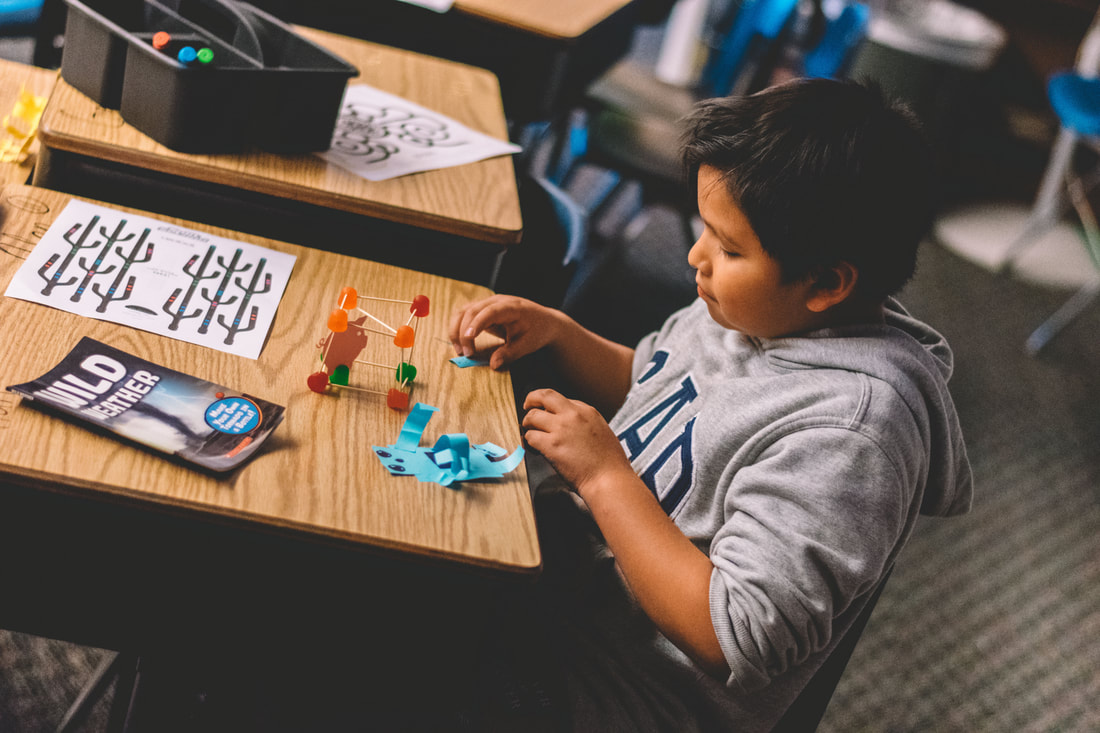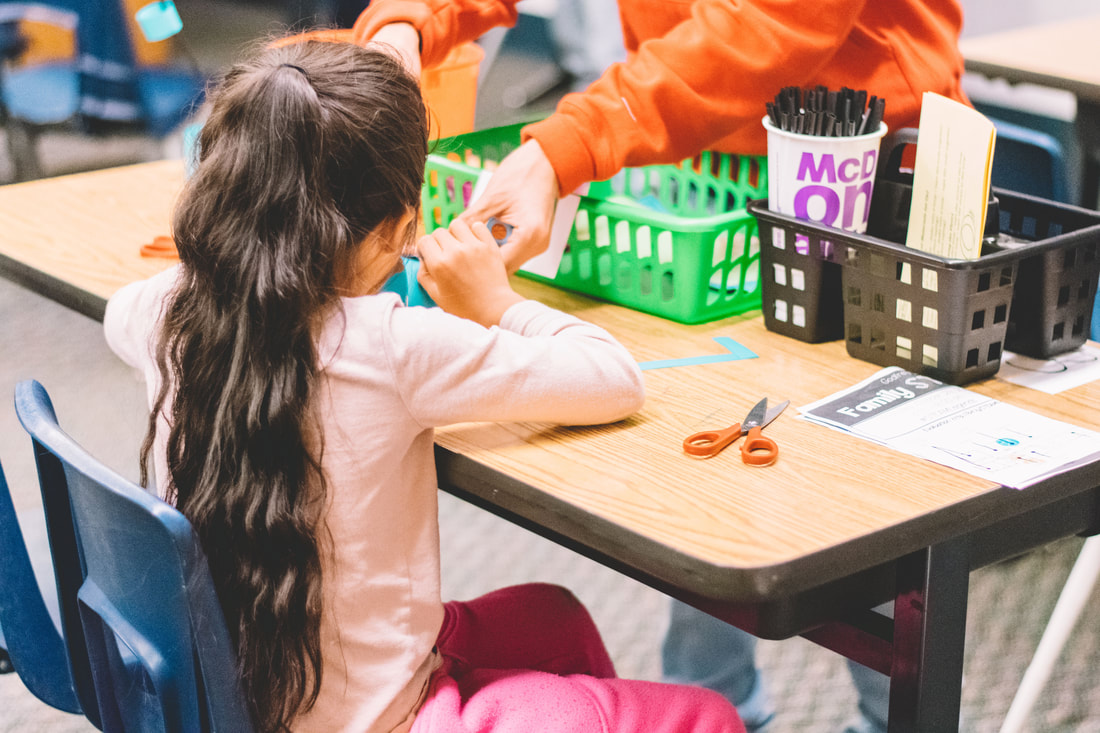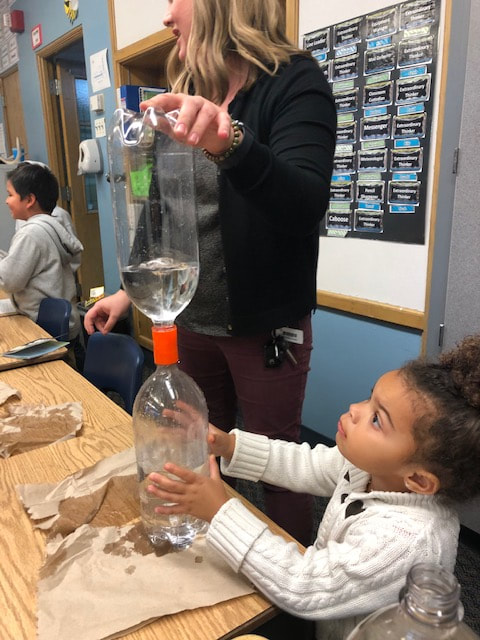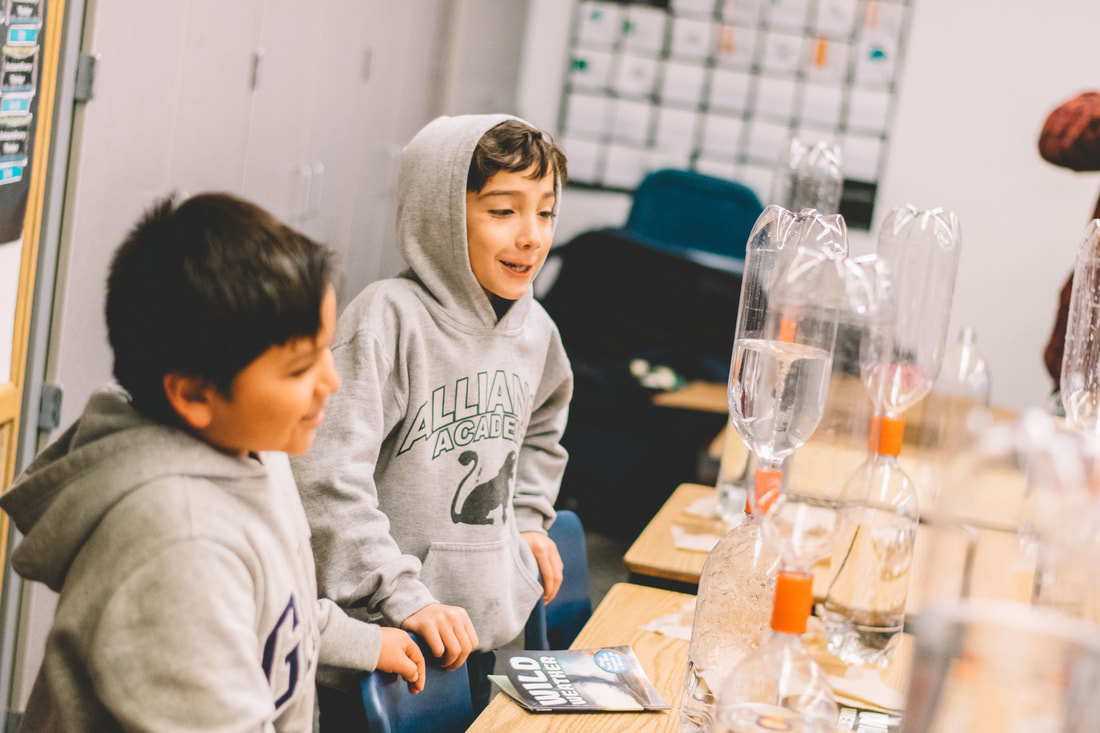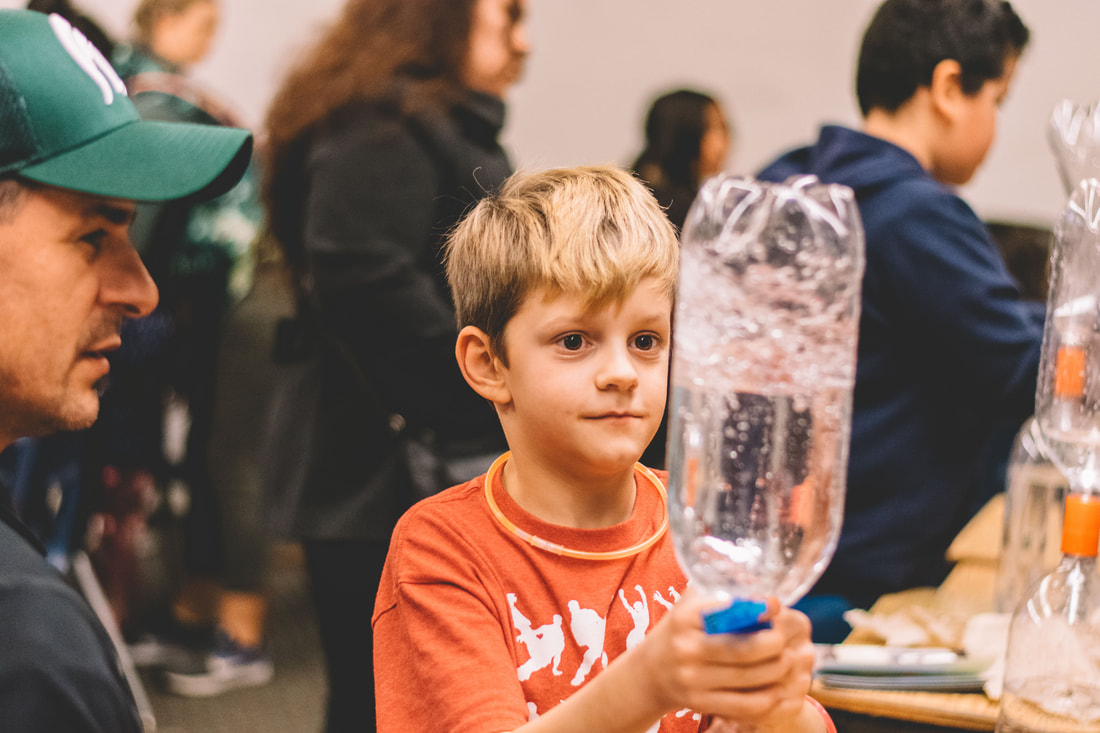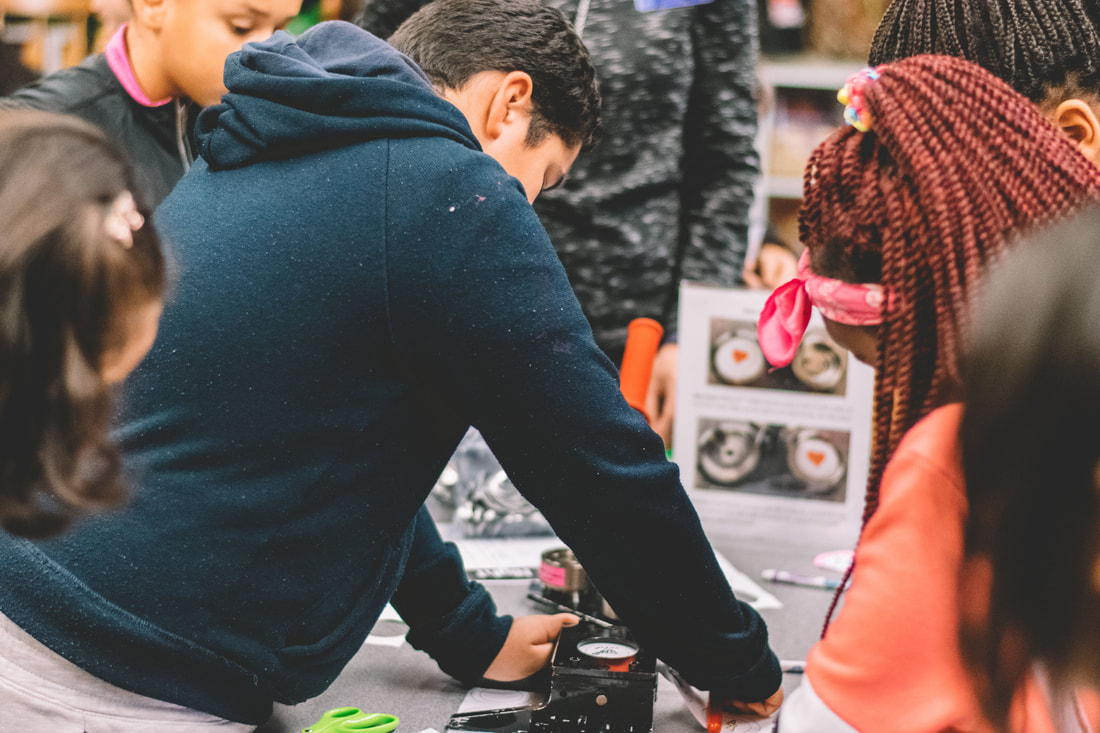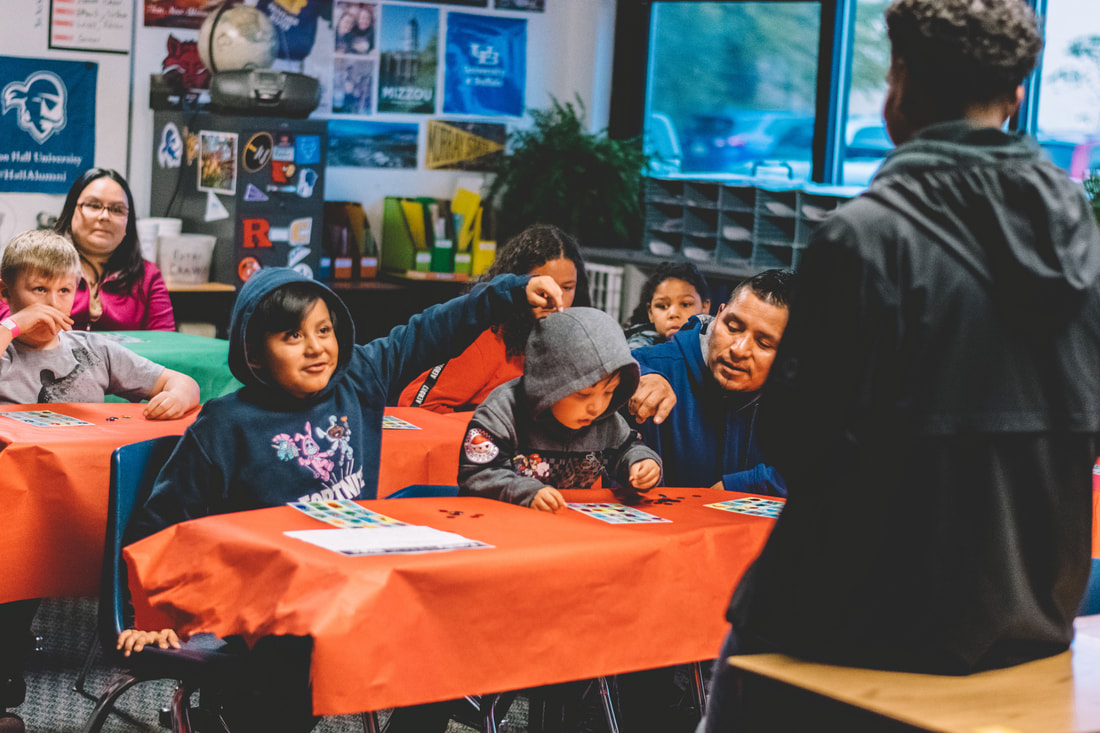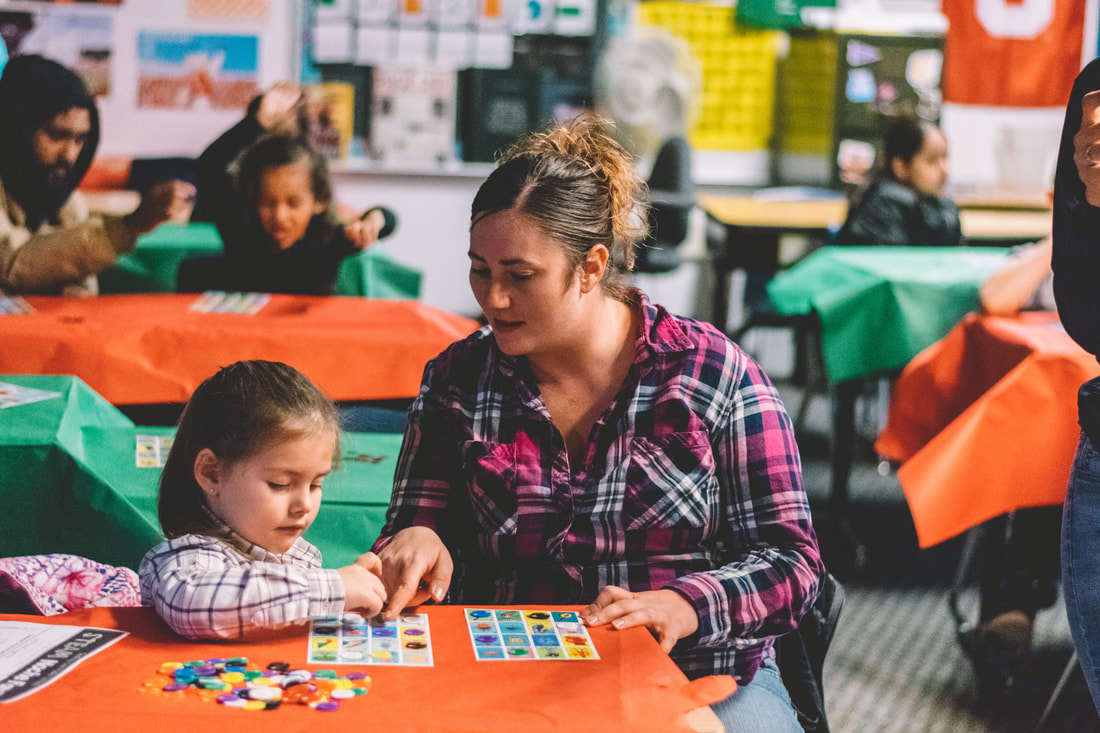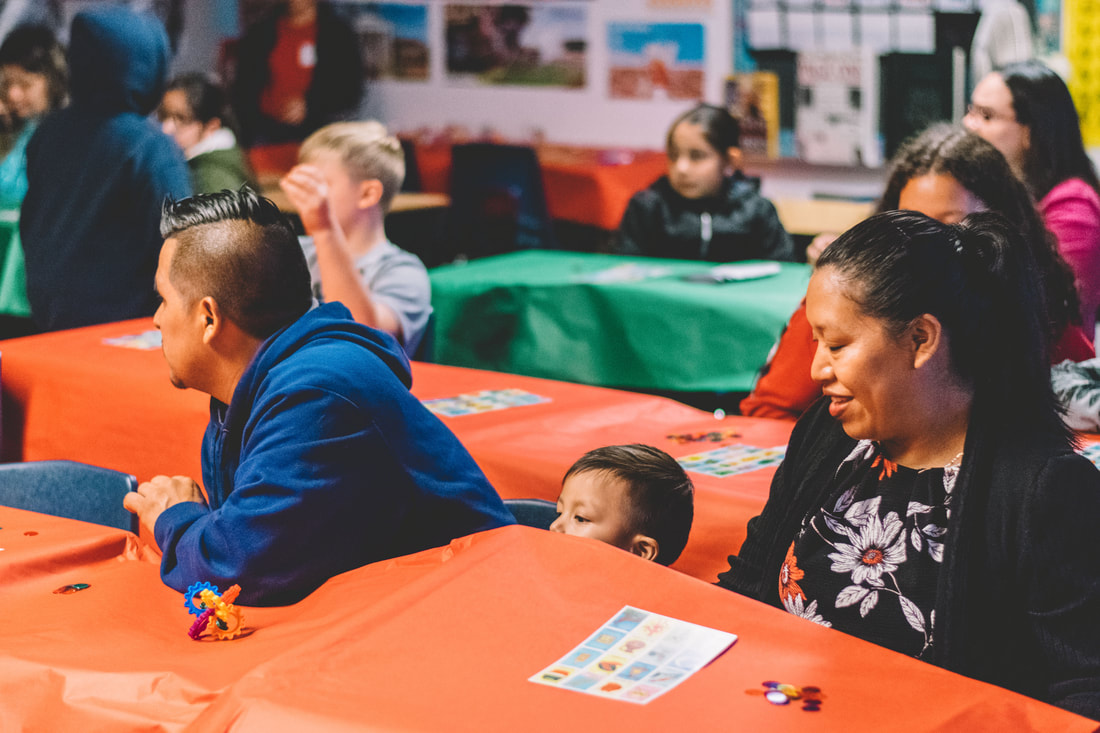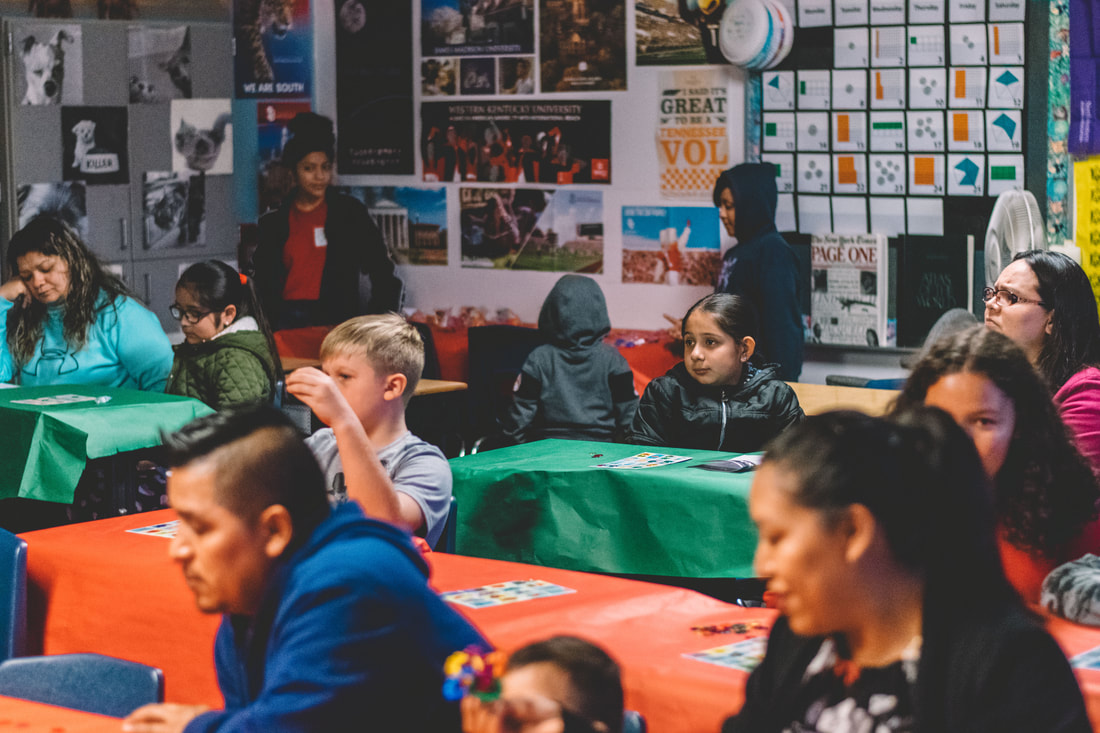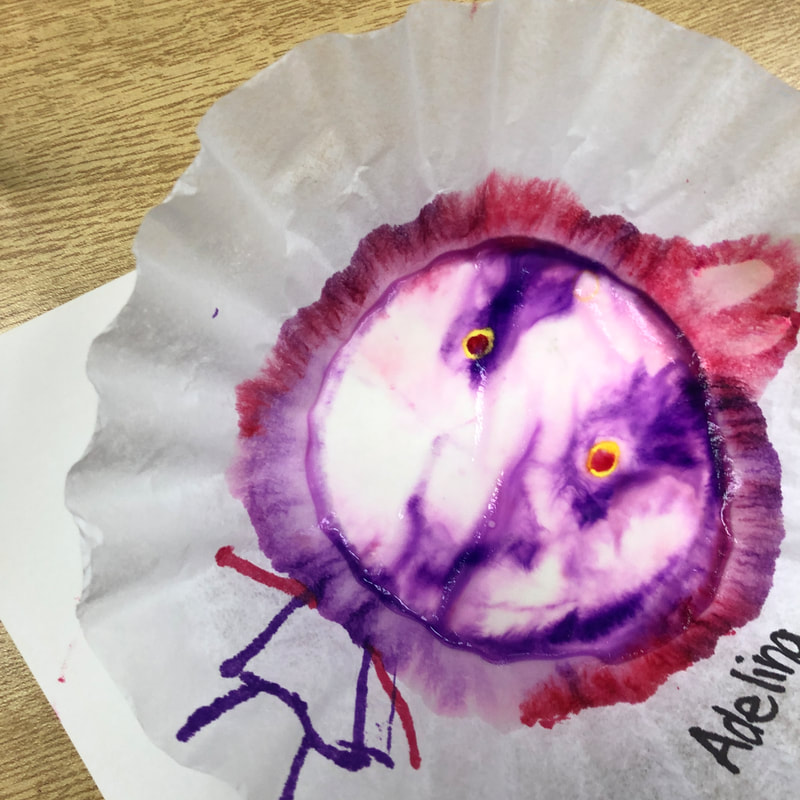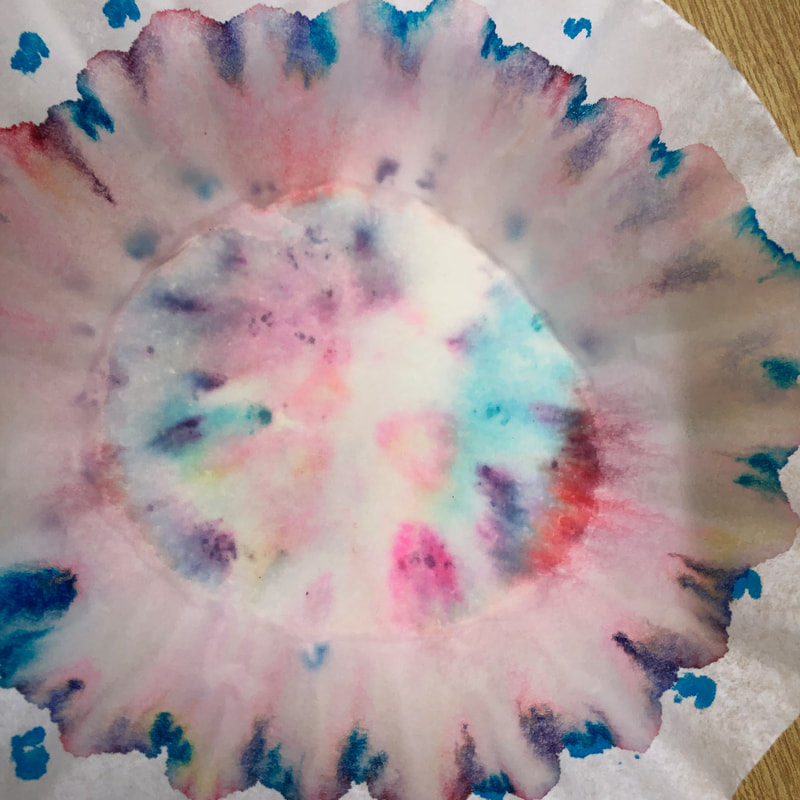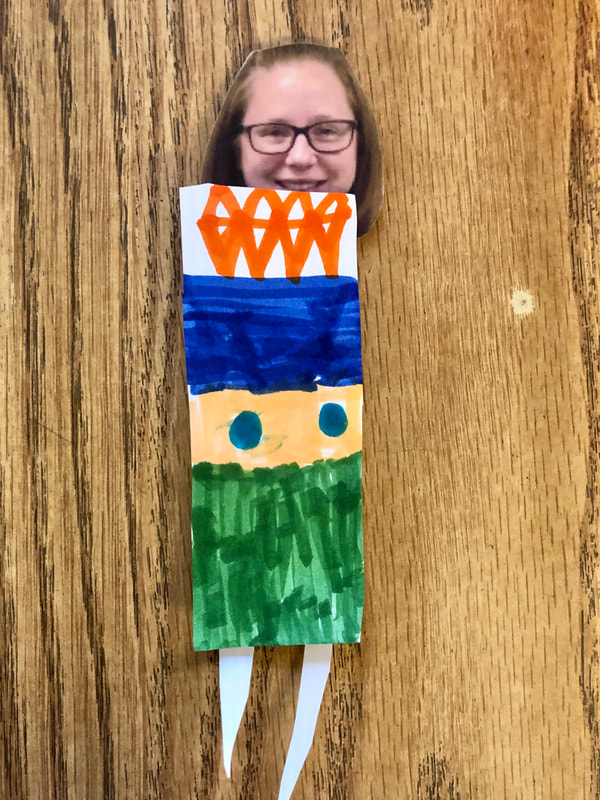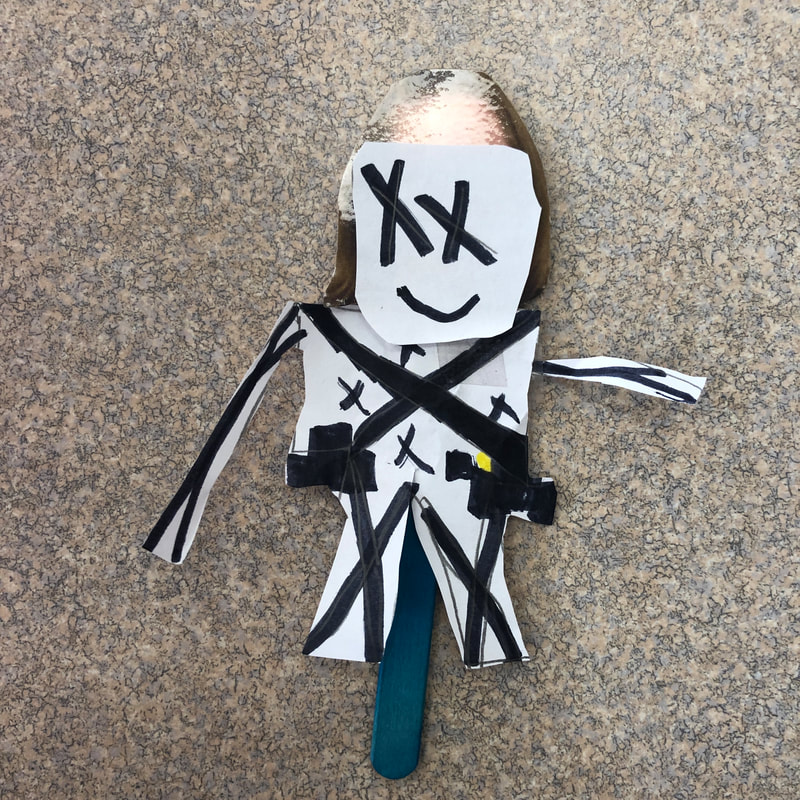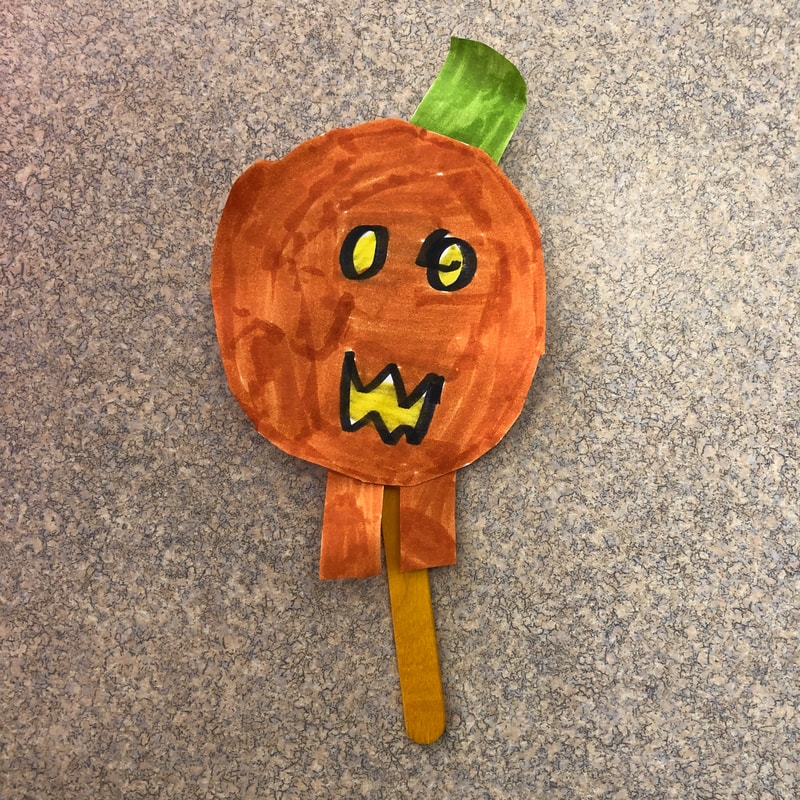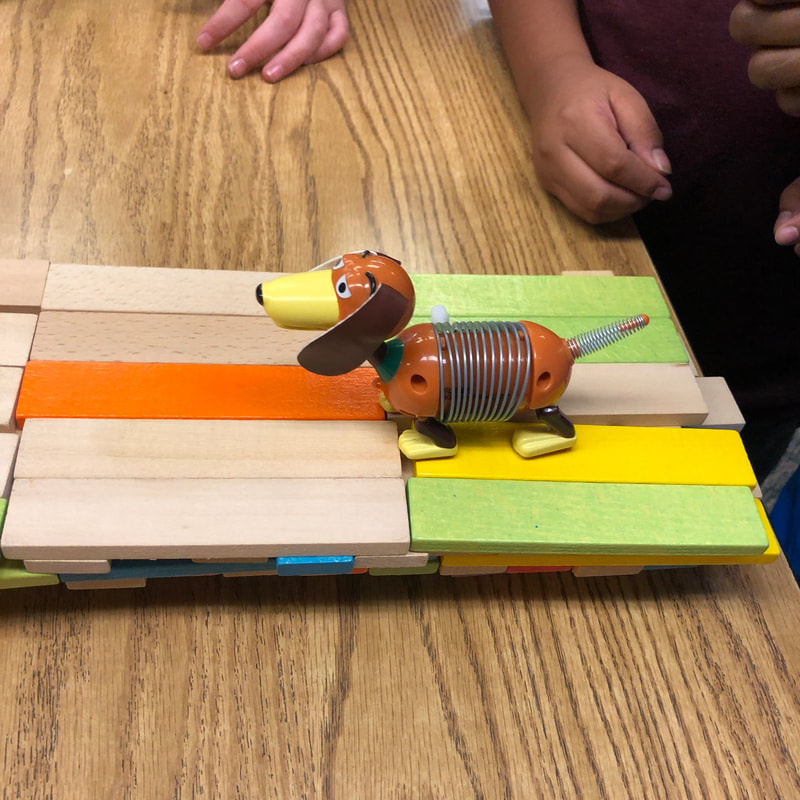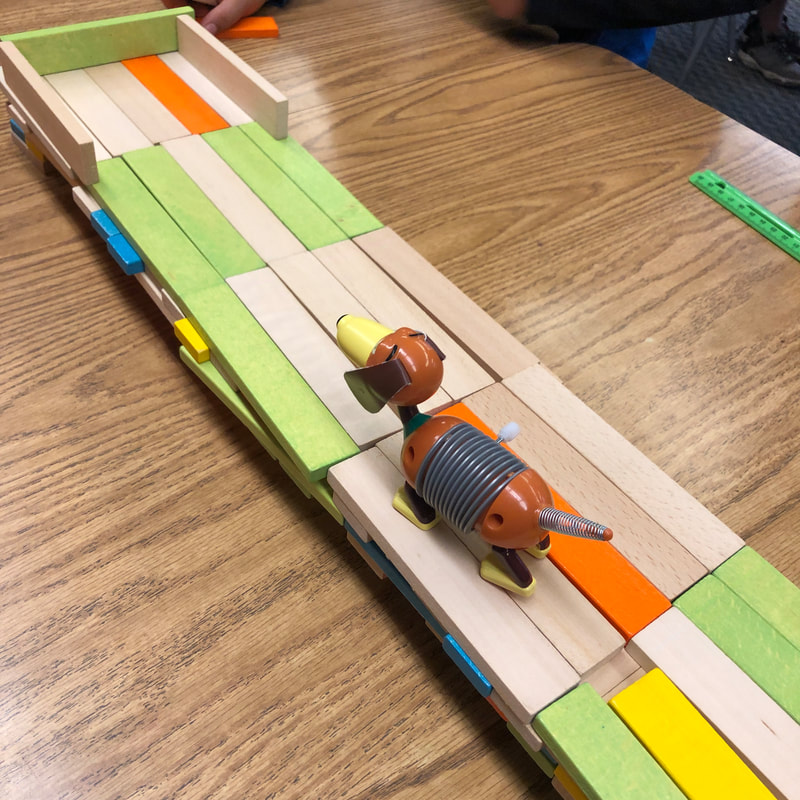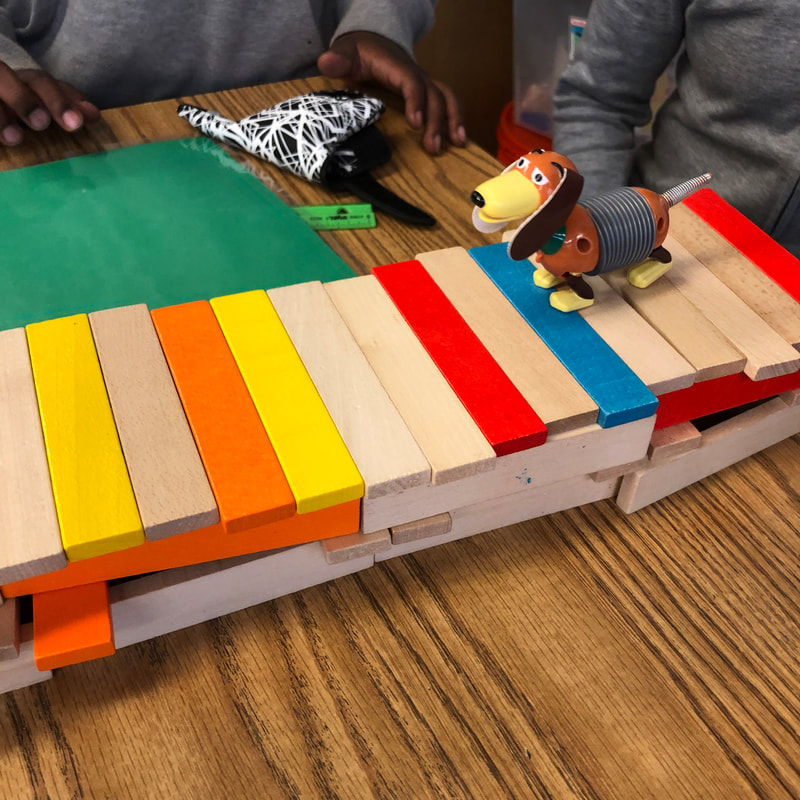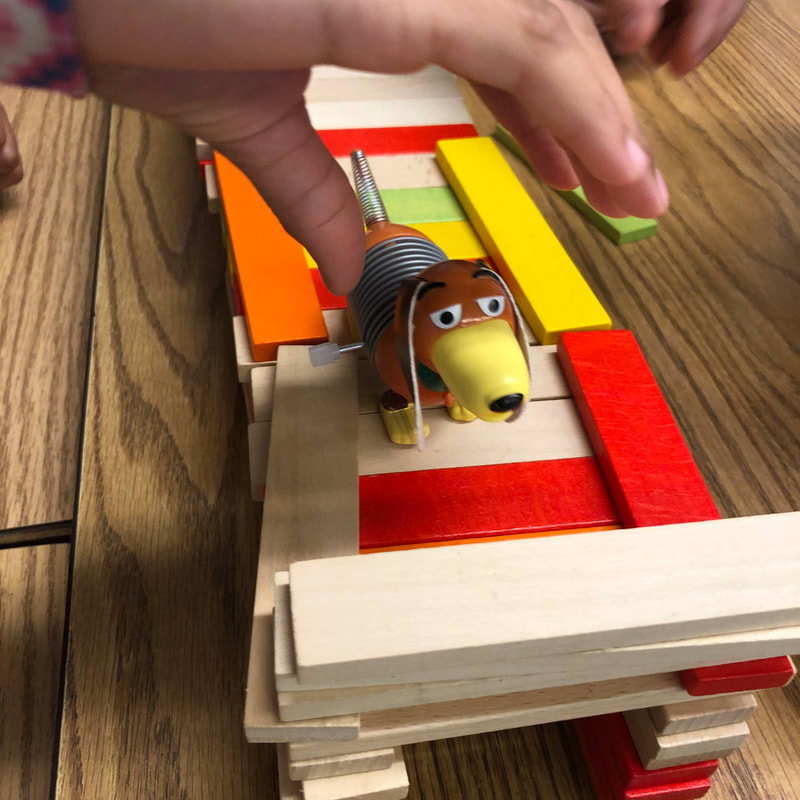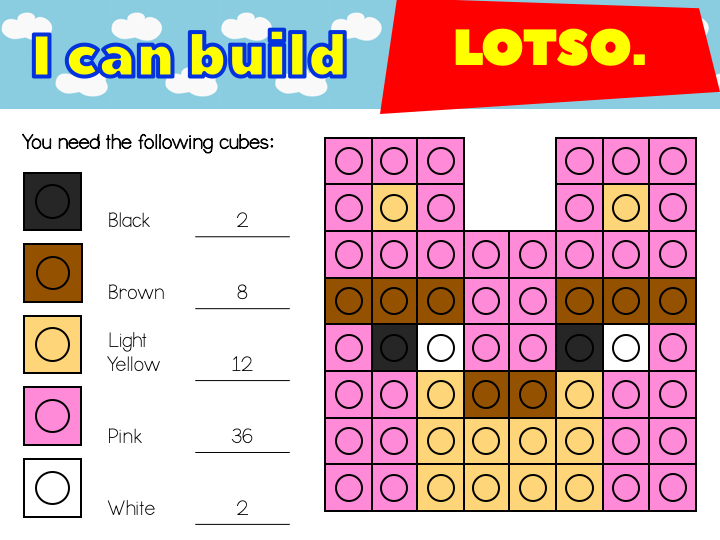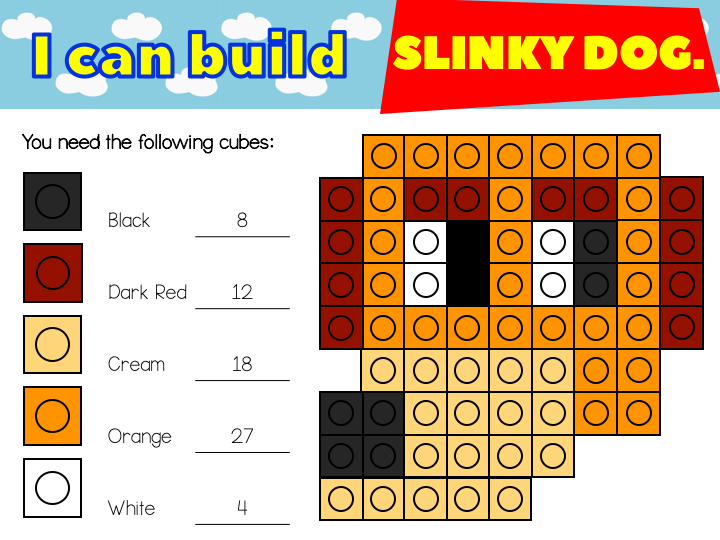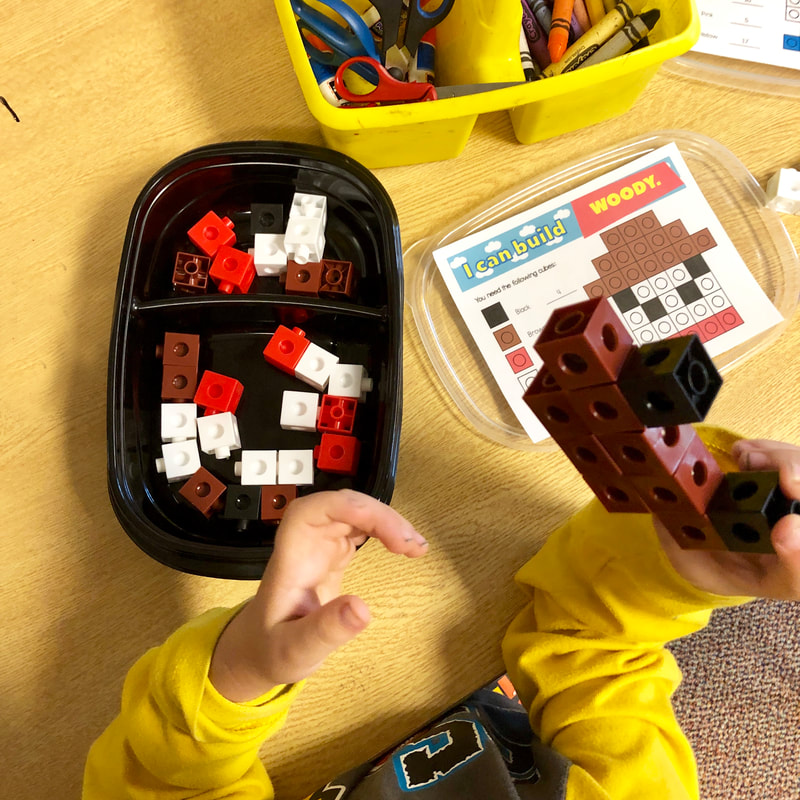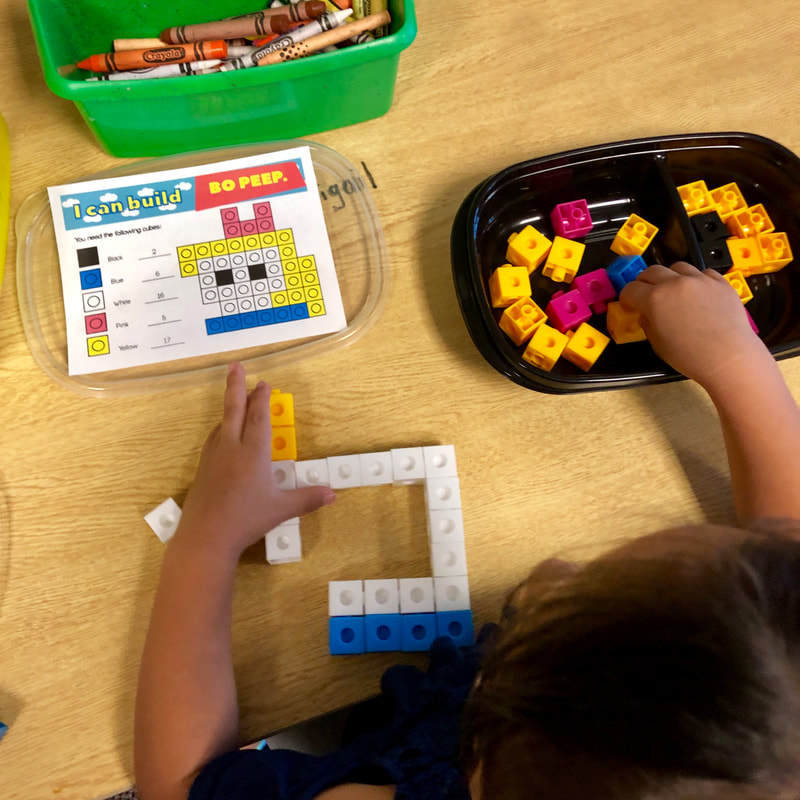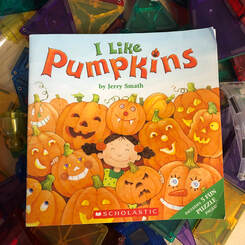
This week in Y5 and T1, we talked about pumpkins. The book I Like Pumpkins is such a cute book and perfect for that age level. It talks about how pumpkins come in different shapes and sizes and how all pumpkins are different.
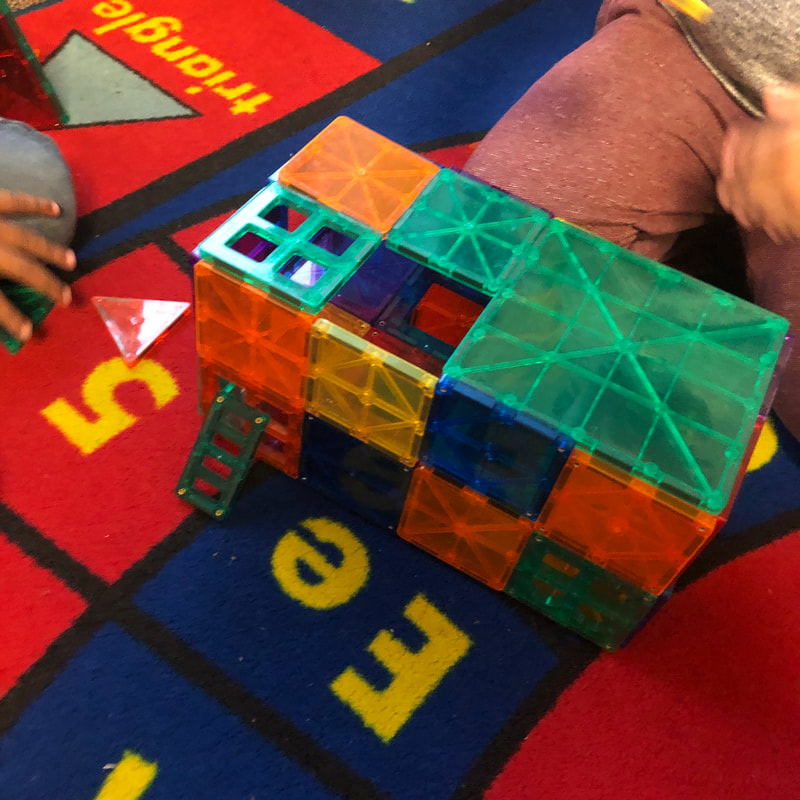
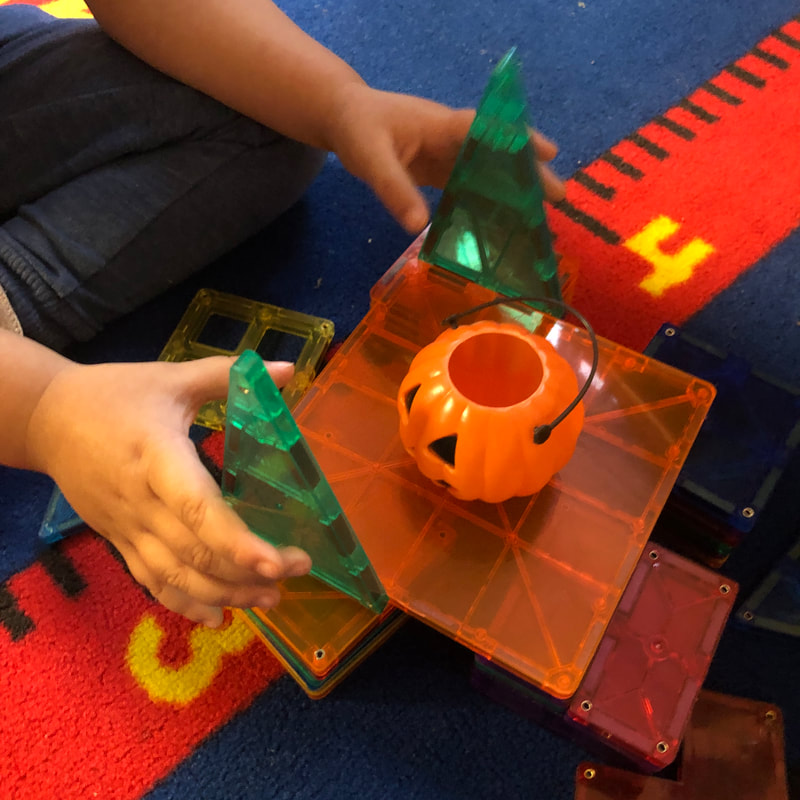
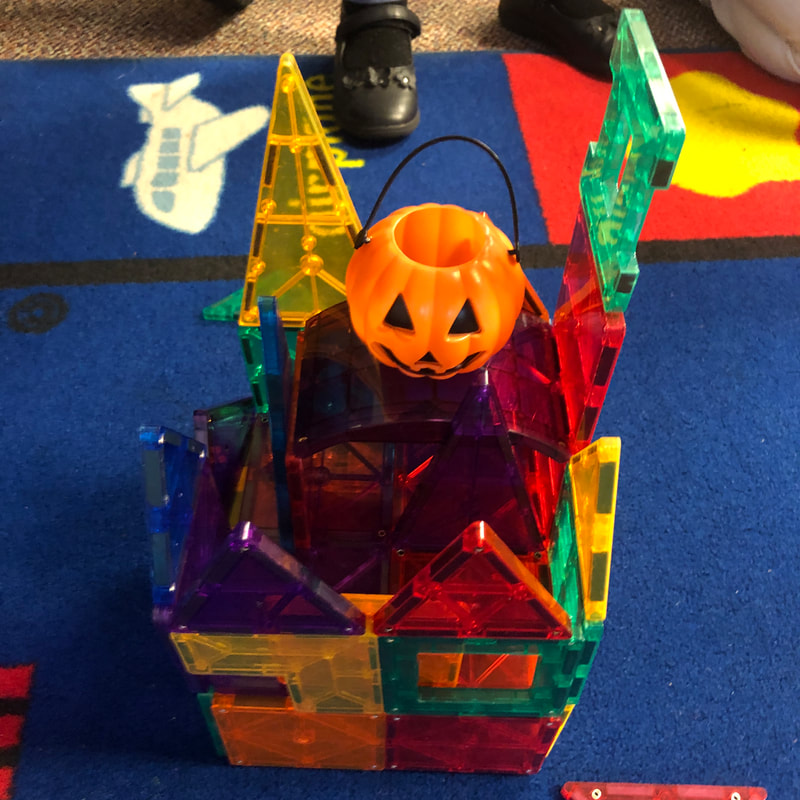
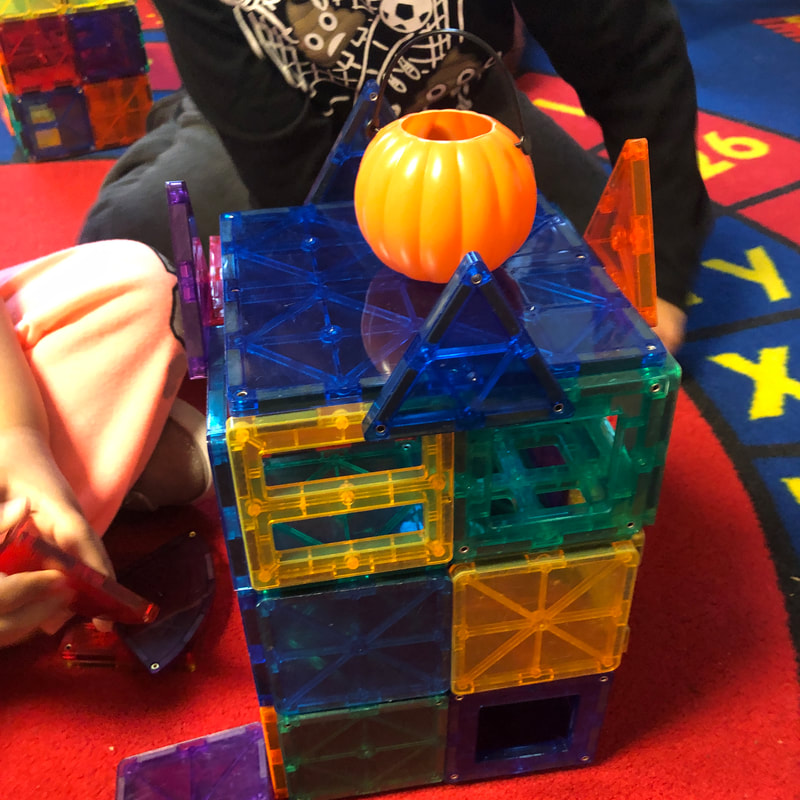
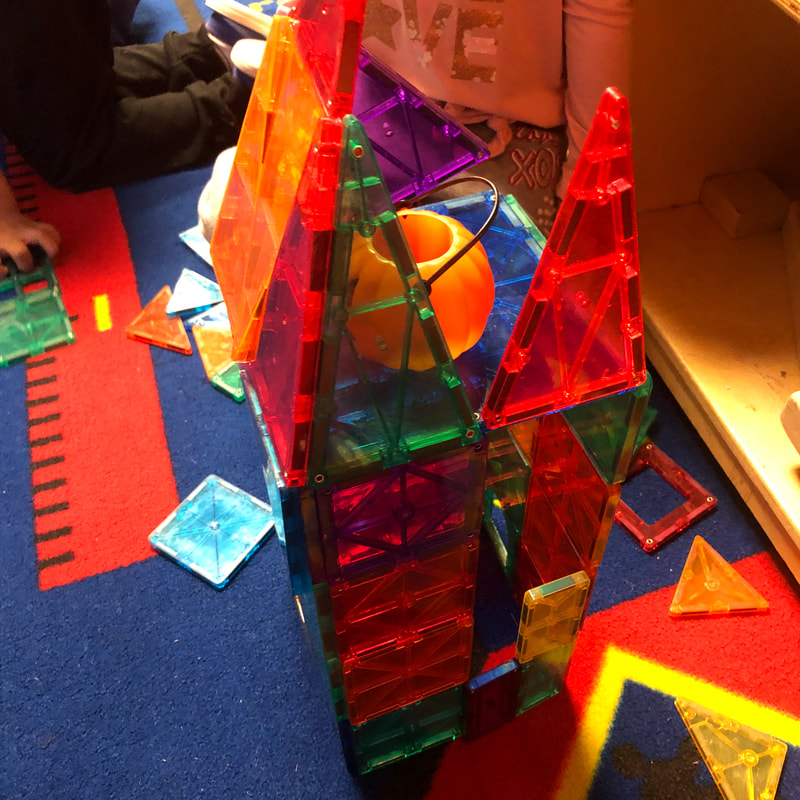
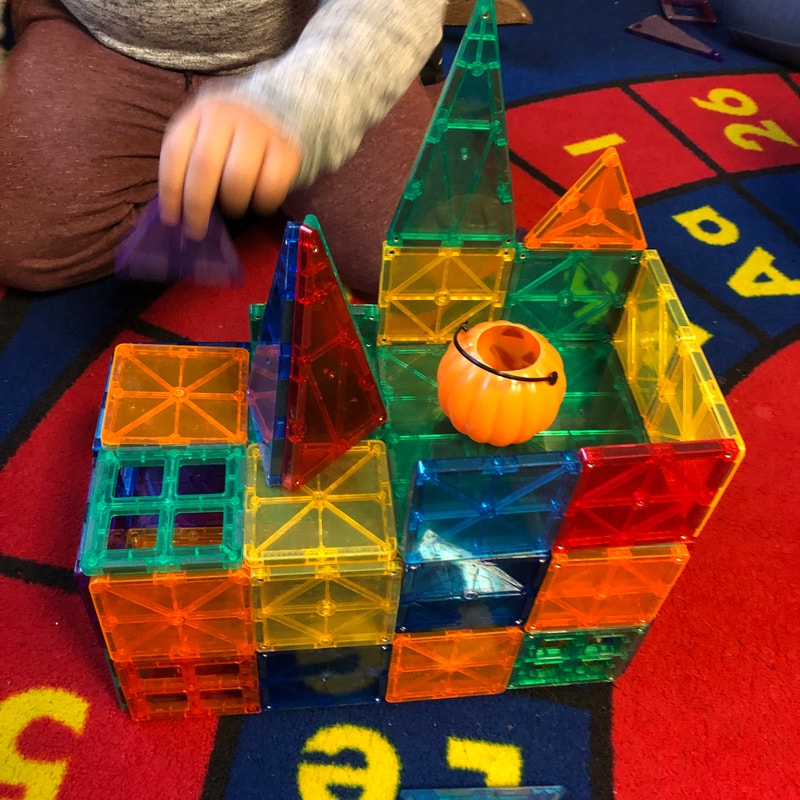
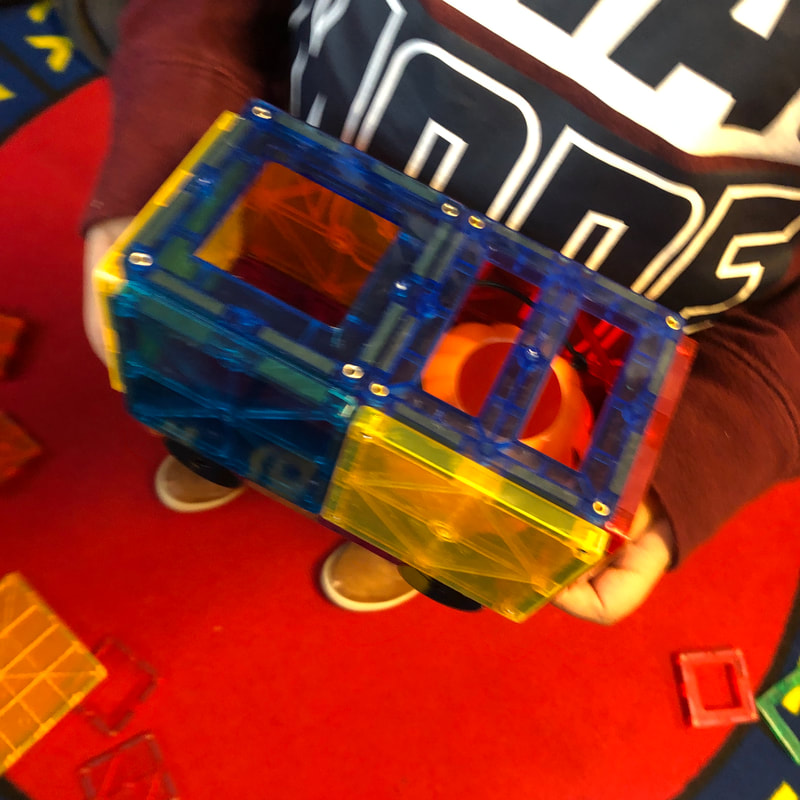
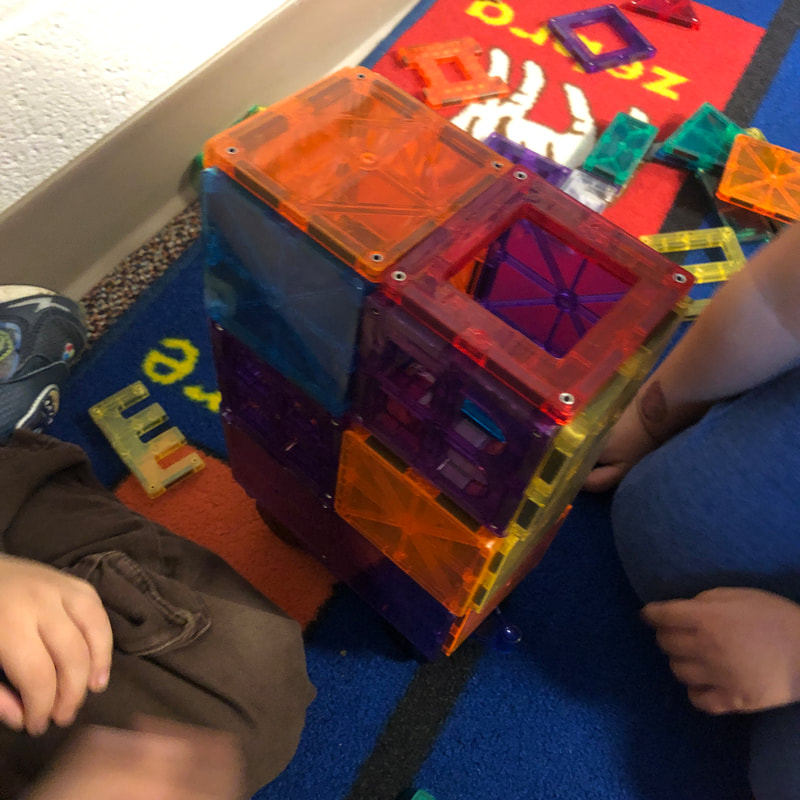
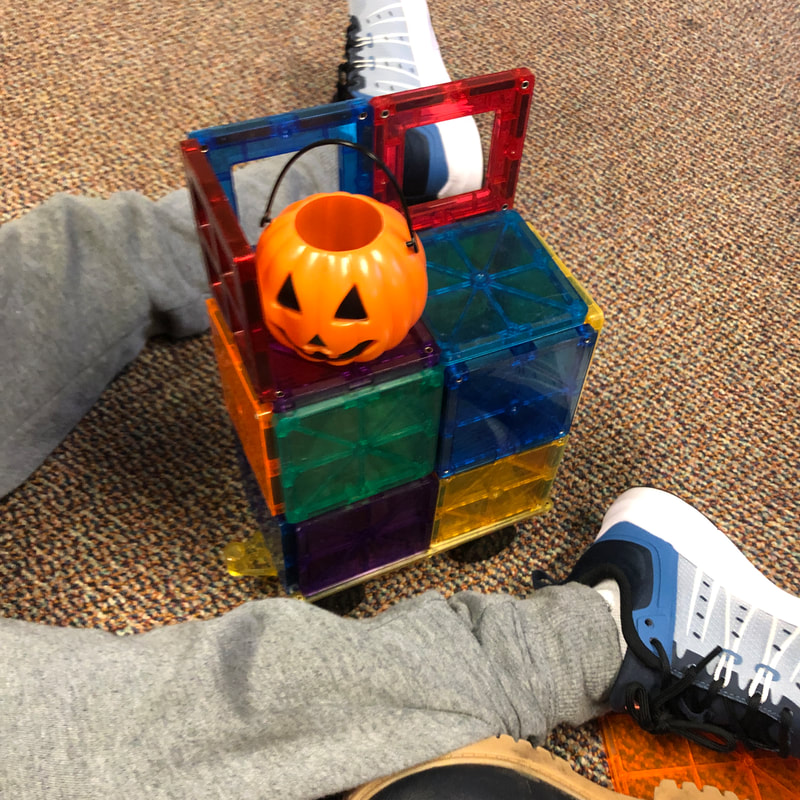
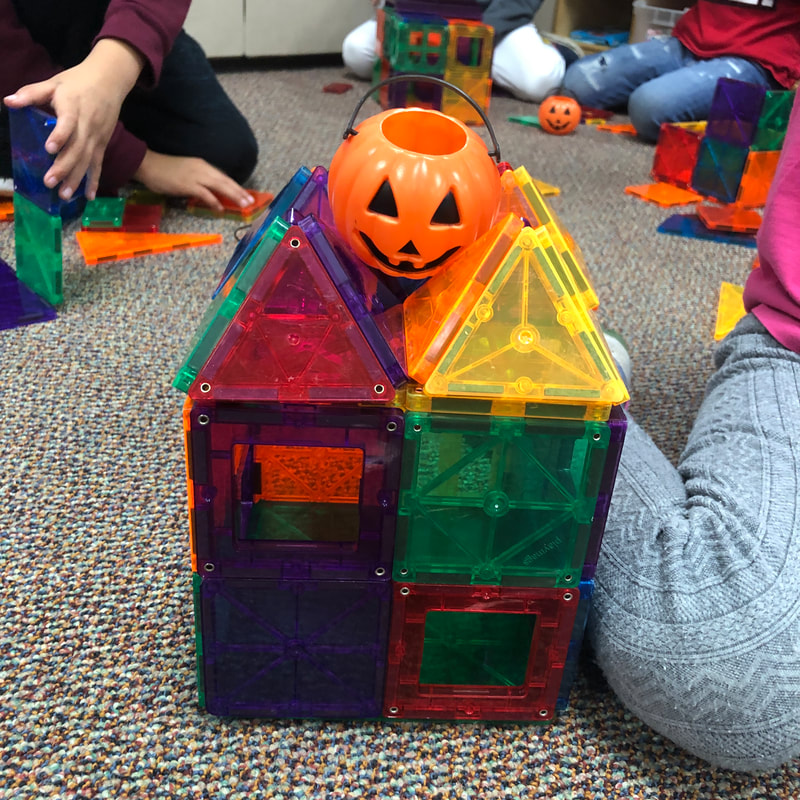
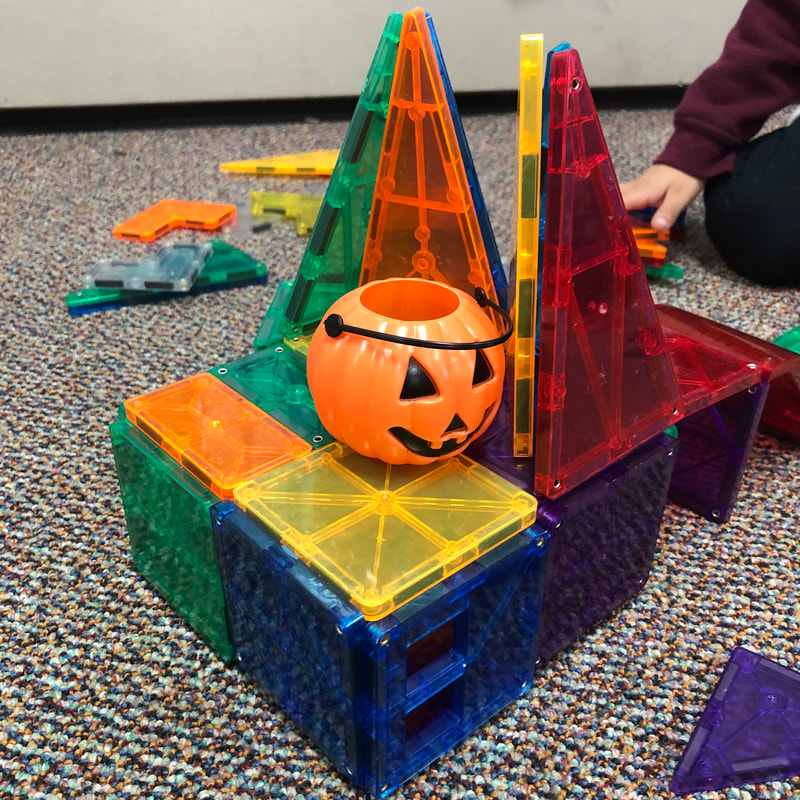
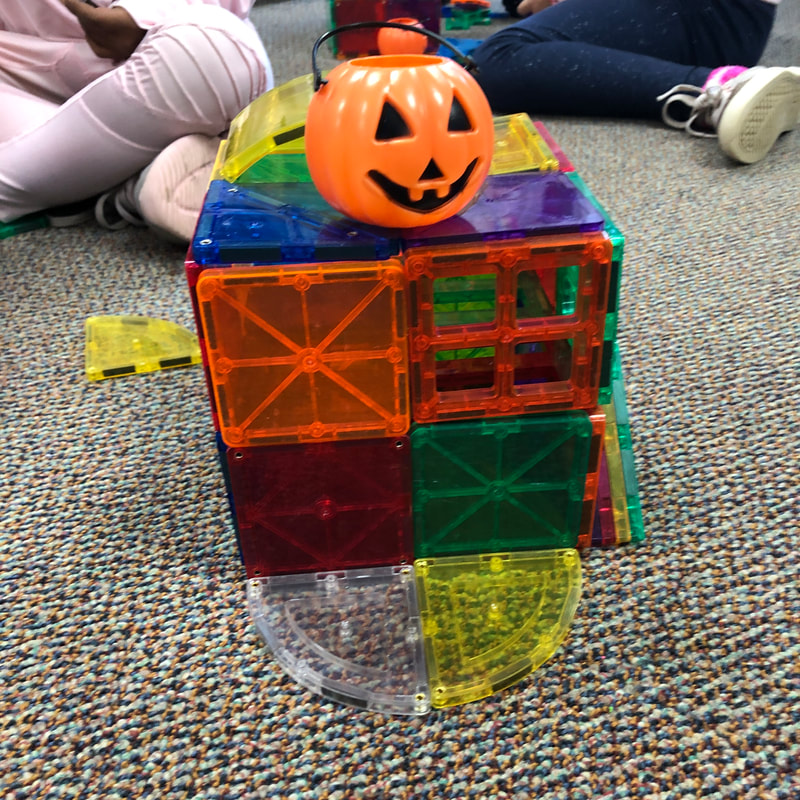
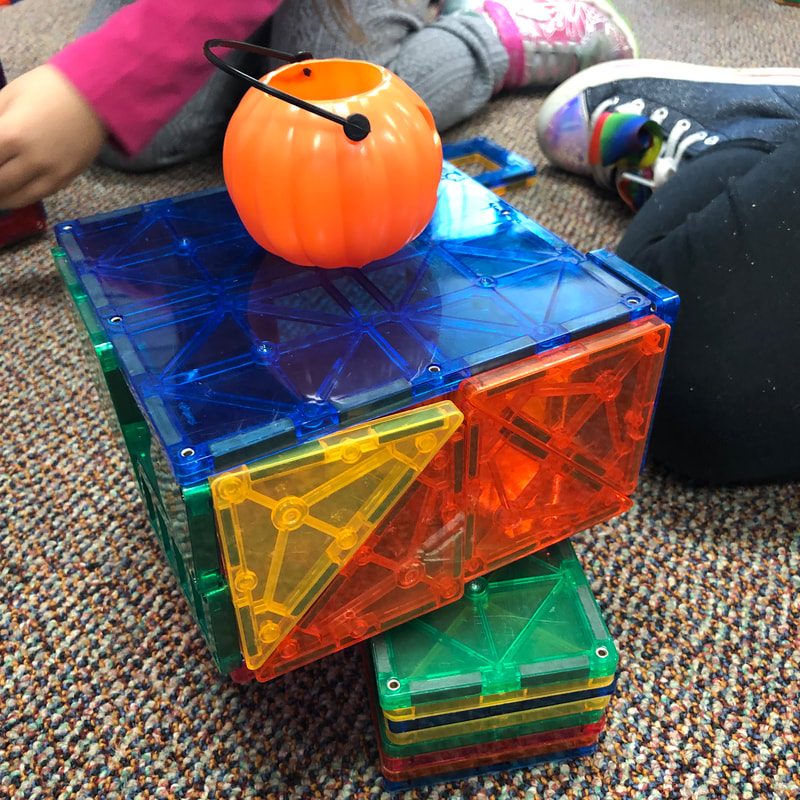
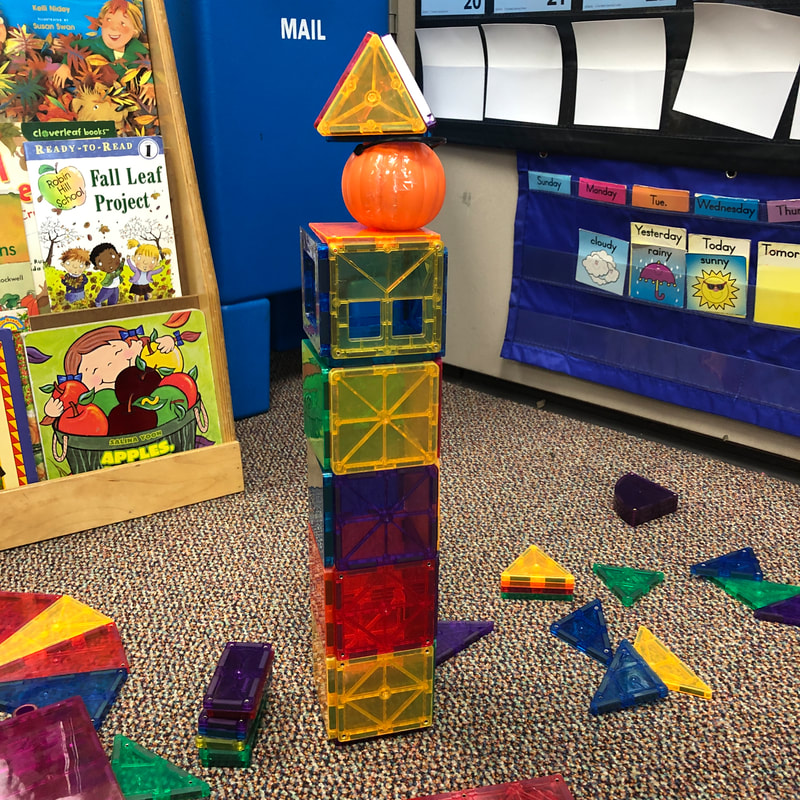
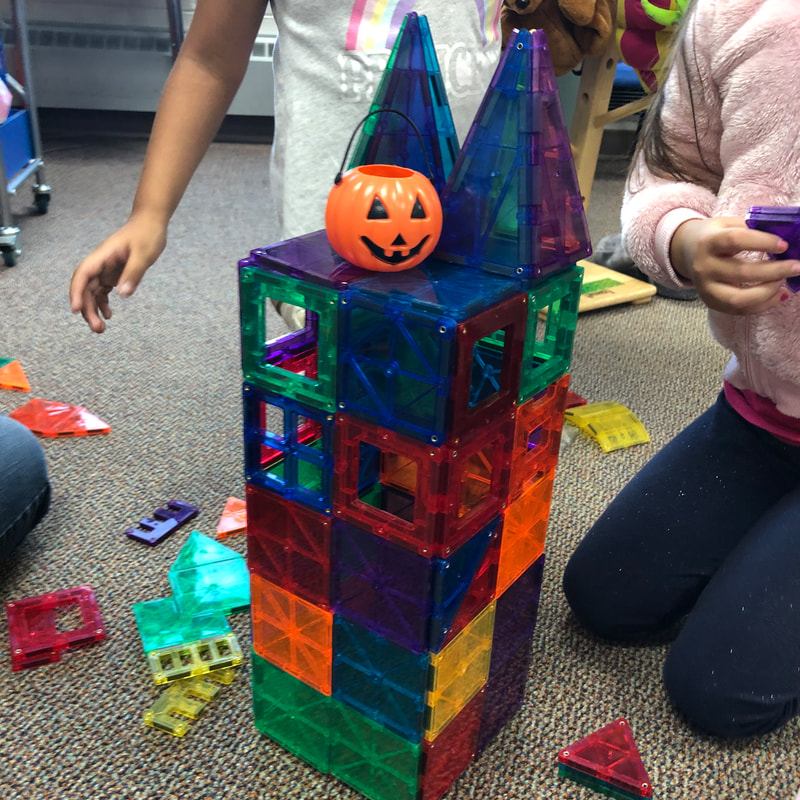
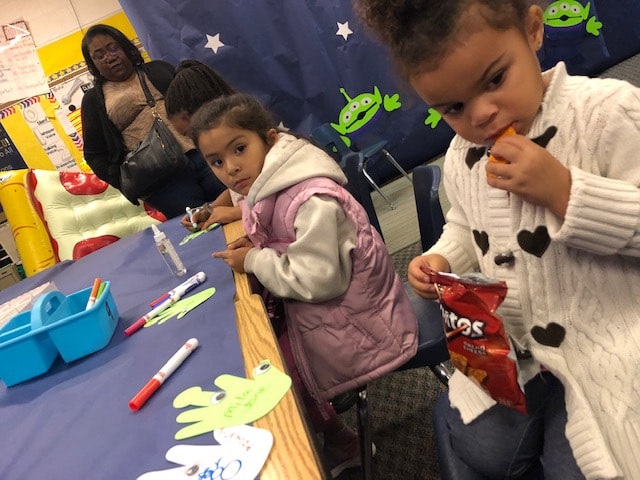
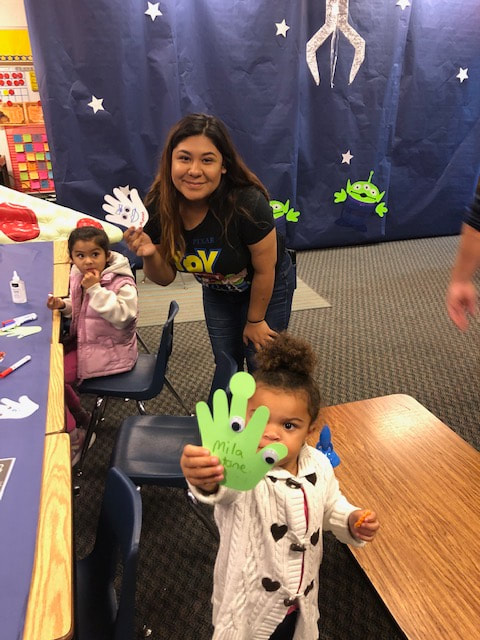
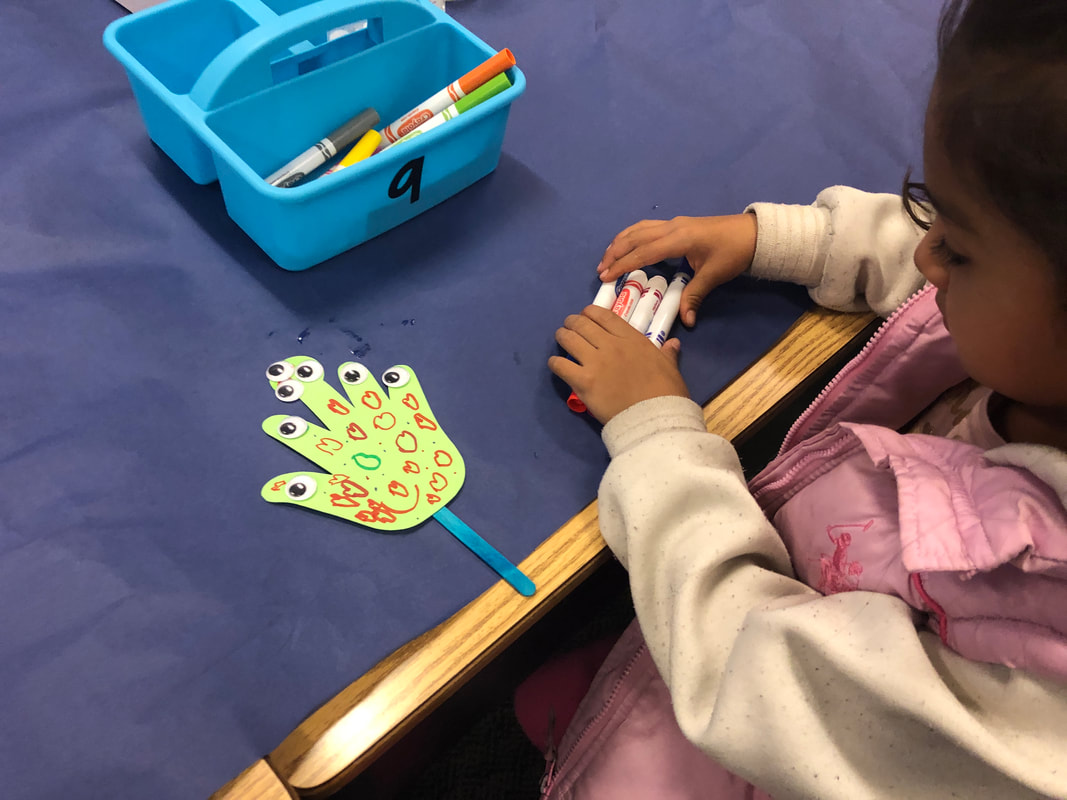
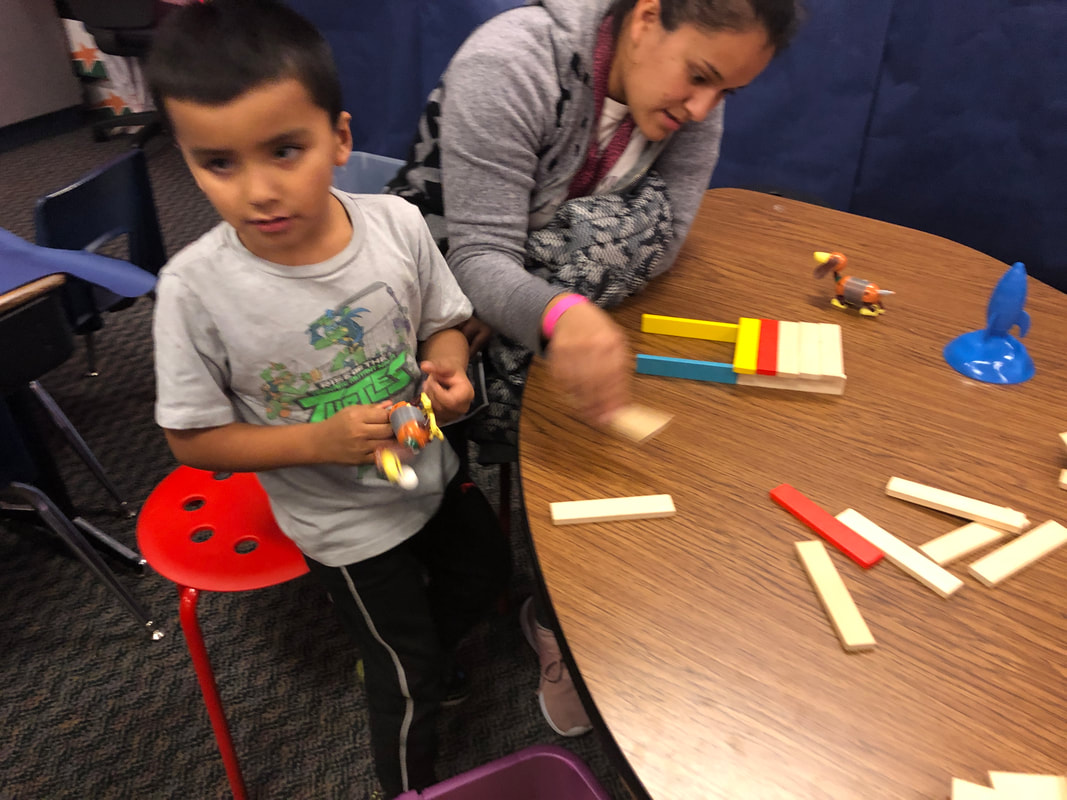
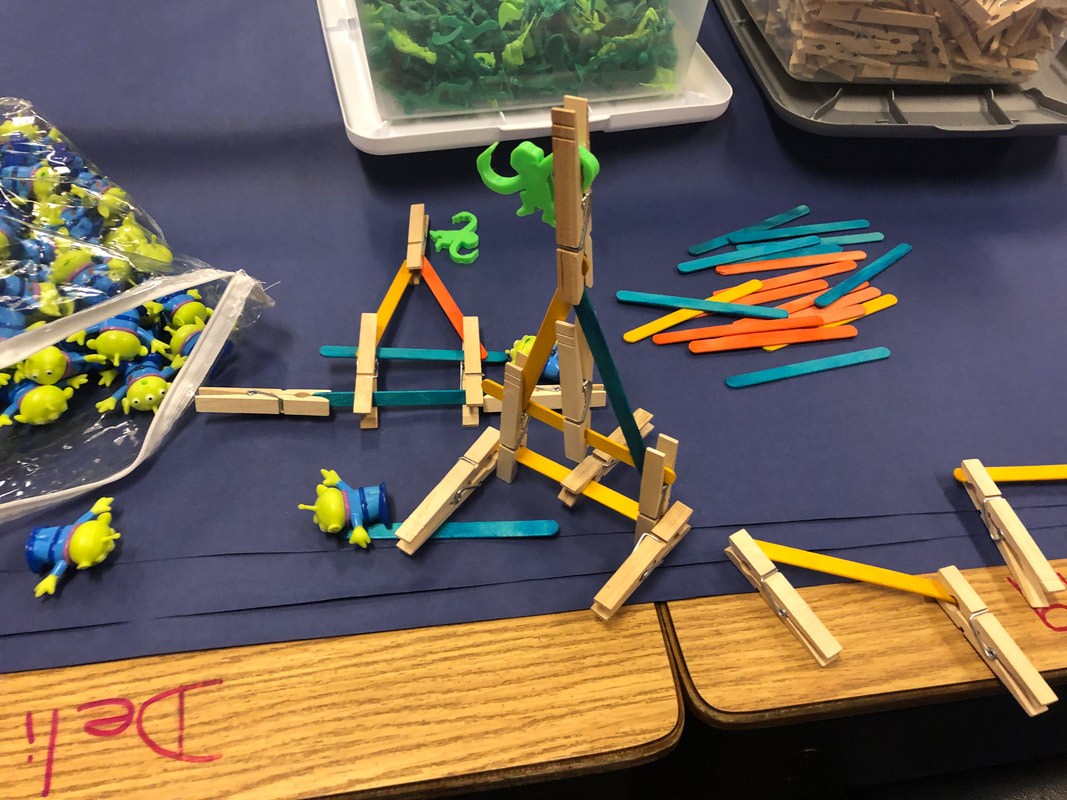
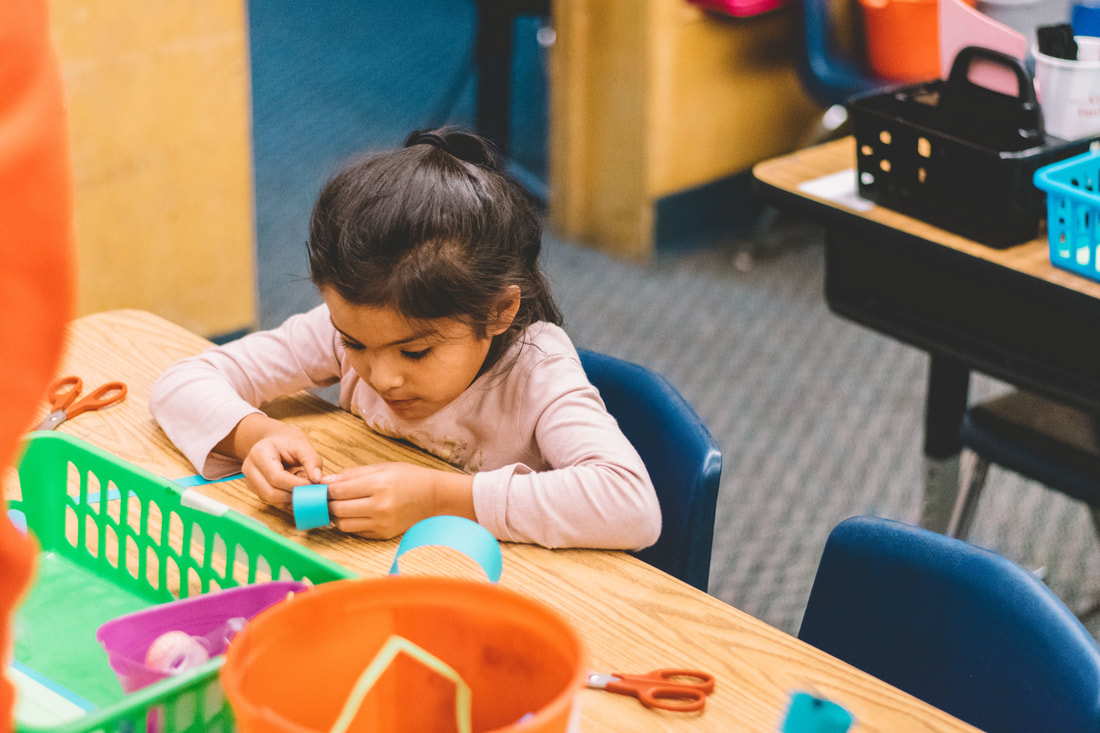
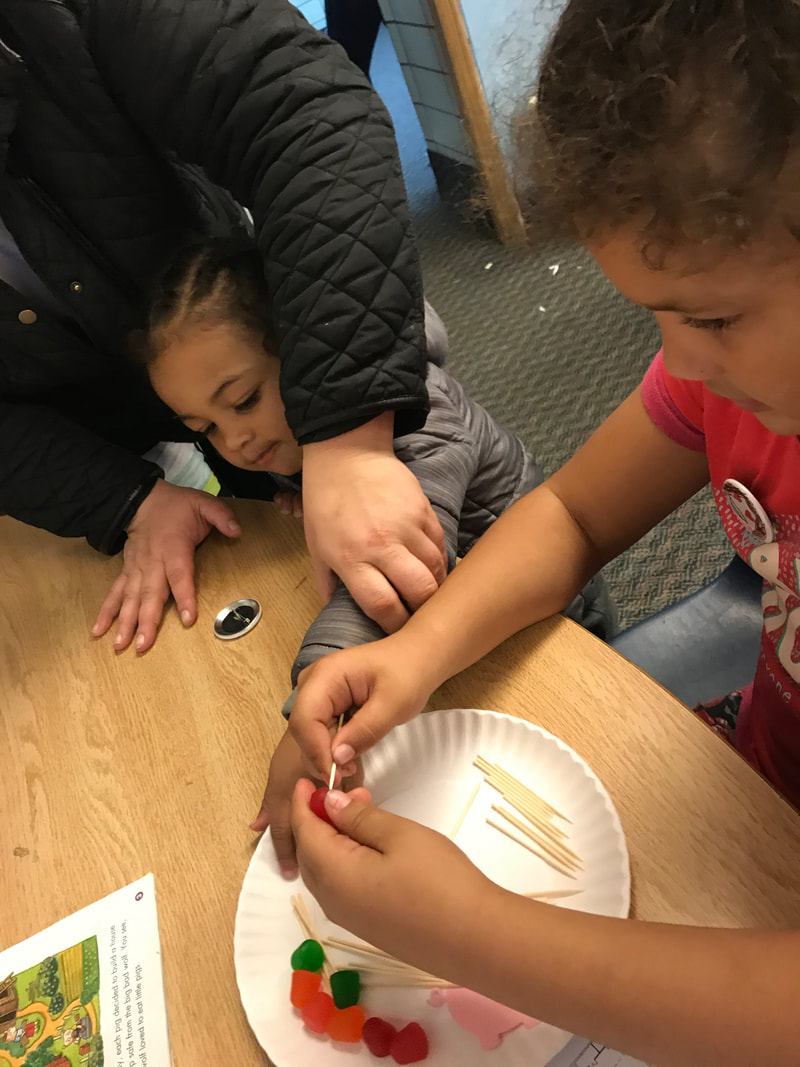
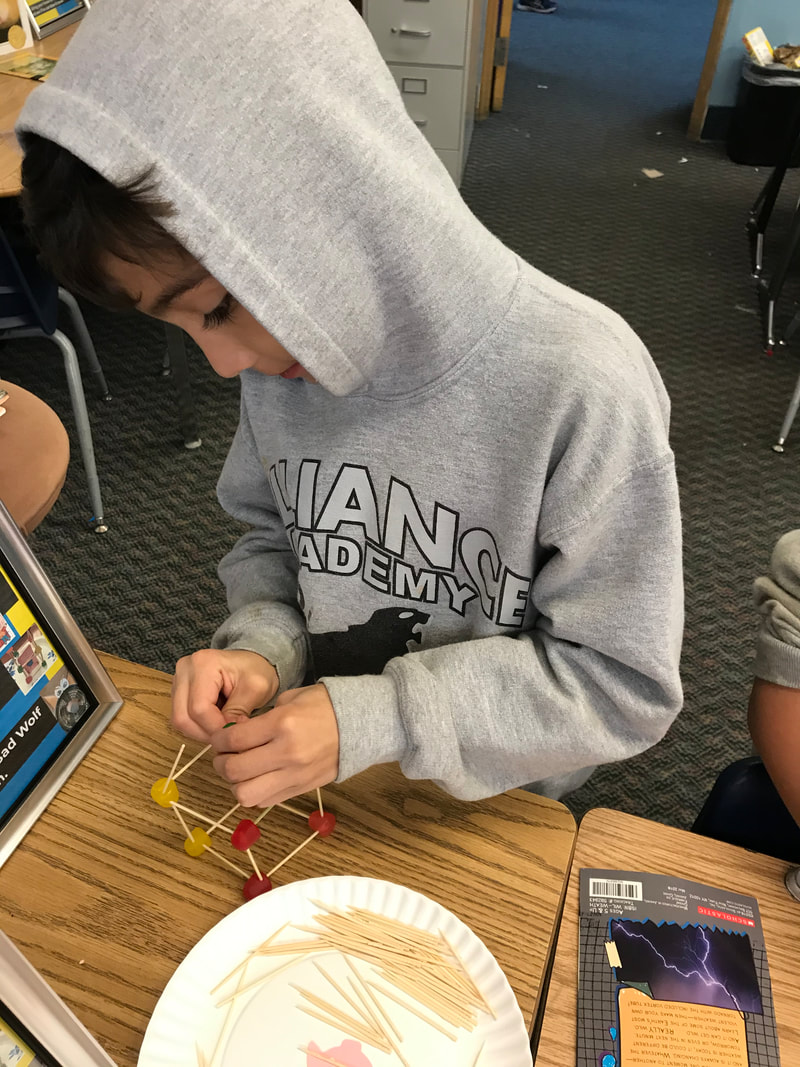
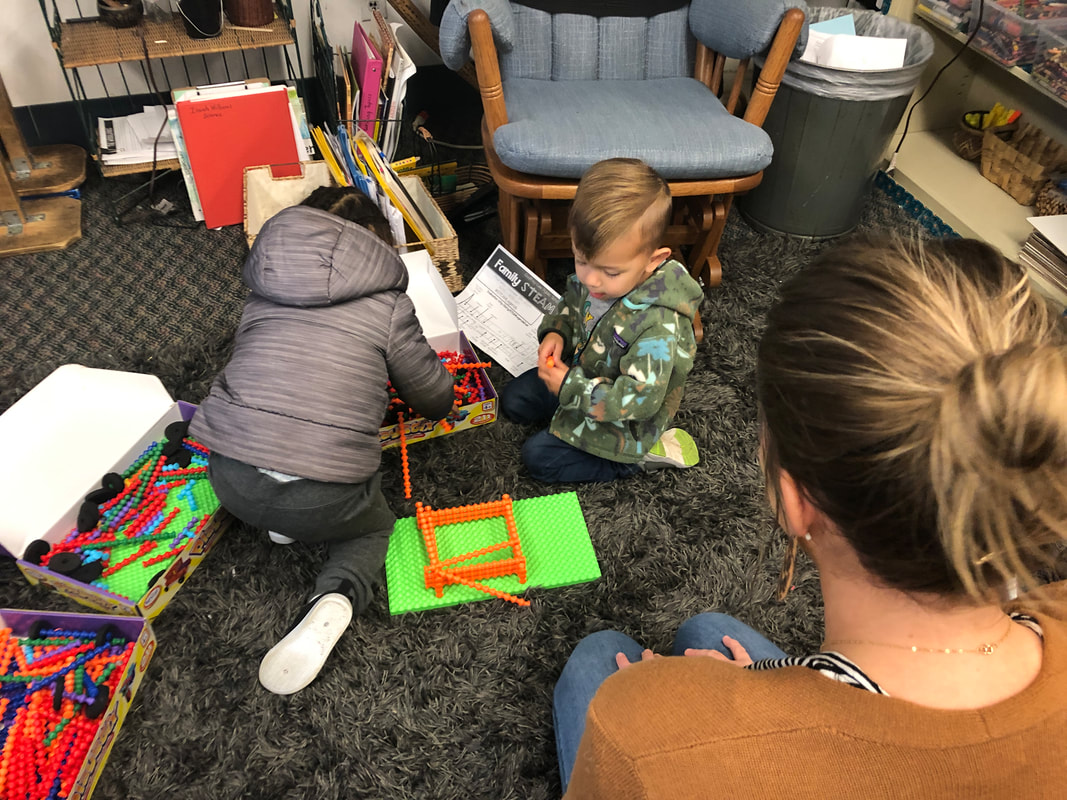
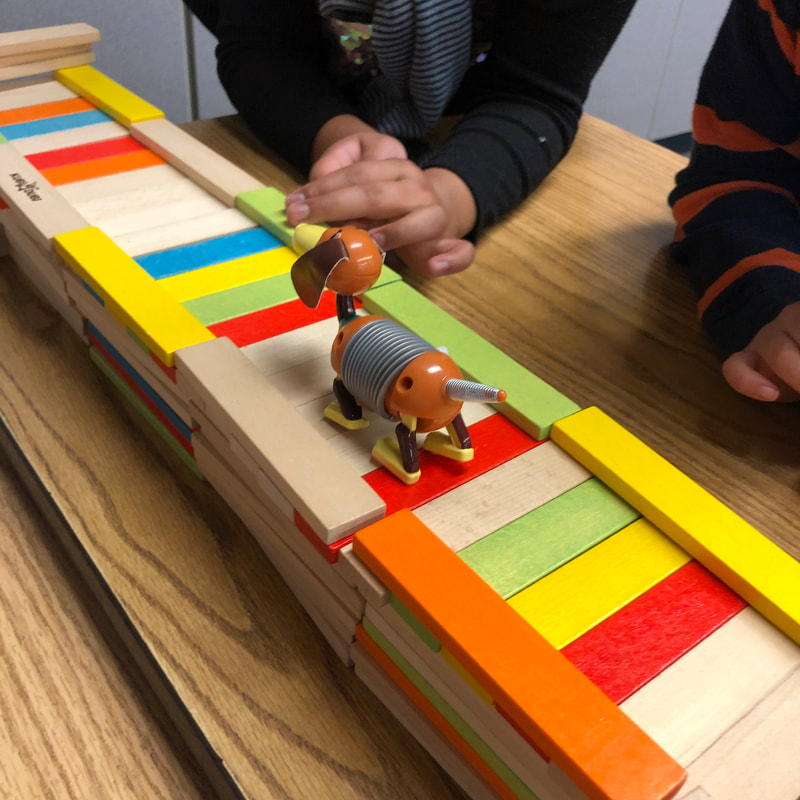
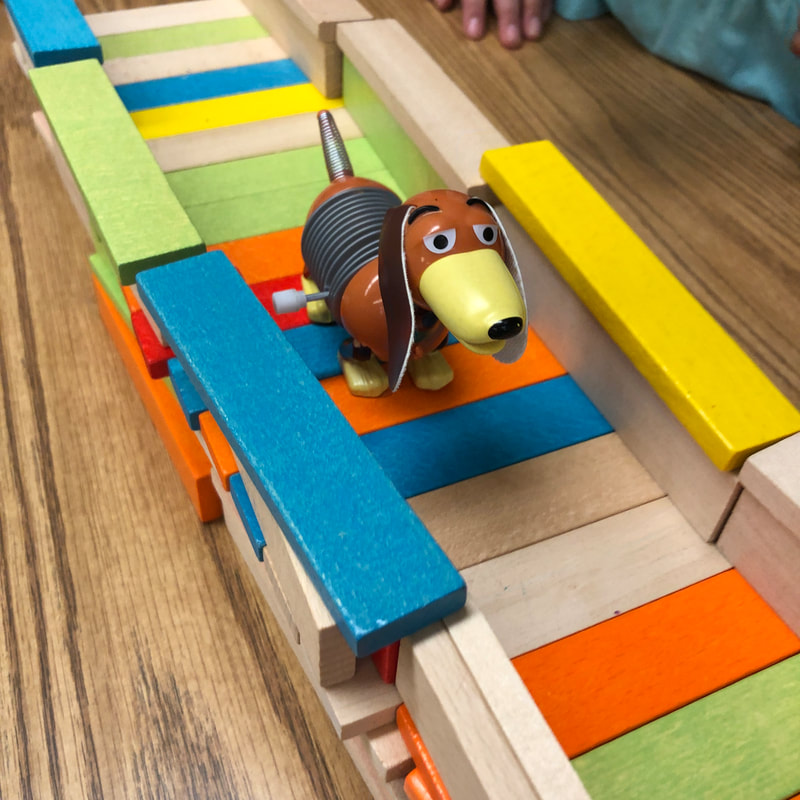
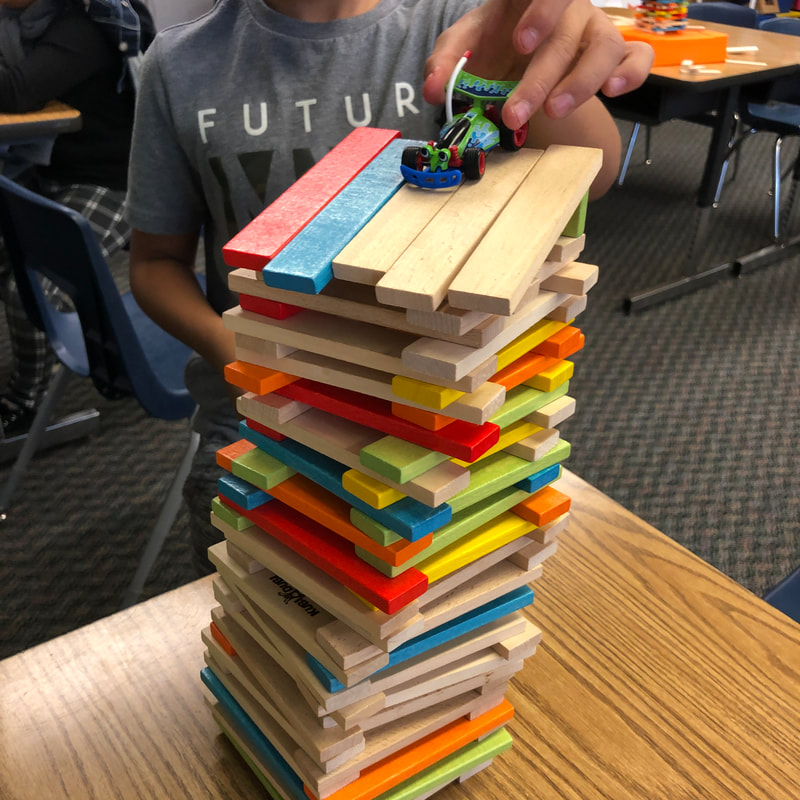
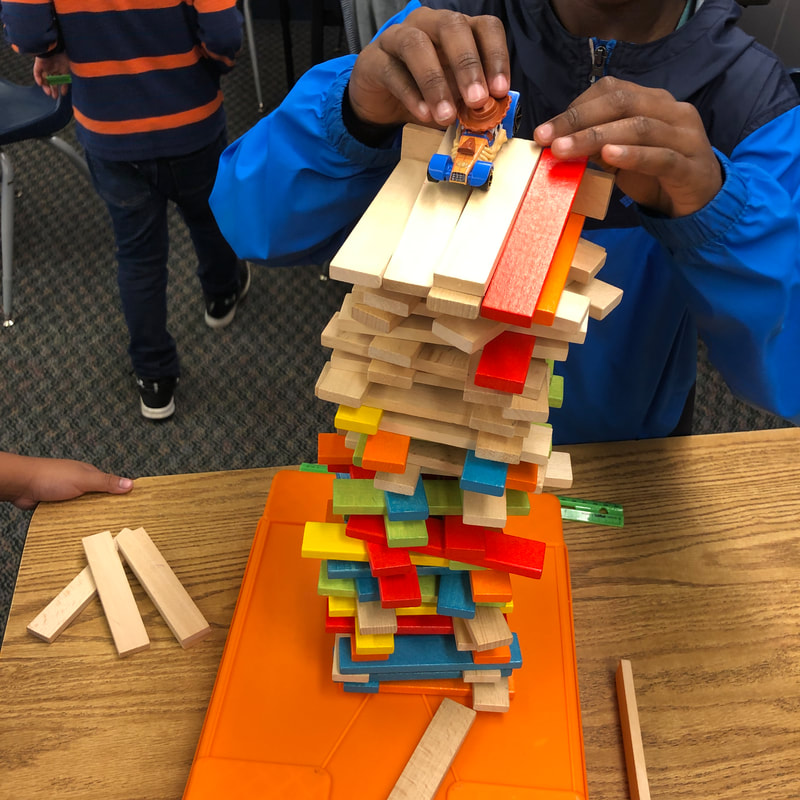
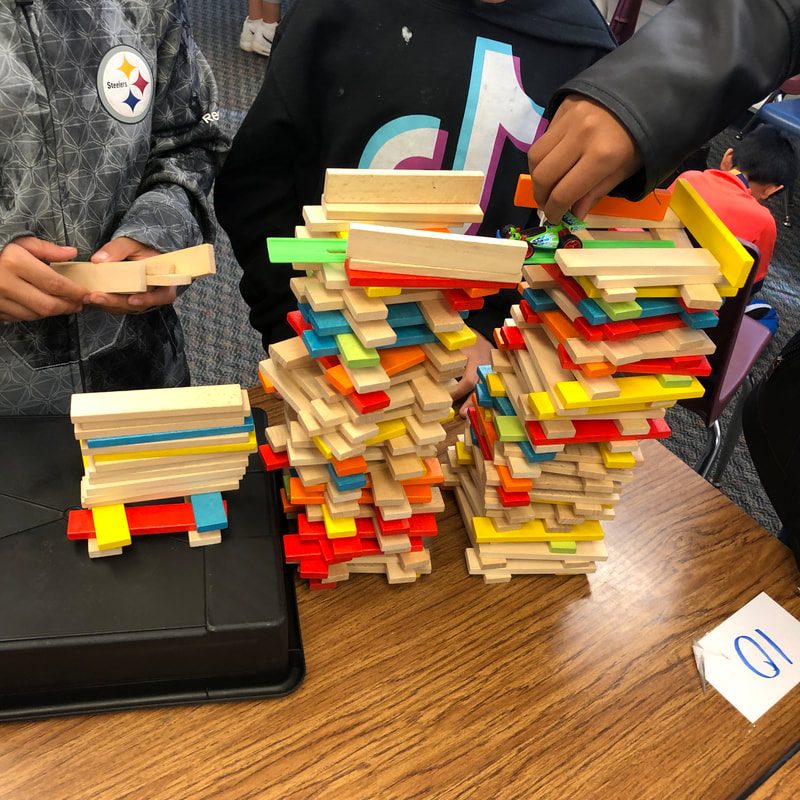
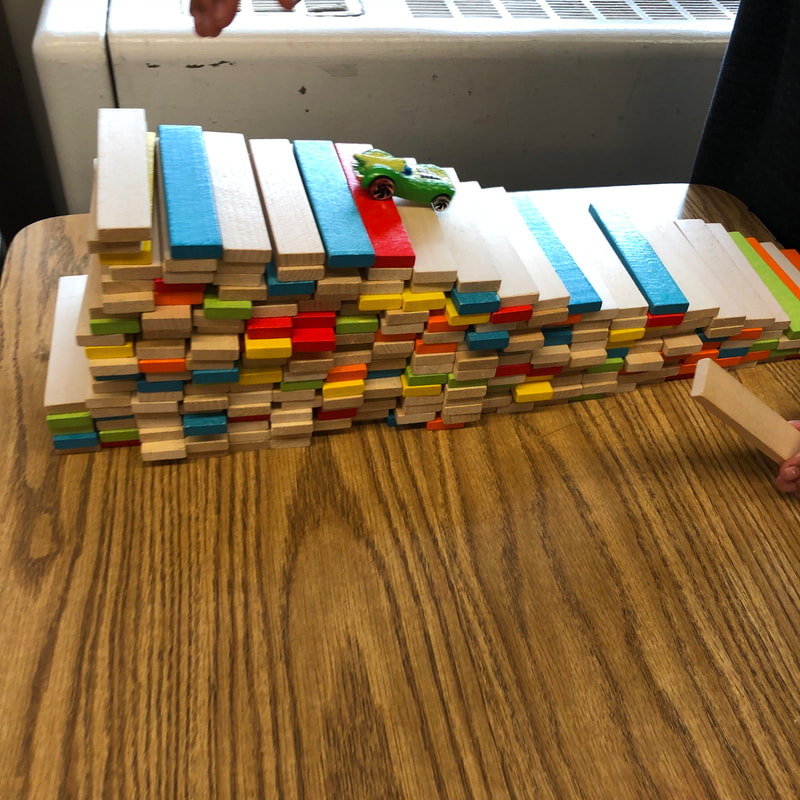
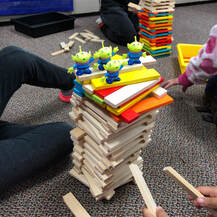
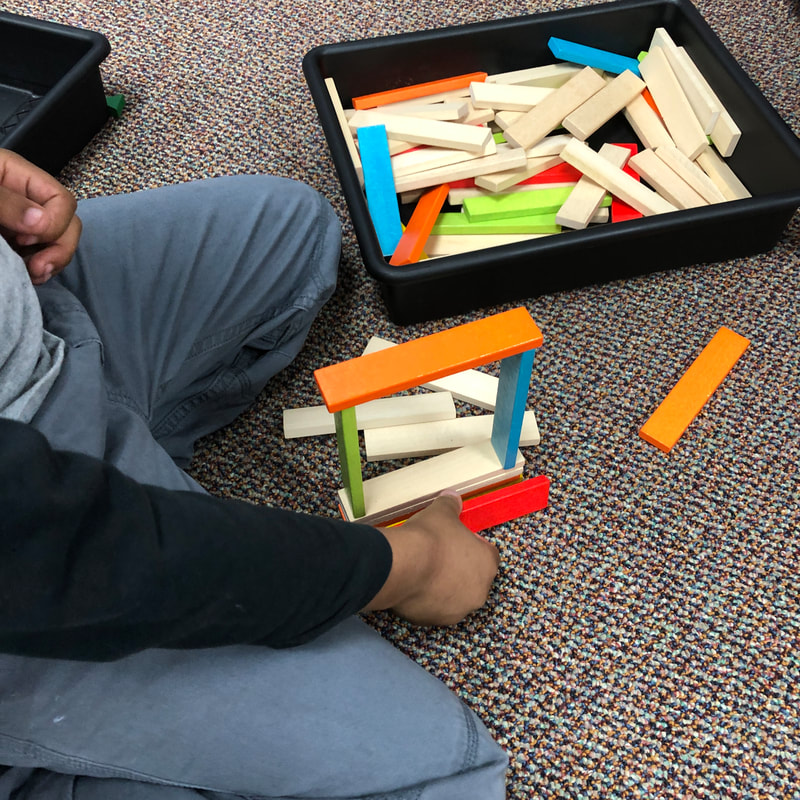
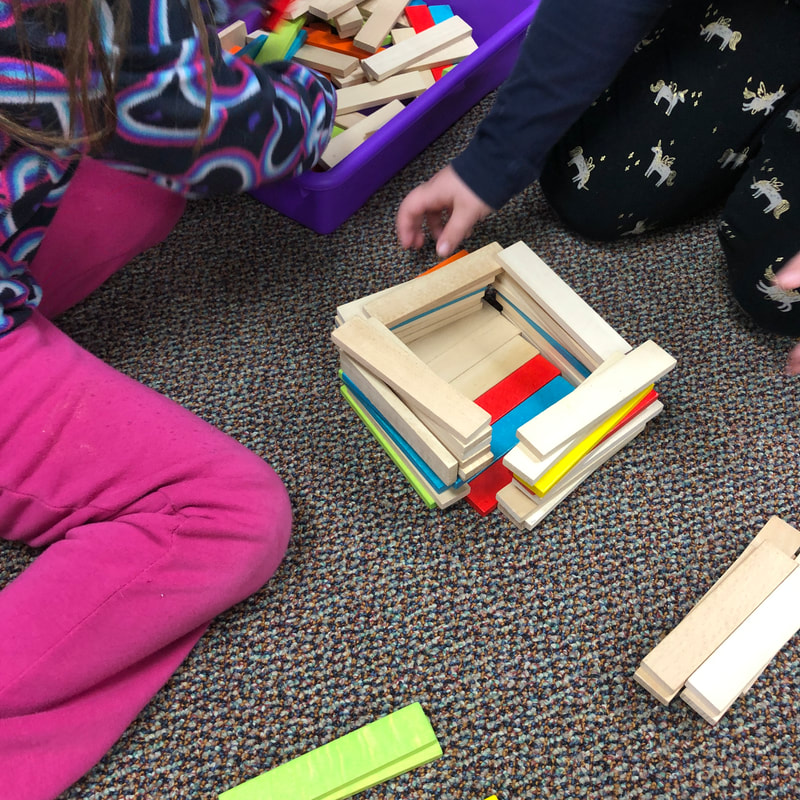
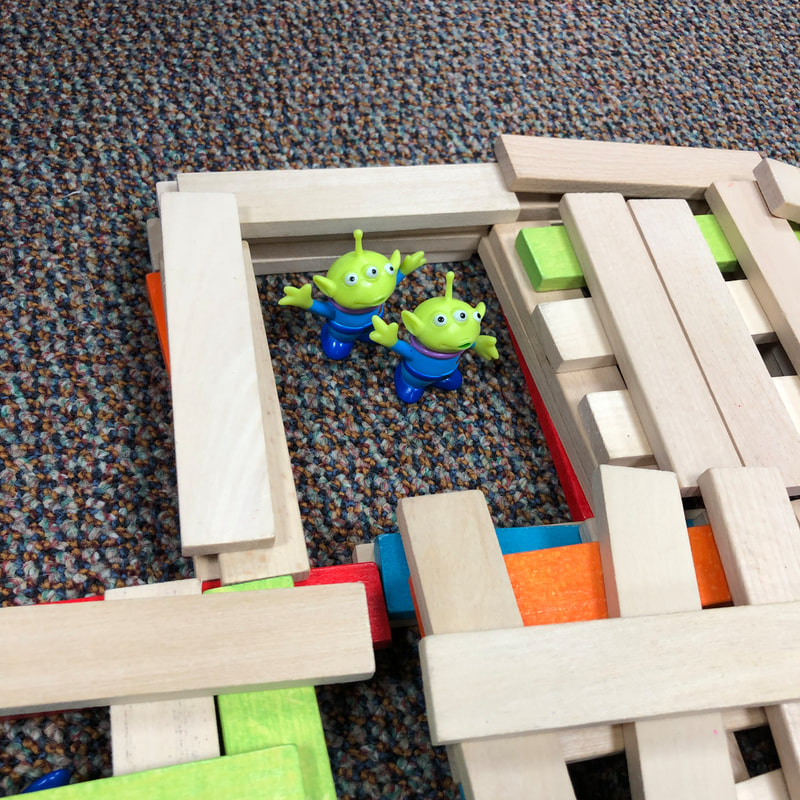
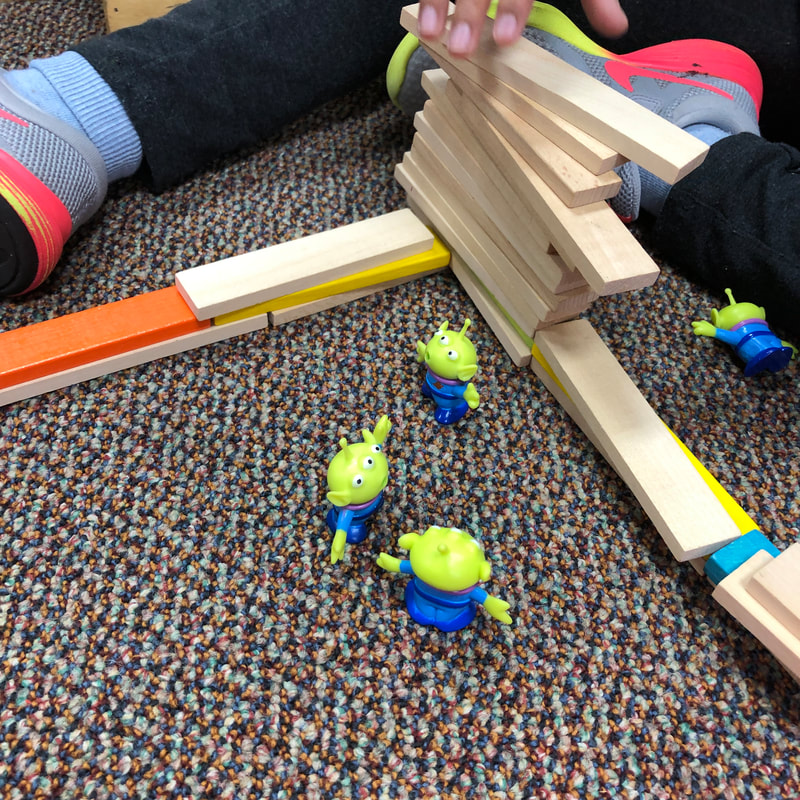
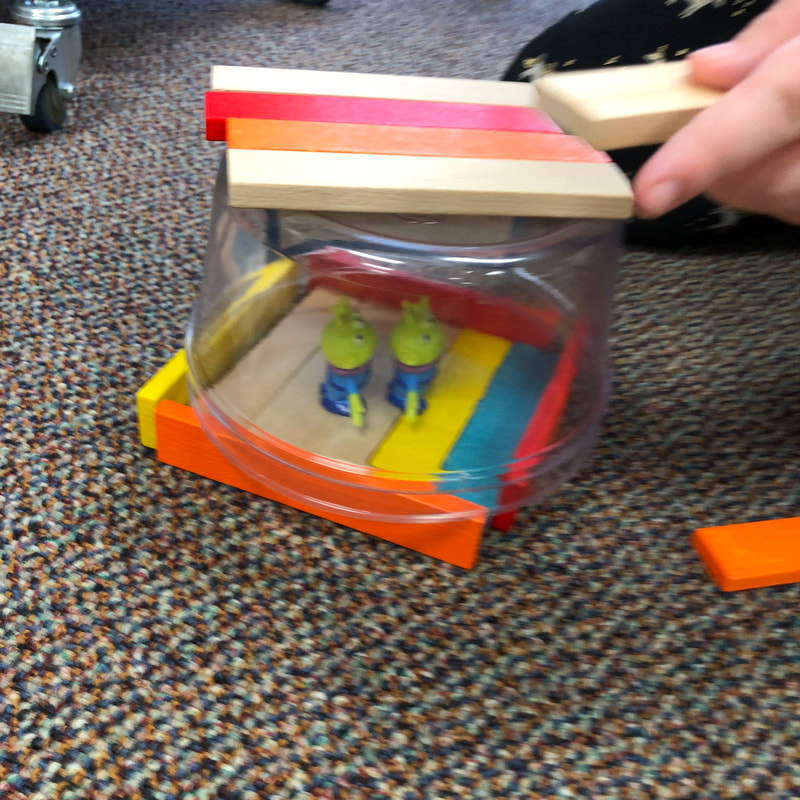
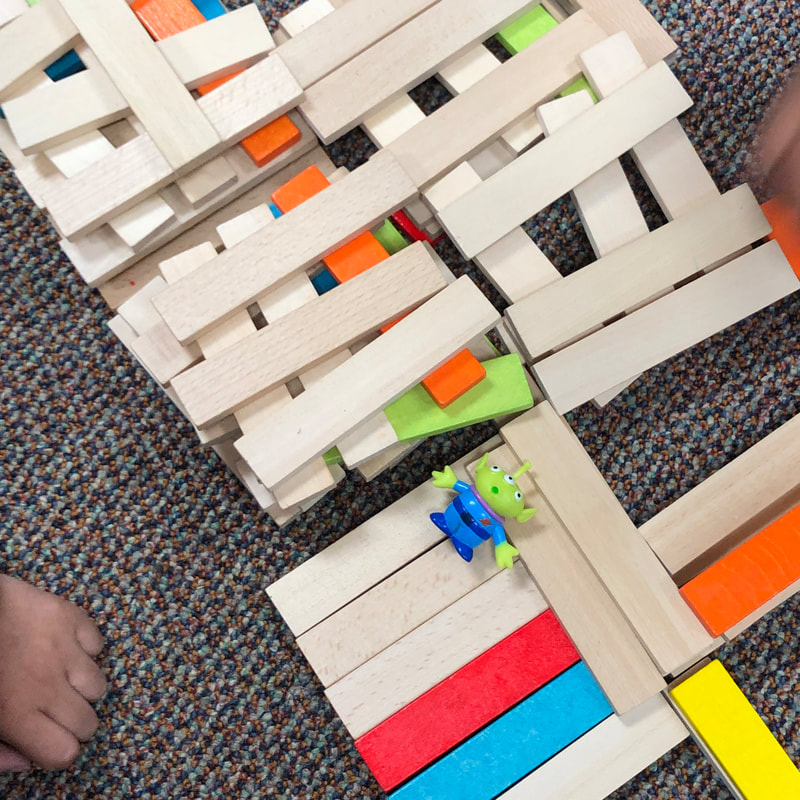
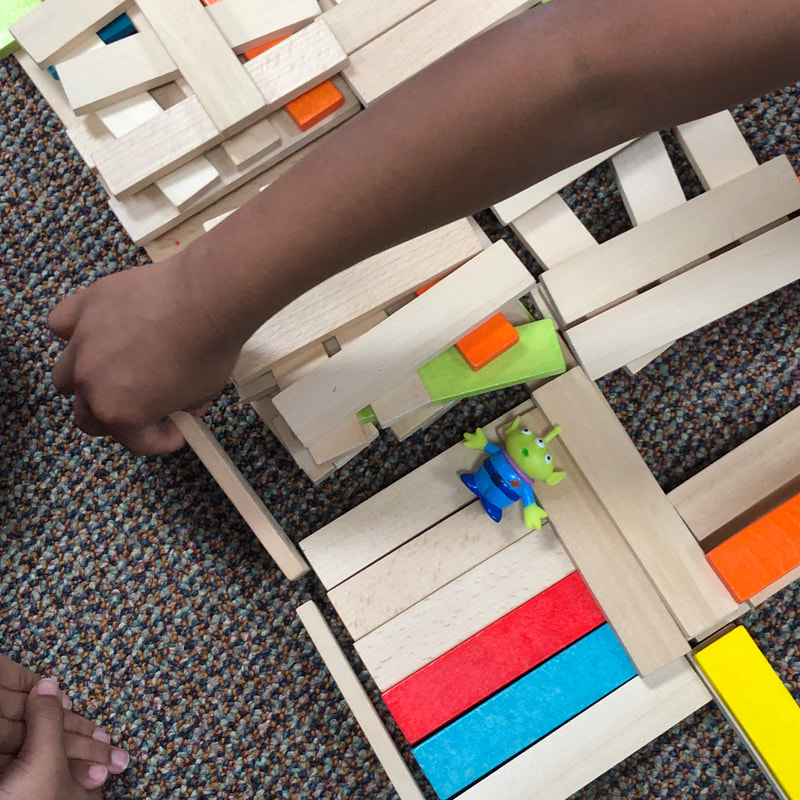
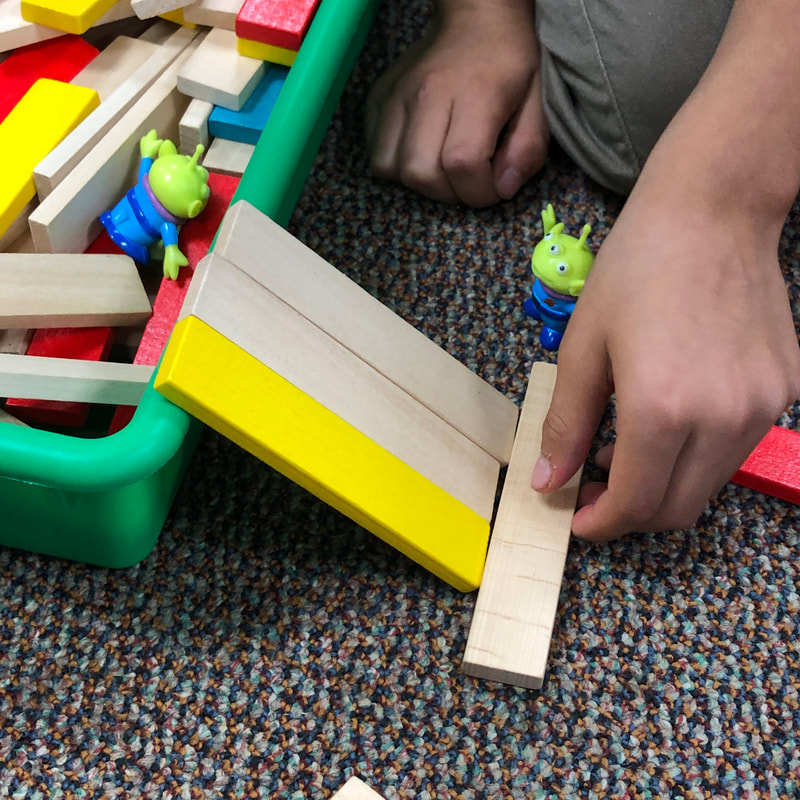
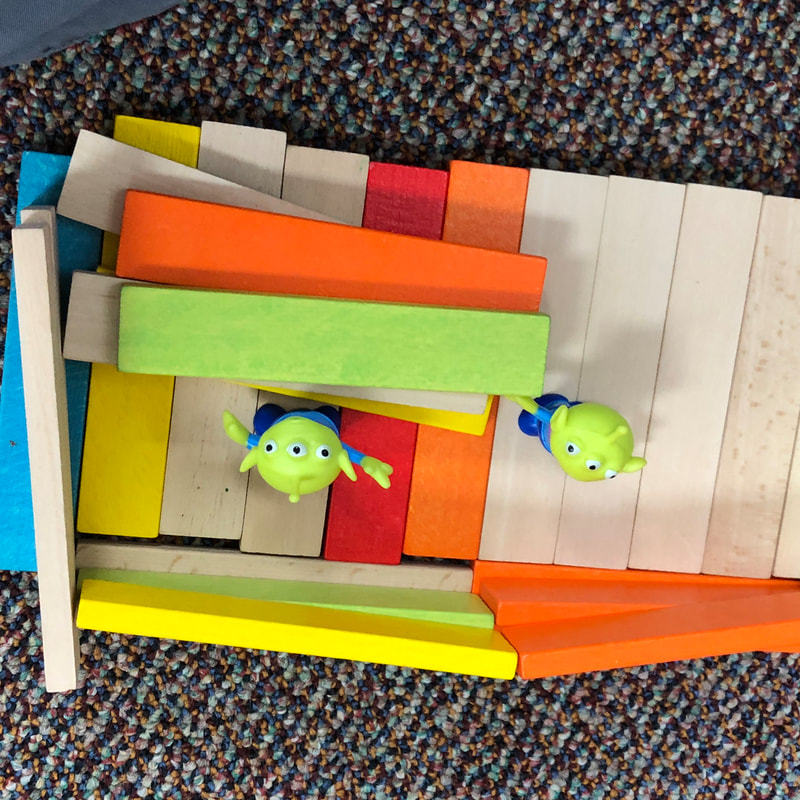
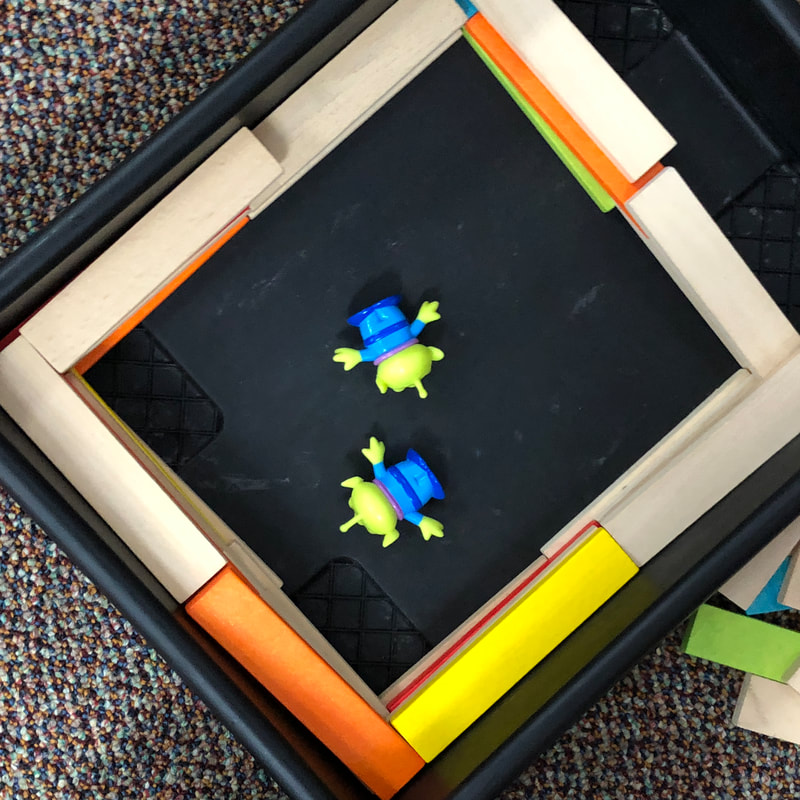
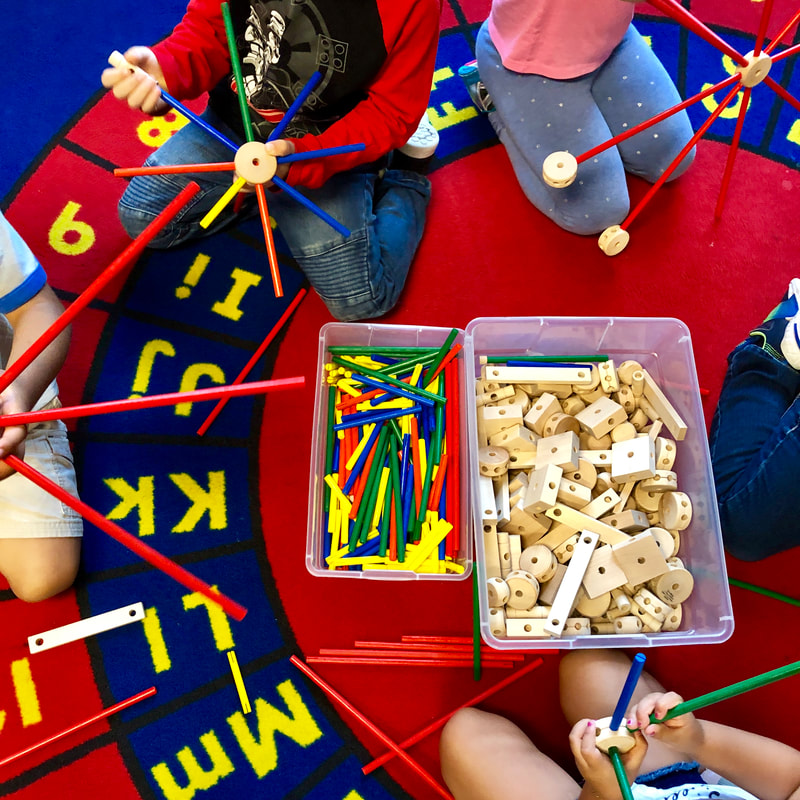
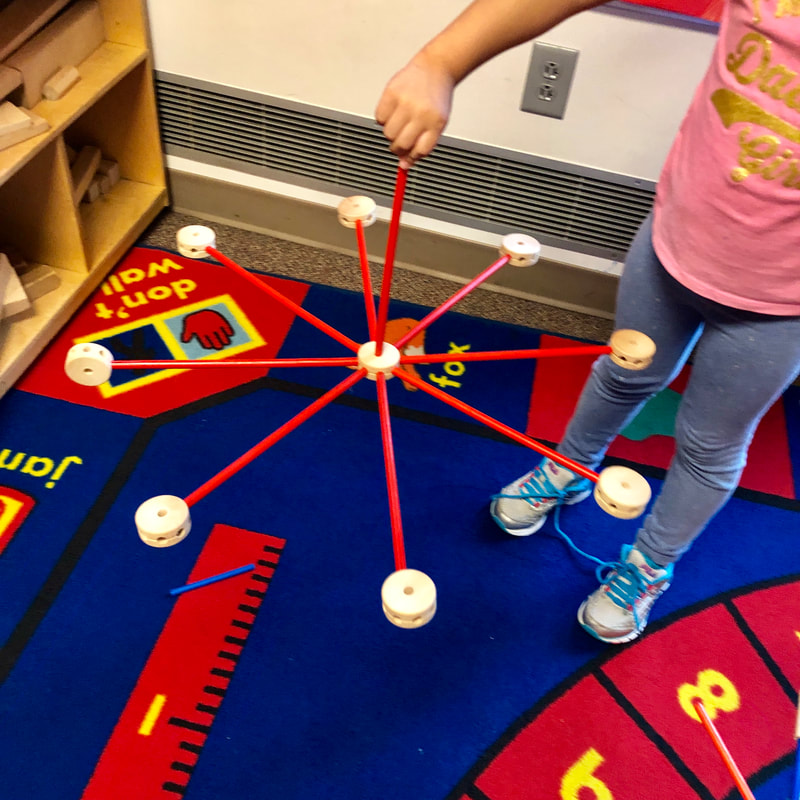
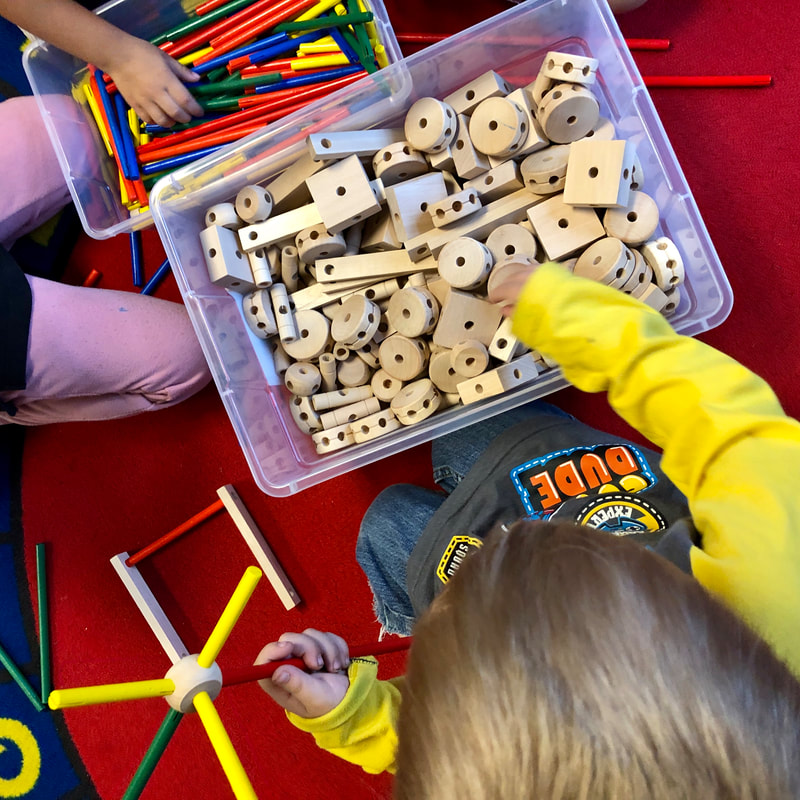
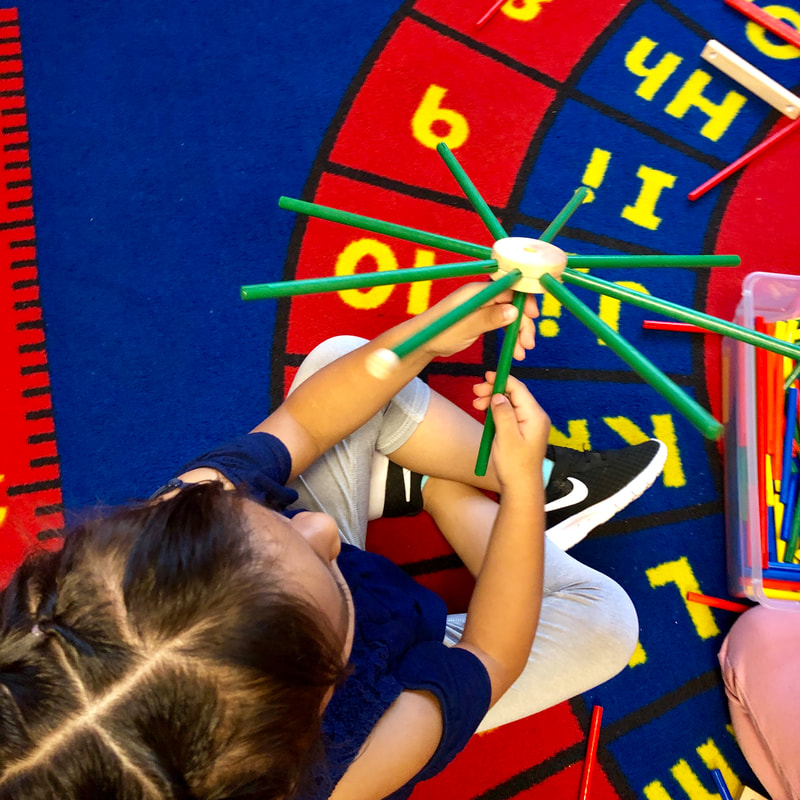
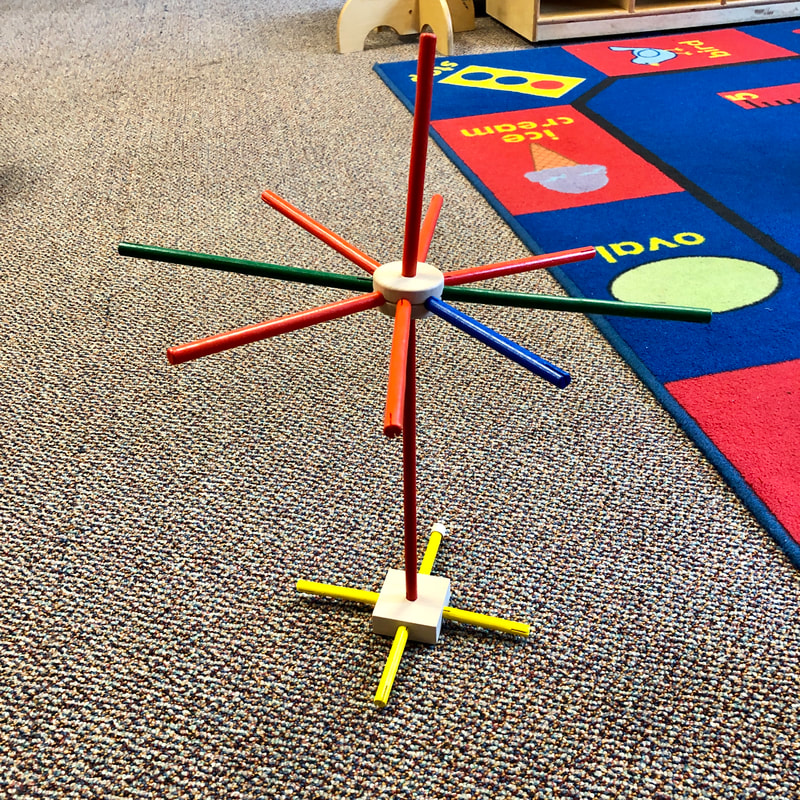
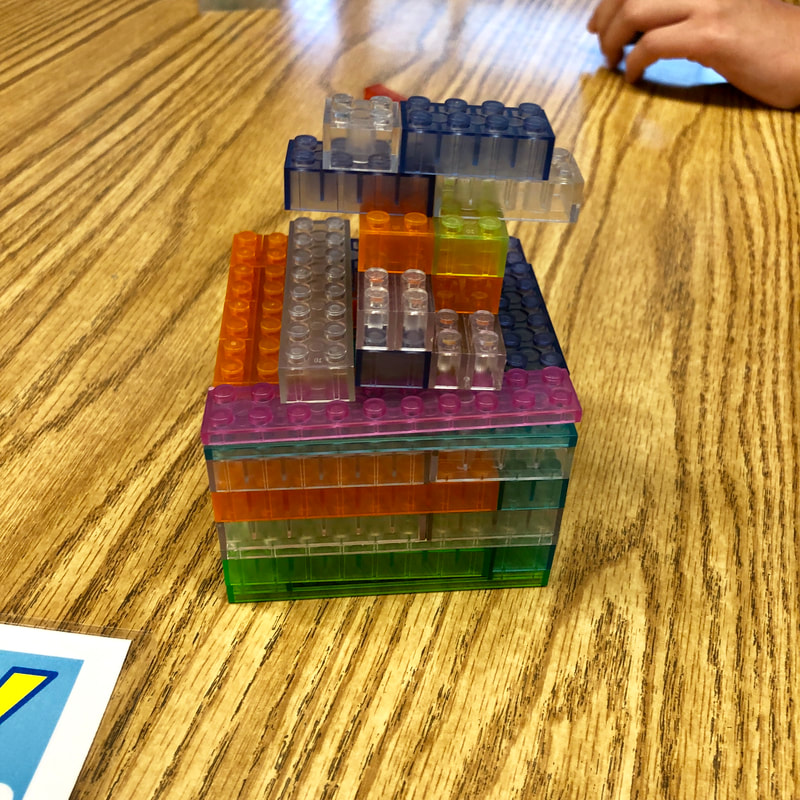
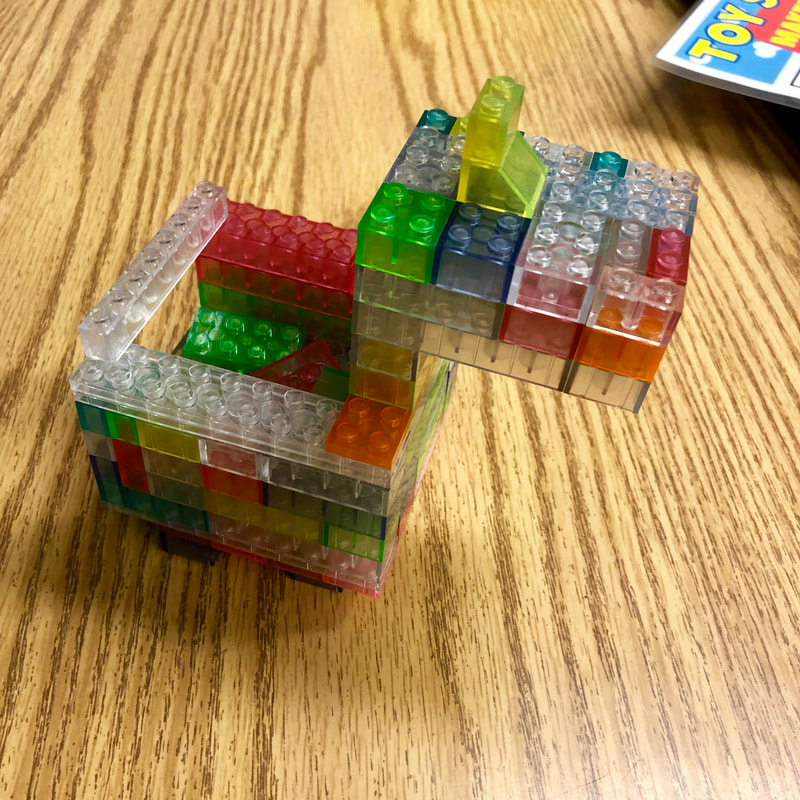
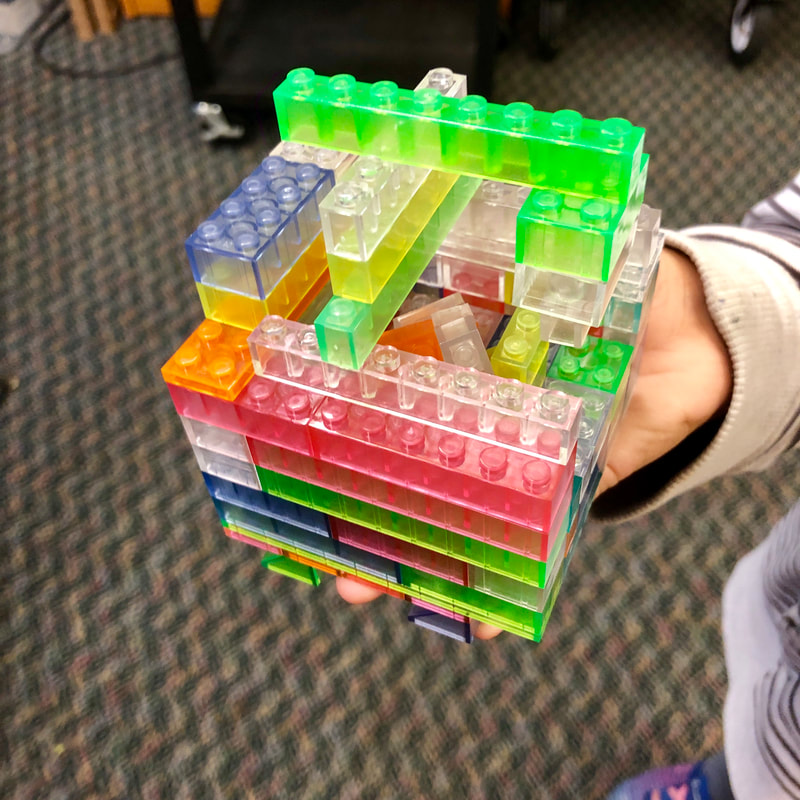
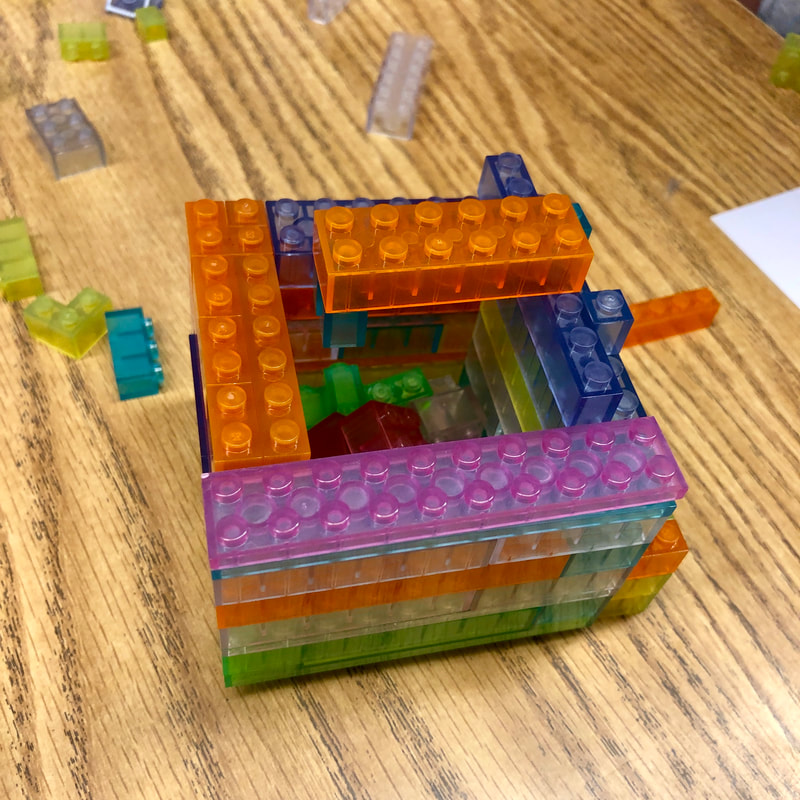
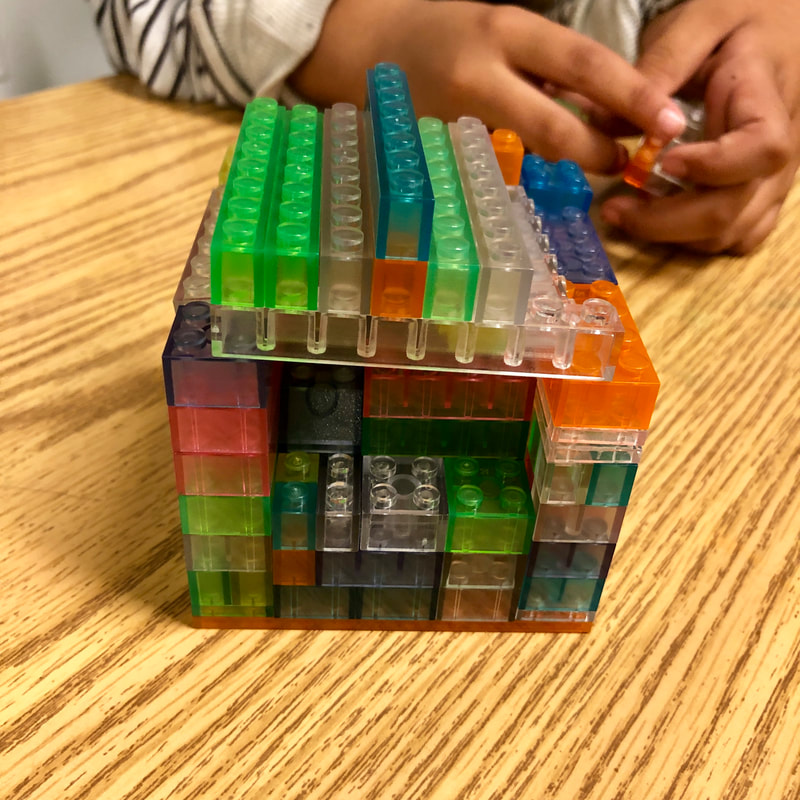
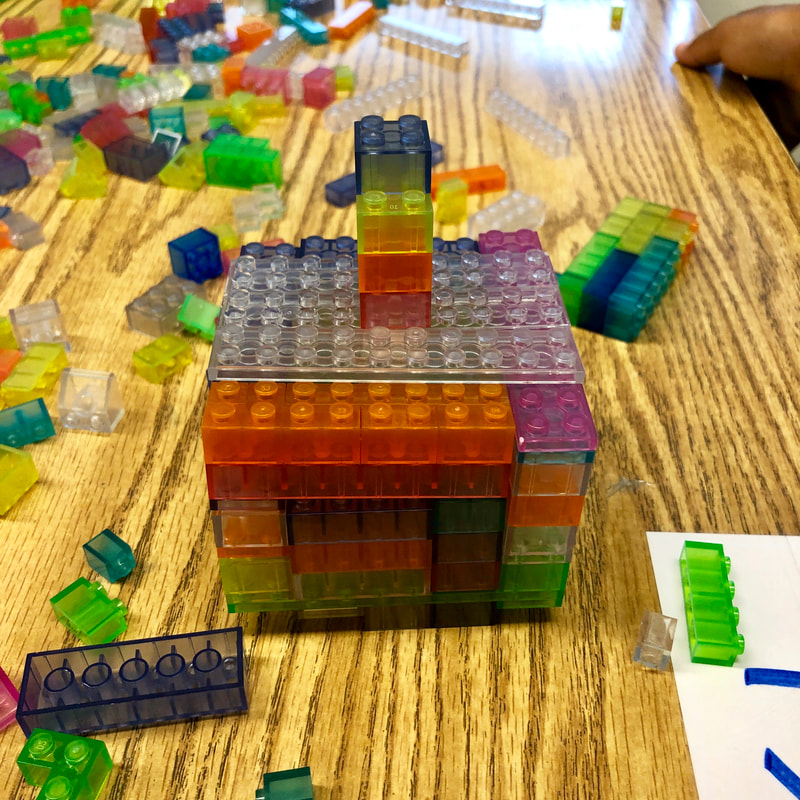
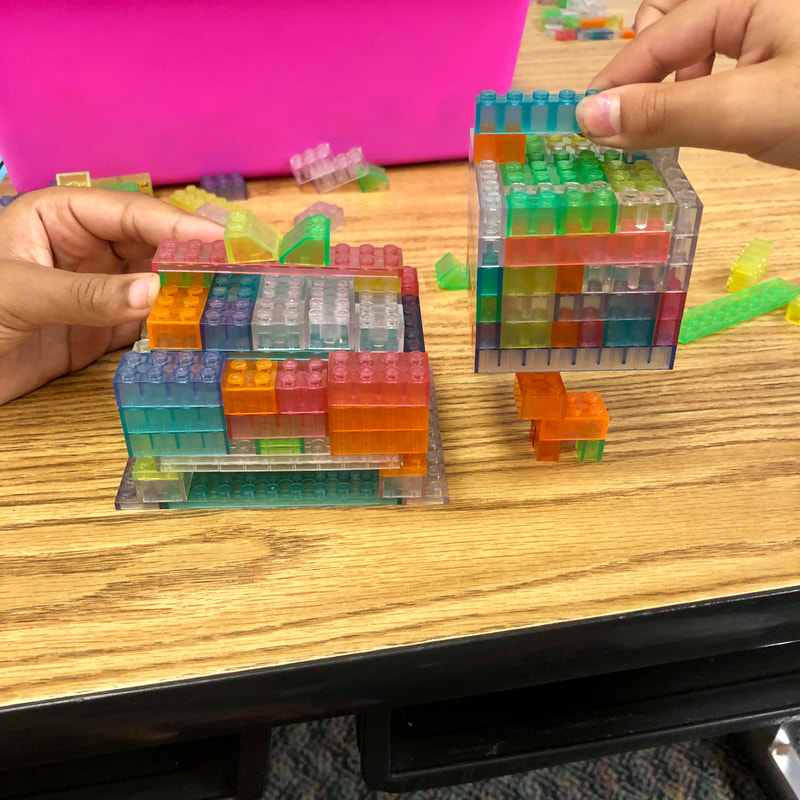
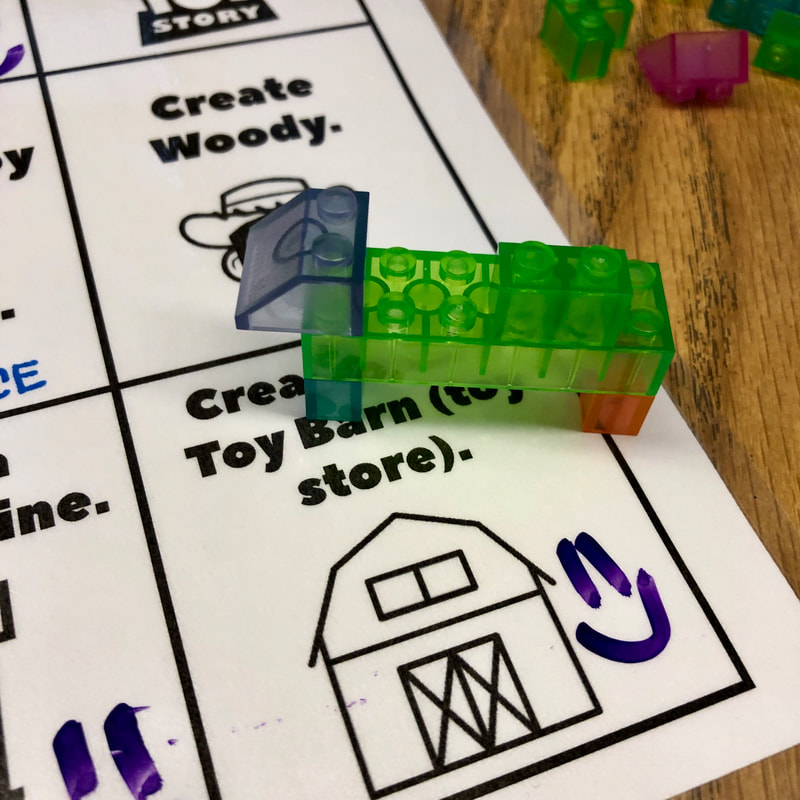
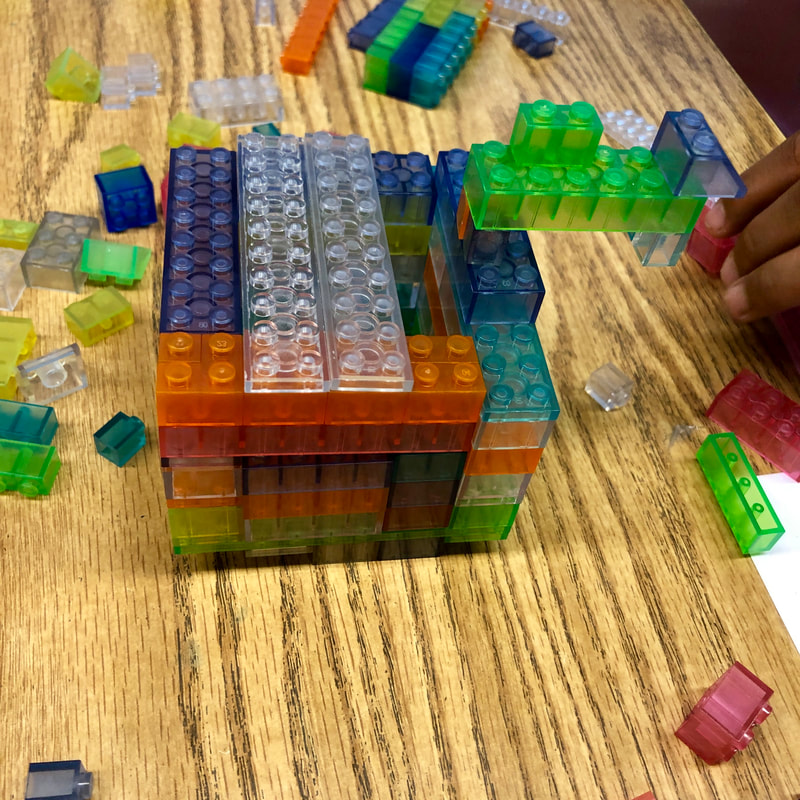
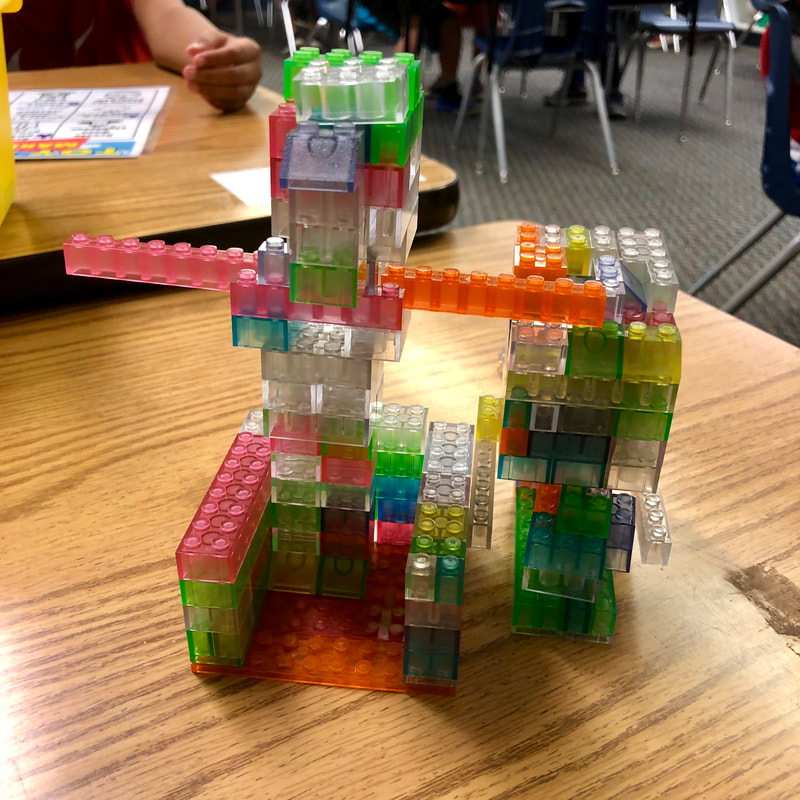
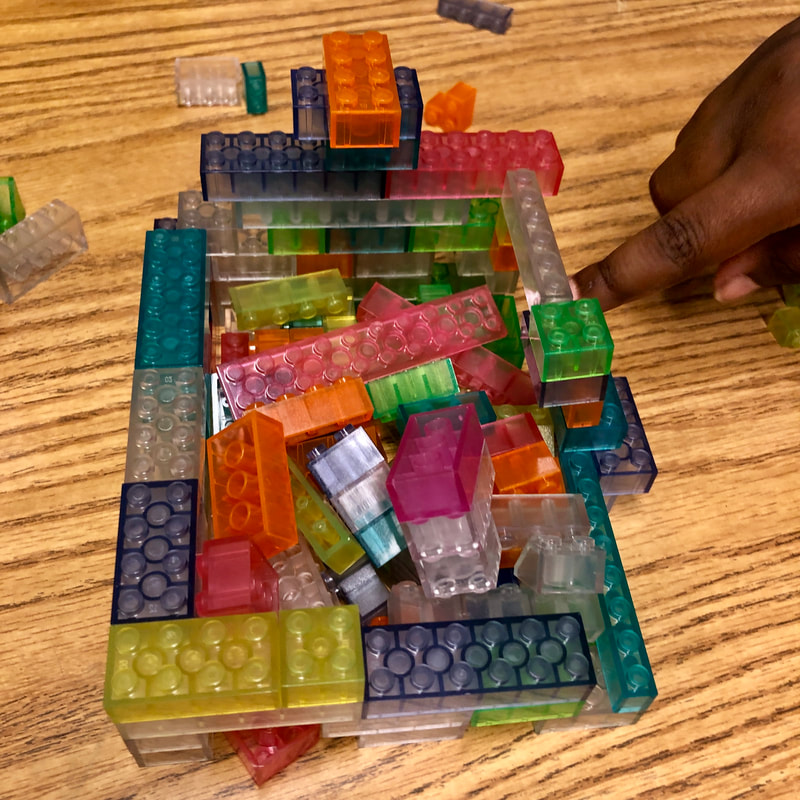
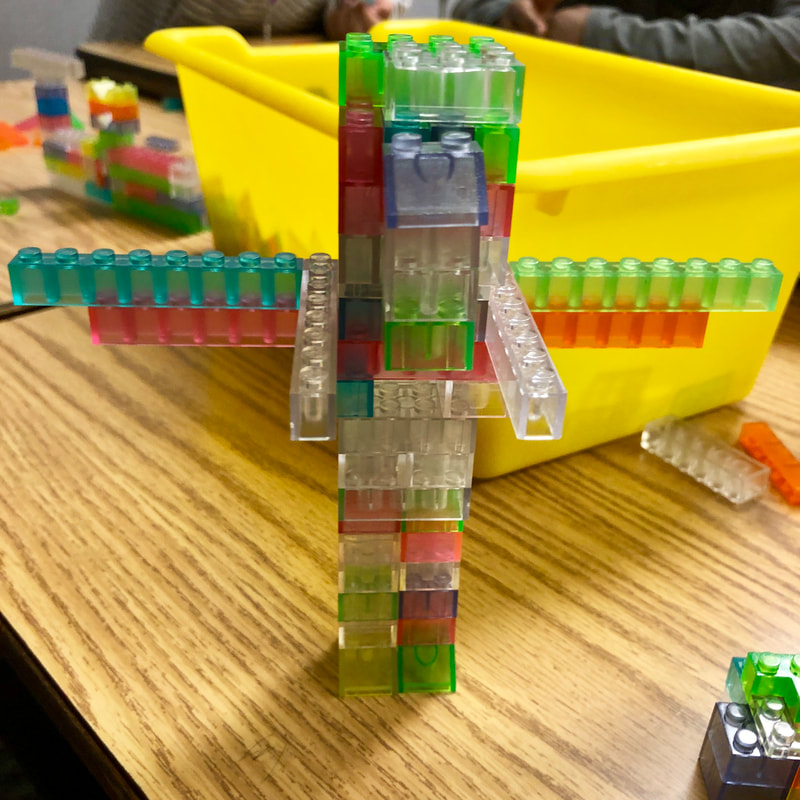
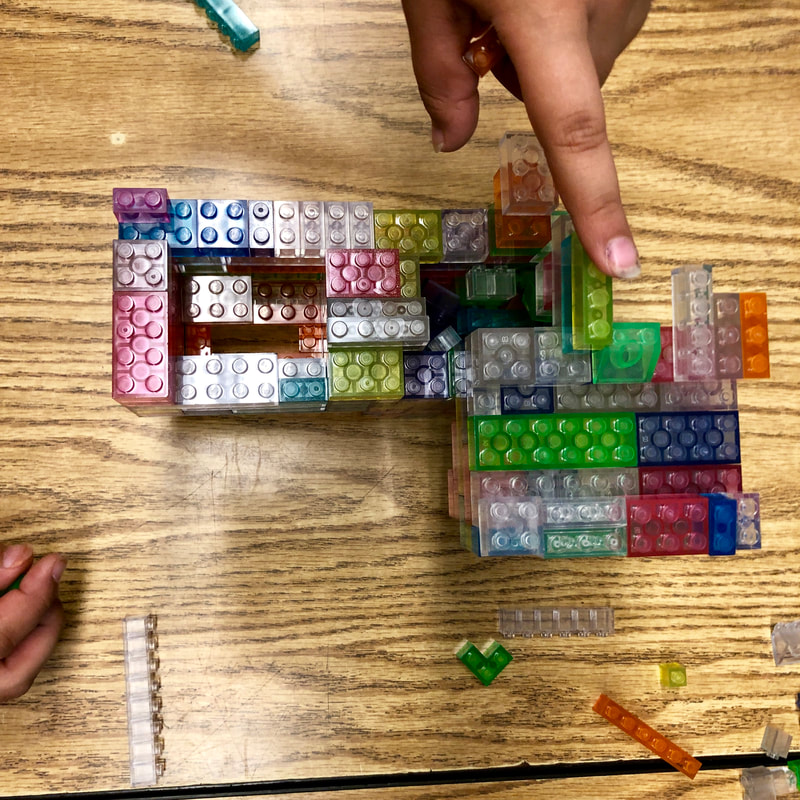
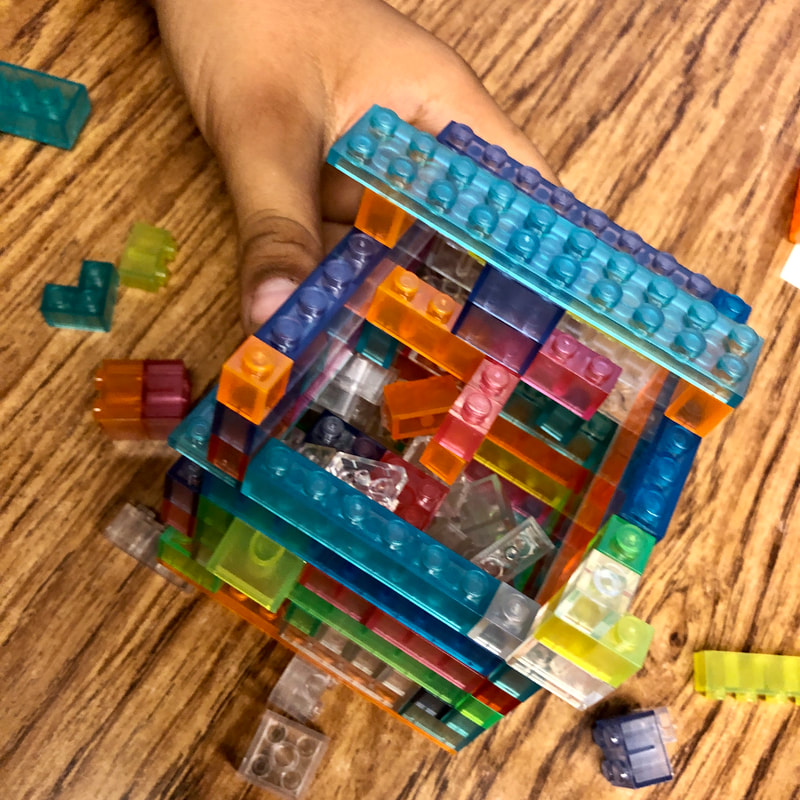
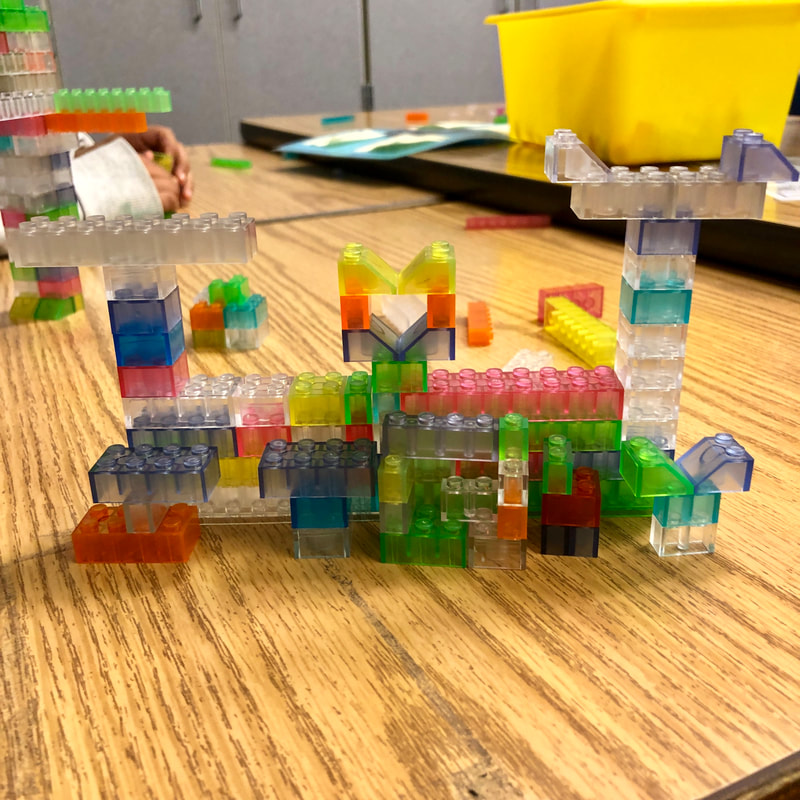
After reading the story, we went back and looked at looked at some of the pages and how the pumpkins were pictured on the page. We started out by building a stand for our pumpkins so we could display them for all to enjoy. I told the students that the pumpkin had to be on the top of their stand - it could not be hidden inside their stand somewhere. This was a bit of a difficulty for them, as most thought it was easier to hid it on the inside. They all started building the same kind of design (rectangular with a flat top), so I challenged them to change something about their design, so I could easily tell a group's design was different from another group's design. After they built their stand, we moved on and build a vehicle that could transport their pumpkin from a pumpkin patch to a store. This time I told them their pumpkin had to be inside of the vehicle so that it would stay safe. The students seemed to enjoy the challenges and as we are still working on sharing, respecting, and being responsible with our STEAM building materials, it was a simple and easy activity for them where I could reiterate those important rules so that we continue to have materials to build with (as well as other students, too!).
After reading the story, we went back and looked at looked at some of the pages and how the pumpkins were pictured on the page. We started out by building a stand for our pumpkins so we could display them for all to enjoy. I told the students that the pumpkin had to be on the top of their stand - it could not be hidden inside their stand somewhere. This was a bit of a difficulty for them, as most thought it was easier to hid it on the inside. They all started building the same kind of design (rectangular with a flat top), so I challenged them to change something about their design, so I could easily tell a group's design was different from another group's design. After they built their stand, we moved on and build a vehicle that could transport their pumpkin from a pumpkin patch to a store. This time I told them their pumpkin had to be inside of the vehicle so that it would stay safe. The students seemed to enjoy the challenges and as we are still working on sharing, respecting, and being responsible with our STEAM building materials, it was a simple and easy activity for them where I could reiterate those important rules so that we continue to have materials to build with (as well as other students, too!).