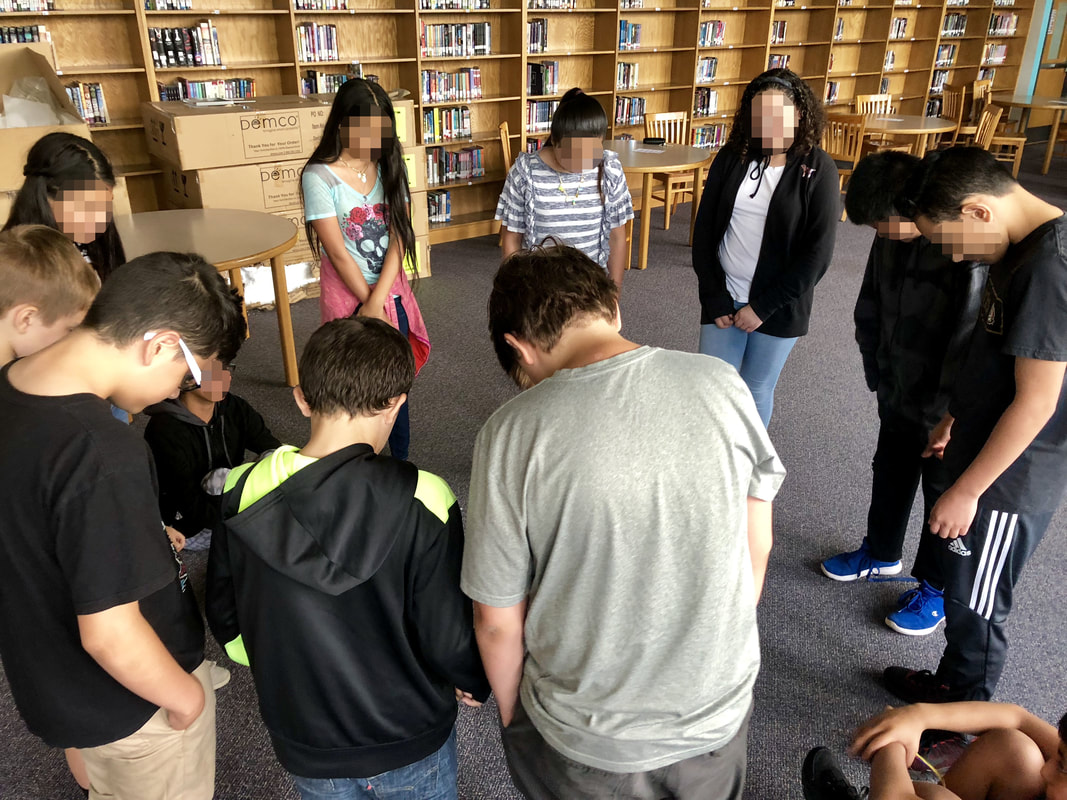
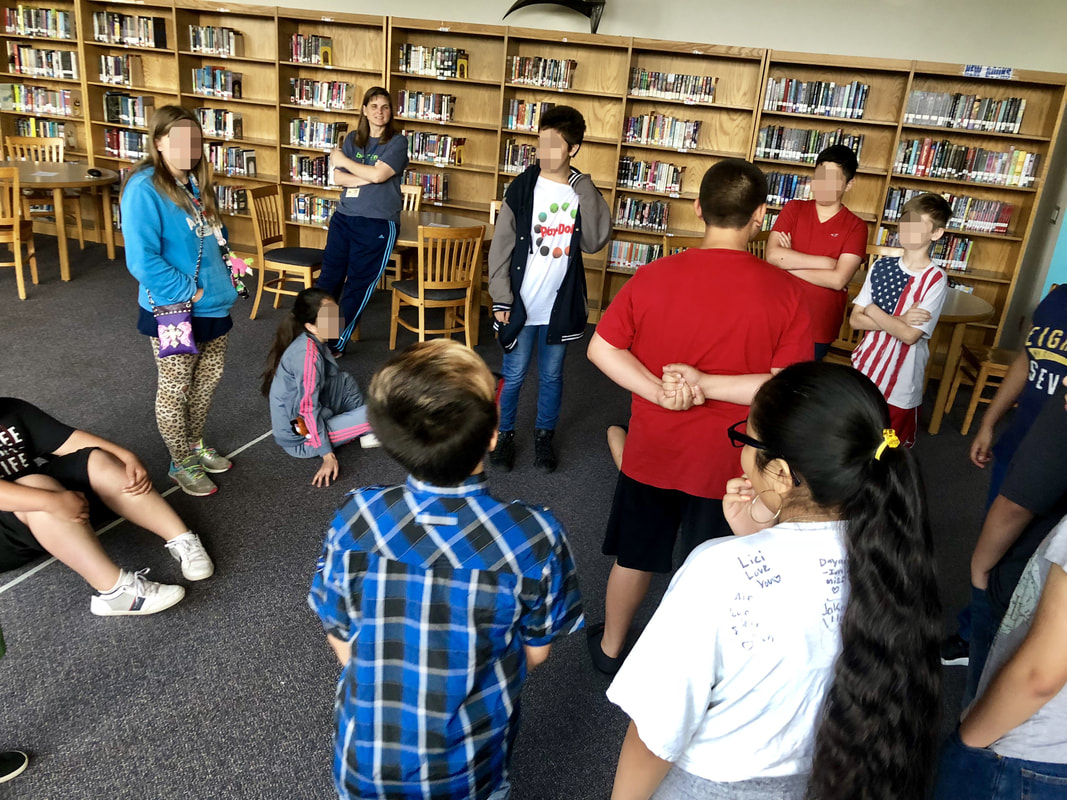
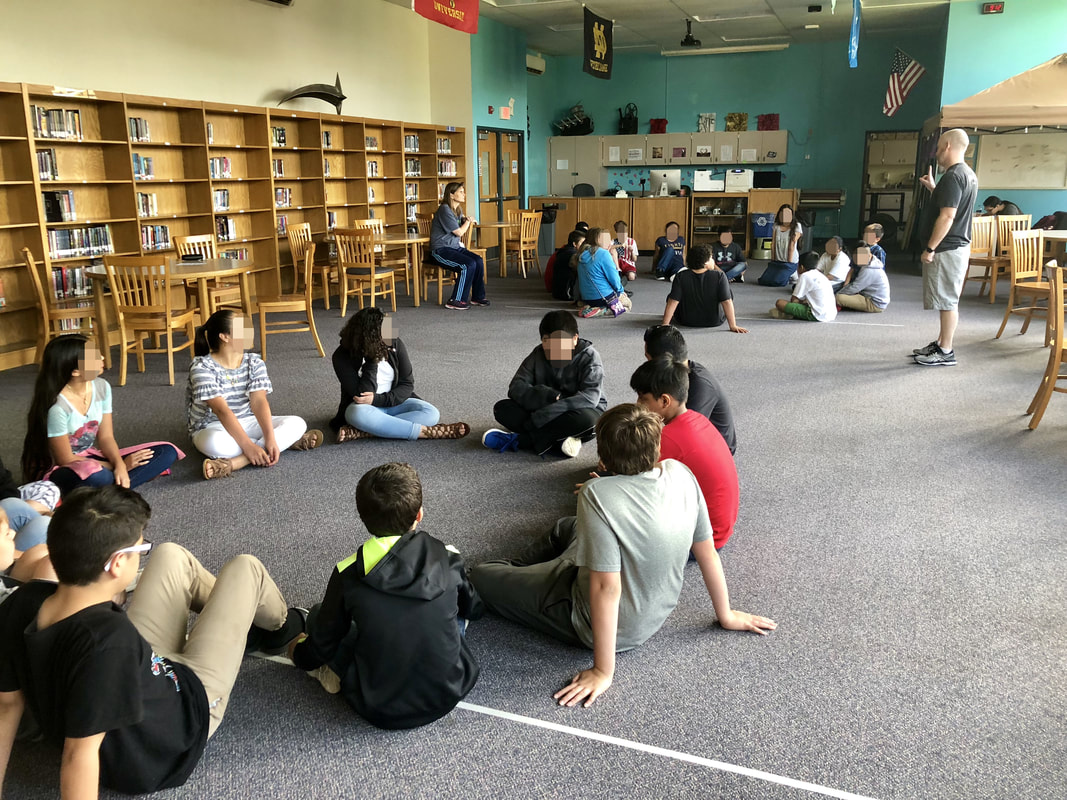
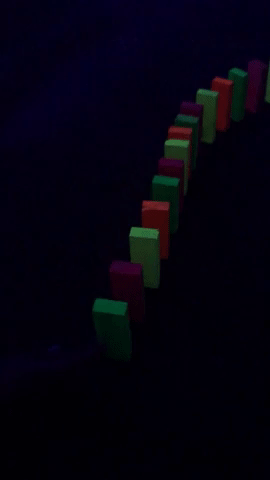
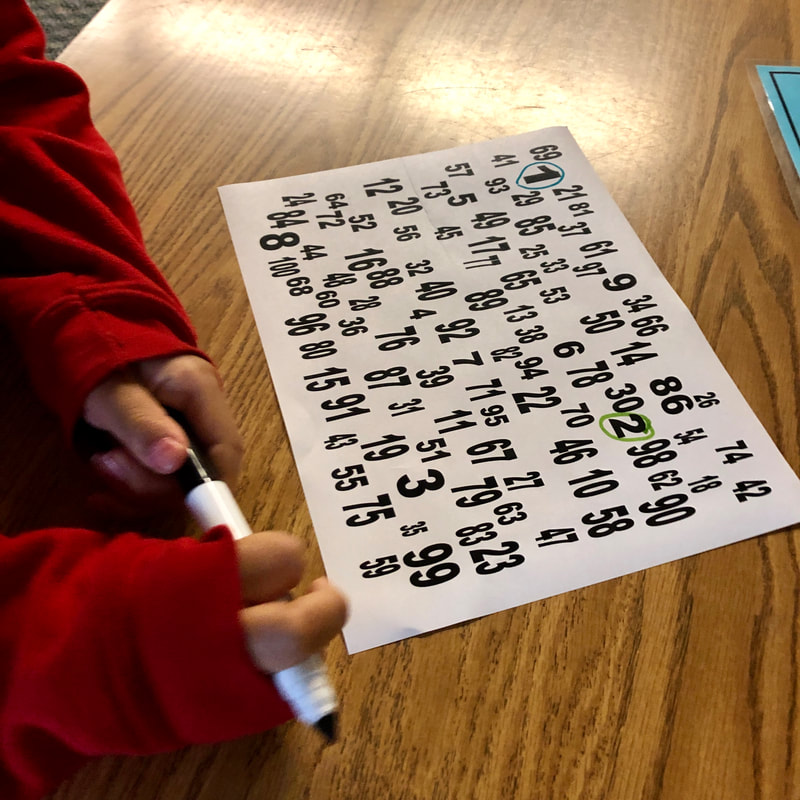
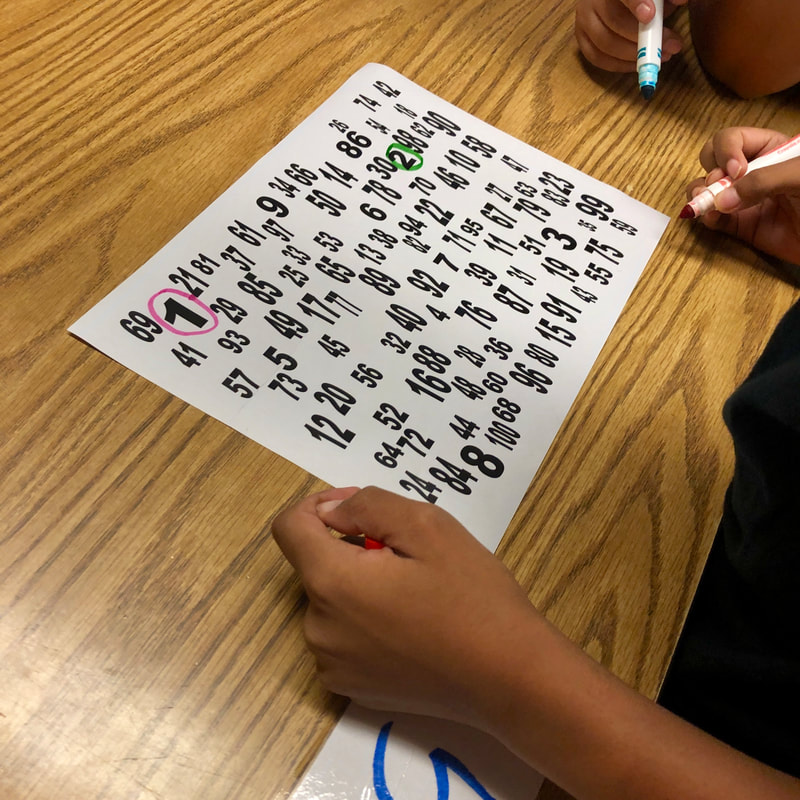
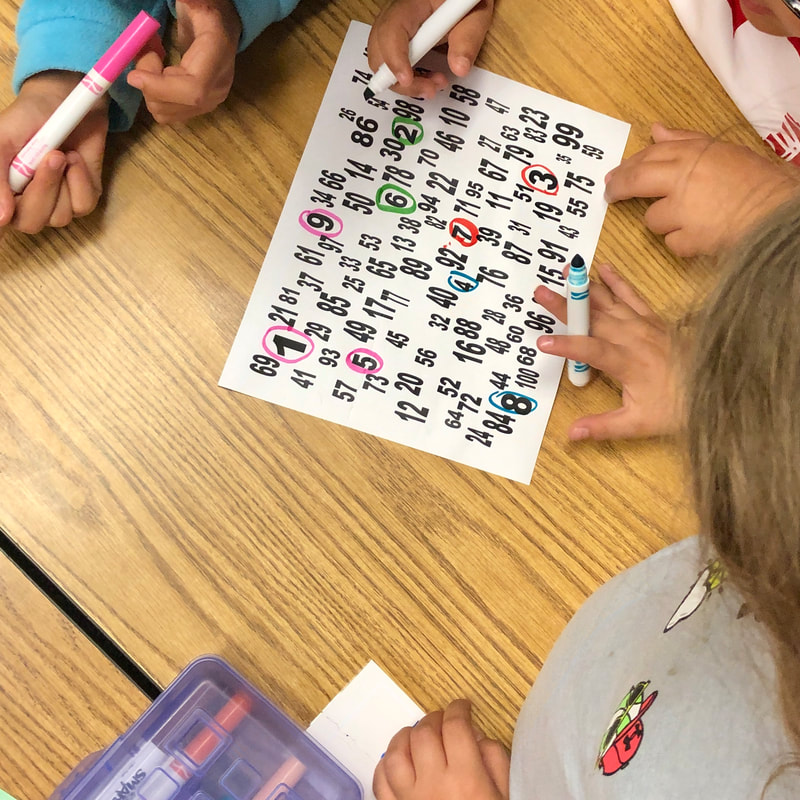
Recently, I came across the warm up "100 Numbers to Get Students Talking" and knew it would be the perfect lead in for the activity I had planned! In a nutshell, students have to take turns circling numbers up to 100 in order. They can help each other locate the numbers, but students can only circle a number when it is their turn. Doing the activity a couple of times, students may pick up that there is a pattern when they are circling the numbers. My purpose in doing this activity was to get students talking to one another, encouraging each other, and hopefully doing some critical thinking. They might notice that there are patterns in where the numbers are located on the sheet. I never said it was a competition nor was it intended to be, but man, the students were sure competitive! They wanted to have the highest score in the class, and those groups who worked together definitely were successful! I wanted to do this as a little warmup so that as they started working on their main activity for the day, they would understand that identifying and building with patterns is very important. 
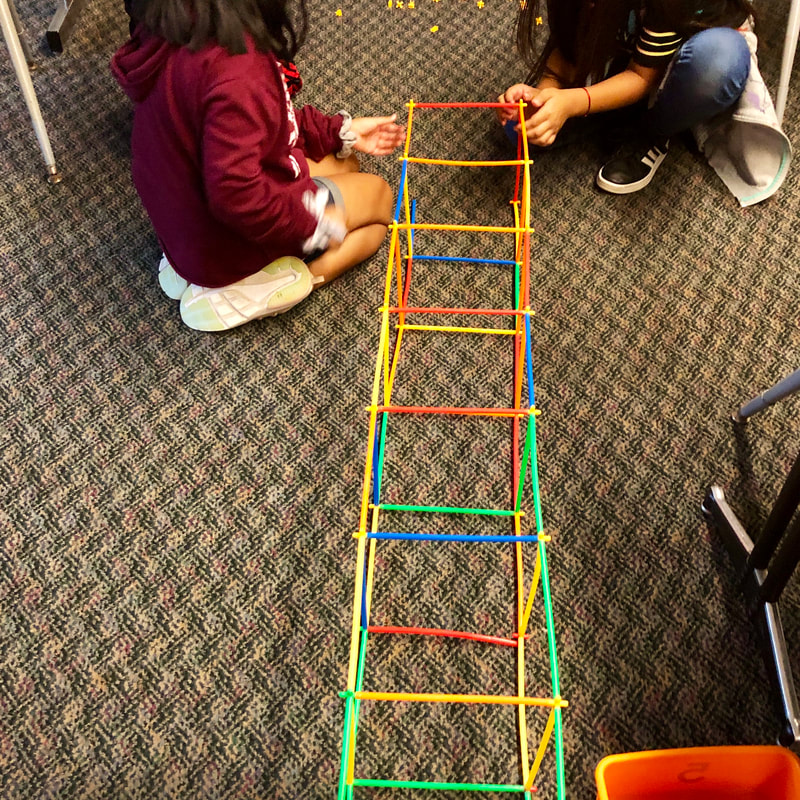
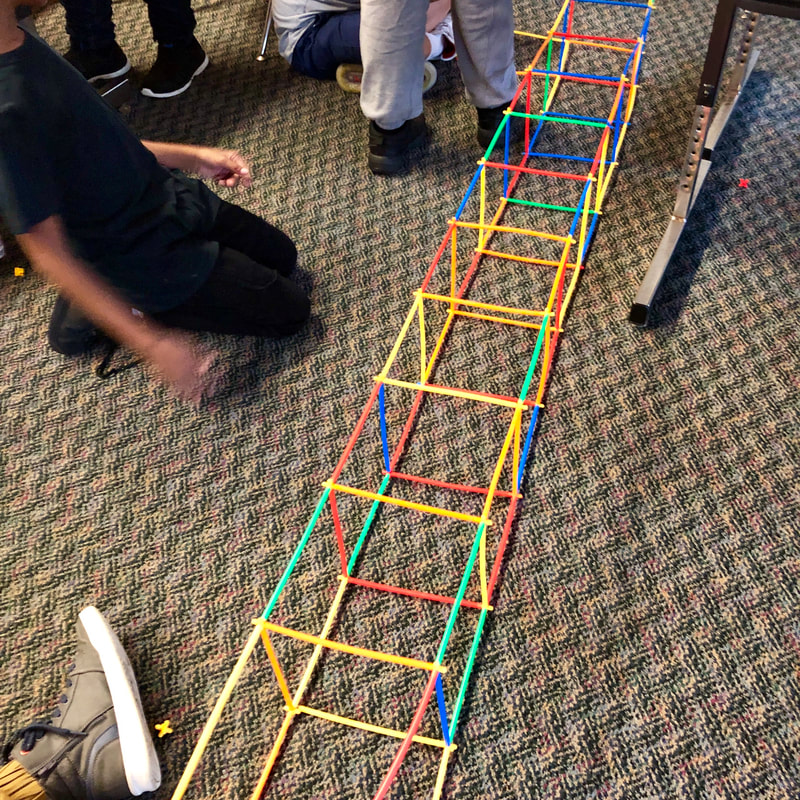
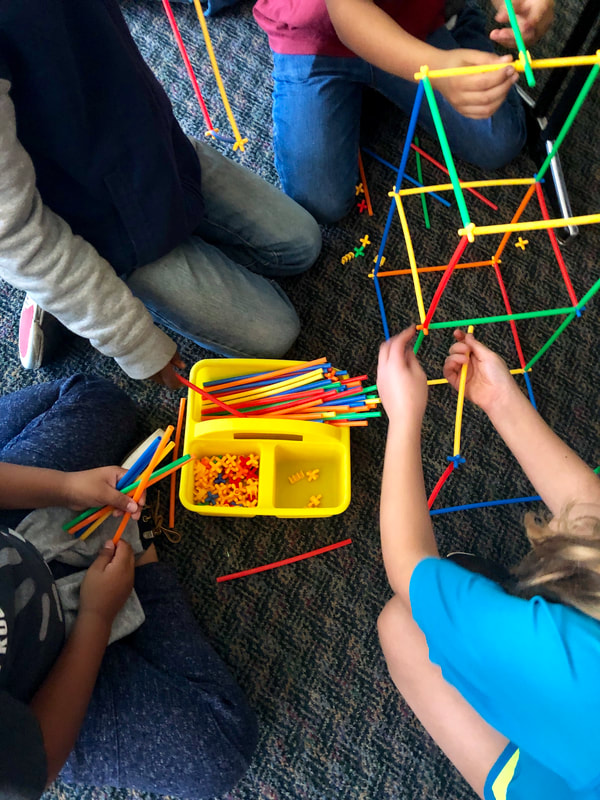
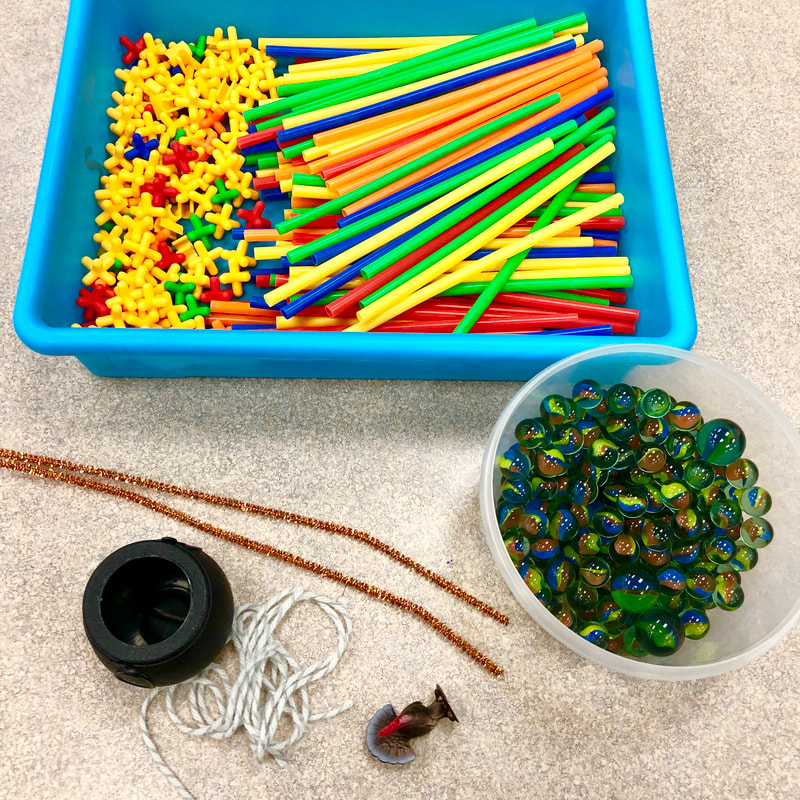
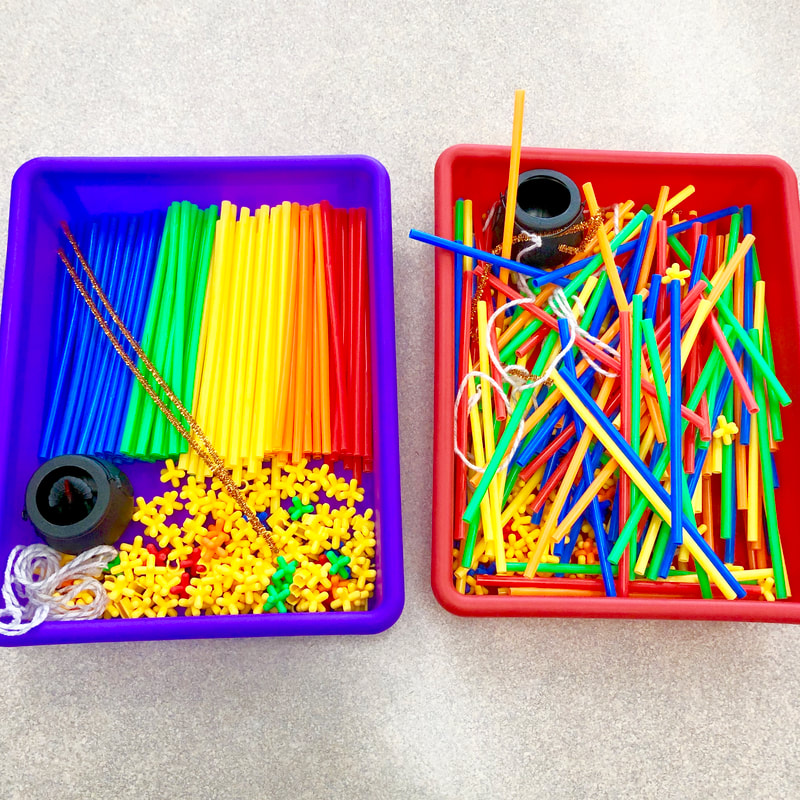
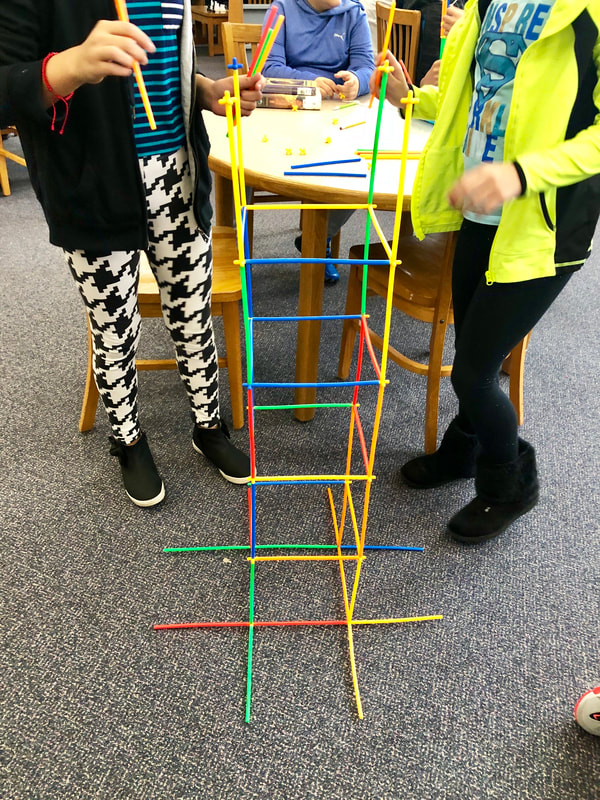
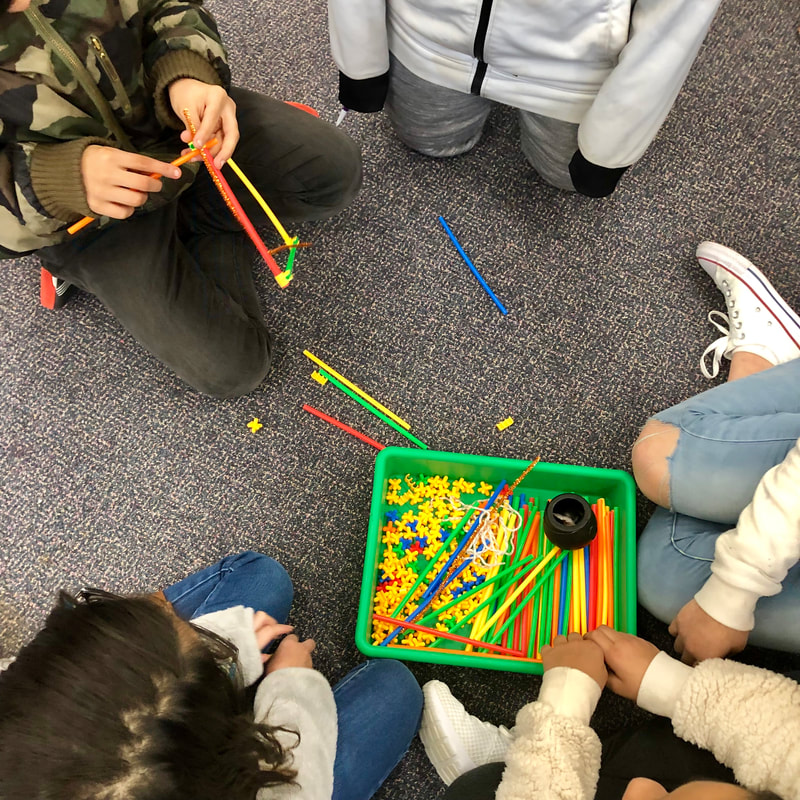
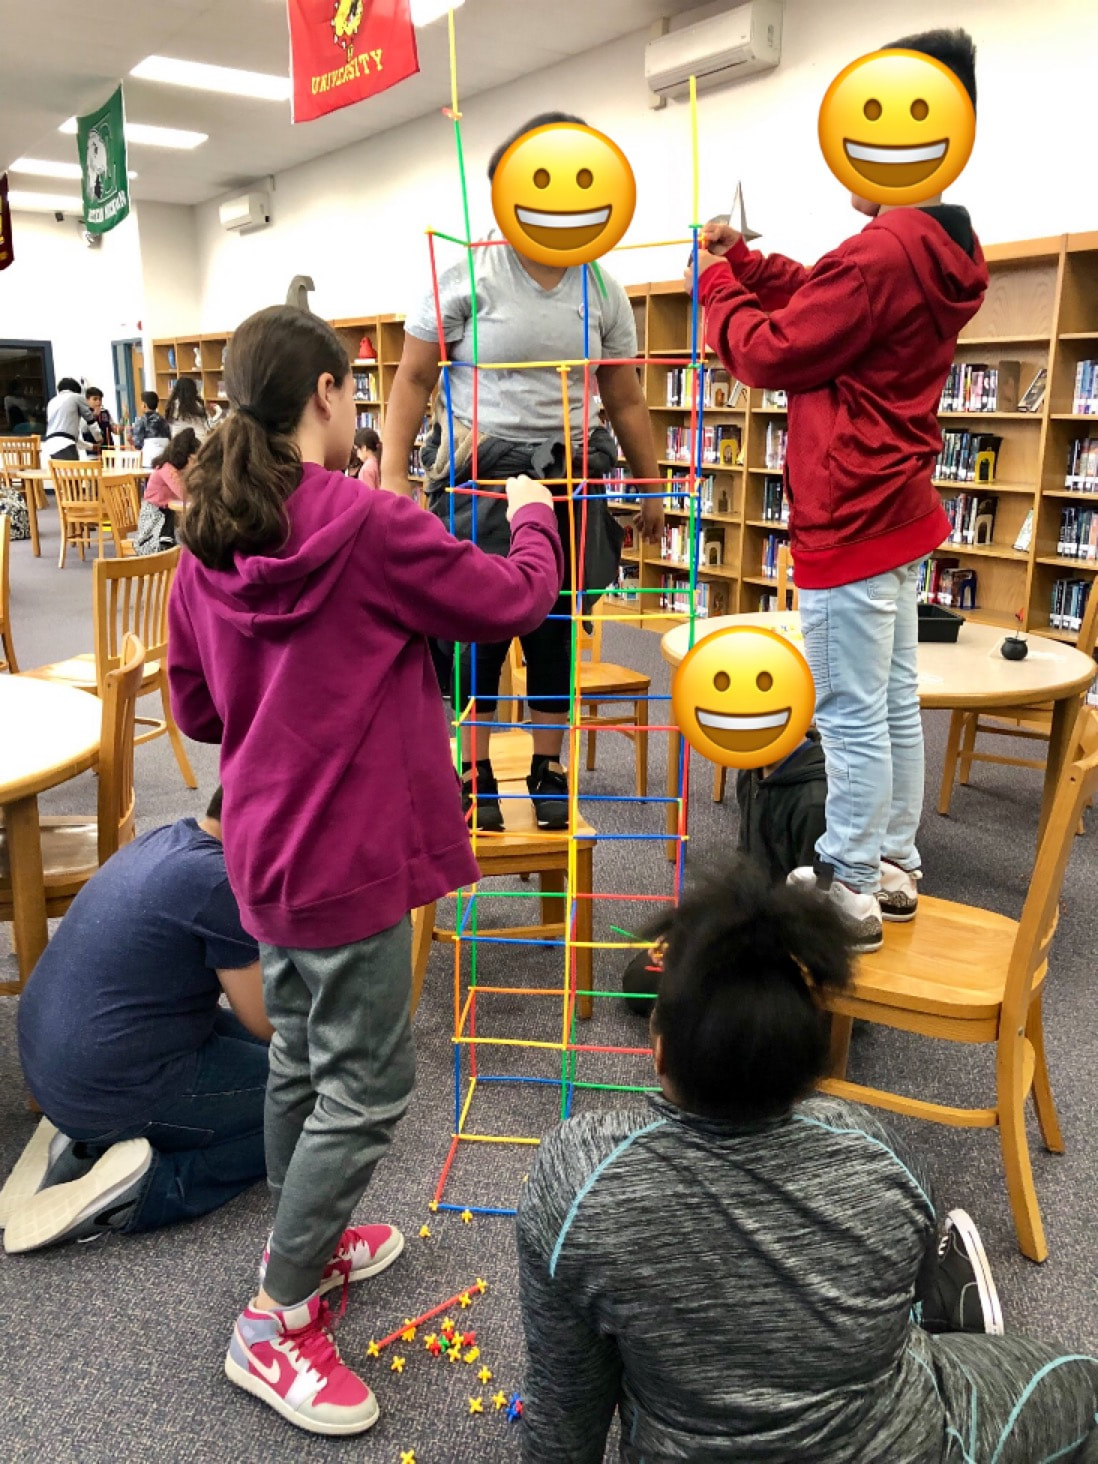
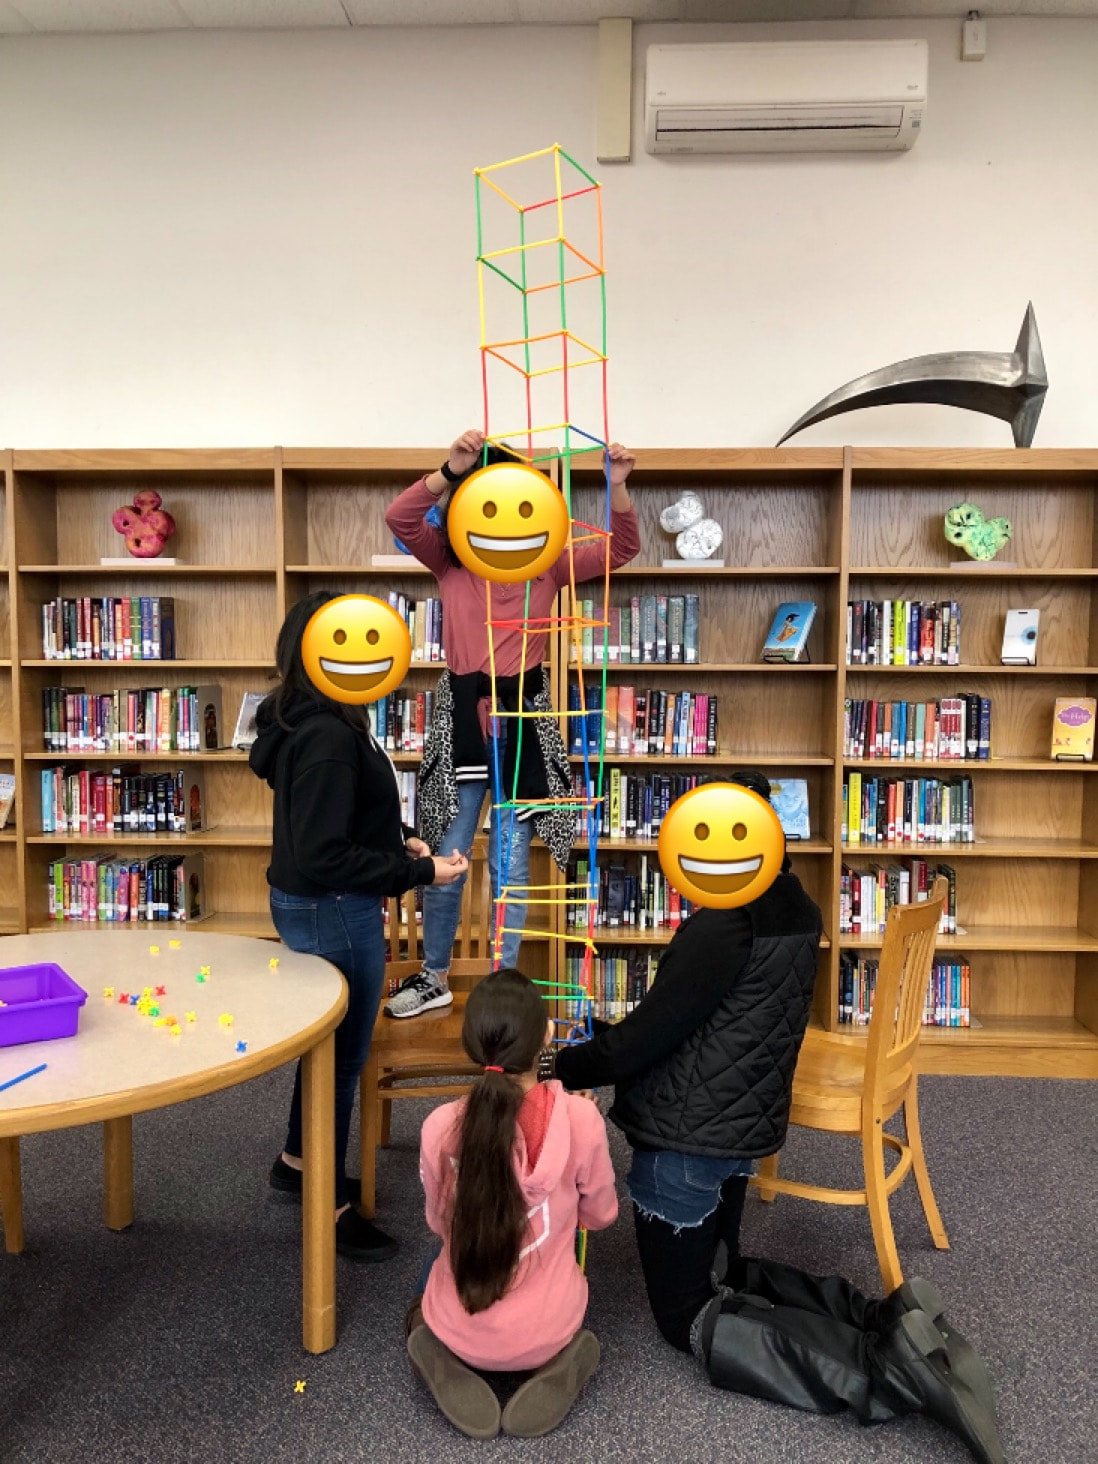
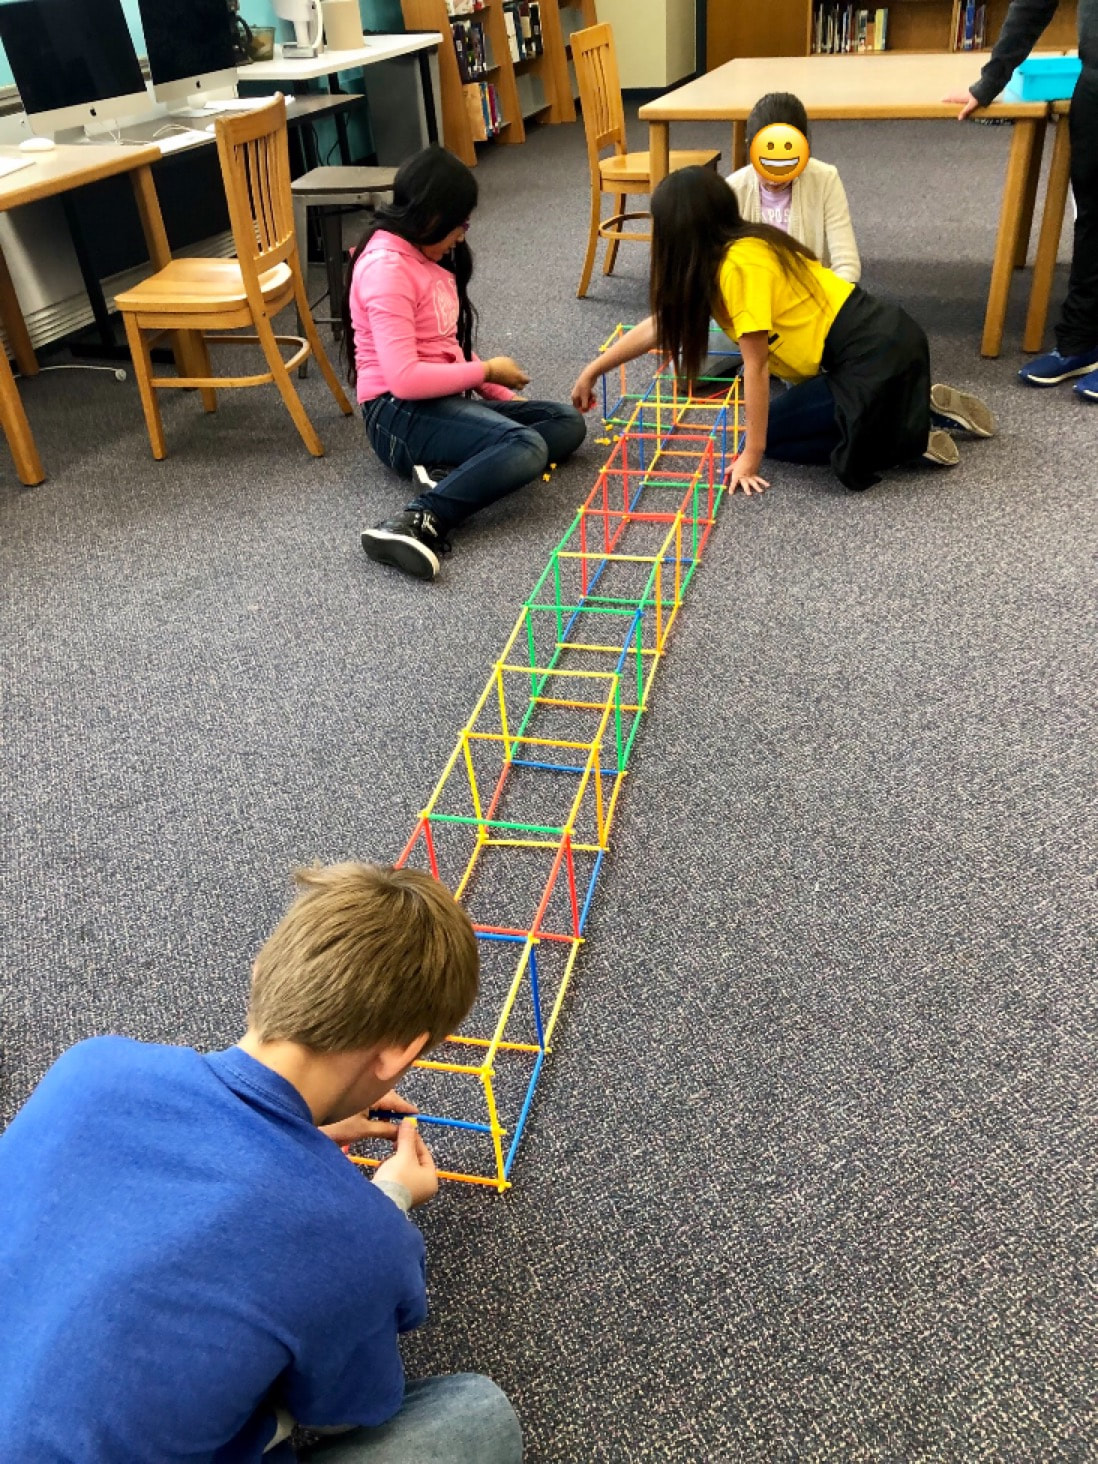
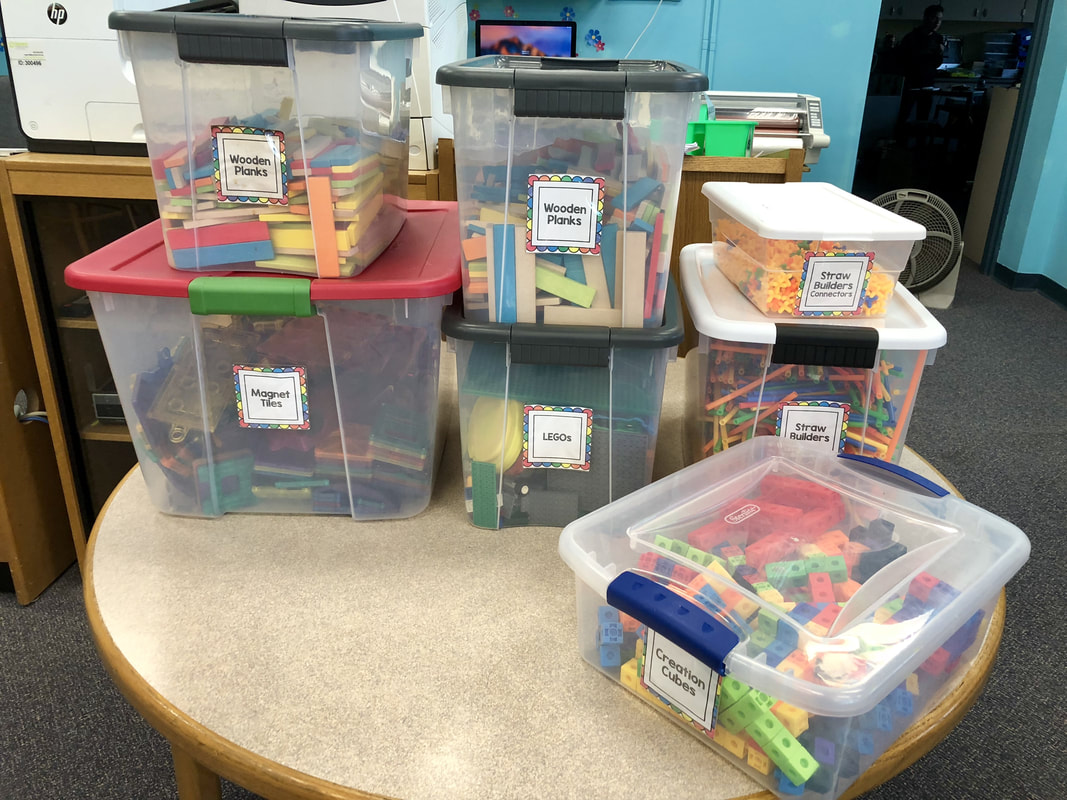
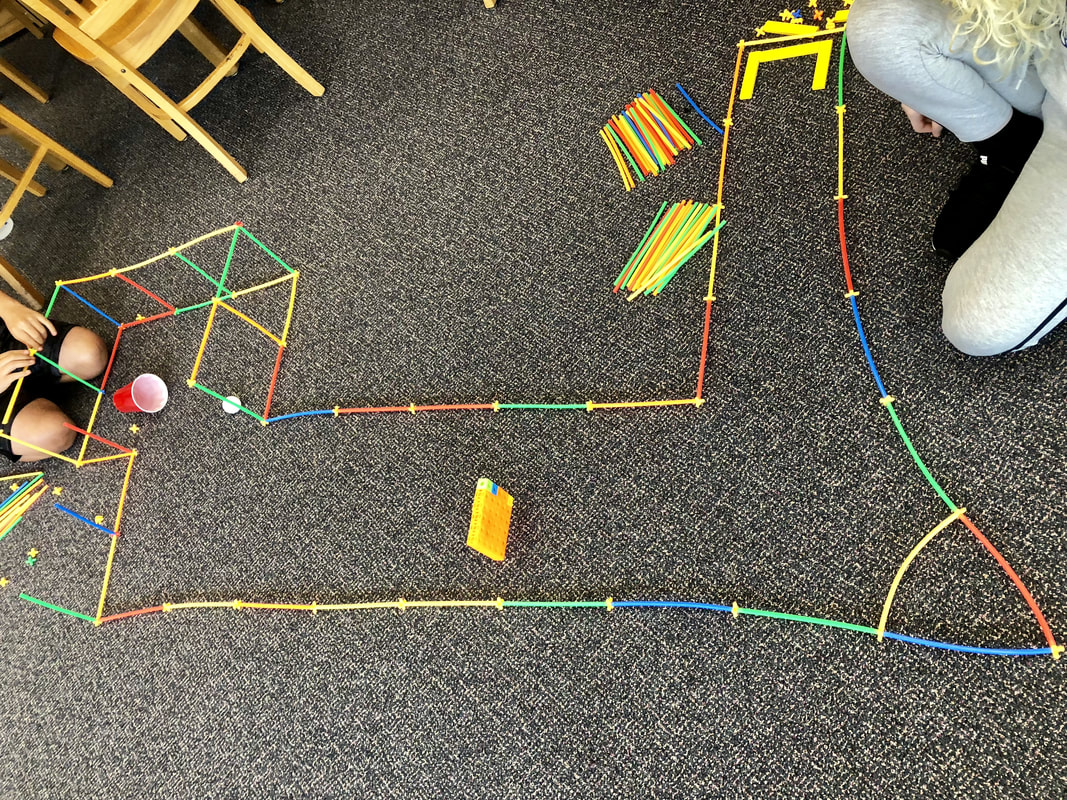
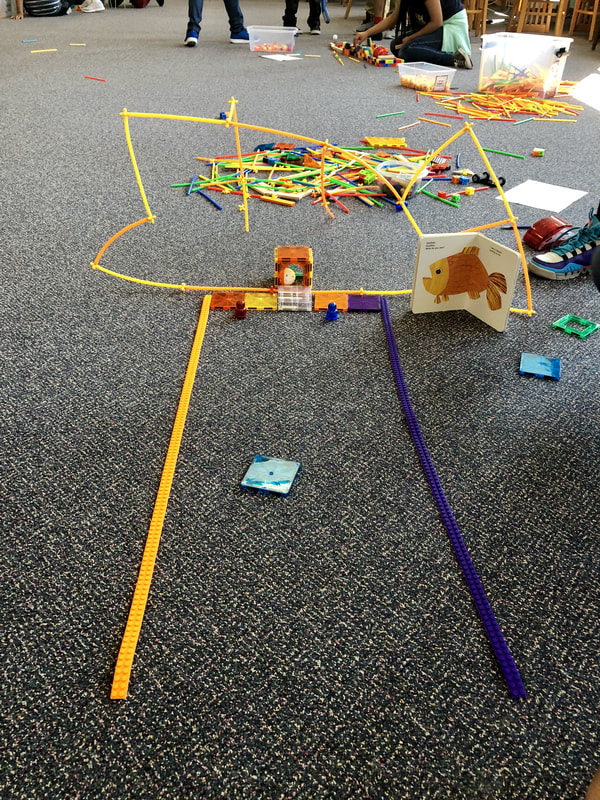
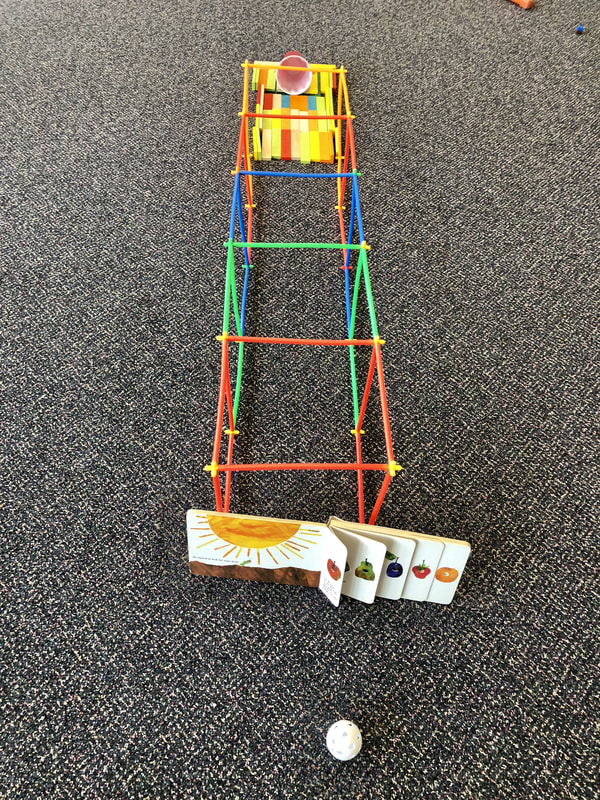
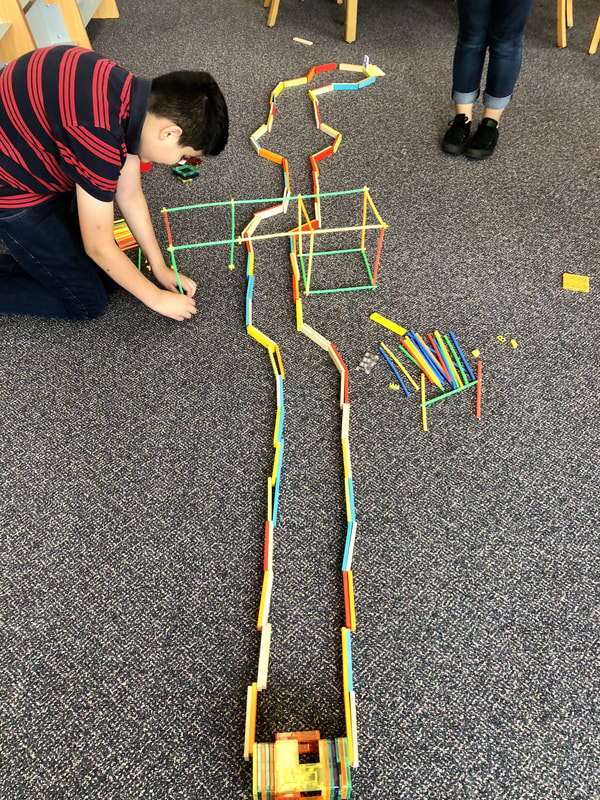
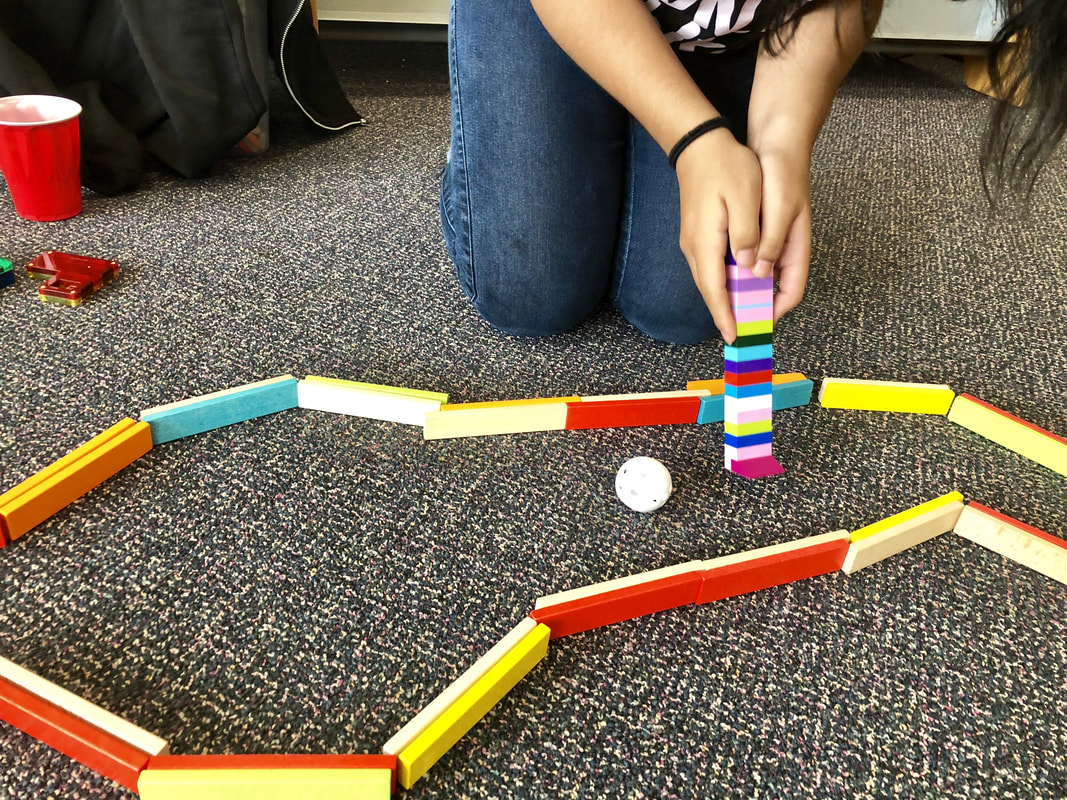
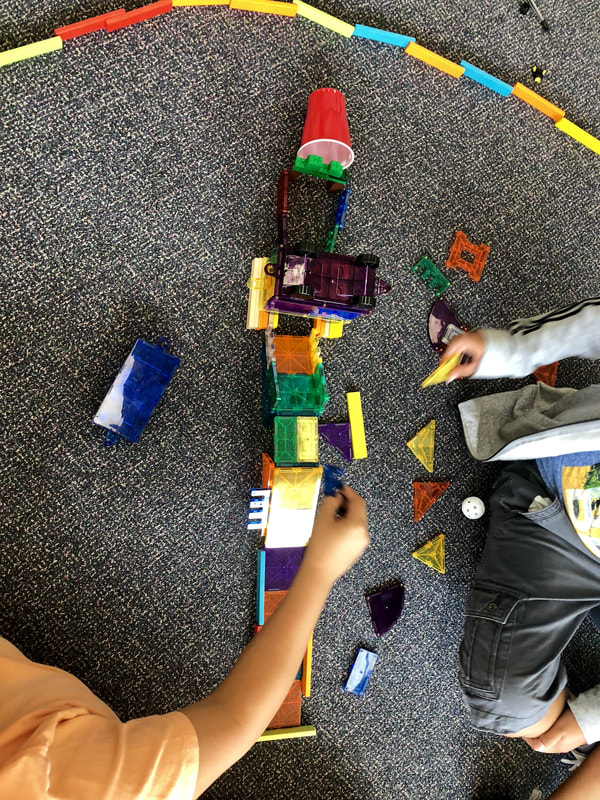
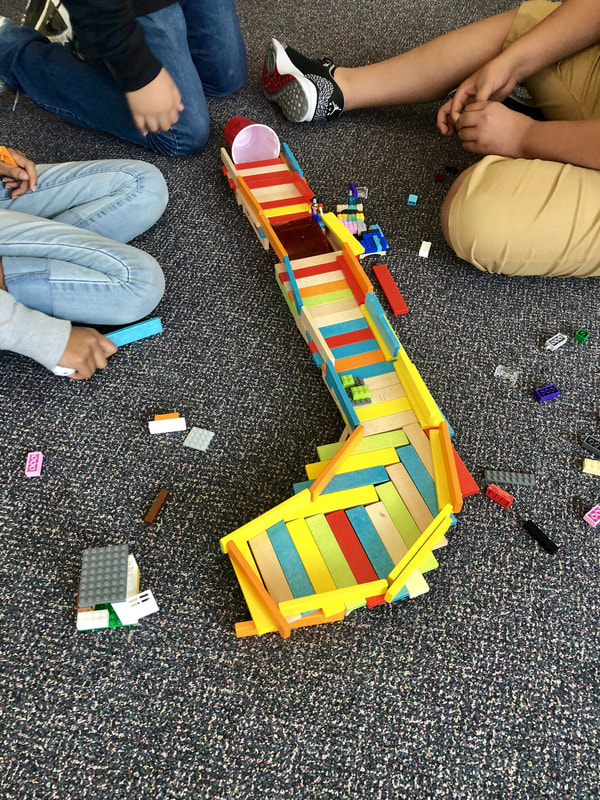
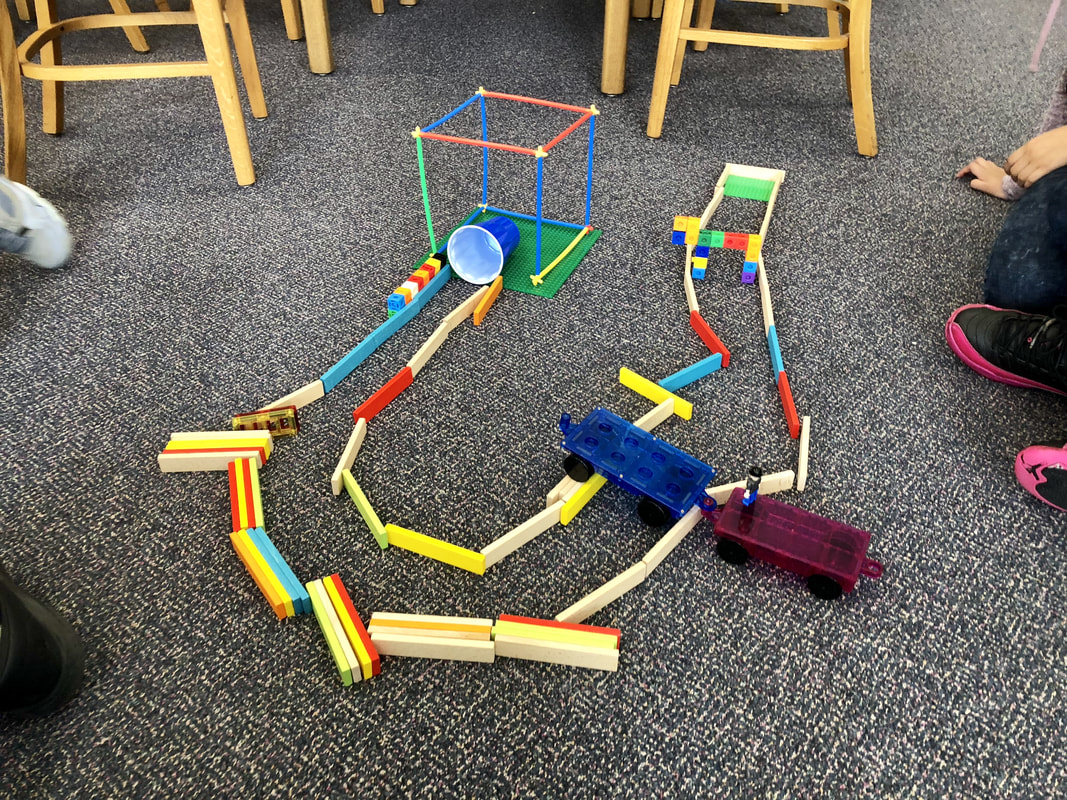
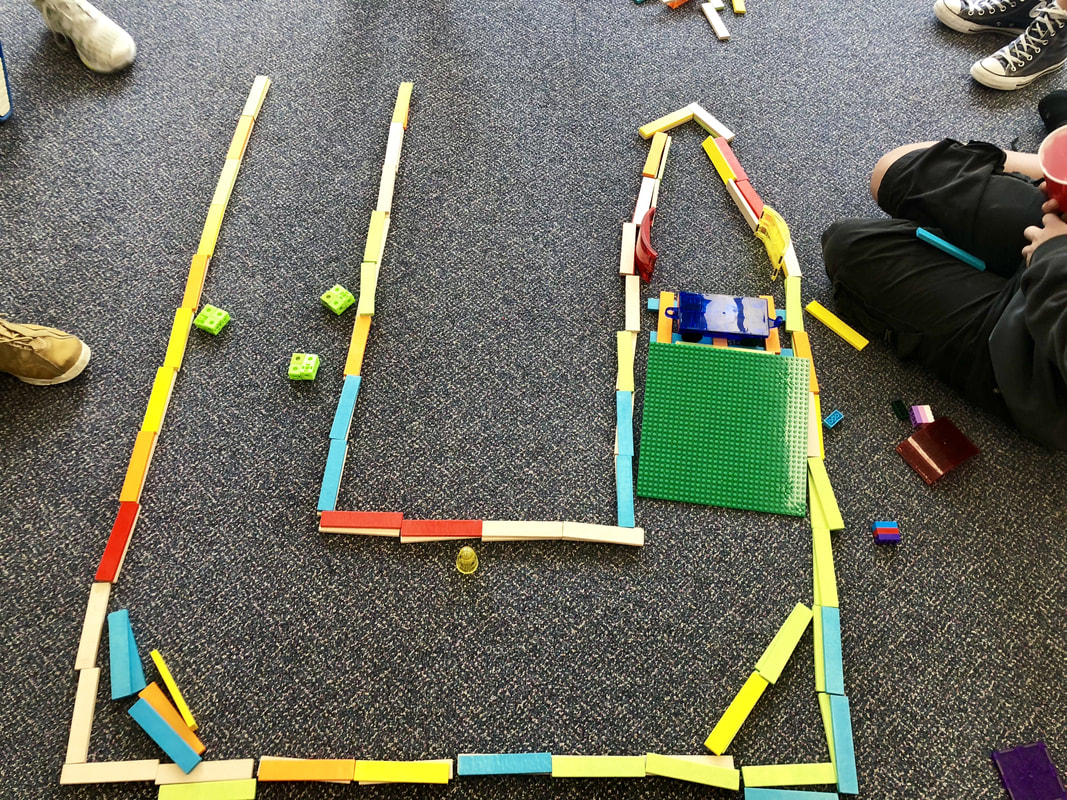
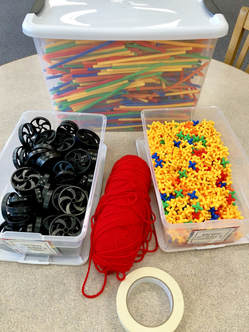
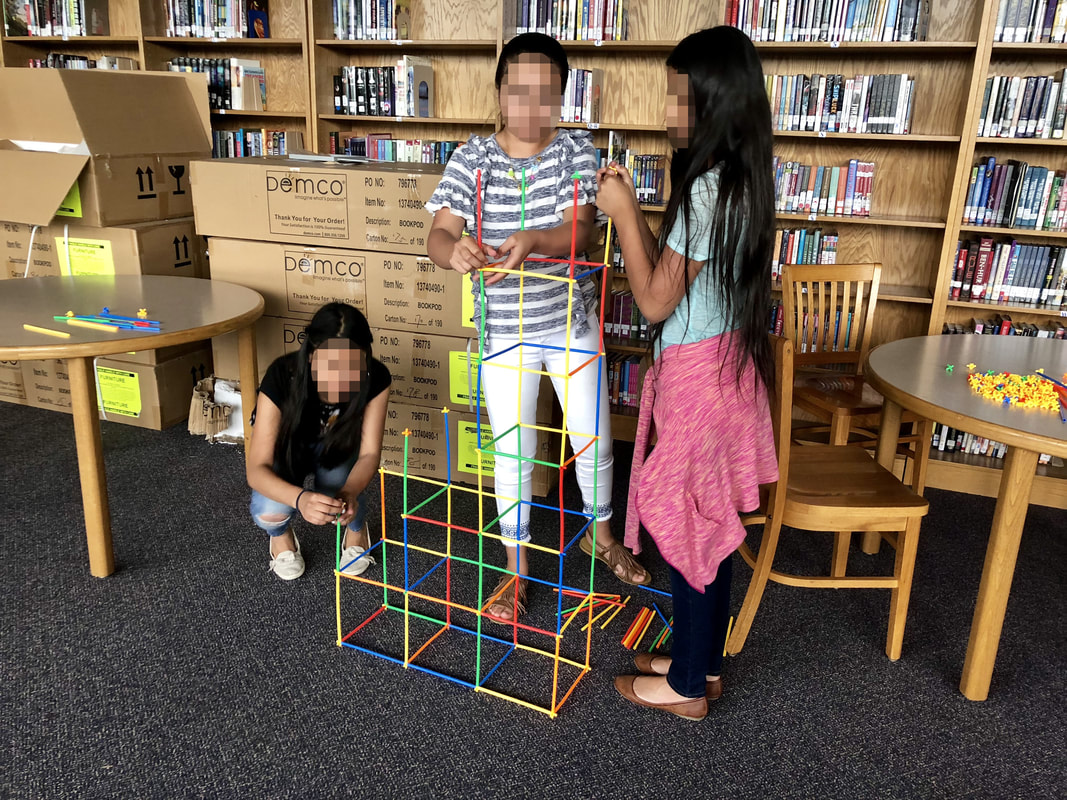
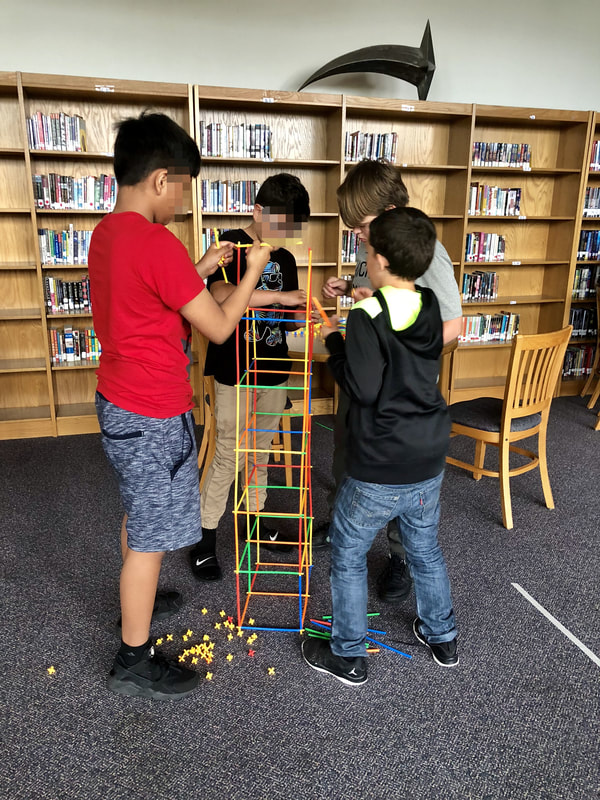
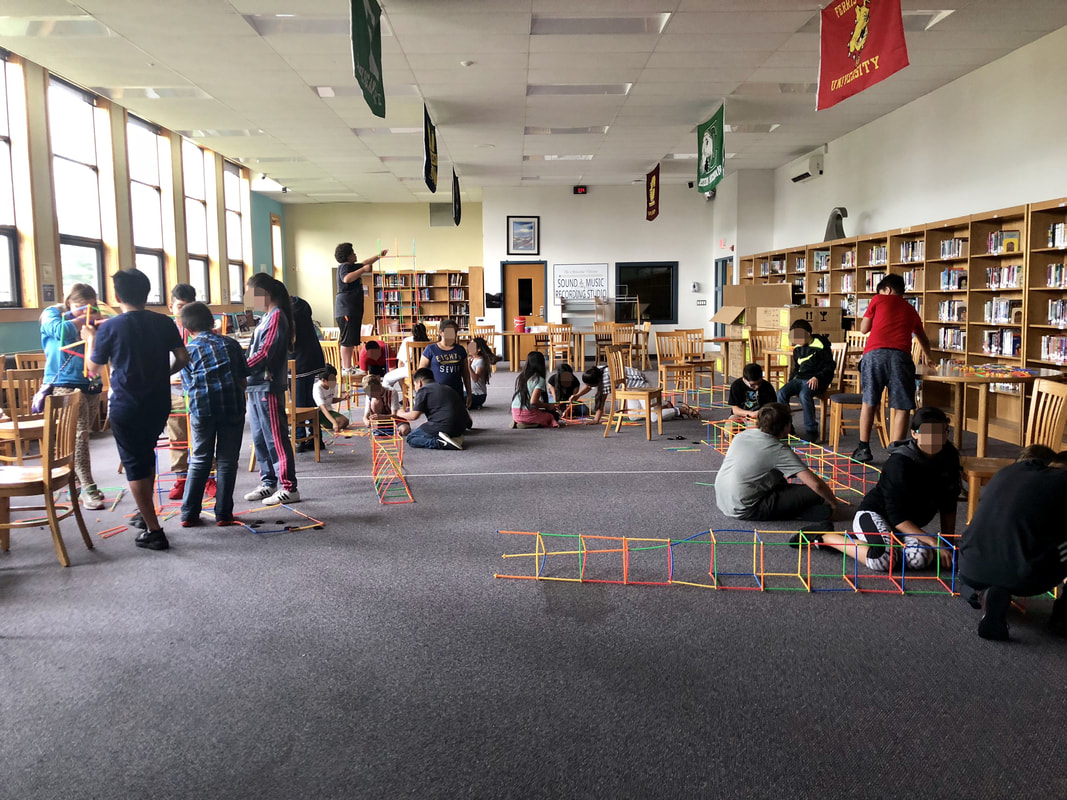
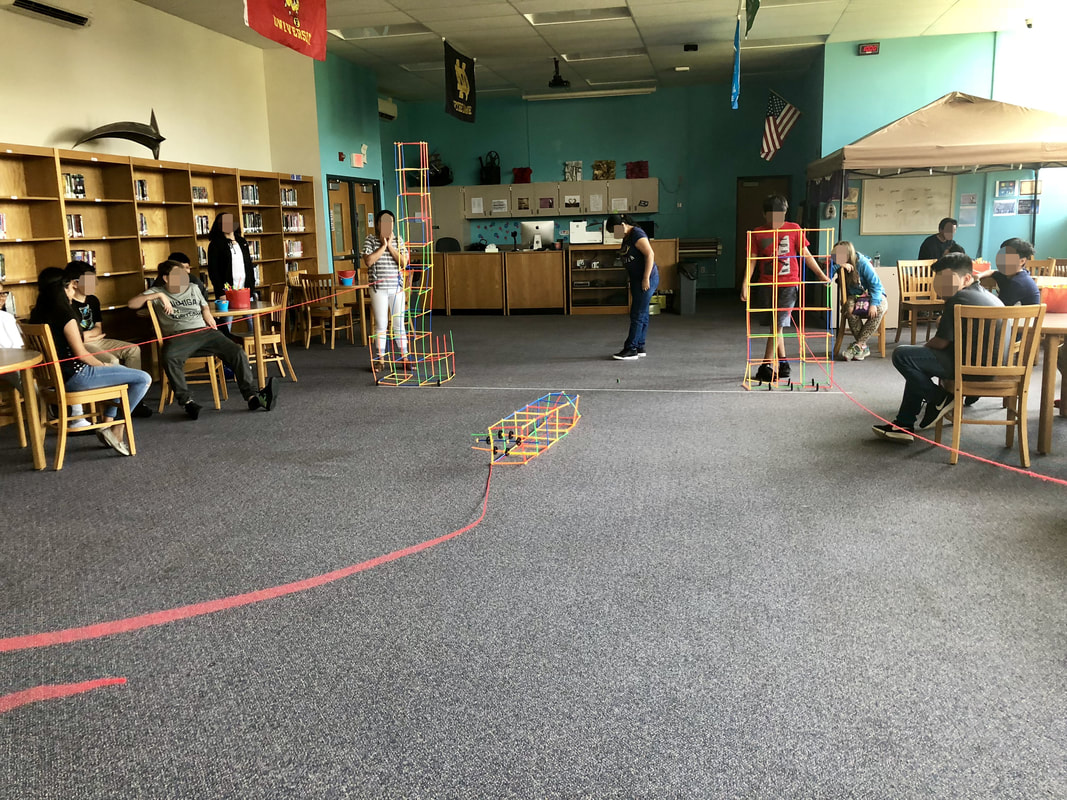
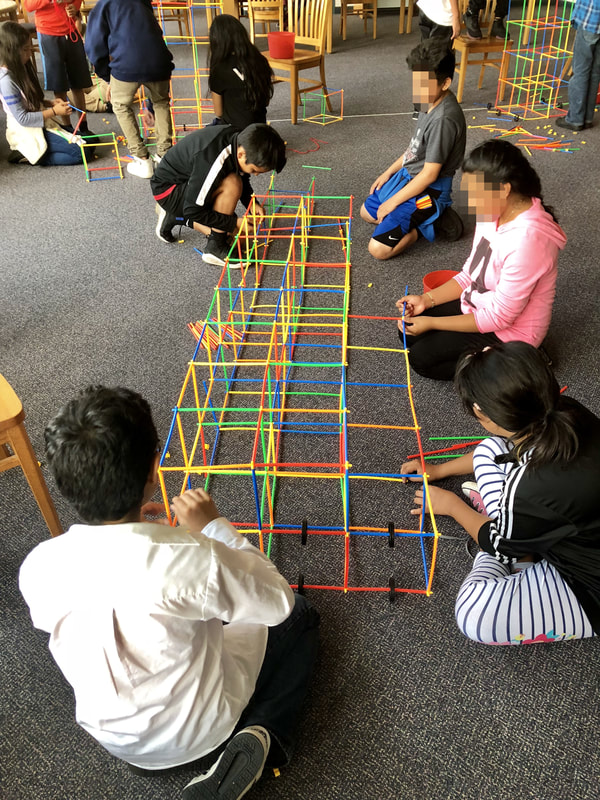
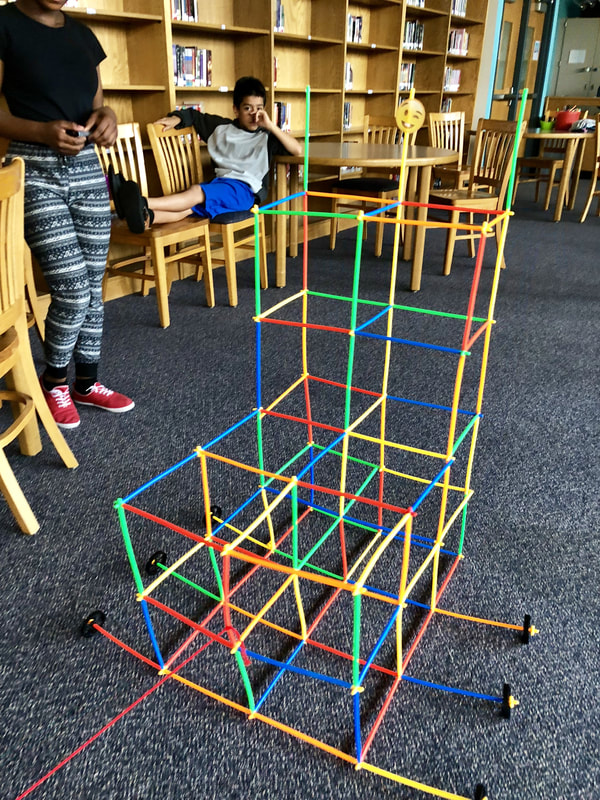
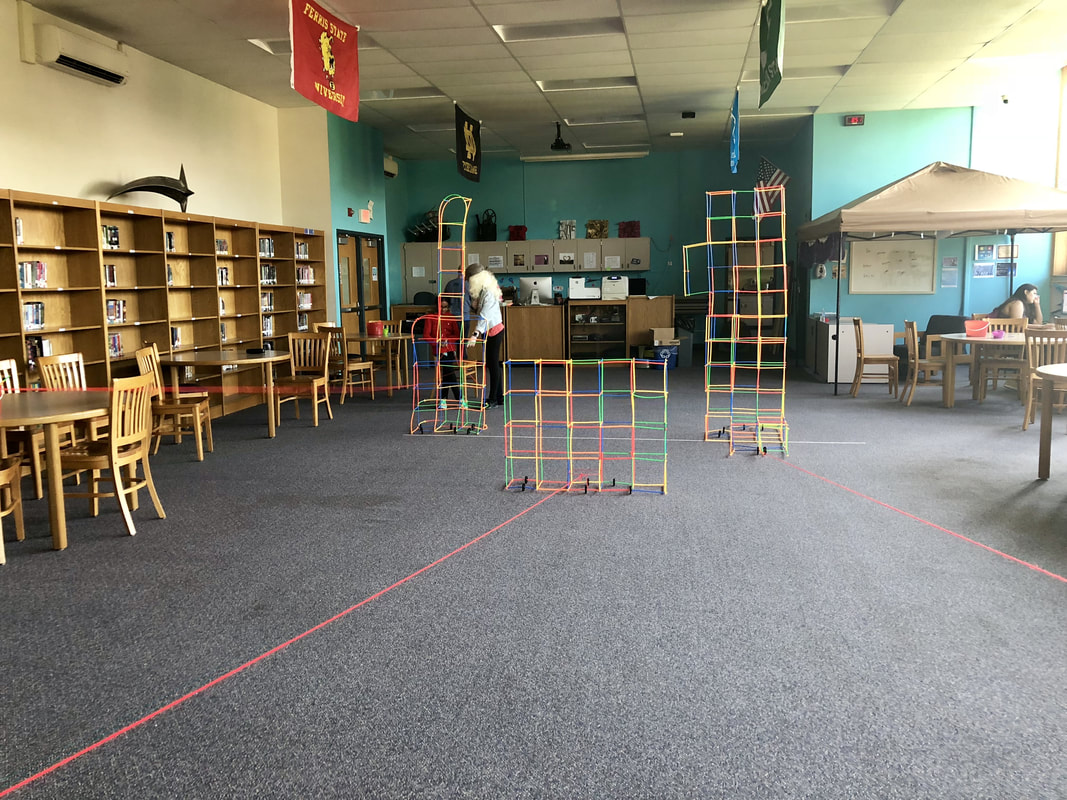
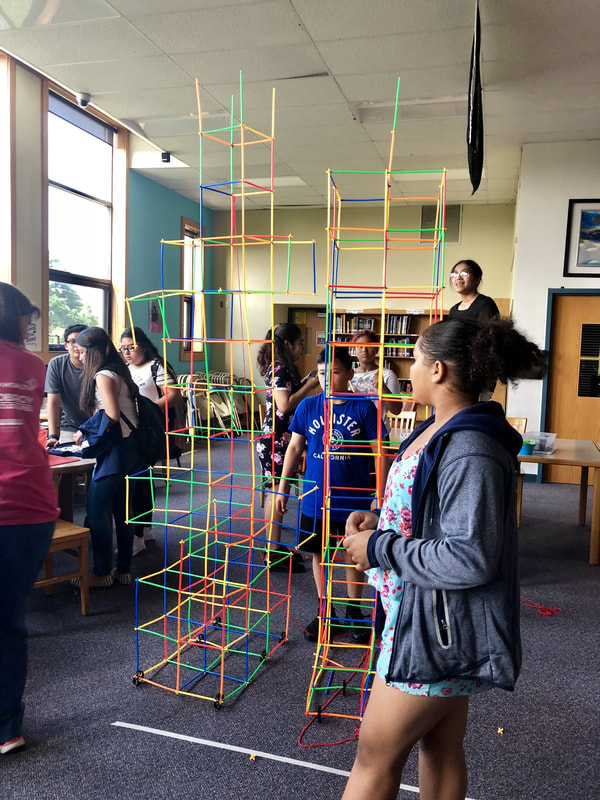
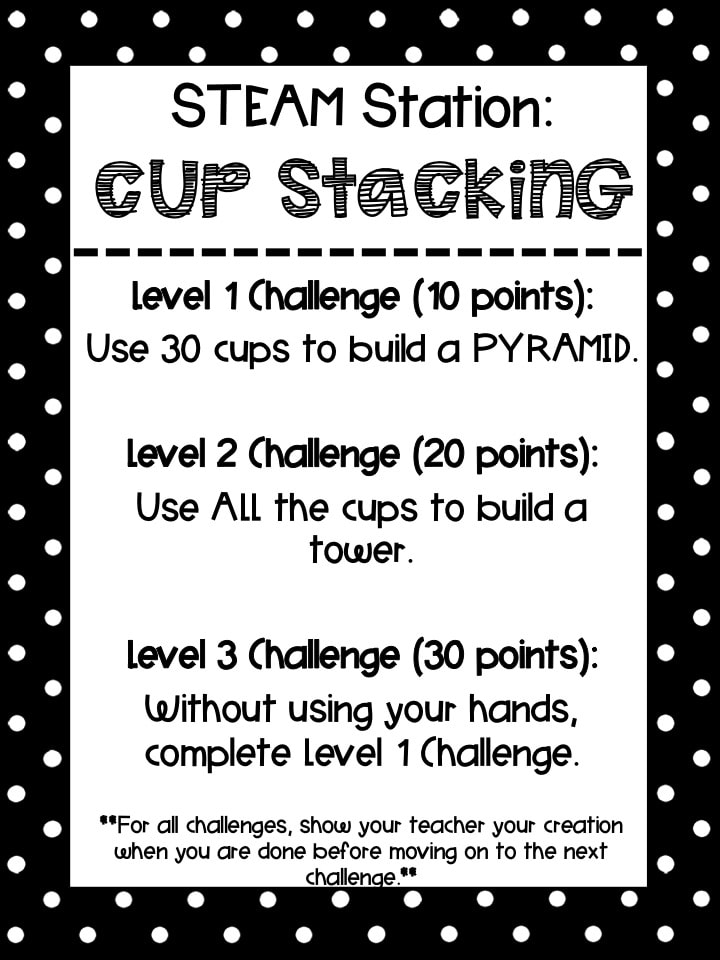
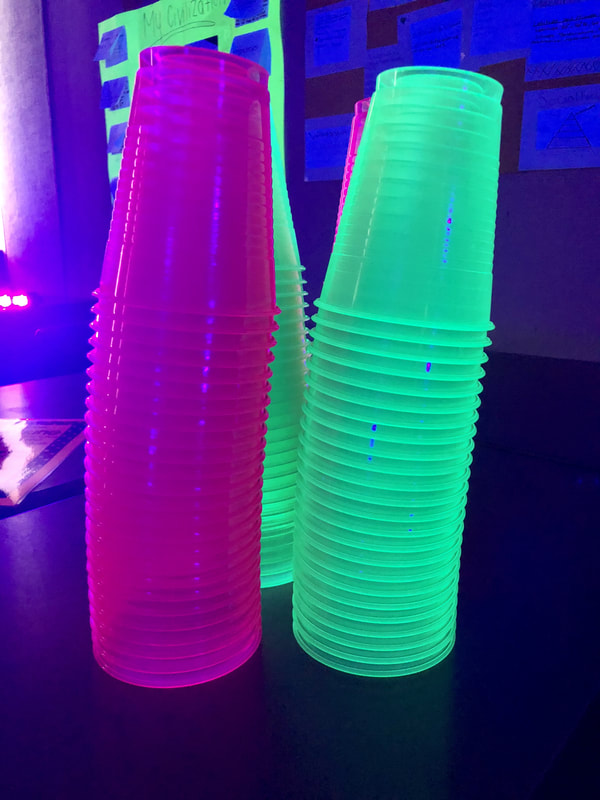
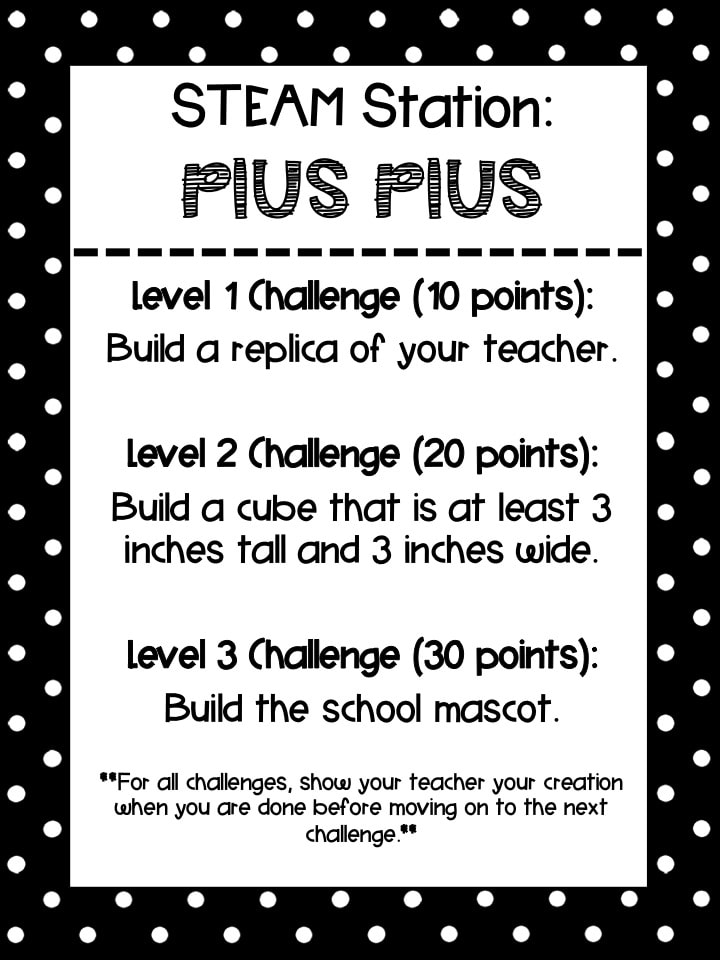
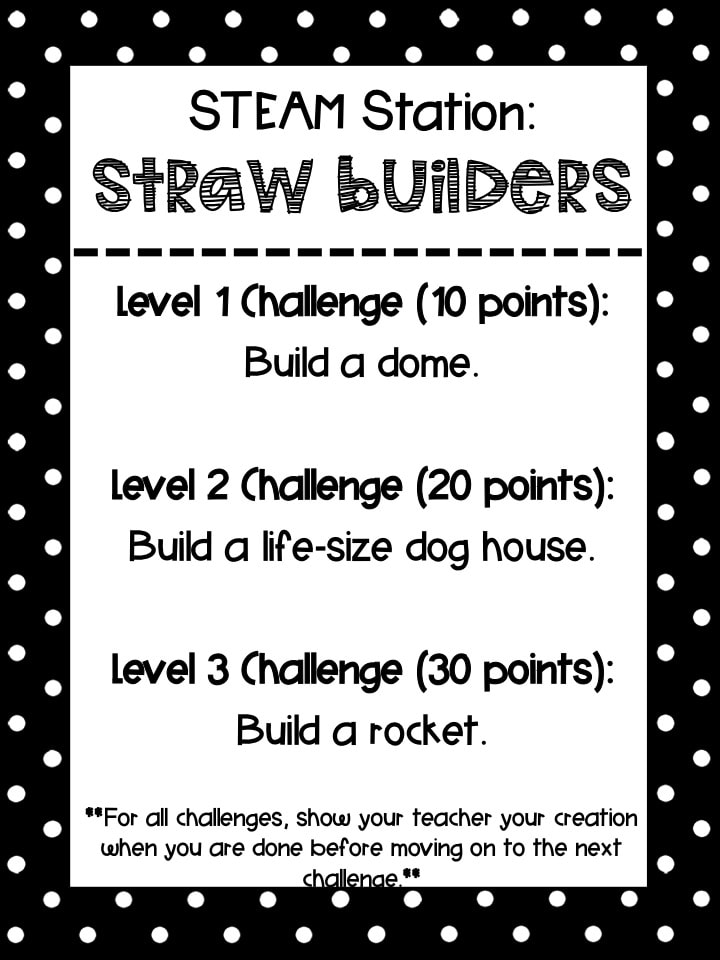
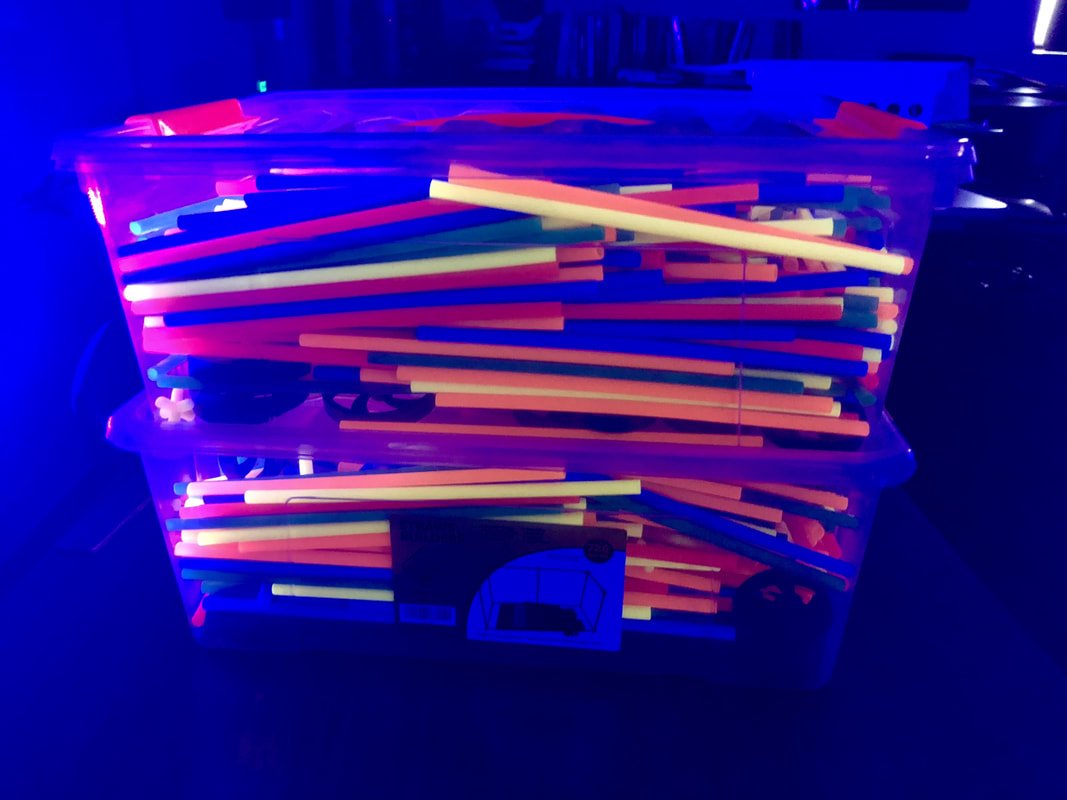
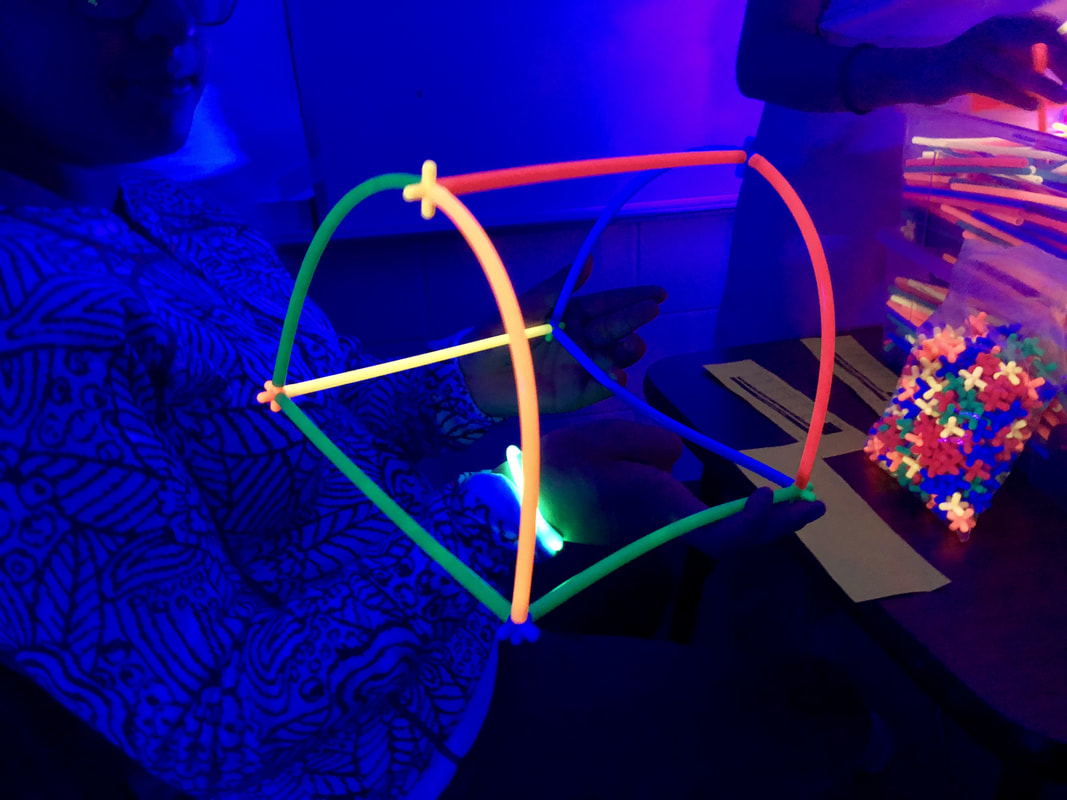
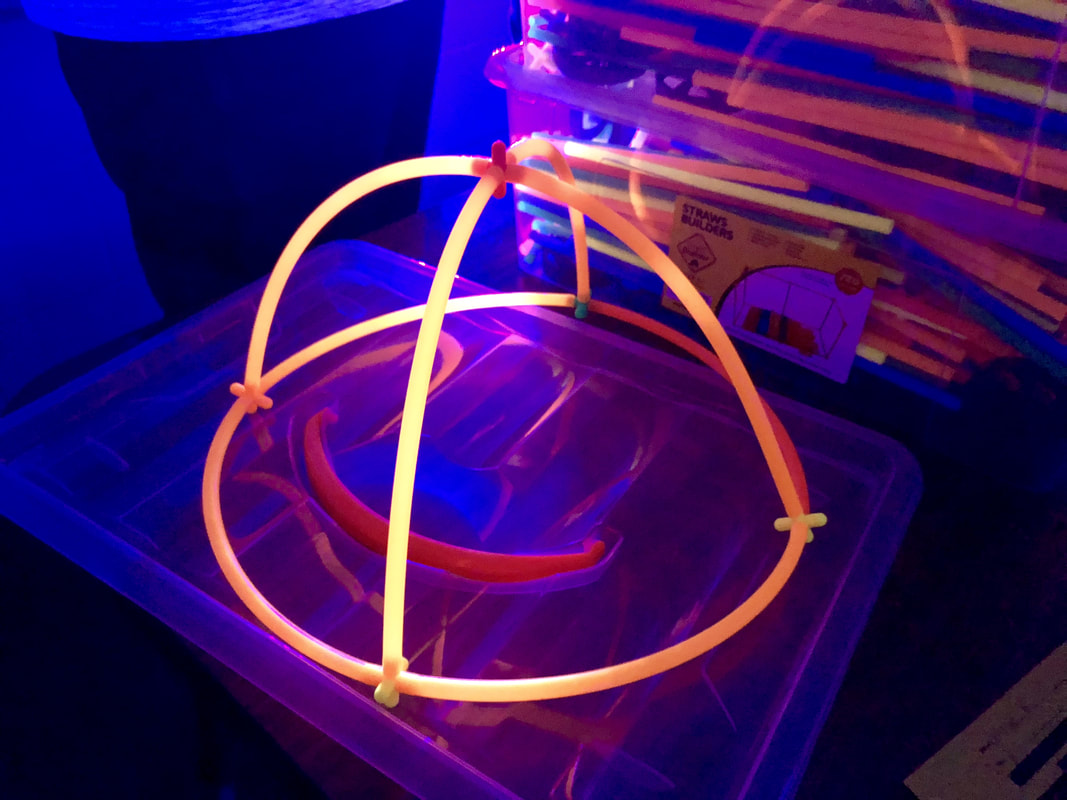
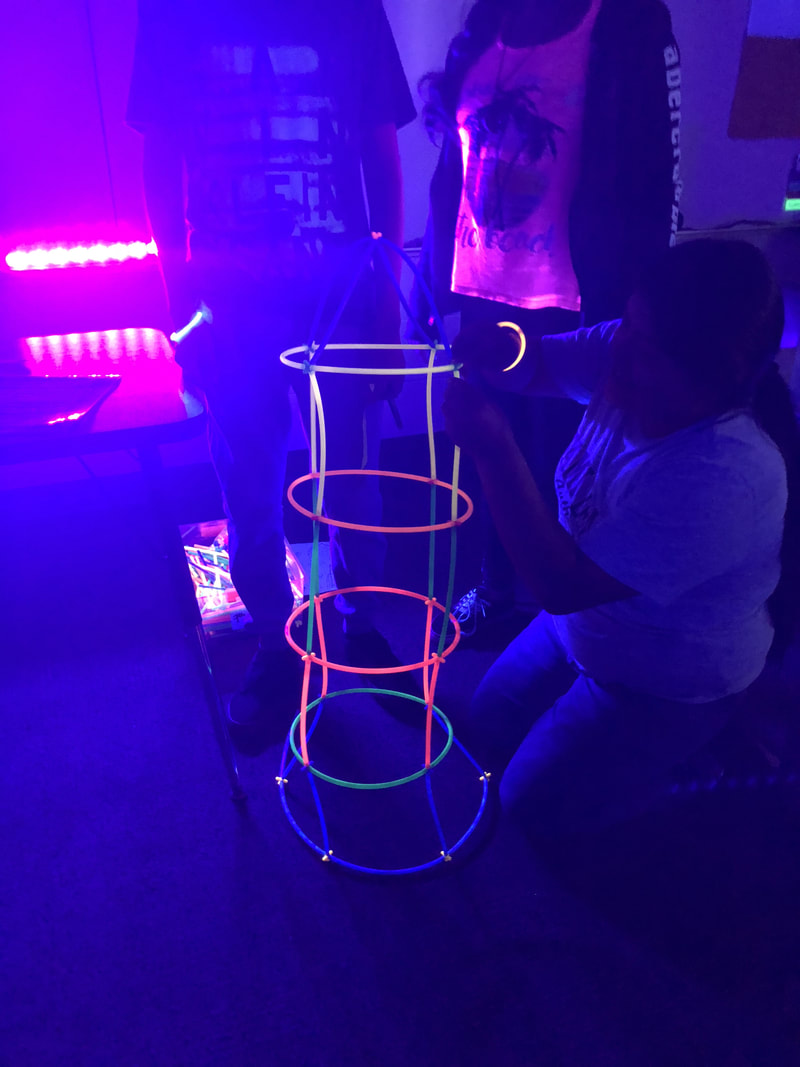
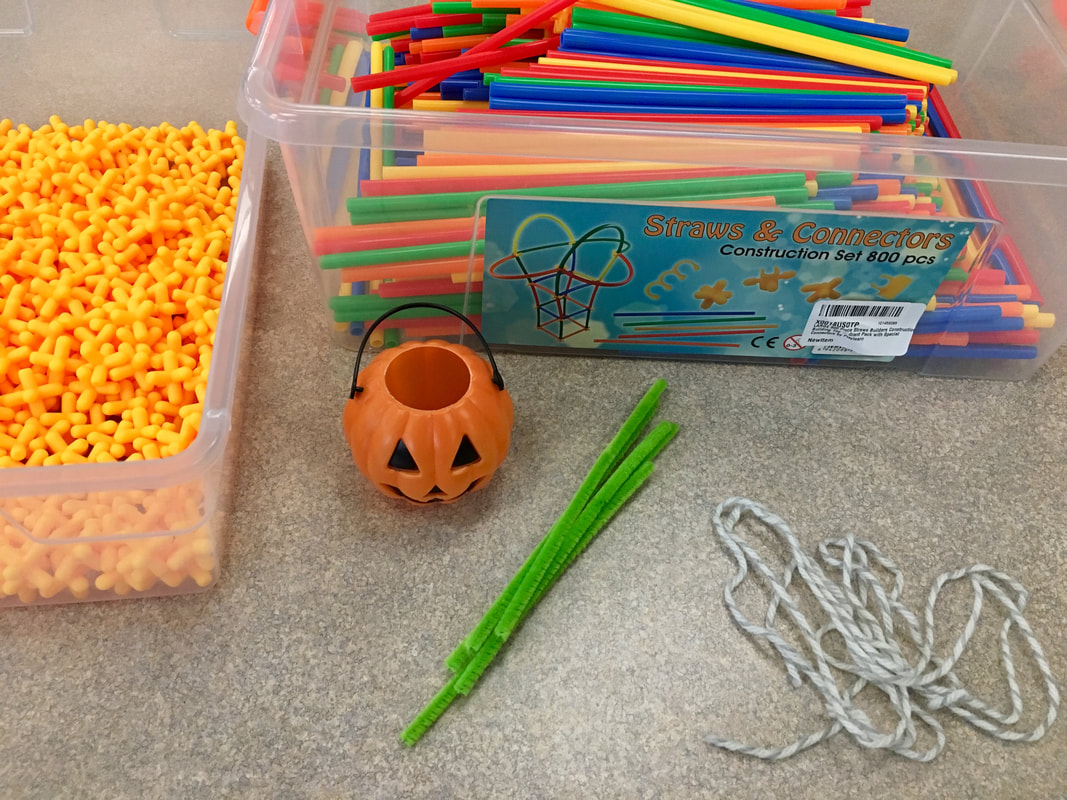
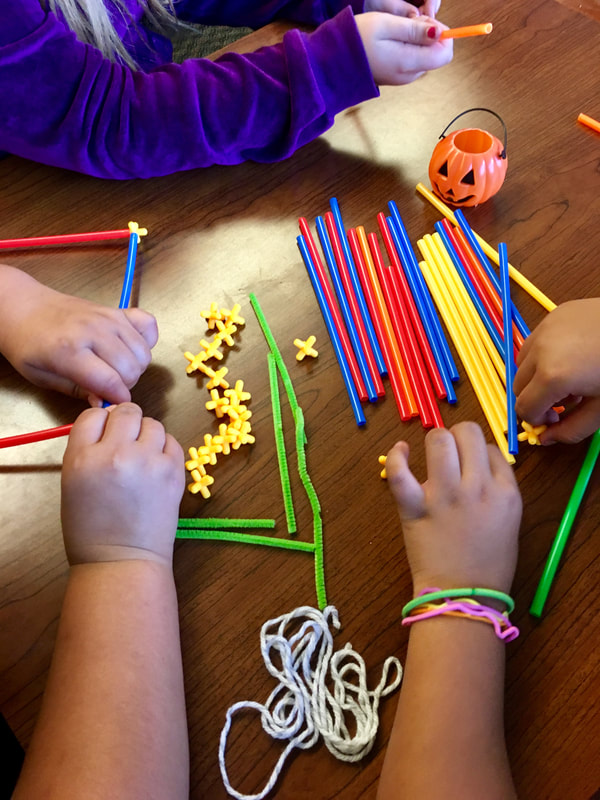
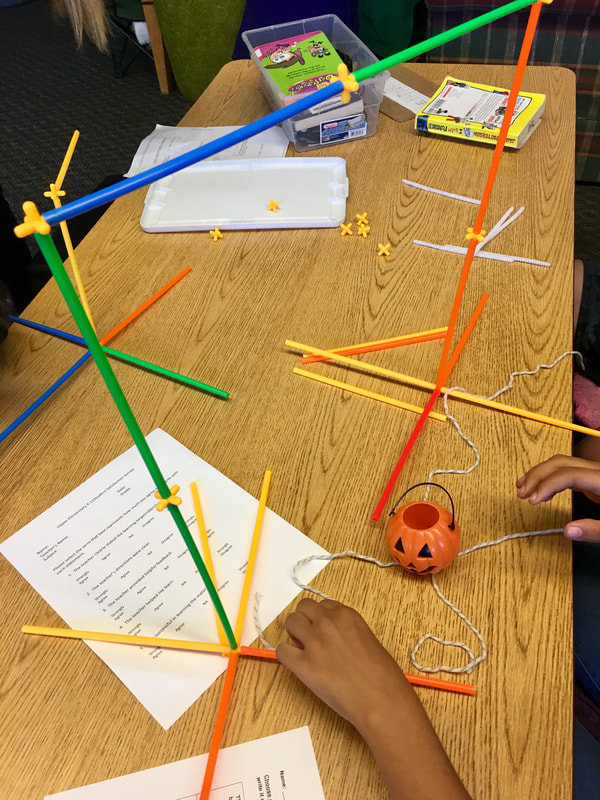
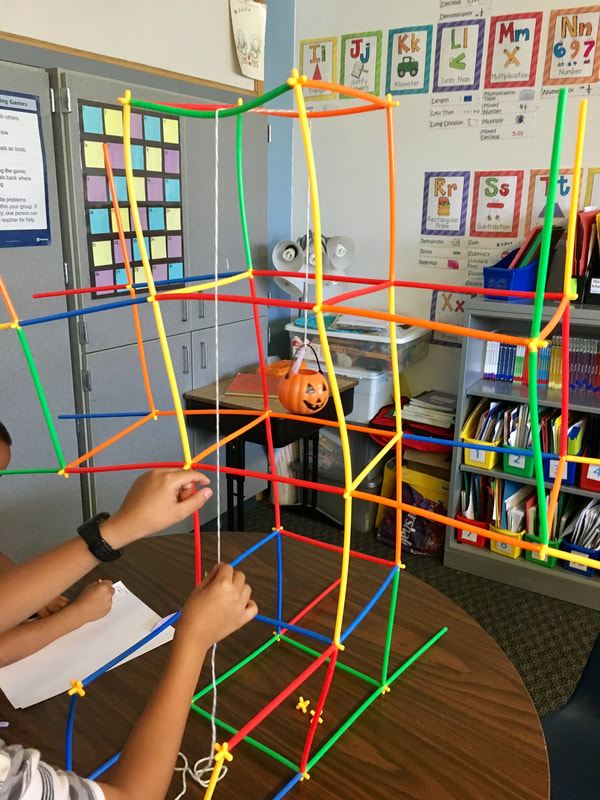
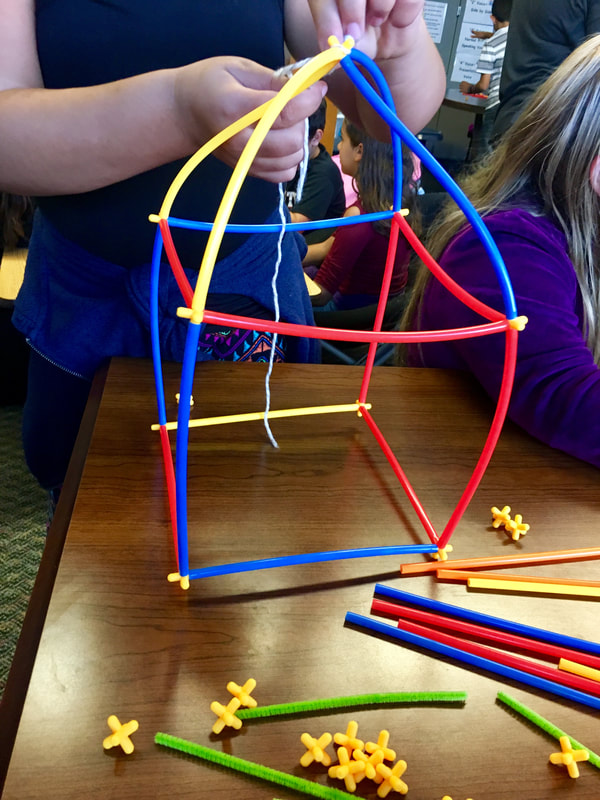
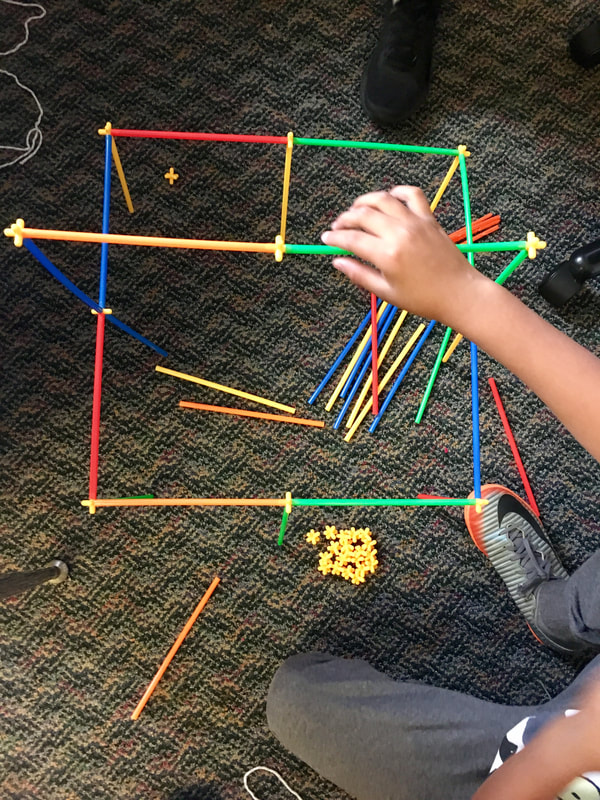
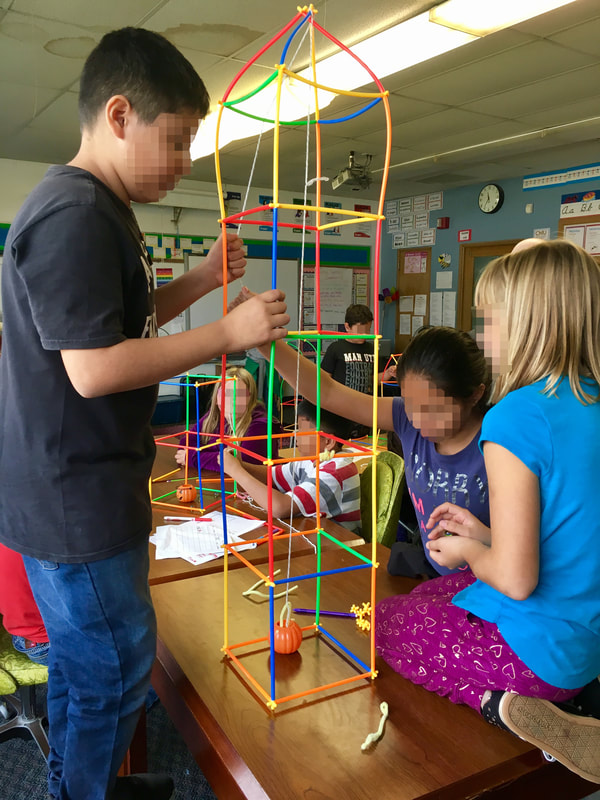
For their activity for the day, I asked the students to use Straw Builders to build the tallest free standing tower. This is a great activity for getting a group of students to work together towards a common goal. It seems like every time I do this activity, it starts out with students working individually on "something" and think that it will magically work with everyone else's "something." When they realize it doesn't work that way, they usually end up taking most things apart and start building from scratch together. Like the math warm up, those groups that started off working together made best use of their ideas, time, and resources. Several groups did not have enough time to build a free standing structure - they had a lot of experimenting and rebuilding and either their towers were not that tall or they had a hard time coming to a consensus for how to build. Even if their tower wasn't the tallest, I heard a lot of great conversations as I was walking around the room. They might not realize it now, but their communication and collaboration in a group setting will take them further than individual work.
0 Comments
As the end of the first trimester came to a close, I had a chance to work with my 6th grade buddies in doing a Thanksgiving-themed STEAM activity. This is a little twist on the Pumpkin Elevators activity - with a little Thanksgiving flair. Students were asked to design the tallest tower possible that could lift a turkey in a little pot using a pulley system. The materials they could use are straw builders, connectors, 2 pieces of string, and 2 pipe cleaners. One thing I told the students though was although they had 2 pieces of string, they could only pull on 1 piece of string to move their pulley. Also, once they were able to work their pulley system, we started adding marbles (5 at a time) to add additional weight. I think the most we were able to add was 35 - pretty impressive! What I really enjoyed about doing this activity with 6th graders (compared to the 4th graders with Pumpkin Elevators), was that the Science concepts were understood on a deeper level. The students made connections quicker was that the tallest tower isn't necessarily the most structurally sound. Their designs at first greatly different from their end designs! Just to point out how much I love students who not only think like me, but take it one step further. Below, the picture on the left with the blue bin shows how I gave the materials to students. The picture on the left shows 2 bins after they had been reset for the next hour. Clearly, the purple bin makes me swoon! The red on the other hand...well..at least they got everything back in the bin. :) Today I worked with one of our awesome 7th grade teachers, Alissa Huggins, to do an activity for her ELA students to get them communicating and collaborating together as they started off the school year. We both like to think outside the box with things, so our ideas often build off each other to come together in a grand plan. It usually results in a pretty awesome experience for students and leaves both of us wiped out by the end of the day. I don't think we would have it any other way though! As students entered the Media Center, we gave each of them a golf back with a number on it - this told them which table to go sit at for their group. We conducted a little survey to build some empathy to find out how many students had played mini golf before (this also allowed us to collect their numbers to use with the next group). It was really interesting to see the final numbers when collected the numbers. It helped us target groups who might need a little further explanation of what mini golf is, how obstacles work, and how to bring their ideas to a tangible design. For this Learning Landscape, we told students they would be creating a hole as part of a mini golf course. BUT...they would be using the picture book at their table as their inspiration for the design for their hole. We told them they could build whatever they wanted as far as how the hole was shaped, but the obstacles and other elements had to be themed around the book. Based on their reactions of the somewhat simple picture books at their table, I think they thought this was going to be easy-peasy. It definitely proved to be more difficult than they anticipated, and I think they were glad I chose easy picture books! IdeationBefore students began building anything, we had each student do some individual brainstorming. After this, we had them discuss their ideas as a group and either decide on one of the group members' designs or combine elements of different ones to come up with a new design. We wanted all students to be active and accountable during the ideation process. I am including some of the student brainstorming sheets below because it was so interesting to see their conceptual drawings and then how they translated those ideas from paper to a tangible design. Some were able to put their thoughts into pictures and words, where others struggled with sketches but were able to verbally articulate their design ideas. PrototypingAfter students were done working as a group to come up with one cohesive design, they had to present it to their teacher or myself to receive approval to begin building. This ensured they were all on the same page as far as designing and everyone had a part of construct that they were responsible for once they had their materials. This really ensured that they were truly collaborating and communicating to come to one design for their hole. As they were constructing, one student even made a little "judge's stand" to reinforce the rules of mini-golf for the players. :) The materials we used were:
TestingWhen students had reached a point where they were done constructing and ready for testing, they were asked to test out their course designs. Some even constructed their own little golf clubs to use - how creative! After testing their designs, some groups had to go back and do some redesigning, as they found their courses may have looked pretty cool, but they were next to impossible to actually play. After some redesign and another round or two of testing, their courses were in a much better playable design. There were so many interesting and fun designs, but I have to say I think this one might have been at the top of my list for how an idea came to life. The collaboration and communication between team members of this group was amazing too! If they had more time to build, I know they would have had some awesome obstacles. (The hole spanned over the 2 large Lego baseplates and the cow head was a ramp. When you hit the ball, it would have to go up the cow head ramp and the end hole would be between the cow's horns.) Other honorable mentions...
Improv Warm UpIn the past, Kelly McGee and I have found that improv activities are a total game changer in the STEAM activities that we do - it helps the kiddos get loose, comfortable, and their brains moving. So whenever we can work improv into an activity, we definitely do! For this activity, we played Heads Up, Heads Down, Wink Tranquilizer (name changed so that it is school appropriate, but same idea), and As One (the students start sitting in a group and then together ("As One"), without talking or using hand motions, they have to stand AS ONE, walk AS ONE, jog AS ONE, stop AS ONE, and then sit AS ONE. Tallest Tower STEAM ActivityThis STEAM activity was actually a pretty simple one - perfect for the last days of school. All we needed was Straw Builders (with connectors and wheels), yarn, and some masking tape. Before the students came in, we taped off two lines in the Media Center. Due to starting off with improv games, the students probably thought they were for where the groups to stand...but nope! For this activity, we started out by giving them a bucket of straws and a small container of connectors and told them we wanted them to build the tallest FREE STANDING tower possible. They got to work right away and came up with some great towers! After about 10 minutes, I told them I "forgot" that their towers had to have wheels, so I gave each group 6 wheels. I just told them that they had to use the wheels - no direction in how to use them though. After about another 10 minutes, I told them that I "forgot again" that their structure must also be able to be pulled from one of the masking tape lines to the other, with them standing behind one of the lines. So many groans on this "addition!" This is where some serious redesign took place with wheels changing positions, towers being reduced in size, and calculations on where to tie the string to pull the tower. This was a serious exercise in not only design, but communication, collaboration, creativity, and confidence. It was so great to see the looks on the faces of the students who towers crossed the finish line!
Cup Stacking
Plus Plus
Wooden PlanksResources Needed:
Straw Builders
QubitsResources Needed:
Brain Flakes
Glow STEAM in ActionAt the end of the hour, we asked students to clean up their stations and reset the classroom for the next class. Some classes were able to do this quickly and we invited them to use a highlighter to write what they loved about the day. You can tell some students were completely worn out from the fun (and heat!), but they had some great things to share.
When putting together some fun Halloween Quickfires, I went to my go-to source for inspiration - Pinterest. I found an activity for building Pumpkin Elevators as a STEM activity and thought it would lend itself really well to some adaptations to be a Quickfire. The first modification I made was in the materials that we used. As a Quickfire, students would be working under a time constraint (1 hour), so for this activity, I did not want them to be spending their time cutting and gluing, but rather constructing, prototyping, and revising. So, the materials they received for this were:
The challenge was for the students to build an "elevator" that could be raised and lowered. Some of the constraints I gave the students:
The students did not hesitate to build, rebuild, rebuild, rebuild, and then rebuild again to create a functional pumpkin elevator. What was amazing to me was that there was very little "copying" of other elevators - each group had their own ideas and everyone was different. We asked the students to see how many marbles their pumpkin elevator could lift and I think the group that had the most was 31. I was pretty amazed because once they started adding weight, the Straw Builders would flex and sometimes tip over. In talking with one group that almost had a cross shape to their elevator, they shared that they designed it that way to balance the weight of their structure because it kept tipping over. How clever! This group of 4th graders never ceases to amaze me! They are up for any challenge that they are presented with, work so well with one another, and never give up on the task. I feel they are pushing me as an educator to help push them further each time. It definitely is the highlight of my week!
|
Like What You See? Show Me Some Love!Follow MeWould you like e-mail notifications? Enter your e-mail address below to subscribe.
Categories
All
Archives
December 2022
|