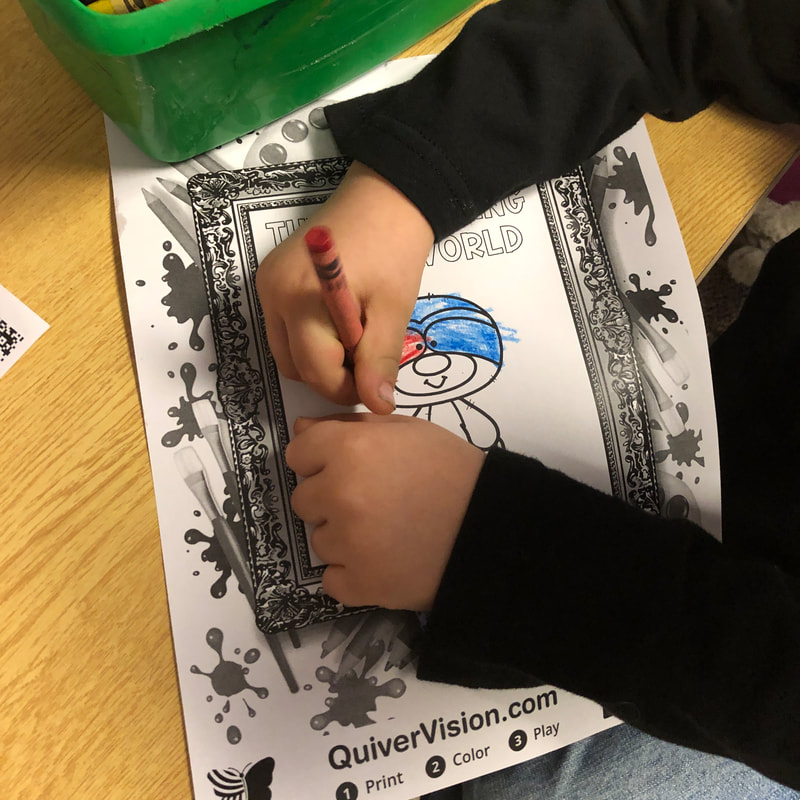
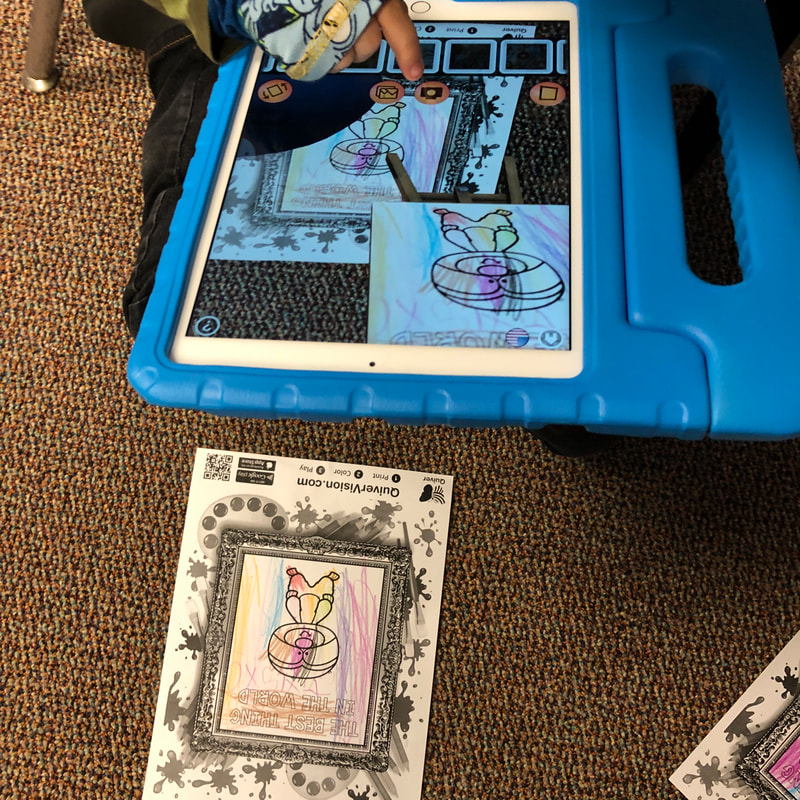
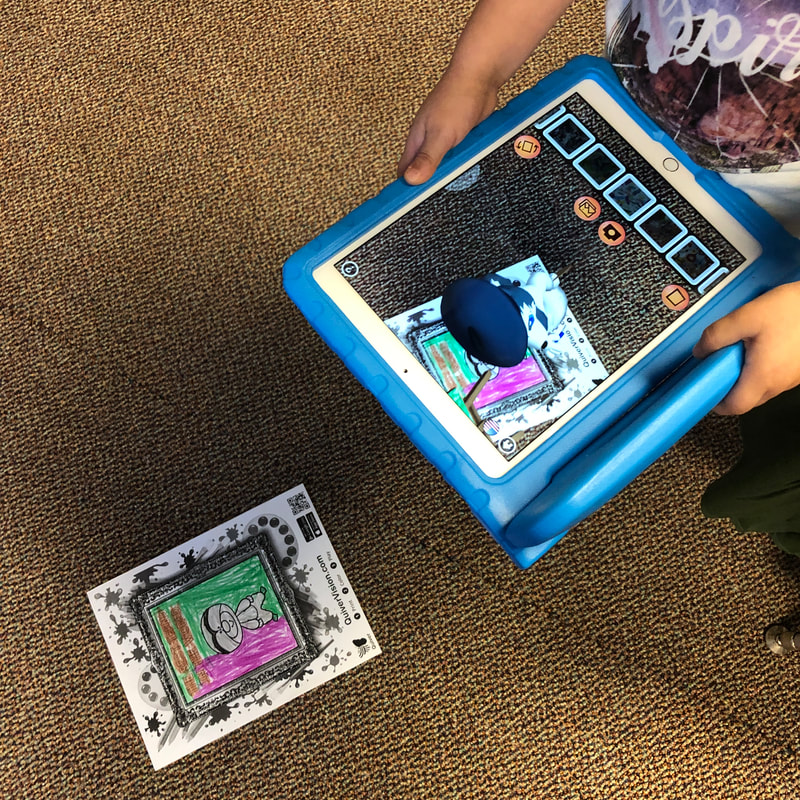
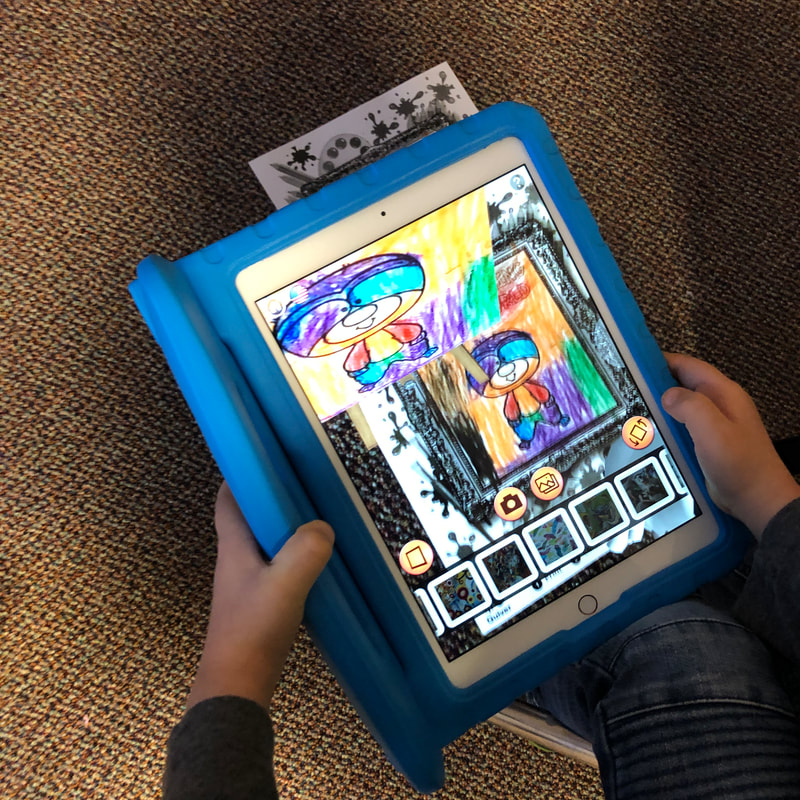
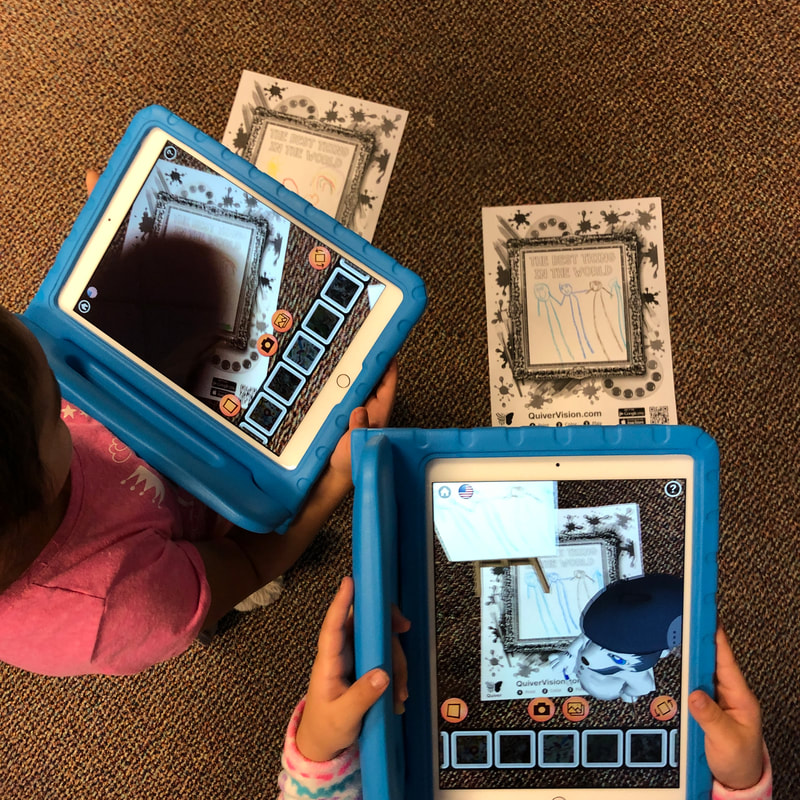
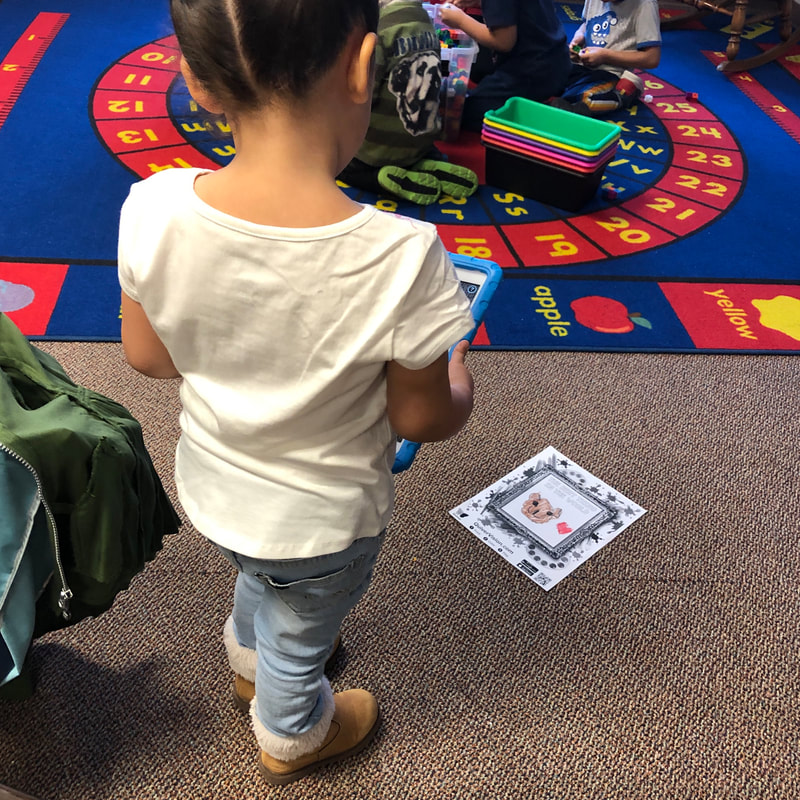
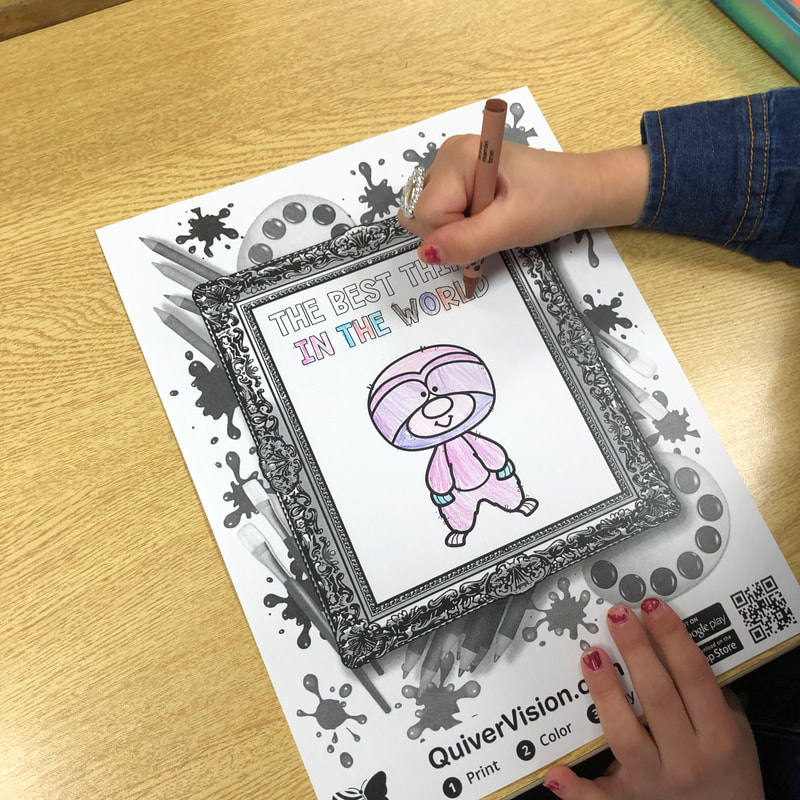
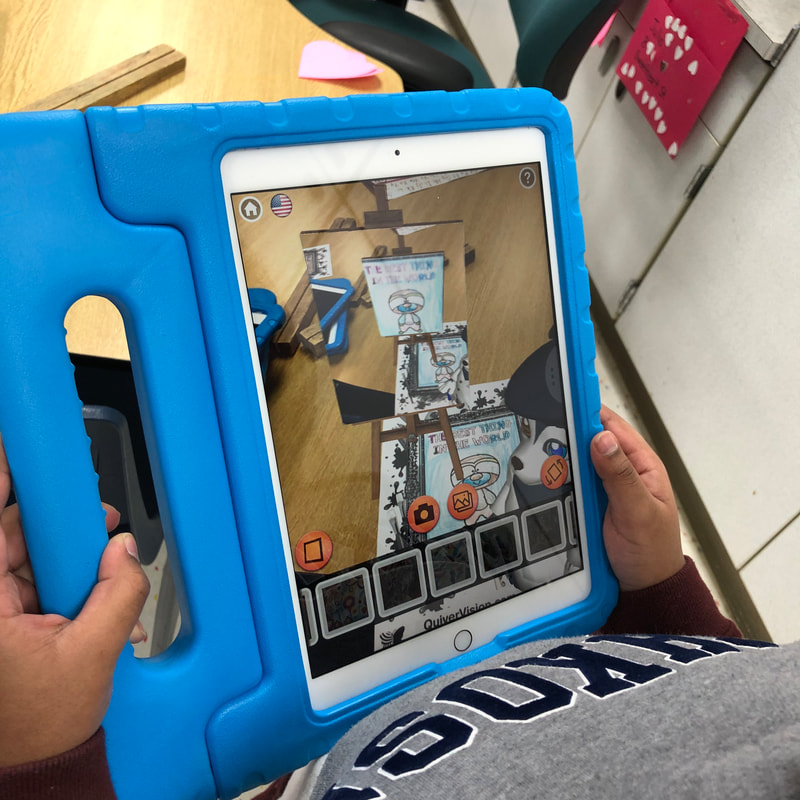
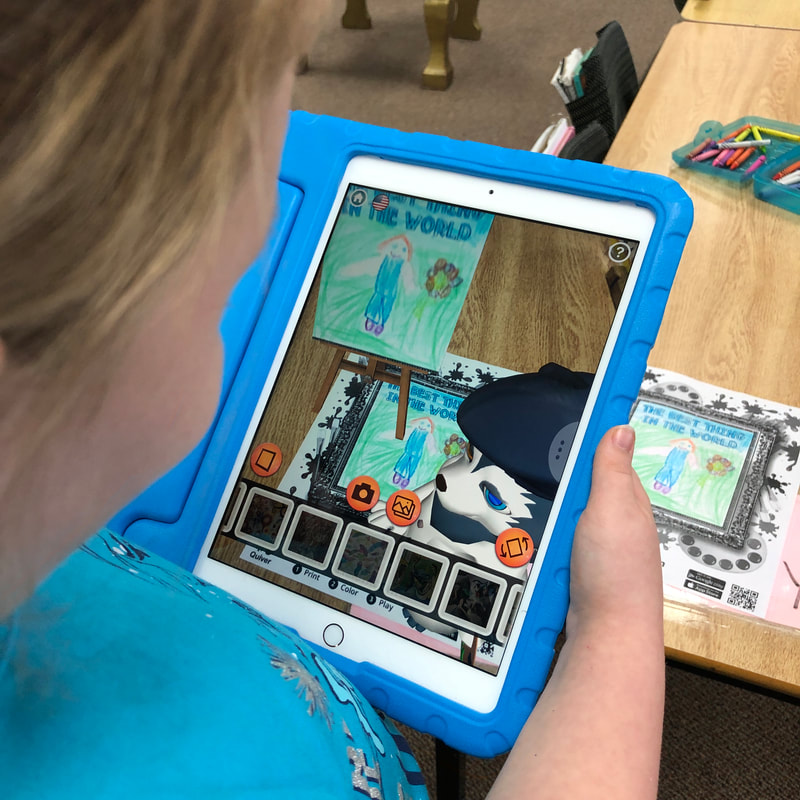
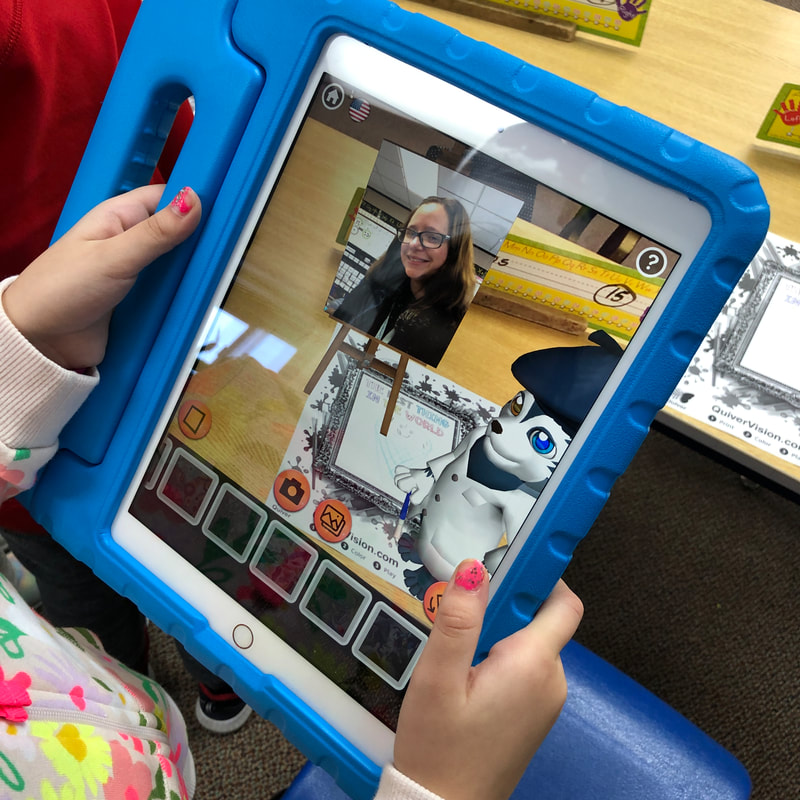
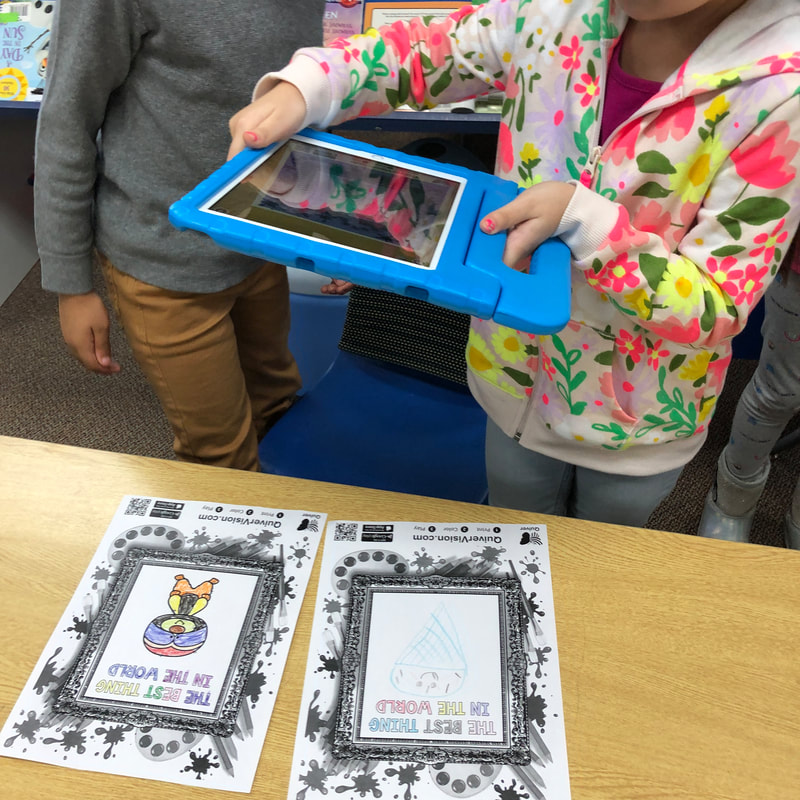
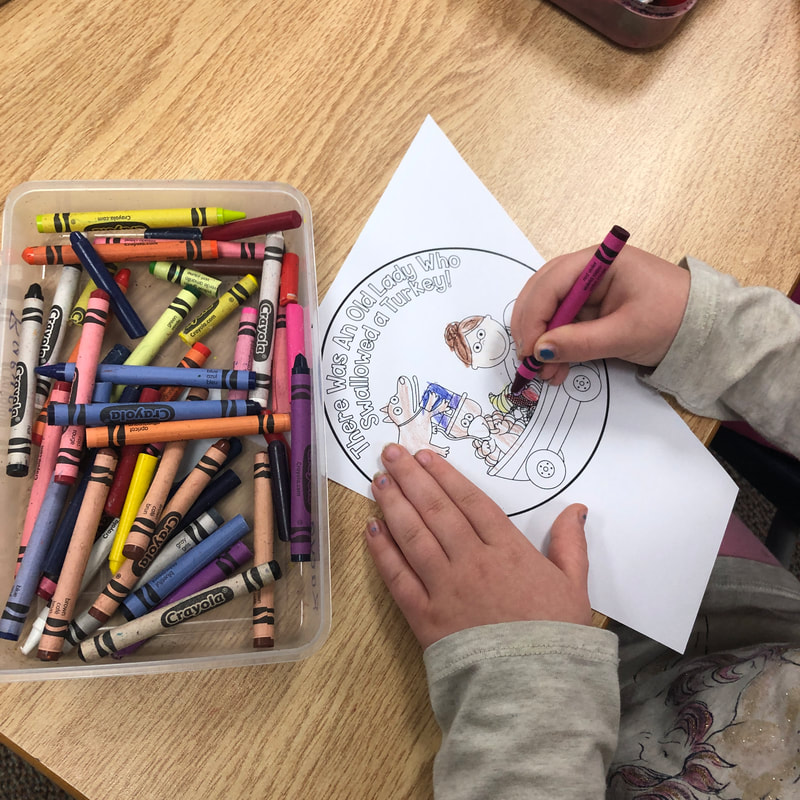
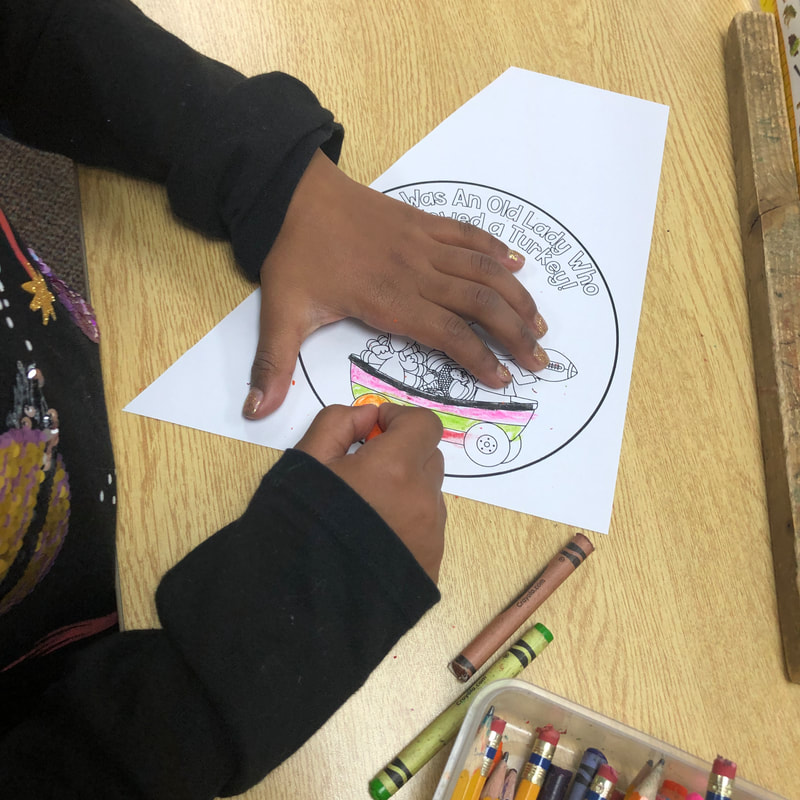
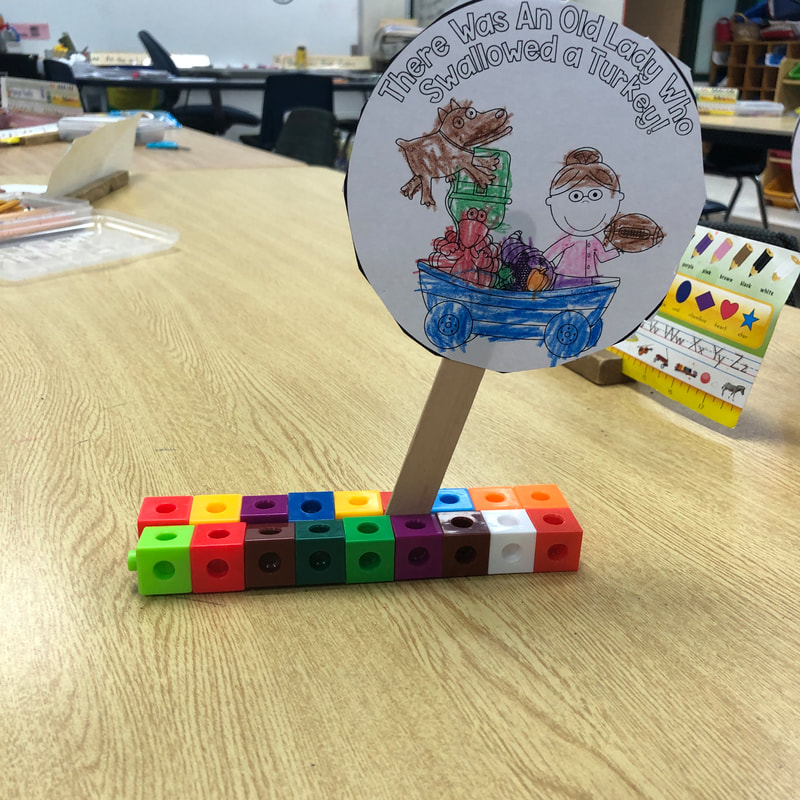
This week in Y5/T1, we read the story, Mervin the Sloth is About to do the Best Thing in the World. My students know I love sloths and always comment on my phone case as it has a sloth on it - so why not bring them into my sloth world?! After reading the story, I introduced them to augmented reality. I used one of the downloadable sheets from Quiver Vision and put an image of a sloth and "The Best Thing in the World" on it. On the back side, I had the same Quiver Vision sheet and just had "The Best Thing in the World" on it. I had them color the sloth side first and then we learned how to scan our papers. They were so amazed at the husky that appeared with their picture on a frame! I knew this would blow their minds, so then I told them I wanted to see one of their original pieces of artwork on the back - I wanted them to draw what the best thing in the world was for them. They worked hard on their drawings and then working with one another showing how to scan their pictures and how to move around to change the perspective of their creation. Some kiddos even figured out how to use the camera to take a picture to change what was displayed on the easel. So glad I had Guided Access turned on so I knew they figured out something new within the app!
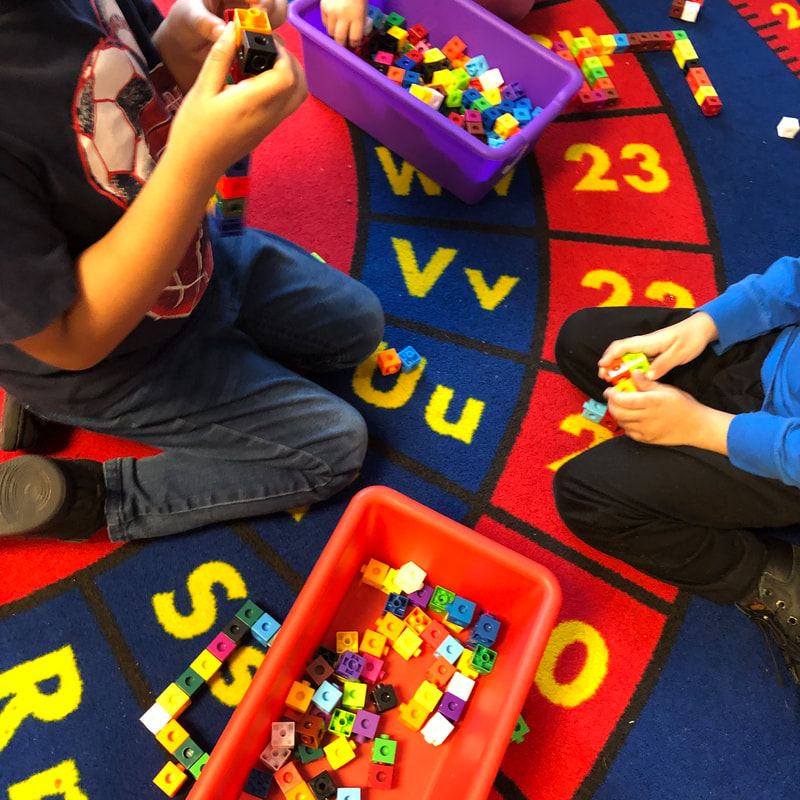
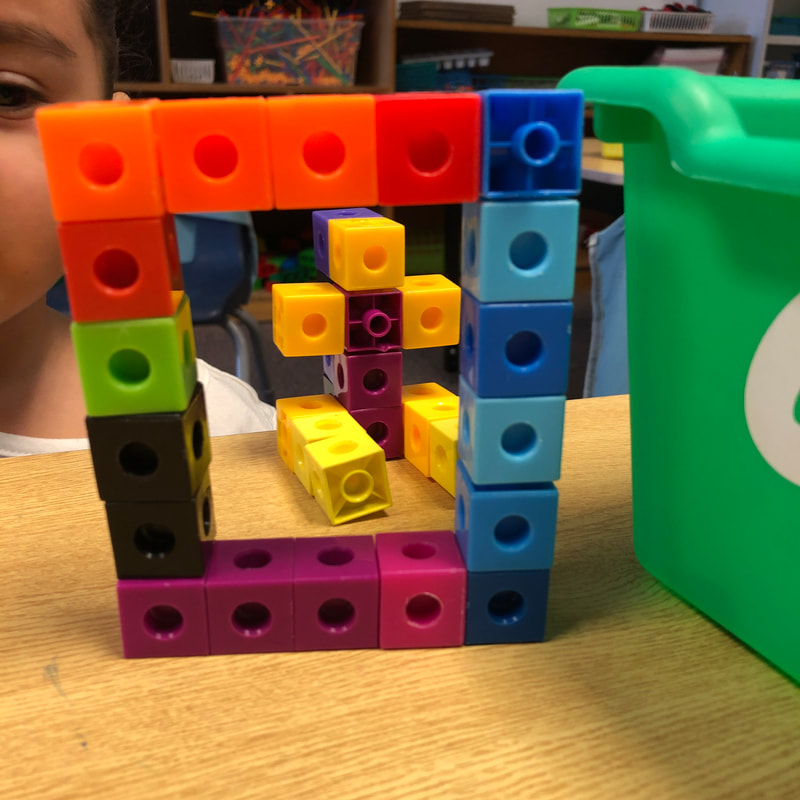
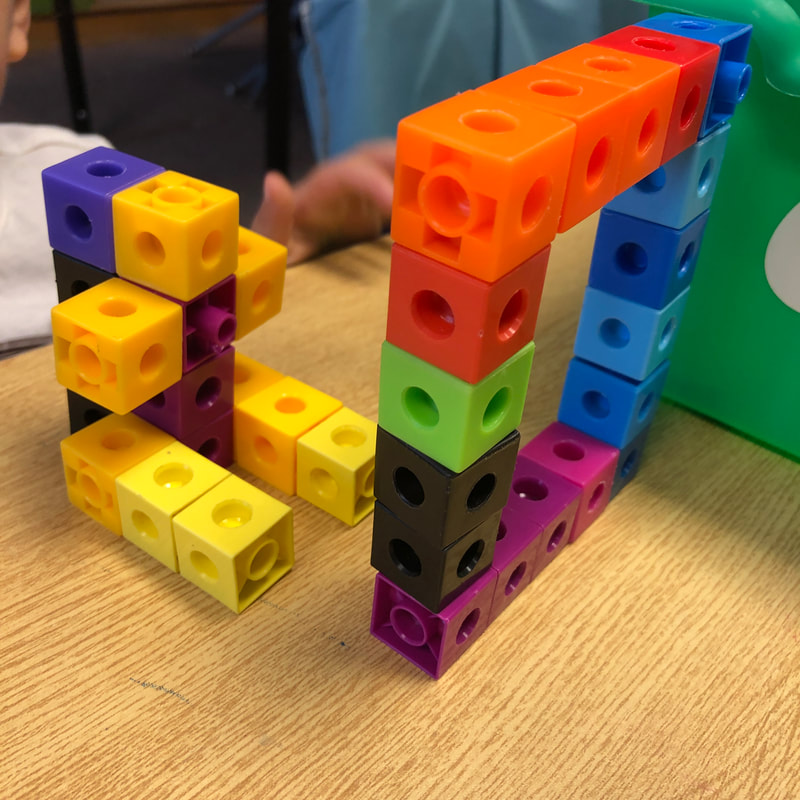
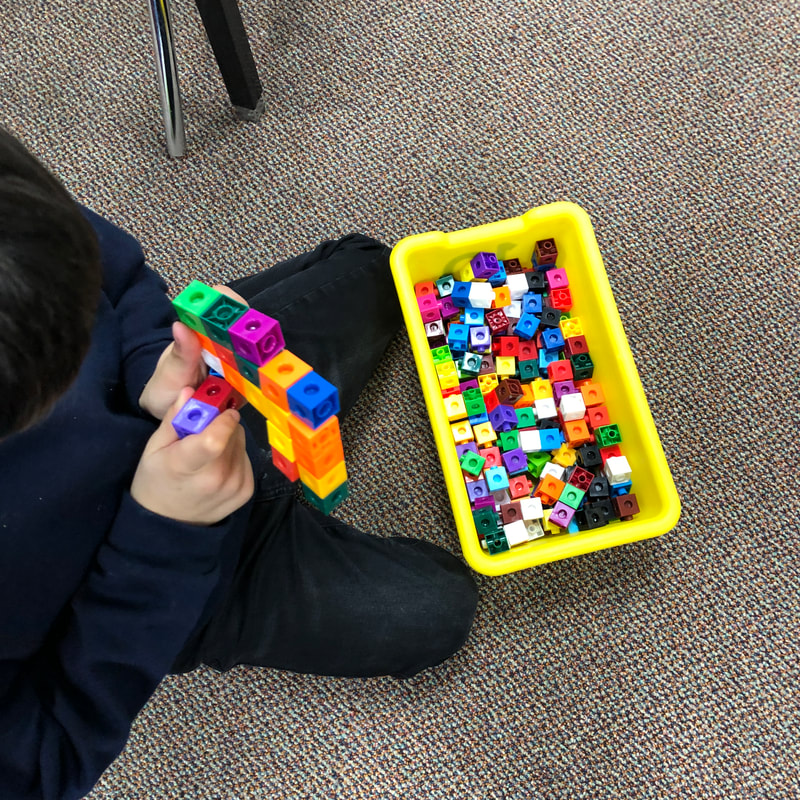
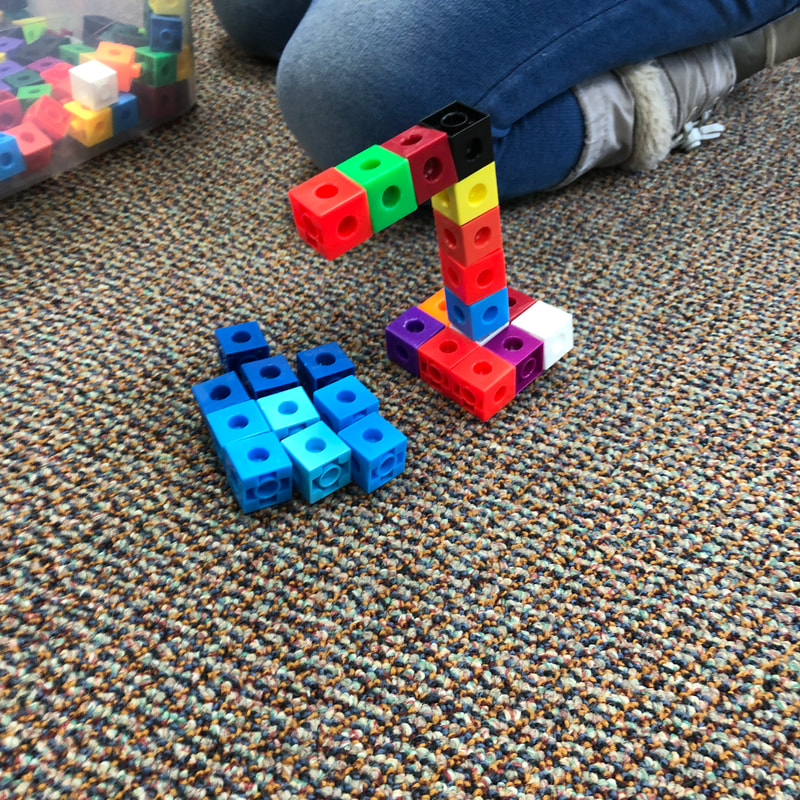
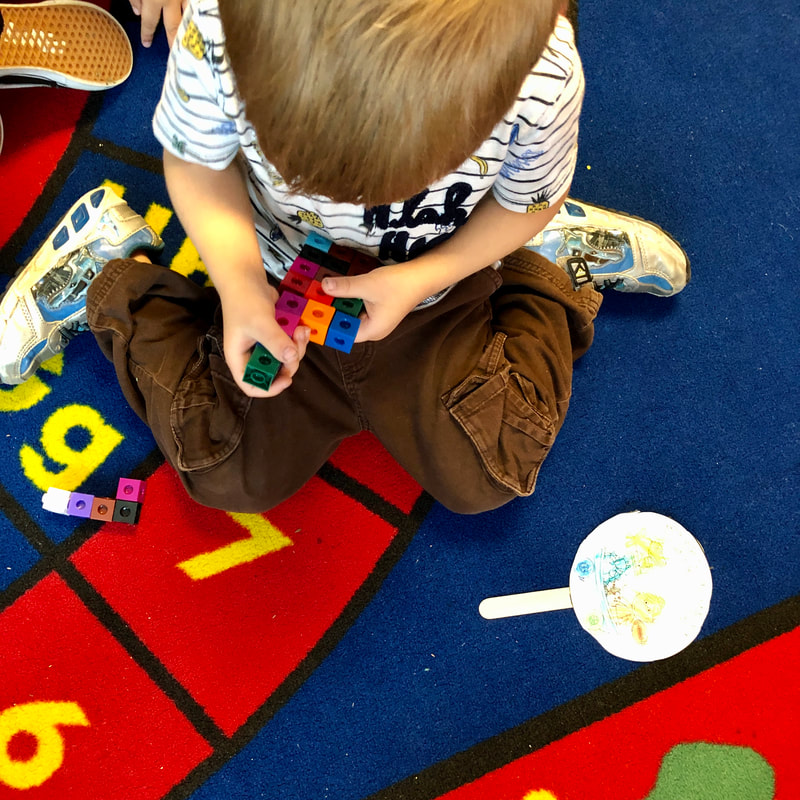
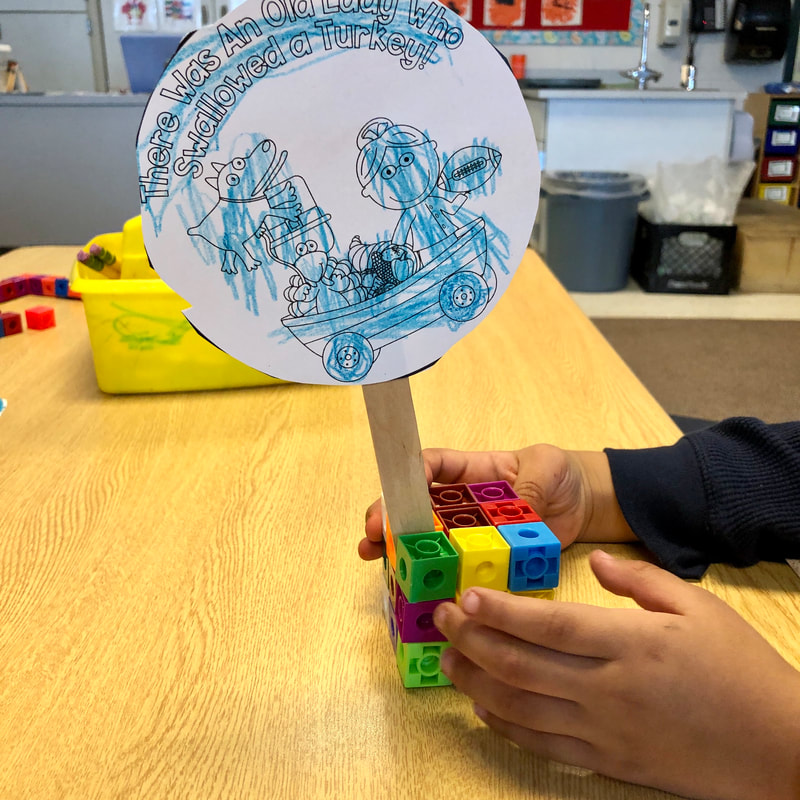
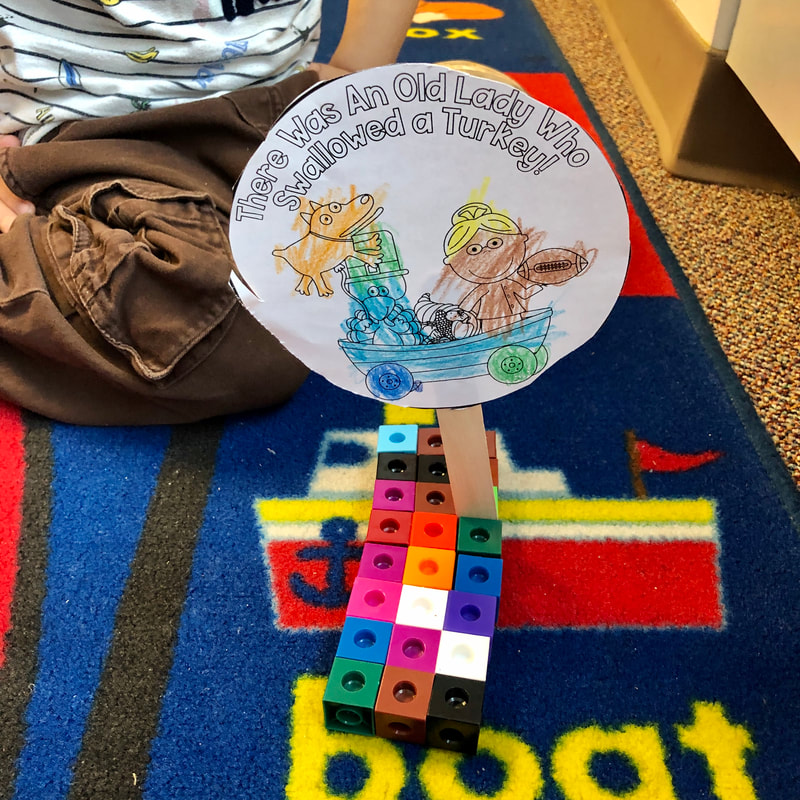
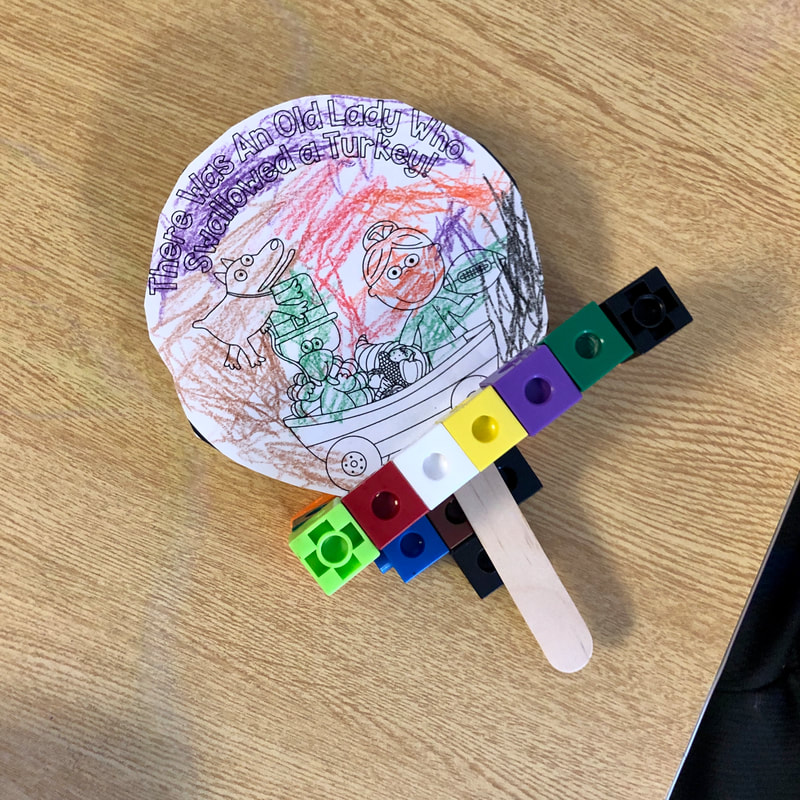
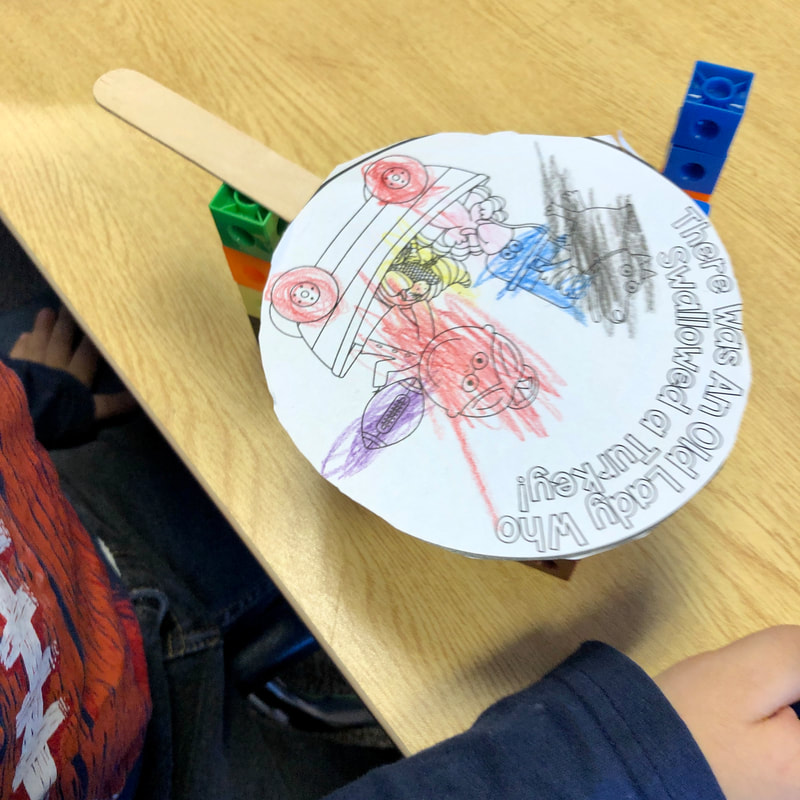
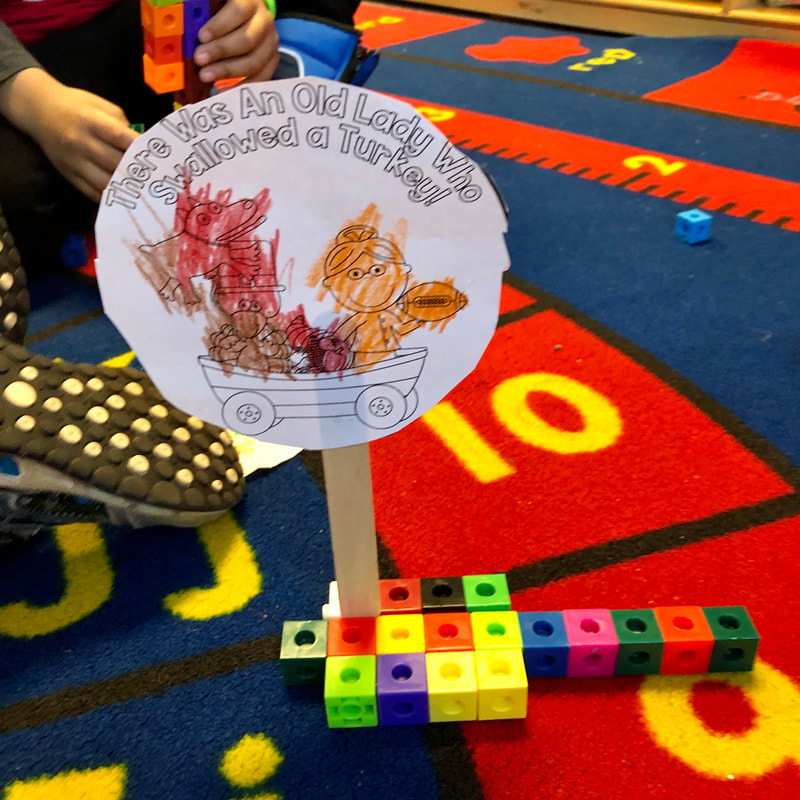
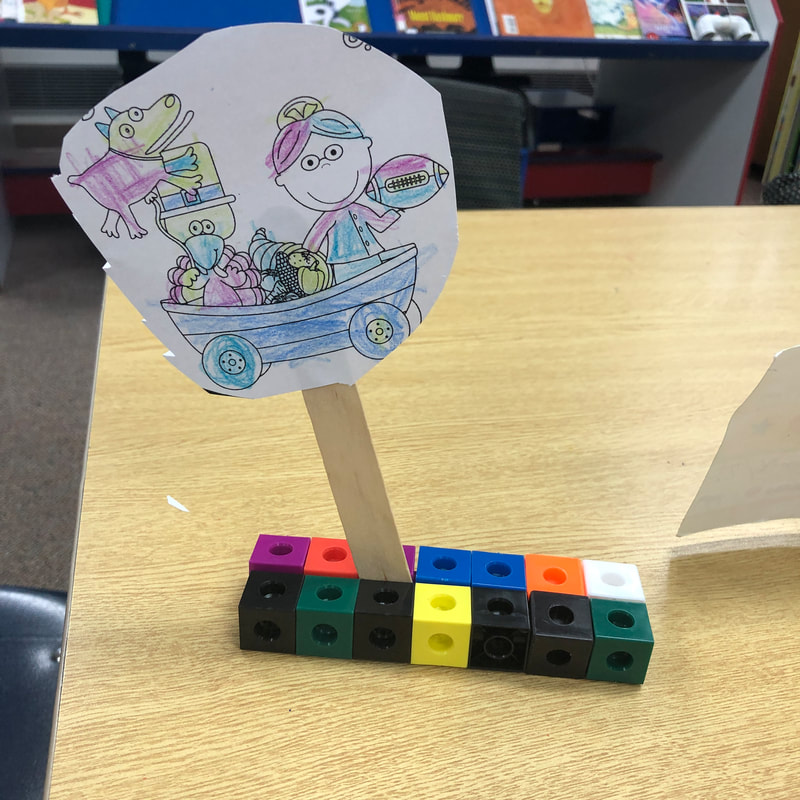
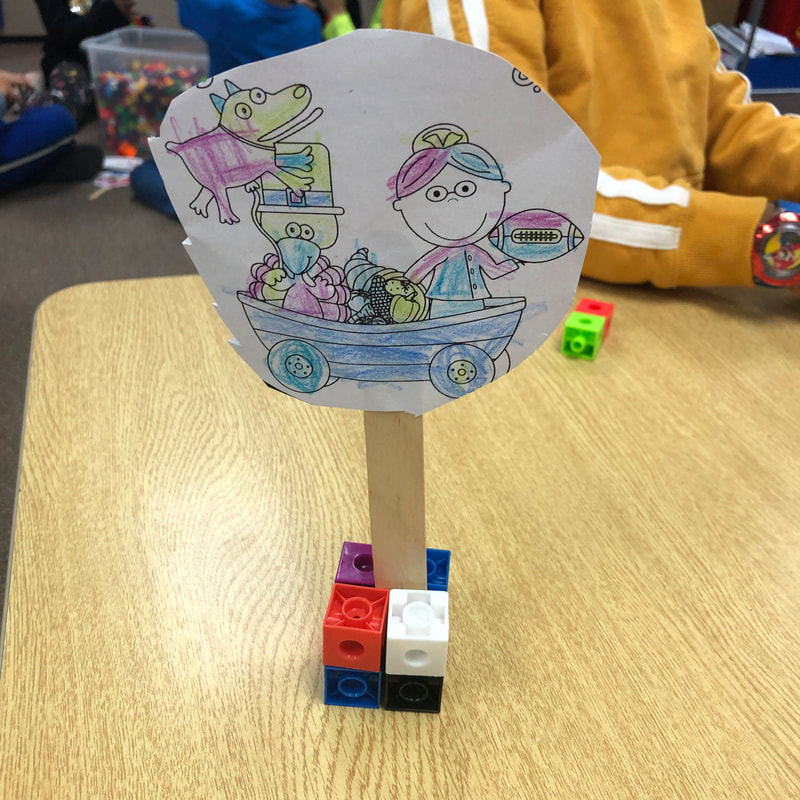
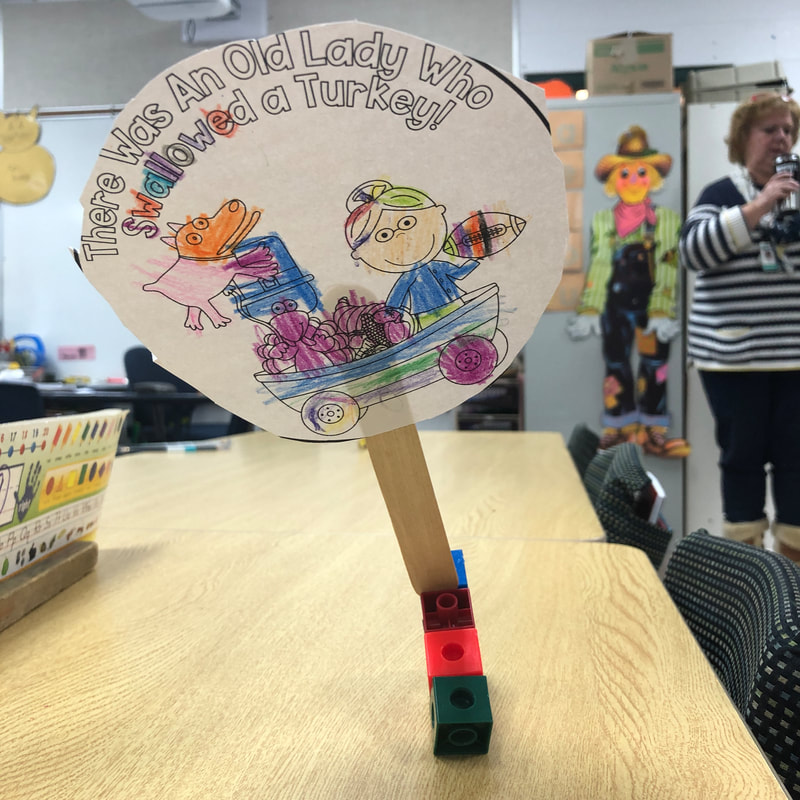
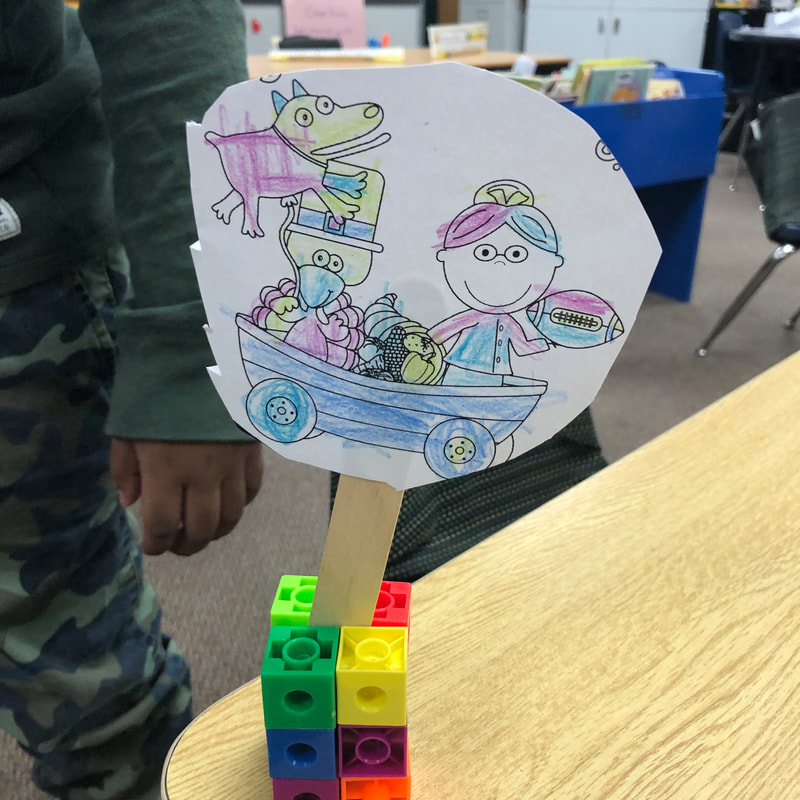
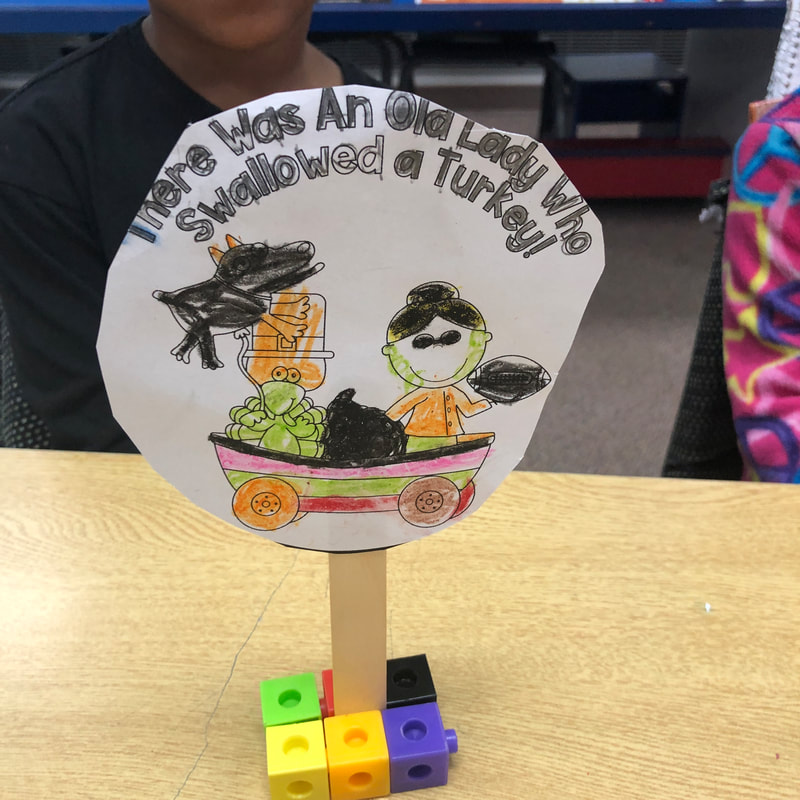
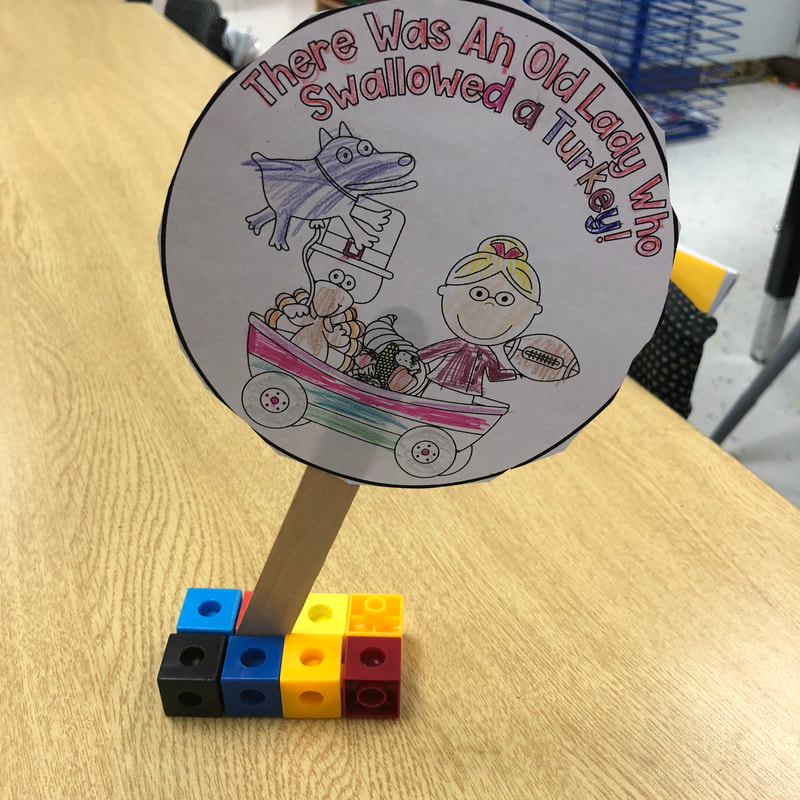
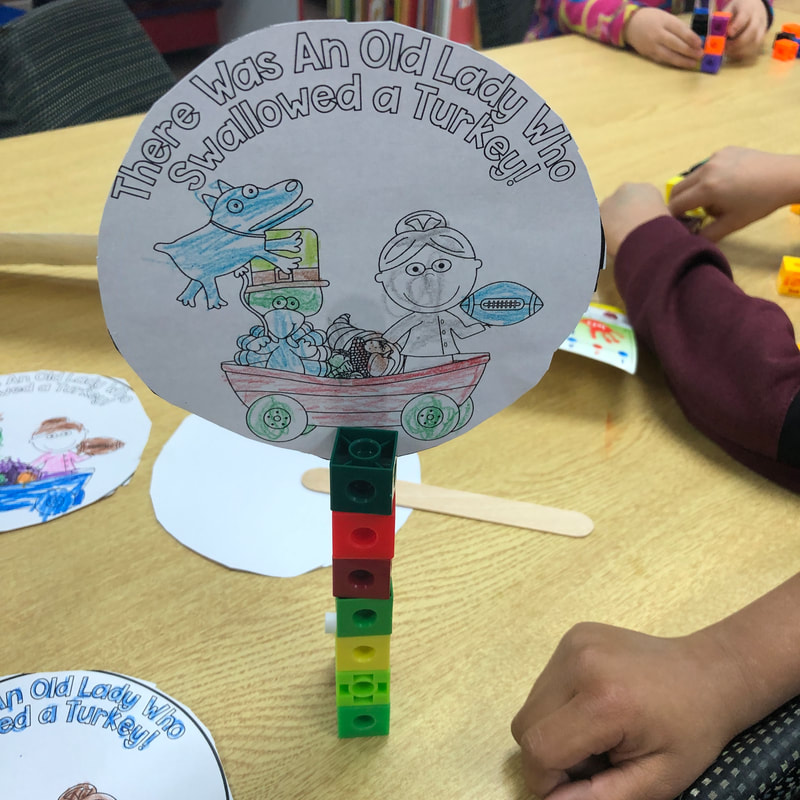
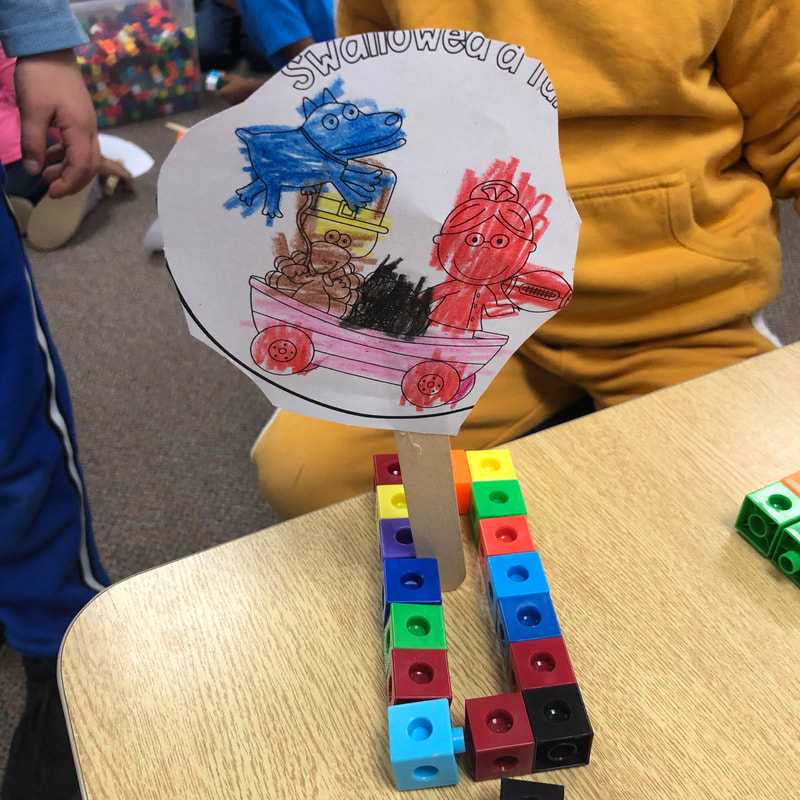
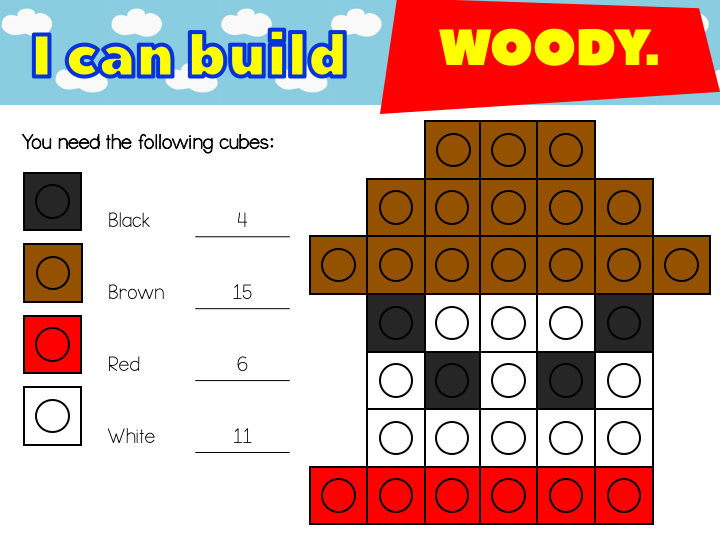
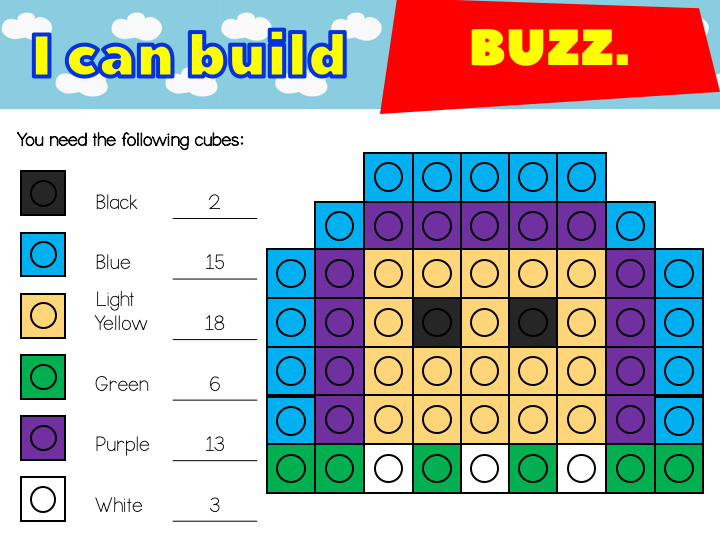
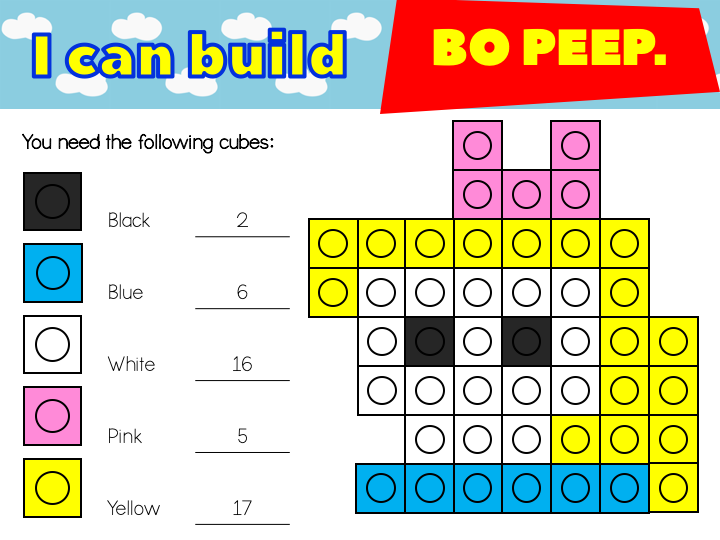
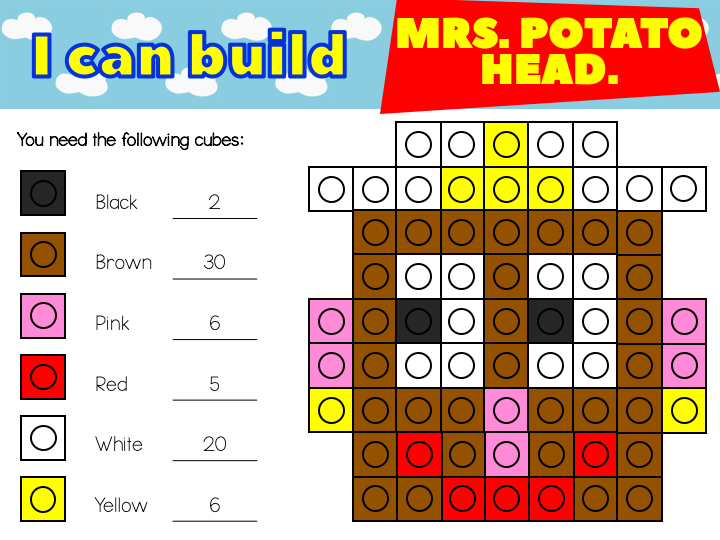
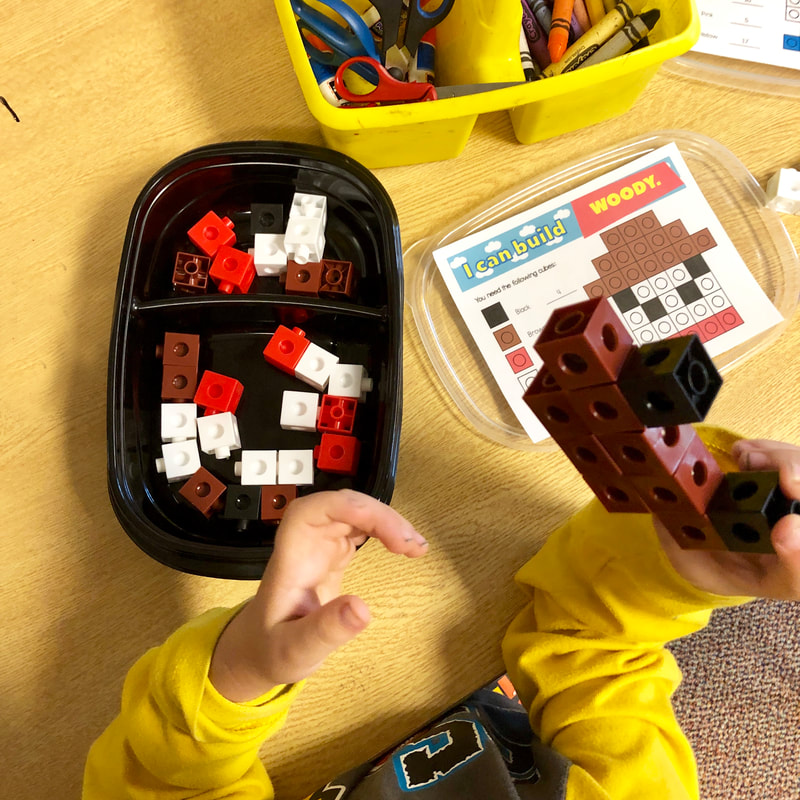
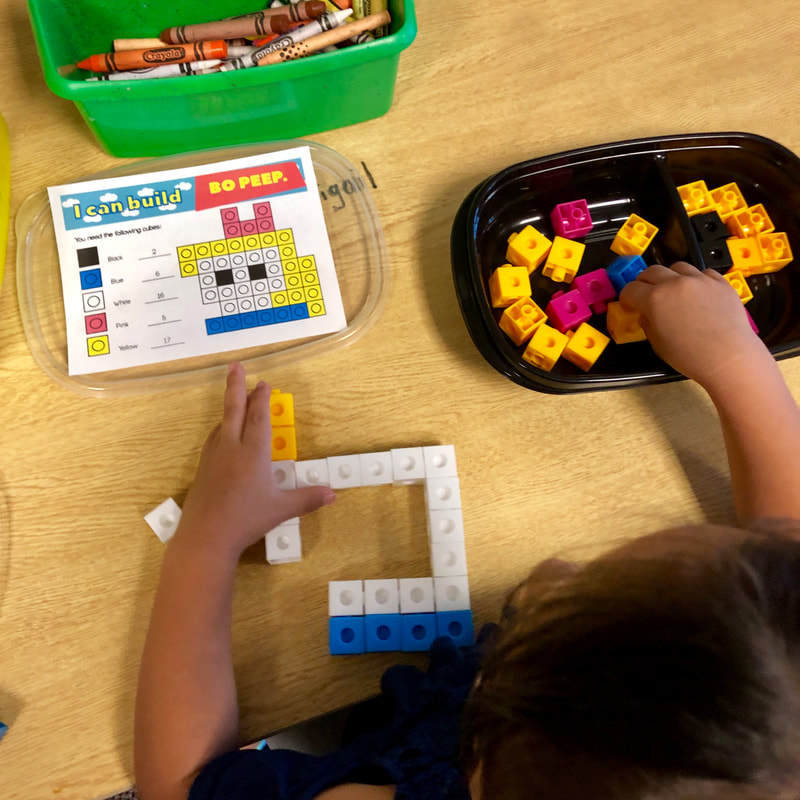
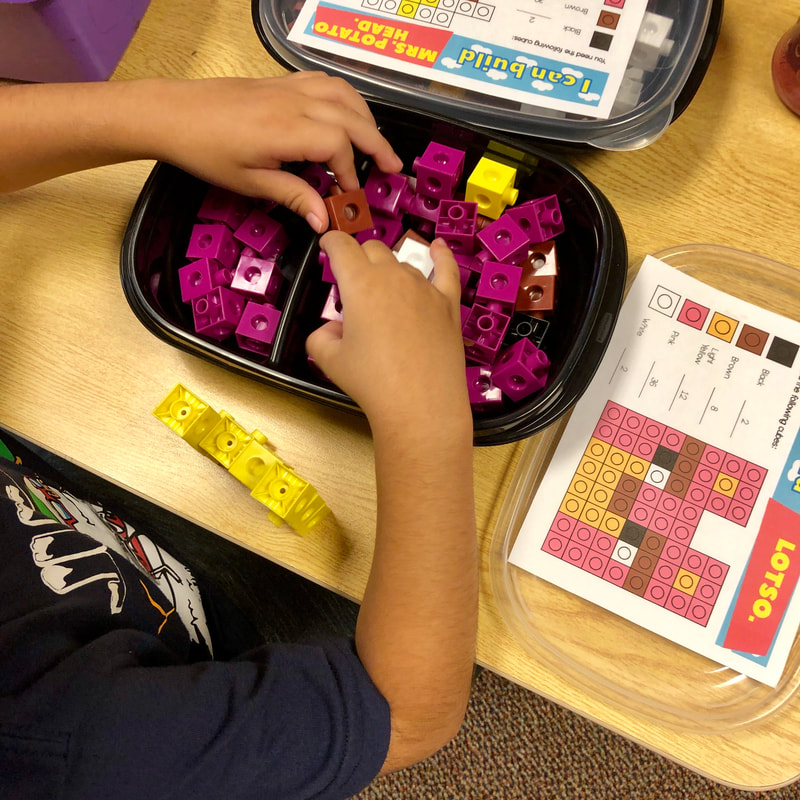
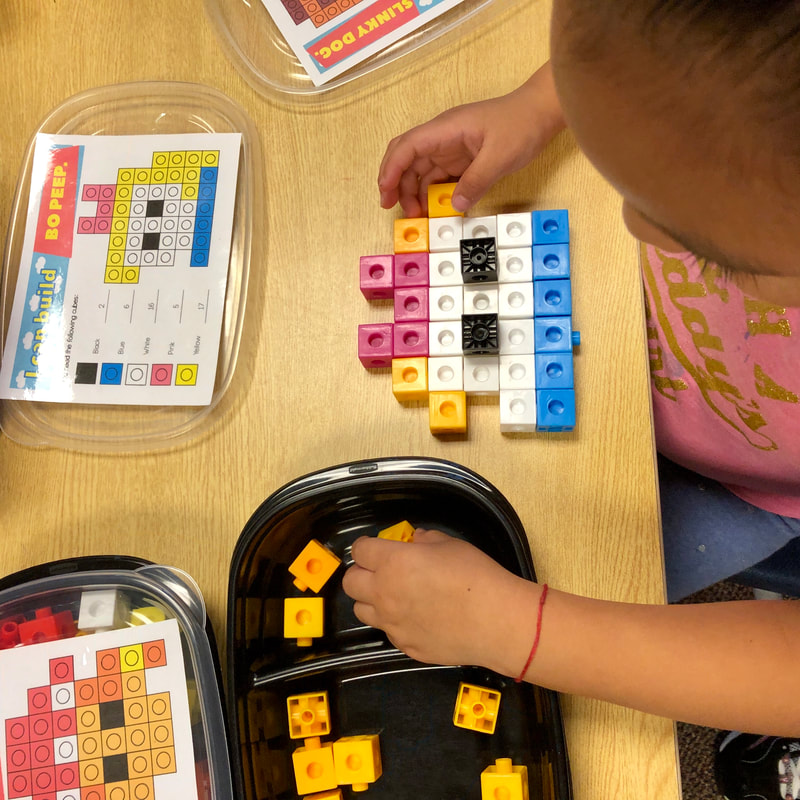
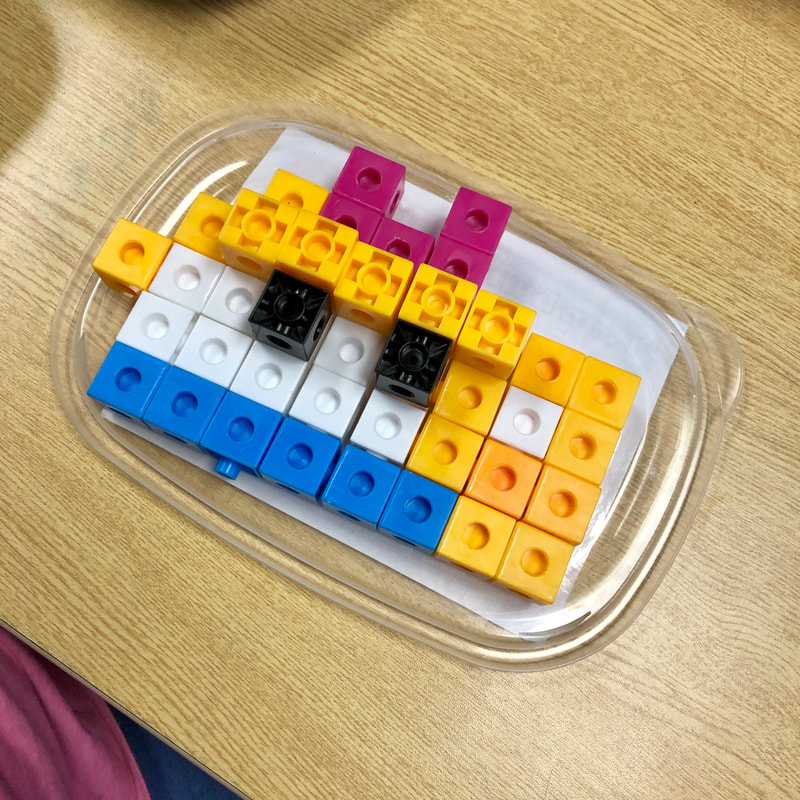
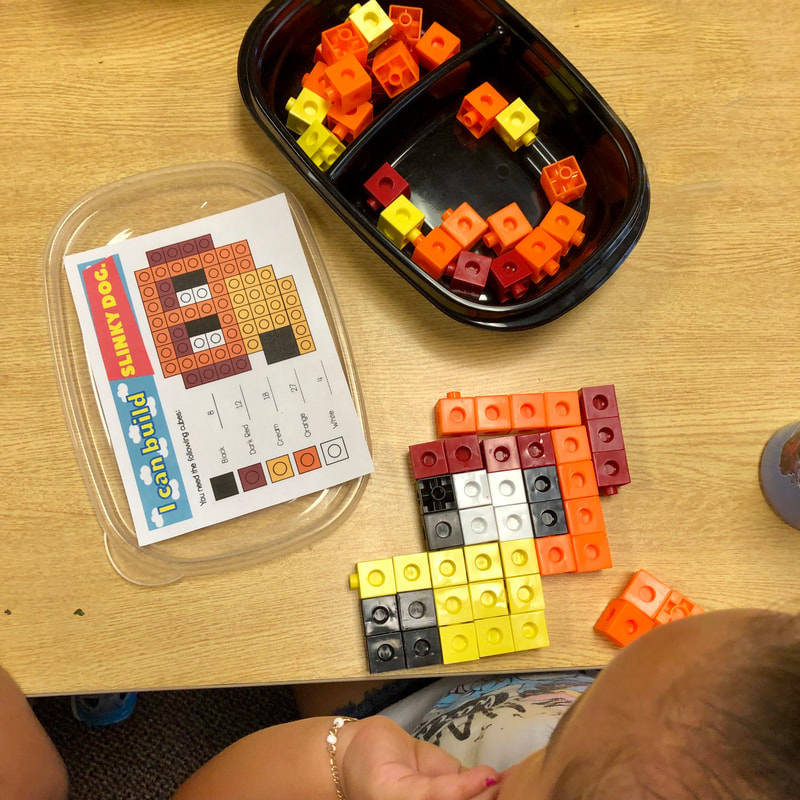
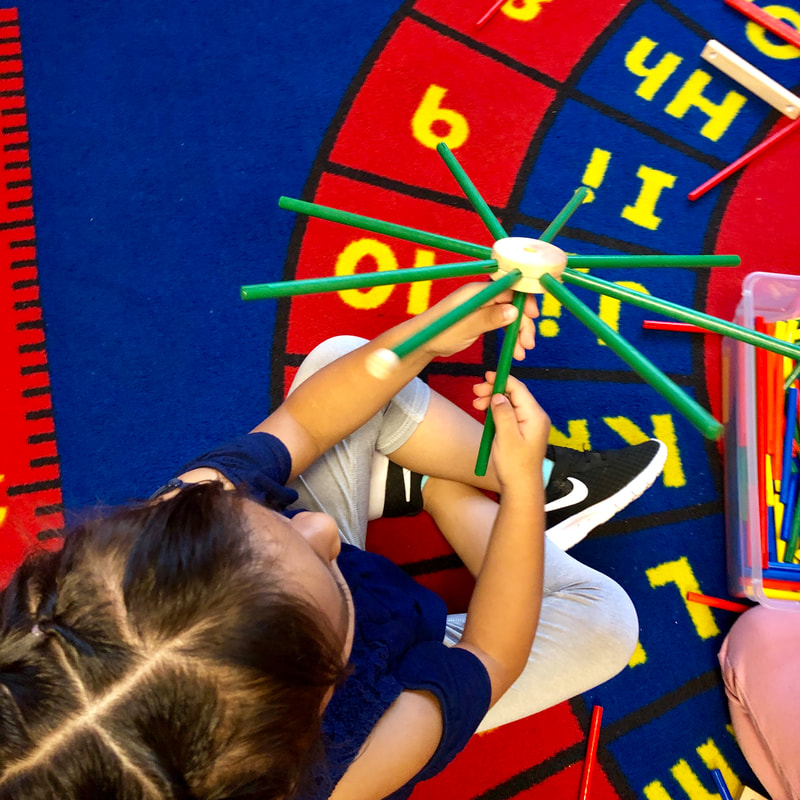
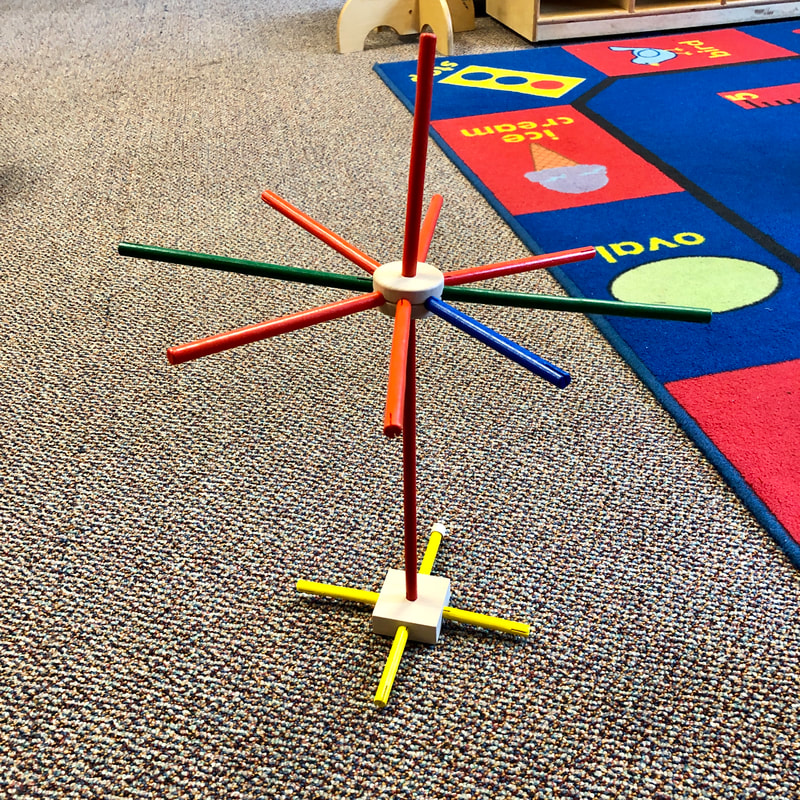
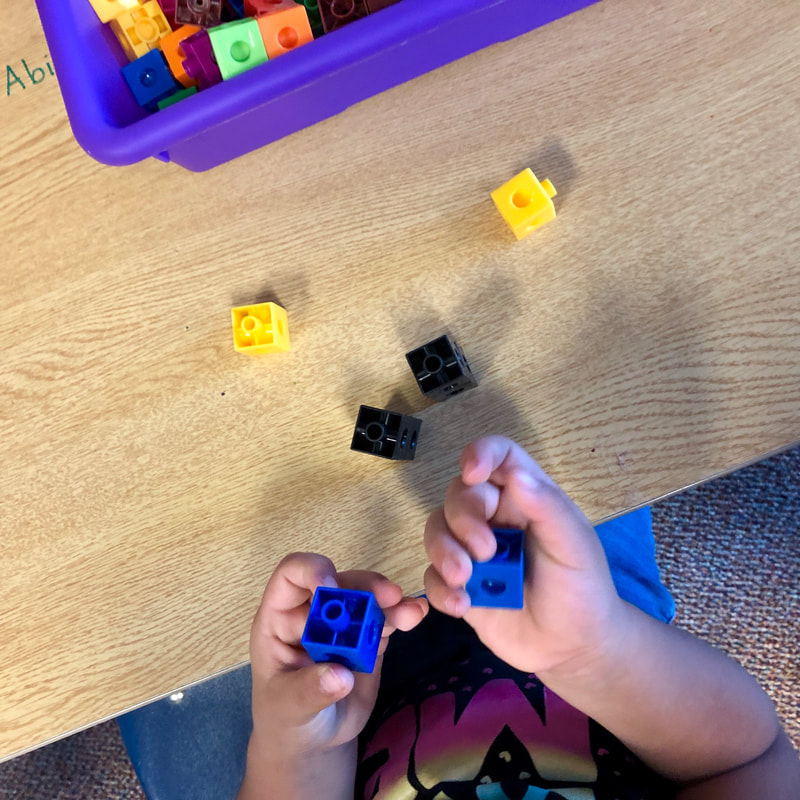
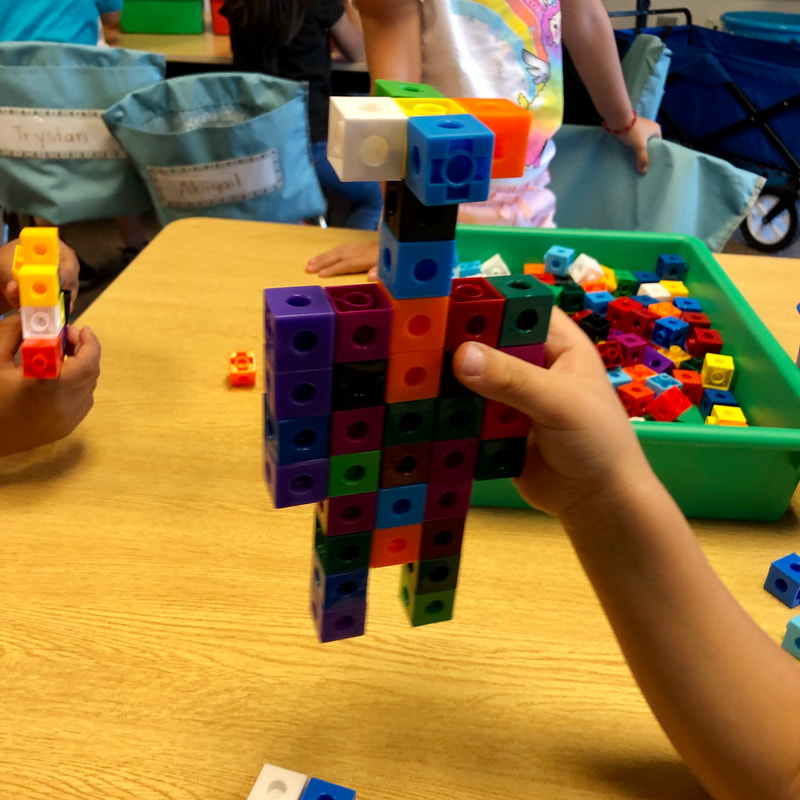
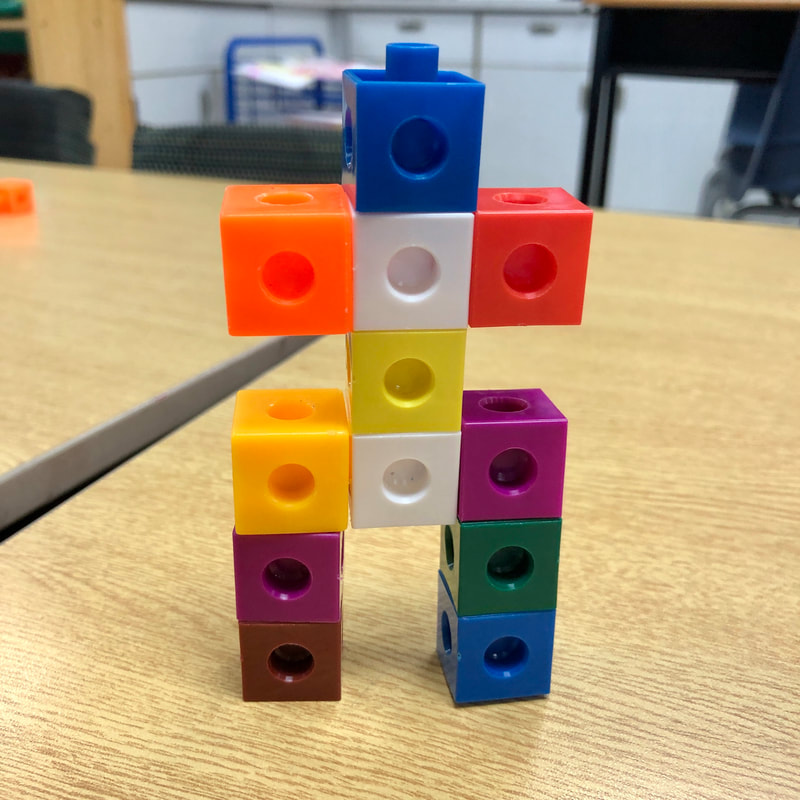
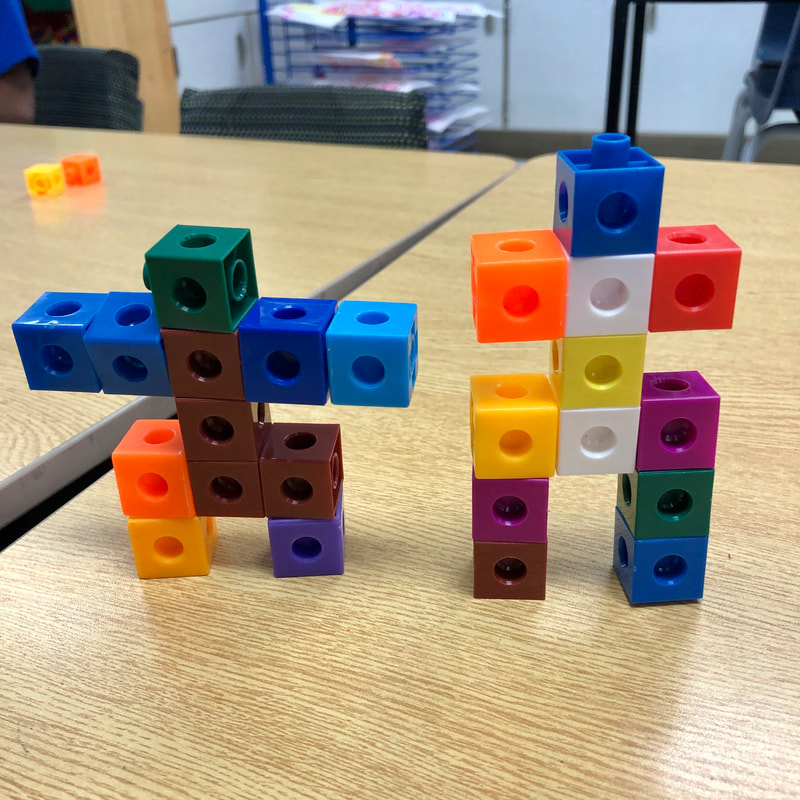
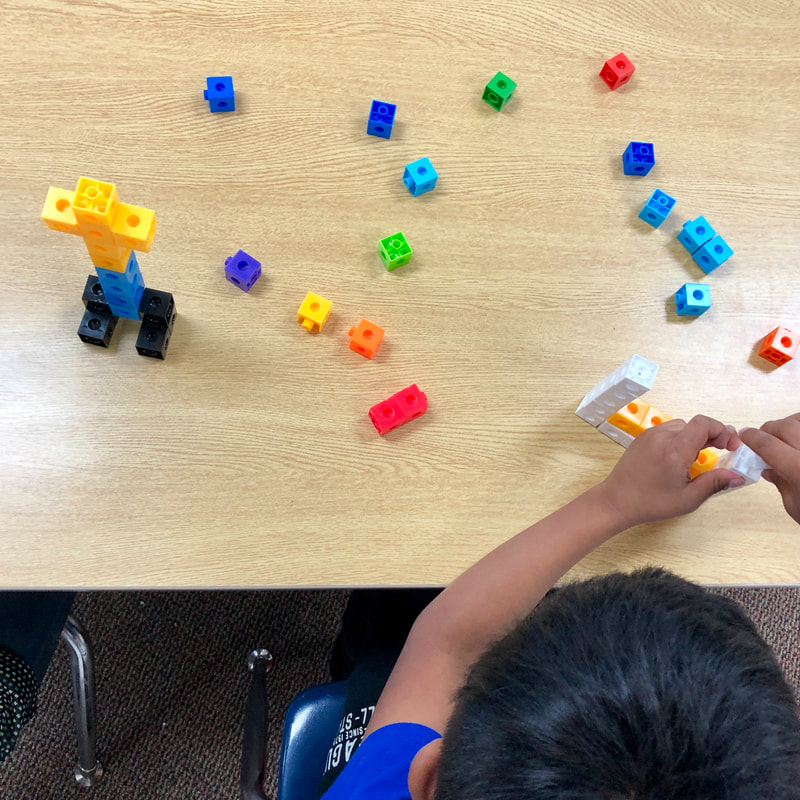
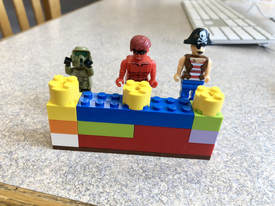
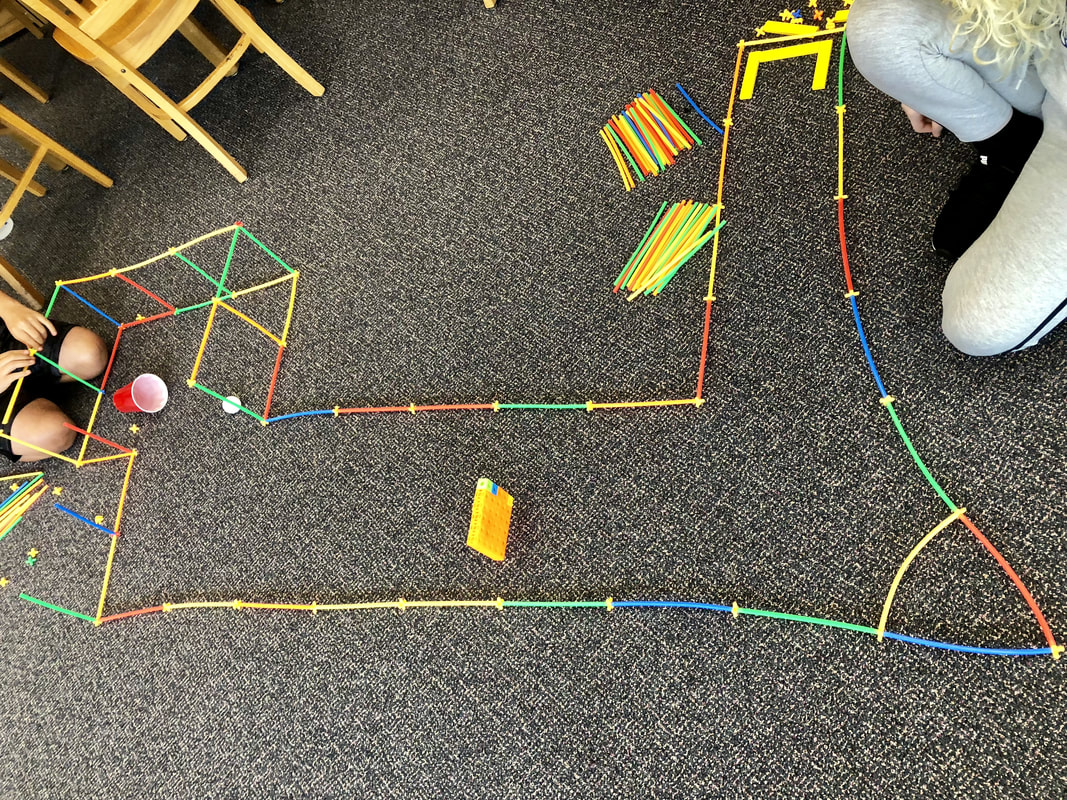
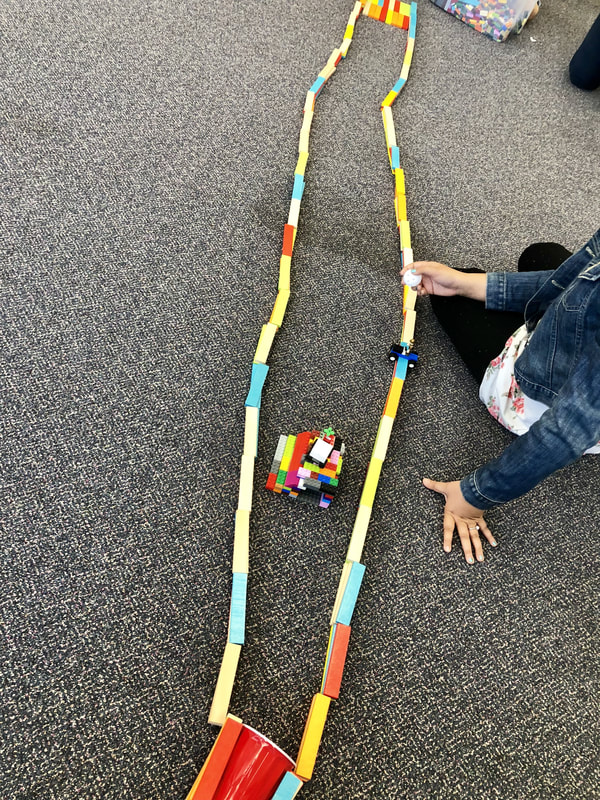
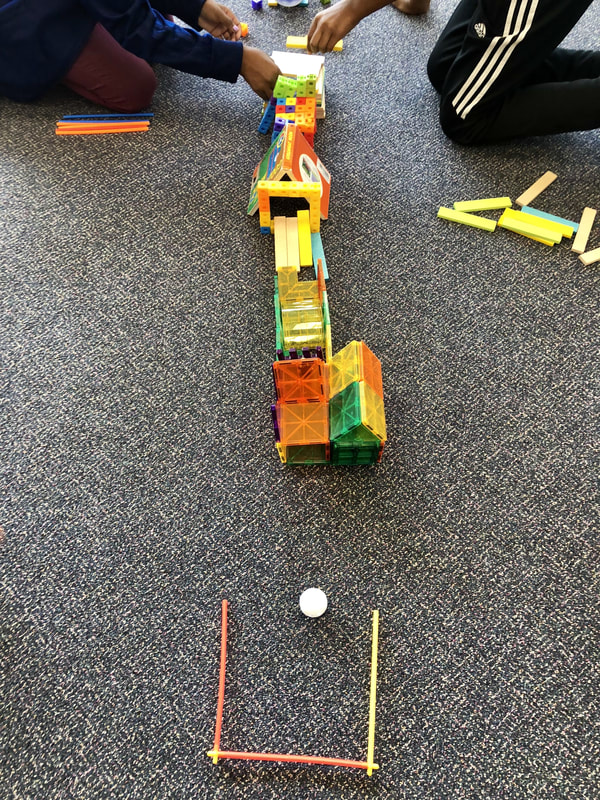
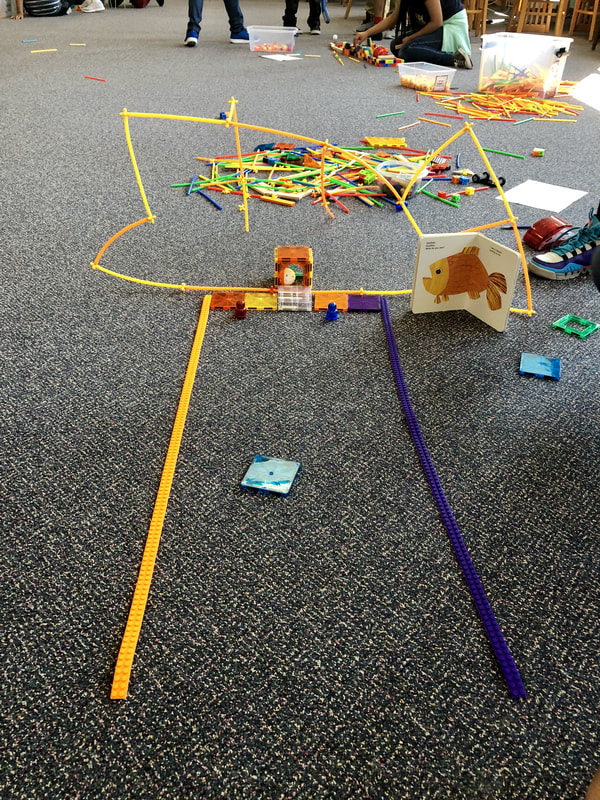
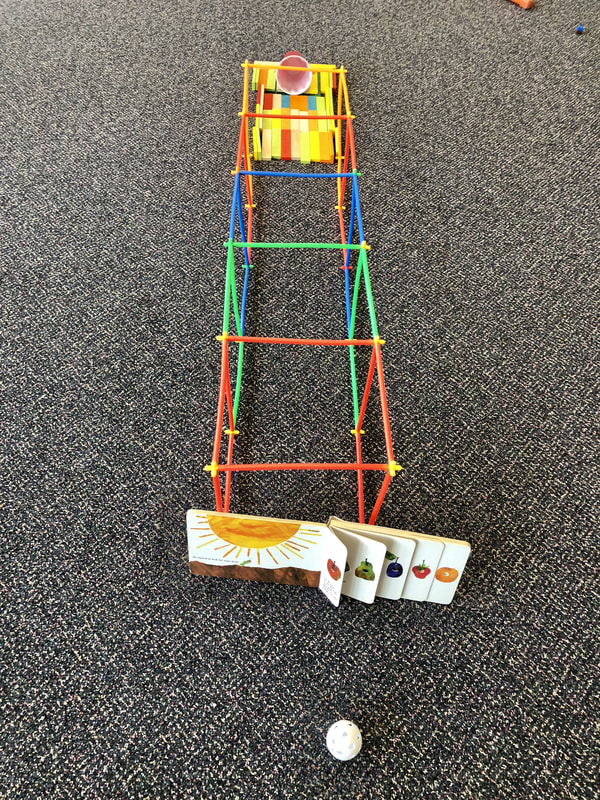
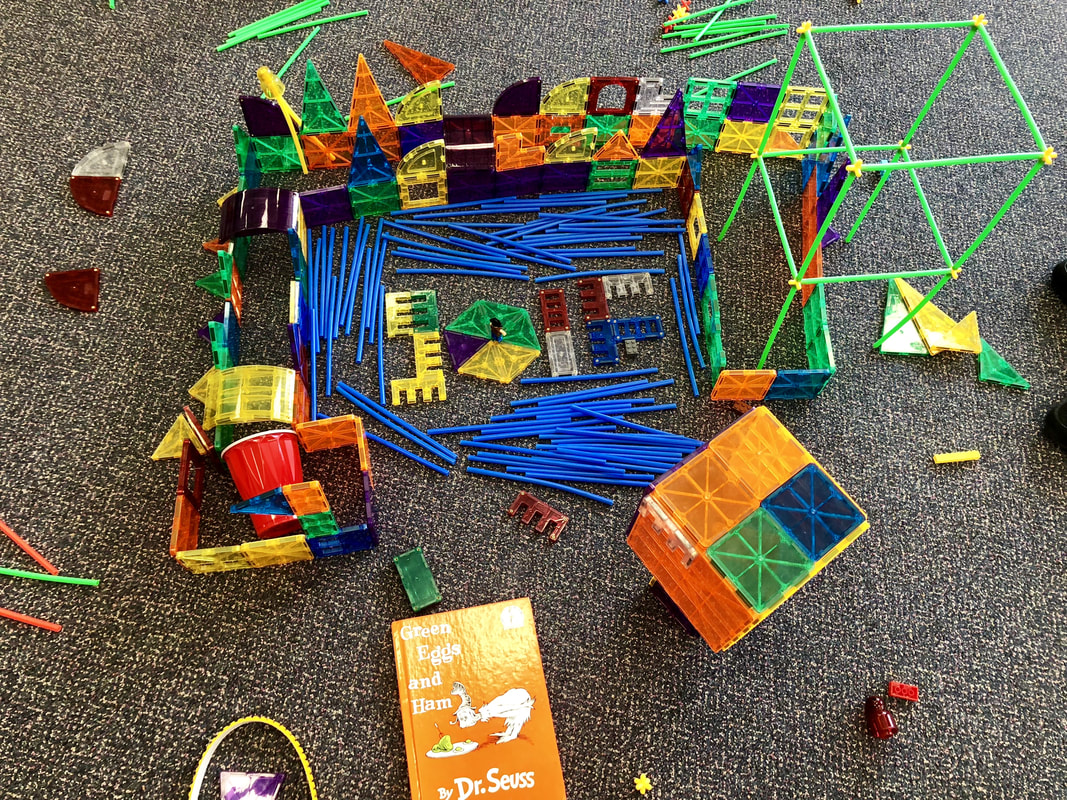
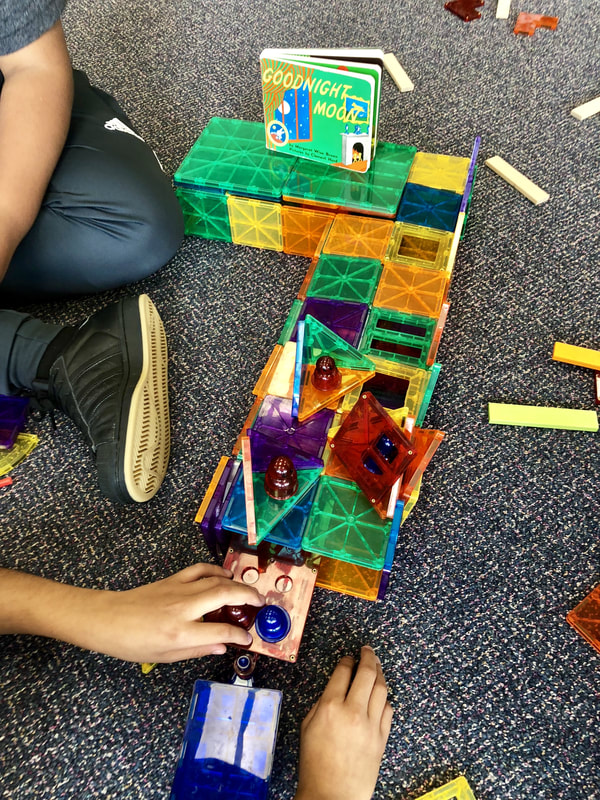
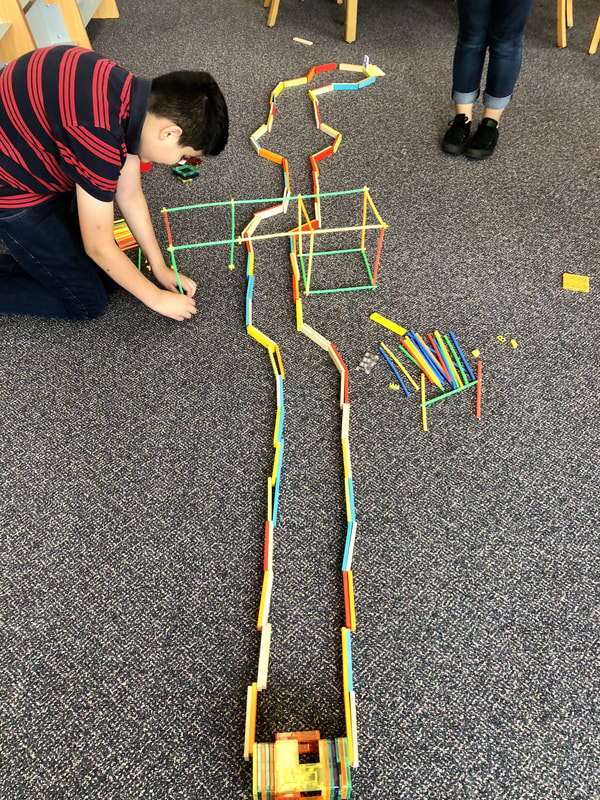
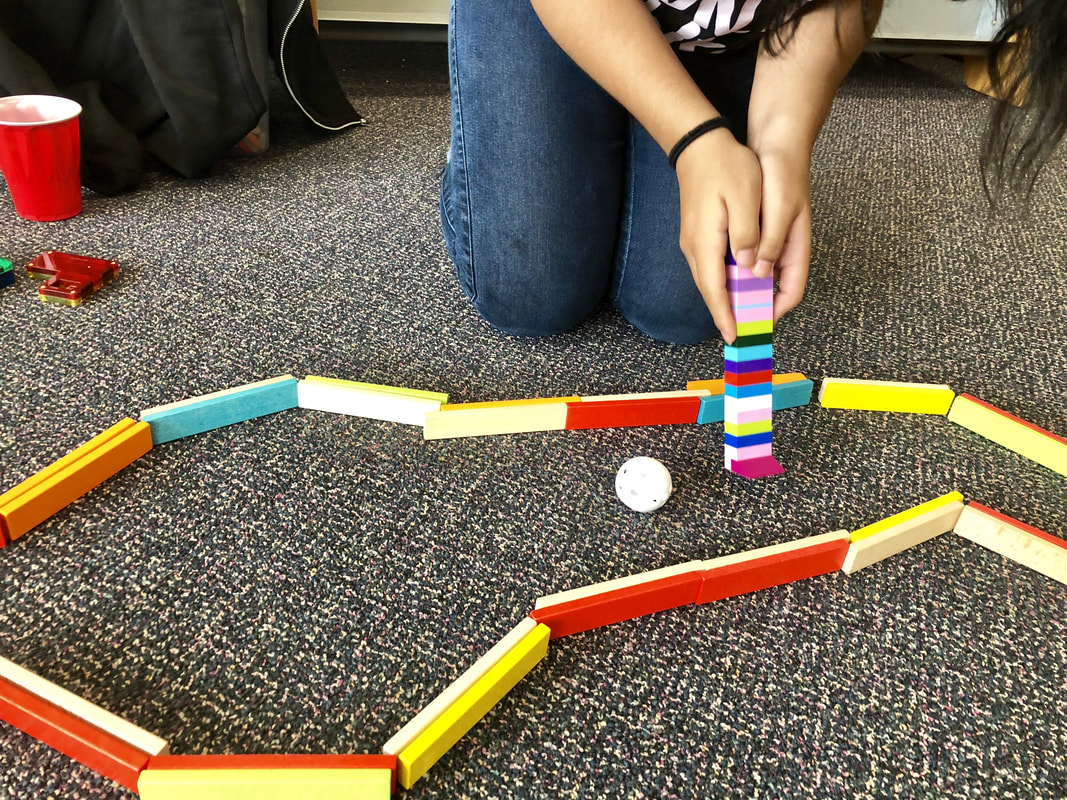
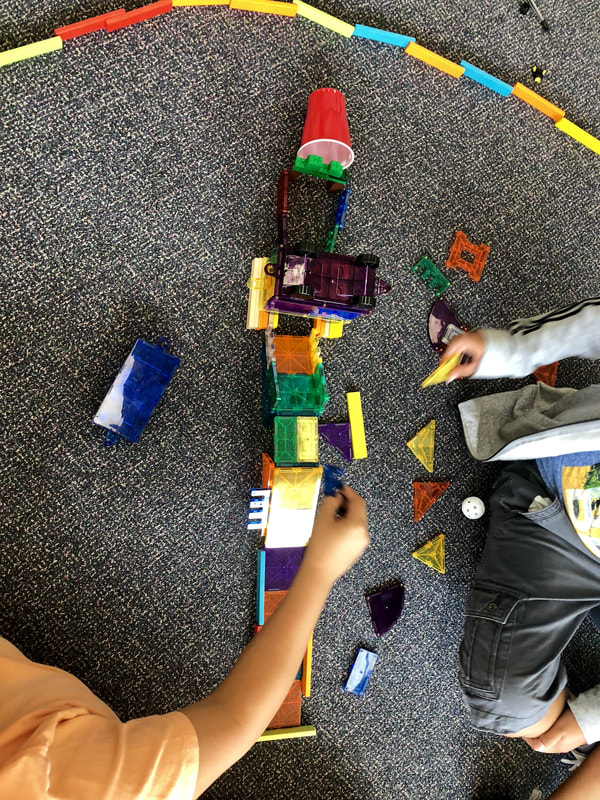
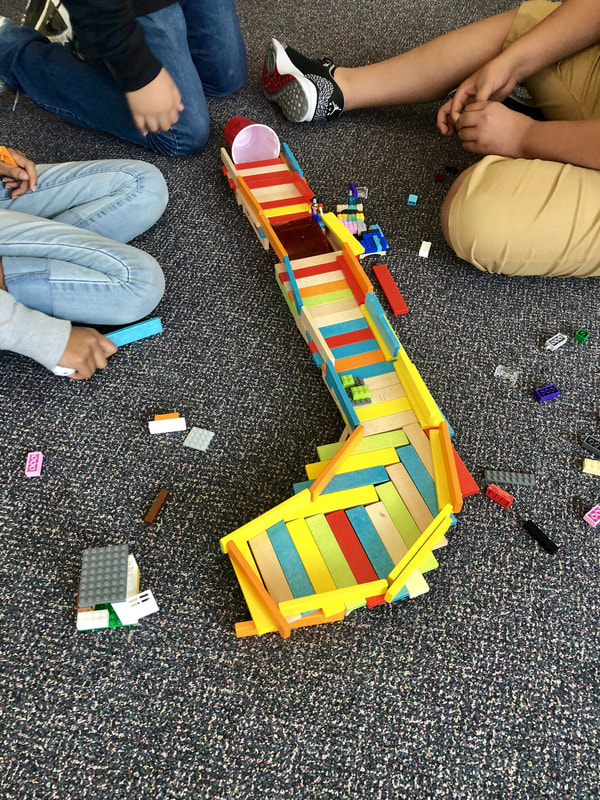
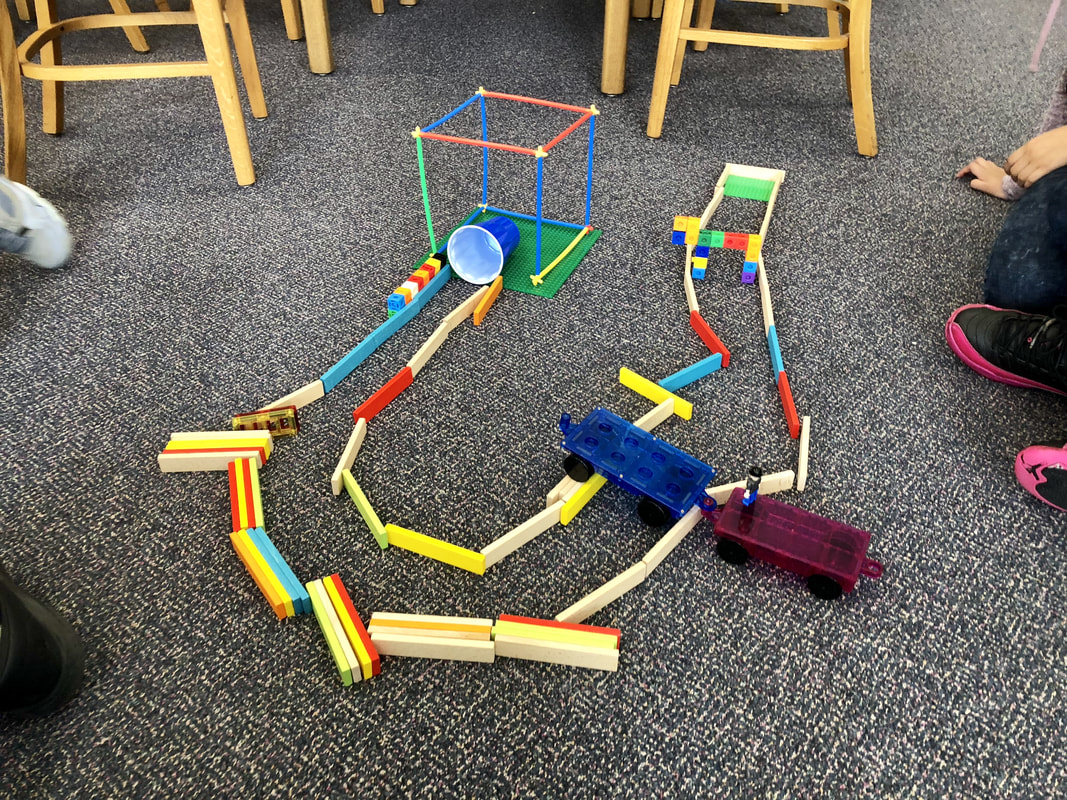
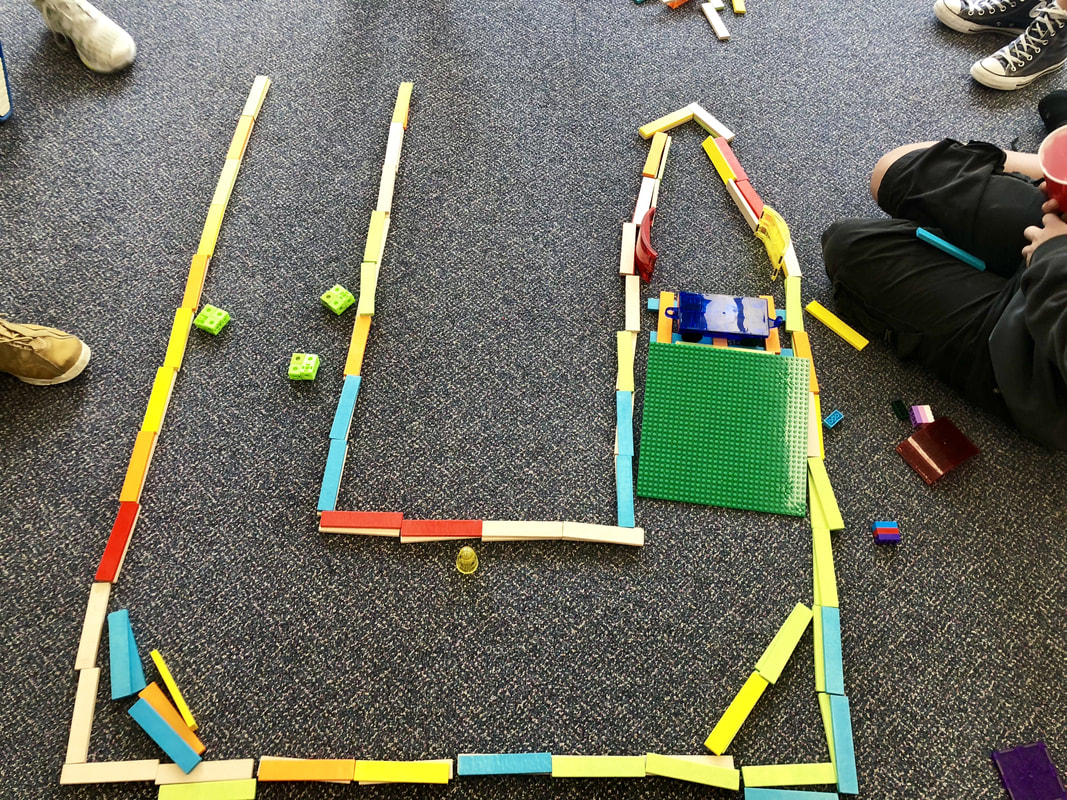
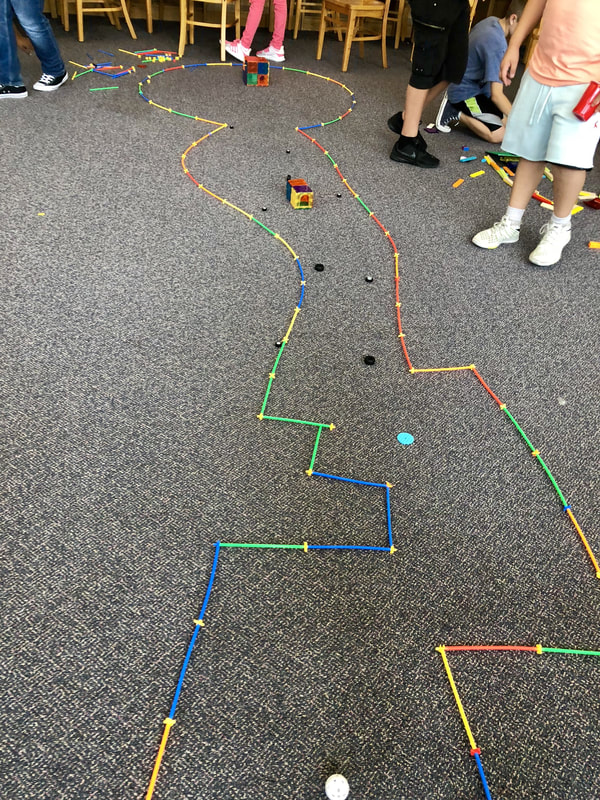
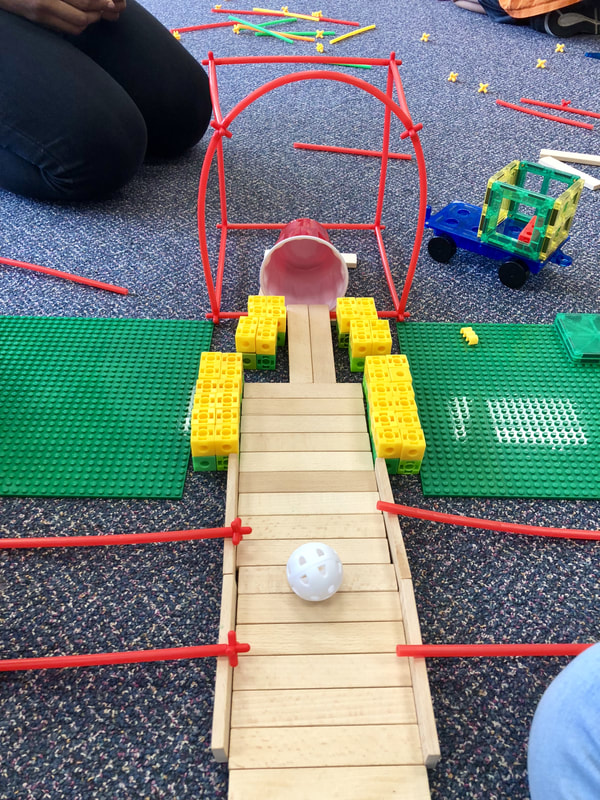
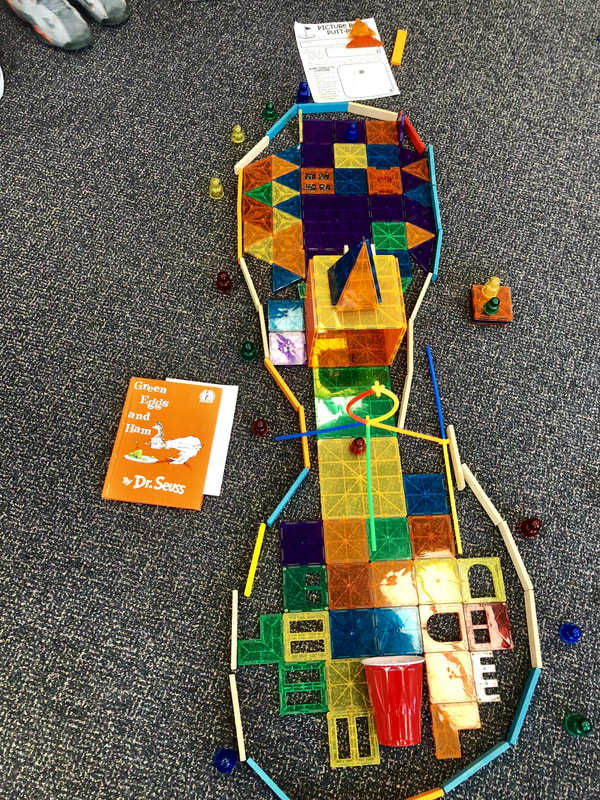
After they were done with their drawings, I had some Creation Cubes set up at the carpet area and asked them to create whatever they wanted, but it had to be the best thing in the world. This really let me have a peek into their world and see them build things that were interesting to them. We had Power Rangers, Transformers, giraffes, puppet shows, and so much more!
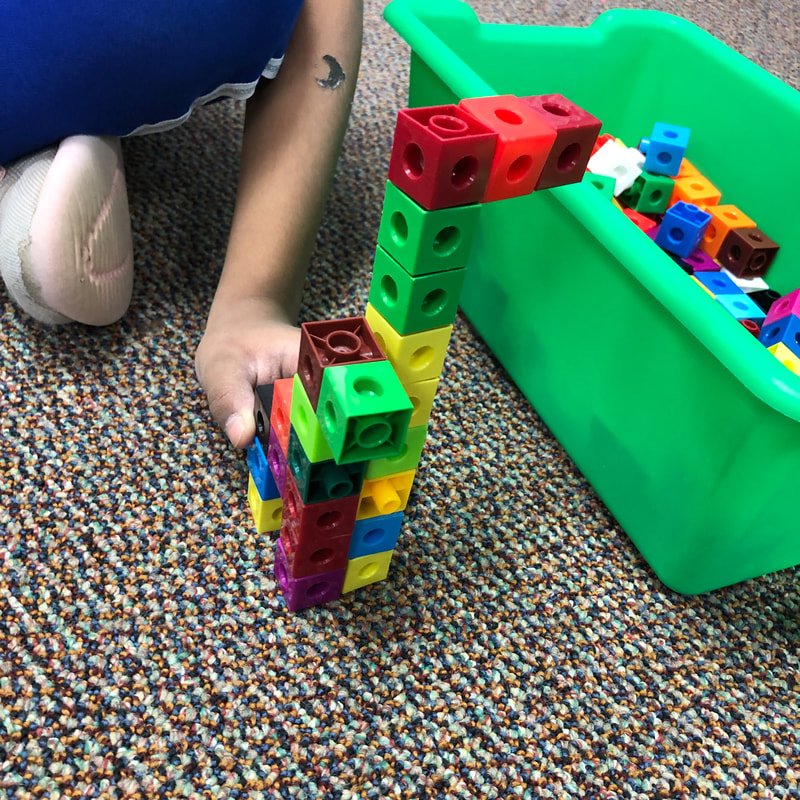
After they were done with their drawings, I had some Creation Cubes set up at the carpet area and asked them to create whatever they wanted, but it had to be the best thing in the world. This really let me have a peek into their world and see them build things that were interesting to them. We had Power Rangers, Transformers, giraffes, puppet shows, and so much more!