My Ed Tech World
  • Home
  • Blog
  • Resources
    • Learning Landscapes EDU
    • PD >
      • Rebel U
      • 12 Days of (Ed Tech) Cheer
    • Web Resources
    • iPad Resources
    • SIOP Resources >
      • Preparation
      • Building Background
      • Comprehensible Input
      • Strategies
      • Interaction
      • Practice-Application
      • Lesson Delivery
      • Review/Assessment
    • My Zazzle Store
    • Accomplishments
  • Conferences
    • 2018-2019 >
      • Fire Up (Spring 2019)
      • MACUL 2019
    • 2017-2018 >
      • Podstock 2017
      • Rebel U 2018
      • Fire Up (Fall 2017)
    • 2016-2017 >
      • Podstock 2016
      • Rebel U 2016
      • COETC16
      • Fire Up (Fall 2016)
      • MACUL 2017
      • Fire Up (Spring 2017)
    • 2009-2015 >
      • 2015-2016 >
        • Fire Up (Fall 2015)
        • Rebel U 2015
        • KISD Tech Camp 2015
        • Fire Up (Spring 2015)
      • 2014-2015 >
        • Fire Up (Spring) 2014
        • Rebel U - Cooperative Learning & Technology
        • Fire Up (Fall) 2014
      • 2013 >
        • Rebel U {Virtual Edition} - Sustainability
        • Fire Up (Spring) 2013
        • MACUL 2013
        • Rebel U - Teaching & Learning Like a Superhero
        • Fire Up (Fall) 2013
      • 2012 >
        • Fire Up (Spring) - Get Inspired with Technology
        • Rebel U - iSpy an iPad
        • MACUL - Personalized Learning Conference
        • Fire Up (Fall) - Bringing Learning Outside the Classroom
      • 2011 >
        • MACUL - Google Sites
        • Fire Up Spring
        • Rebel U - Test Taking Tools & Strategies
        • Rebel U - 40 in 40
        • Teaching & Learning in the Cloud - Building a Tech Leader's Toolbox
        • Fire Up Fall - Building a Tech Leader's Toolbox
      • 2010 >
        • KISD TechKnow - Google Sites
        • Rebel U - Google Docs
        • Rebel U - Picnik
        • Teaching & Learning in the Cloud - Google Sites
        • Fire Up (Fall) - Cool Web Tools
        • Fire Up (Spring) - Google Sites
      • 2009 >
        • Fire Up Fall - PP in the Classroom
  • Contact
  • Disclaimer

Toy Story STEAM Mania: LEGO Mazes

9/27/2019

0 Comments

 
Picture
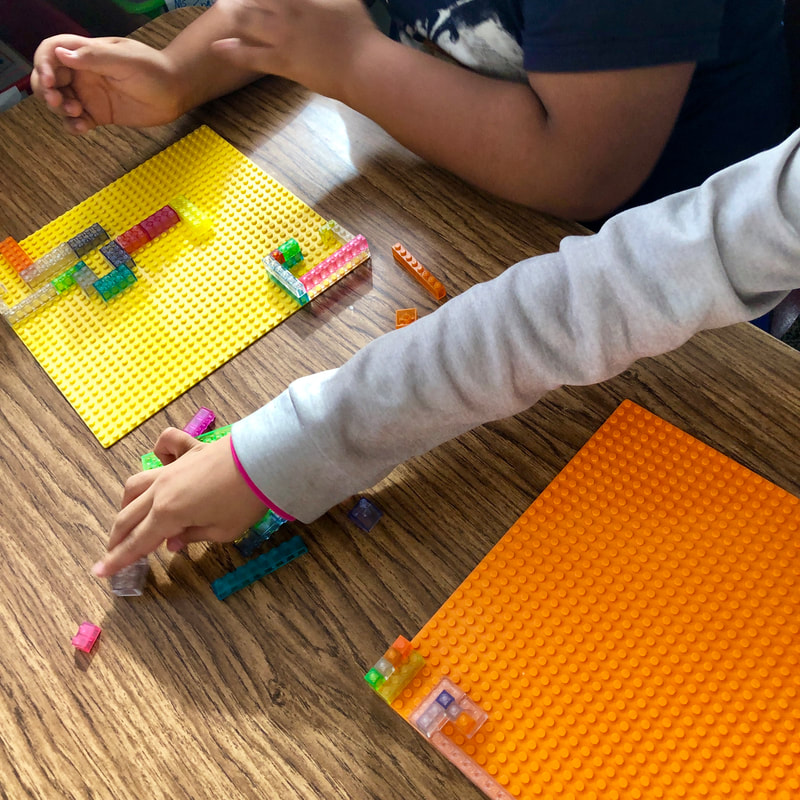
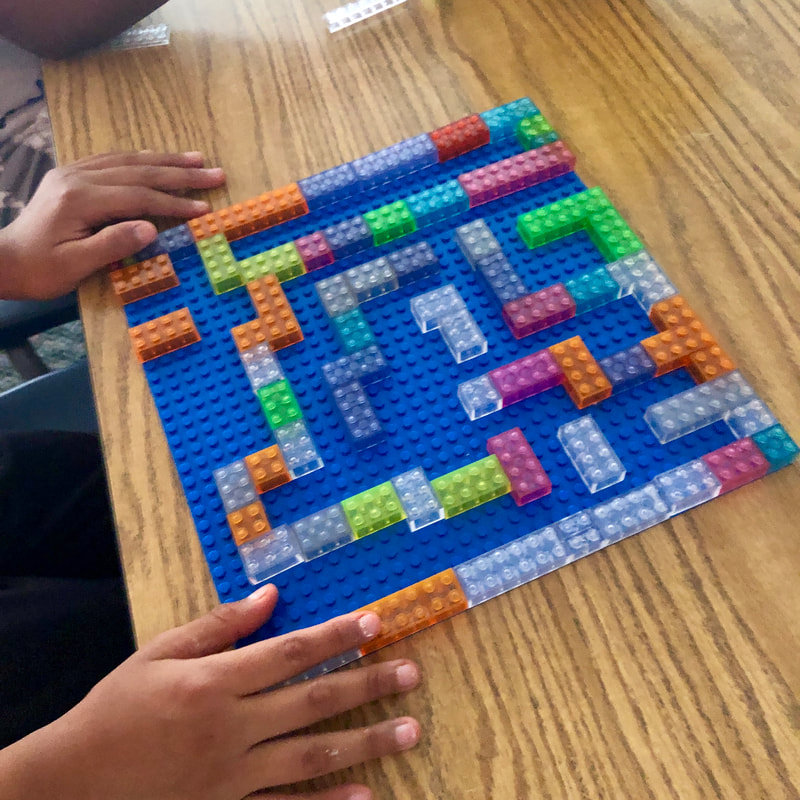
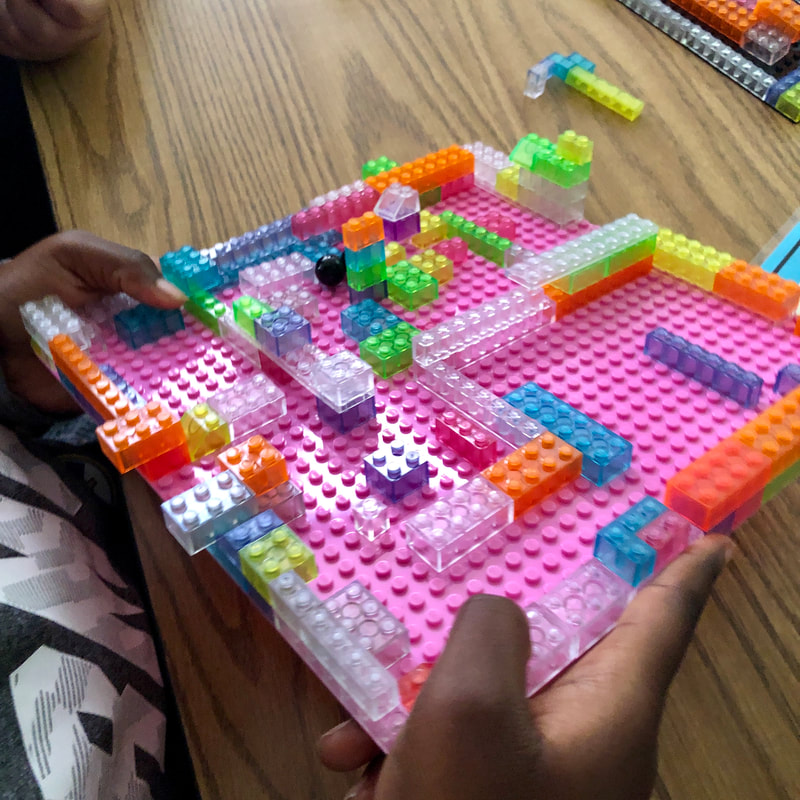
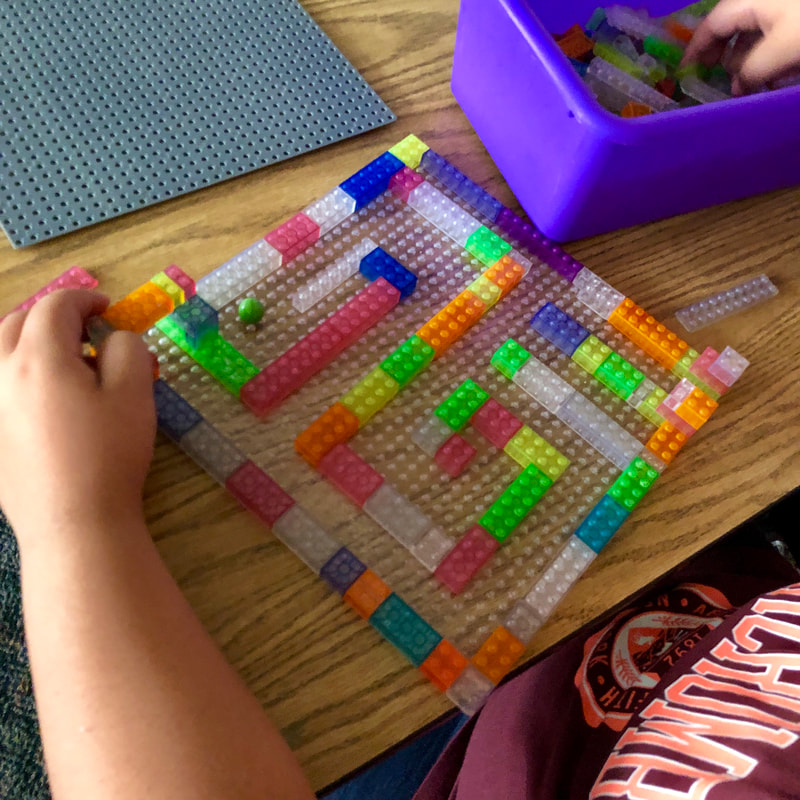
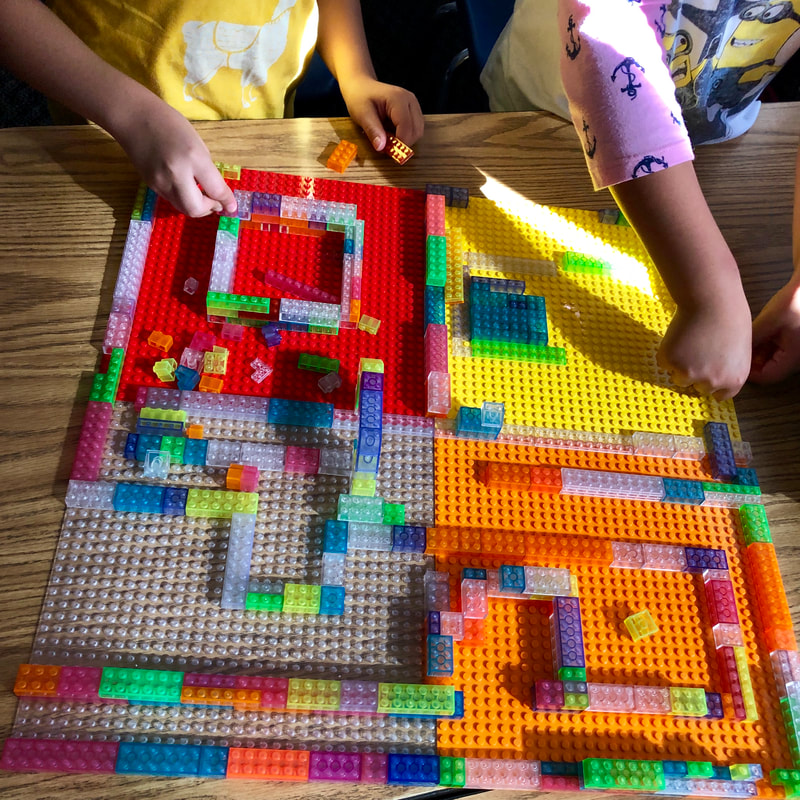
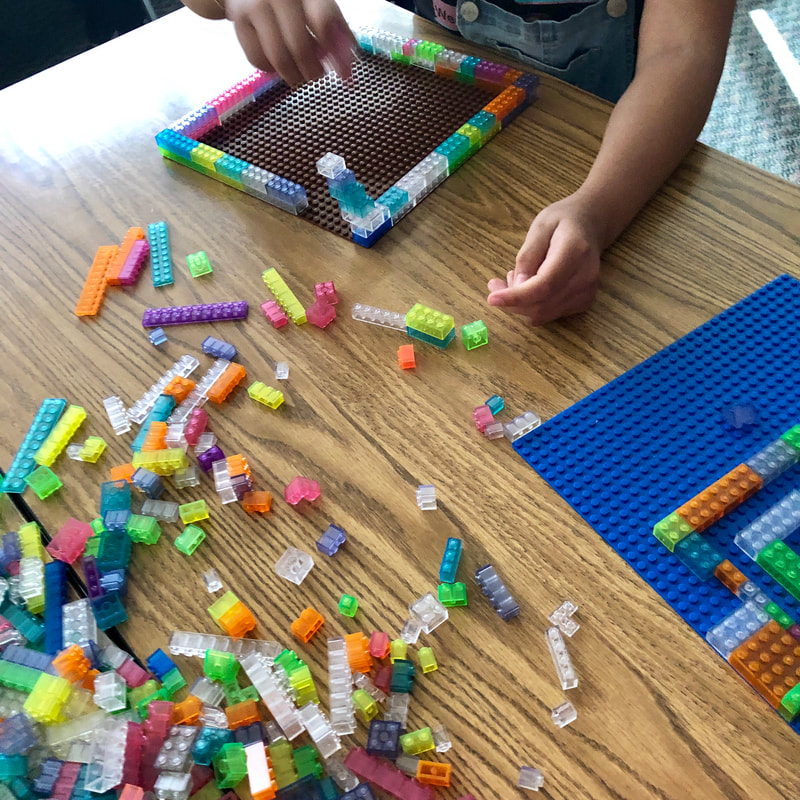
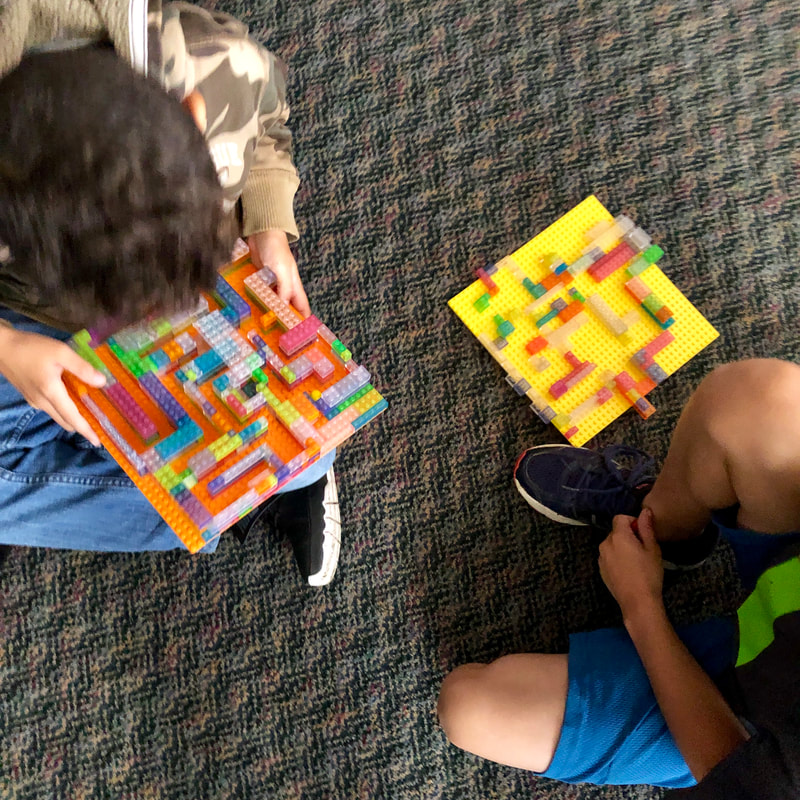
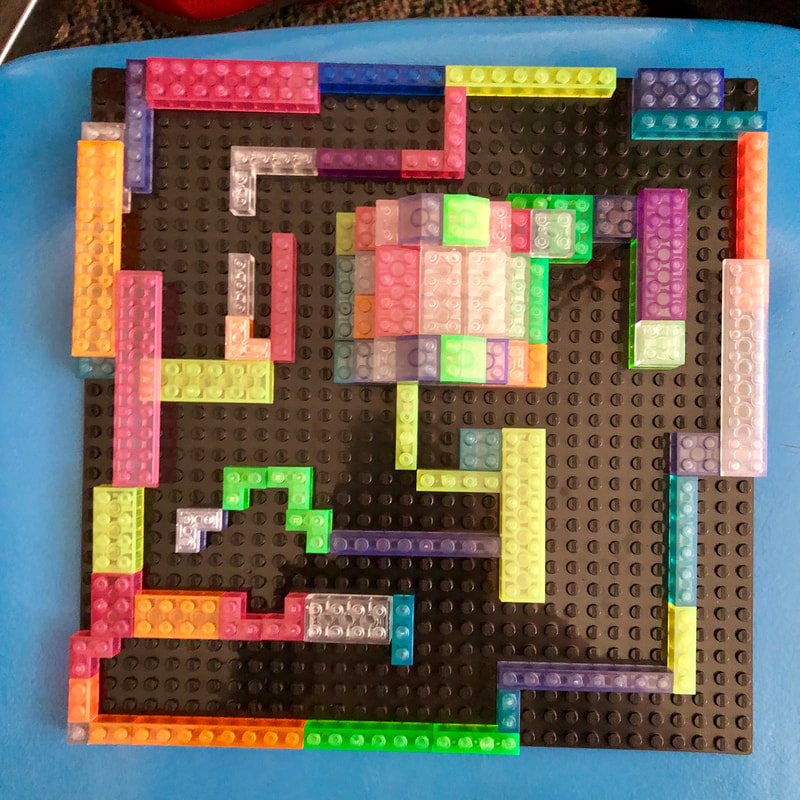
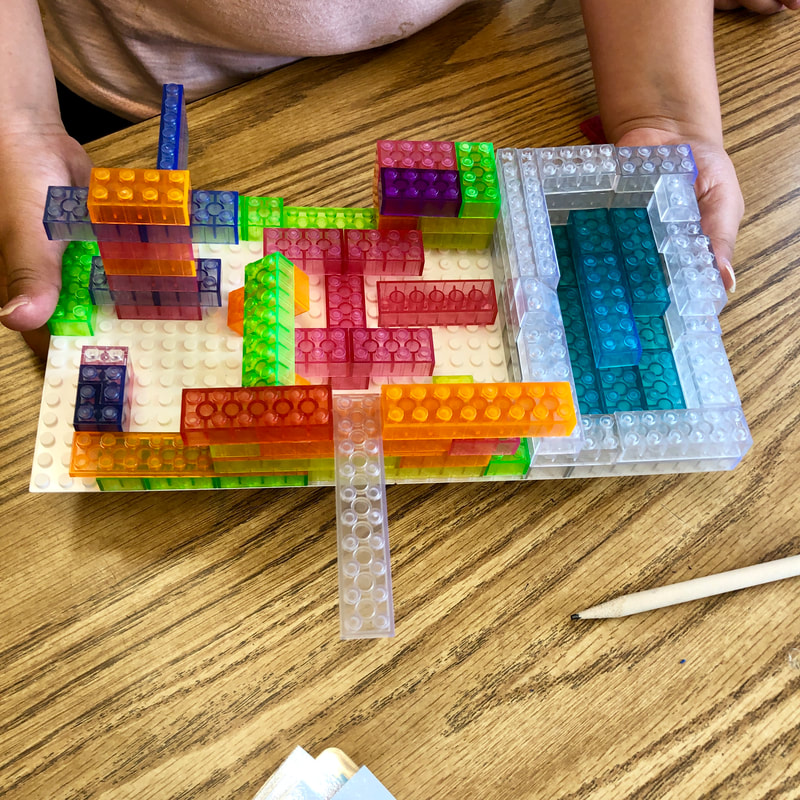
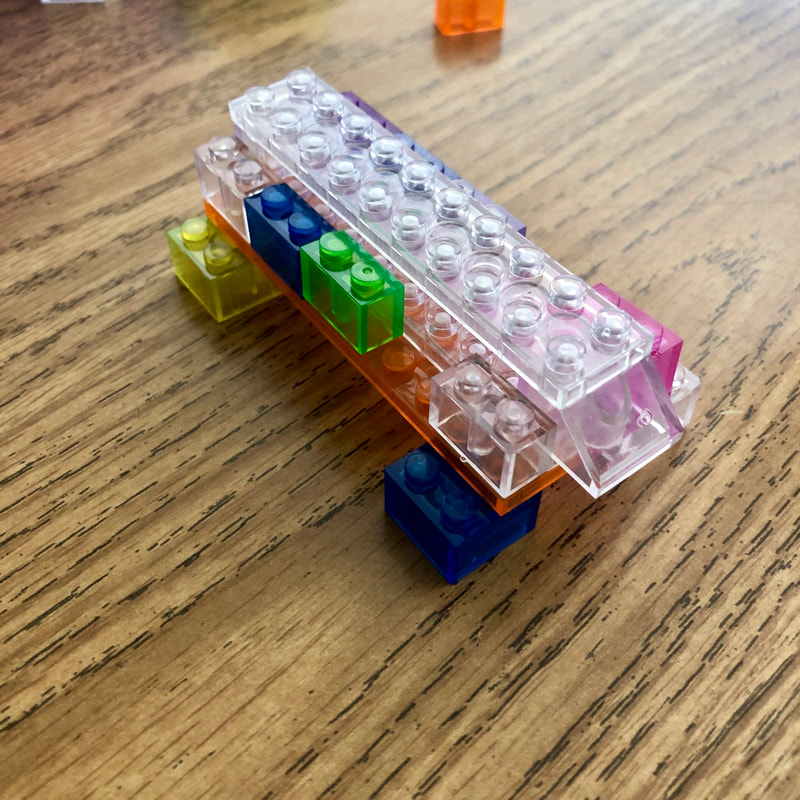
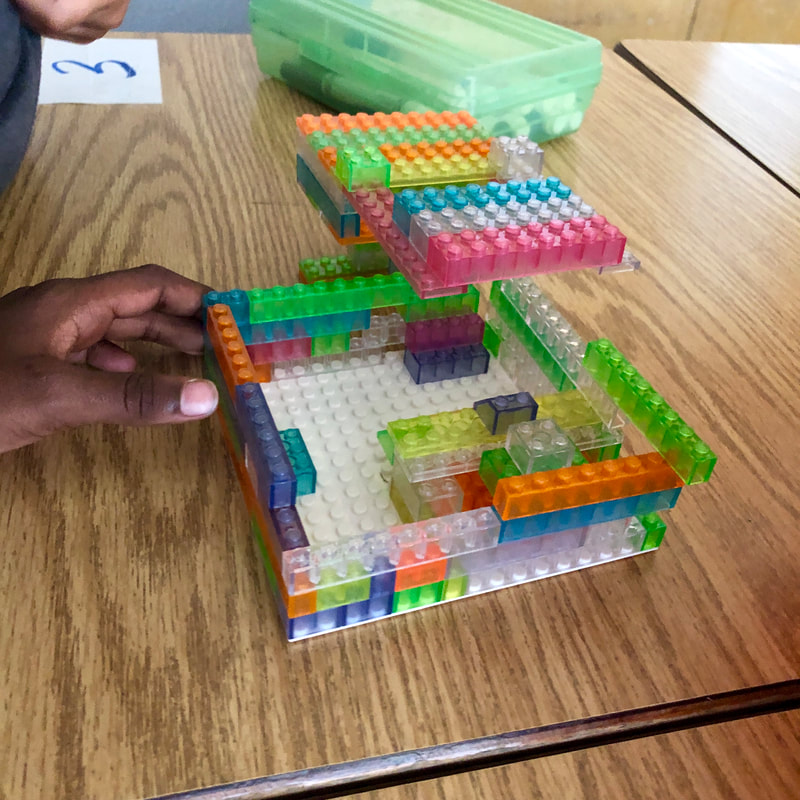
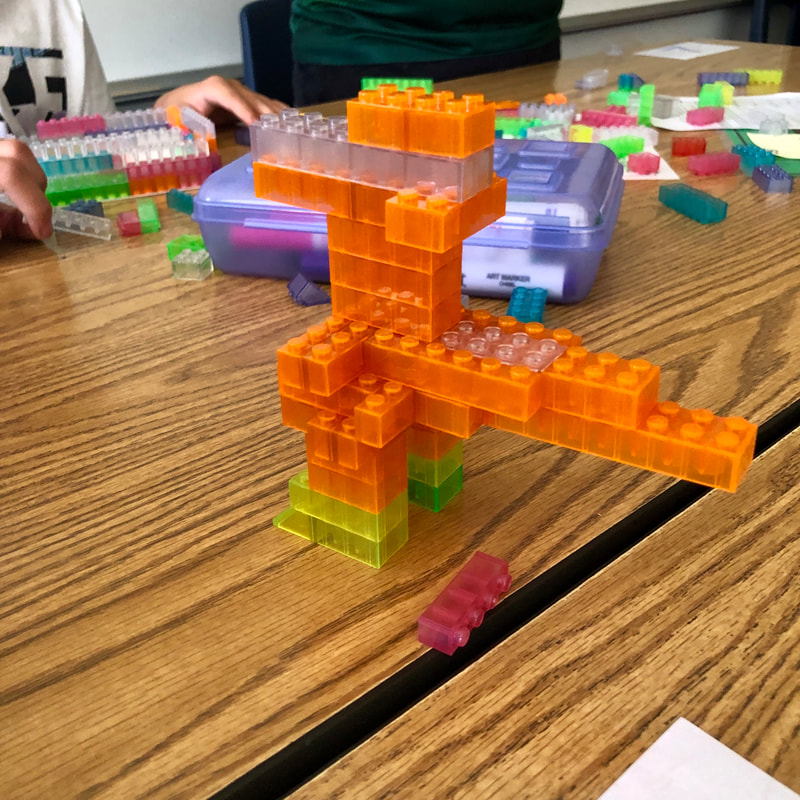
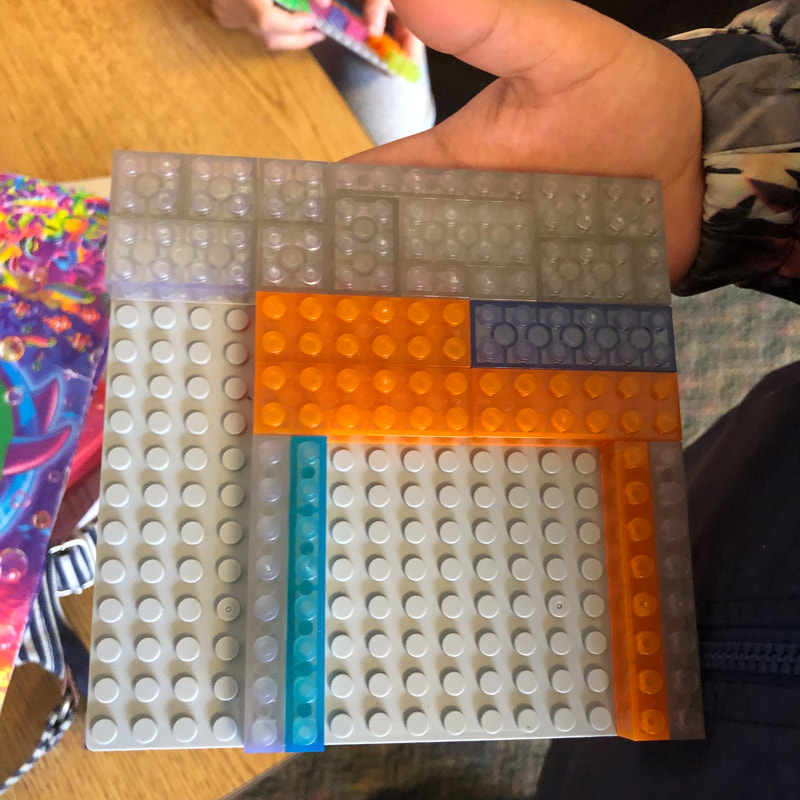
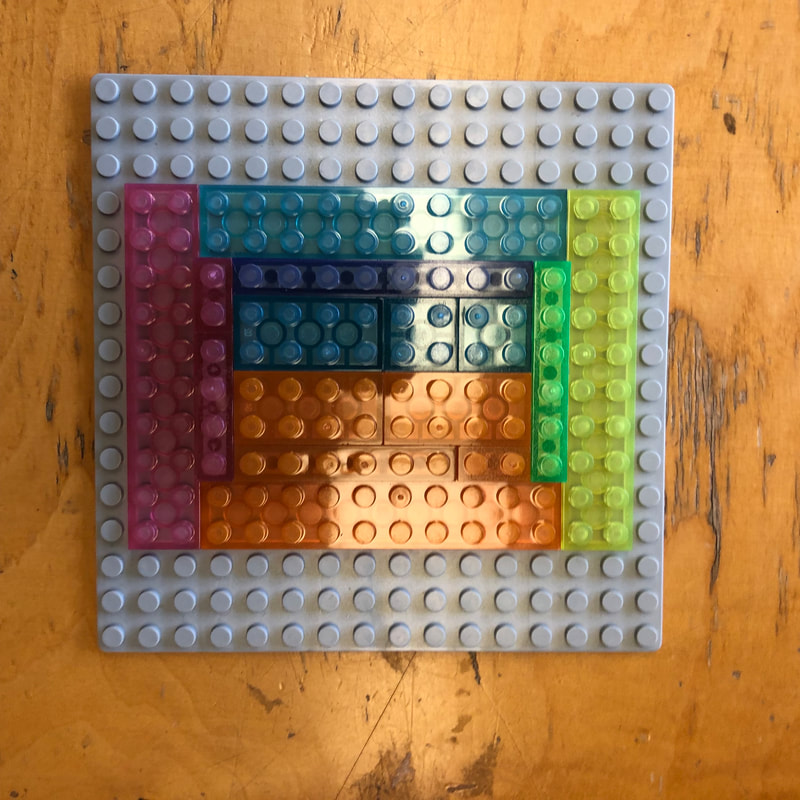
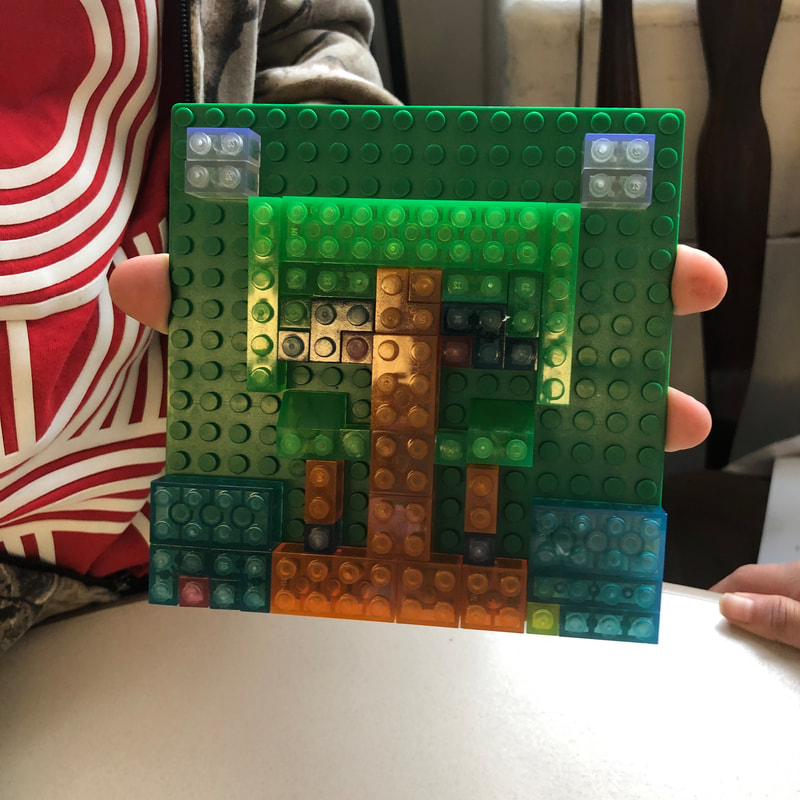
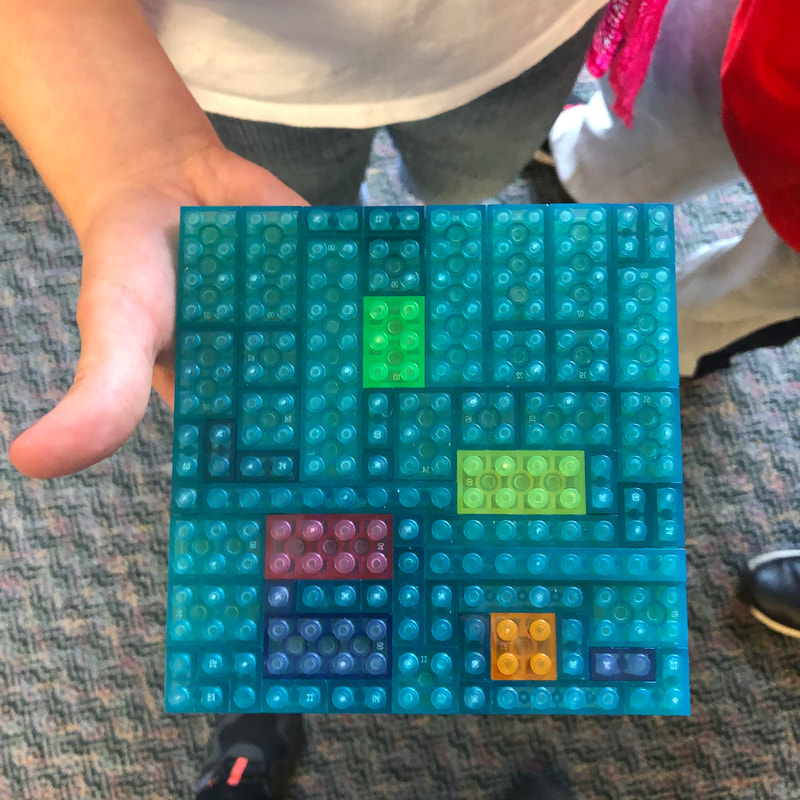
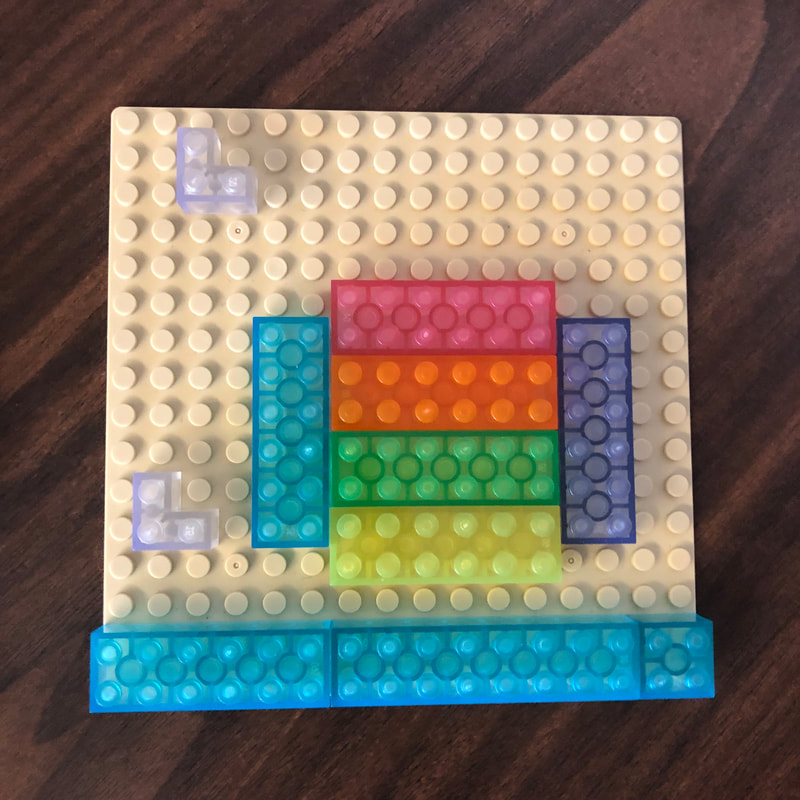
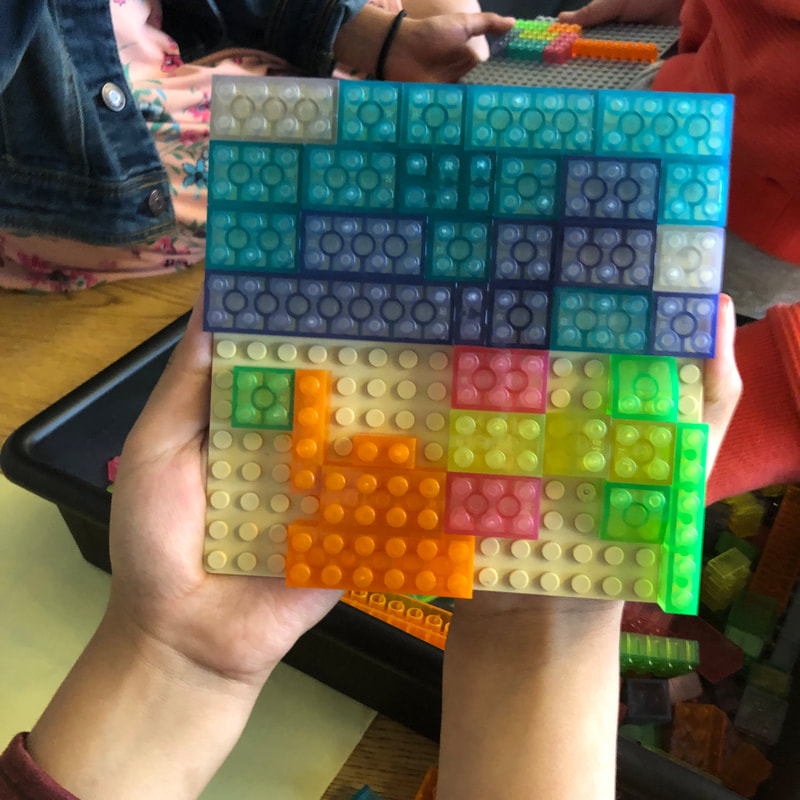
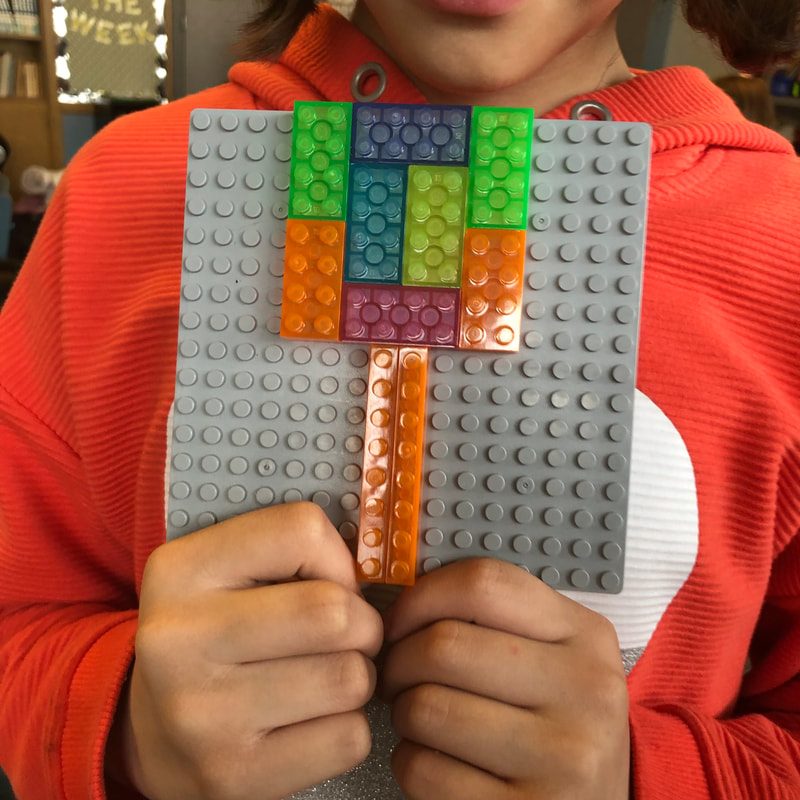
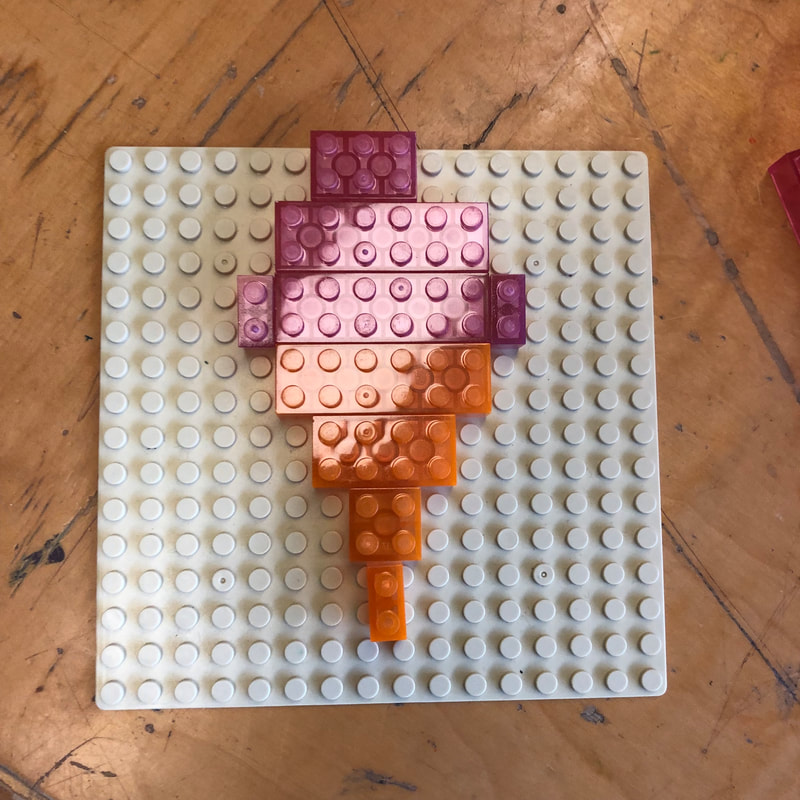
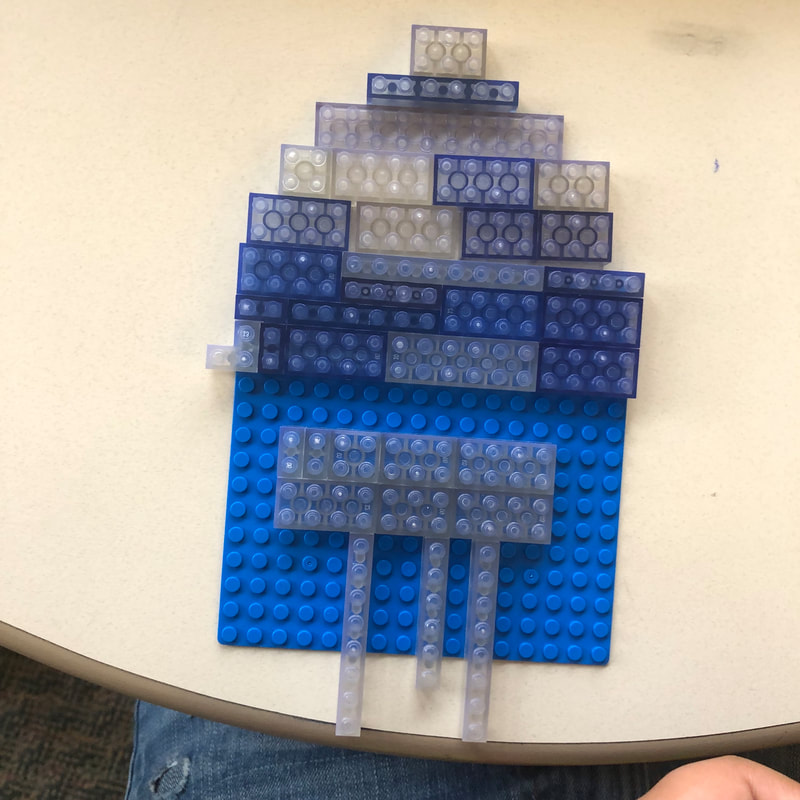
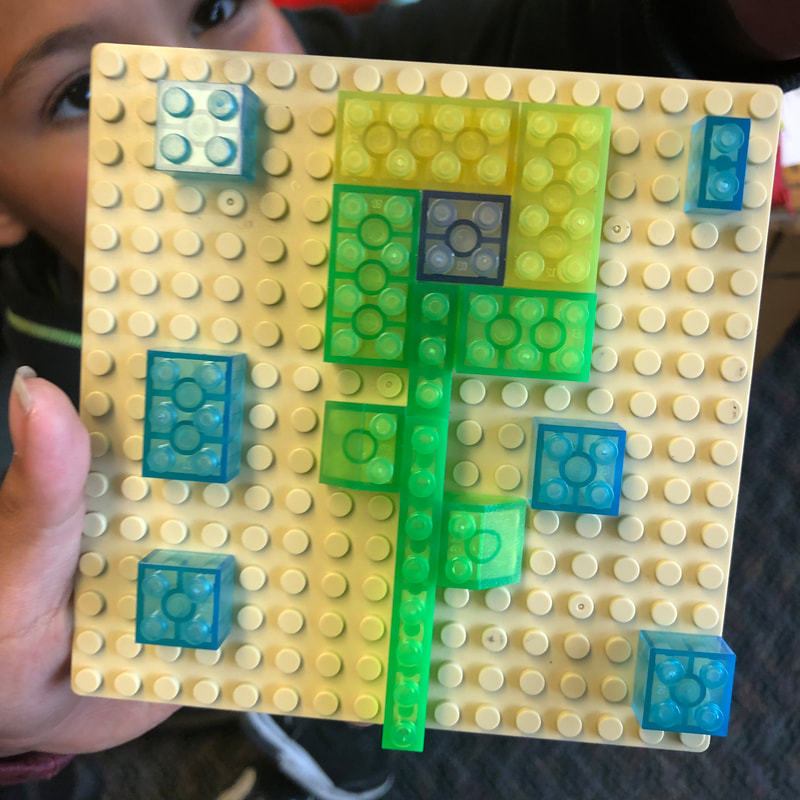
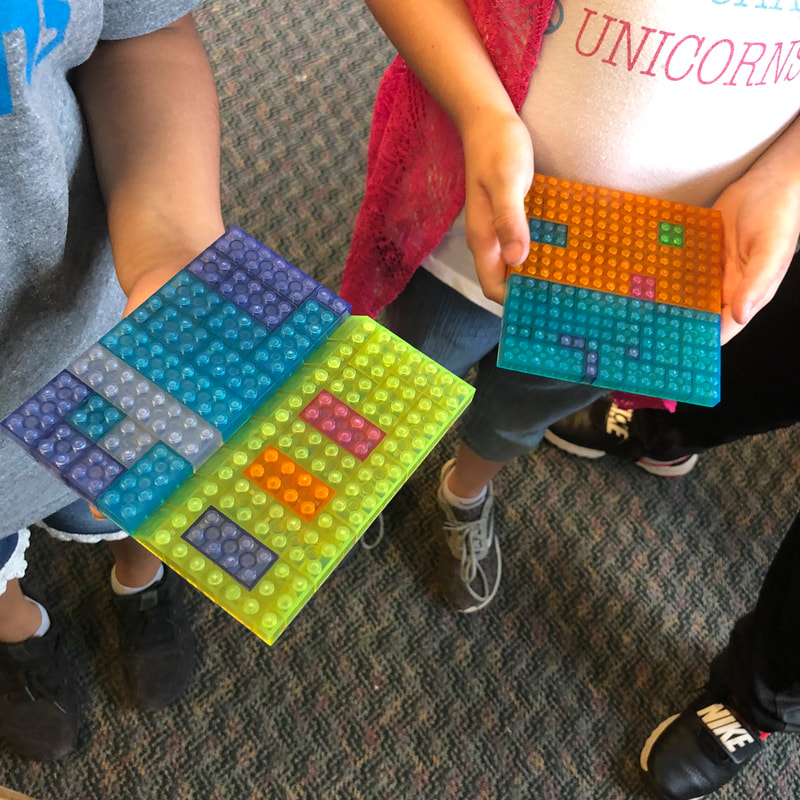
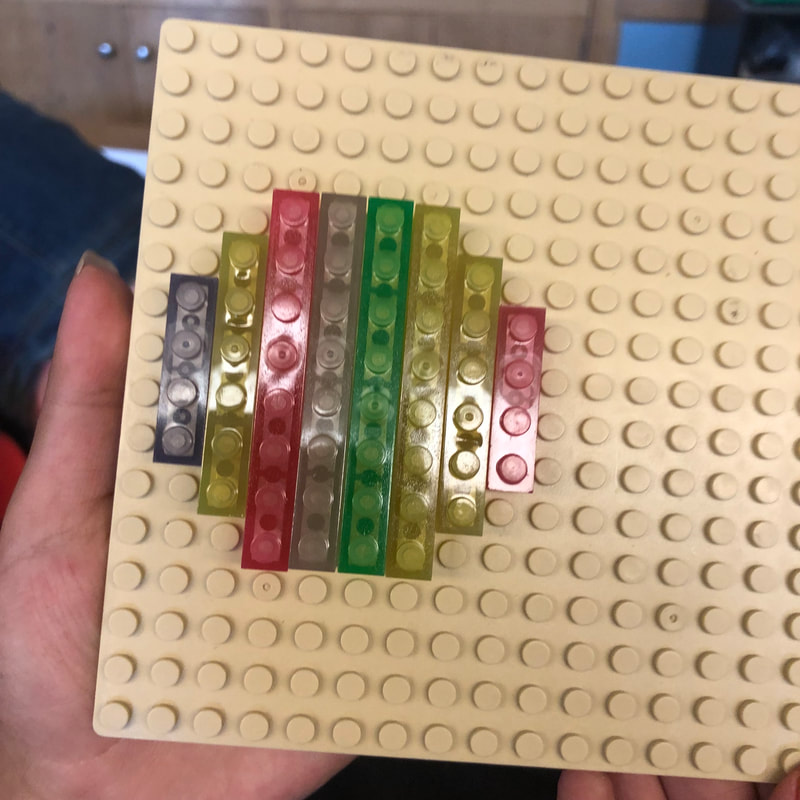
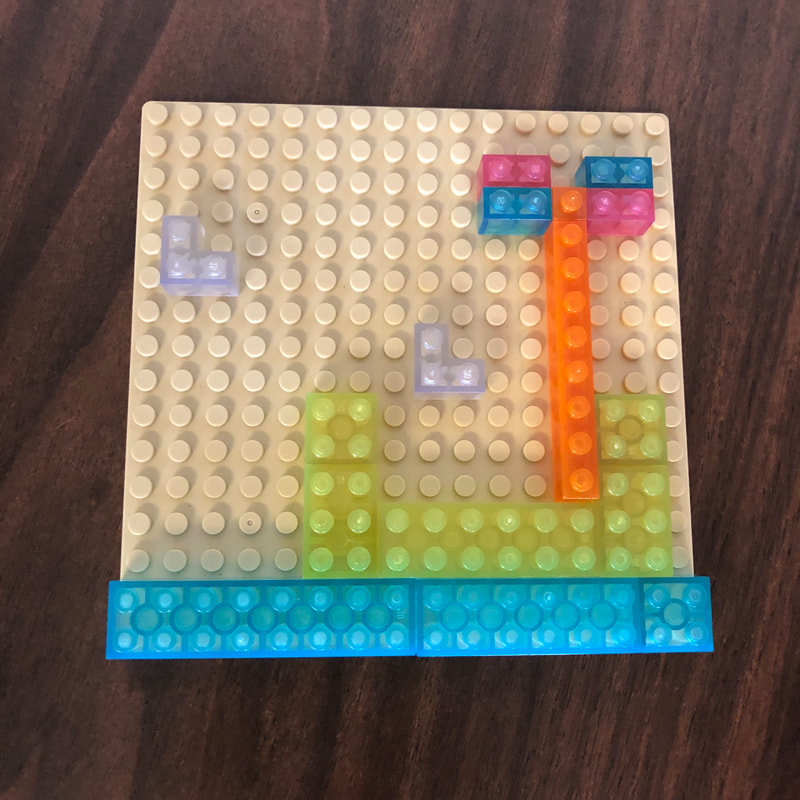
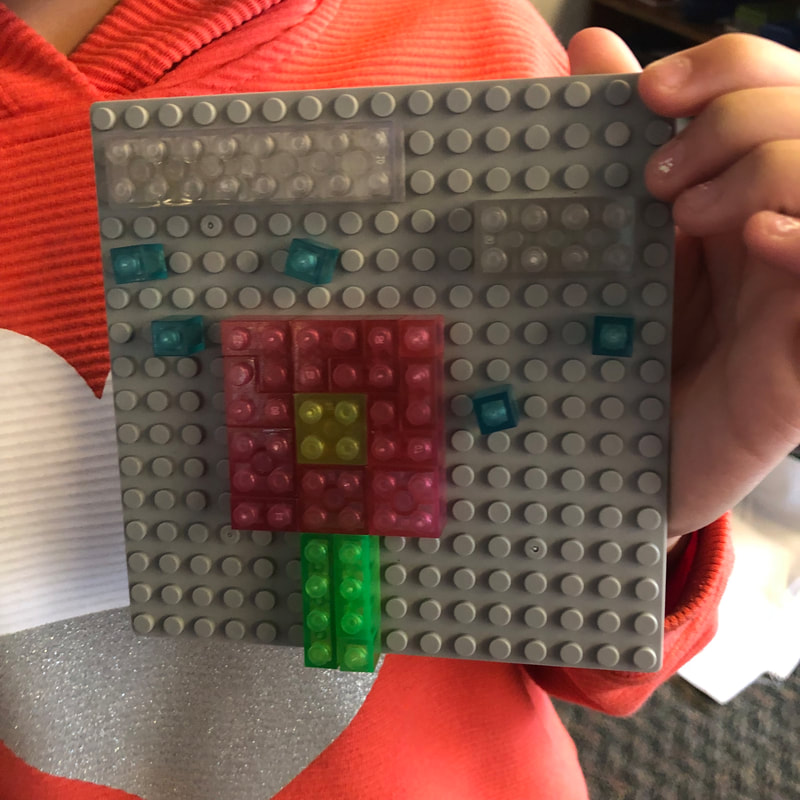
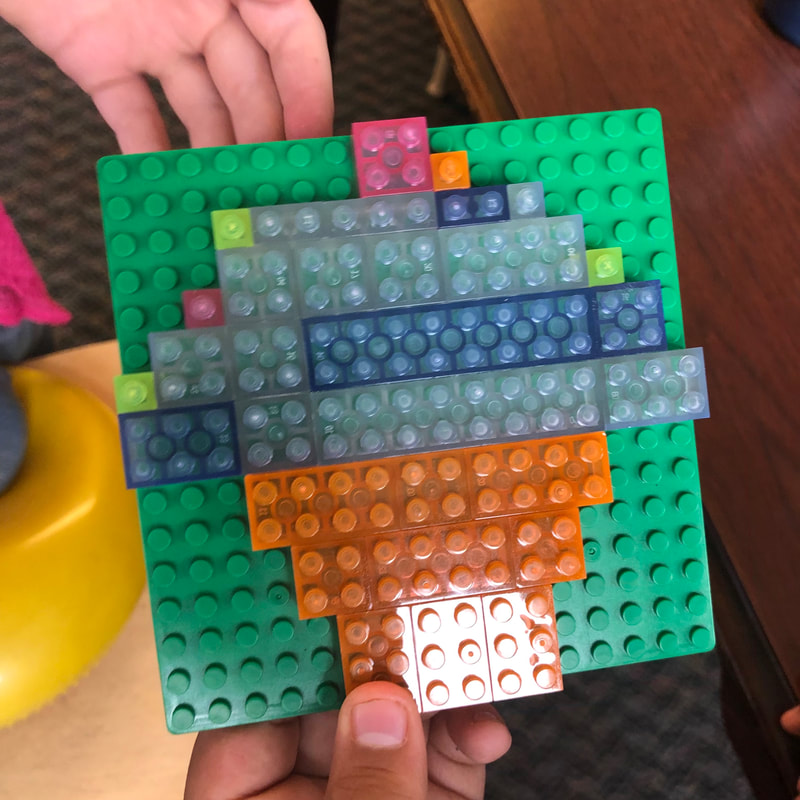
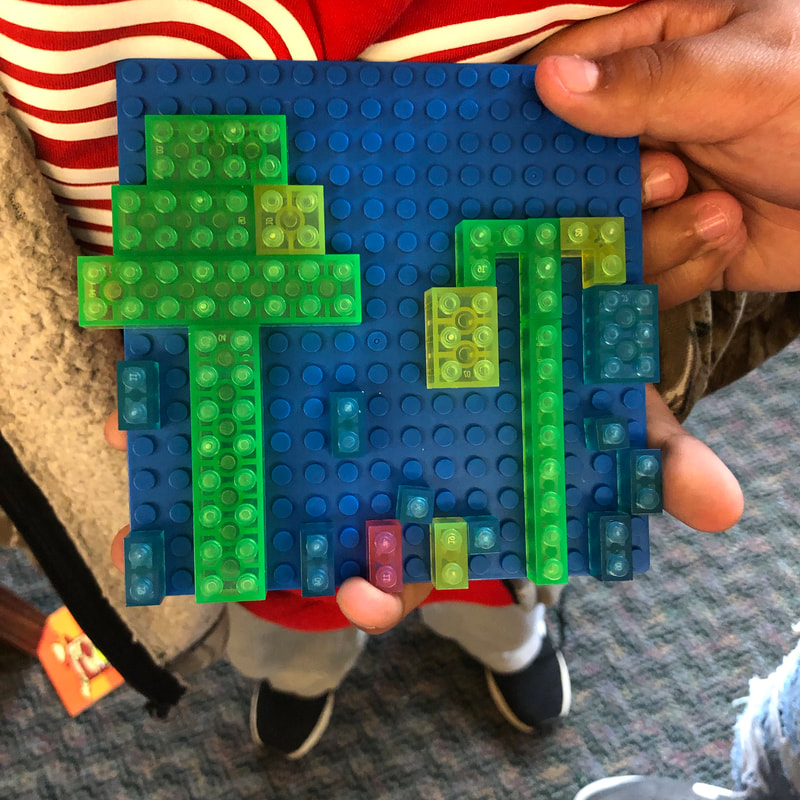
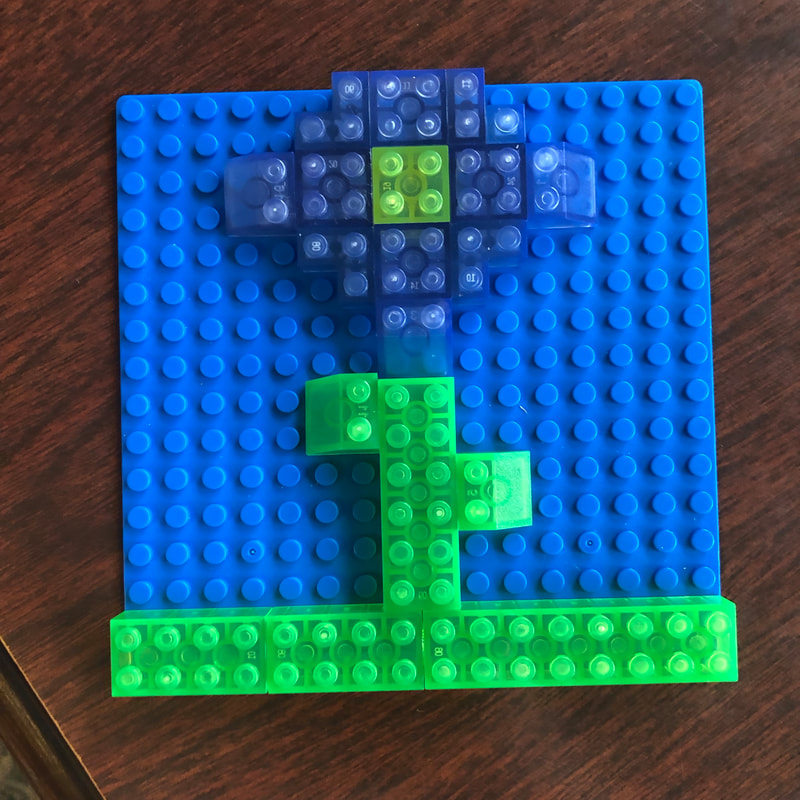
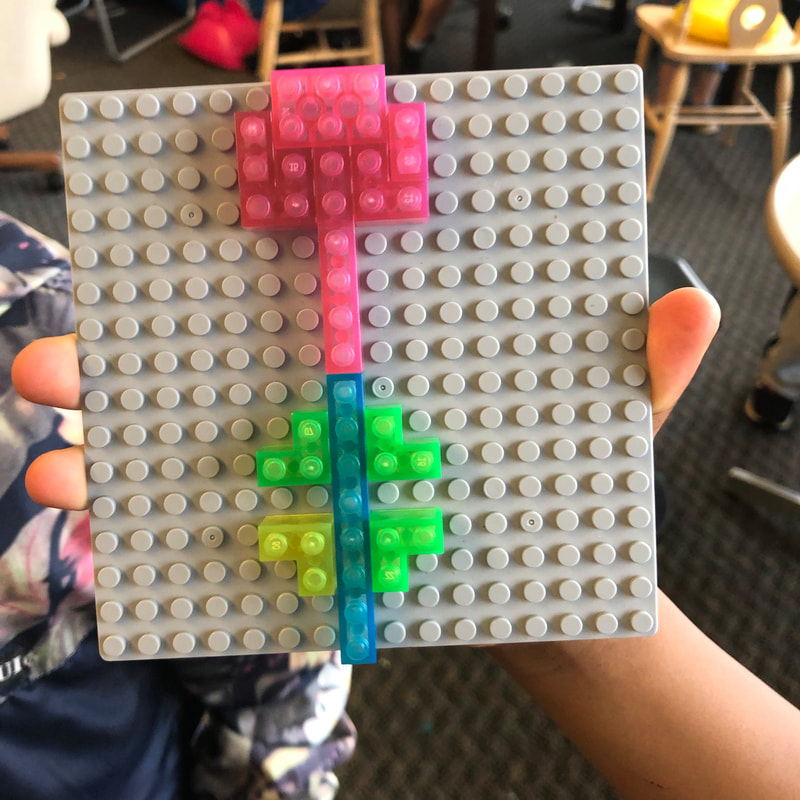
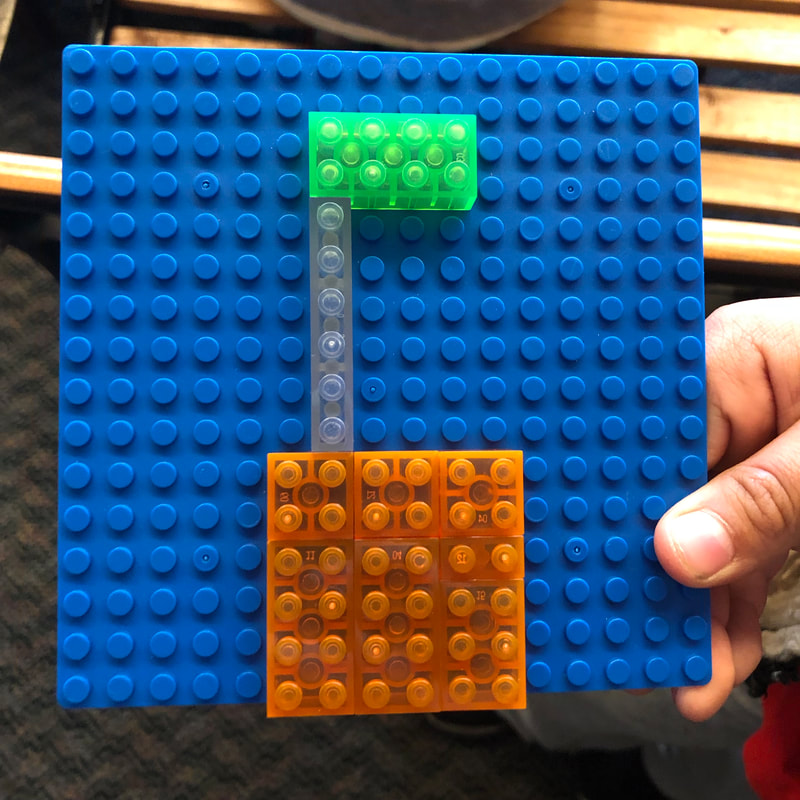
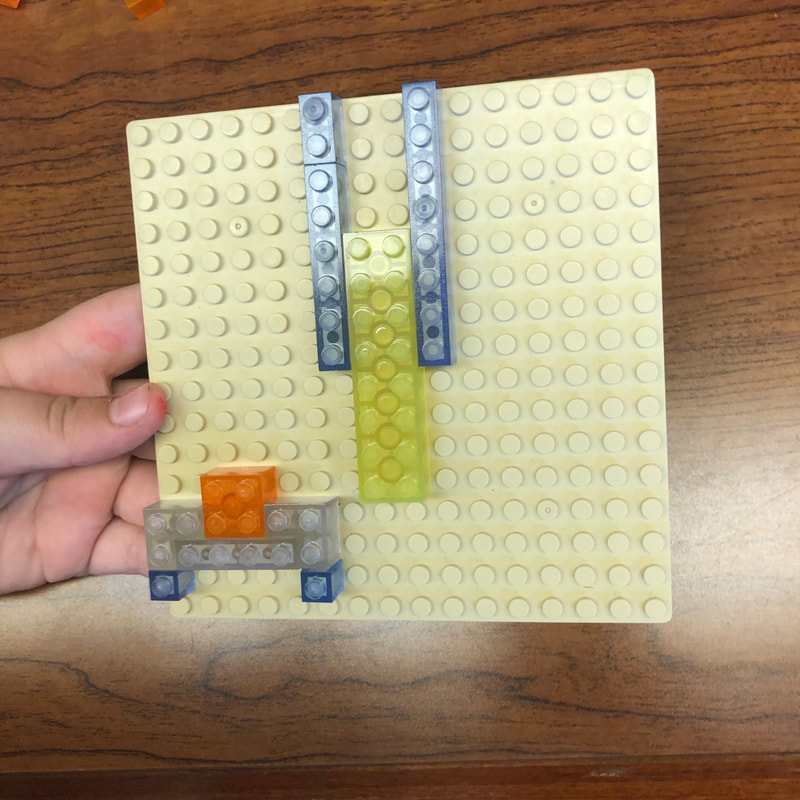
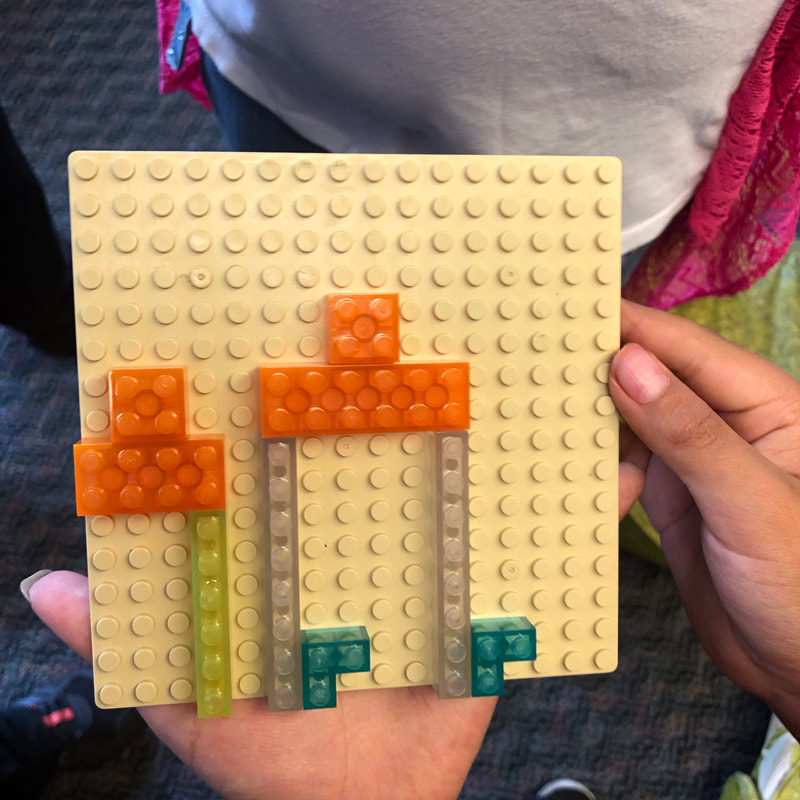
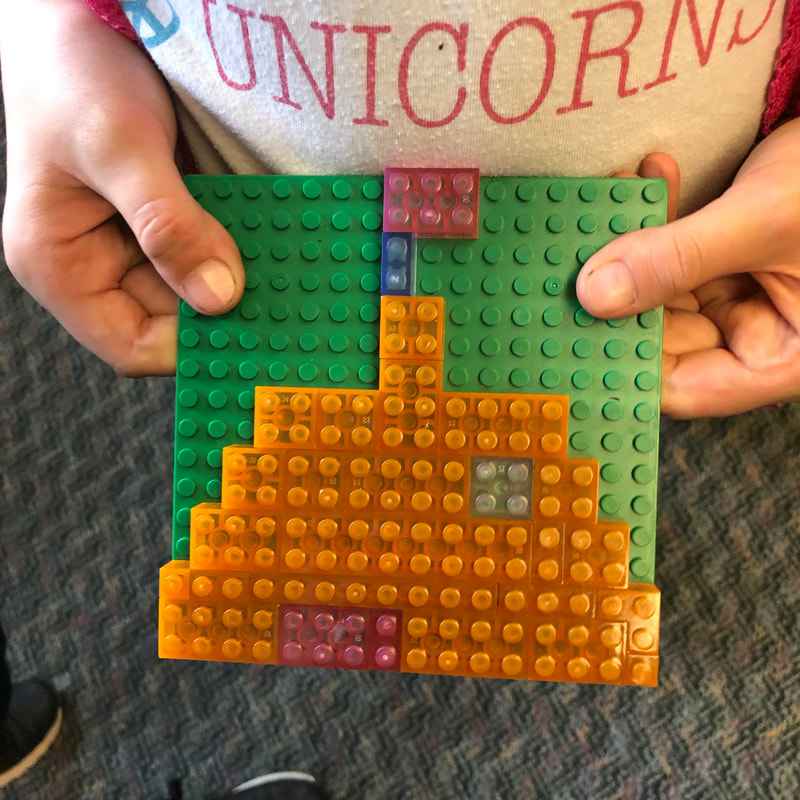
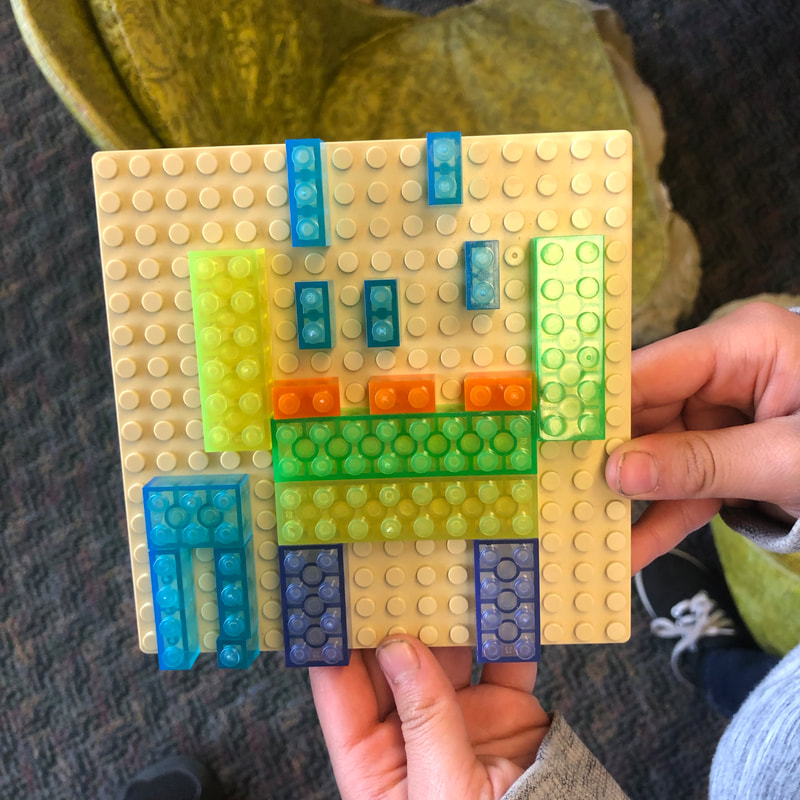
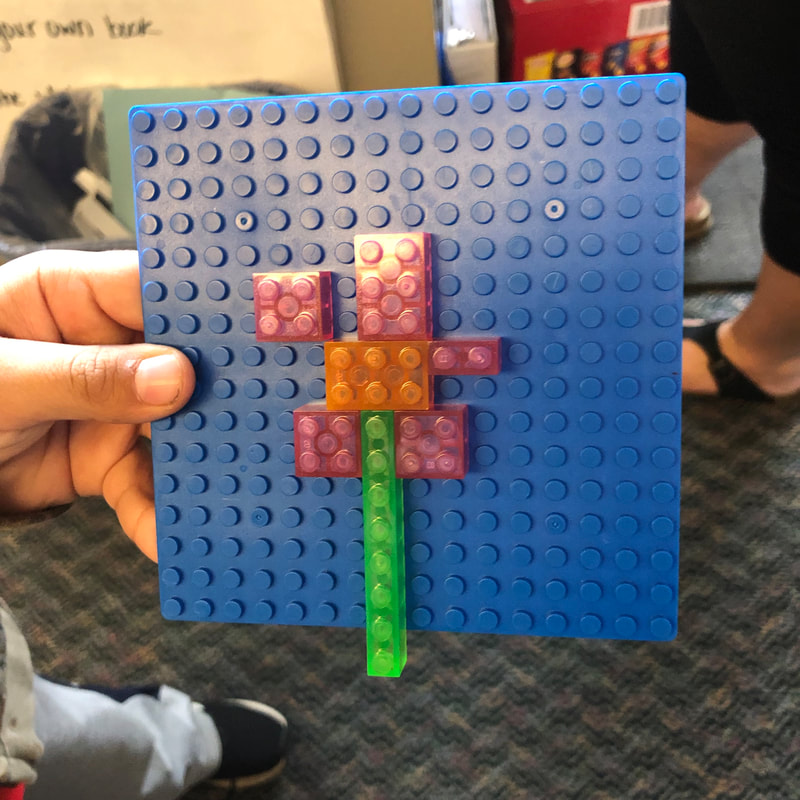
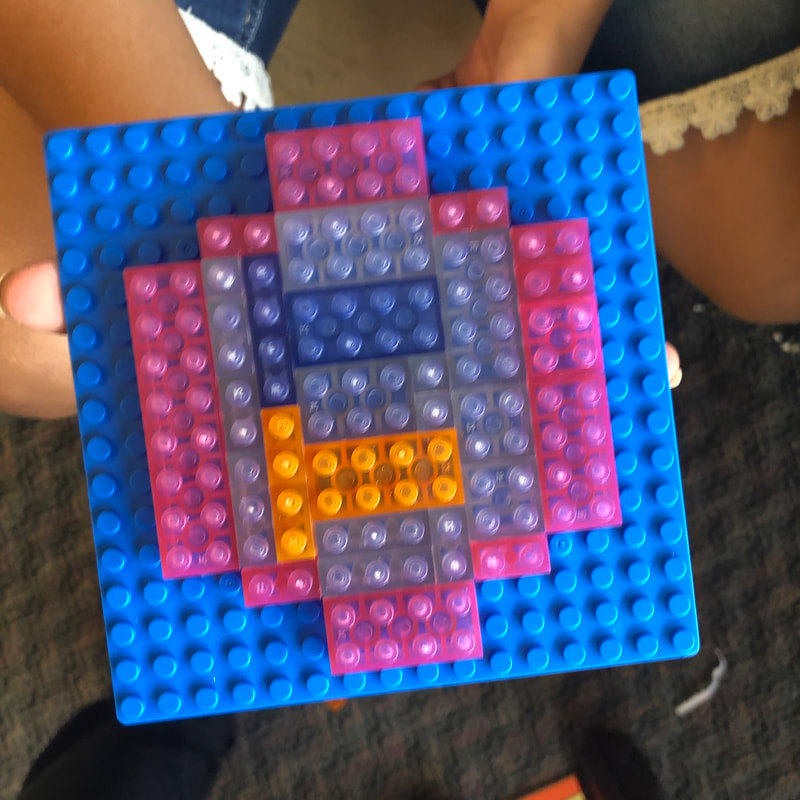
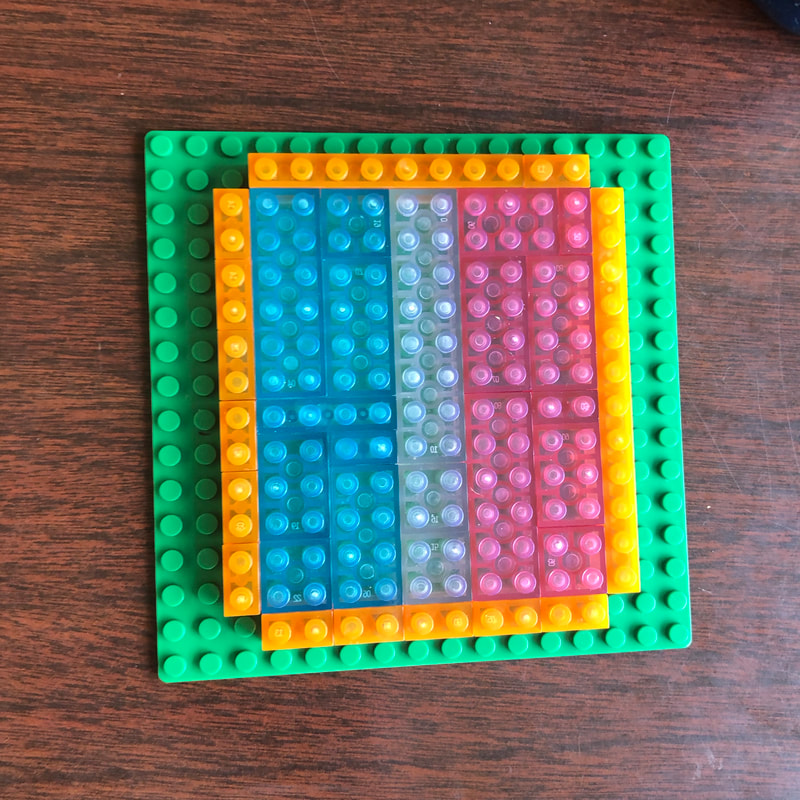
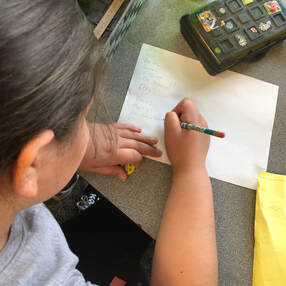
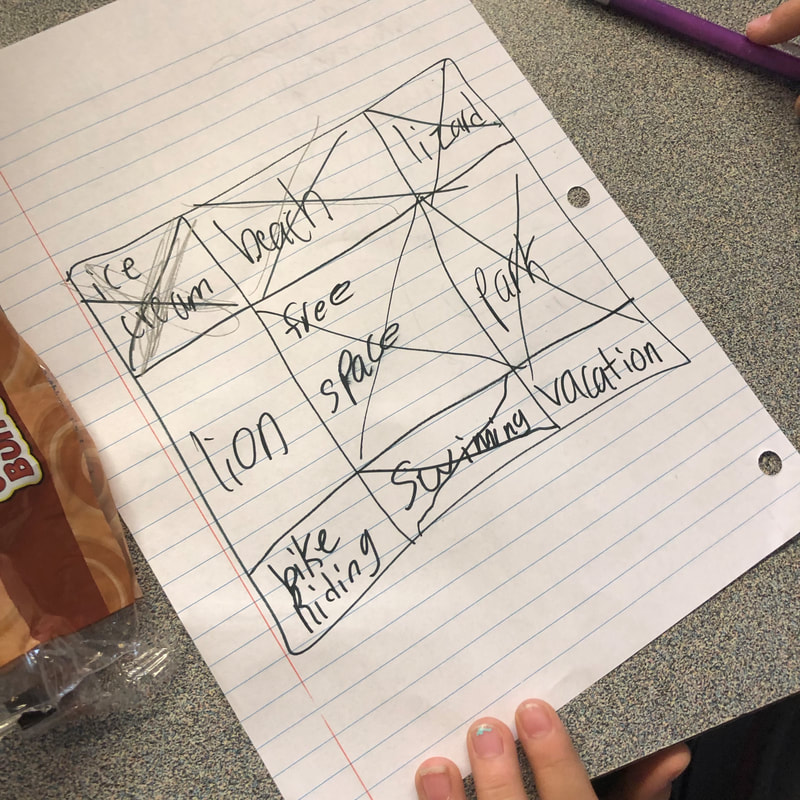
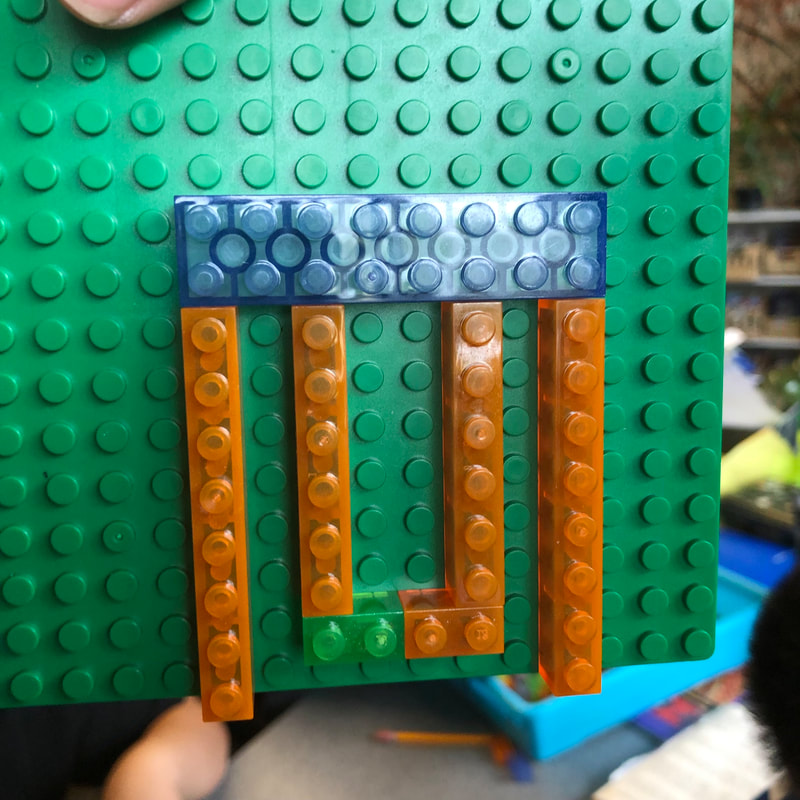
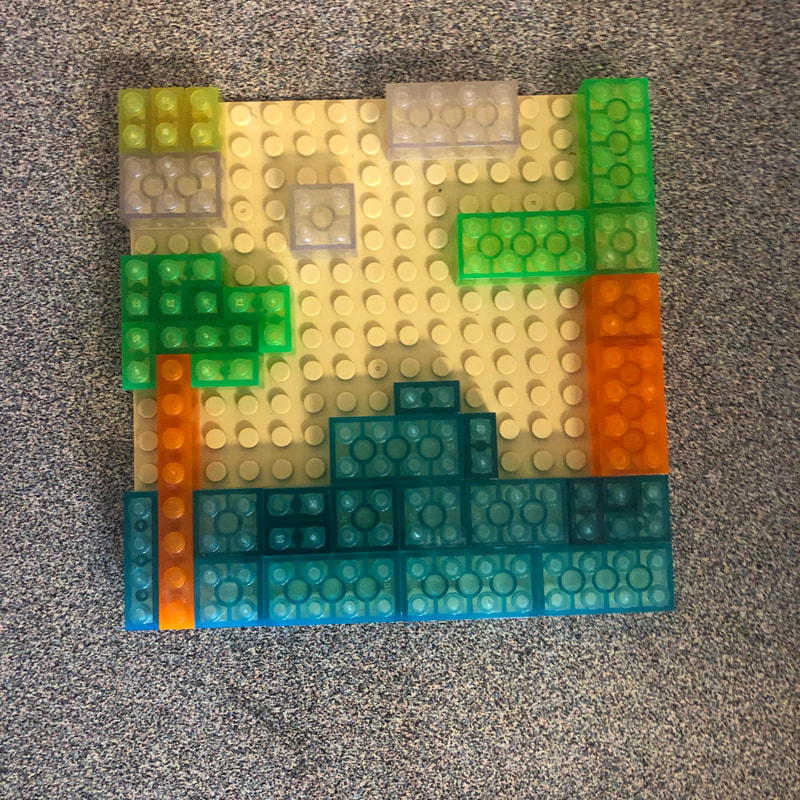
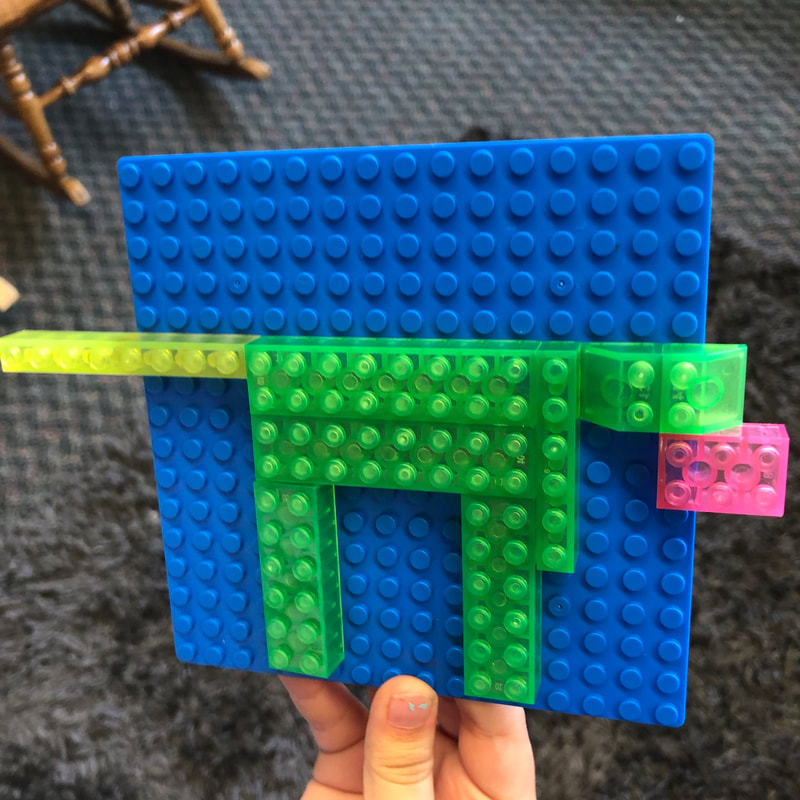
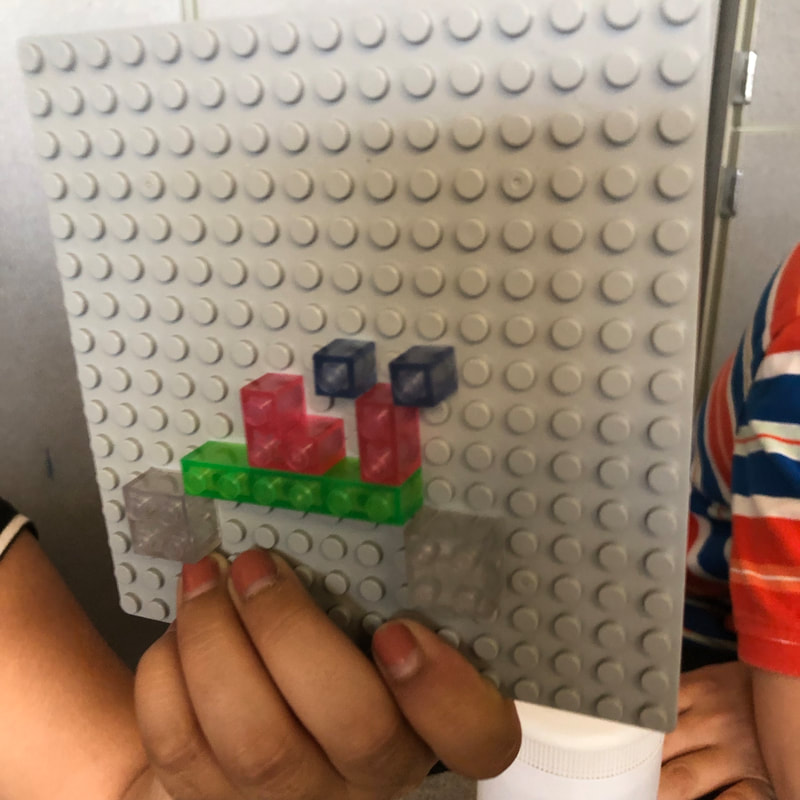
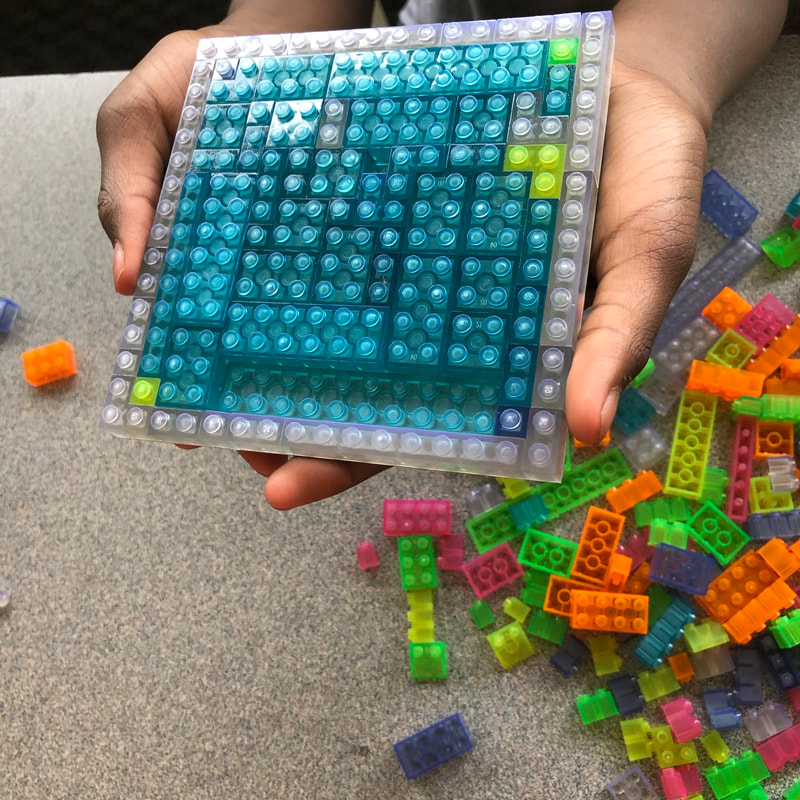
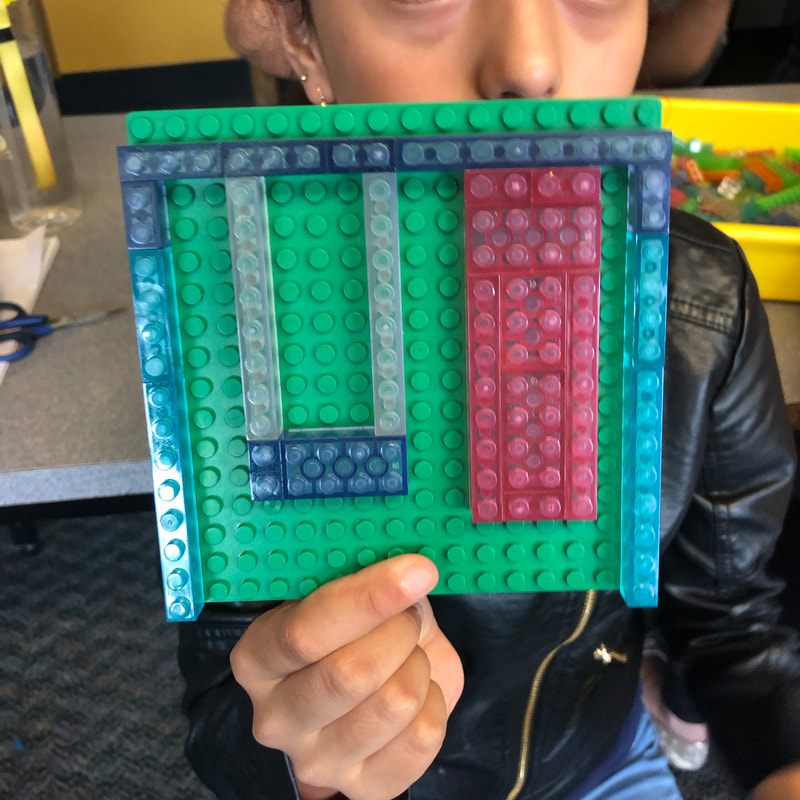
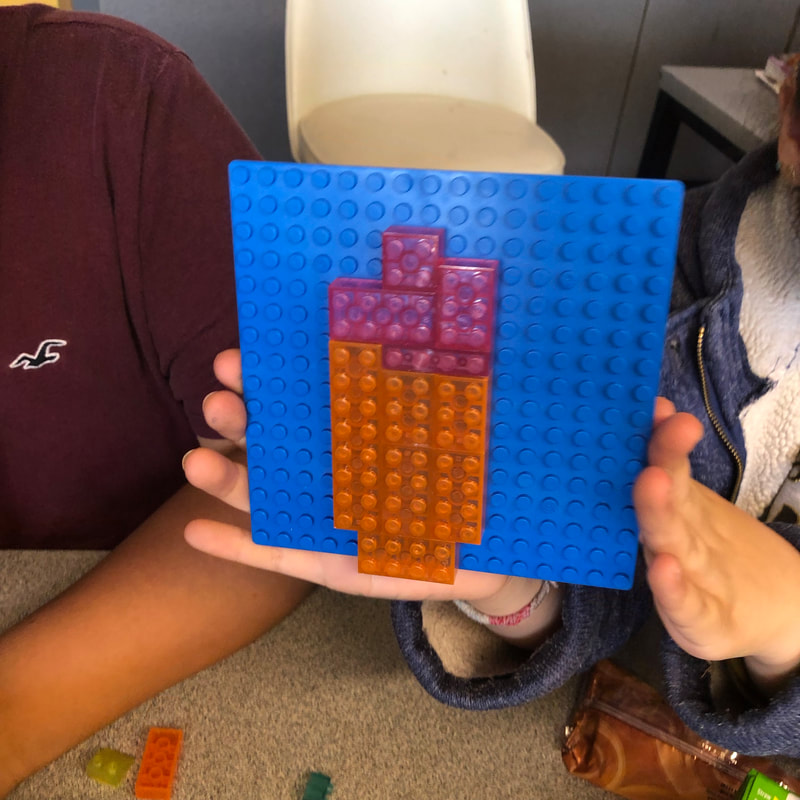
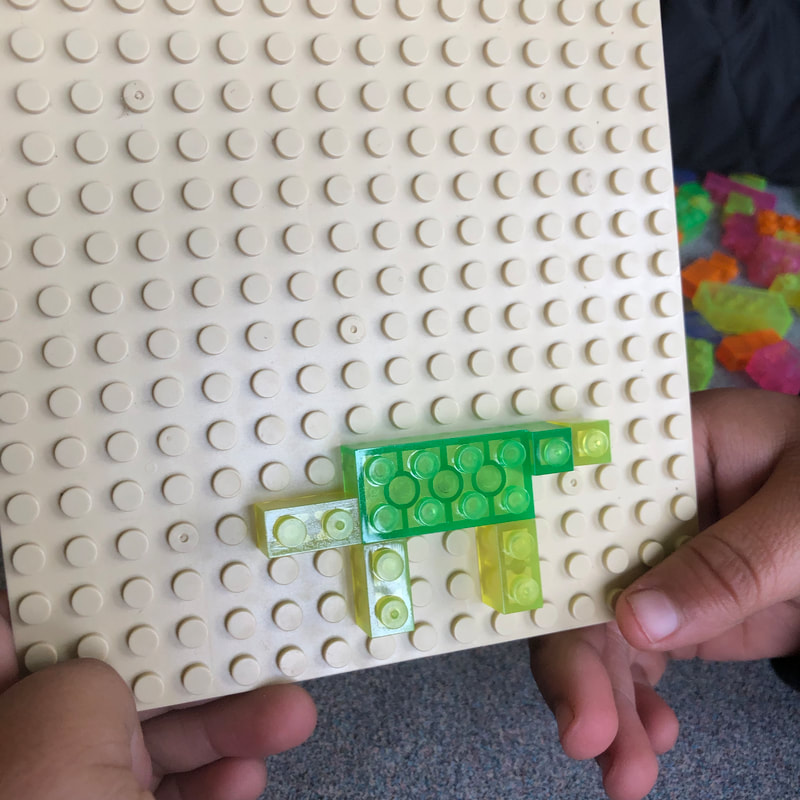
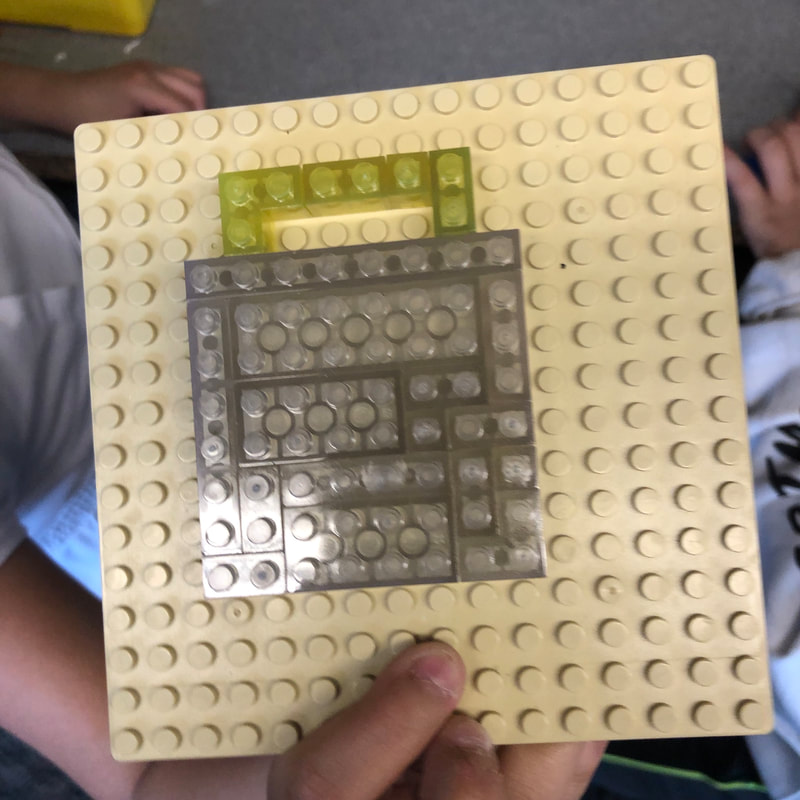
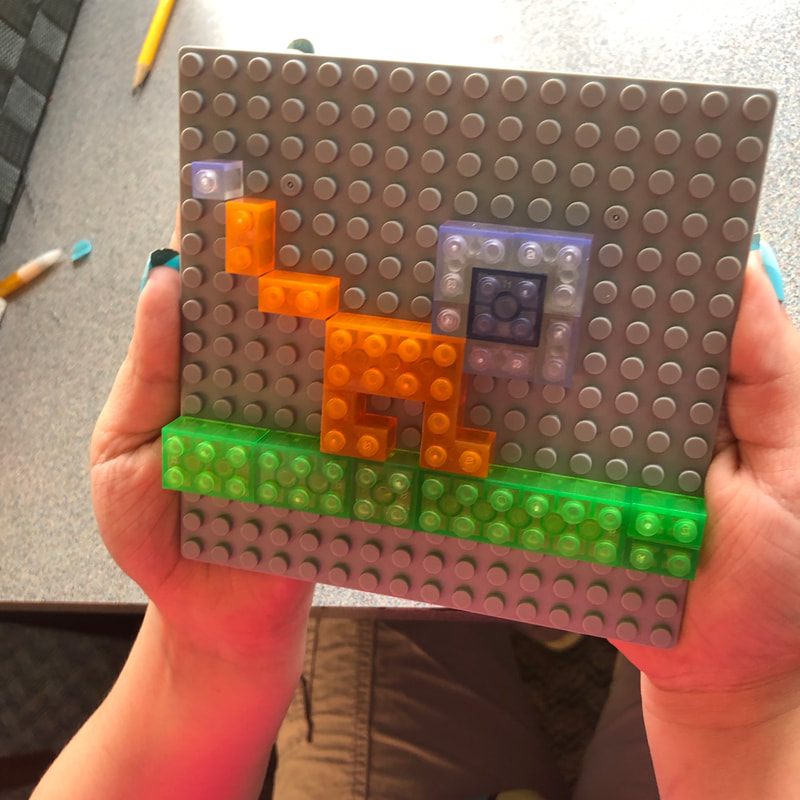
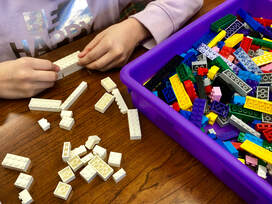
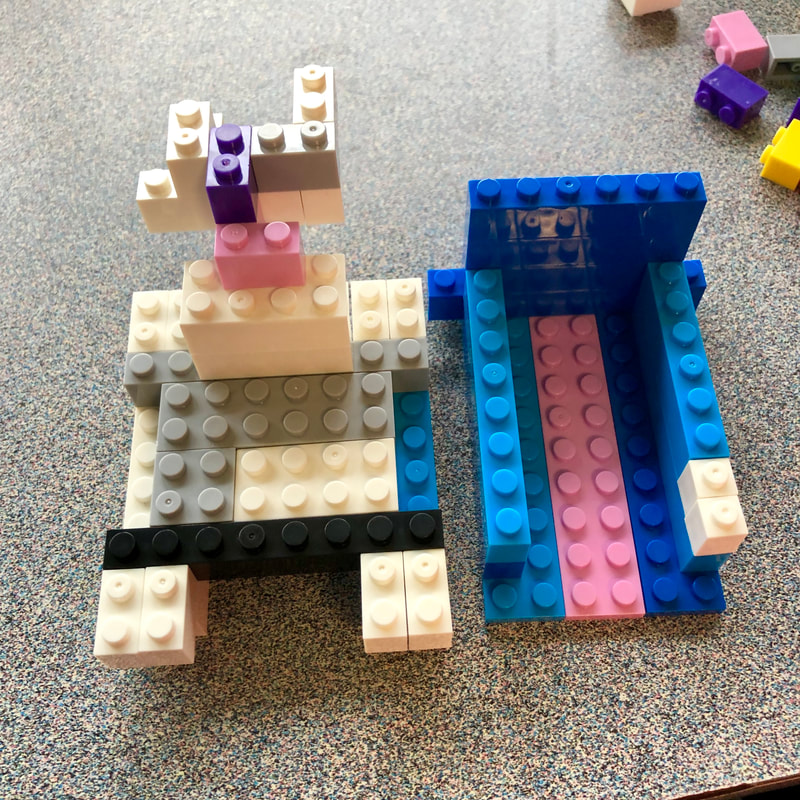
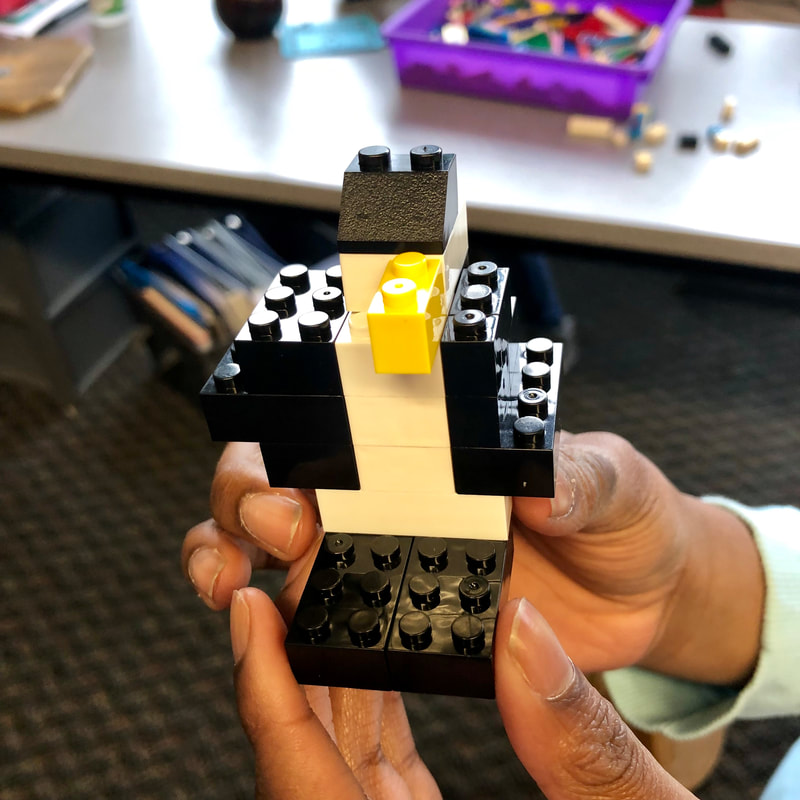
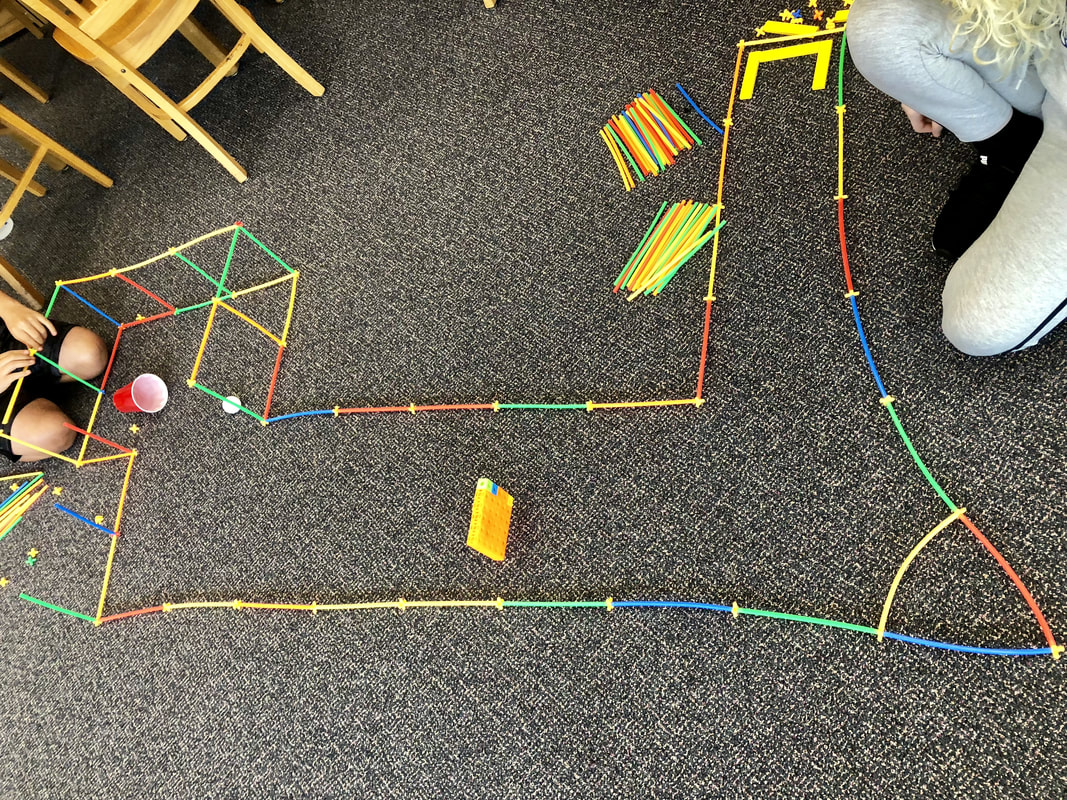
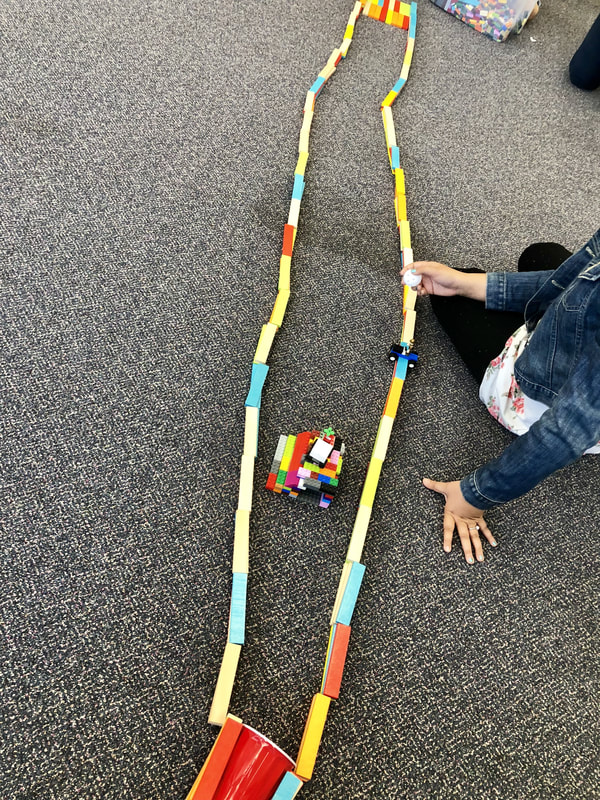
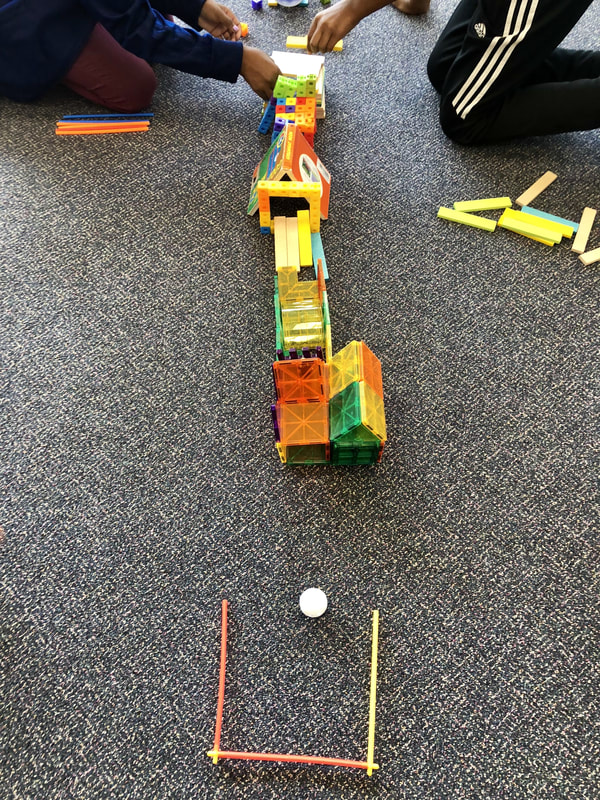
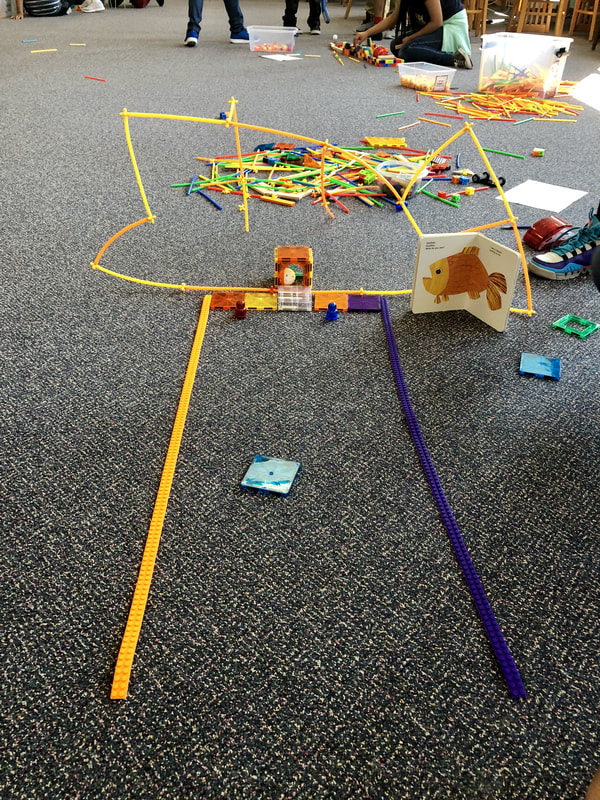
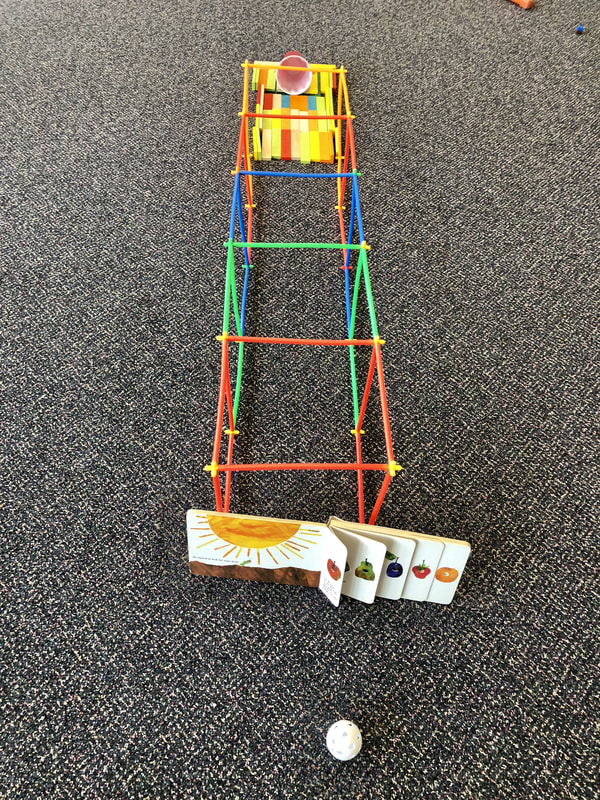
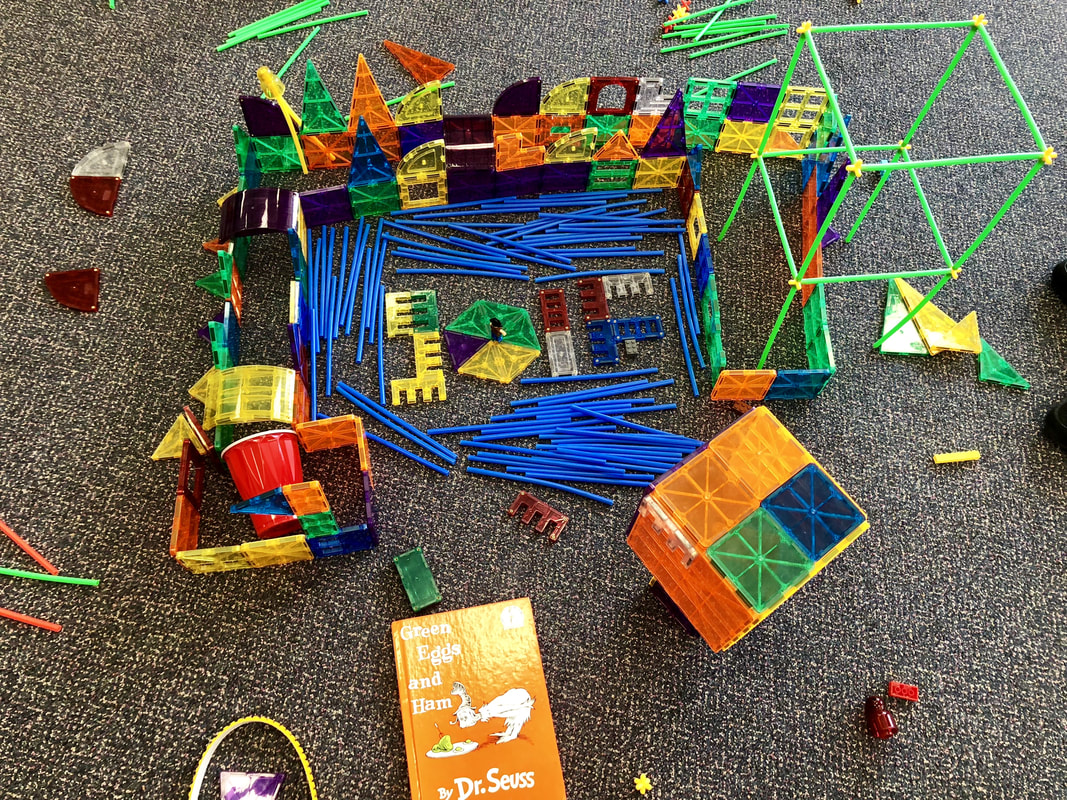
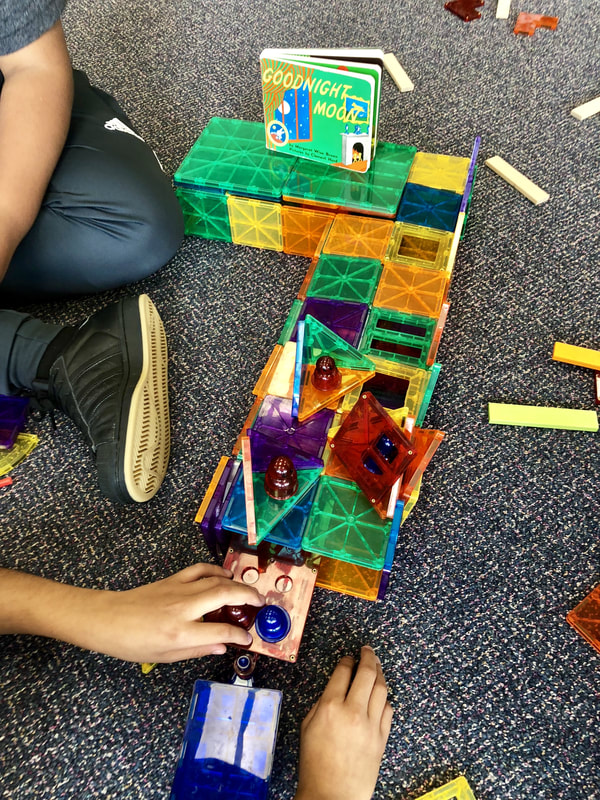
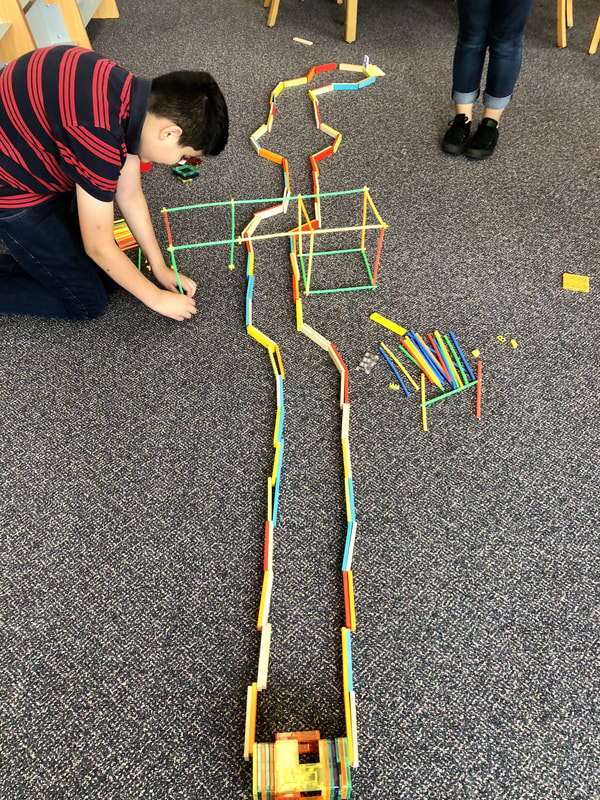
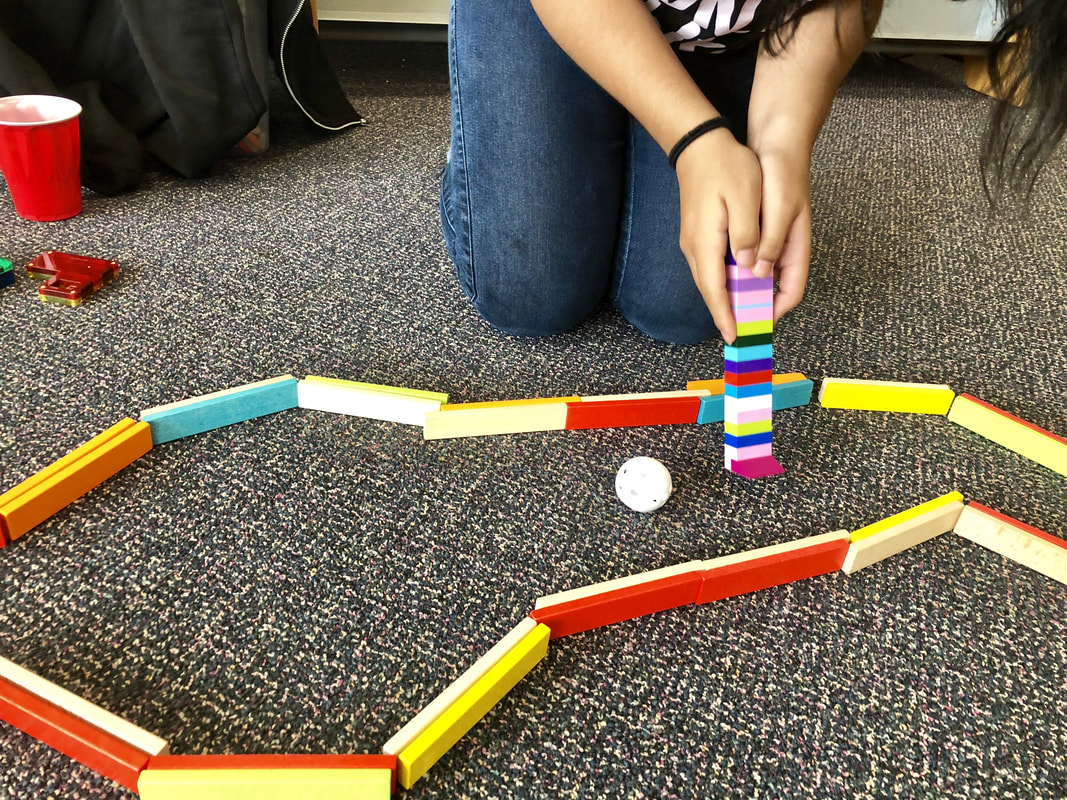
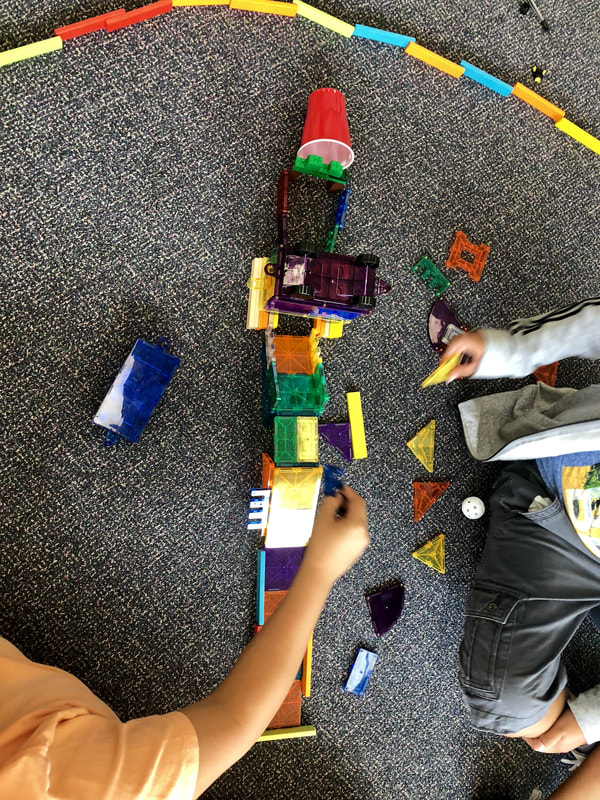
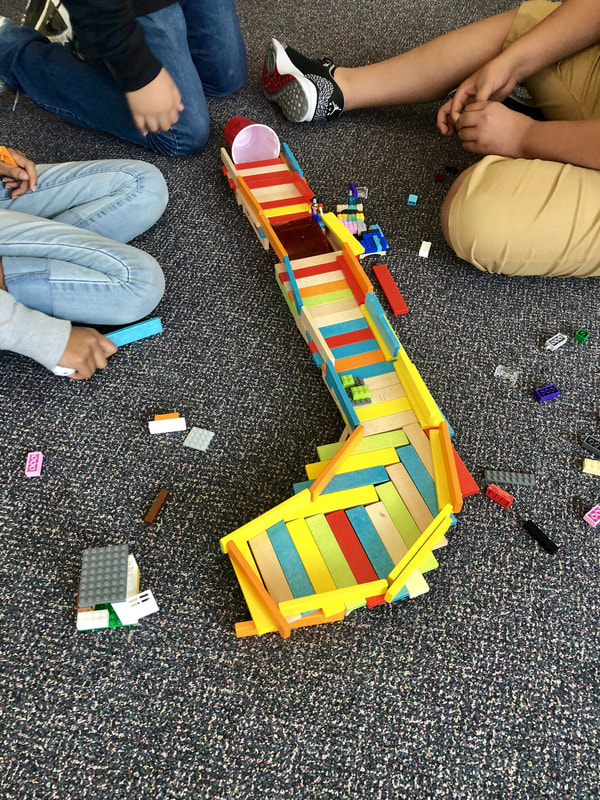
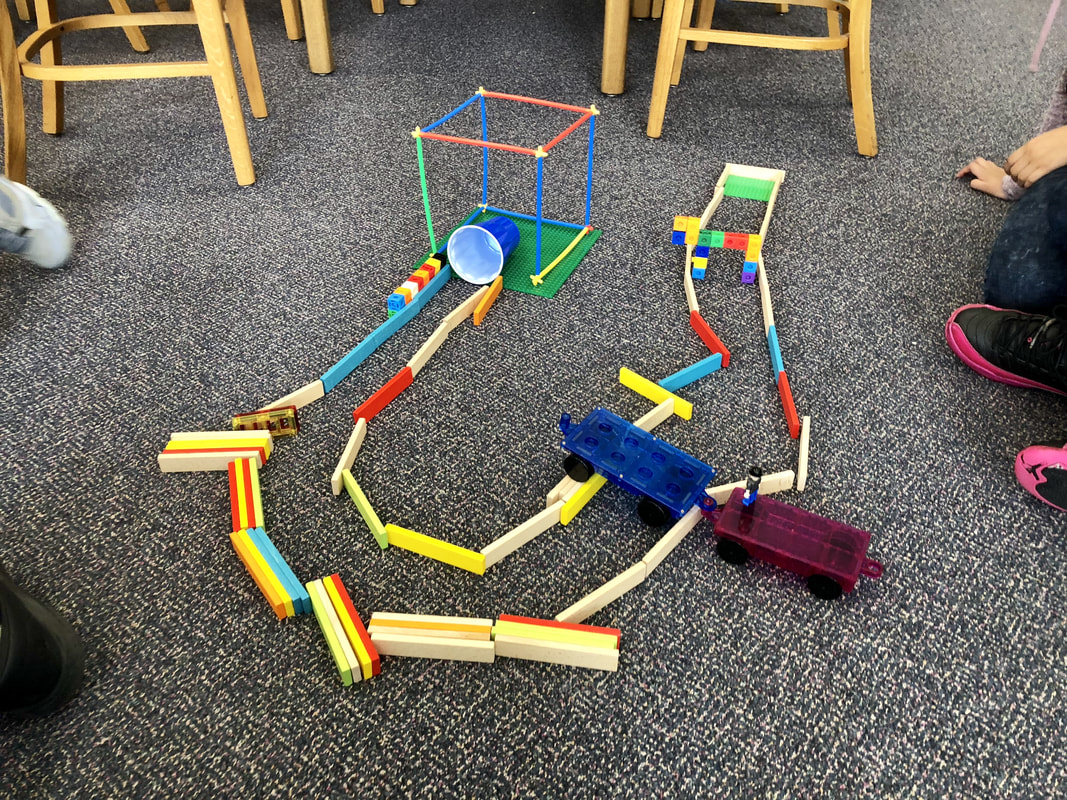
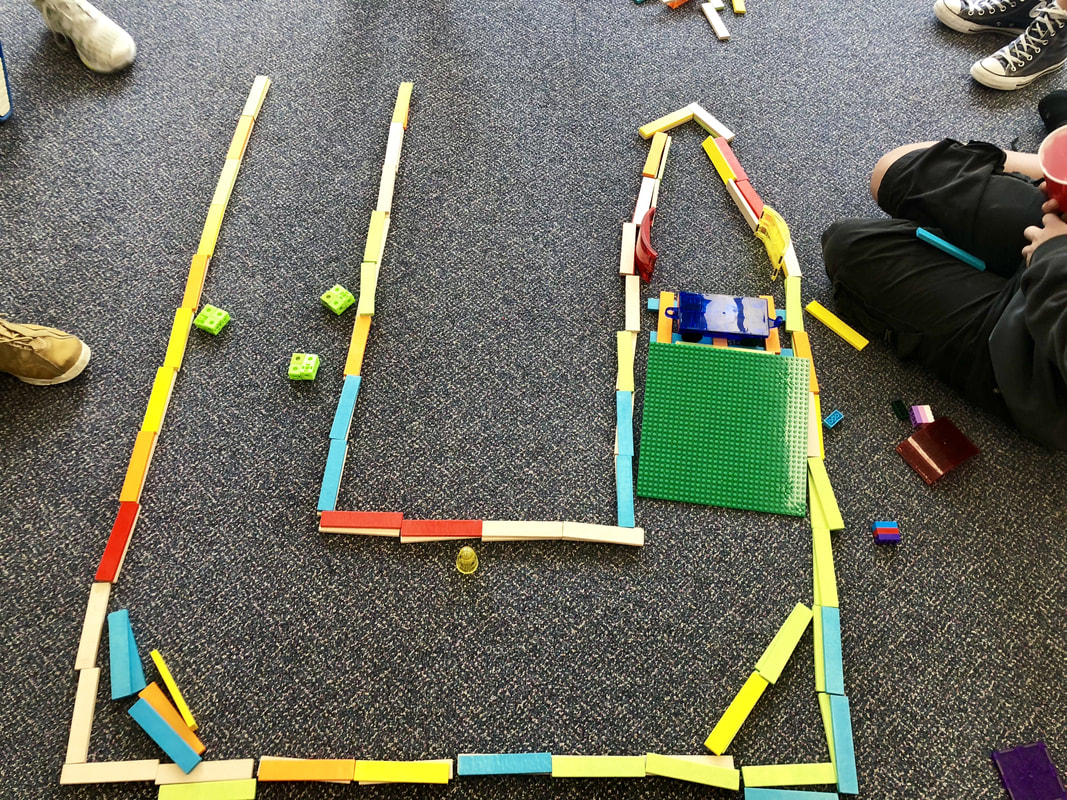
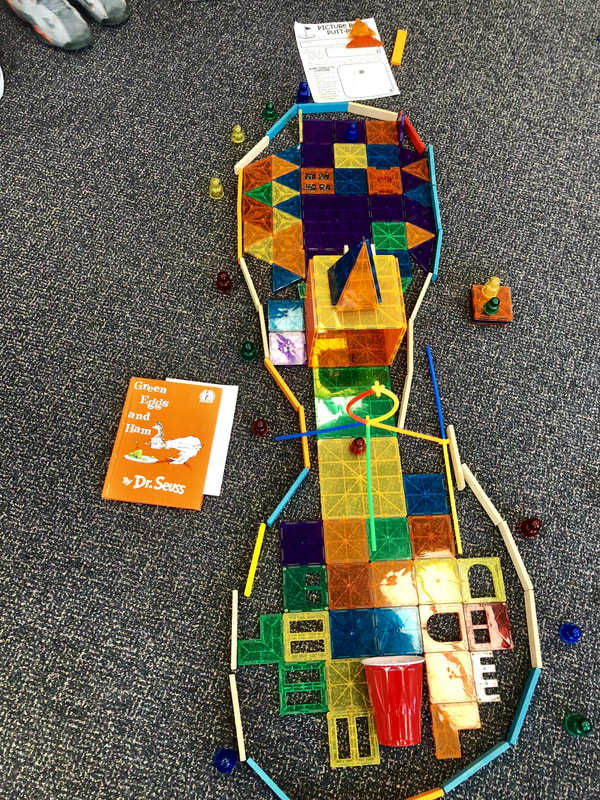
This week in 4th grade STEAM class we had an awesome time building LEGO mazes as part of our Toy Story STEAM Mania unit.  The kids were so in to this activity!  I gave them pretty simple and straight forward directions - their task was to use one baseplate to construct a maze in which a marble could travel from one side to the other.  I asked them to keep in mind the size of their workspace and make use of the whole space.  We talked about ways they could use the space so their marble wouldn't simply travel in a straight line (dead ends, twists, ramps, etc.).  The students came up with so many more great things that I hadn't even thought of - archways to clearly mark the entrance and exit, having some of the maze that had a "roof" over it (so you couldn't clearly see where your marble was), ramps that would jump you to the next part of the maze, and building a staircase entrance.  I was so impressed by their creativity and perseverance when they asked me to test their maze and I sent them back with feedback and ways to improve the complexity.  Every single student stepped up, made the improvements, asked for more feedback, and then had their table partners test their maze.  It was awesome how each maze was different students incorporated so many elements into their design.  This was truly a test of not only their creativity, but also critical thinking.  They all wanted a maze that would make me have to work to solve it - and I was okay with that!

0 Comments

Telling a Story...Creatively!

8/29/2019

0 Comments

 
Picture
As we entered the second week of school, I wanted to keep the "Back to School" theme as we are still learning and reinforcing expectations and rules.  In looking around online, I found the "Principal for a Day" Mad Lib and thought it could be entertaining.

I gave students a Mad Lib answer sheet and had students work with their shoulder partner to generate answers.  As I knew we were coming off of summer break, I put hints down at the bottom explaining what nouns and verbs were so I wouldn't have to explain it over and over.  We also reviewed how an "s" at the end of of a word makes it plural, so your answer must be plural.  I was surprised at how many students were not familiar with Mad Libs, so I am so glad I was able to share a bit of my childhood with them (not dating myself or anything, but how else would your survive a long car ride?)! 

I am also using table mats for groups so that everyone knows where to sit and everyone has a job in the learning and building process.  This has totally helped cut down on mindless wandering when we are getting started or cleaning up from activities as everyone knows what their job responsibilities are - a big win!

Picture
Picture
Picture
After they were done completing their Mad Libs sheet, they would receive the Principal for a Day story.  I modified the Mad Lib story sheet a bit by putting in numbers so that it would easily correspond to their answer on their sheet.  After reading their story, they would receive their building supplies (neon building bricks and a 6"x6" baseplate).  The partner group then had to build out their story or key parts of the story.  My goal was to get them collaborating and communicating together to tell a story of their own.
I was also feeling a little daring on the second week of STEAM class apparently because I also broke out the microphone.  I asked for volunteers who wanted to read their story out loud to the class.  A couple of students took right to it and the last student hesitantly volunteered and read his story.  He read so quietly into the microphone that even when standing right next to him, I had a hard time hearing him.  I was so proud though that he stepped outside his comfort zone and read with the microphone!  I will definitely have to bring it out more often!
0 Comments

Design Thinking Meets Maker Mats Meets Pixel Art

5/19/2019

0 Comments

 
Picture
I originally had planned this activity to be a basic pixel art activity as I thought it would be a high engagement activity (as this group loves Minecraft).  As I was driving to the school (a whopping 2 minute maximum drive), I had a thought that made me change my mind about my plan.  I usually give the students task cards or Maker Mats with this type of activity, but my plan was to give them the challenge of creating pixel art with free choice on creativity.  My thought that made me change my mind about the structure of the activity was to have each class design their own Maker Mat to use for the activity.

​Using some basic design thinking, I led each class through how we were going to create our own Maker Mat to create our pixel art.  I didn't follow a specific process, but this is how I led the design part of the activity.  Our theme for our Maker Mat was "Summer."
  1. Students worked with their table groups.  As a small group (no more than four students), they nominated one person to be the recorder for the group.
  2. Then for three minutes (I set a timer), they brainstormed as many things that they could think of that made them think of summer.  The recorder wrote down as many things as the group came up with and any of his/her own ideas.
  3. I set the timer again, this time for one minute.  In this one minute, they had to, as a group, narrow down their large list to their top two favorite ideas.
  4. I then had each group share their top two ideas, which I recorded on the board in a list.  If a group shared an idea that was repeated by another group, I put a check mark next to the name for each time it was repeated.
  5. I drew a blank 3x3 board on the wall and put a "FREE SPACE" in the middle.  We then went down each item on our list and students voted on if they liked it or not.  We wrote the total number of "yes" votes next to the item name.
  6. We then eliminated the two items with the least number of votes and filled in the Maker Mat on the board with the remaining items.
When creating their pixel art, we compared it to when we have used Perler Beads.  With the Perler Beads, we cannot stack the beads on top of each other - they have to lay in a single layer and placed strategically so that they make a design.  Instead of Perler Beads, we were going to use Legos to create the same kind of design concept.

Students could complete any of the items on the Maker Mat on the board in any order they chose.  As usual with task cards or when using a Maker Mat, the groups had to show the classroom teacher or I their creation before moving on to the next item.

Class #1

Picture
Picture
Picture

Class #2

Picture
Picture
Picture

I love how the classes came up with different interpretations for each of their items.  There were so many creative ideas!  This was actually a quick process in designing the Maker Mat, so students had plenty of time in our hour-long activity to simply build.  It was a great way to give the students ownership in the activity.  When I came in and they asked me what we were going to be building, I could honestly say, "I don't know!".
0 Comments

Building a Brick Winter Wonderland

1/8/2019

0 Comments

 
Picture
Picture
This week was our first week back after our holiday break, so I thought it might be a good idea to ease back into our STEAM activities.  I created some winter-themed task cards that could be used with any kind of STEAM resource, but I chose to use LEGOs as I recently received a DonorsChoose project for them so I had enough for the whole class to build at the same time.  I like having a variety of resources, but having enough is a game changer in teaching students that it everyone can be successful in different ways with the same resources.

With this activity, I gave the students the choice to work in pairs of in a group of 3-4 (based on the number of people in their table group).  Students did a great job of choosing their groups and working together.  I thought being off for a bit on break would be a little rough on getting back into the routine of communicating and collaborating, but the students did an awesome job!  I asked them to use the task cards to build the given structures however they wanted to (it did not have to look just like the picture), but they had to show a teacher before they could move on to the next card.  Some groups had to do some revising on their creations as we could not really tell what they were, significant details were missing, or was sloppy work.  Those groups really only had to be send back once as they spent more time on their future designs, making sure they were meeting expectations.

Some of the awesome things I saw while students were building:
  • One group made not only a cup of hot chocolate, but also a little barista stand to dispense the hot chocolate.
  • One group spent almost the entire time building the cup of hot chocolate.  The amount of redesign that took place in this group of 4 was countless, but they were never discouraged.  They all wanted elements of their design to be incorporated and worked hard to make it happen.  Their LARGE cup had a transparent side so you could see how much hot chocolate you had inside of your cup, a straw to drink out of, marshmallows, and a sturdy handle.
  • Students did not stray from the task that I gave them and began building other things.  They really stuck to the task and worked collaboratively.
  • Some students really needed the pictures on the task cards to make meaning of what they were being asked to build.  I intentionally put black and white images so that they would be able to use the images as context clues, but use their imagination to build creatively.

Winter STEAM Task Cards
Picture
Picture
Picture
0 Comments

Picture Book Putt Putt {Learning Landscapes EDU}

8/23/2018

0 Comments

 
Picture
Today I worked with one of our awesome 7th grade teachers, Alissa Huggins, to do an activity for her ELA students to get them communicating and collaborating together as they started off the school year.  We both like to think outside the box with things, so our ideas often build off each other to come together in a grand plan.  It usually results in a pretty awesome experience for students and leaves both of us wiped out by the end of the day.  I don't think we would have it any other way though!
Picture
Picture
As students entered the Media Center, we gave each of them a golf back with a number on it - this told them which table to go sit at for their group.  We conducted a little survey to build some empathy to find out how many students had played mini golf before (this also allowed us to collect their numbers to use with the next group).  It was really interesting to see the final numbers when collected the numbers.  It helped us target groups who might need a little further explanation of what mini golf is, how obstacles work, and how to bring their ideas to a tangible design.
Picture
Picture
For this Learning Landscape, we told students they would be creating a hole as part of a mini golf course.  BUT...they would be using the picture book at their table as their inspiration for the design for their hole.  We told them they could build whatever they wanted as far as how the hole was shaped, but the obstacles and other elements had to be themed around the book.  Based on their reactions of the somewhat simple picture books at their table, I think they thought this was going to be easy-peasy.  It definitely proved to be more difficult than they anticipated, and I think they were glad I chose easy picture books!

Ideation

Before students began building anything, we had each student do some individual brainstorming.  After this, we had them discuss their ideas as a group and either decide on one of the group members' designs or combine elements of different ones to come up with a new design.  We wanted all students to be active and accountable during the ideation process.
Student Handout & Teacher Pages
Picture
Picture
Picture
I am including some of the student brainstorming sheets below because it was so interesting to see their conceptual drawings and then how they translated those ideas from paper to a tangible design.  Some were able to put their thoughts into pictures and words, where others struggled with sketches but were able to verbally articulate their design ideas.

Prototyping

Picture
After students were done working as a group to come up with one cohesive design, they had to present it to their teacher or myself to receive approval to begin building.  This ensured they were all on the same page as far as designing and everyone had a part of construct that they were responsible for once they had their materials.  This really ensured that they were truly collaborating and communicating to come to one design for their hole.  As they were constructing, one student even made a little "judge's stand" to reinforce the rules of mini-golf for the players. :)

The materials we used were:
  • Magna Tiles
  • Wooden Planks
  • Straw Builders
  • Creation Cubes
  • Legos

Testing

When students had reached a point where they were done constructing and ready for testing, they were asked to test out their course designs.  Some even constructed their own little golf clubs to use - how creative!  After testing their designs, some groups had to go back and do some redesigning, as they found their courses may have looked pretty cool, but they were next to impossible to actually play.  After some redesign and another round or two of testing, their courses were in a much better playable design.
There were so many interesting and fun designs, but I have to say I think this one might have been at the top of my list for how an idea came to life.  The collaboration and communication between team members of this group was amazing too!  If they had more time to build, I know they would have had some awesome obstacles.
(The hole spanned over the 2 large Lego baseplates and the cow head was a ramp.  When you hit the ball, it would have to go up the cow head ramp and the end hole would be between the cow's horns.)
Picture
Picture
Other honorable mentions...
Picture
Picture
Picture
Picture
Picture
Picture
0 Comments

Quickfire: Thanksgiving LEGO Challenge

11/20/2017

0 Comments

 
Picture
A short week before the holidays will guarantee that kids will be wired...so why not capture their desire to communicate and channel it into a fun activity with Legos?!  I had recently come across these Lego Challenge Cards from The Fickle Giraffe and thought it would be a great idea to modify for a Thanksgiving theme.  The Pilgrims faced many challenges when they settled in Plymouth Colony after all!
Picture
I started off by showing them this video to give them a bit of background knowledge.  If they paid attention enough, they could also use some of the ideas in the video for their challenge.
I gave each group the sheet to the right as well as one challenge card (click on the button to access both).  With a partner, they had to construct, with only Legos, a solution to the problem/challenge they were given.  The idea was to have the students think deeper about what the problem was that the Pilgrims were facing and how they could come up with a solution using limited materials (as the Pilgrims had to).  When they were done with their construction, I asked them to write a brief paragraph about their design.
Picture
Challenge Cards & Reflection Sheets
Picture
Picture
This was a fun challenge for me to watch, as working in pairs creating a solution to a problem was more difficult than I anticipated.  I am not sure if it was due to the short week and upcoming break, or if they truly had a difficult time discussing their ideas, coming to a common solution, and then actually building a prototype.  Either way, it was a good brain workout for them!  They came up with some great visual solutions and were able to explain (either in written or verbal words) why they constructed what they did.  If I were to take this idea a step further (time permitting), I would love to take the students outside and ask them to construct actual representations of their ideas using resources from nature.  This would give some great hands-on experience (and a little more realism) for what the Pilgrims had to go through.

Student Challenge Solutions

0 Comments

Quickfire: Big Pumpkin Building

10/12/2017

0 Comments

 
Picture
Recently, Kelly McGee shared something on Twitter about STREAM from the School Library Journal.

All about STREAM: STEAM + Reading w/ @imcraddock @GingerLewman @wilsonforthewin 11/16 https://t.co/RlPLpJClup @isteconnects #SLJISTE

— SchoolLibraryJournal (@sljournal) September 9, 2017
Combining STEAM and reading really makes for a learning powerhouse!  He and I had a great conversation how focusing STEM/STEAM activities around the theme of a book really lends itself to meaningful extensions and connects with students on a totally different level.  When he saw the tweet, we had already done our 10 Apples Up on Top activity, and realized we had already been doing STREAM without putting that tag to the concept!  So, we decided to intentionally implement the concept for a fun Halloween-themed activity!
Picture

Big Pumpkin Building

To begin the activity, Kelly read the story, Big Pumpkin, to the students.  Kelly is a very engaging reader to begin with, but as we were working with a small group of special education students, he upped his game a bit and the kids were totally captivated (fun accents and voices were a must!)! After reading the book, he led an adapted version of the improv game, "Hand of Power."  As the story talked about the witch (and ghost, vampire, mummy, and bat) trying to pull the pumpkin off the vine, he changed the activity so there was a focus on actions and reactions.
  • When he "pushed" forward, the students had to lean back.
  • When he "pulled" back, the students had to lean forward.
  • When he "pushed" to the right, students had to lean to the left.
  • When he "pushed" to the left, students had to lean to the right.
  • When he "rotated" his hands around, the students had to spin in a circle.
The great thing about how he led this activity was he only gave one example of how the activity would work, and then the students had to figure out the rest.  They did great and didn't hesitate even at the spinning part!
Picture
Picture
The final part of our activity included the STEAM part - if we could build a person/thing to help the witch get the pumpkin off the vine, what would we create?  Using LEGOS, students had to build a creation and then be able to explain how it would help get the pumpkin off the vine.  Based on teacher recommendation, we placed the students into groups of three, and then gave them the choice to work together or individually to build a creation.  The students did not hesitate to begin building and we all had some great conversations with the students as they were building their creations.

​HOW MIGHT WE build relationships through engineering designs?

Goals:​
  • Work cooperatively to build a structure
  • Use problem solving and critical thinking to work through a difficult task
  • Communicate thoughts, ideas, and opinions constructively
Picture
At the end of their building, we used the Fotobabble app to take a picture of their creation and give them the opportunity to explain how their creation would help get the pumpkin off the vine.  It was great practice for verbal skills, reasoning, and thinking hands-on!
Big Pumpkin Building Lesson Plan

Student Creations

Click on the buttons to view the Fotobabbles with the students explaining their creations!
Monster Truck
Picture
Helicopter
Picture
Zombie
Picture
Truck
Picture
Clown and Car
Picture
The Rodeo
Picture
Zombie
Picture
0 Comments
    My Amazon Wish List
    My DonorsChoose

    Follow Me

     Subscribe in a reader

    Would you like e-mail notifications?  Enter your e-mail address below to subscribe.

    Enter your email address:


    Categories

    All
    100th Day
    10 Minute Tech Tools
    1:1 Program
    2012 Edtechcheer
    21stcenturylearning
    3D Pens
    3D Printing
    6C Learner Profile
    Activators
    Aliens
    Alphabet Practice
    Angles
    App Review
    Arduino
    Army Men
    Assessments
    Augmented Reality
    Beads
    Book Spin
    Botley
    Brain Flakes
    Breakout EDU
    Bridge Builders
    Button Making
    Careers
    Cars
    Chalk
    Chopsticks
    Christmas
    Cinco De Mayo
    Circuitry
    Clear/Neon Building Bricks
    Clothespins
    Coding
    Coffee Filters
    Comics
    Computational Thinking
    Conductive Play-Dough
    Conferences
    Crack The Code
    Creation Cubes
    Creative Writing
    Culturally Responsive Teaching
    Dash
    Debate
    Design Thinking
    Dia De Los Muertos
    Dice
    Digital Citizenship
    Dot Day
    Earth Day
    Easter
    EdTech Cheer
    Edtech Cheer 2013
    EdTech Cheer 2014
    EdTech Cheer 2015
    Egged On
    Election
    Engagement
    Fall
    Fire Safety
    Fireup
    Flockmen
    Forces
    Four In A Row
    Glow Day
    Glow Games
    Glowie Mats
    Glow STEAM
    Glps Tech Blog
    Godfrey-Lee
    Googledocs
    Google Sites
    Graphic Recording
    Groundhog Day
    Guest Speaker
    Guided Practice
    Halloween
    Hour Of Code
    House Builders
    Imaginative Play
    Improv
    Index Cards
    Instructional Strategies
    Ipad
    ISTE
    KEVA Planks
    Knitting
    LearningLandscapesEDU
    Lego
    Legos
    Lesson Plans
    Lesson Preparation
    Listening Center
    Literacy
    LittleBits
    Lunch & Learn
    MACUL
    Macul11
    Macul12
    Macul13
    Mad Libs
    Magic Nuudles
    Magna Tiles
    Magnets
    Magnet Tiles
    Maker
    Maker Mat
    Marbles
    Math
    Memory
    Micro:bit
    Mini Erasers
    Mini-Erasers
    Monthly Integration Idea
    Multiplication
    National Unplugged Play Day
    Optical Illusion
    Outdoor Learning
    Ozobots
    Paper Circuits
    Paper Craft
    Paper Quilling
    Paper Rolls
    Passion Project
    Pattern Blocks
    PBIS
    Perler Beads
    Physical Education
    Pipe Cleaner Circuits
    Pipe Cleaners
    Pipettes
    Pix Brix
    Pixel Art
    Plastic Cups
    Plus Plus
    Podstock
    Pom Poms
    Popsicle Sticks
    Potato Head
    Powerpoint
    Power Tiles Circuits
    Professional Development
    QR Codes
    Qubits
    Quickfires
    Reading Month
    Rebelnet
    Rebelu
    Rebel U 2018
    Robotics
    Room Transformation
    School Spirit
    Senior Capstone
    Sewing
    Shrinky Dinks
    SIOP
    Sketchnotes
    Slinky Dog
    Sloths
    Snap Circuits
    Snowflakes
    Spanish
    Spanish Market
    Spelling
    Spiders
    Sports
    Spring
    Stamps
    Star Wars
    STEAM Night
    STEM/STEAM
    Stoneware
    Storybook STEAM
    Story On A Stick
    St. Patrick's Day
    Strawbees
    Straw Builders
    Straws
    STREAM
    Student Engagement Games
    Student Portfolios
    Sum Blox
    Summarizers
    Summer
    Task Cards
    Teacher Website
    Techintegration
    Tech Integration
    Thanksgiving
    Thaumatropes
    Thematic Learning
    Tinker Toys
    Toy Story STEAM Mania
    Unplugged Coding
    Valentine's Day
    Vehicle Builders
    Videostreaming
    Water Activity
    Wikki Stix
    Winter
    Winter Olympics
    Wooden Blocks
    Wooden Planks
    Yarn
    Zentangles


    Archives

    December 2019
    November 2019
    October 2019
    September 2019
    August 2019
    May 2019
    April 2019
    March 2019
    February 2019
    January 2019
    December 2018
    November 2018
    October 2018
    September 2018
    August 2018
    June 2018
    May 2018
    April 2018
    March 2018
    February 2018
    January 2018
    December 2017
    November 2017
    October 2017
    September 2017
    August 2017
    March 2017
    September 2016
    July 2016
    April 2016
    March 2016
    February 2016
    January 2016
    December 2015
    November 2015
    October 2015
    September 2015
    April 2015
    February 2015
    January 2015
    November 2014
    October 2014
    September 2014
    March 2014
    January 2014
    December 2013
    November 2013
    October 2013
    September 2013
    May 2013
    April 2013
    March 2013
    February 2013
    January 2013
    December 2012
    November 2012
    October 2012
    September 2012
    March 2012
    December 2011
    November 2011
    October 2011
    July 2011
    June 2011
    April 2011
    March 2011
    January 2011
    December 2010
    November 2010
    October 2010
    September 2010
    March 2010
    December 2009
    November 2009
    October 2009

Powered by Create your own unique website with customizable templates.