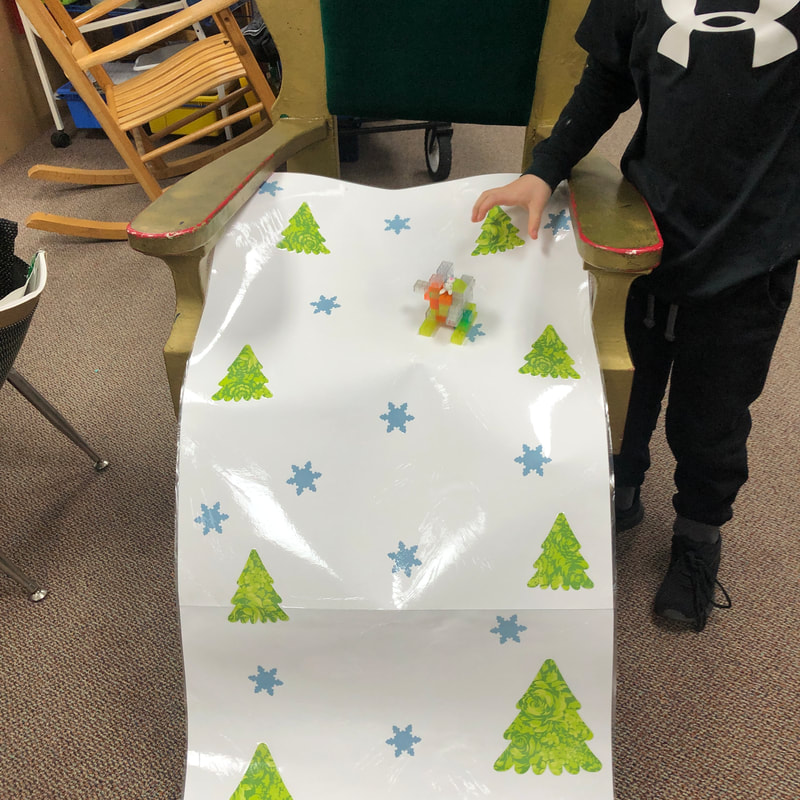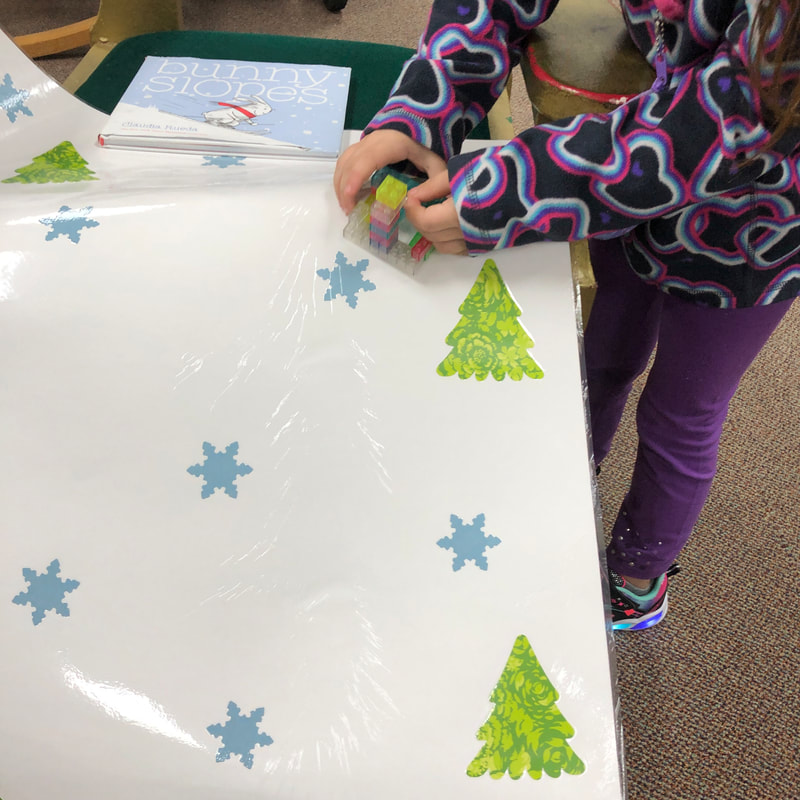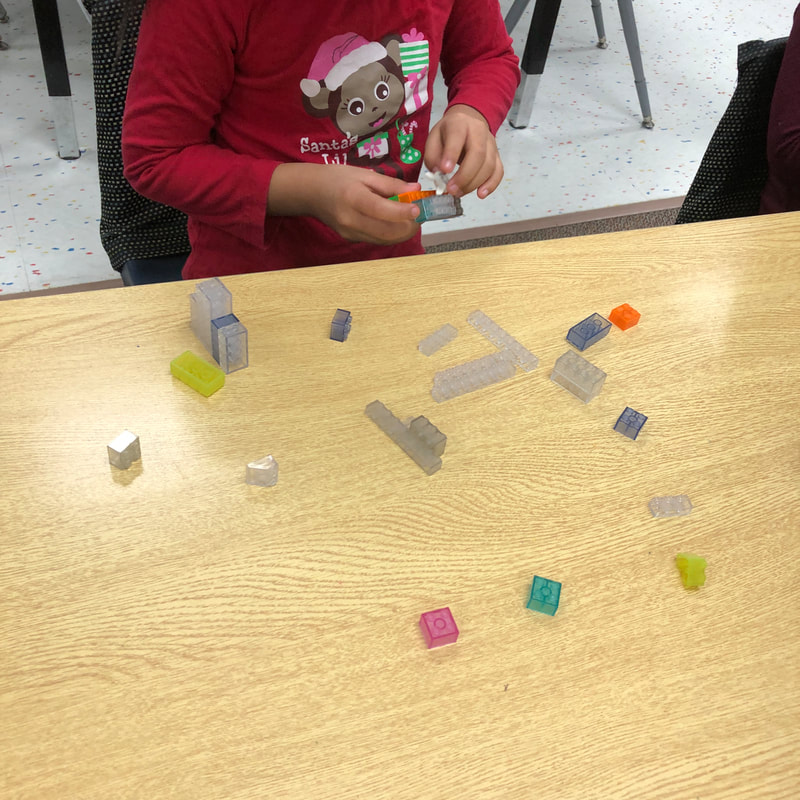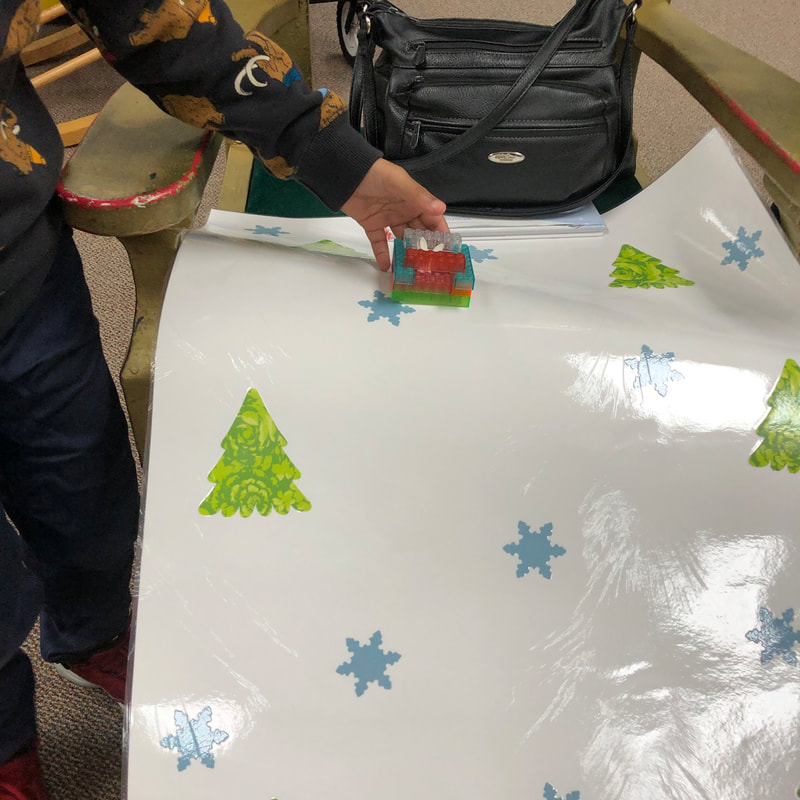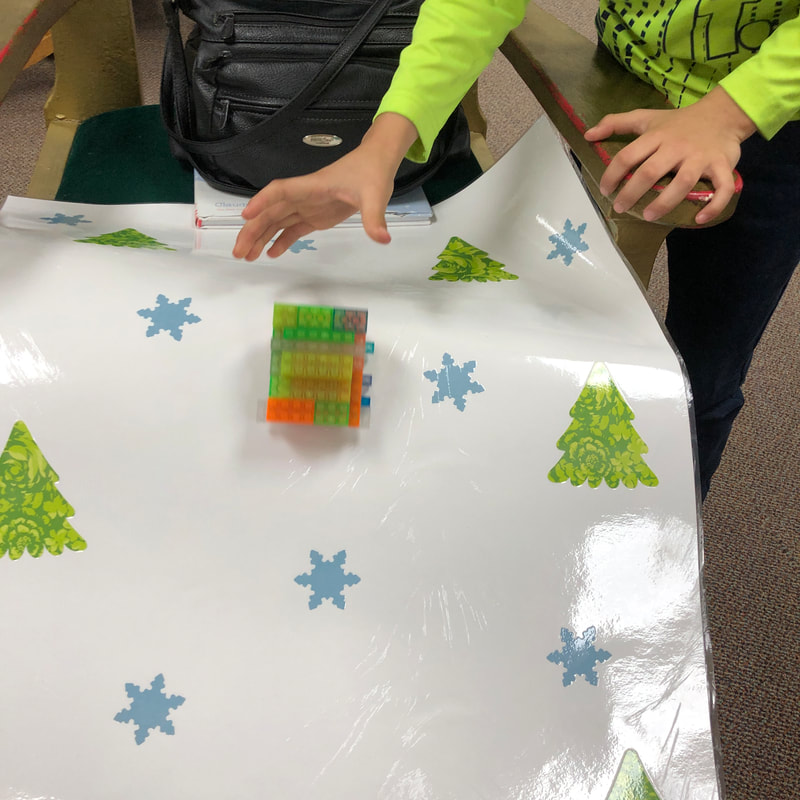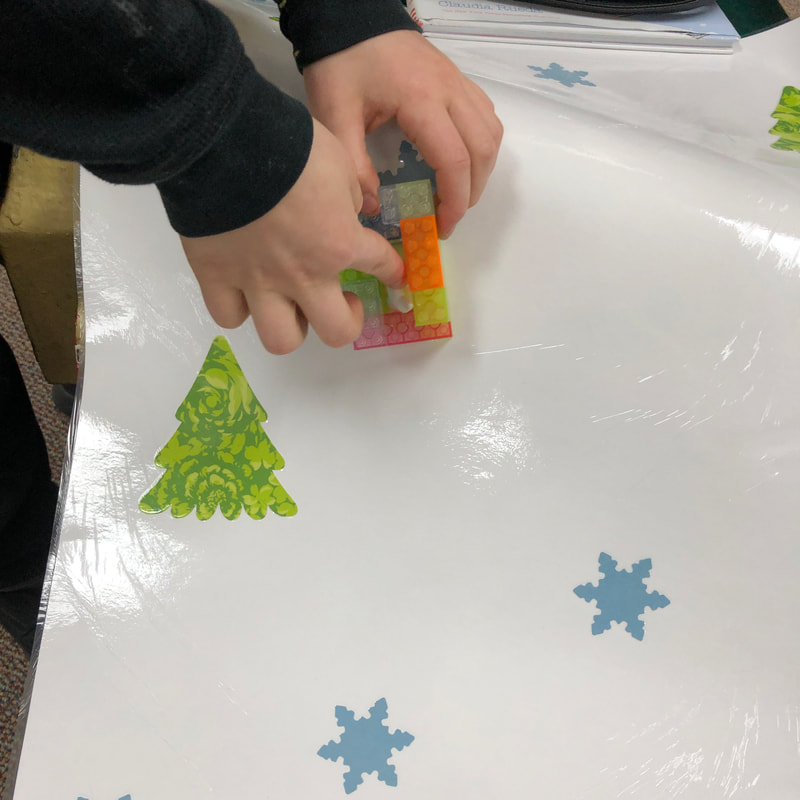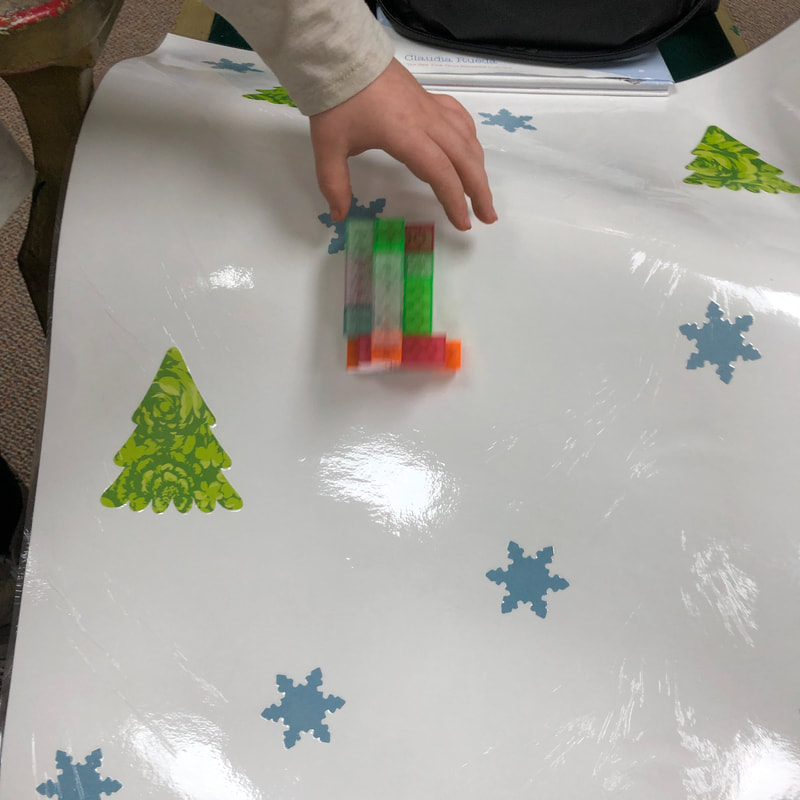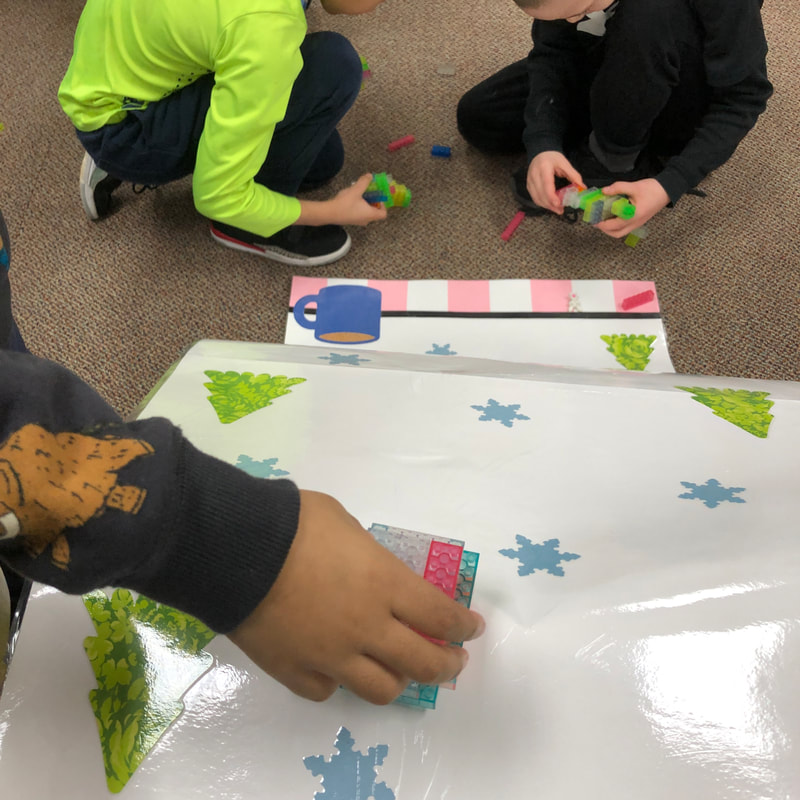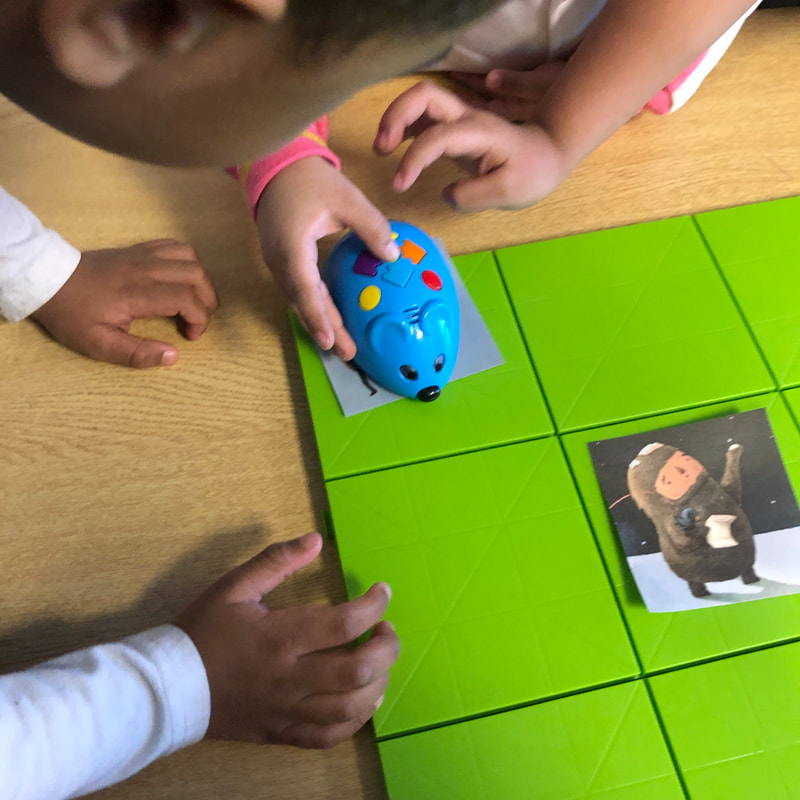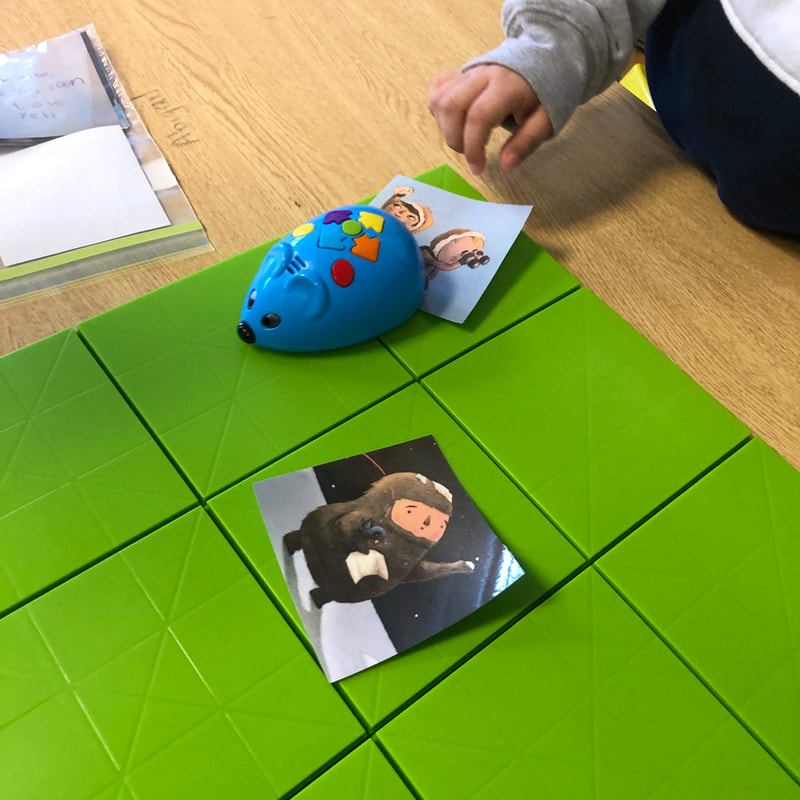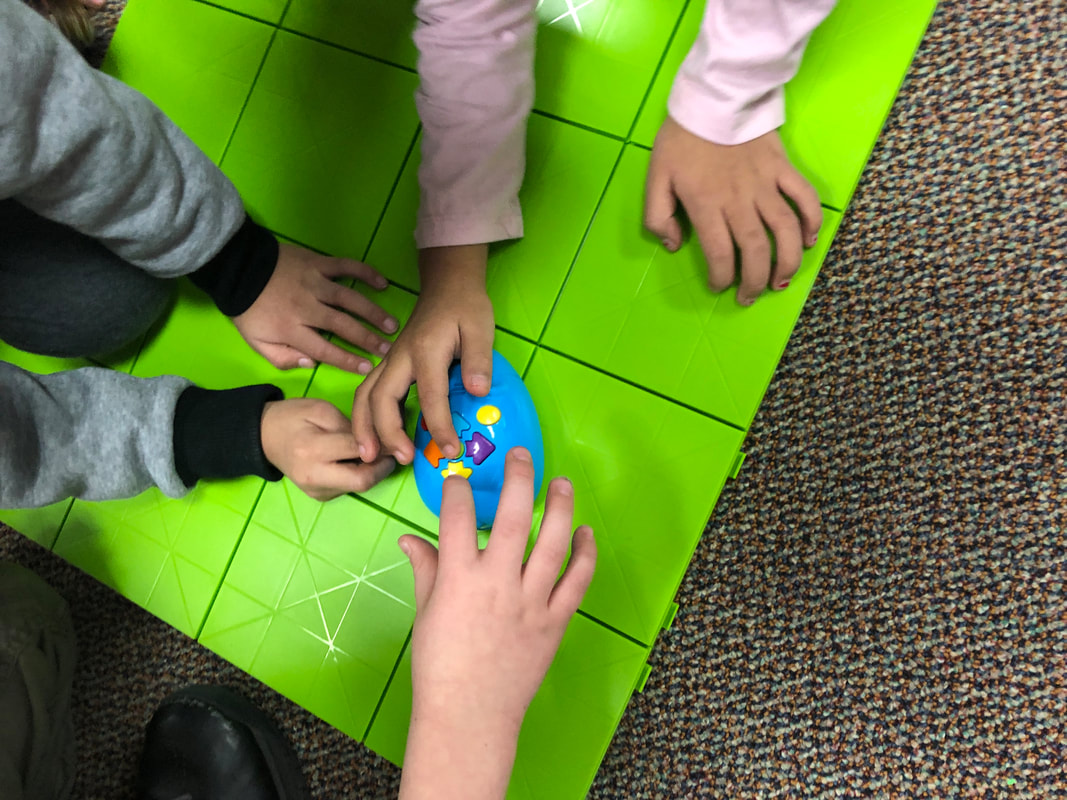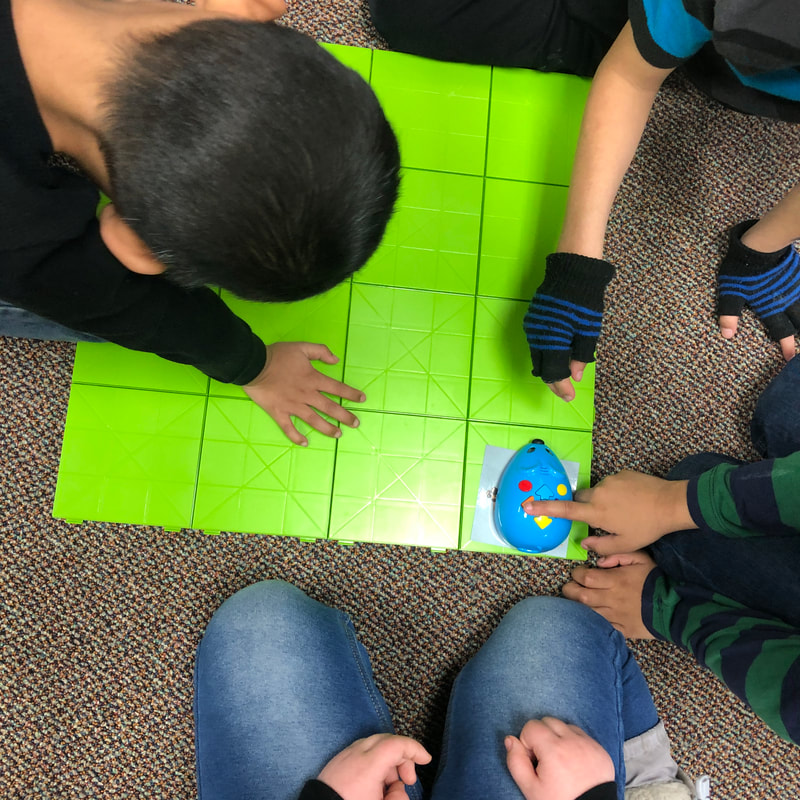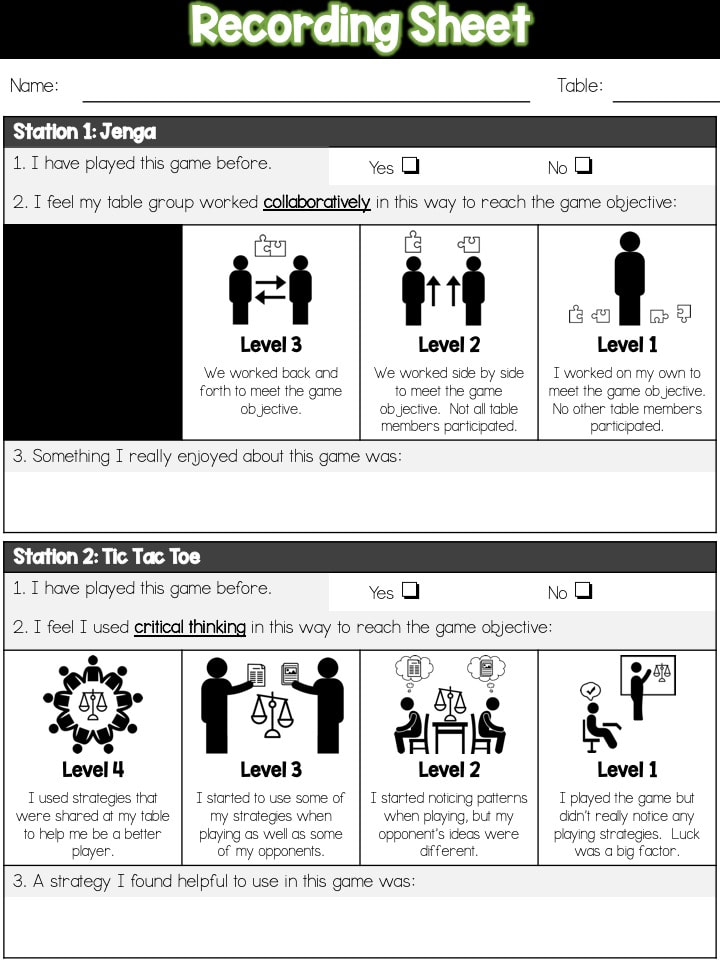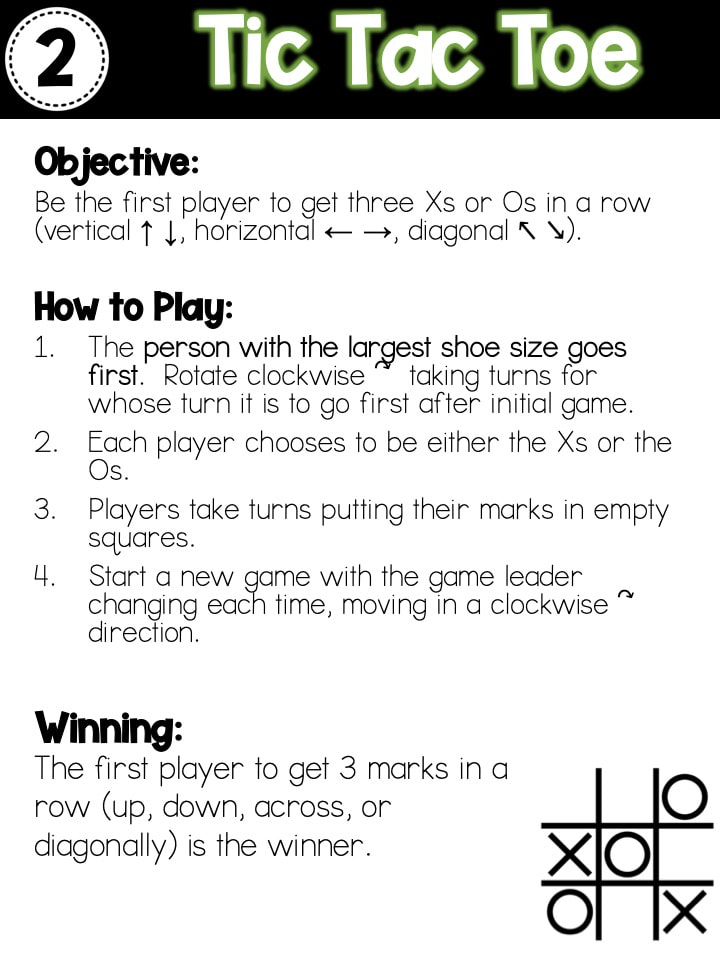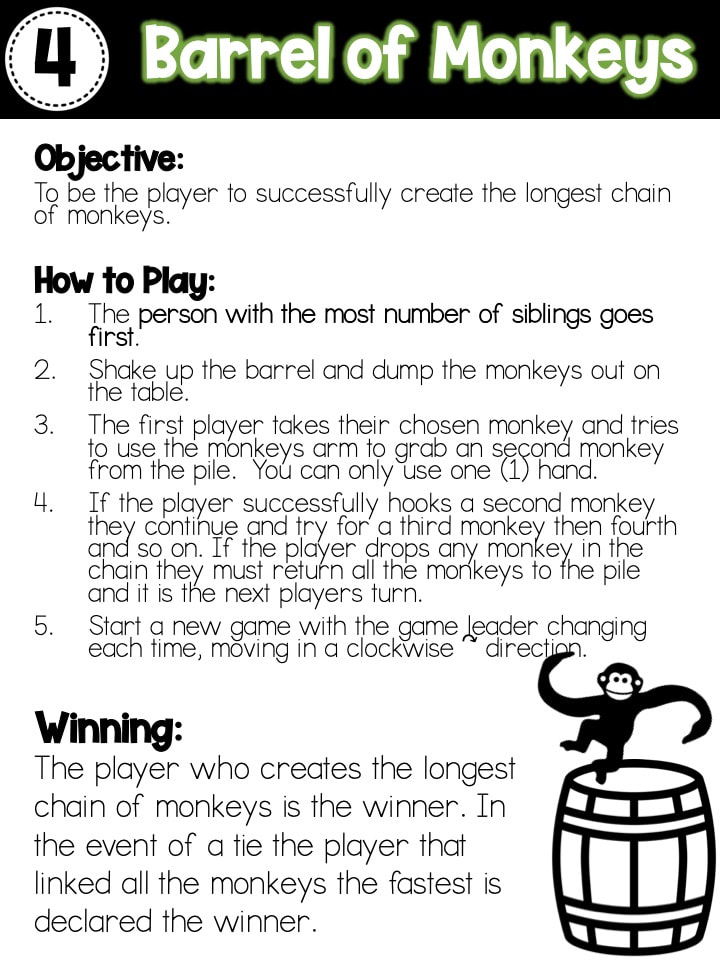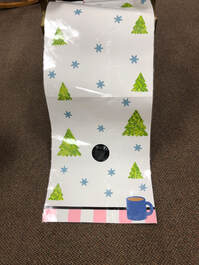
This week with my littles, we read the story Bunny Slopes. This book has been a favorite of my own kiddos for a long time, so I knew I would have to incorporate it during this winter season. I had seen several people share on Instagram about making a hill out of poster board and students designing something (I told my kiddos I didn't want to label it as a sled or something because I didn't want to limit their imaginations) to slide down the hill. I knew this would be perfect for my groups! I fancied up two pieces of poster board that I taped together with some trees, a mug, and snowflakes I cut out on my Cricut. I added a little "finish line" at the end (the colors coincidentally matched the blankets in the book!).
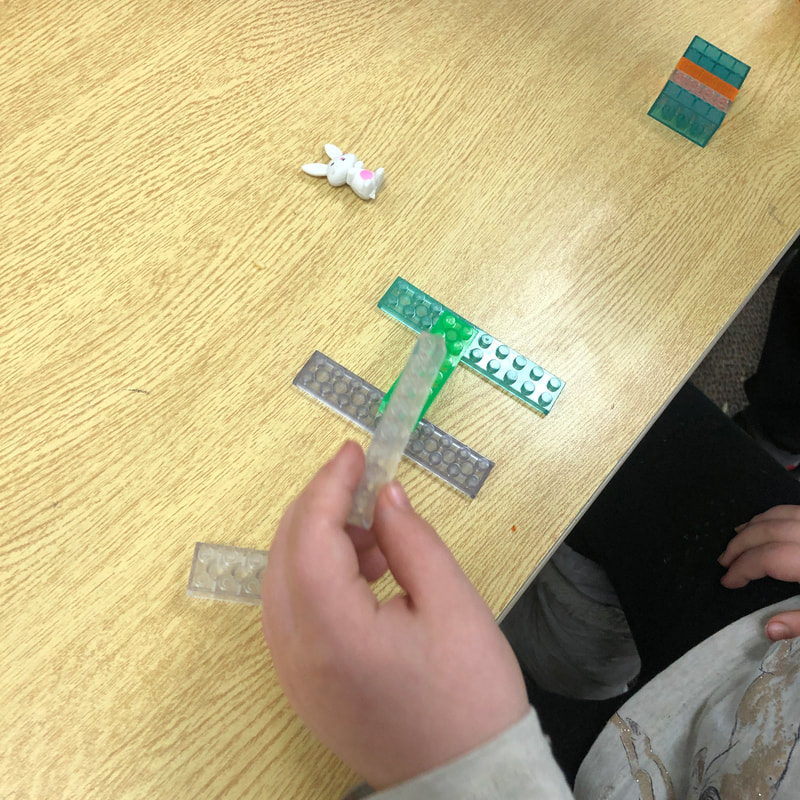
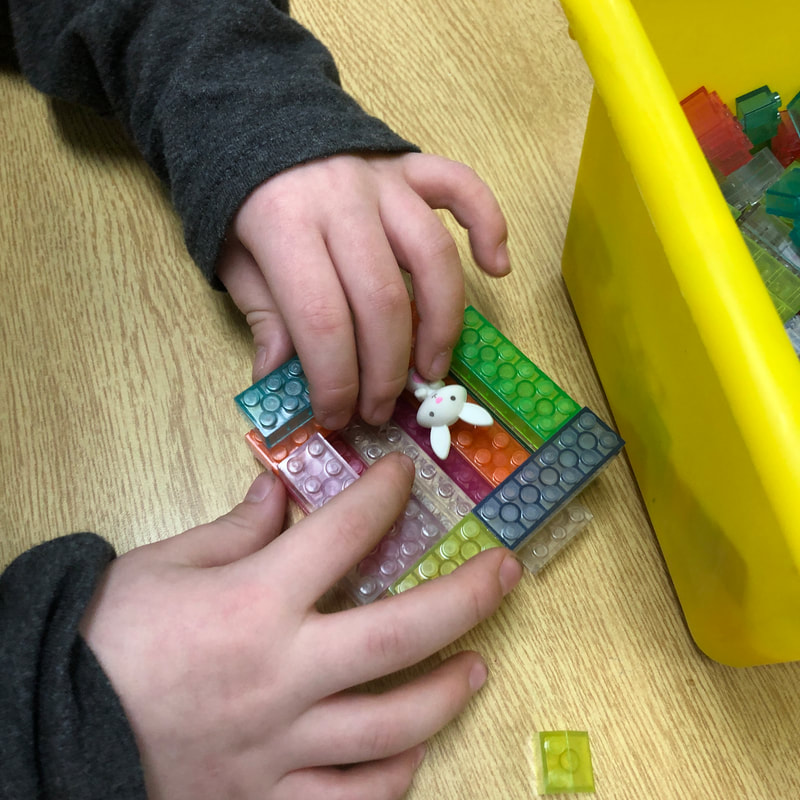
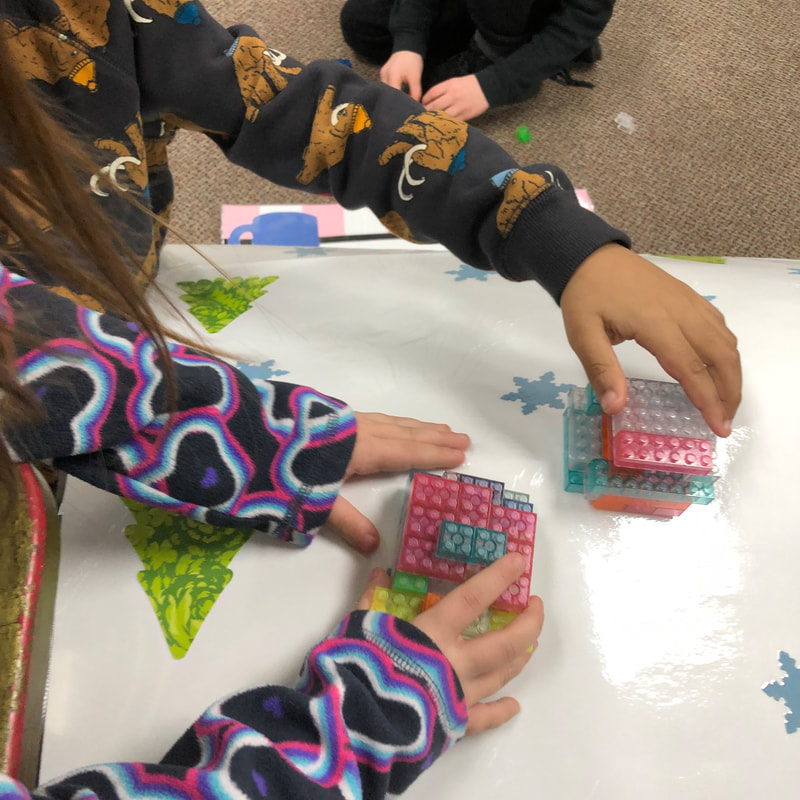
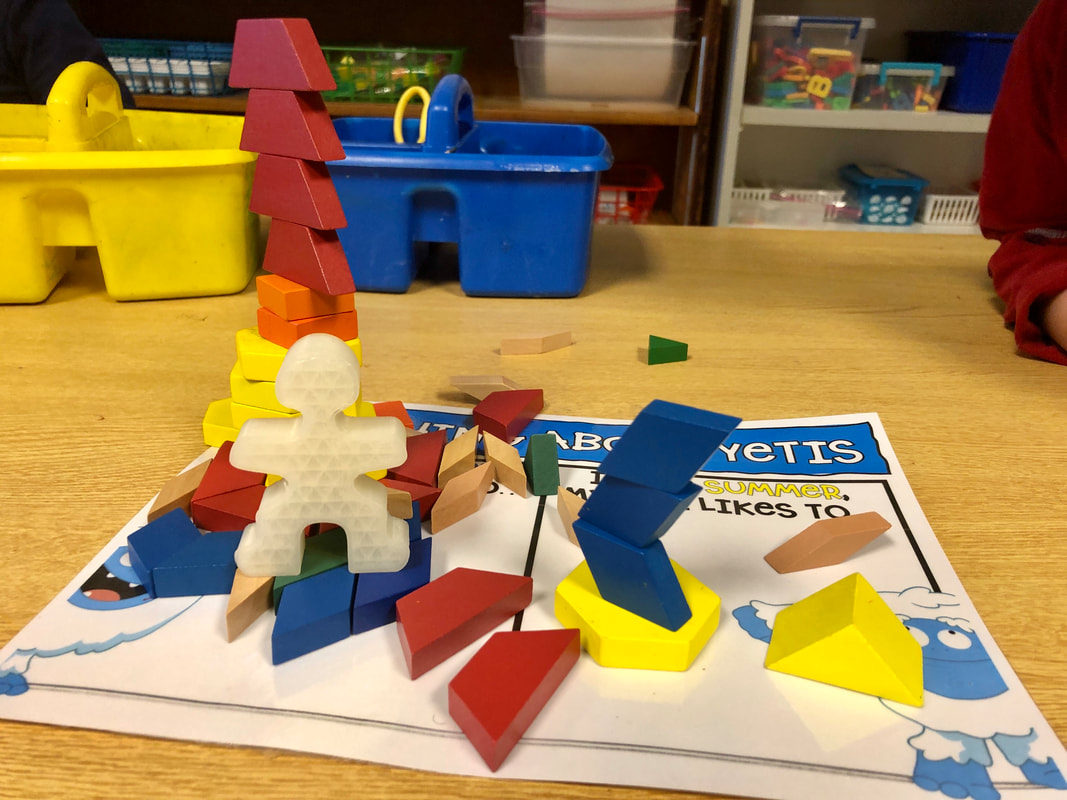
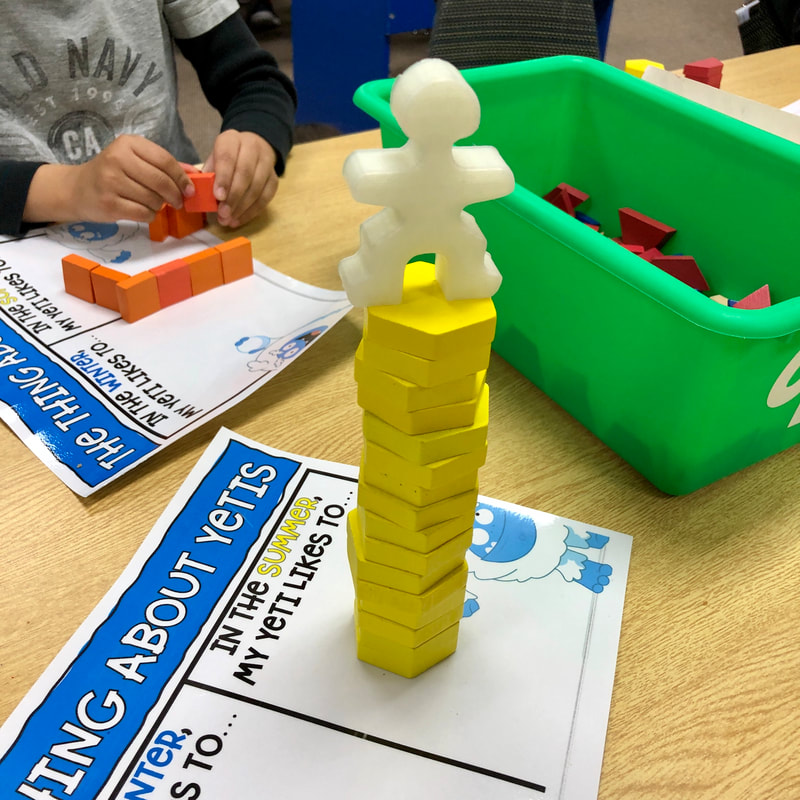
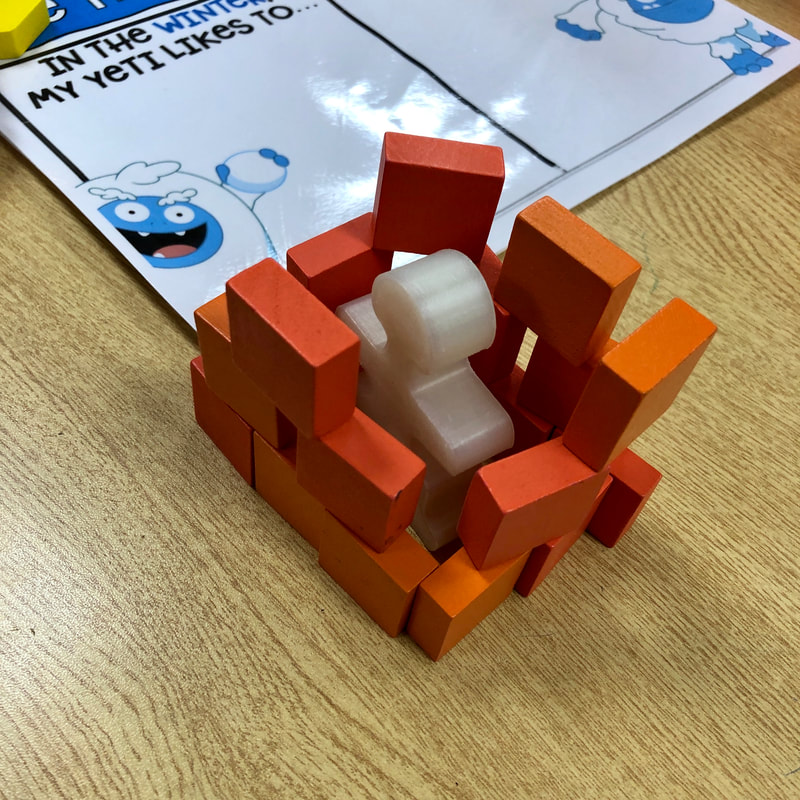
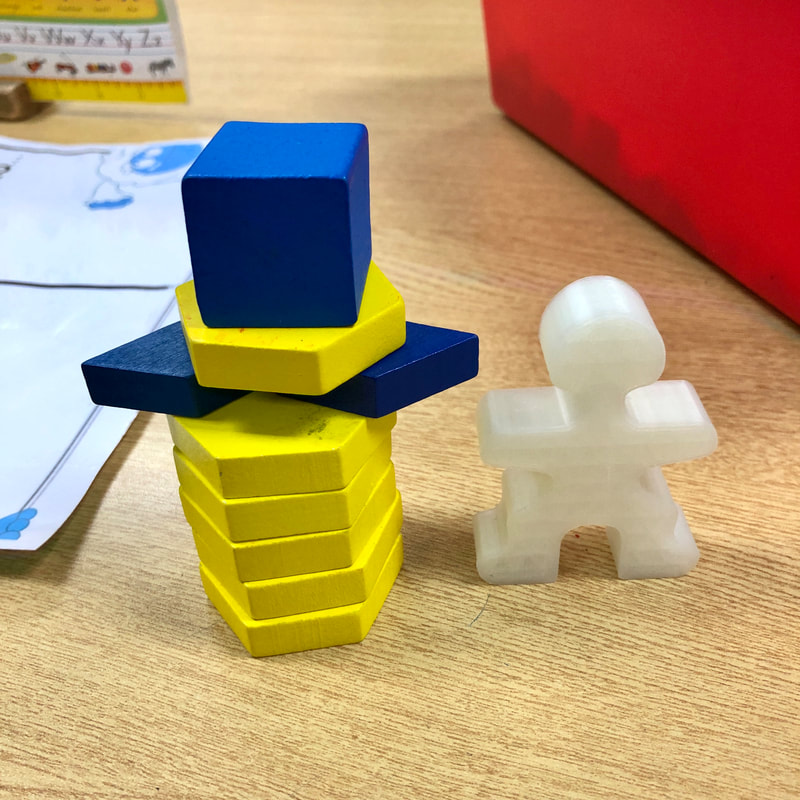
Students designed some sort of transportation that would go down the hill as well as keep their little bunny mini eraser safe inside. We had many trial and error attempts where either the bunny fell out or the mode of transportation fell apart (or both). I was so impressed how the students did not get frustrated when things came apart, but rather picked up their pieces, went back to their table, and started fixing or redesigning. We found that larger, sturdier modes of transportation kept the bunny safe and didn't fall apart opposed to the smaller structures. Engineering for the win!
Students designed some sort of transportation that would go down the hill as well as keep their little bunny mini eraser safe inside. We had many trial and error attempts where either the bunny fell out or the mode of transportation fell apart (or both). I was so impressed how the students did not get frustrated when things came apart, but rather picked up their pieces, went back to their table, and started fixing or redesigning. We found that larger, sturdier modes of transportation kept the bunny safe and didn't fall apart opposed to the smaller structures. Engineering for the win!