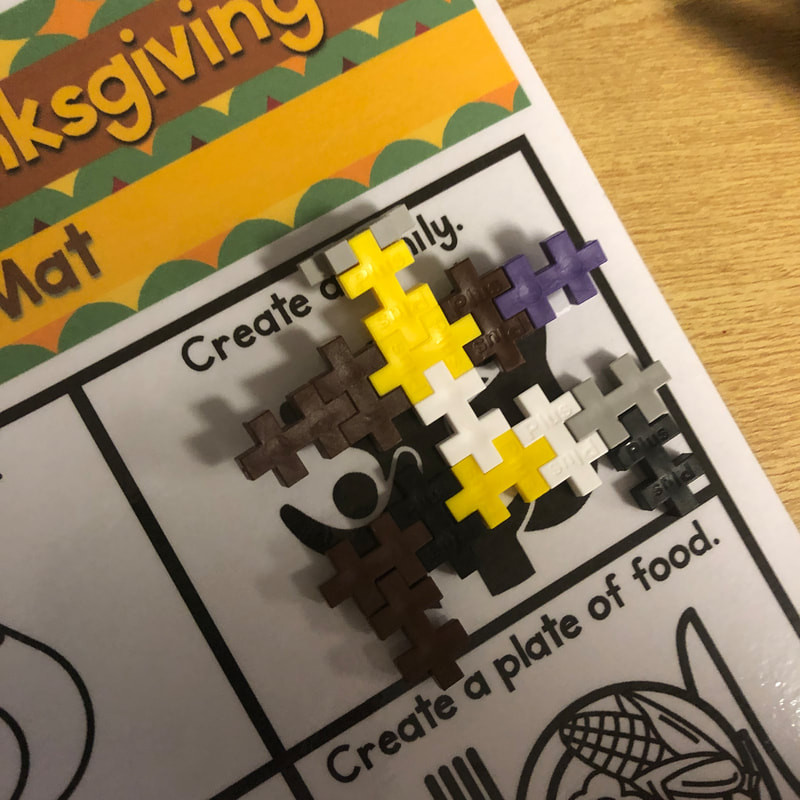
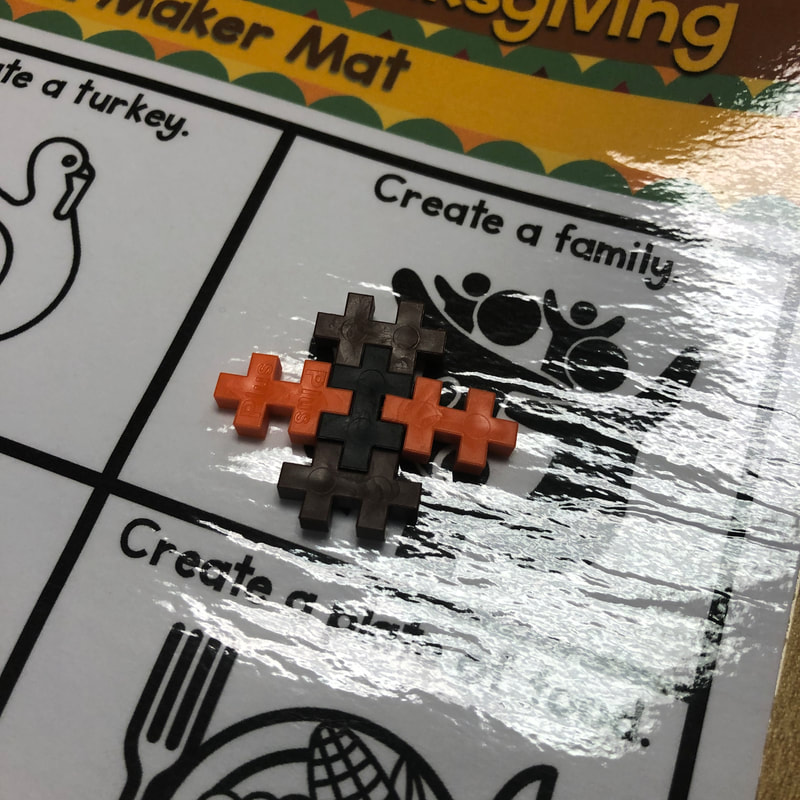
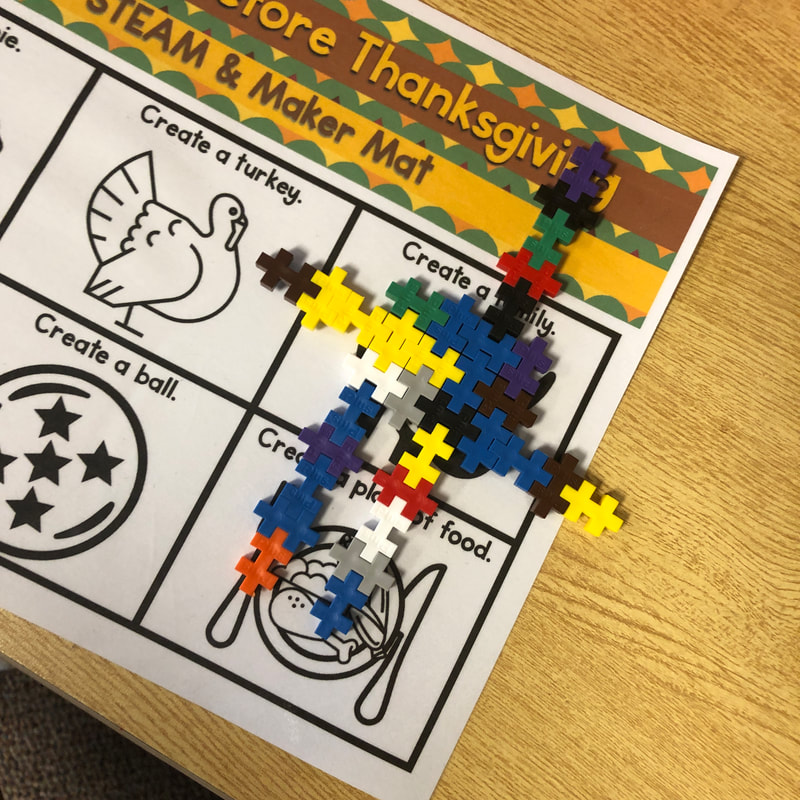
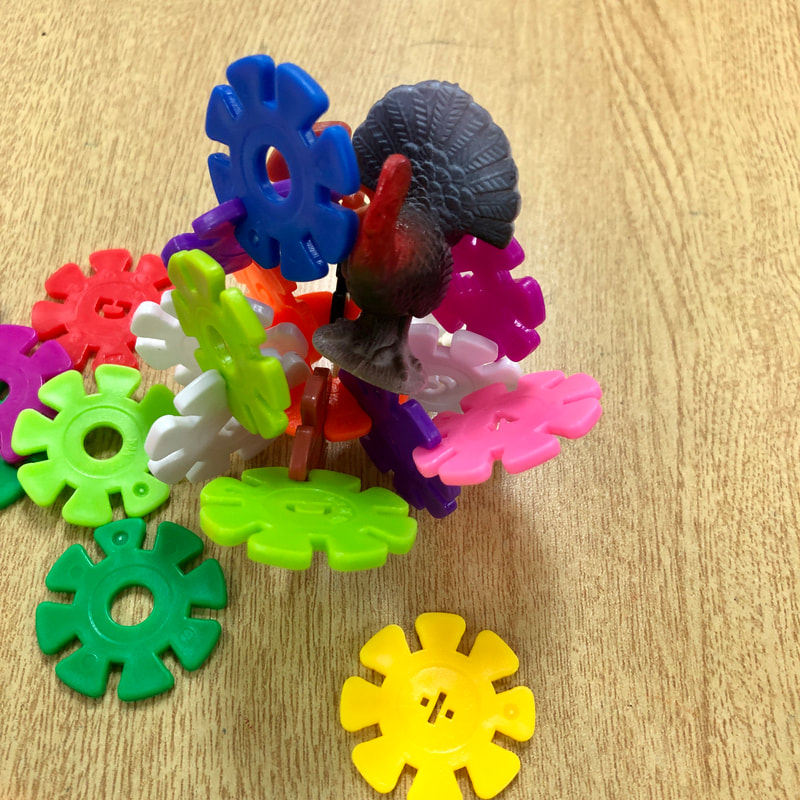
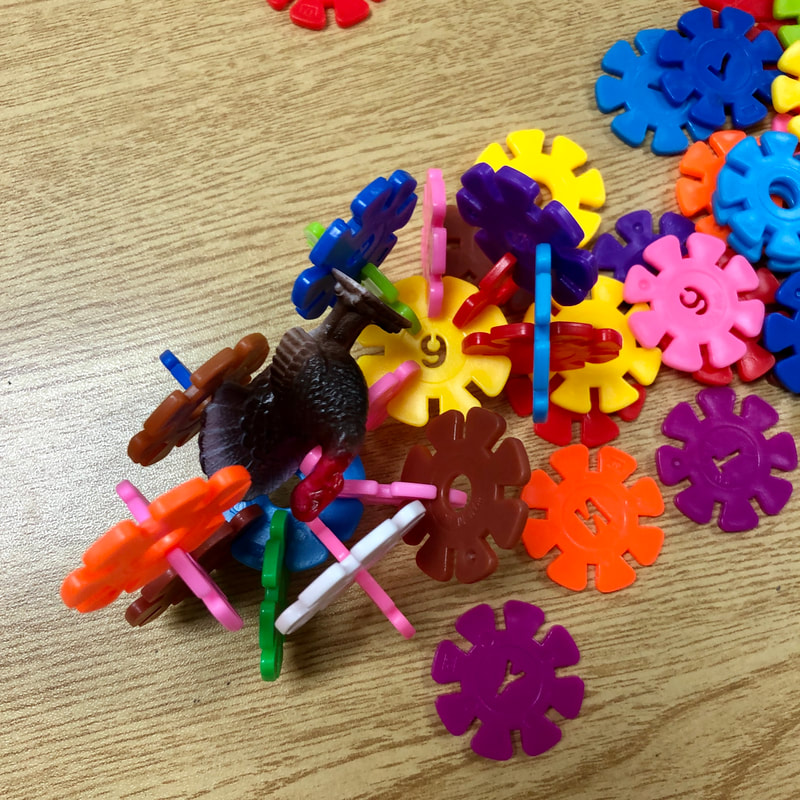
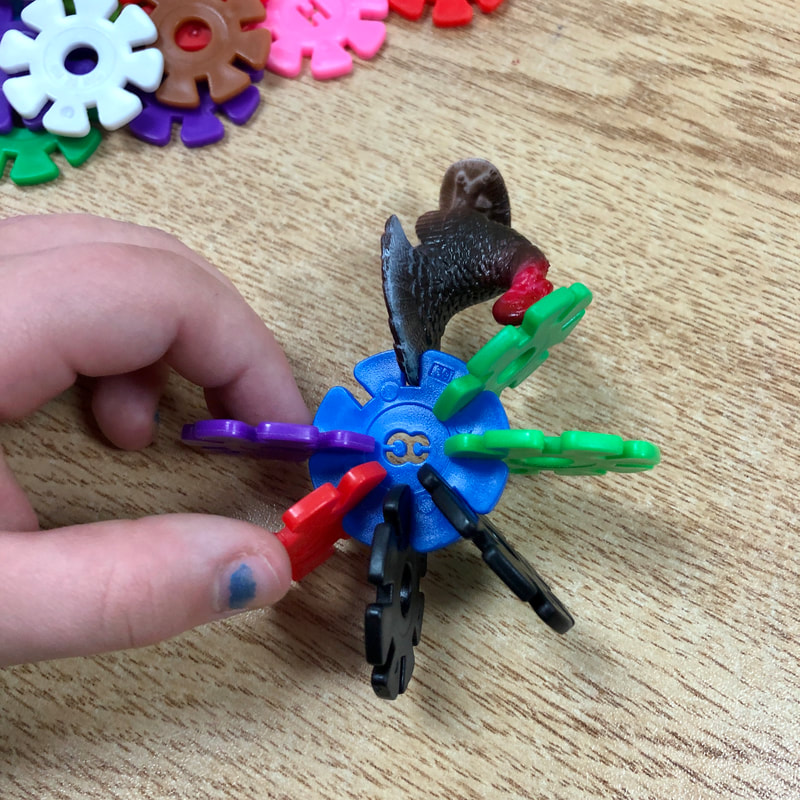
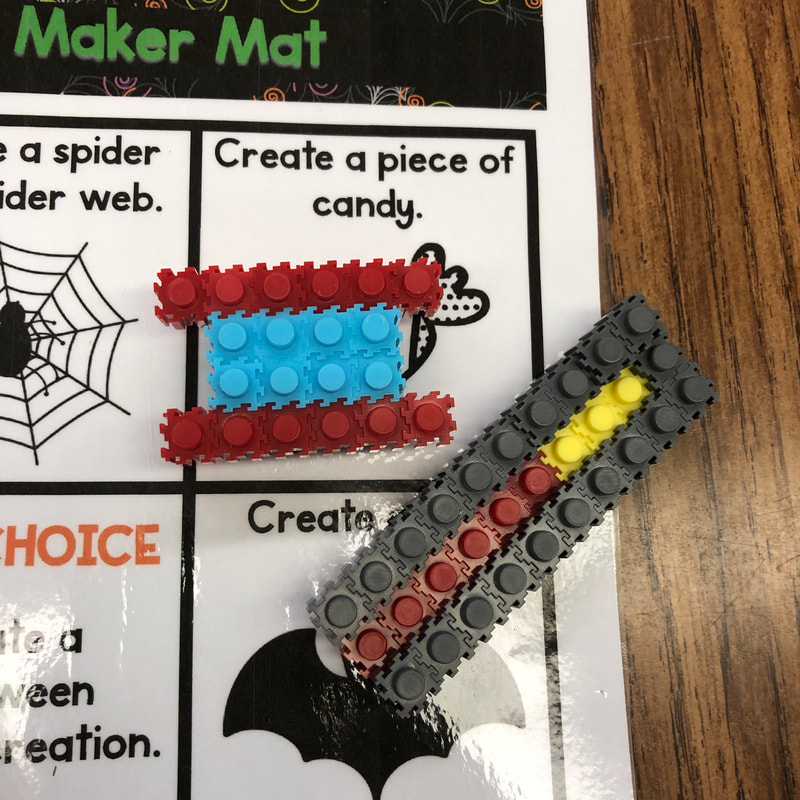
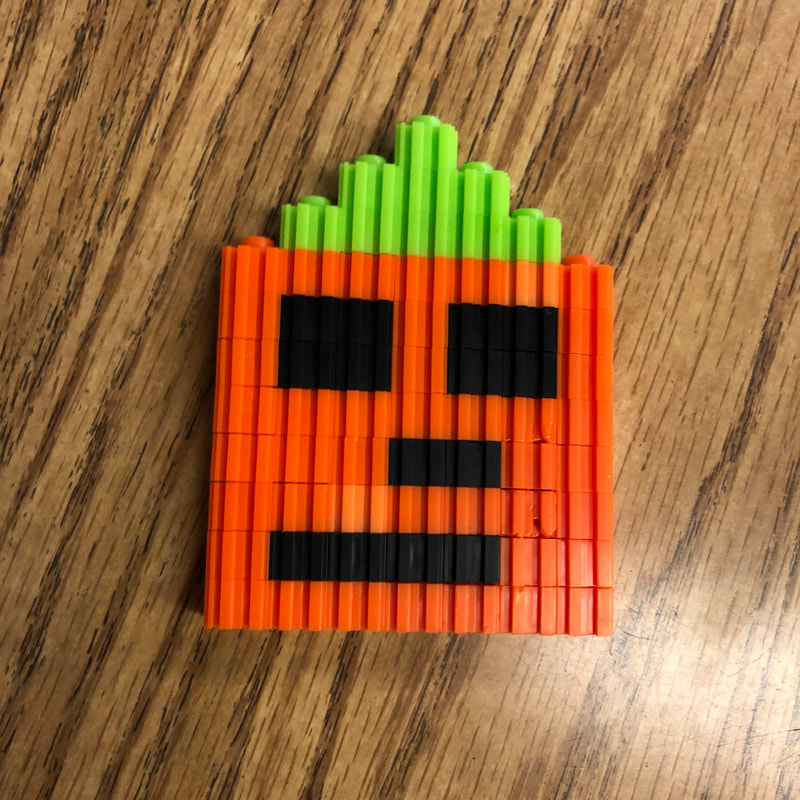
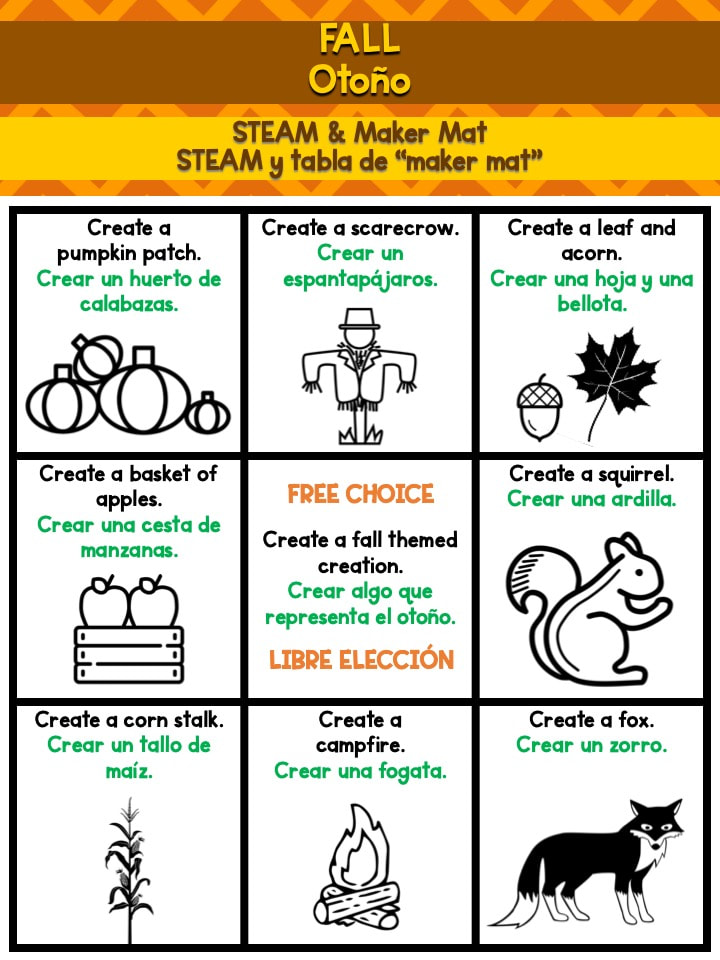
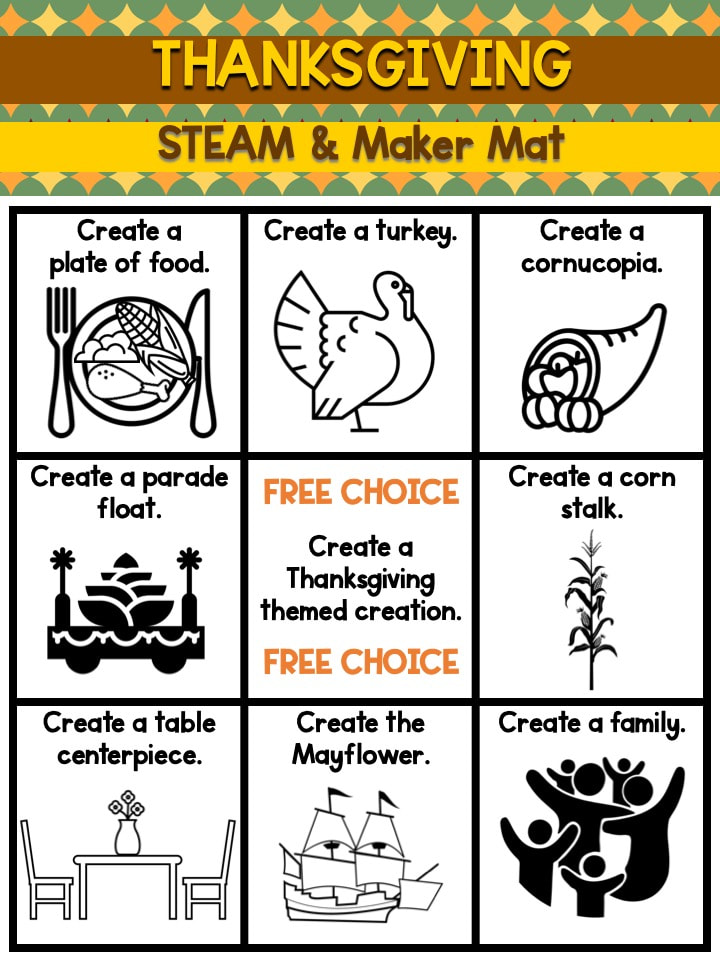
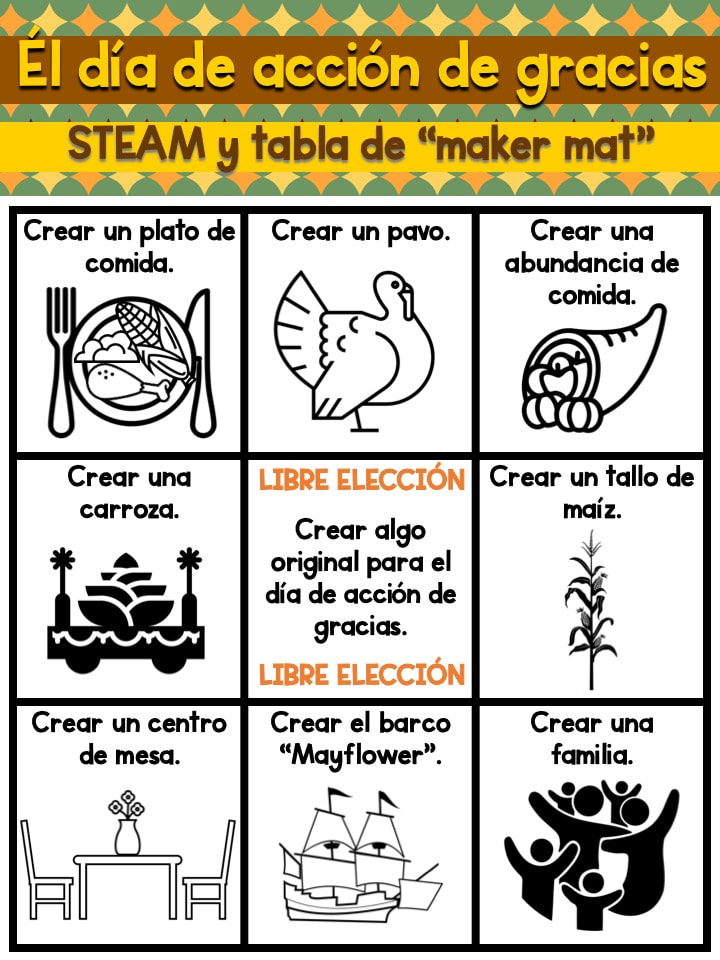
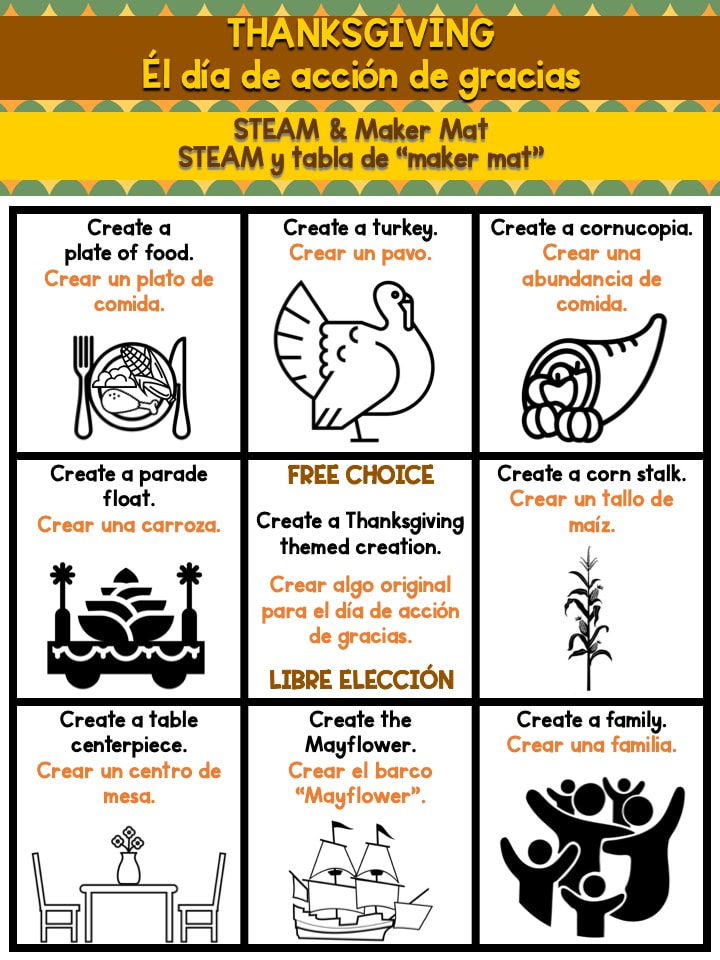
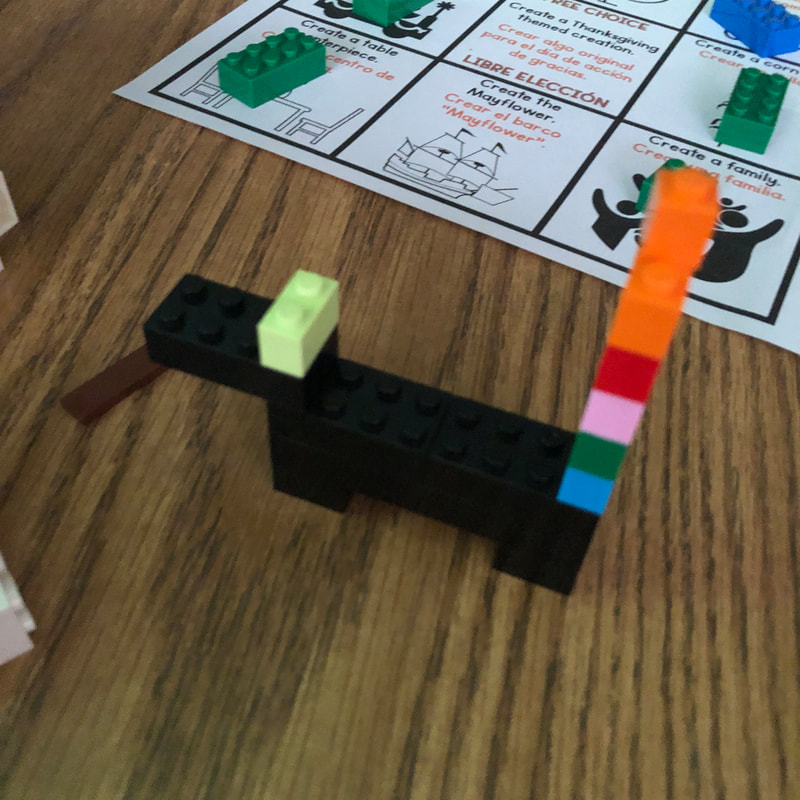
Thanksgiving Maker Mat
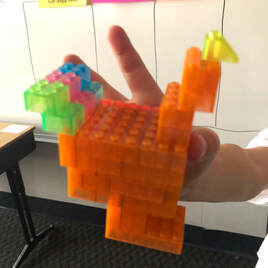
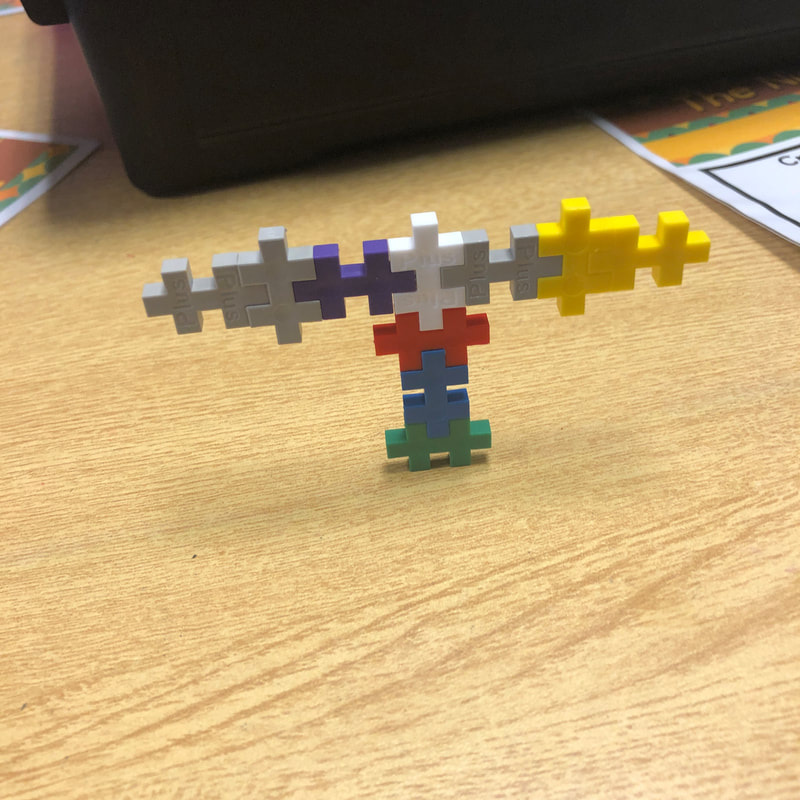
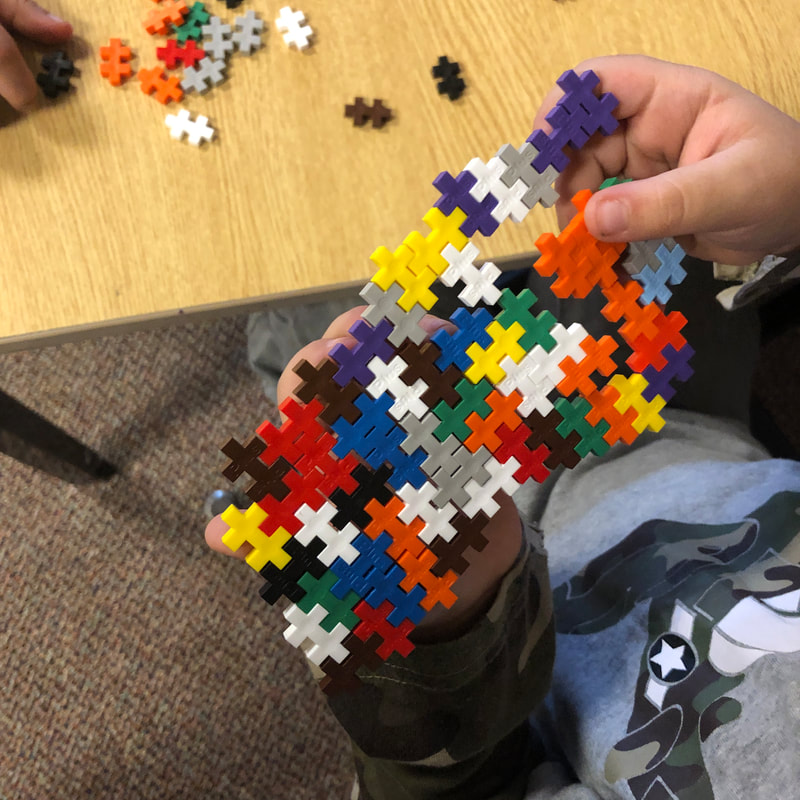
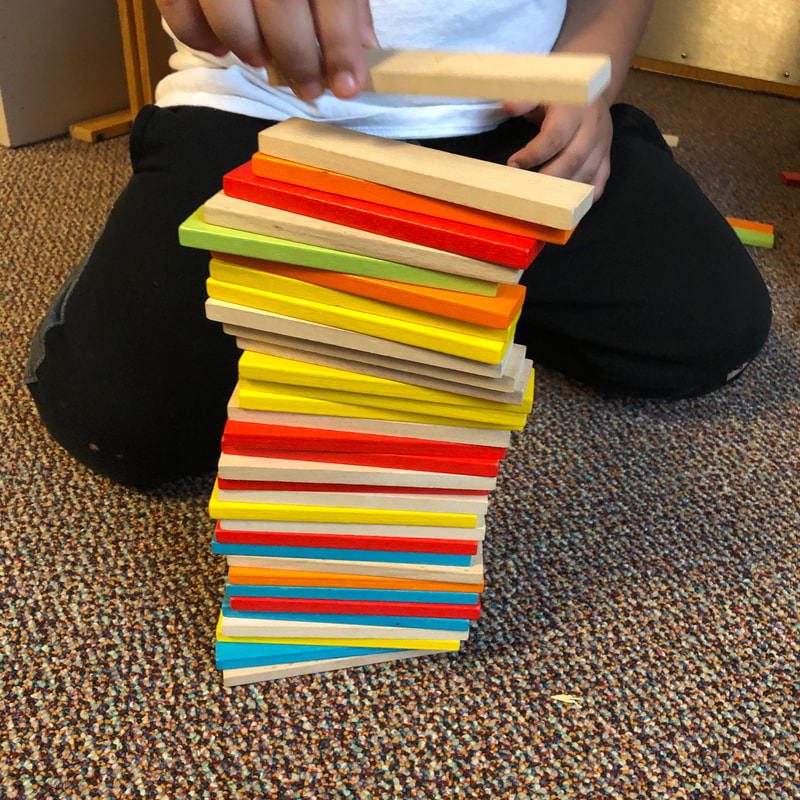
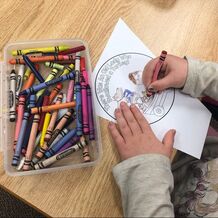
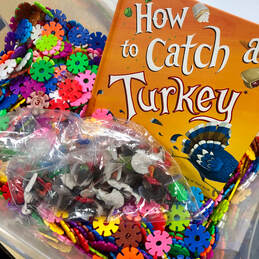
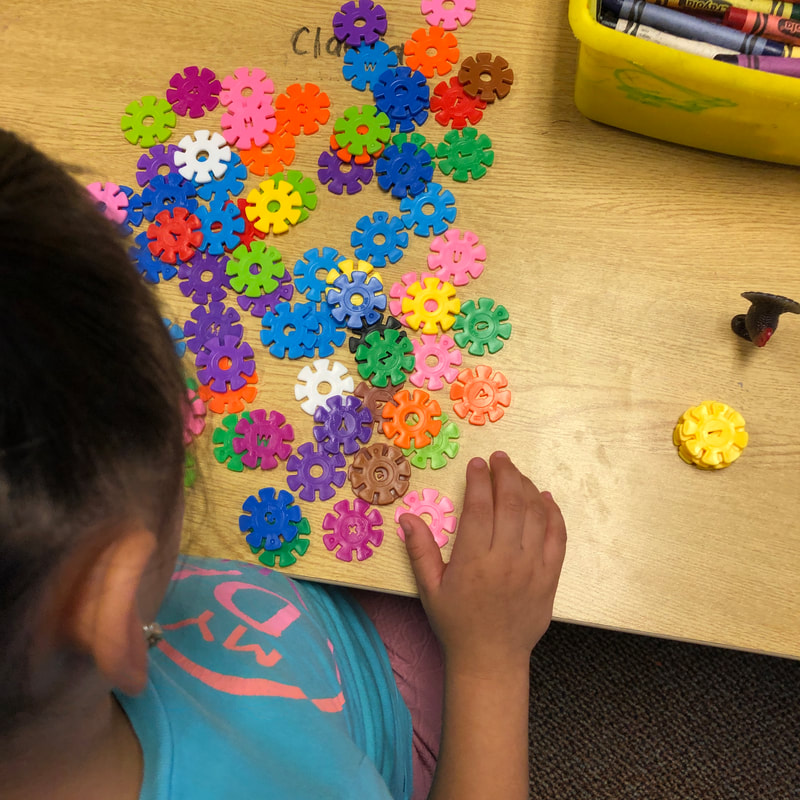
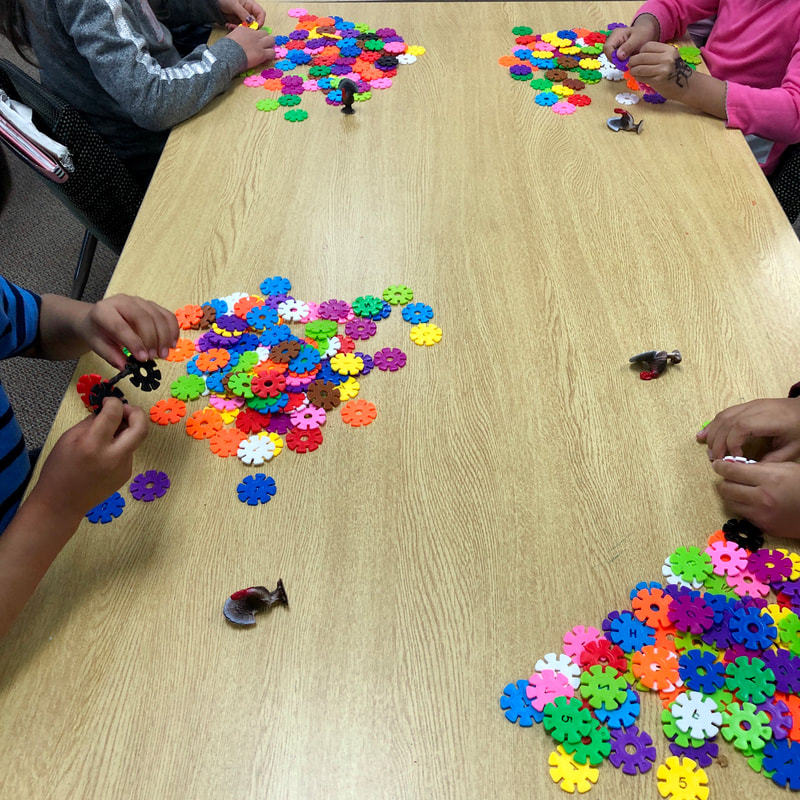
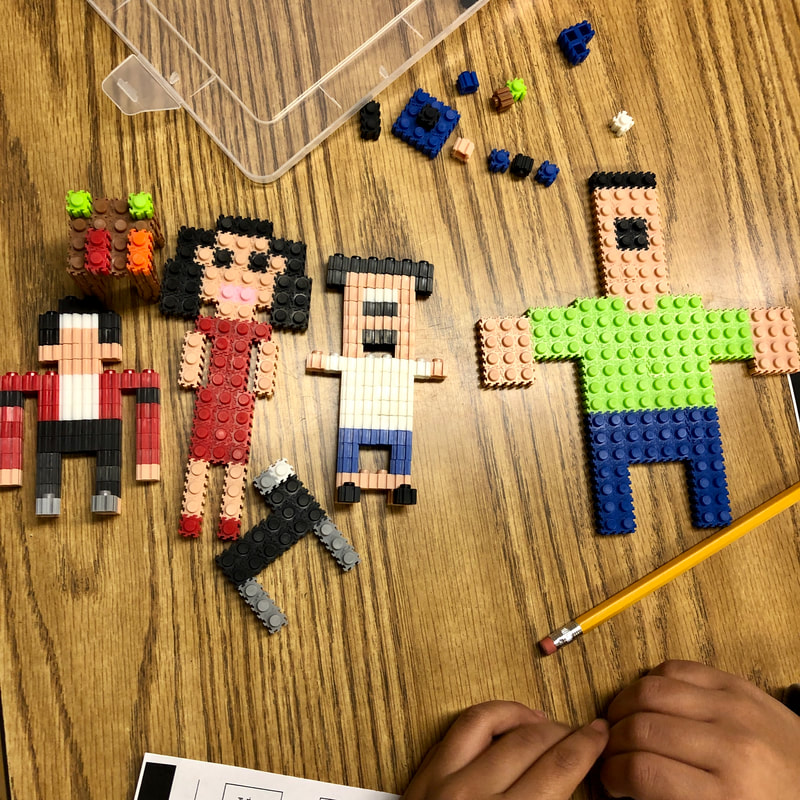
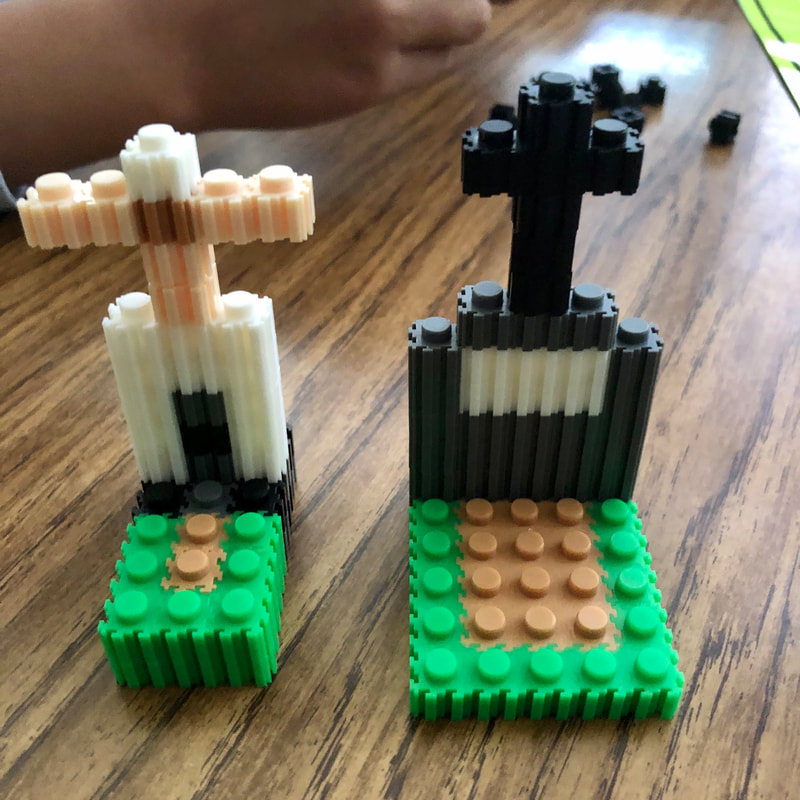
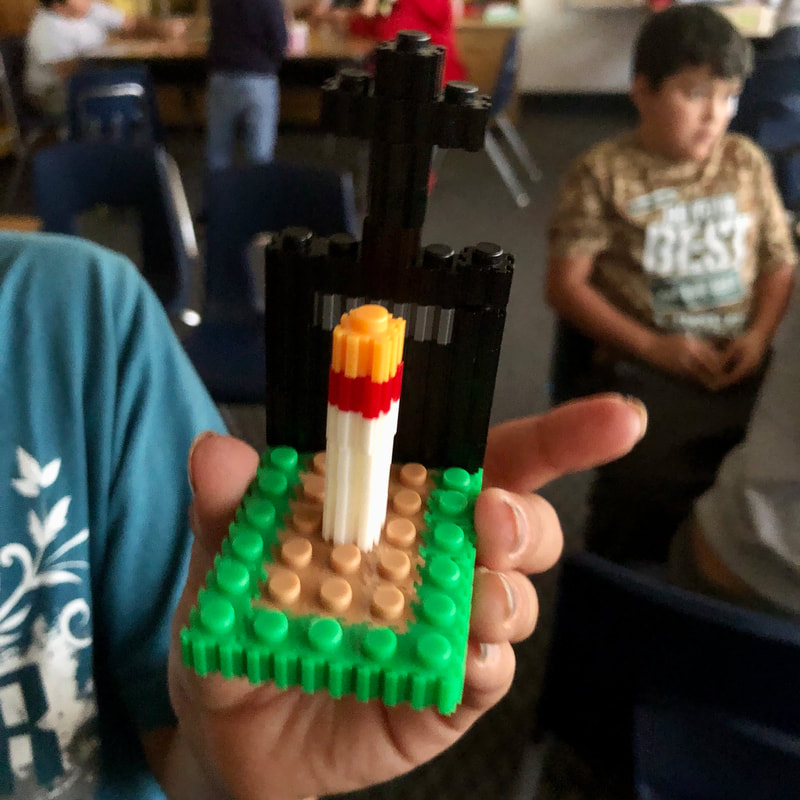
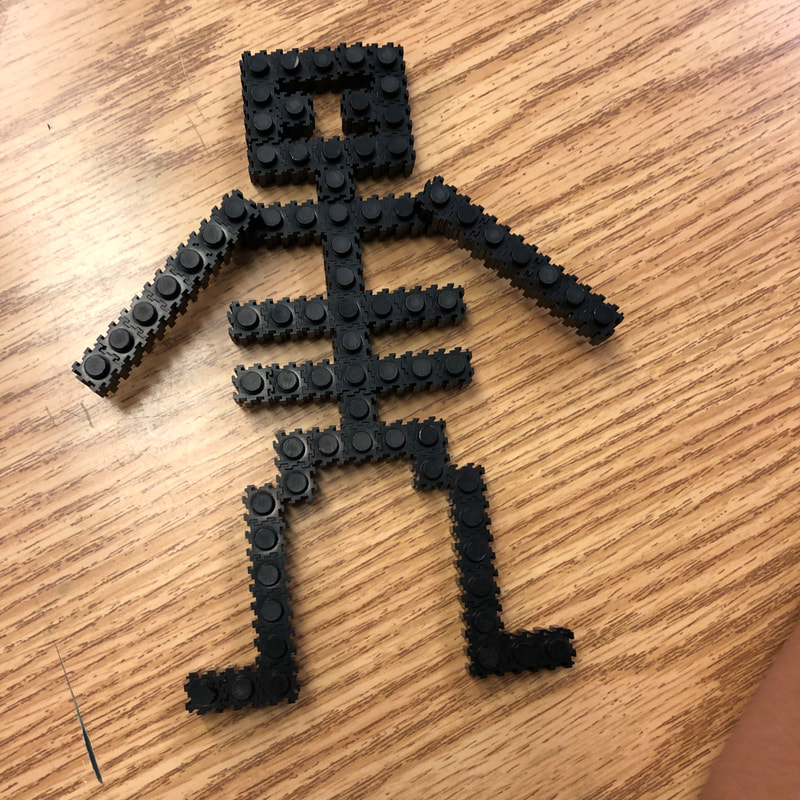
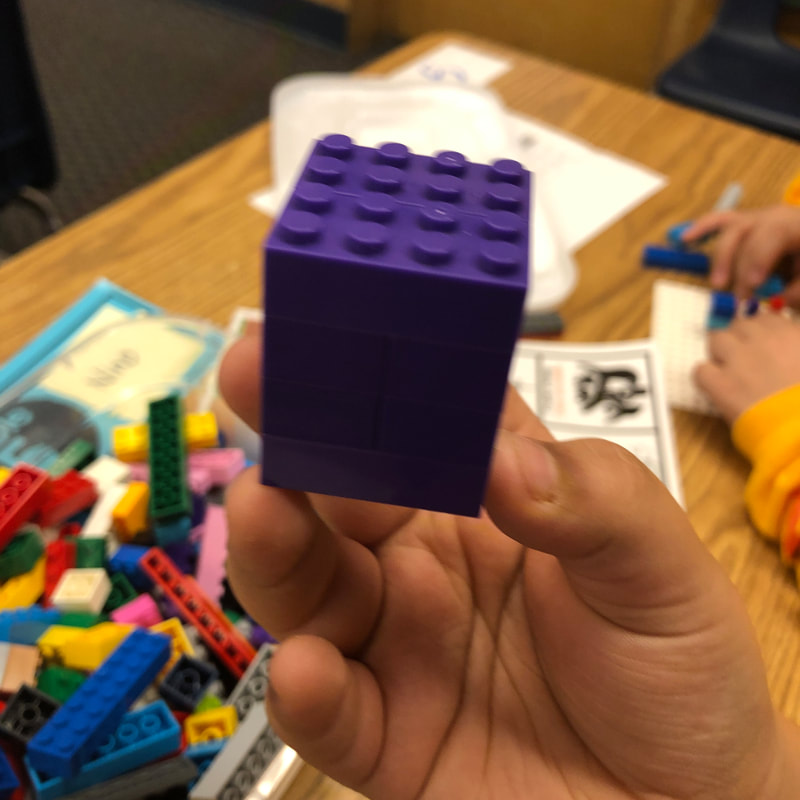
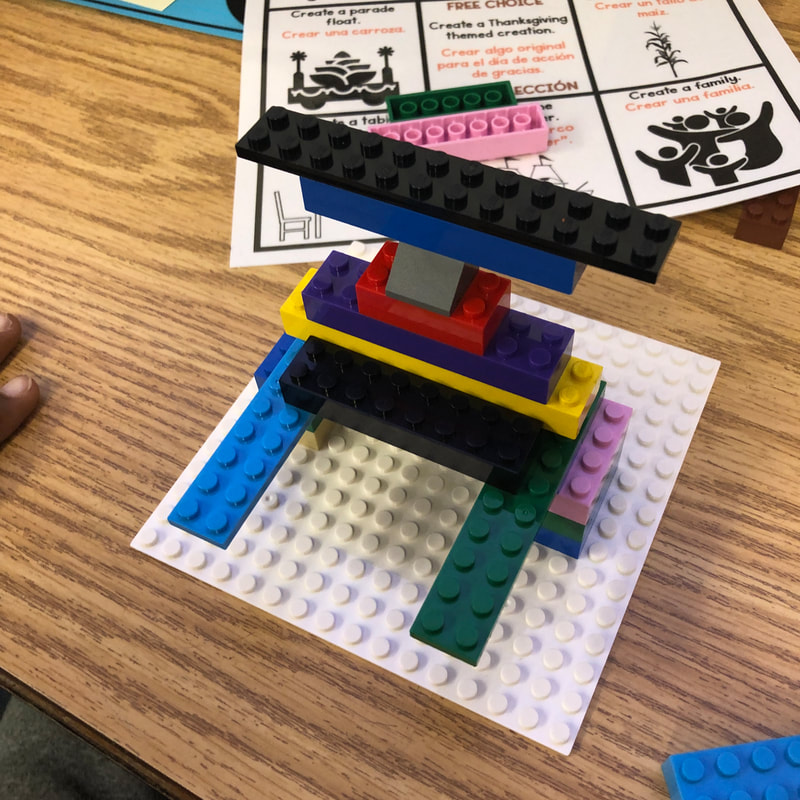
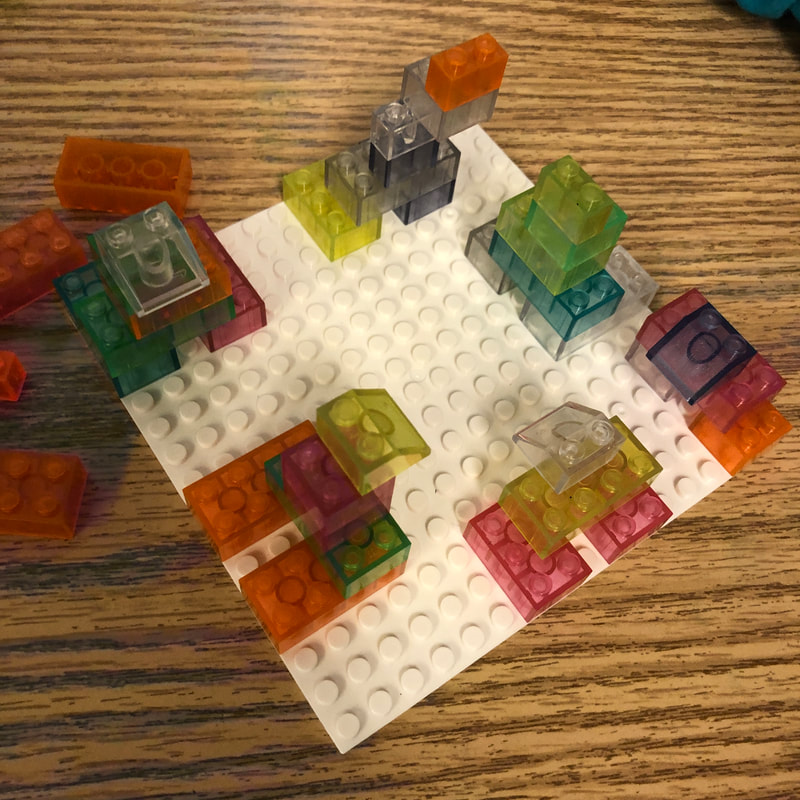
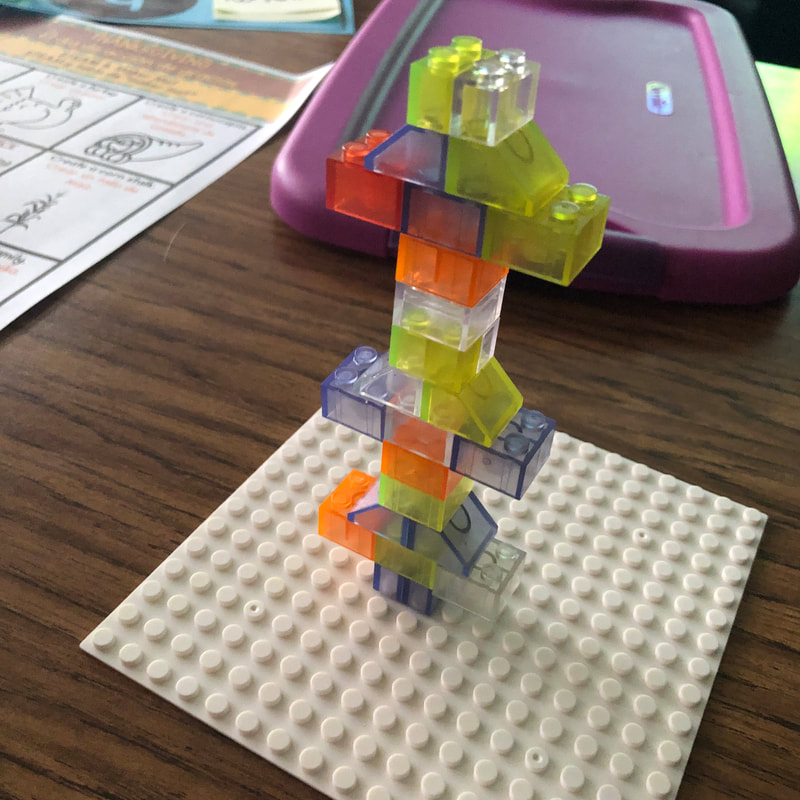
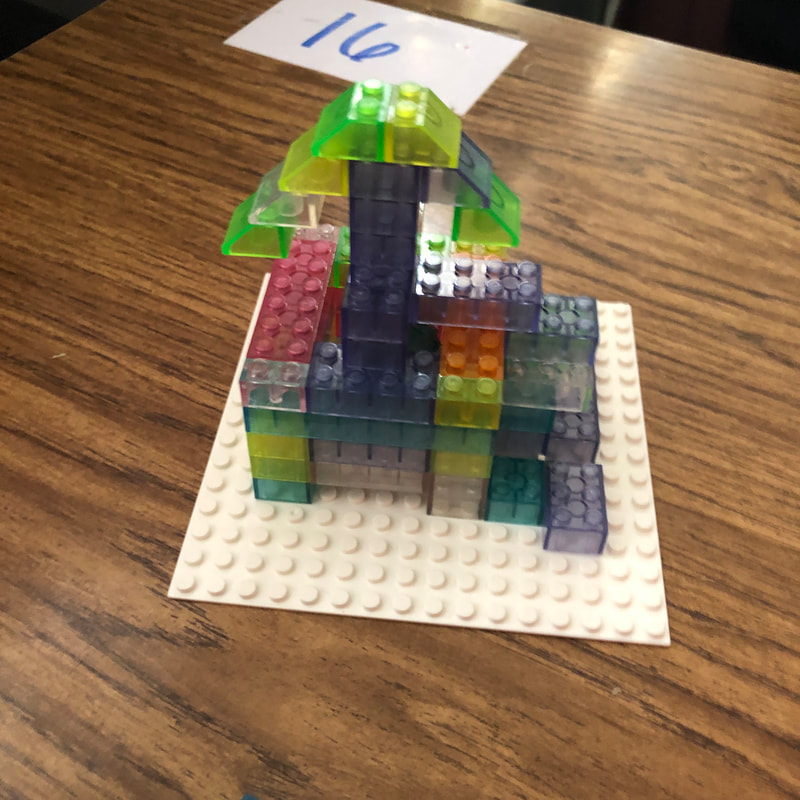
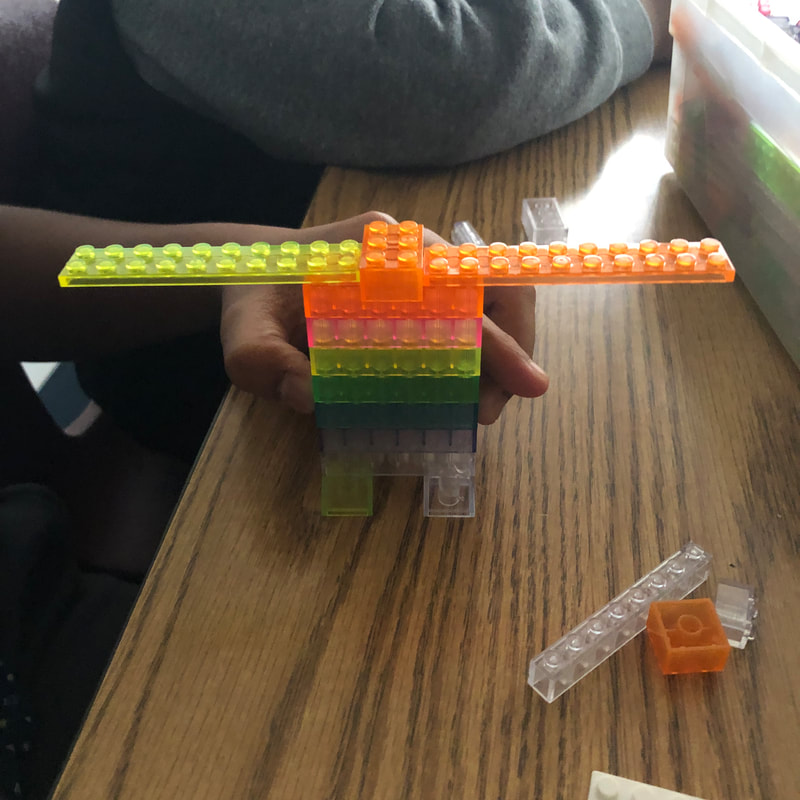
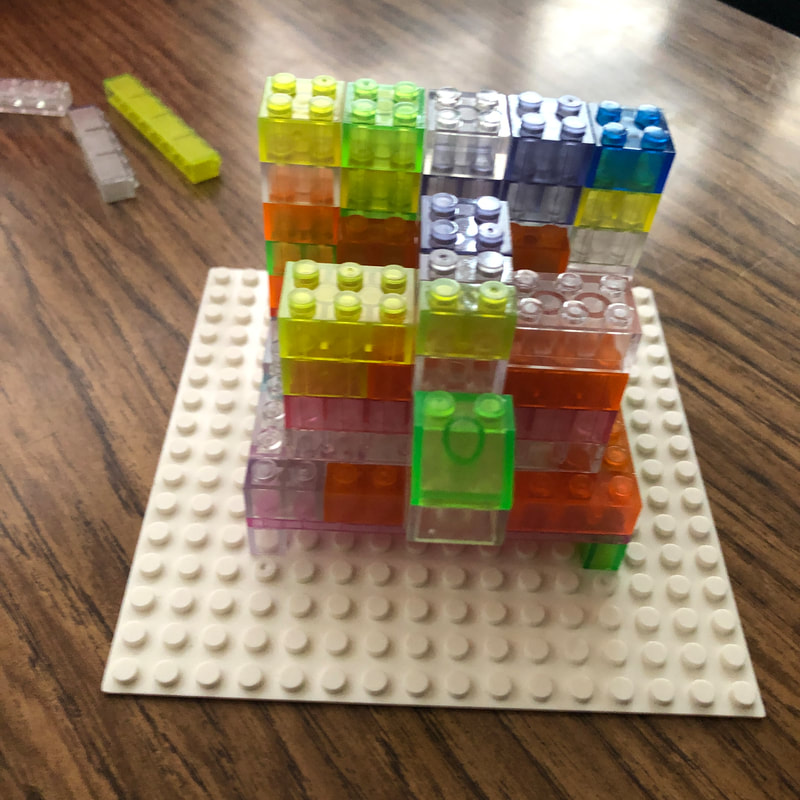
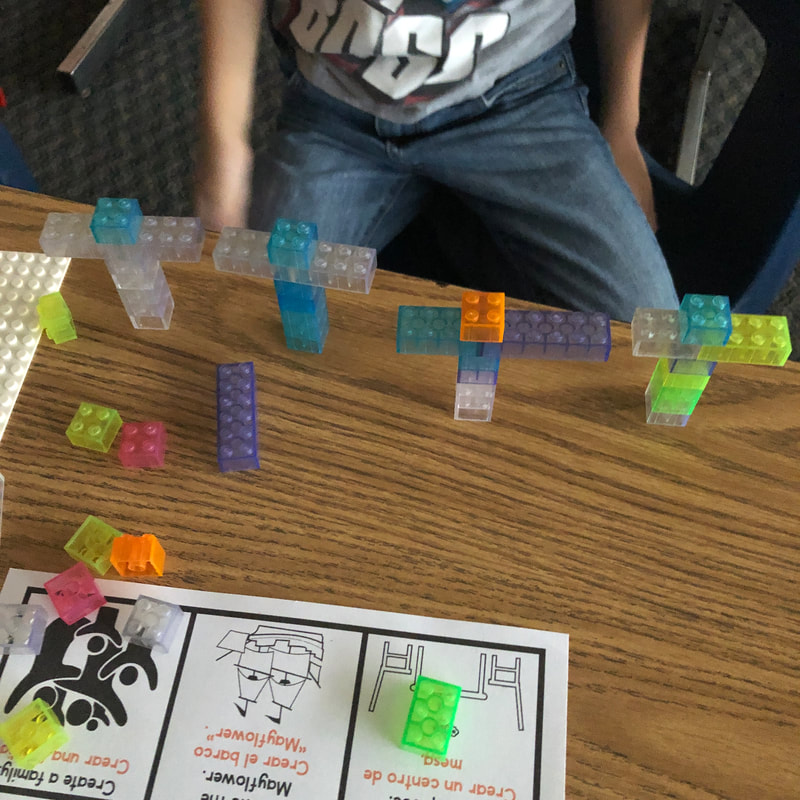
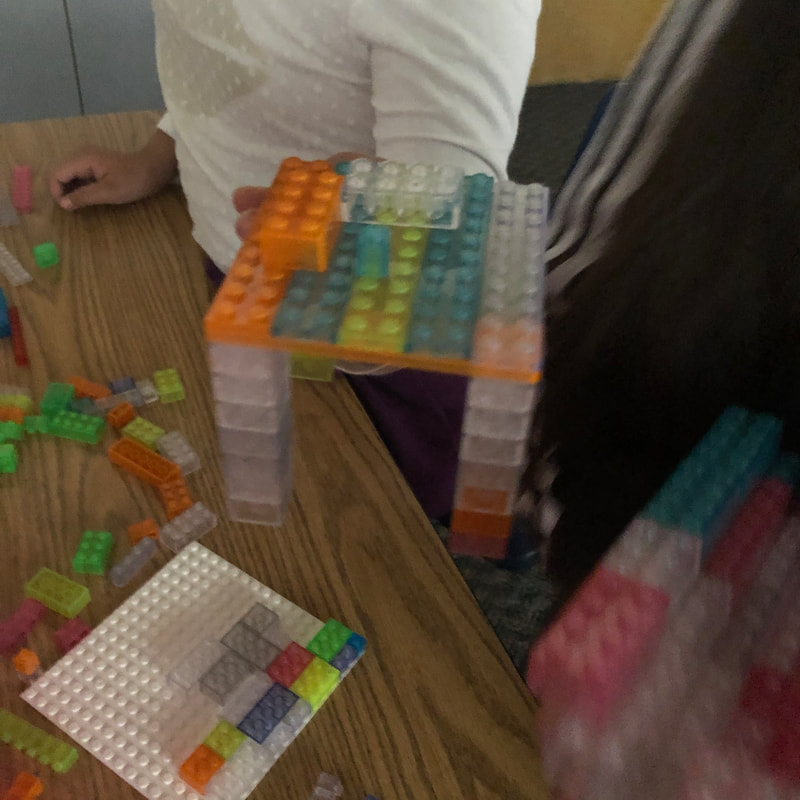
Today in 4th grade it was Thanksgiving Maker Mat day! I think the kids know when one is coming now (before holidays or breaks), but they are great for keeping students on task during days that are filled with this, that, and the other thing. I focused on Creativity with their building, and even let them build alone to see what they could do by themselves. It always amazes me that how many groups ask if they could build together instead of working by themselves. There are also students who thrive when they work by themselves, so I try to change up the structure of how we work together.
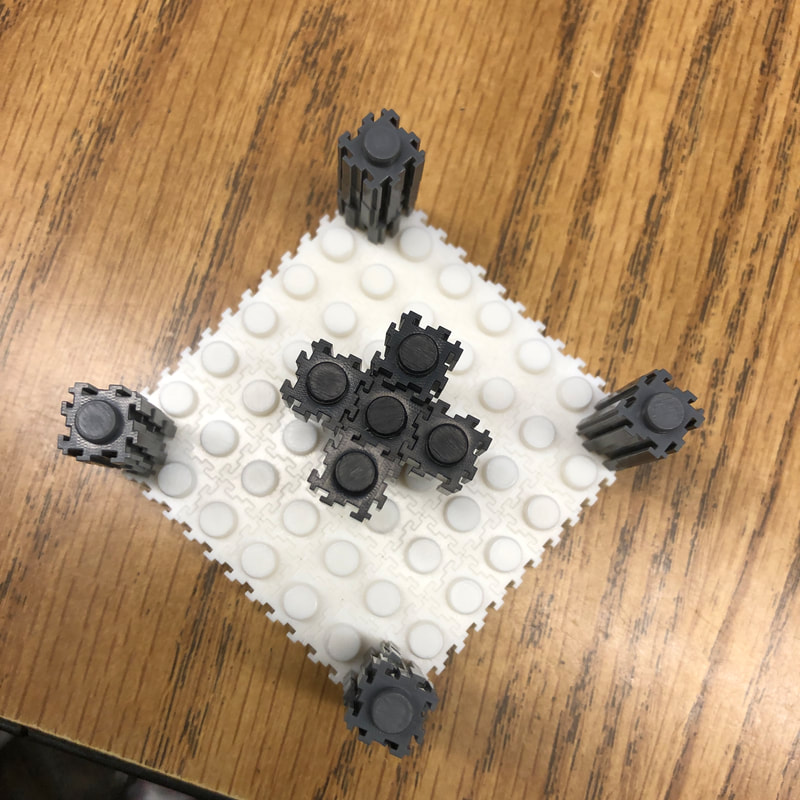
 |  |  |
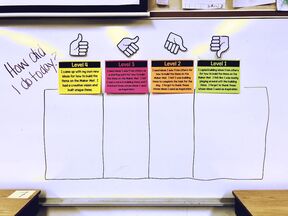
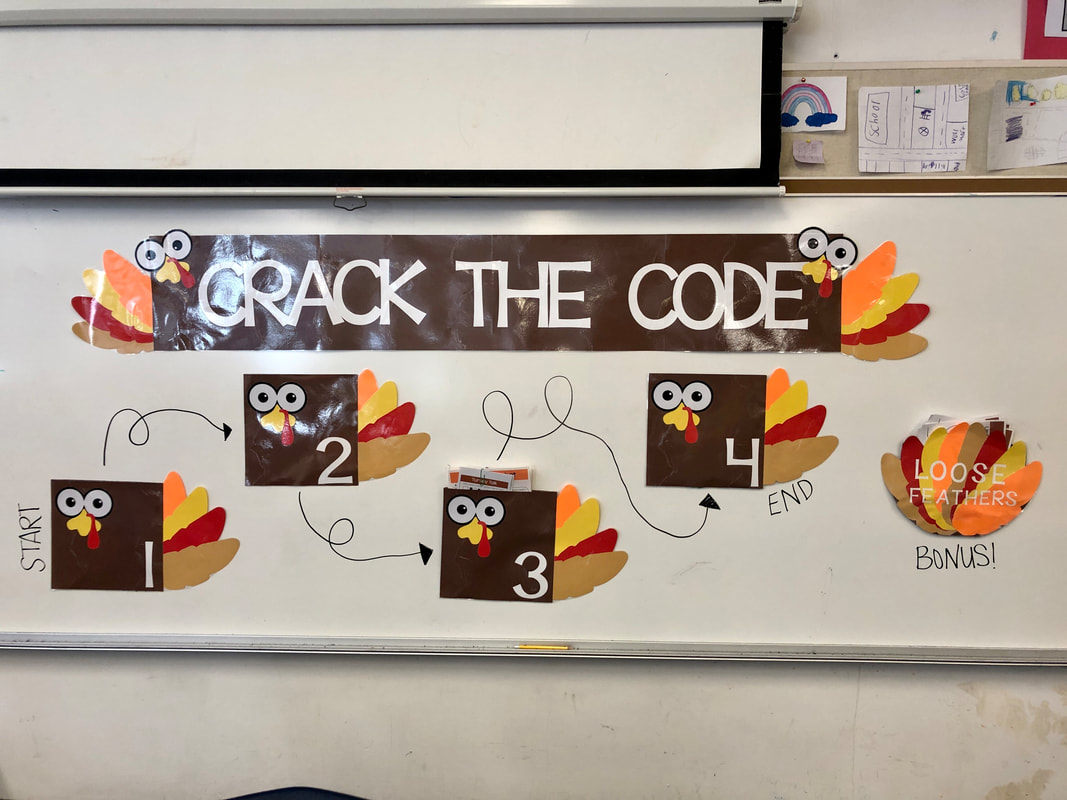
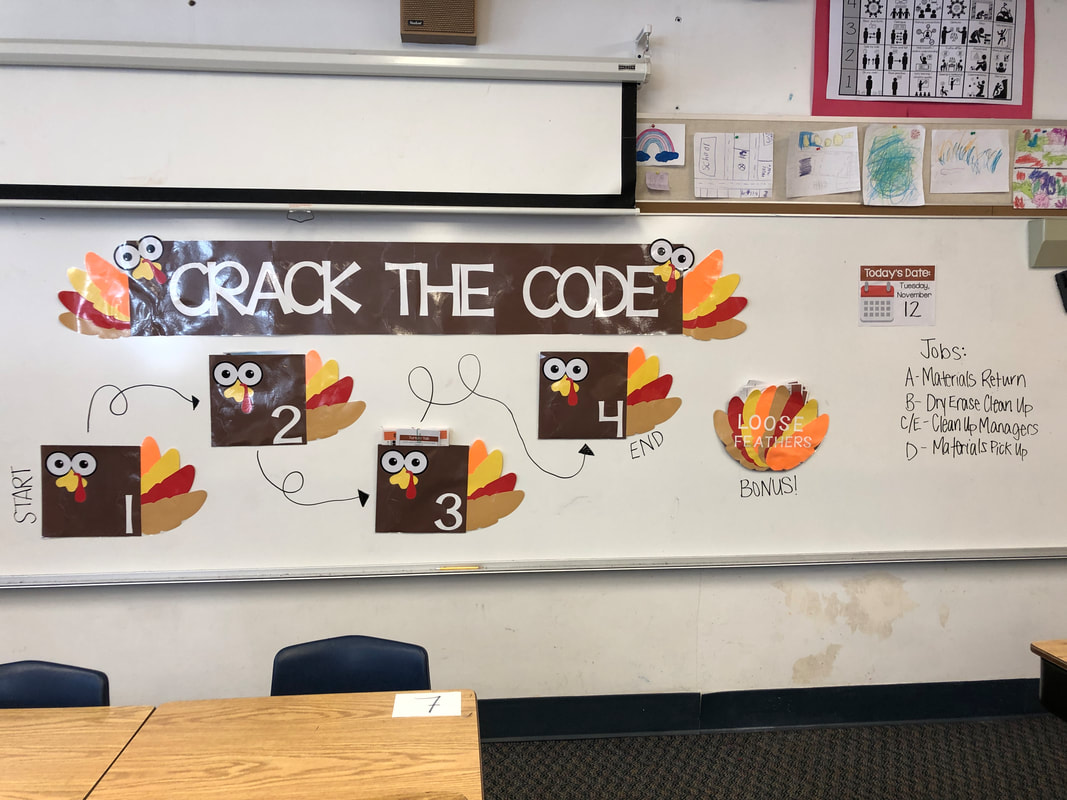
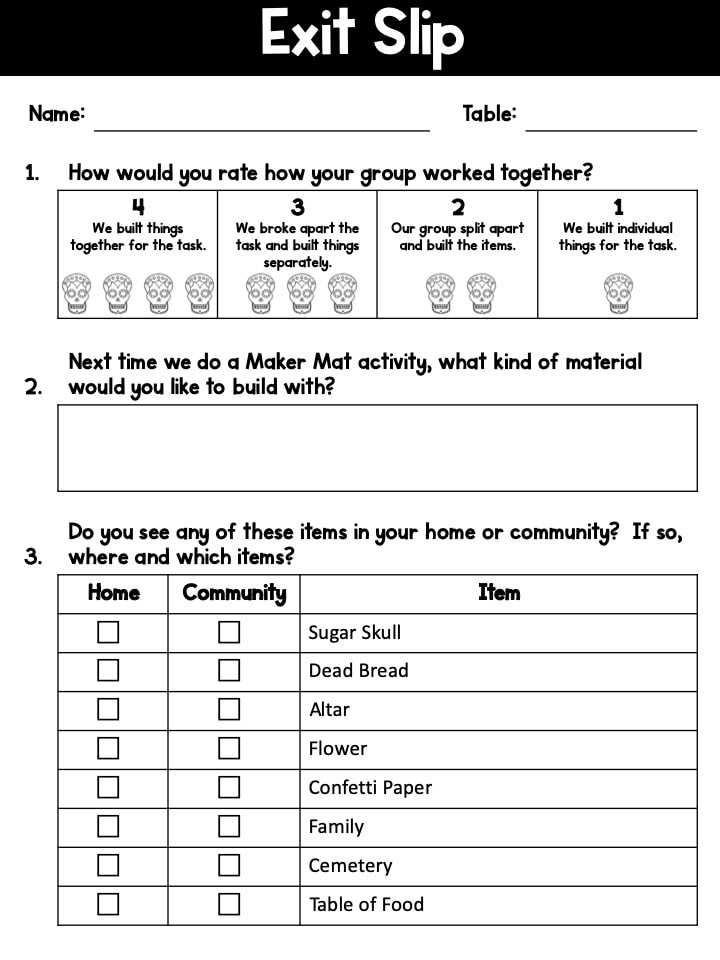
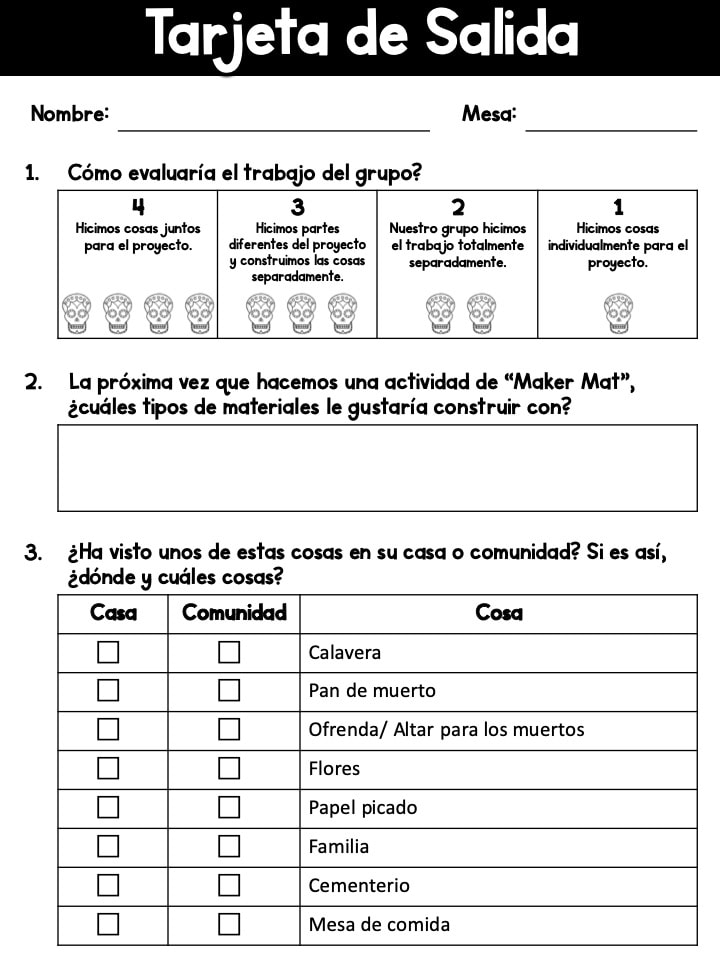
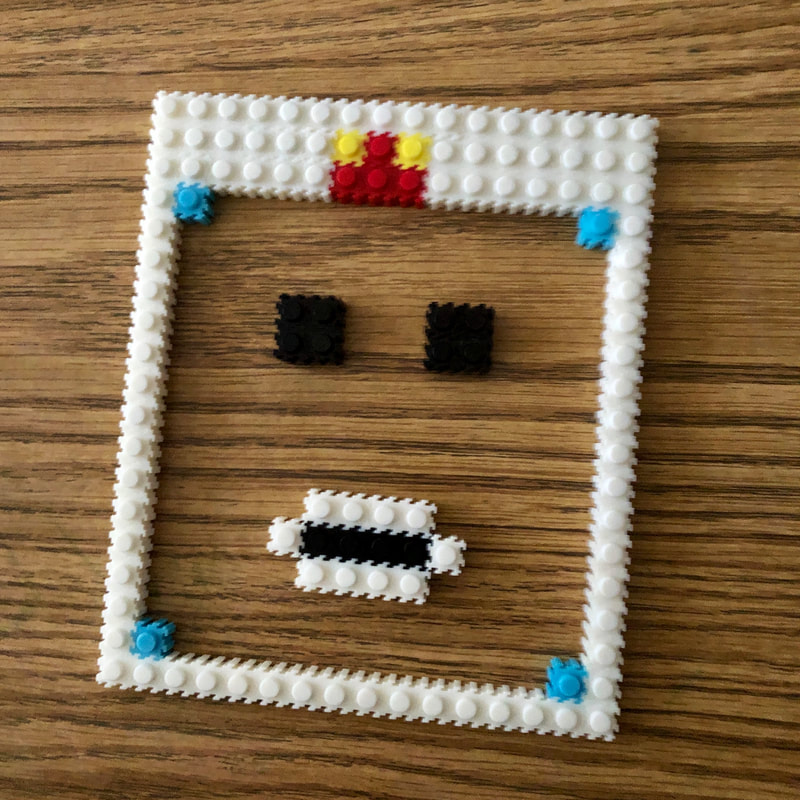
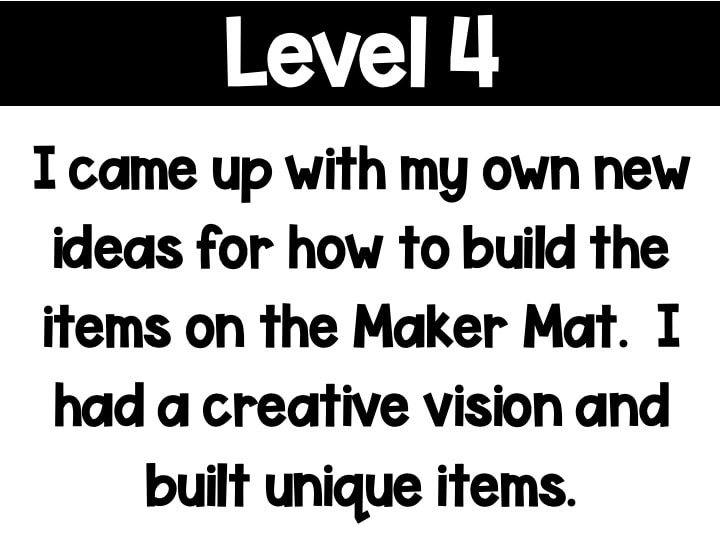
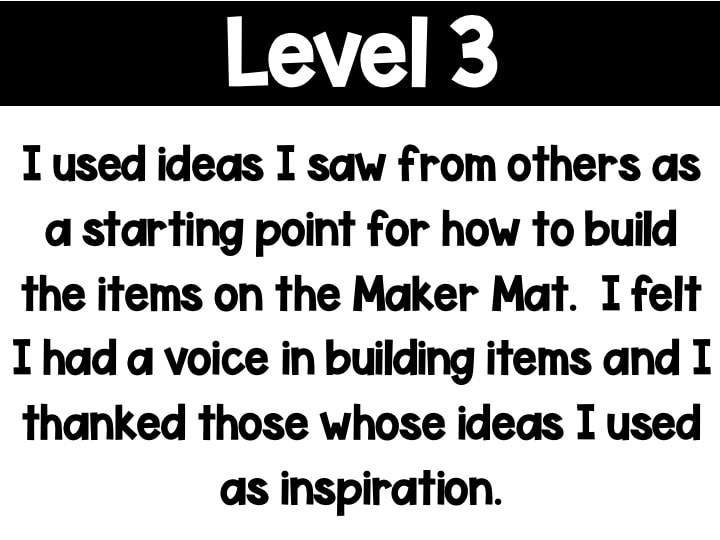
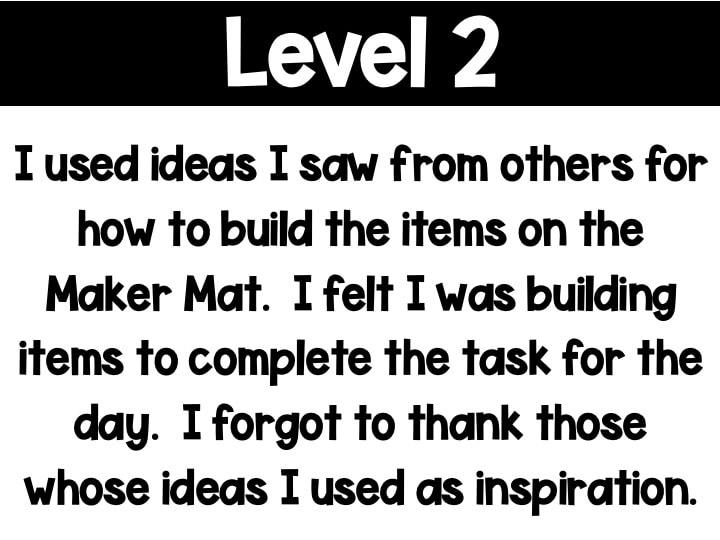
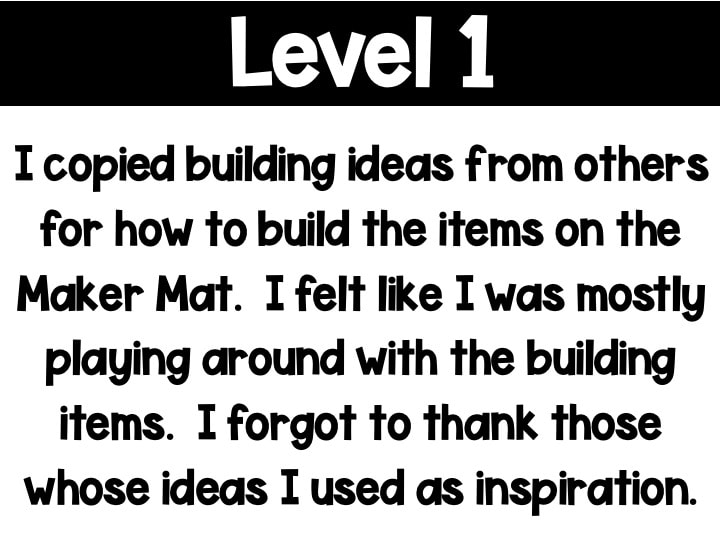
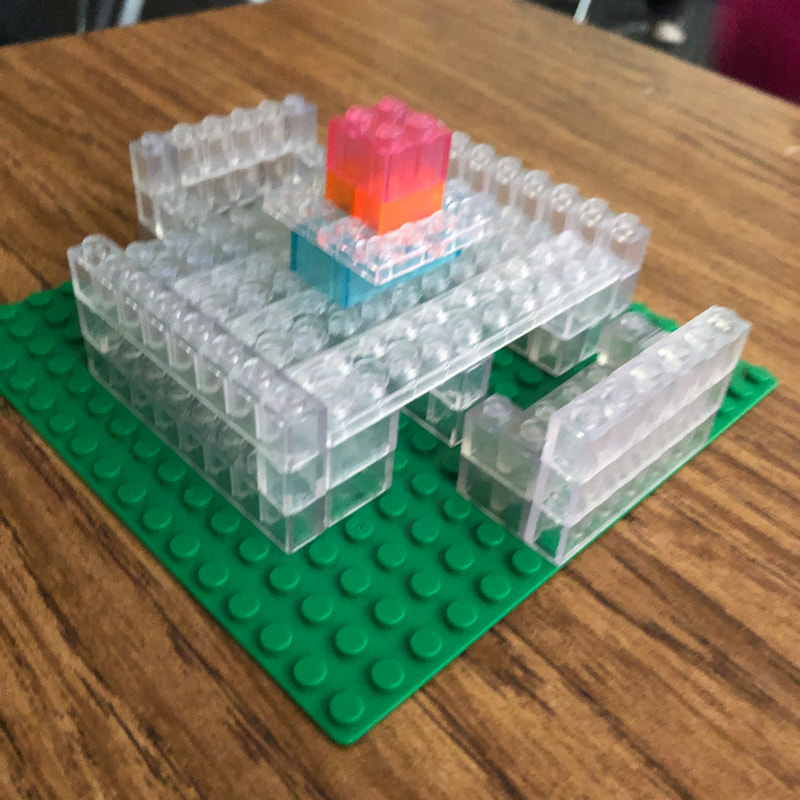
Before they began working today, I went through their exit slip that I had posted on the board. Each student had a small post-it note with their name on it and they had to place their sticky note in the appropriate column for how they feel they exercised their creativity today. As this was a Thanksgiving Maker Mat, I also worked in thanking those who served as inspiration as part of their self-reflection. I told them that no level was a "bad" level and it only shows them areas that they might need to work on to grow as a learner.
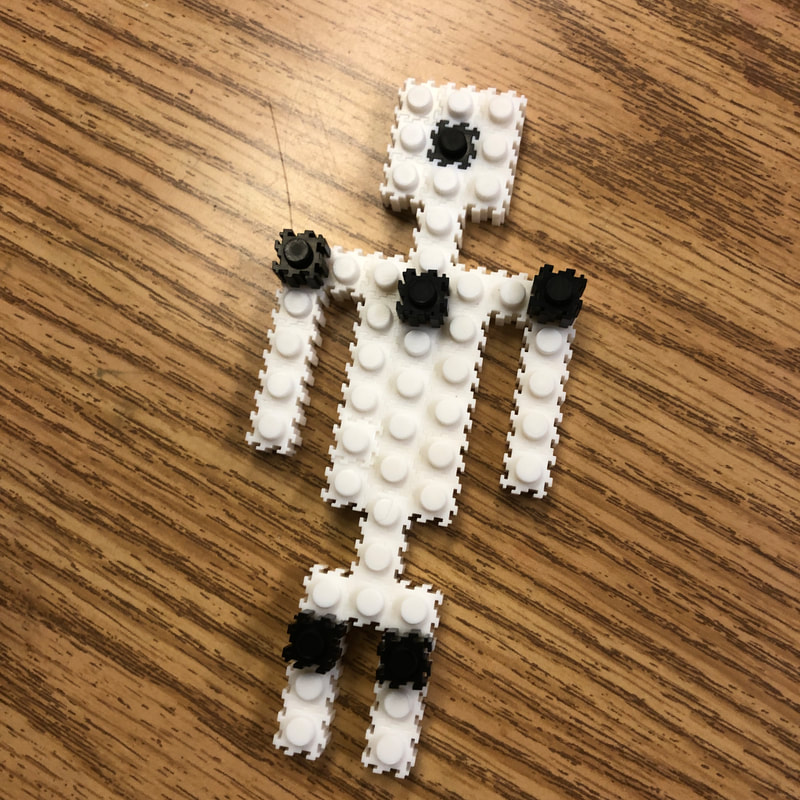
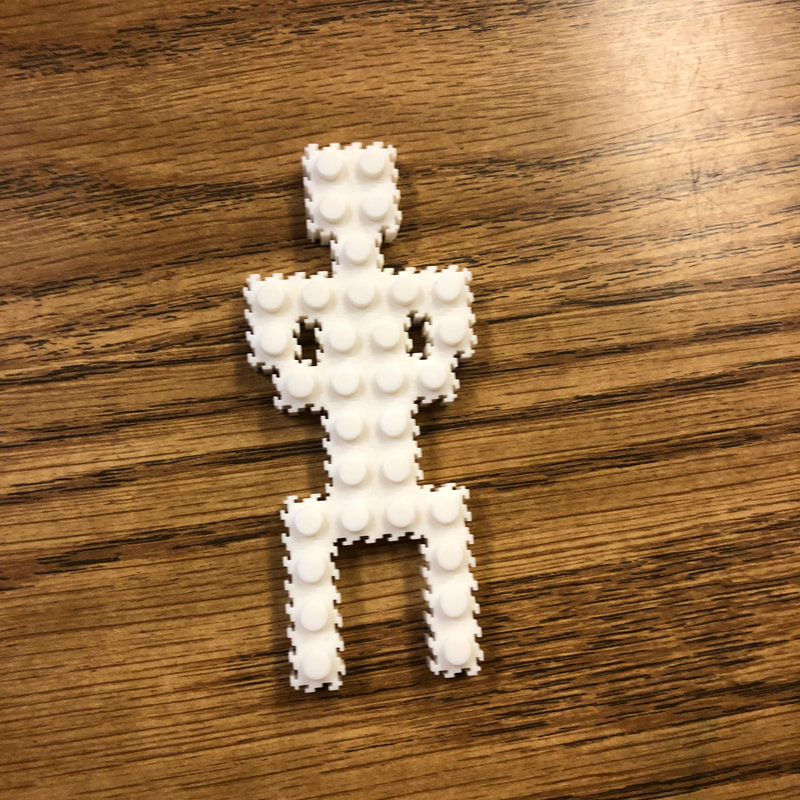
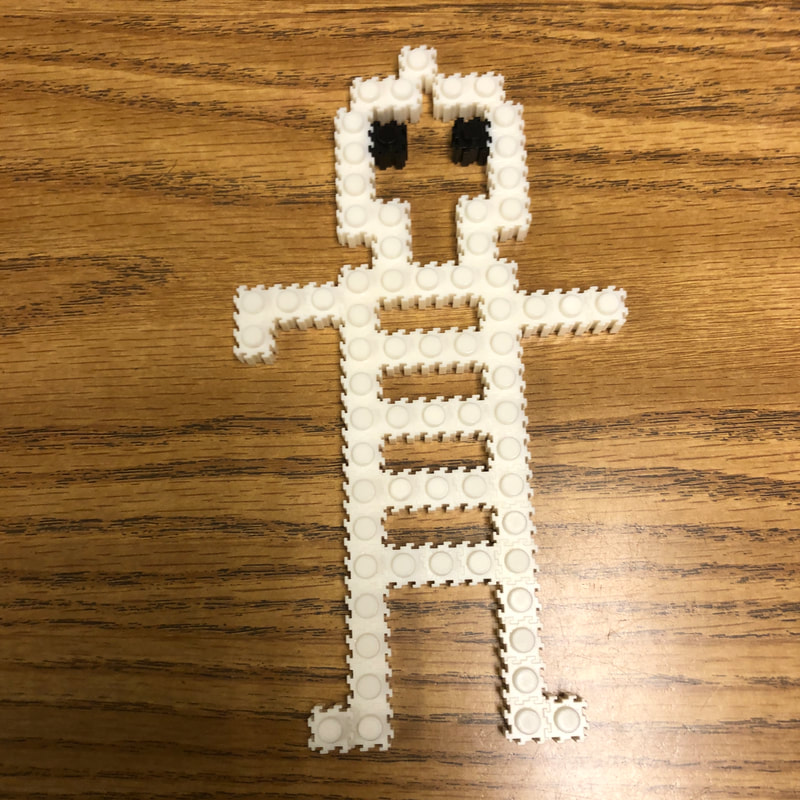
 |  |  |  |
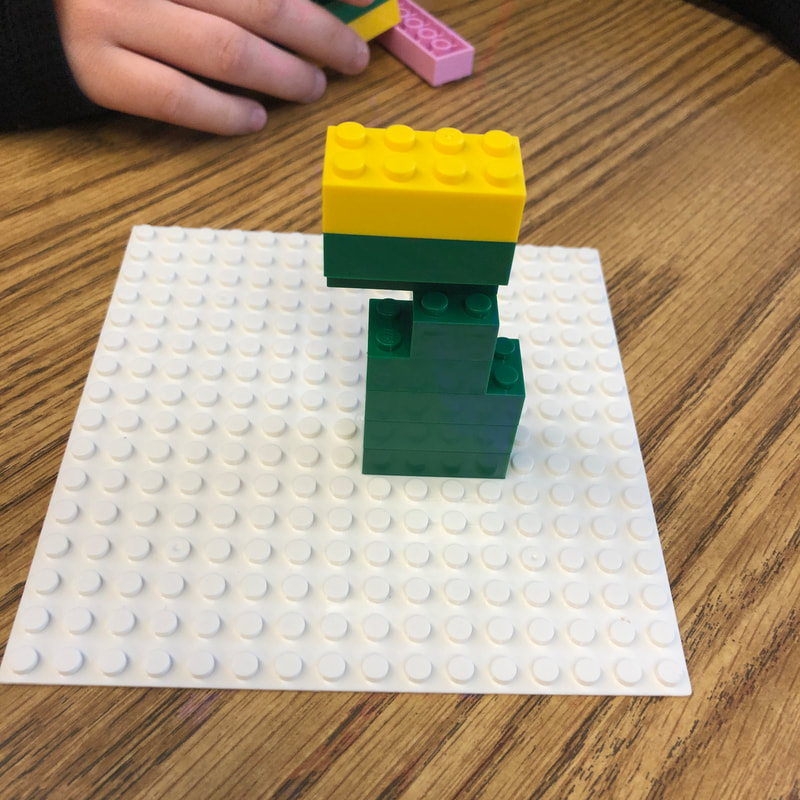
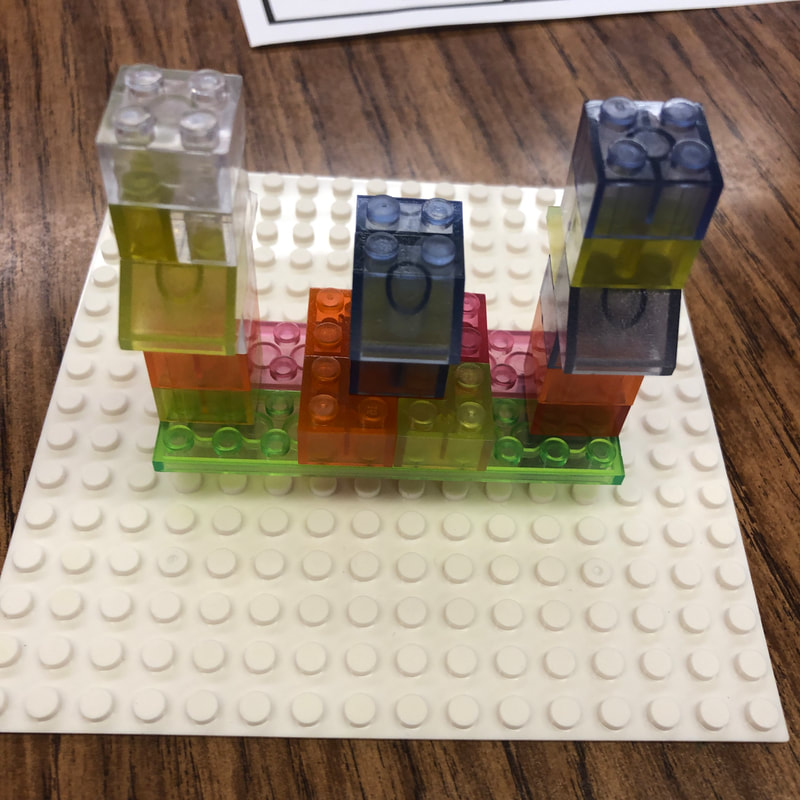
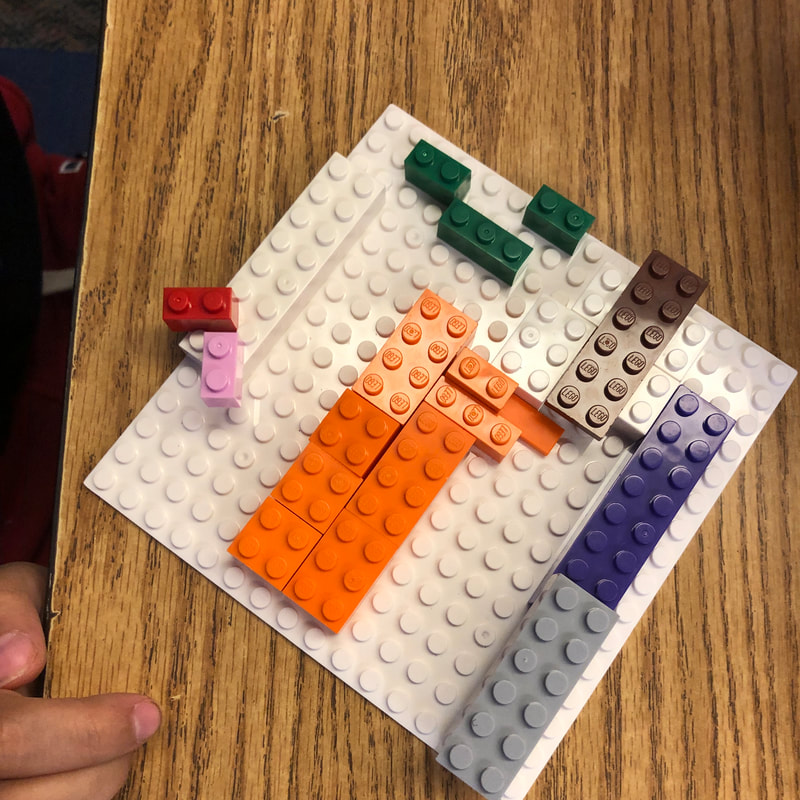
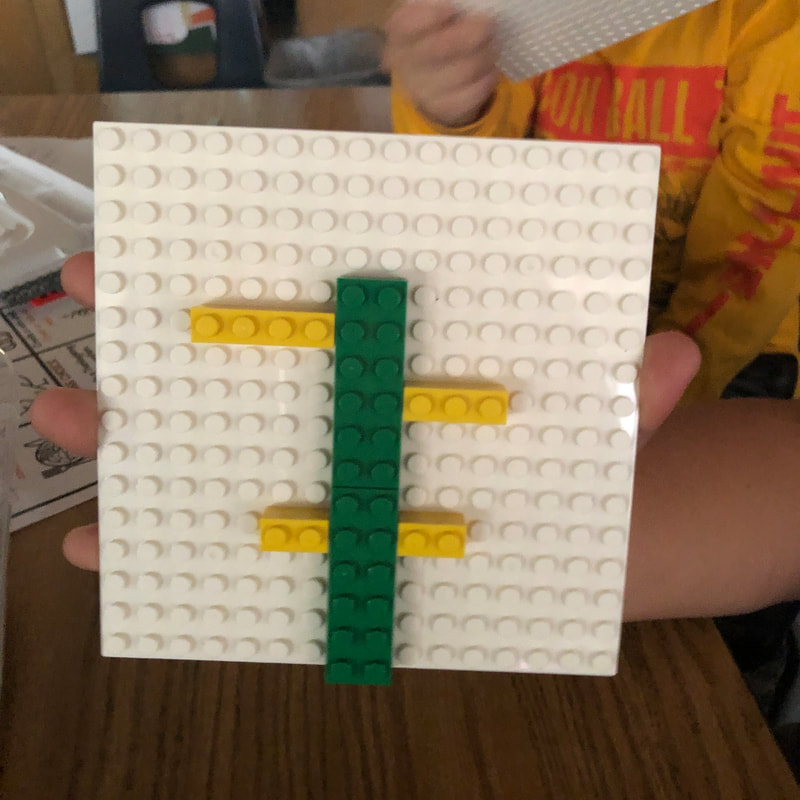
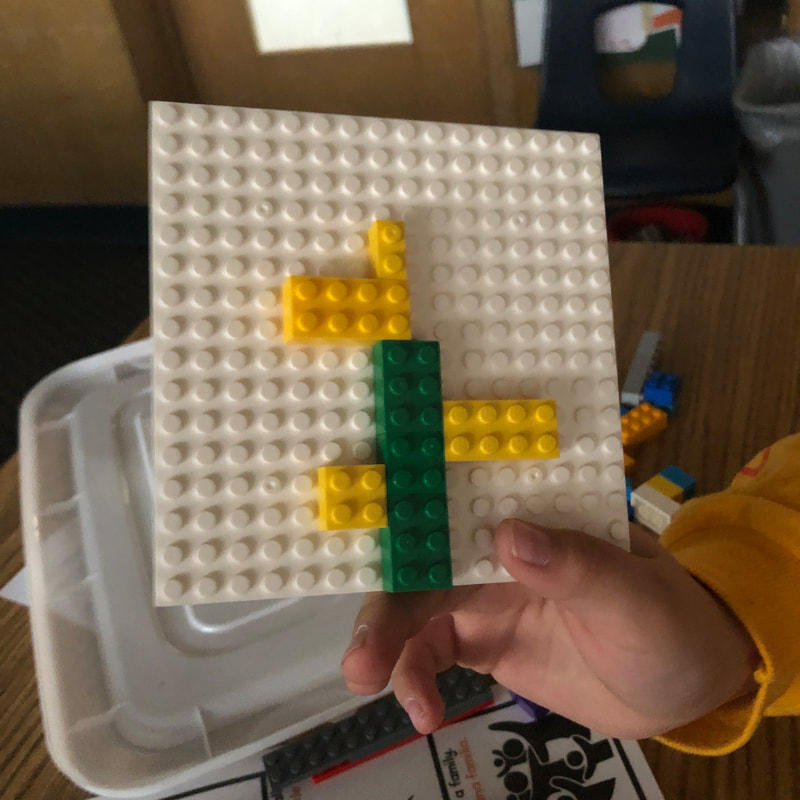


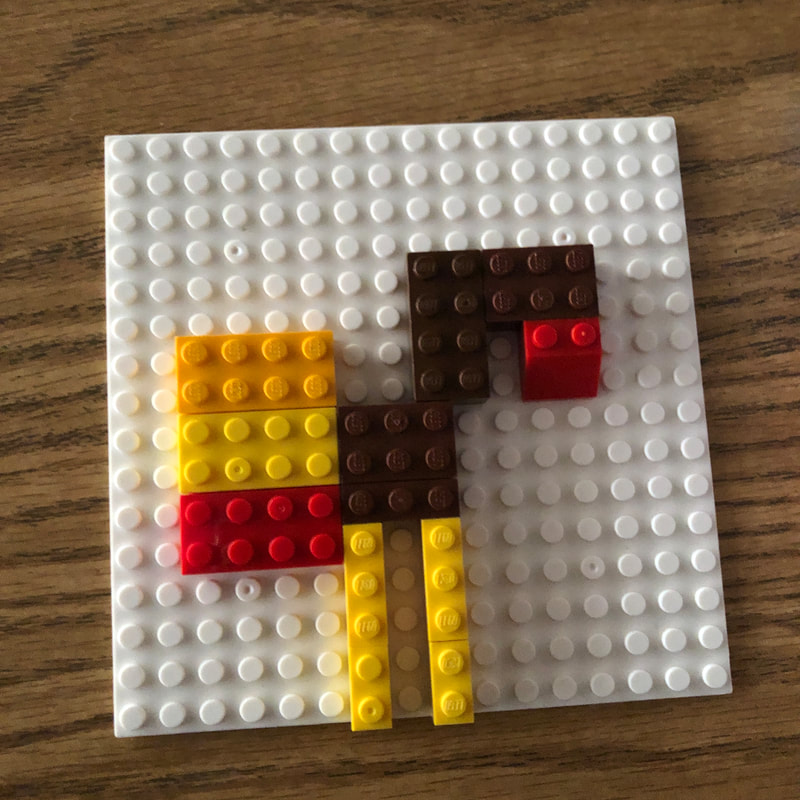
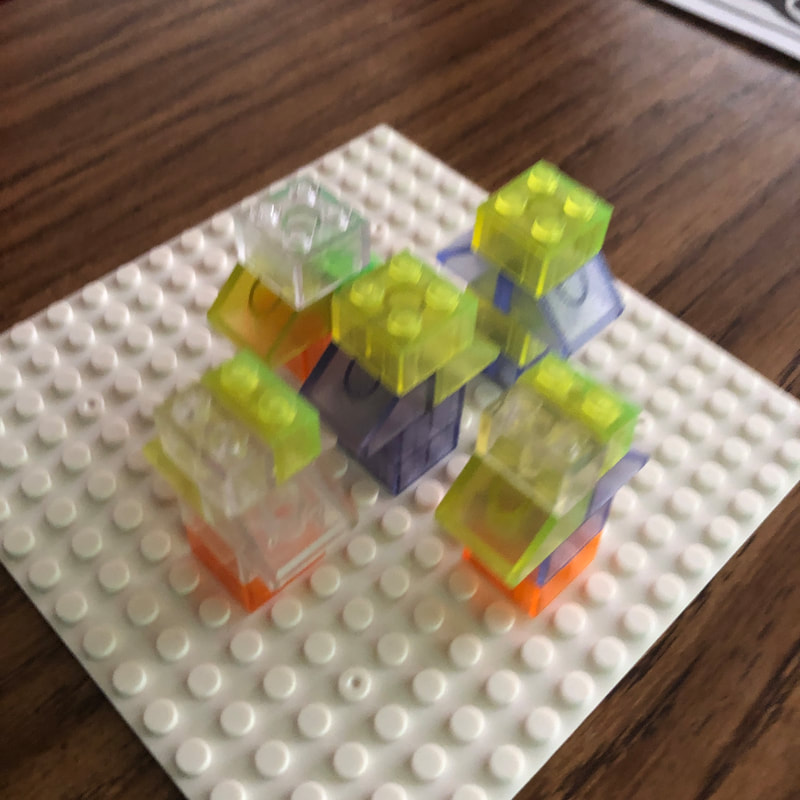
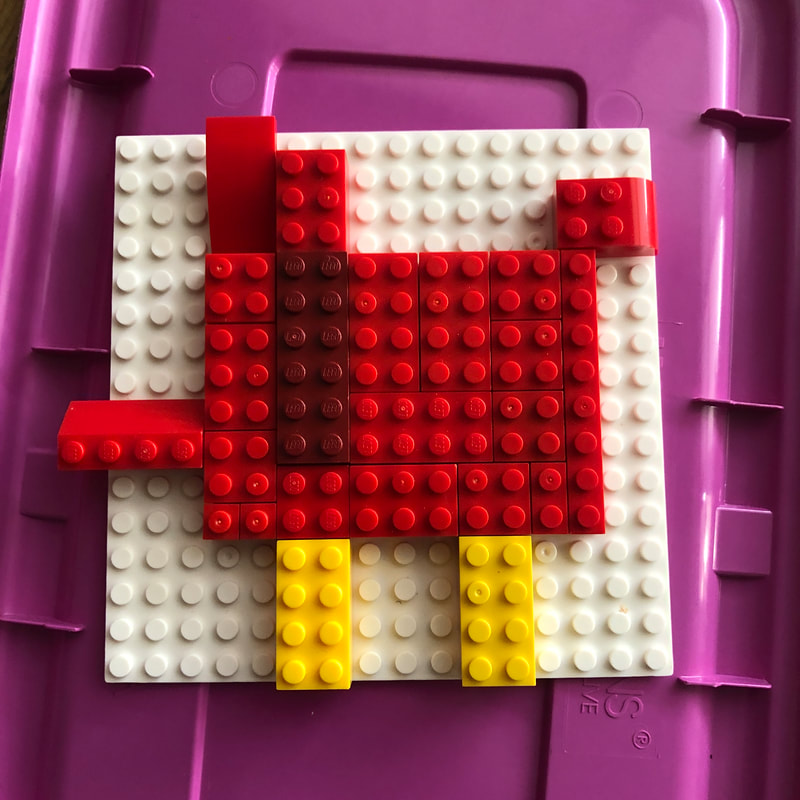
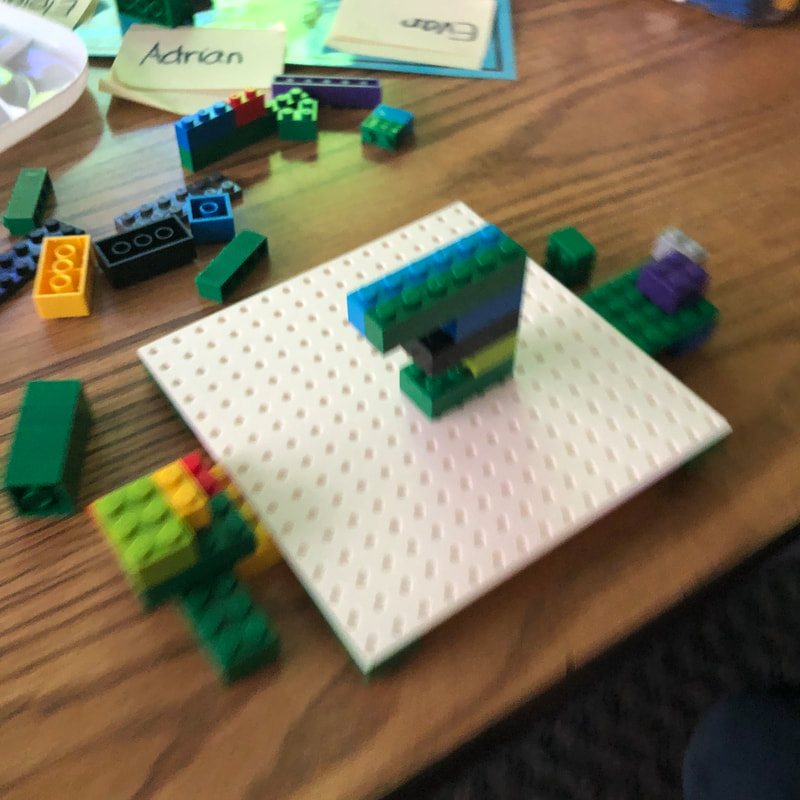


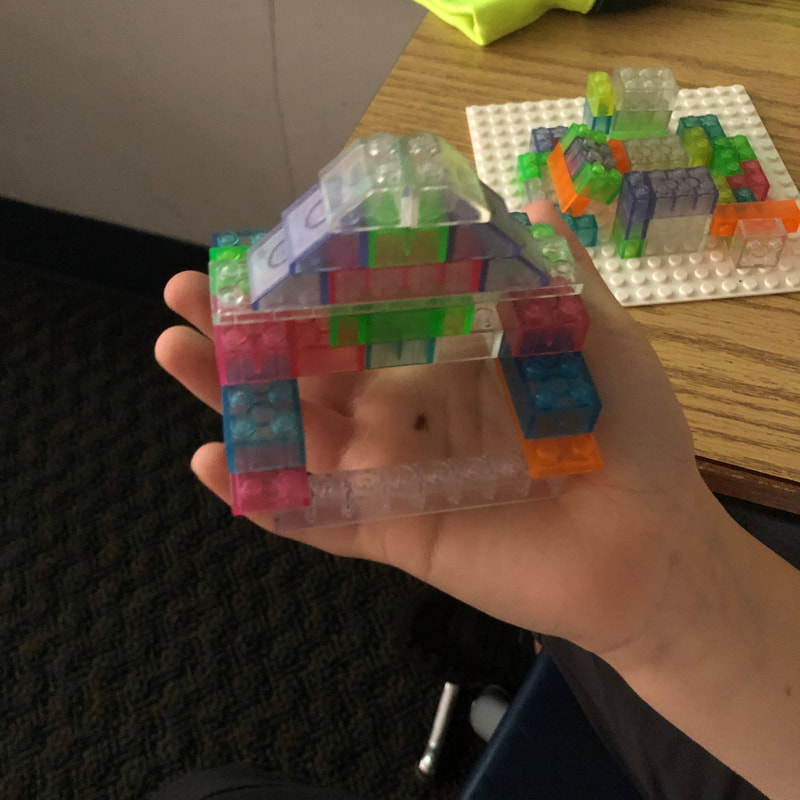
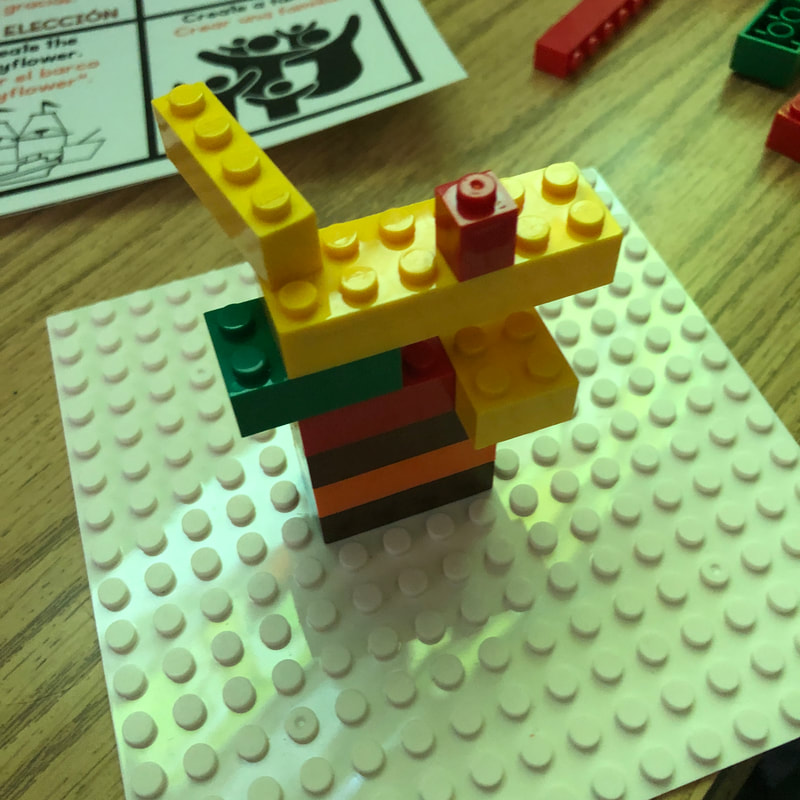
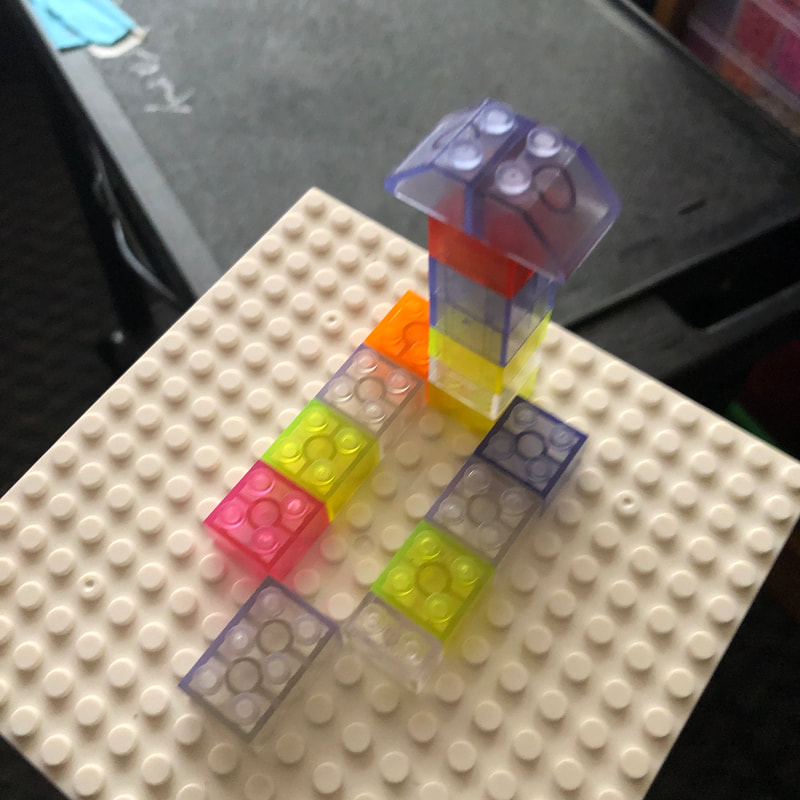


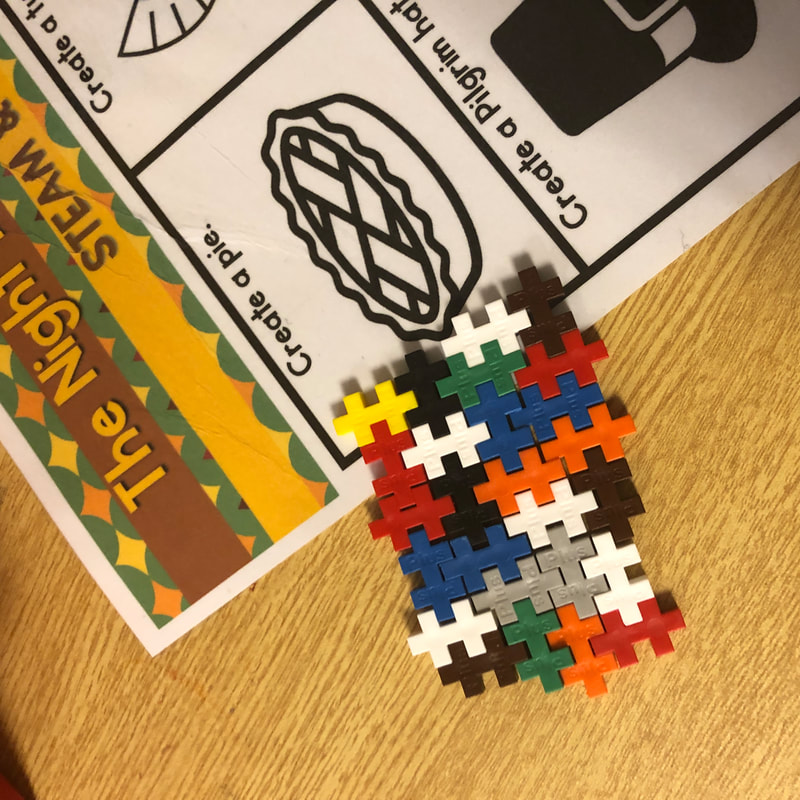
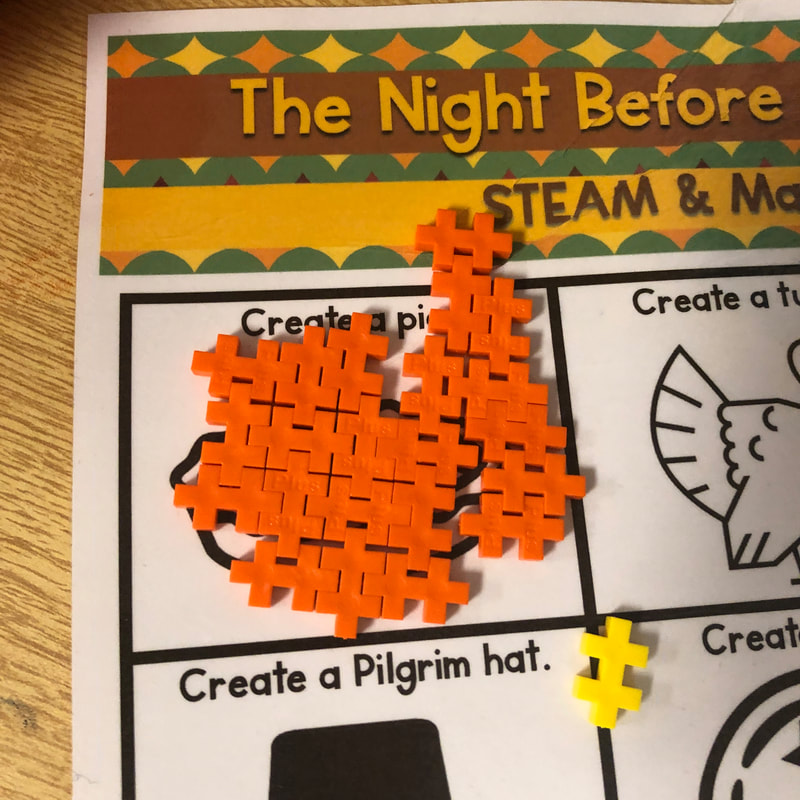
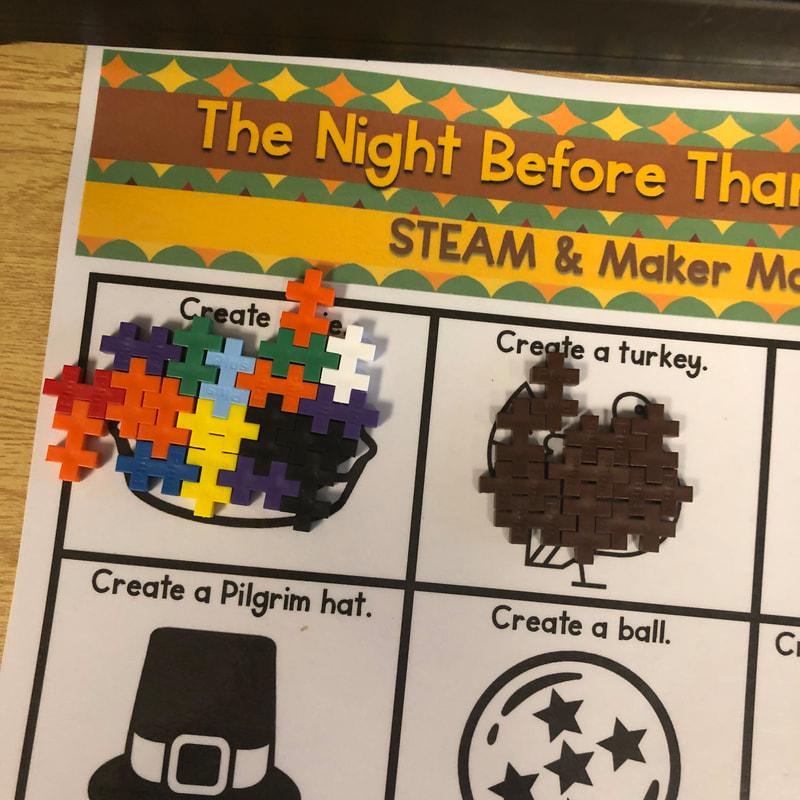
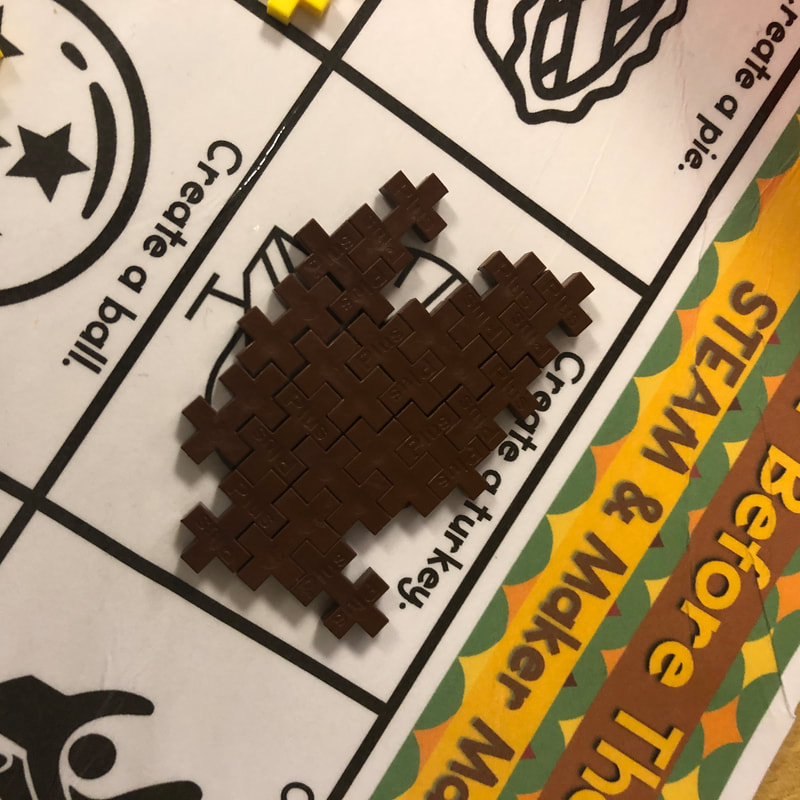
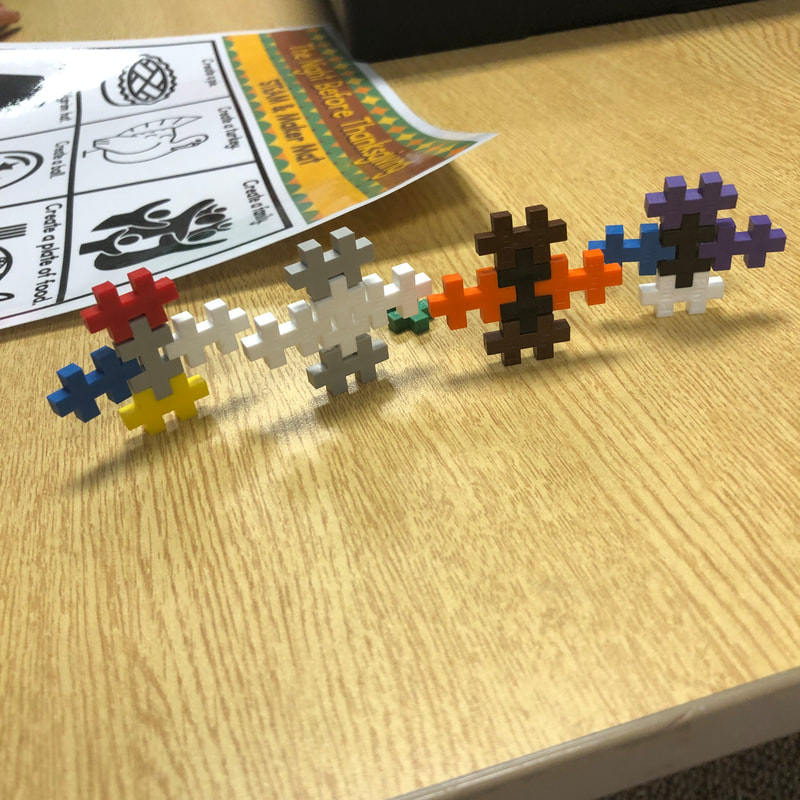
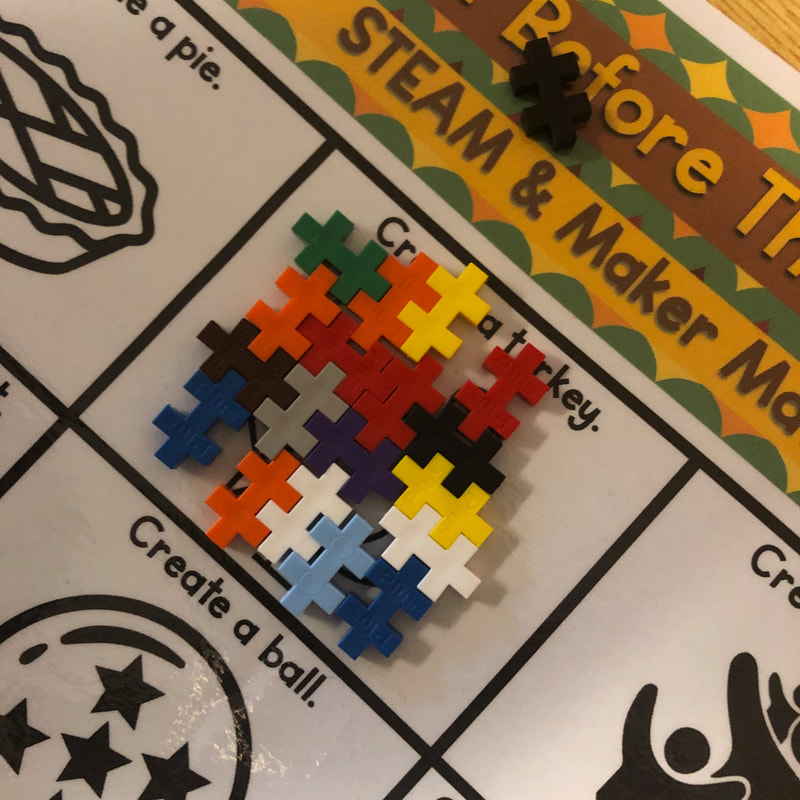
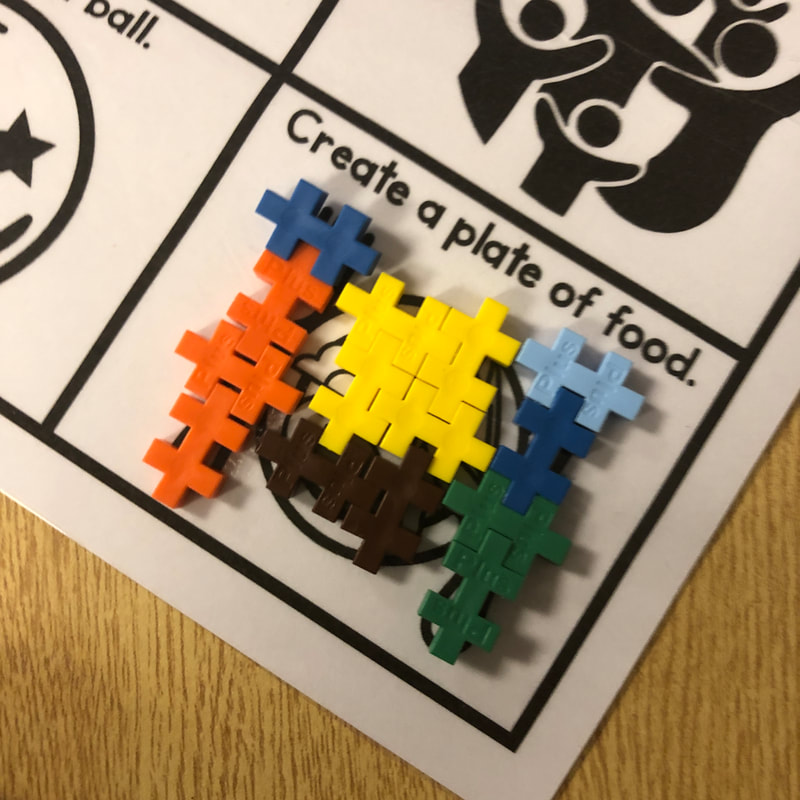
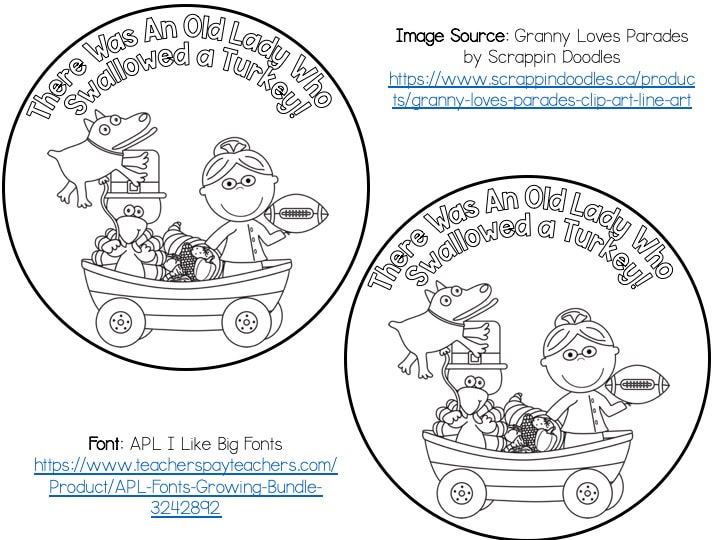
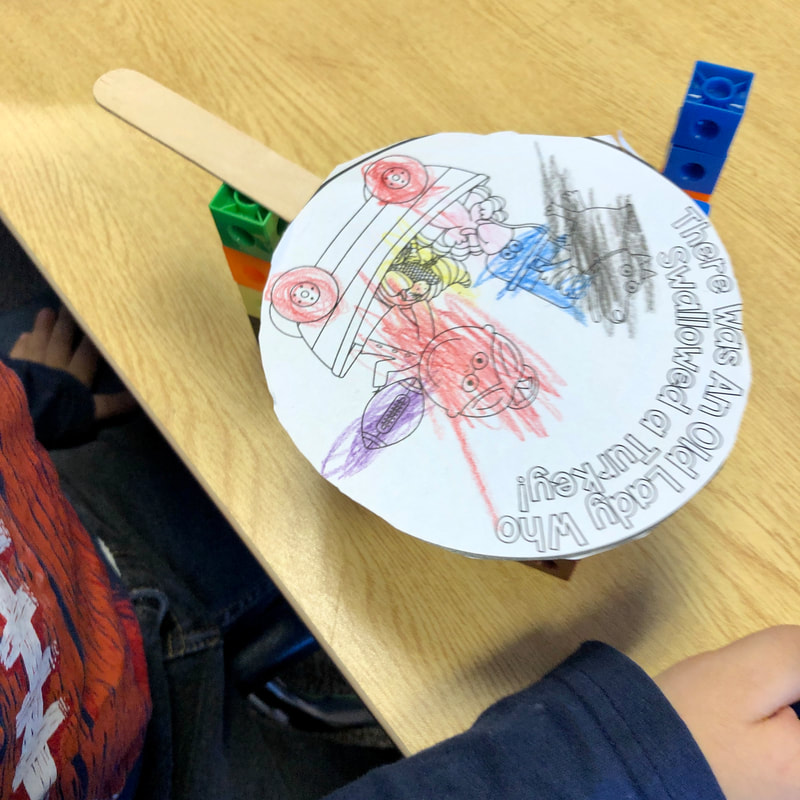
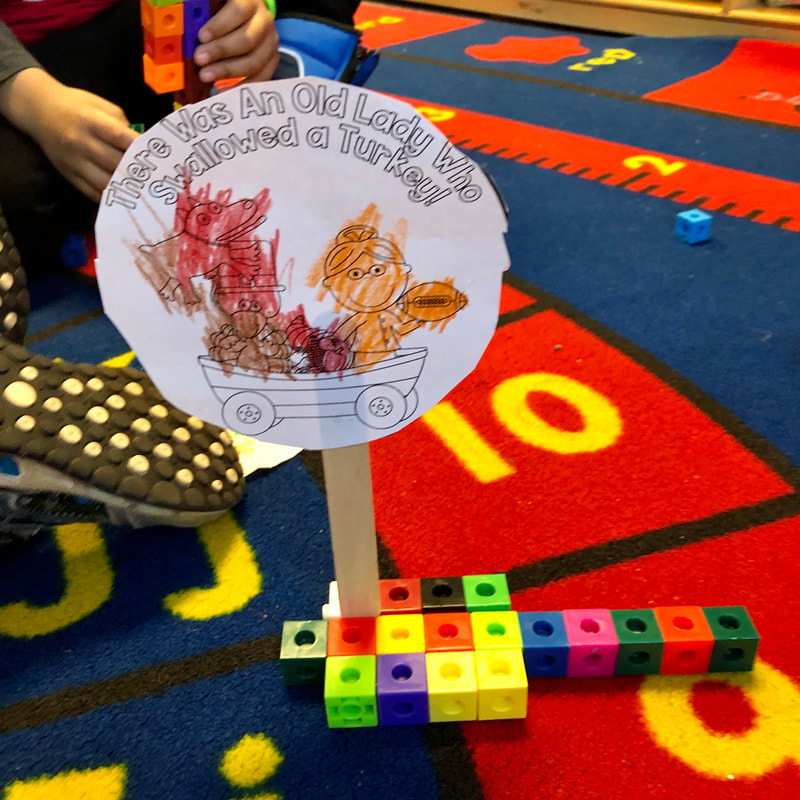
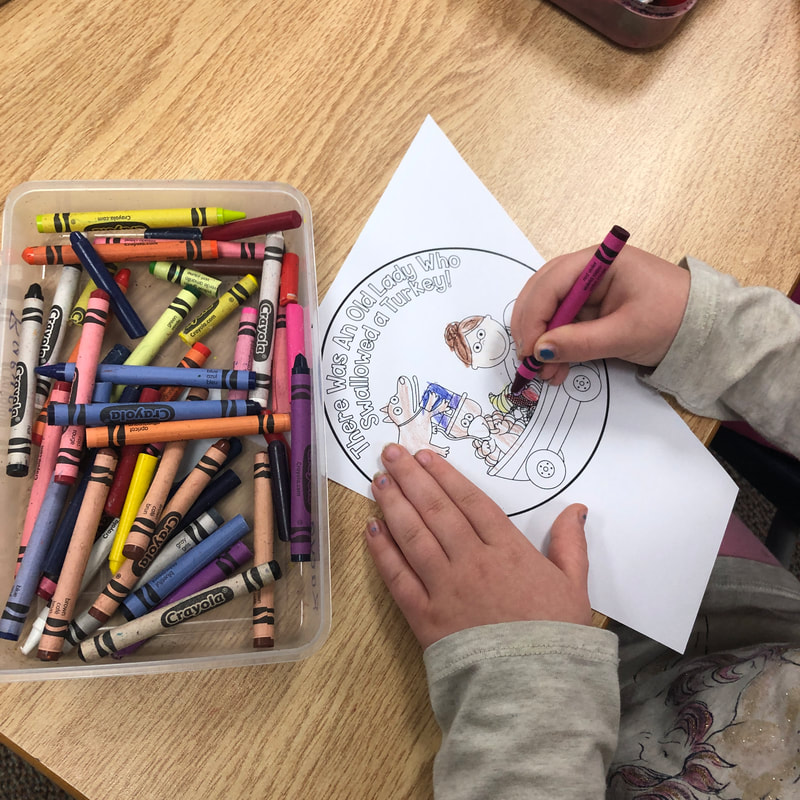
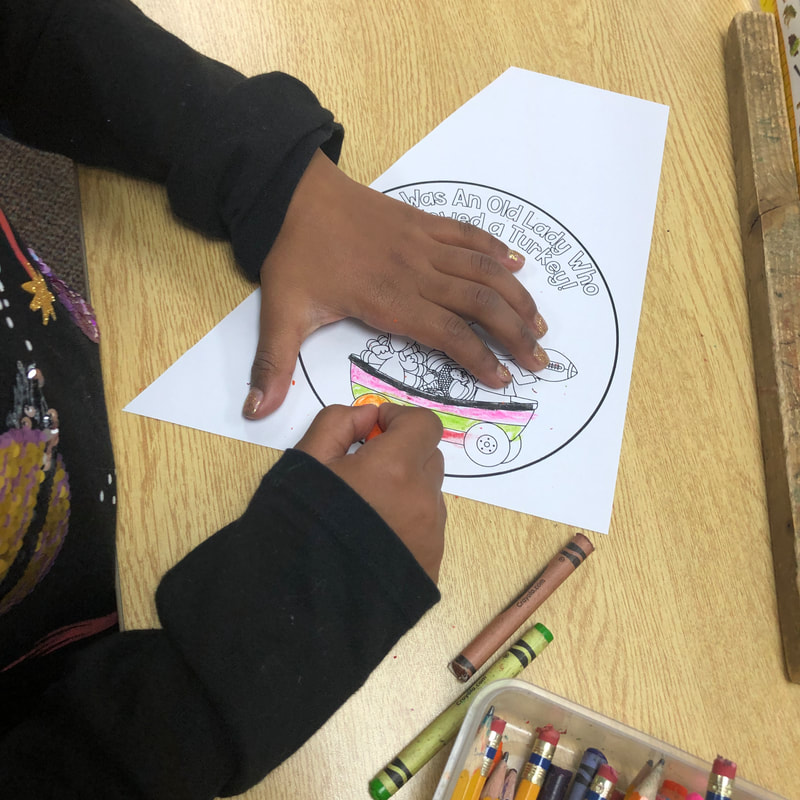
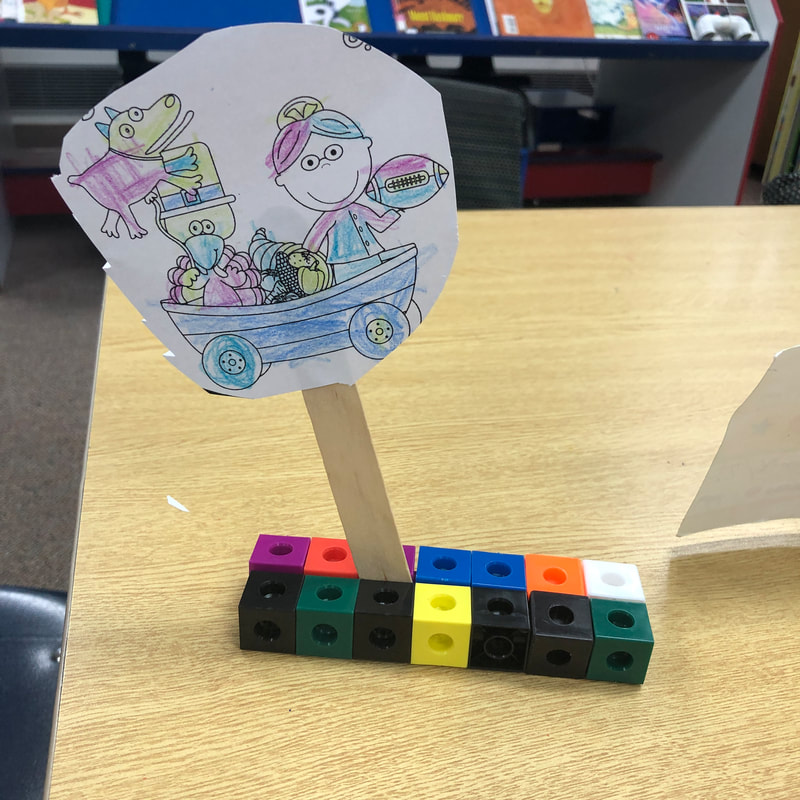
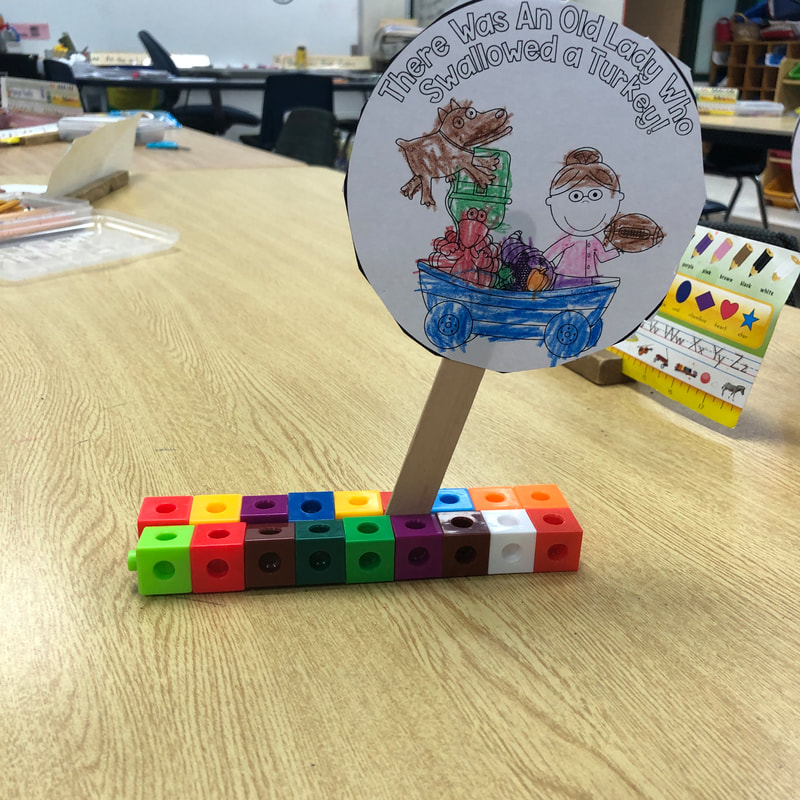
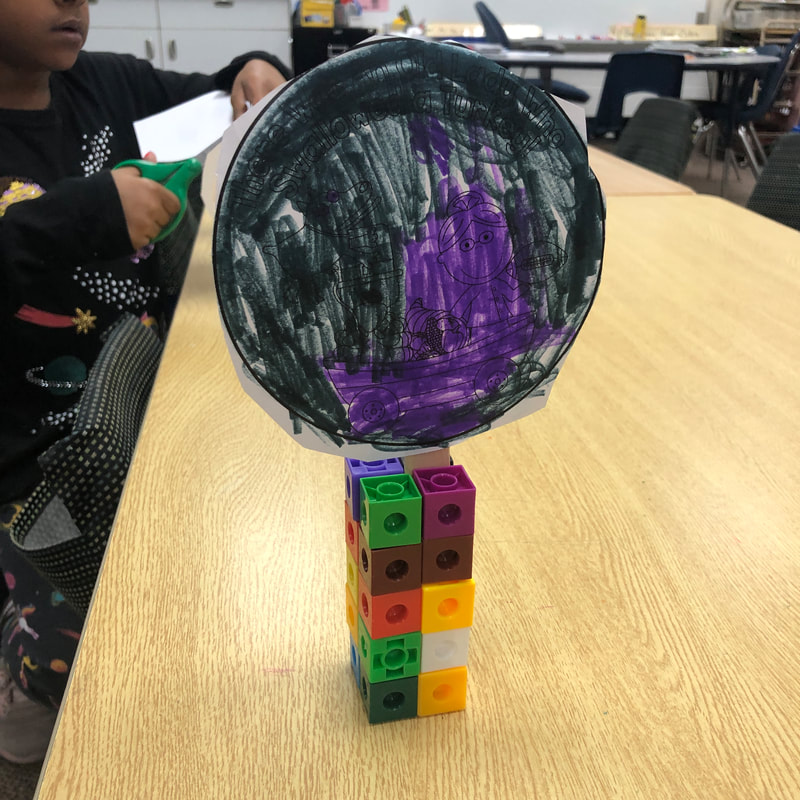
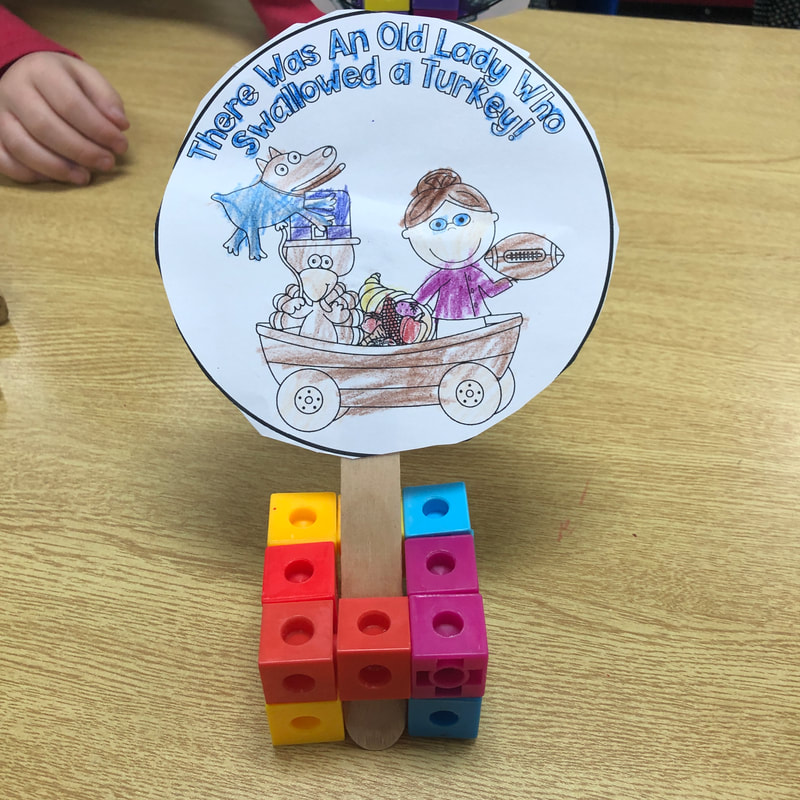
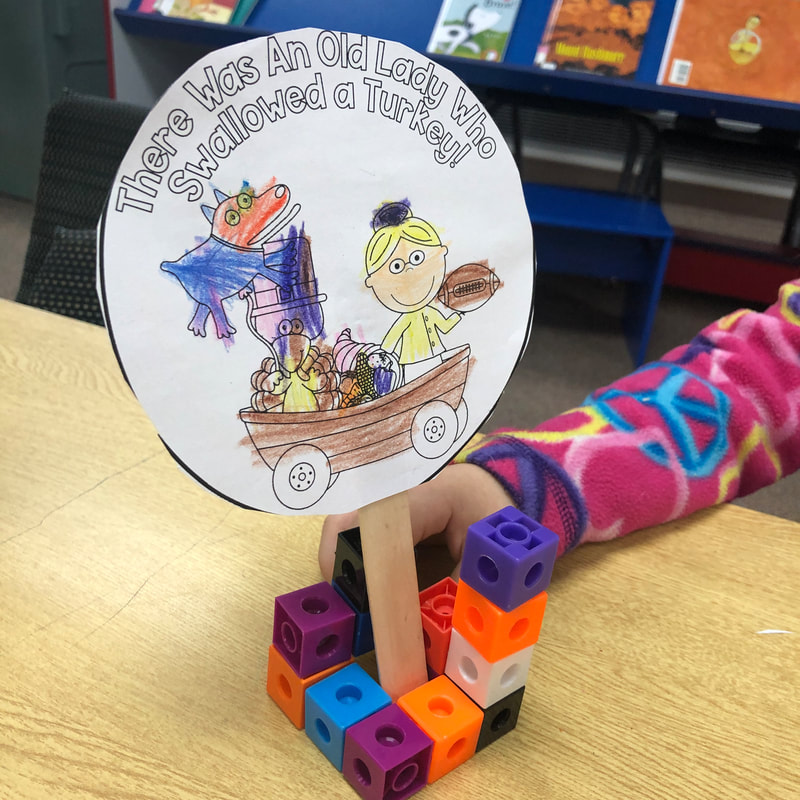
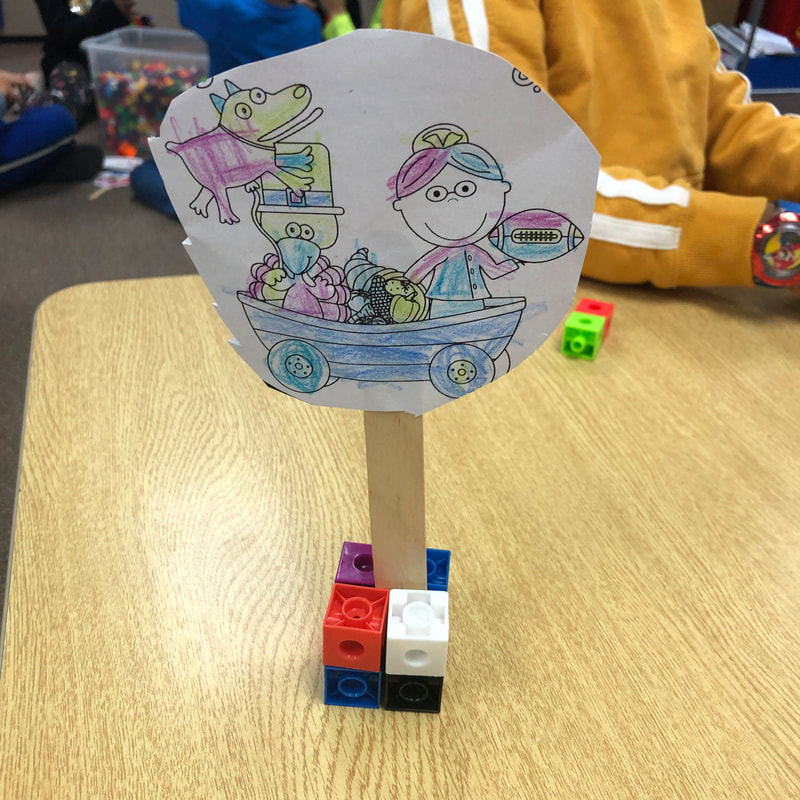
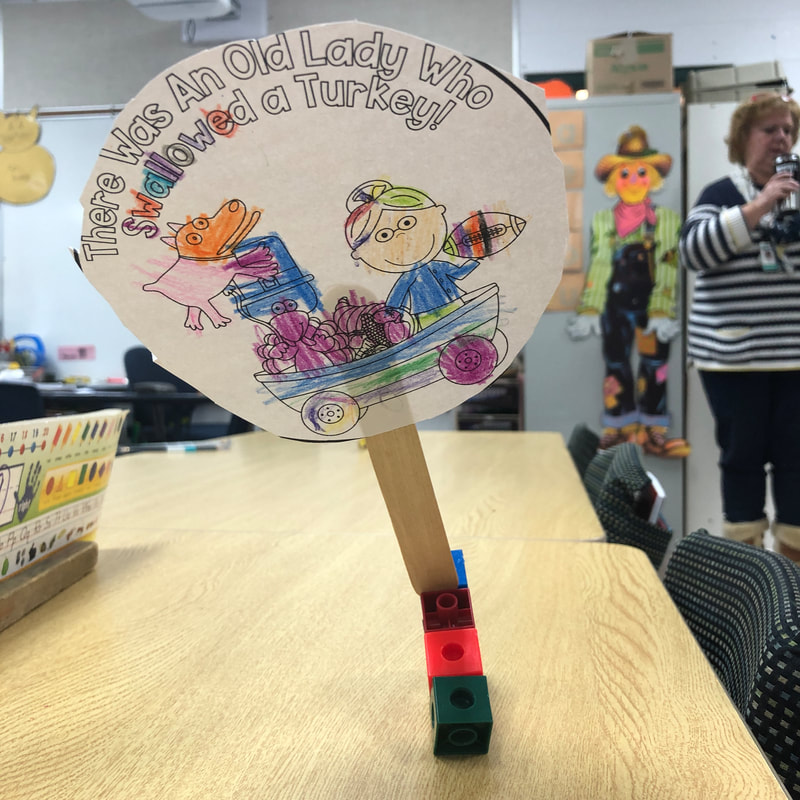
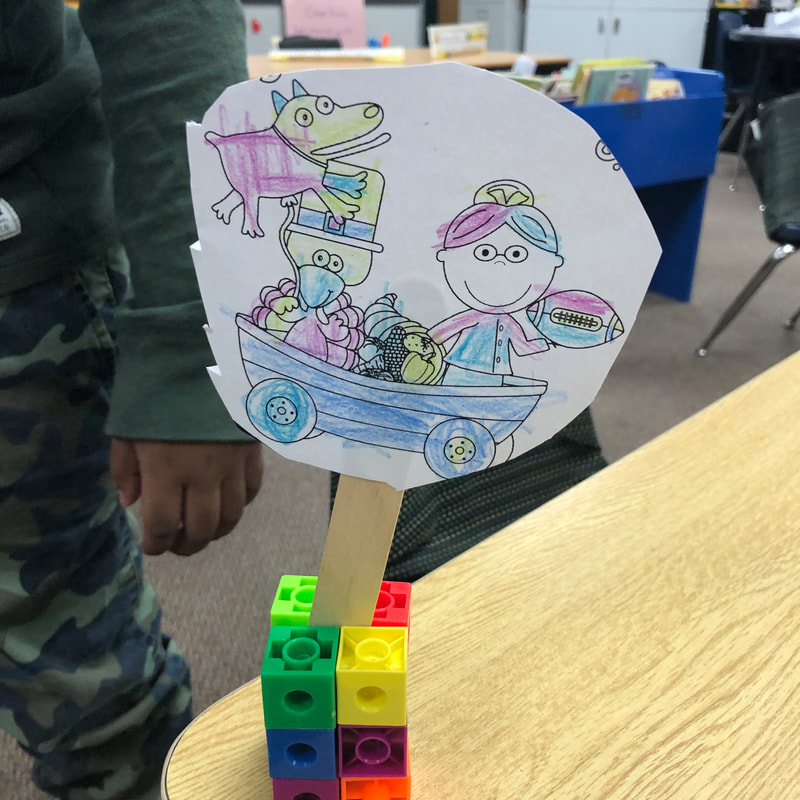
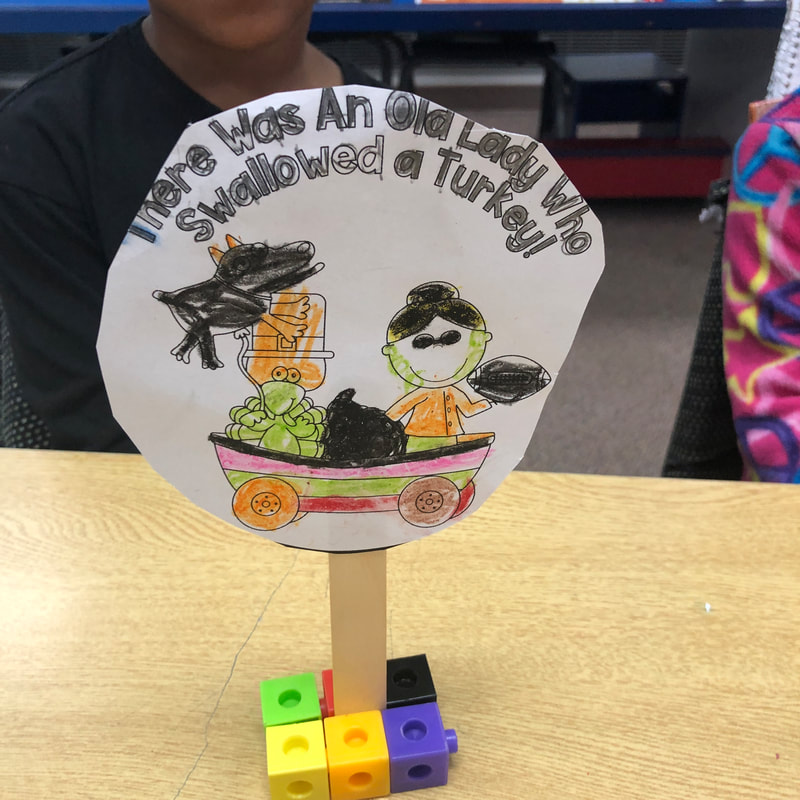
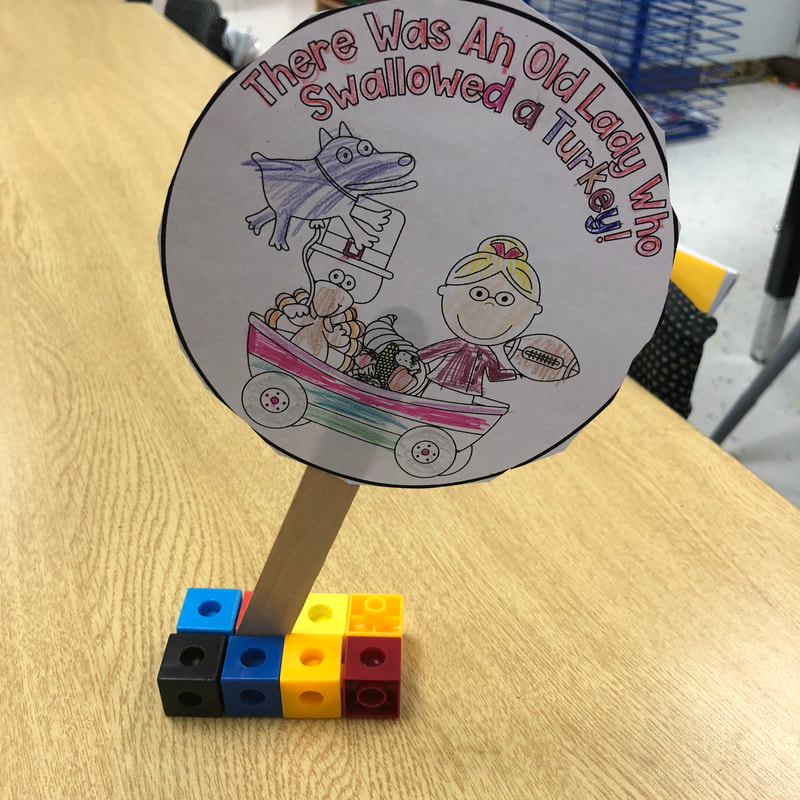
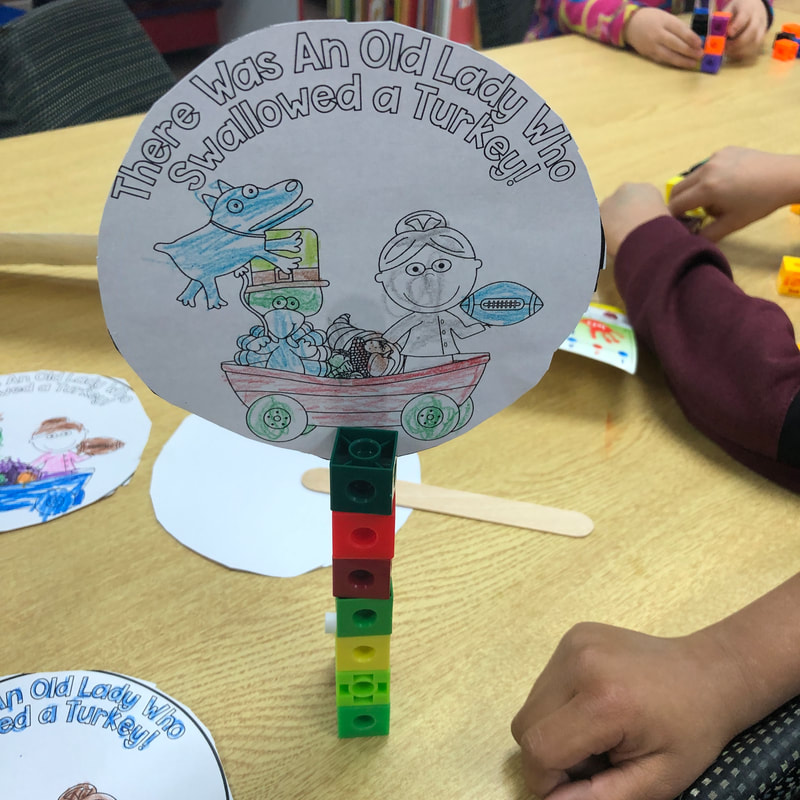
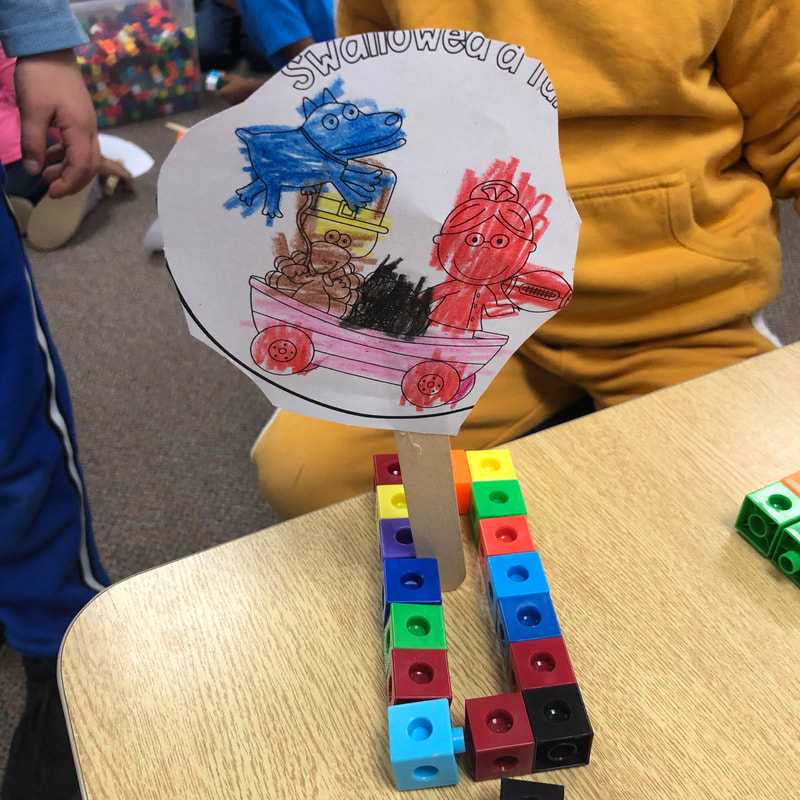
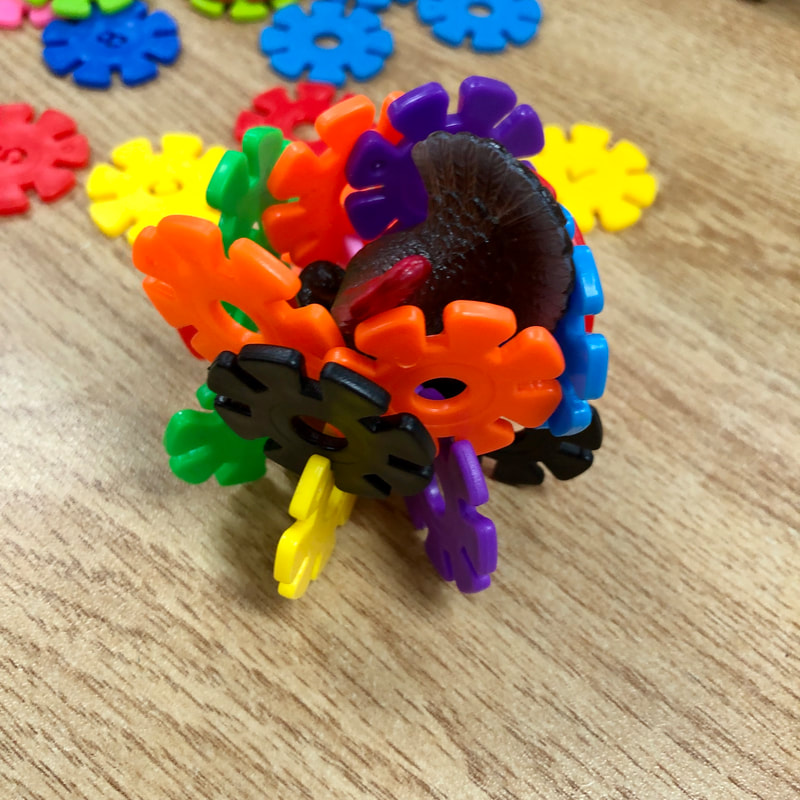
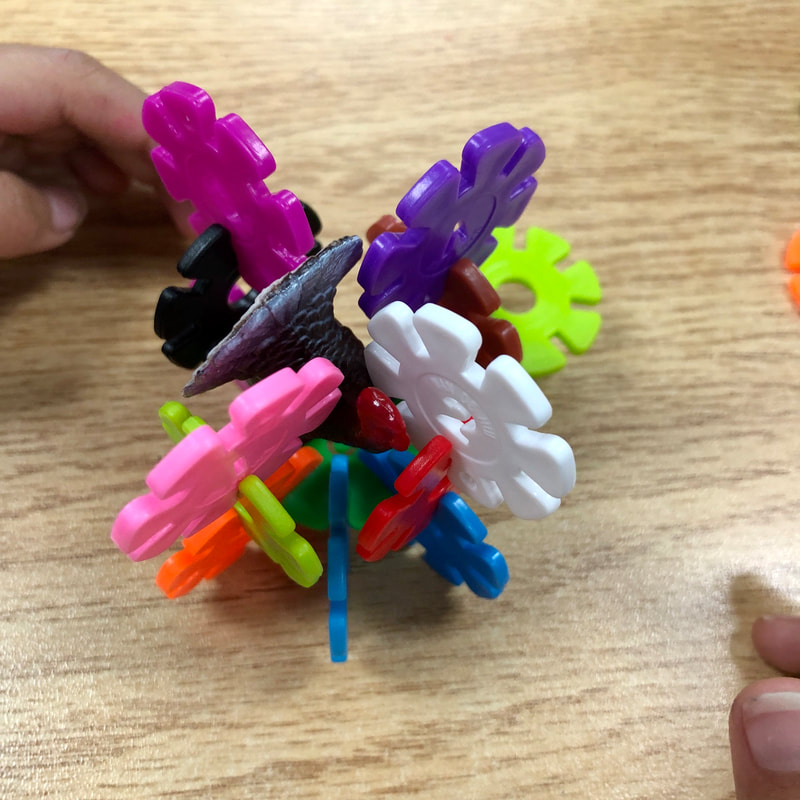
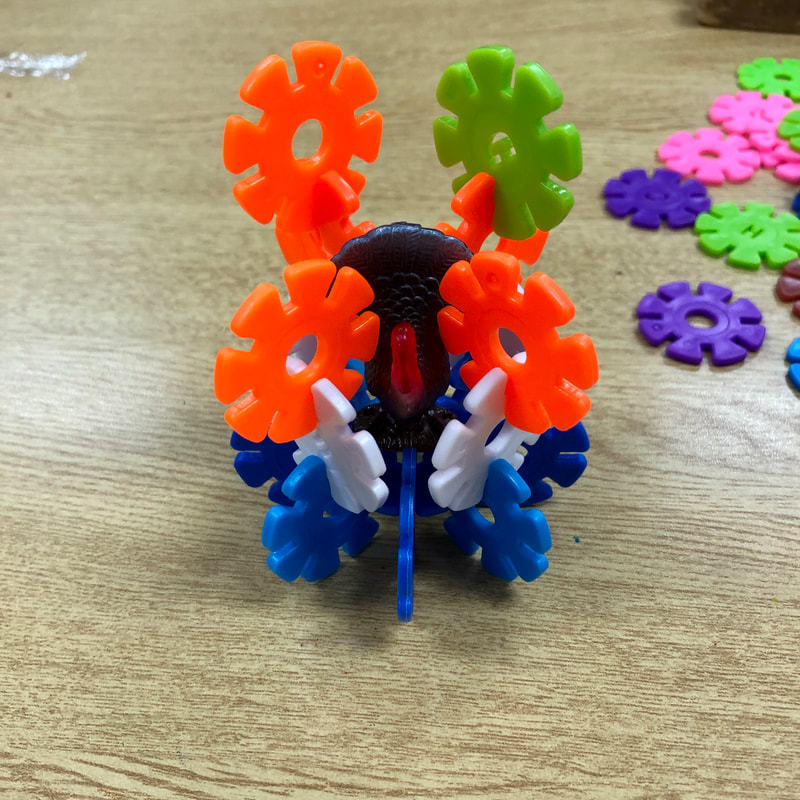
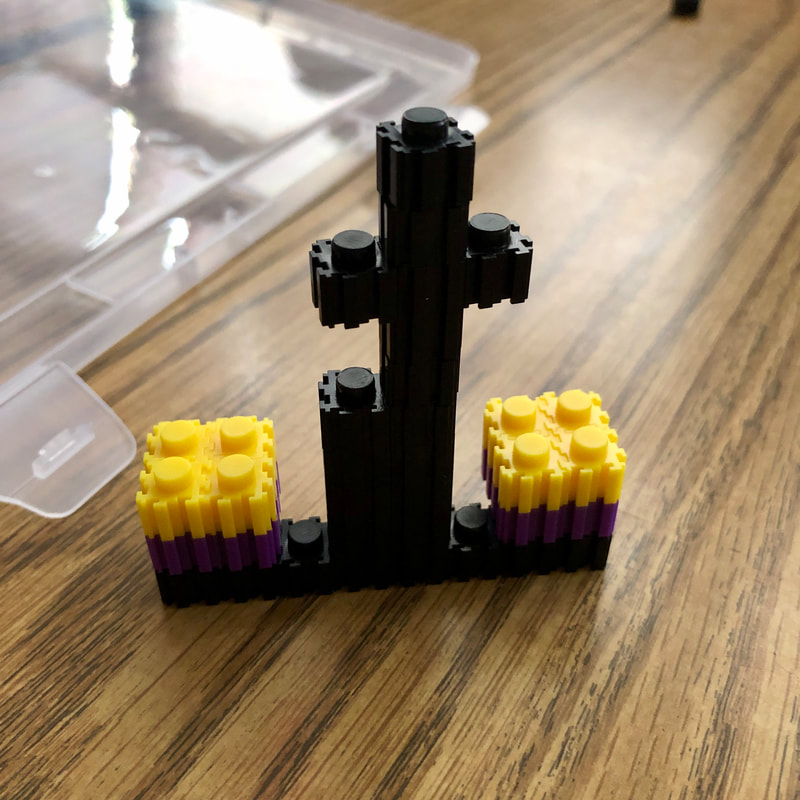
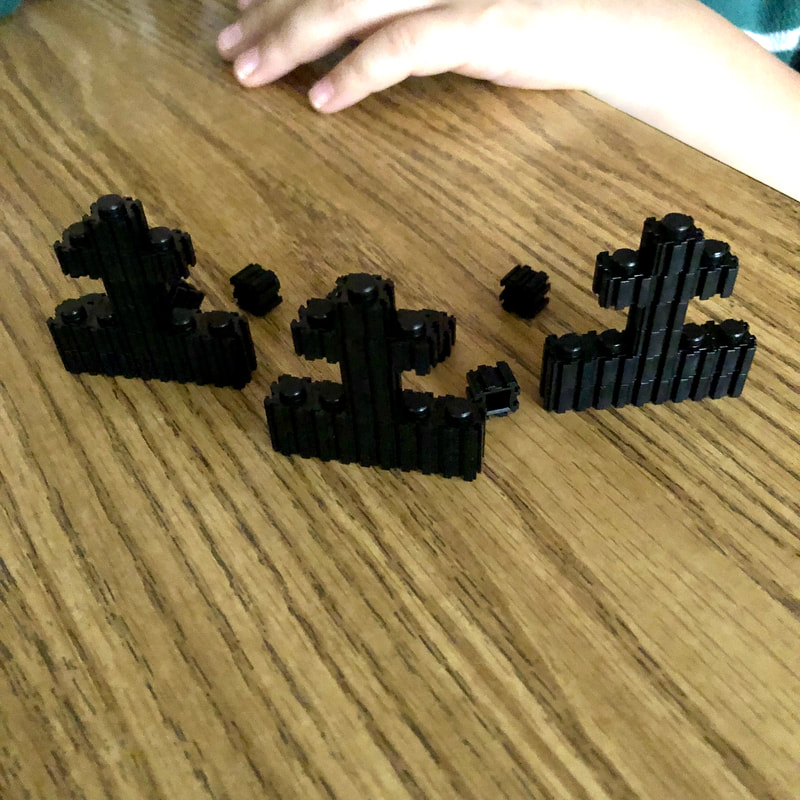
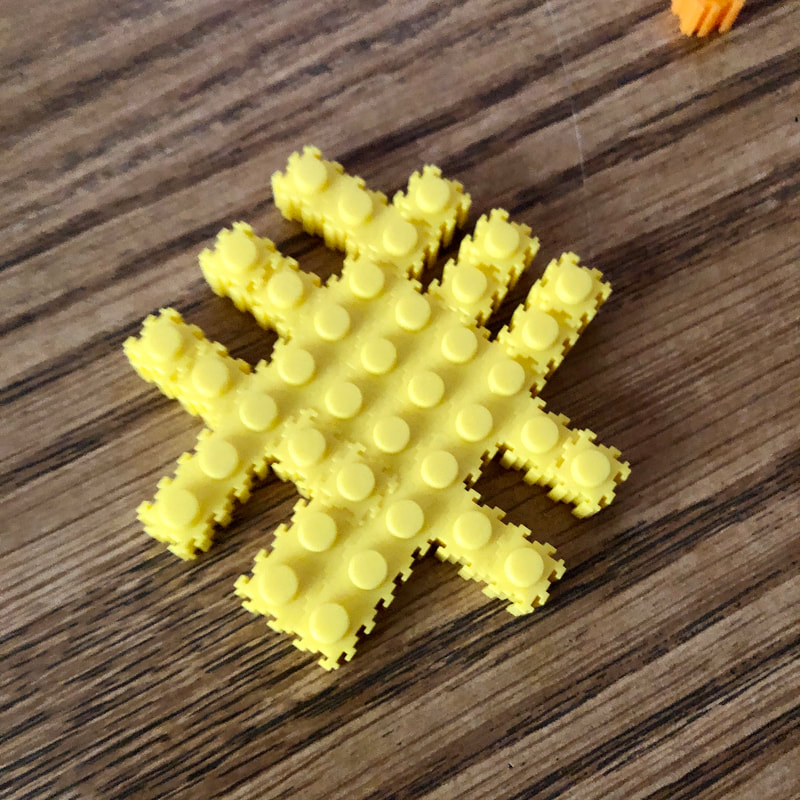
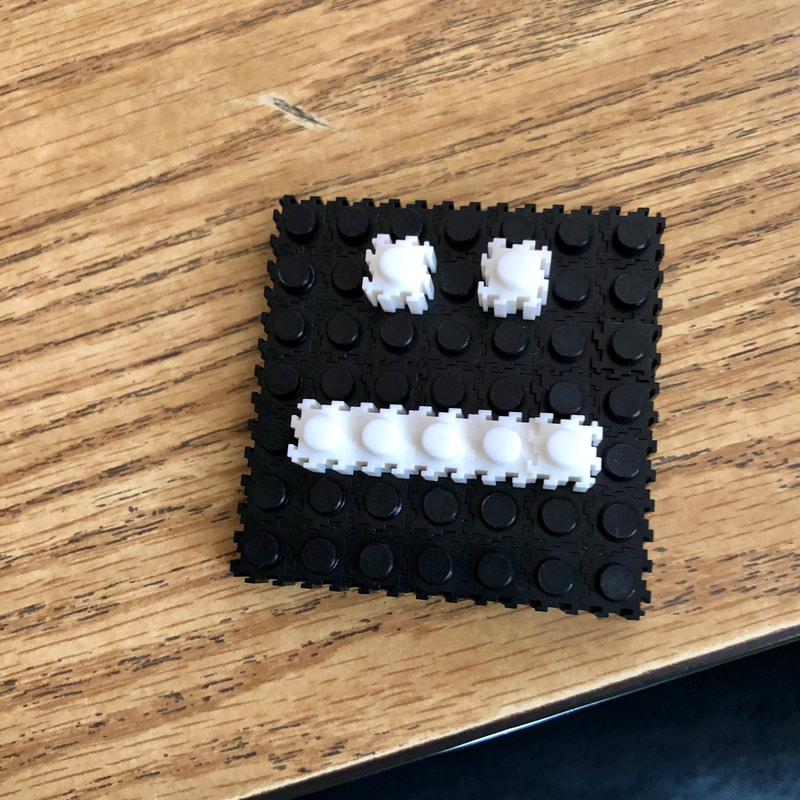
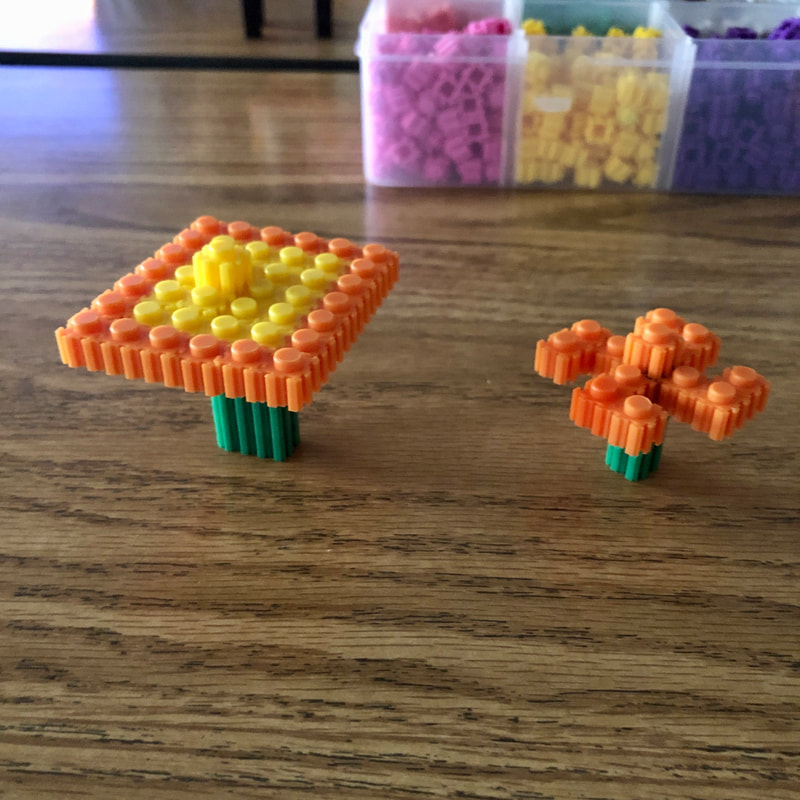
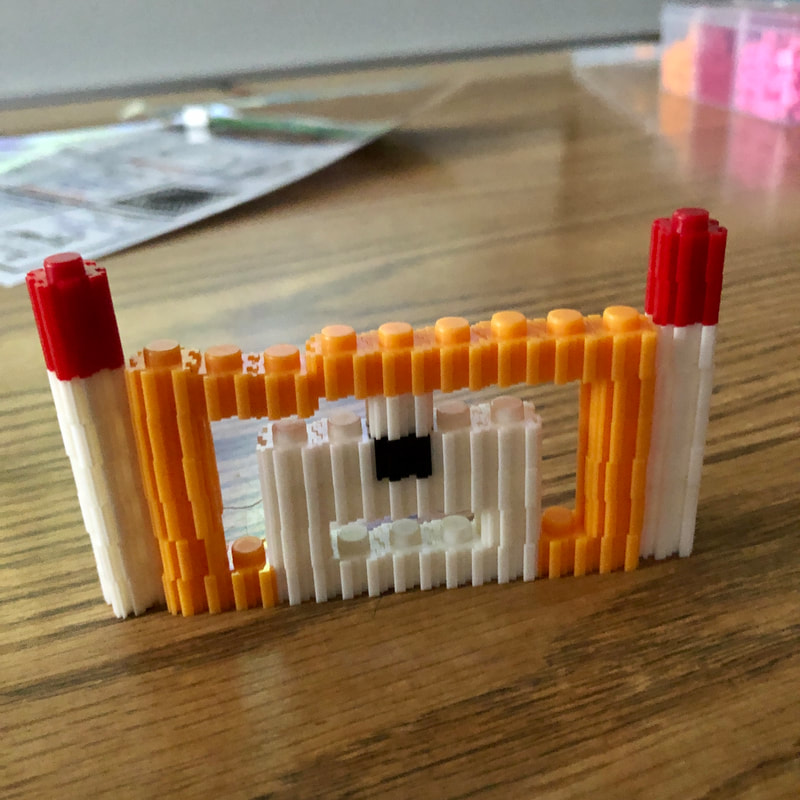
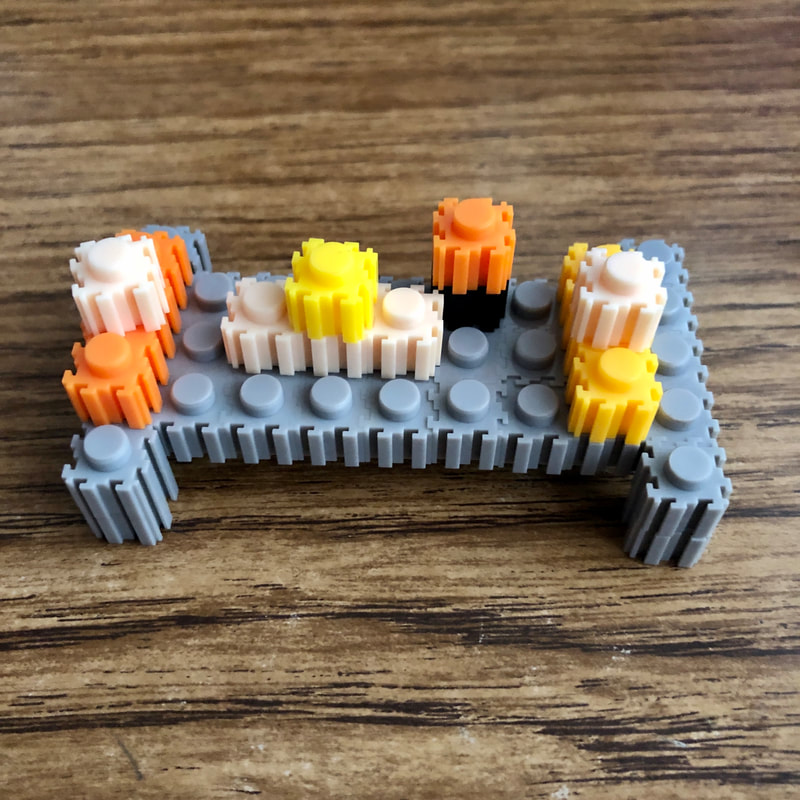
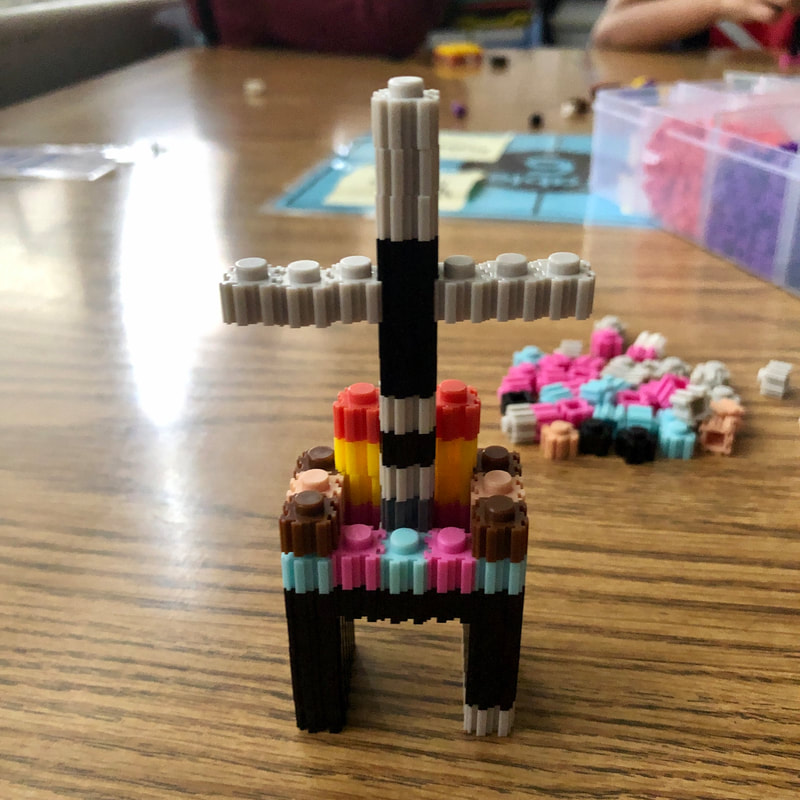
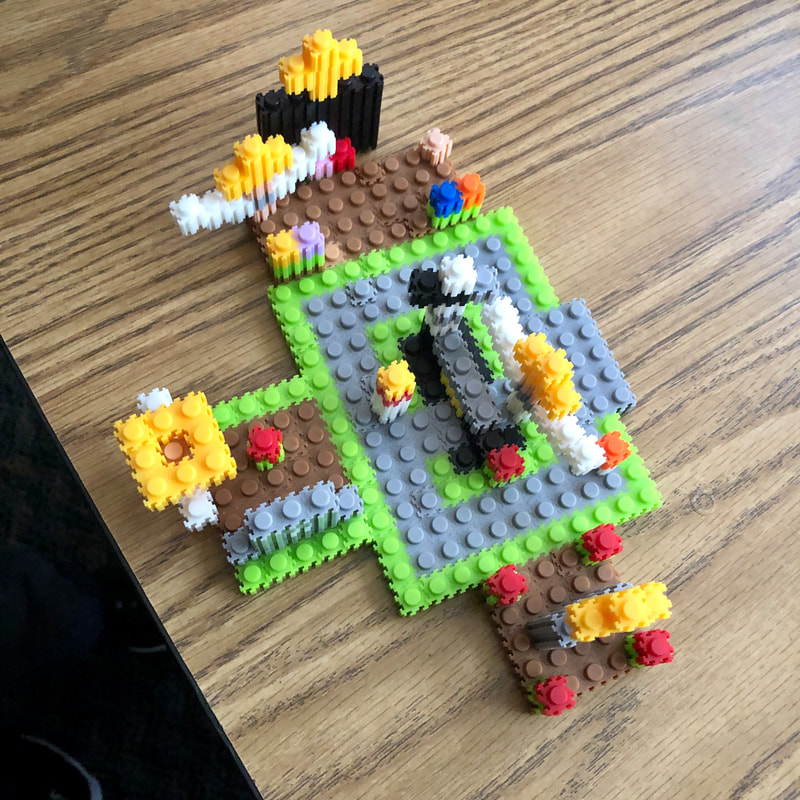
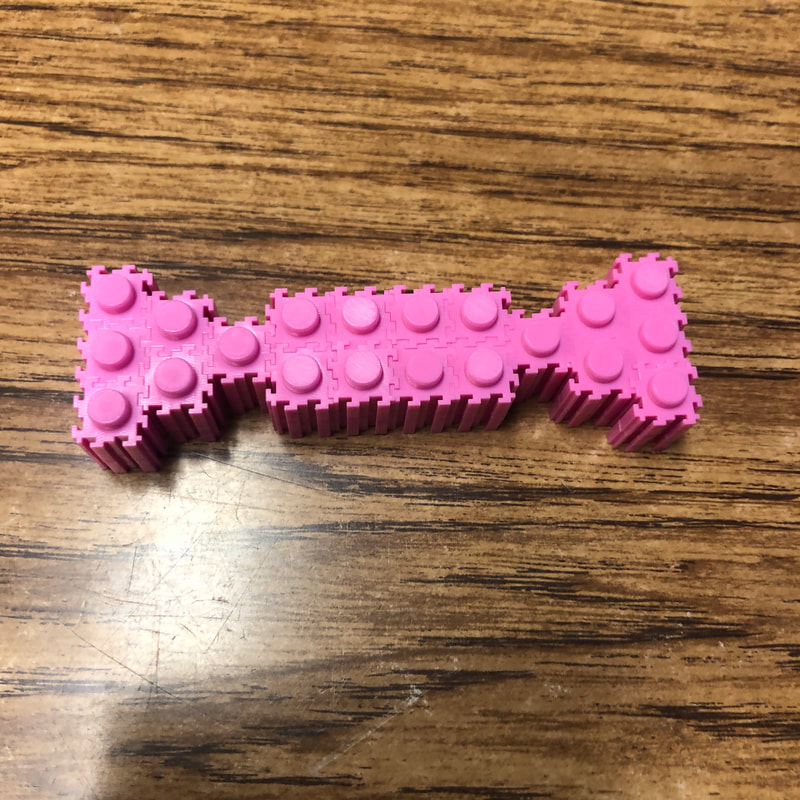
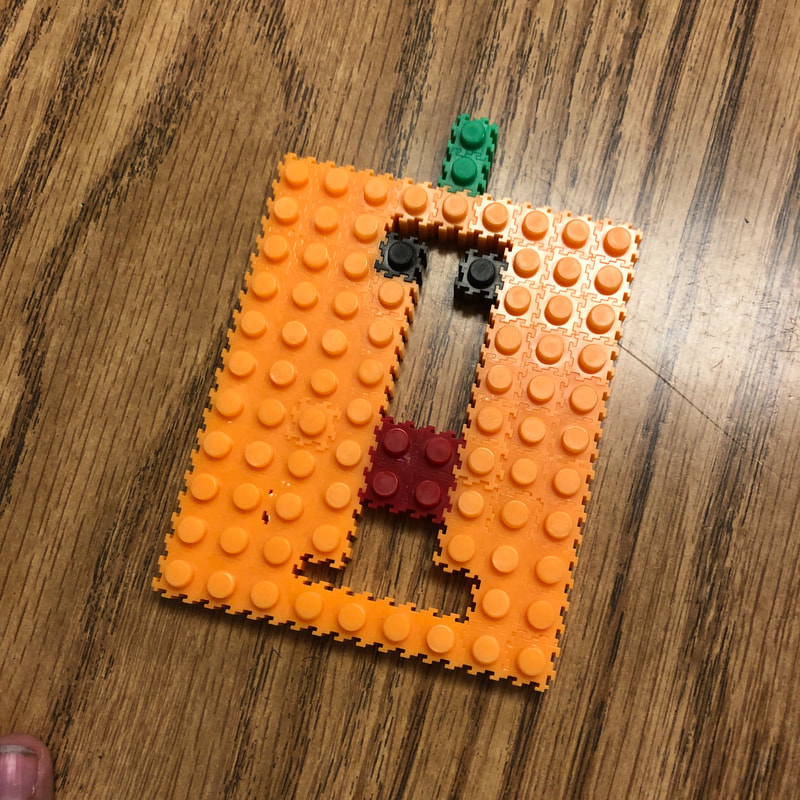
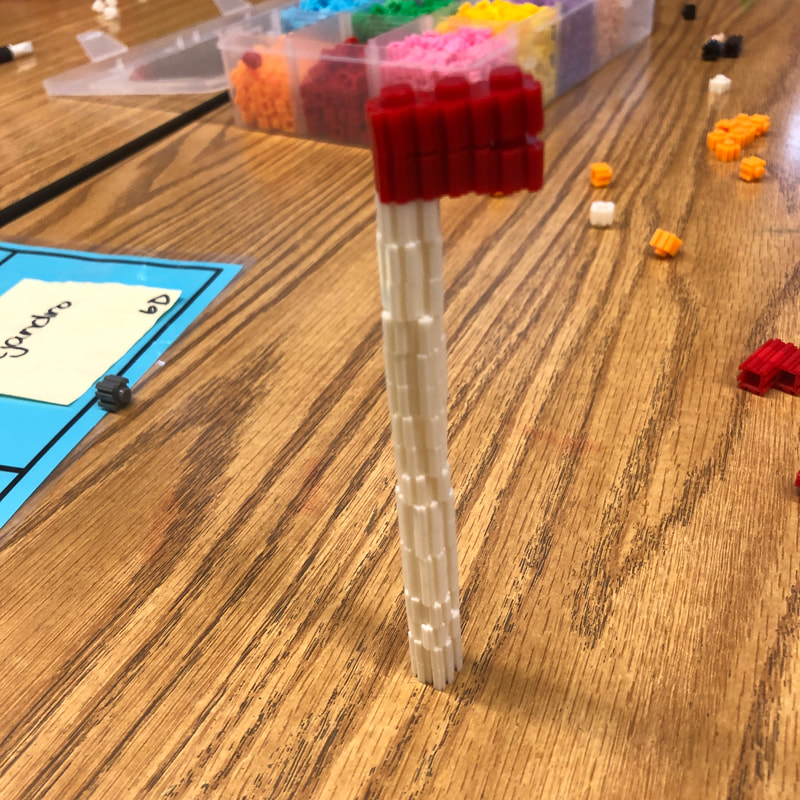
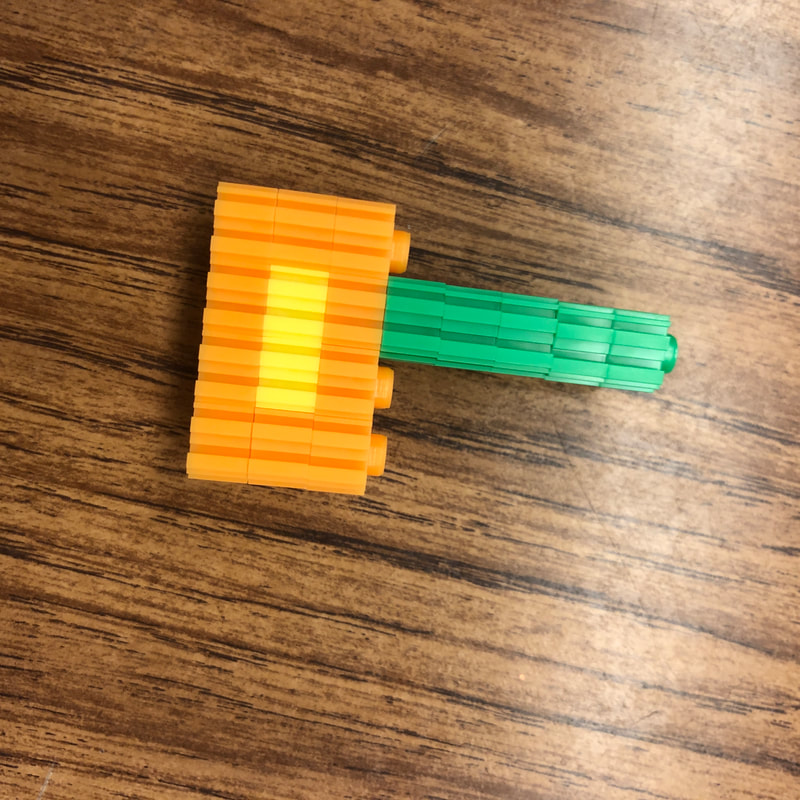
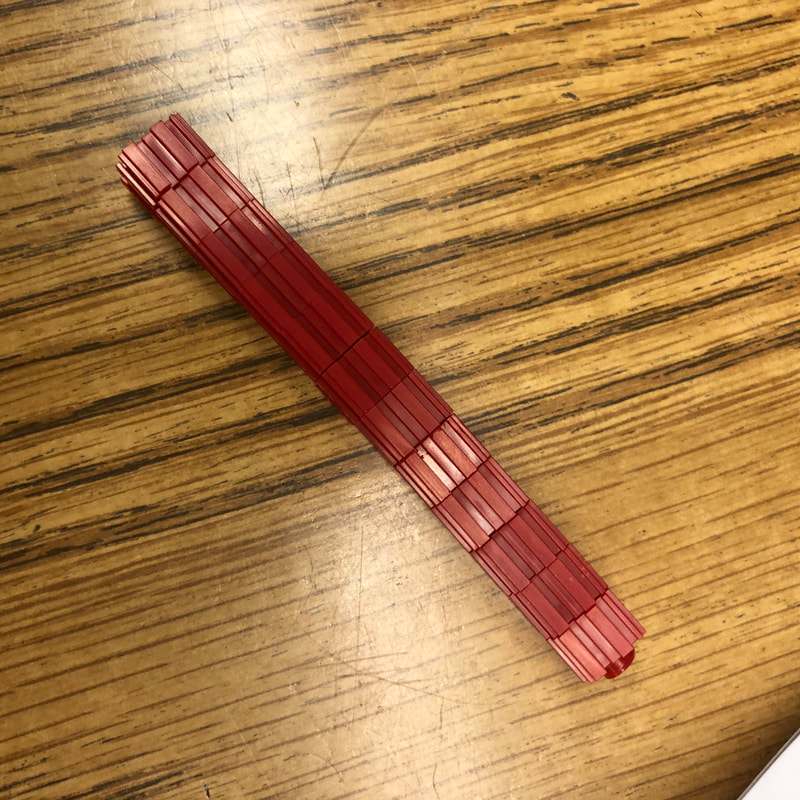
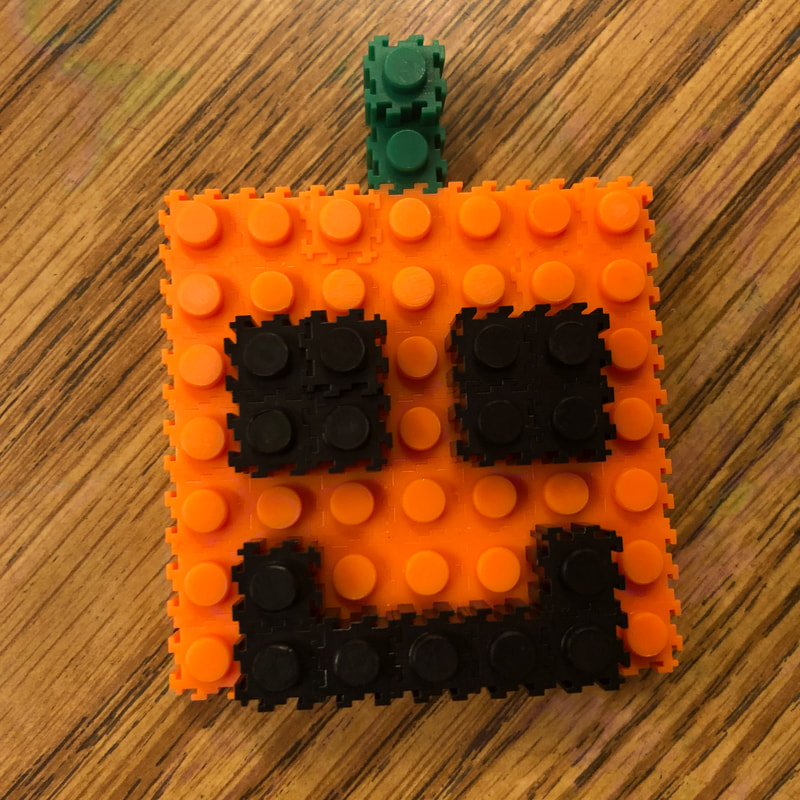
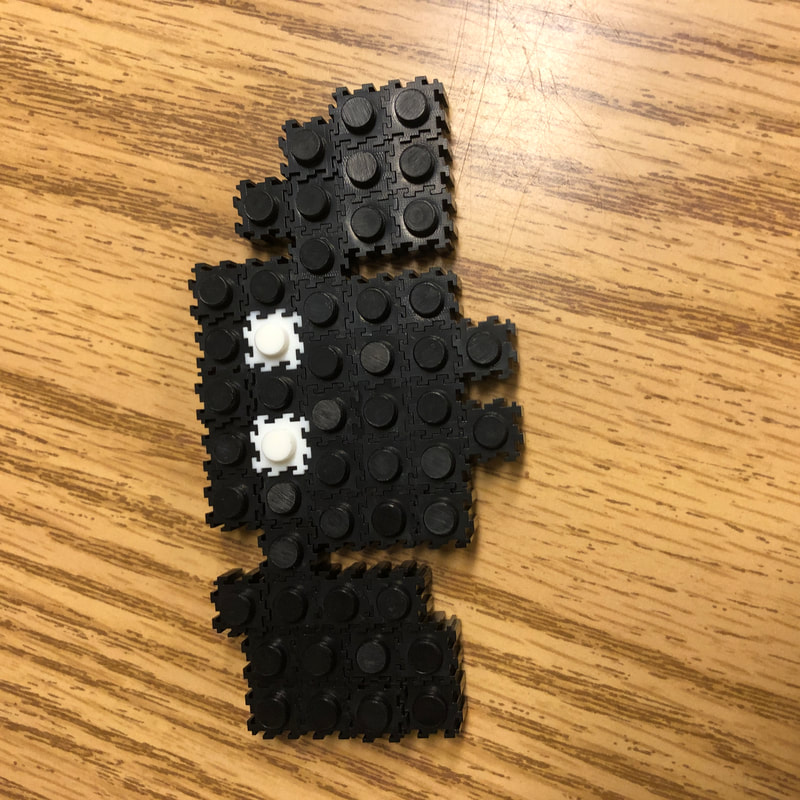
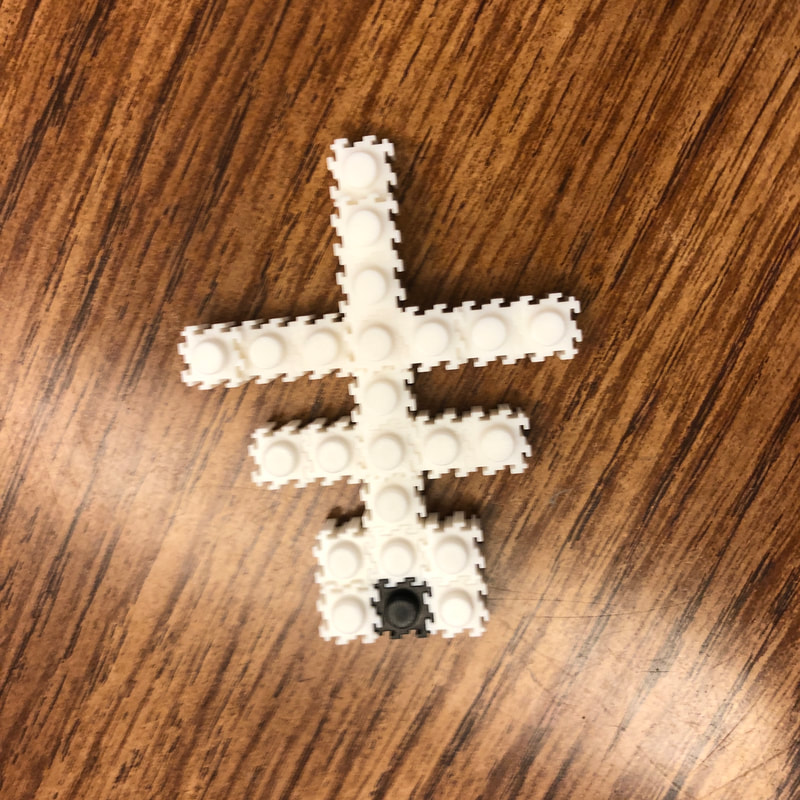
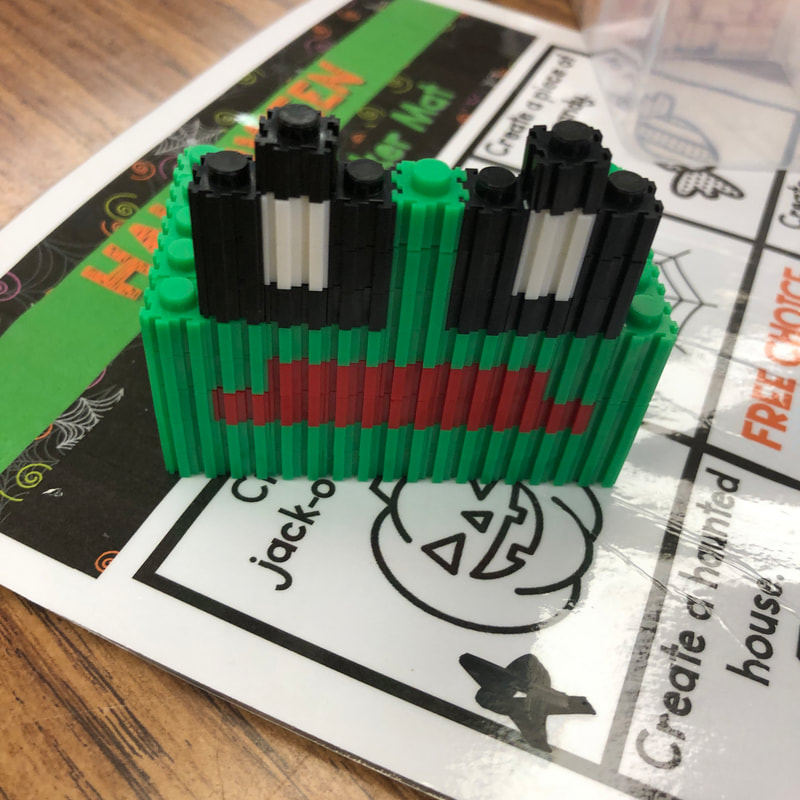
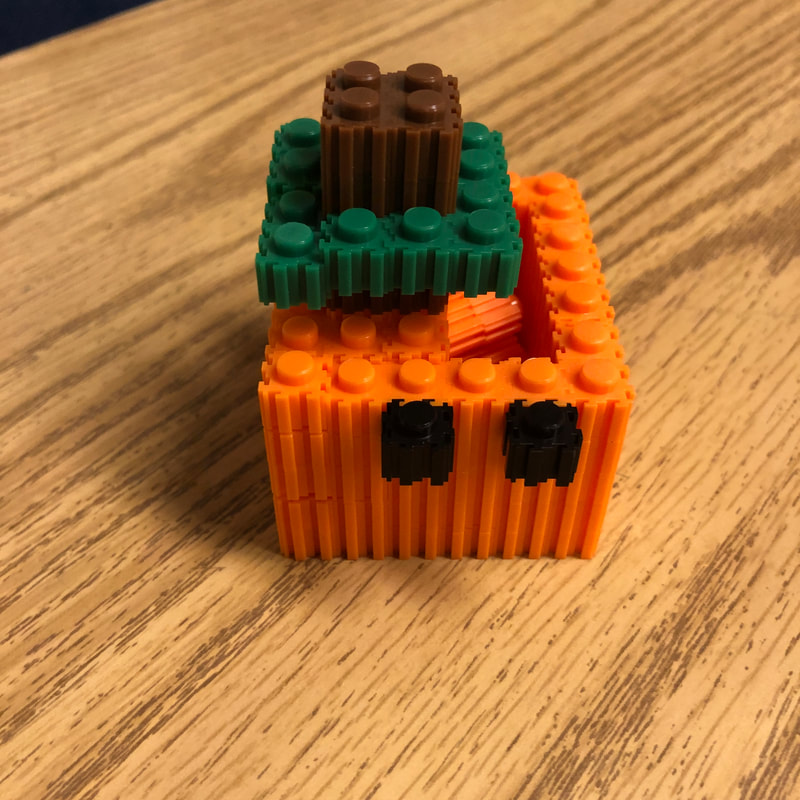
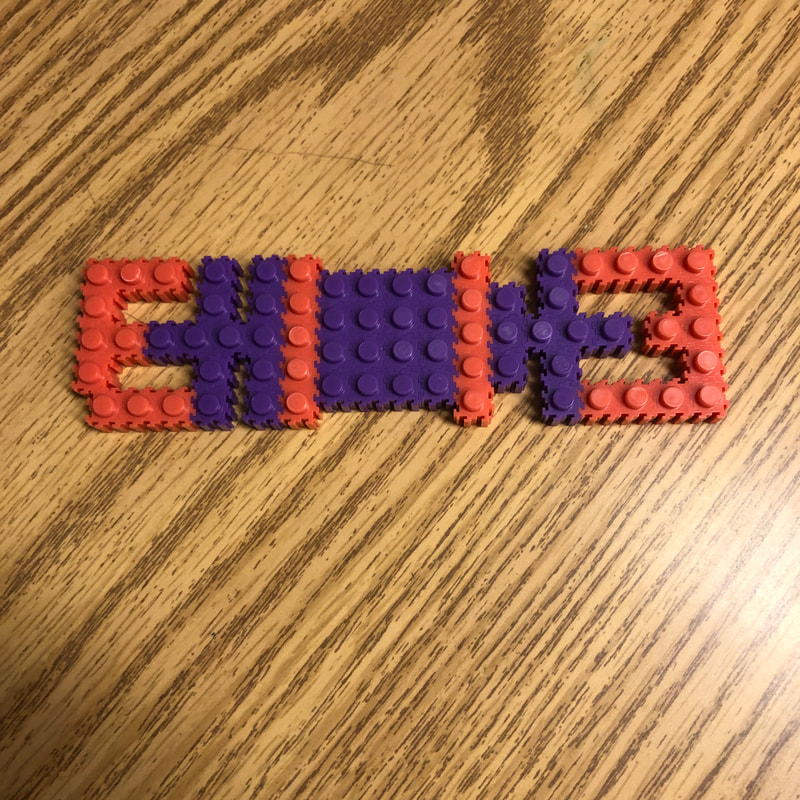
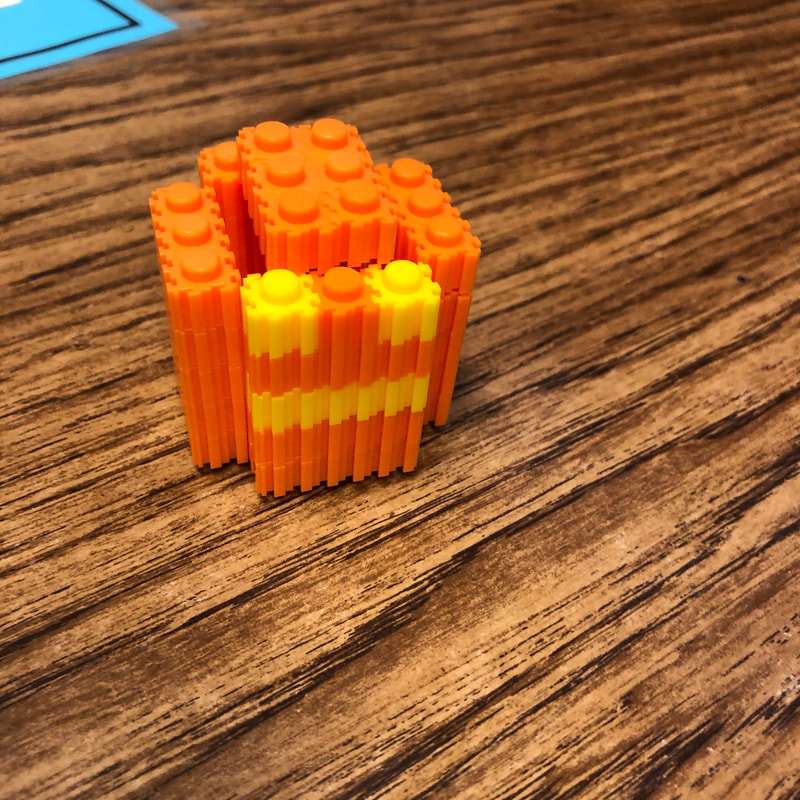
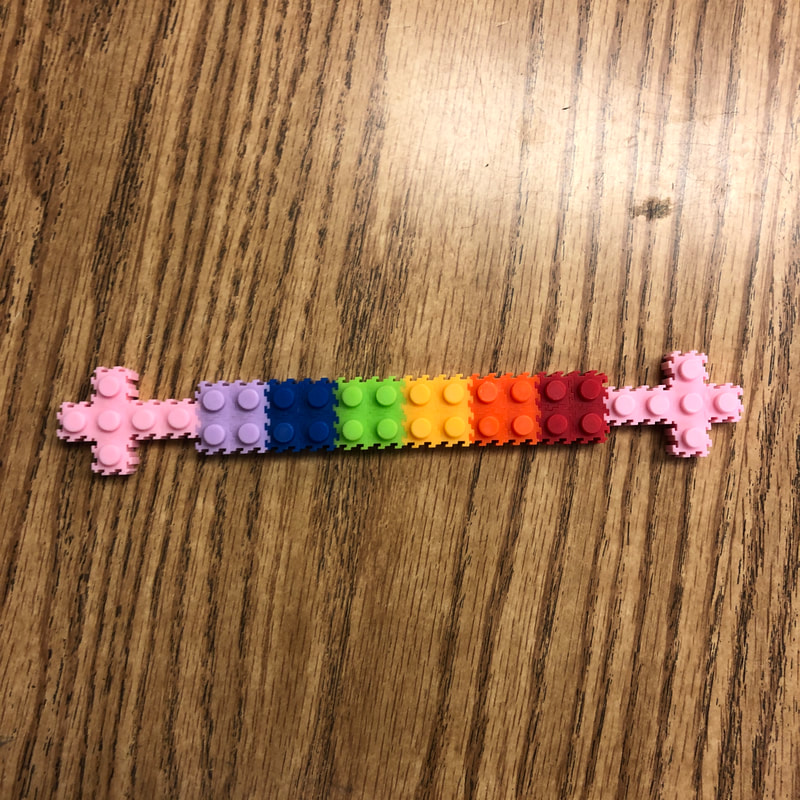
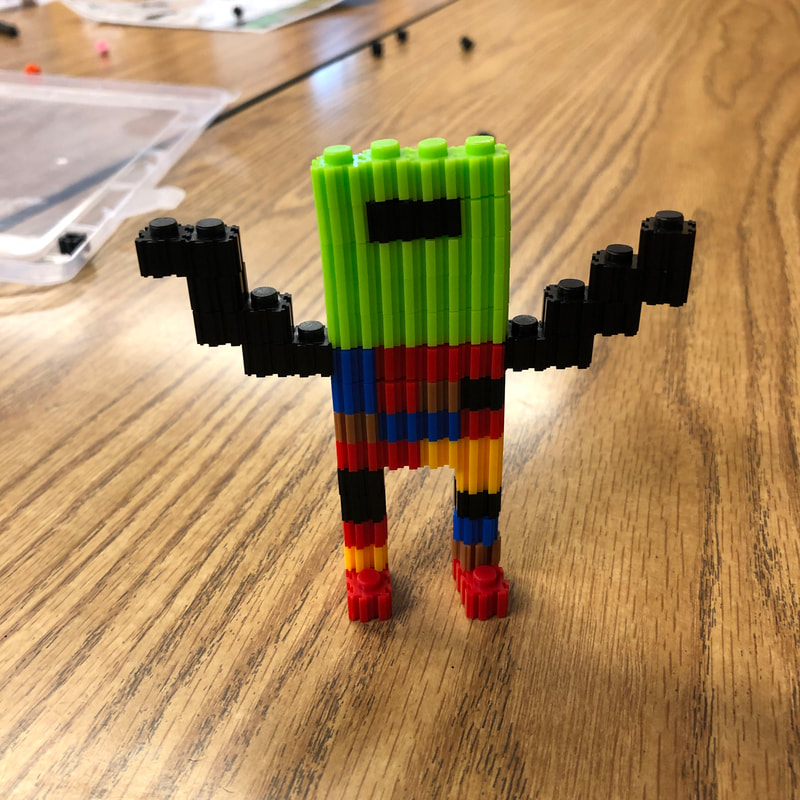
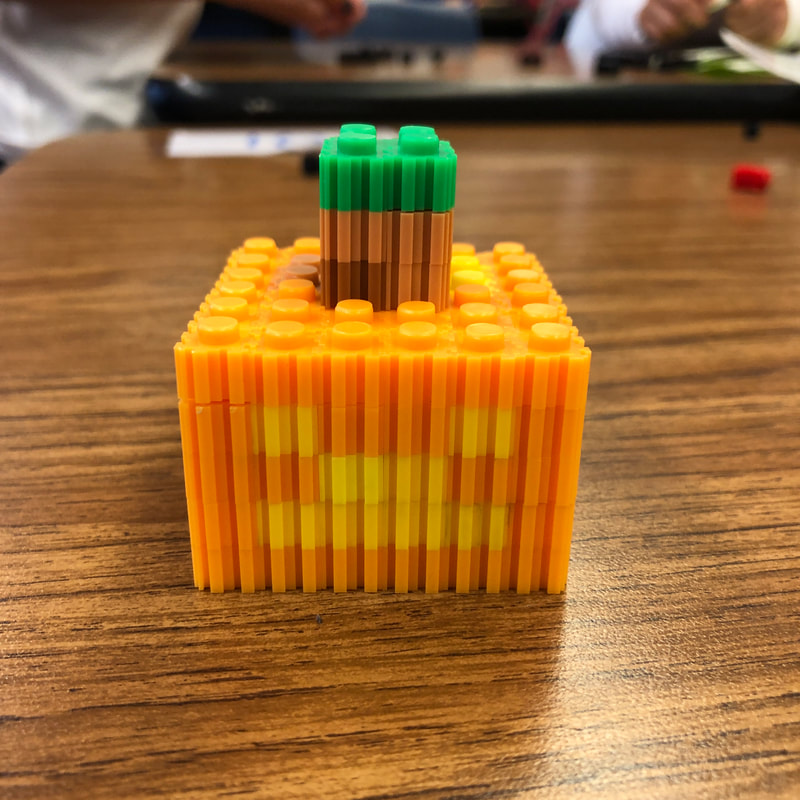
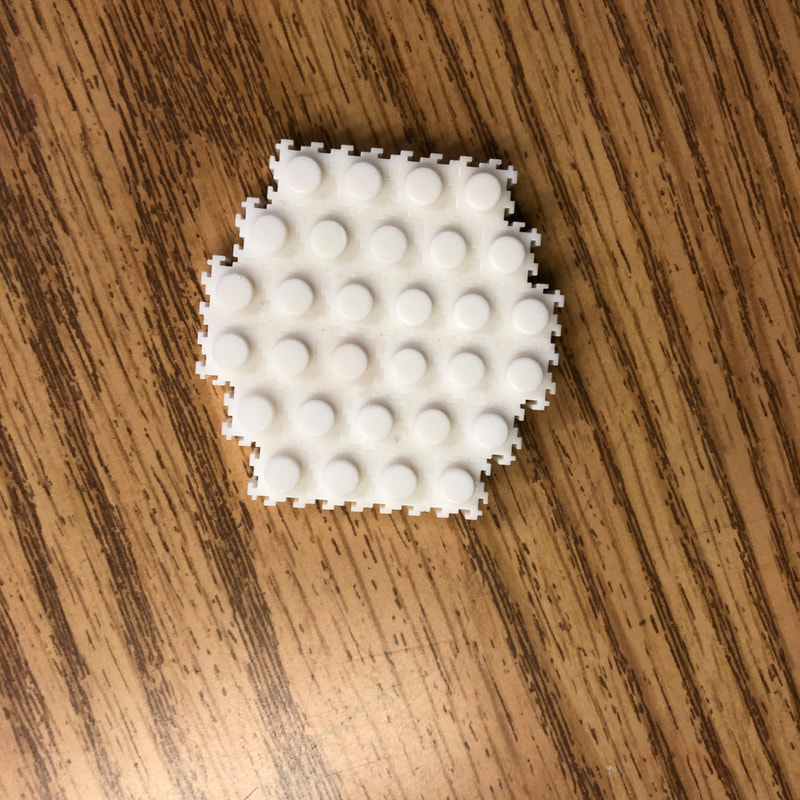
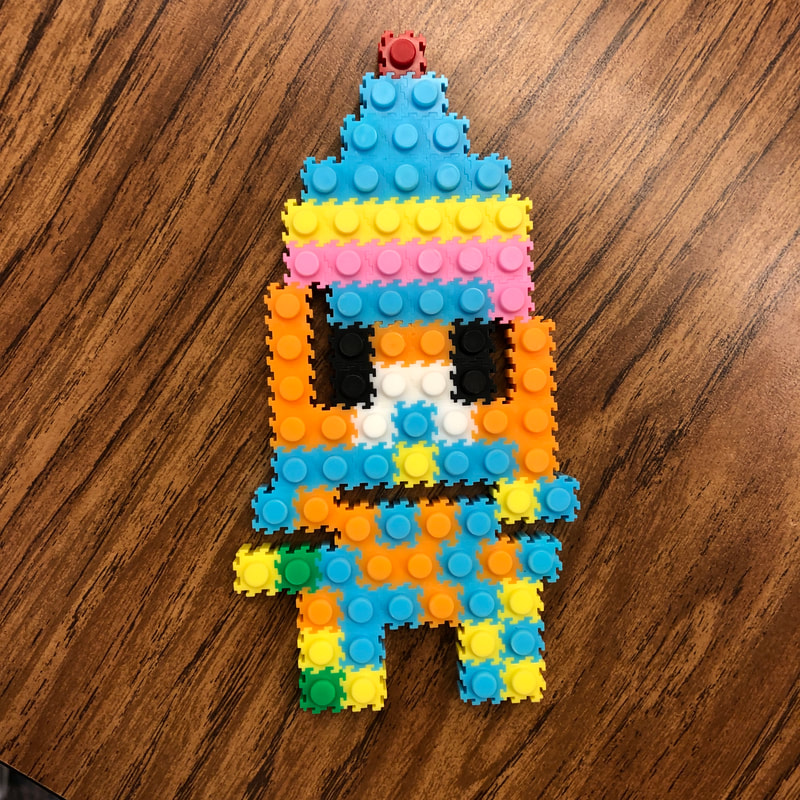
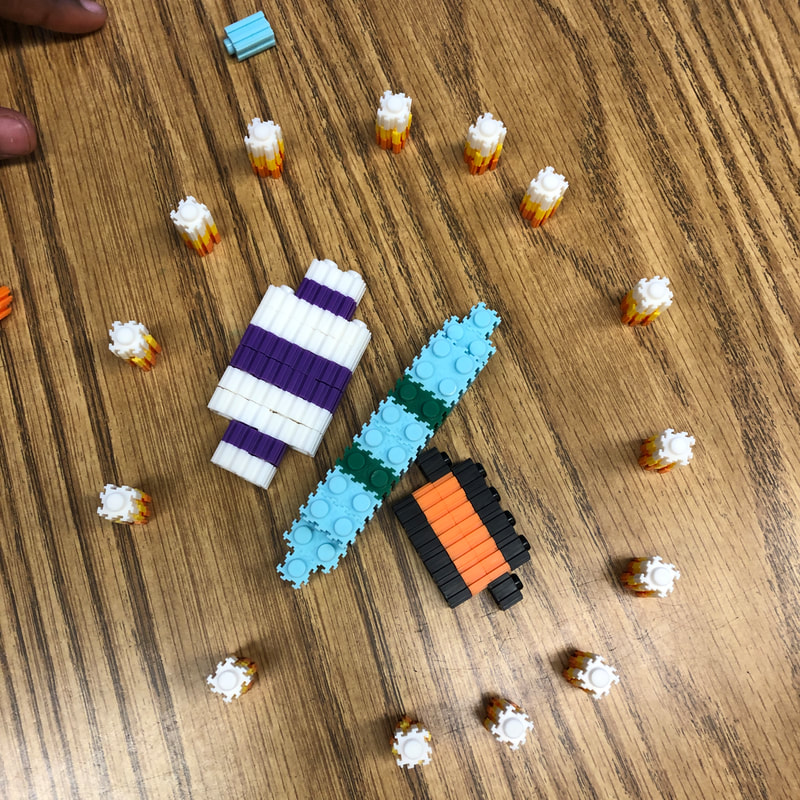
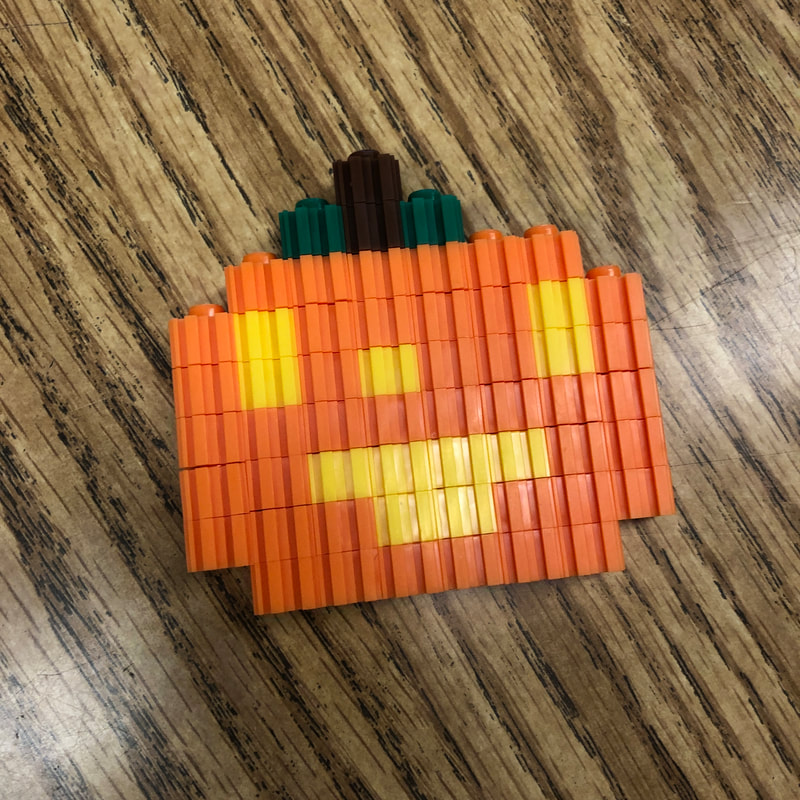
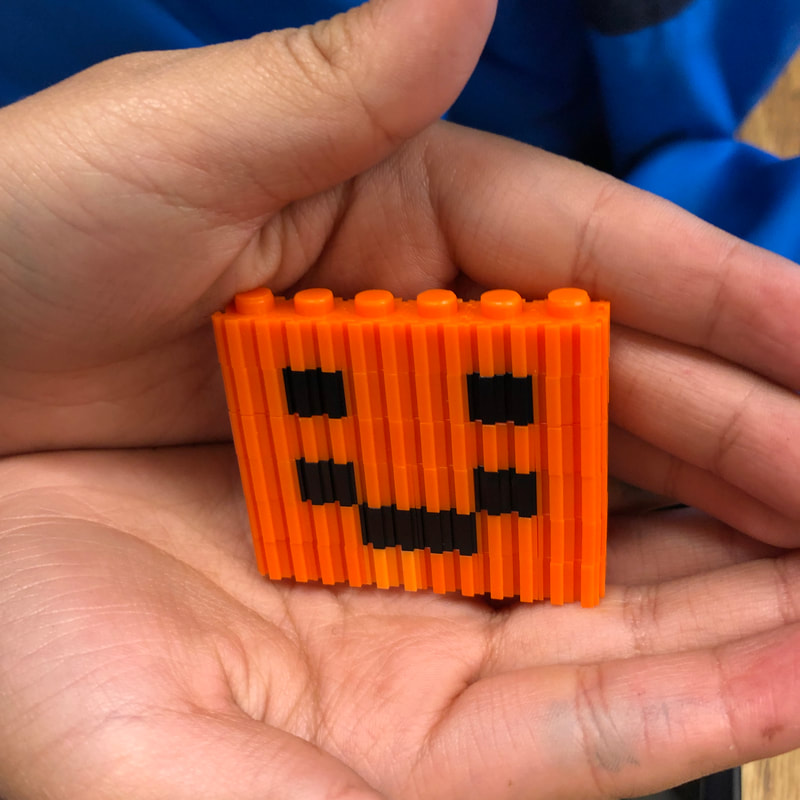
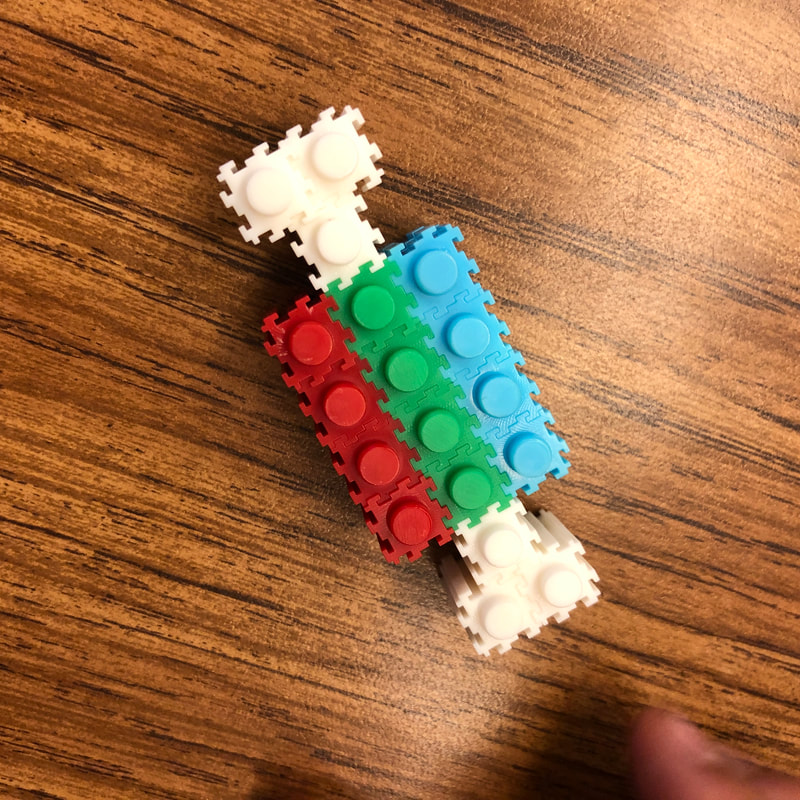
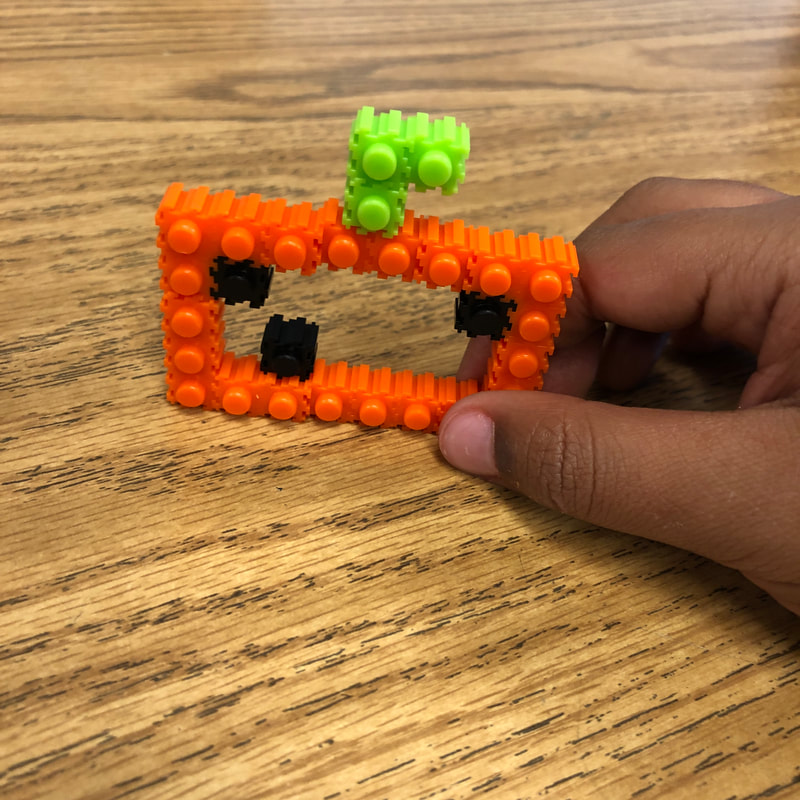
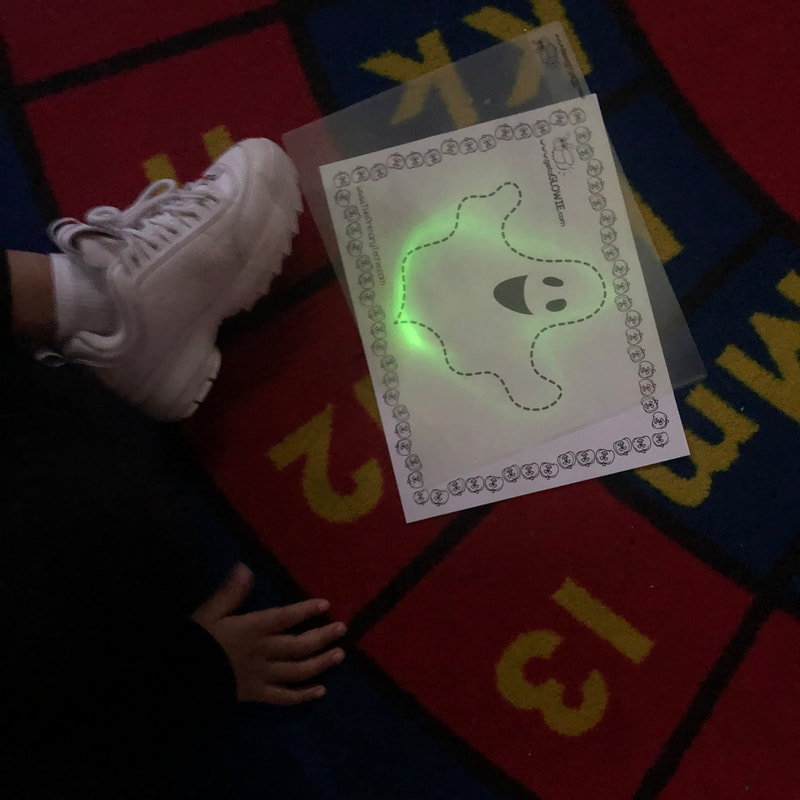
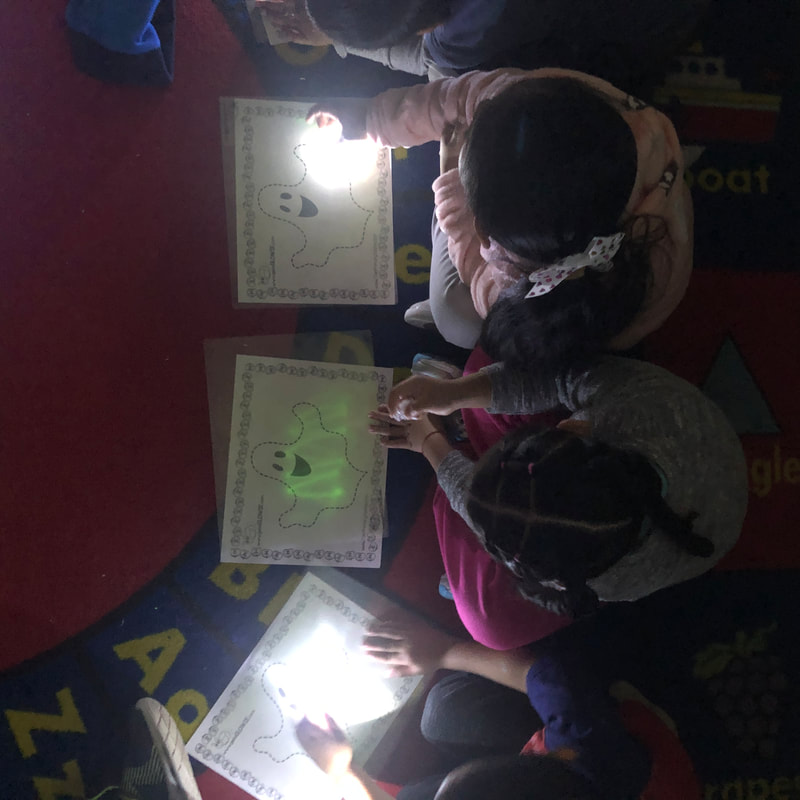
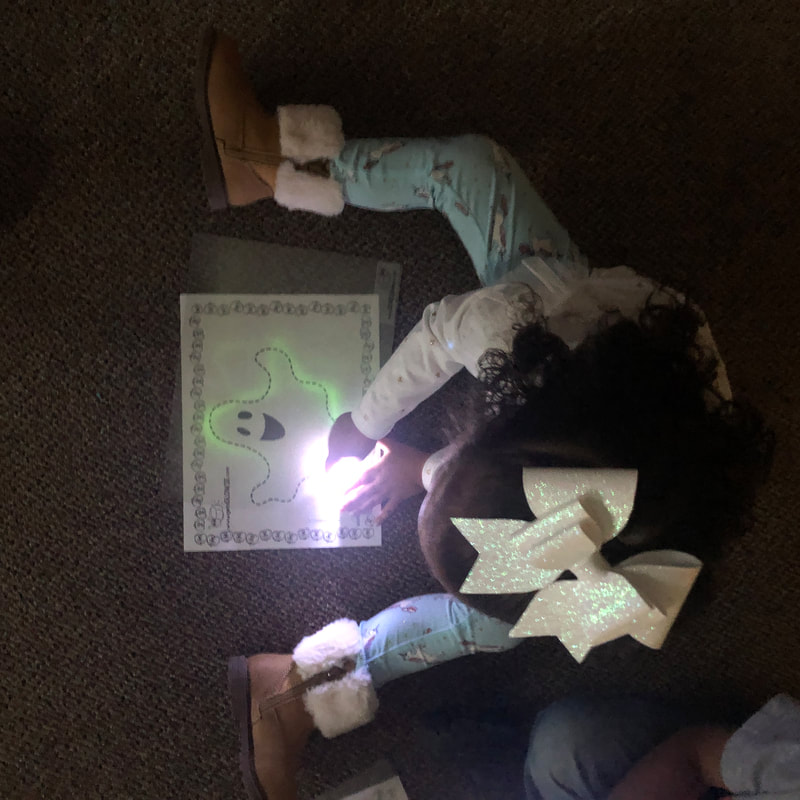
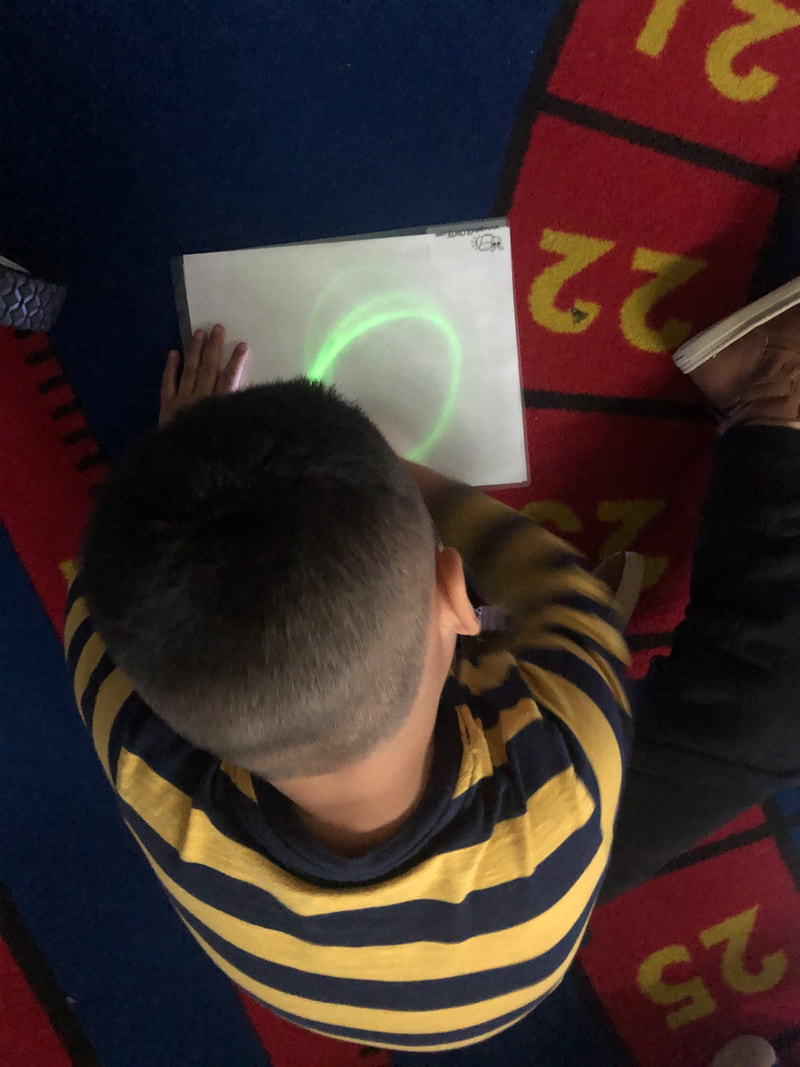
The Night Before Thanksgiving
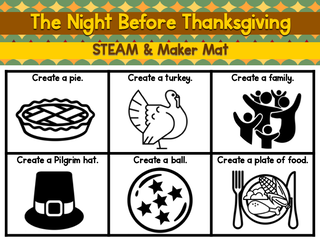
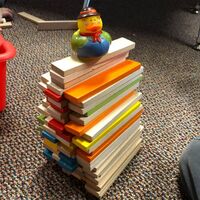
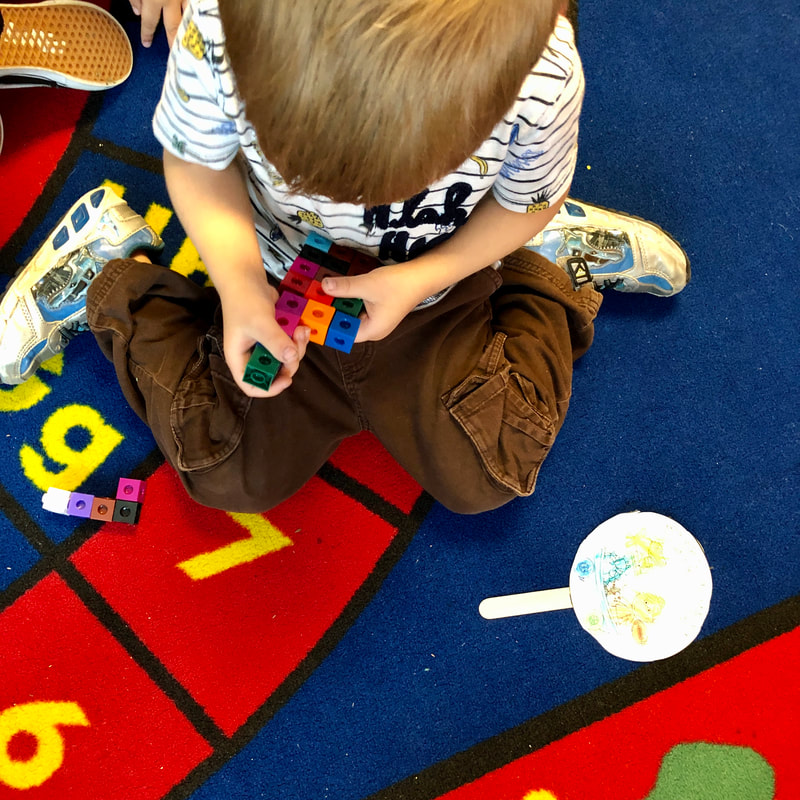
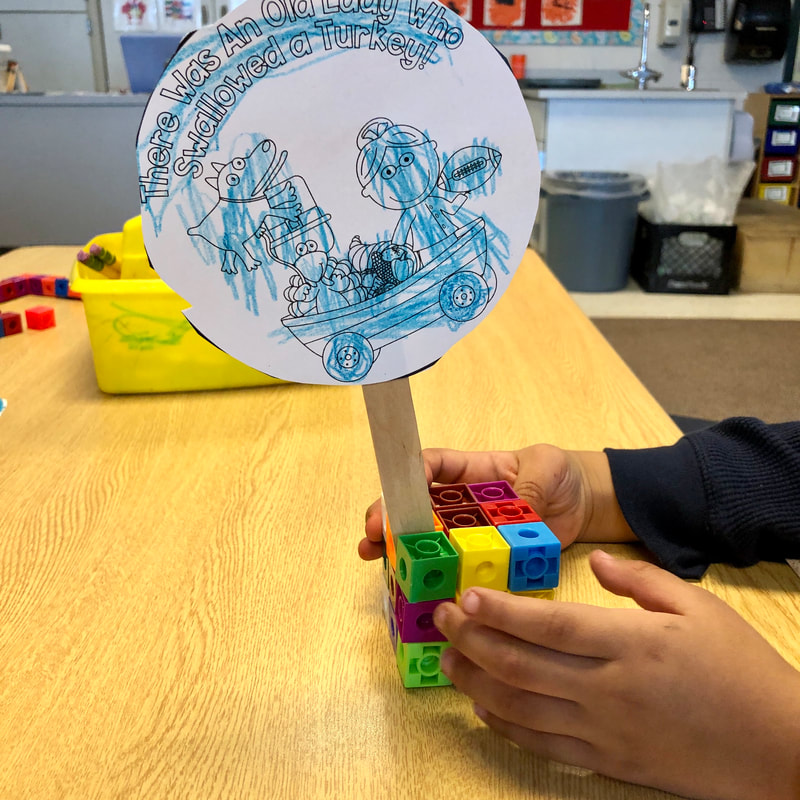
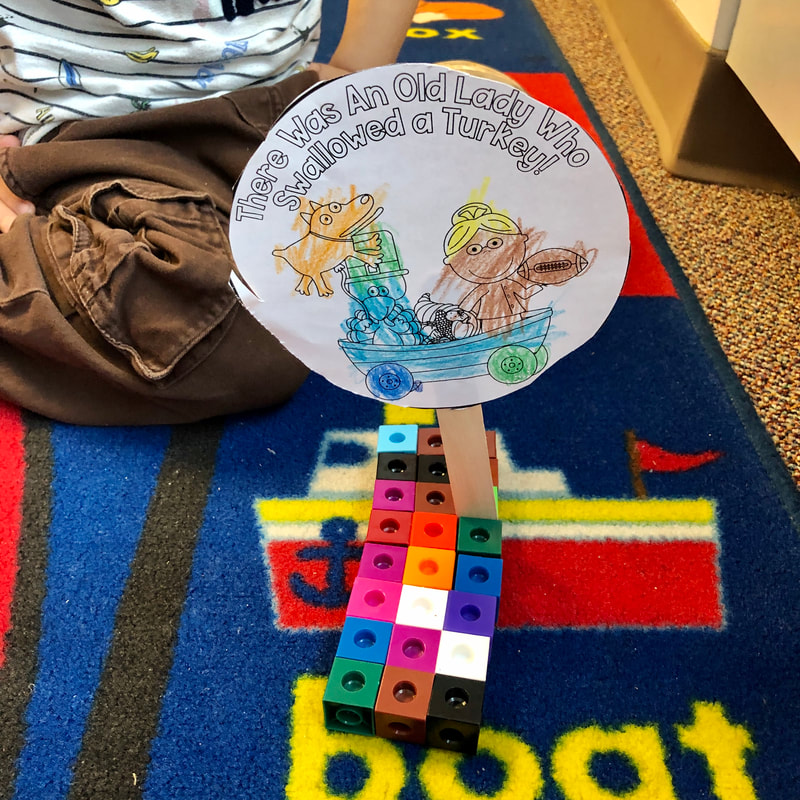
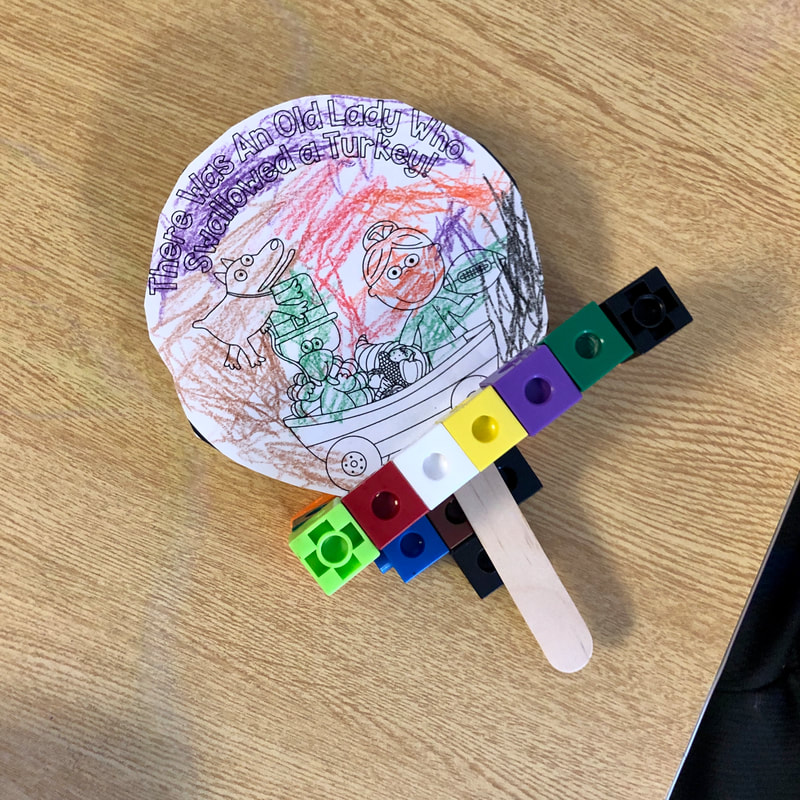
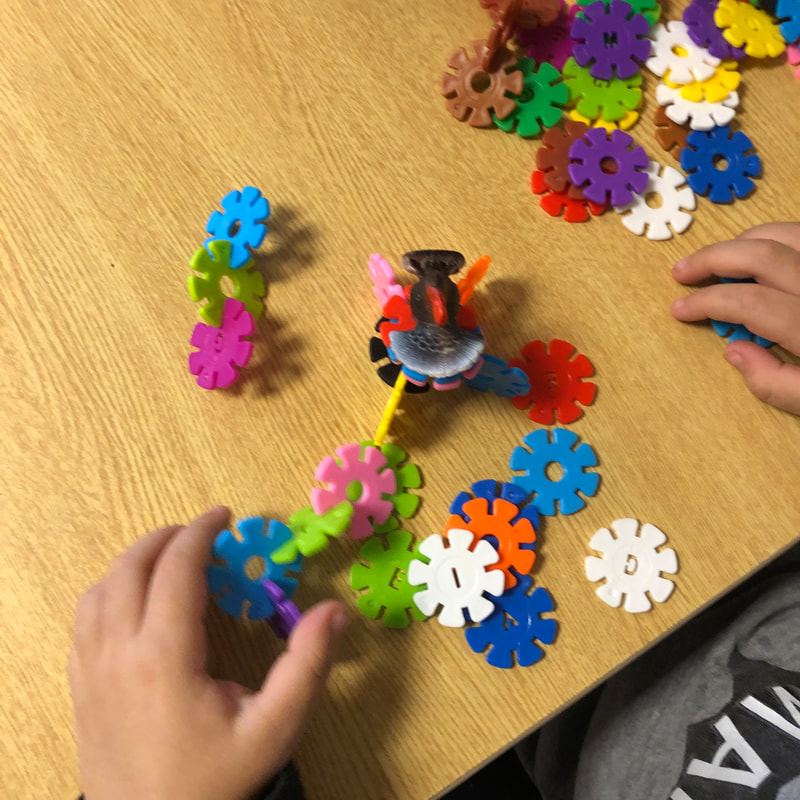
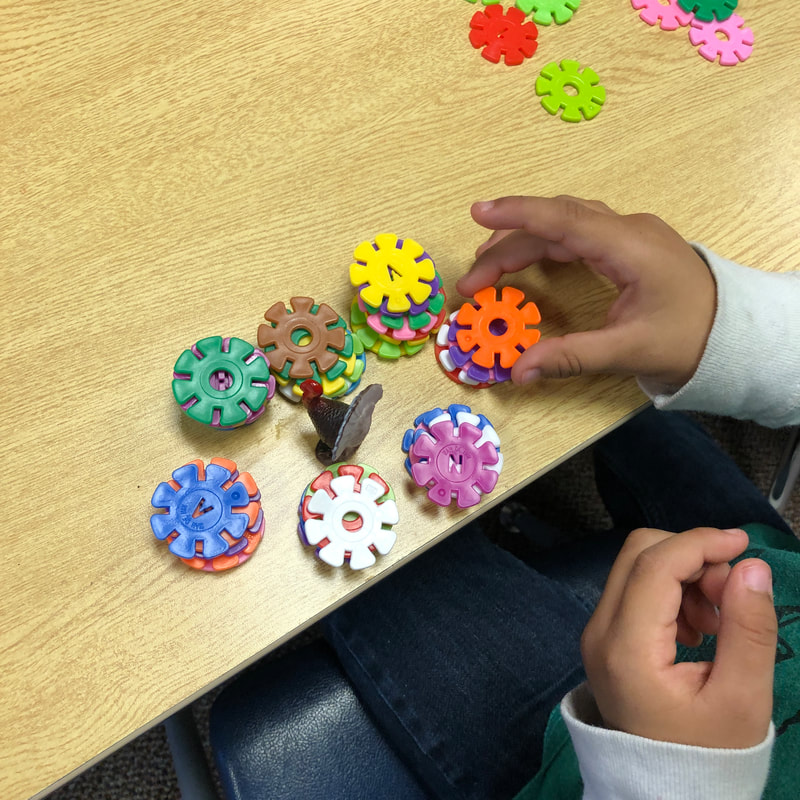
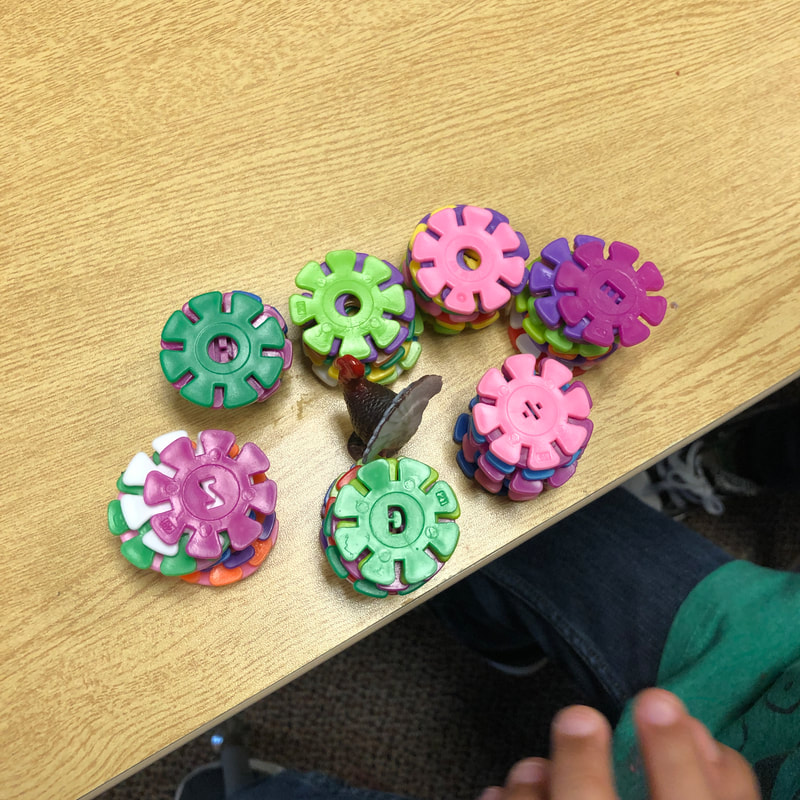
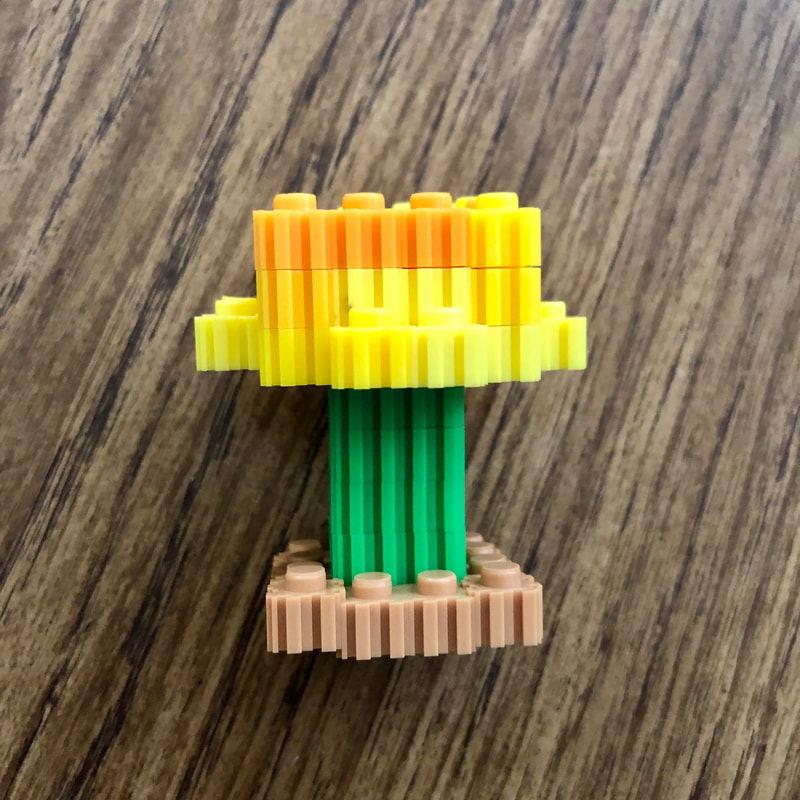
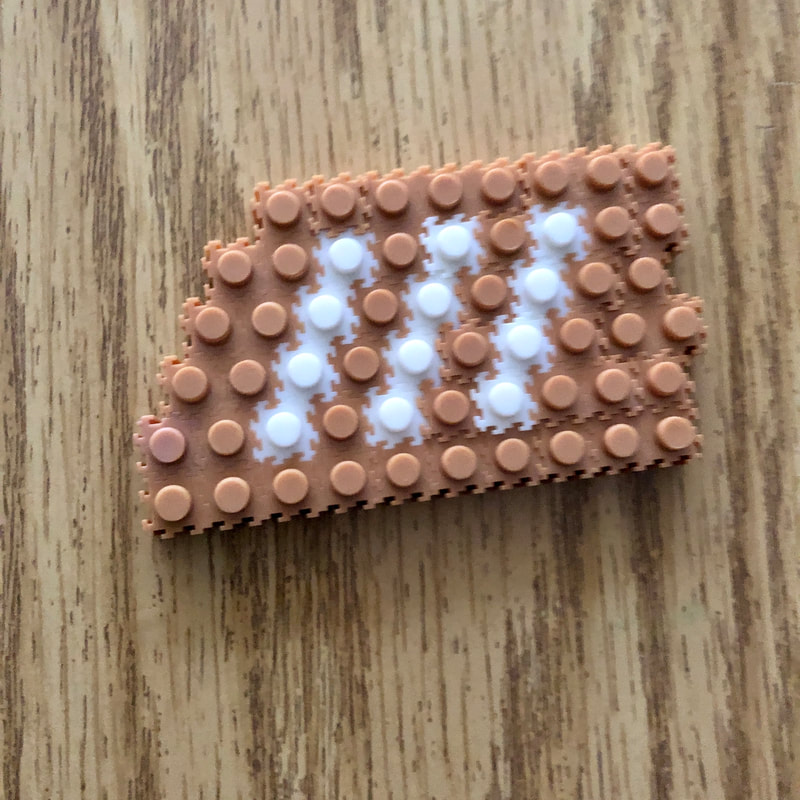
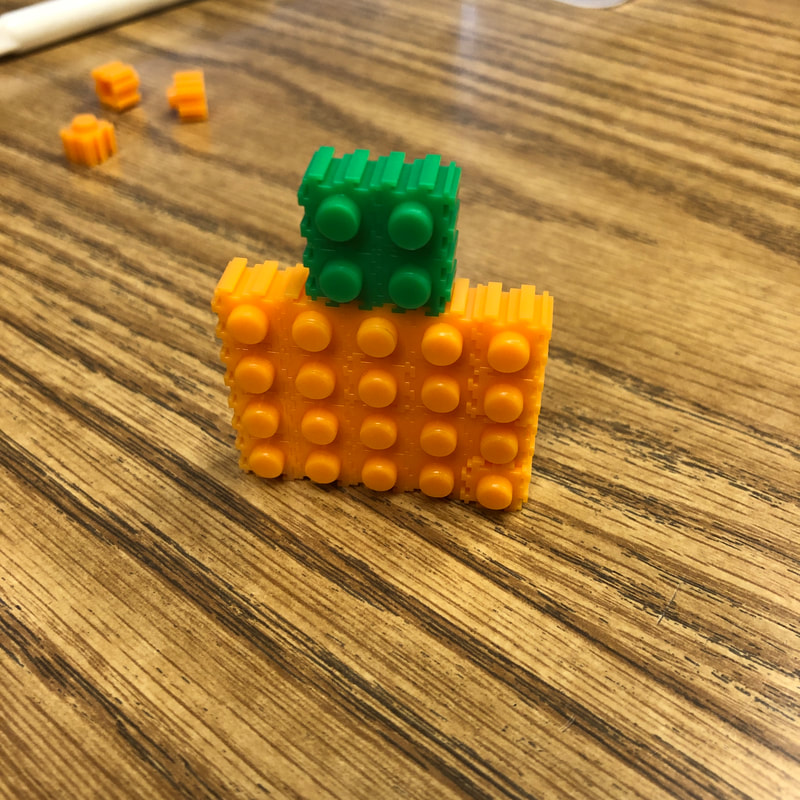
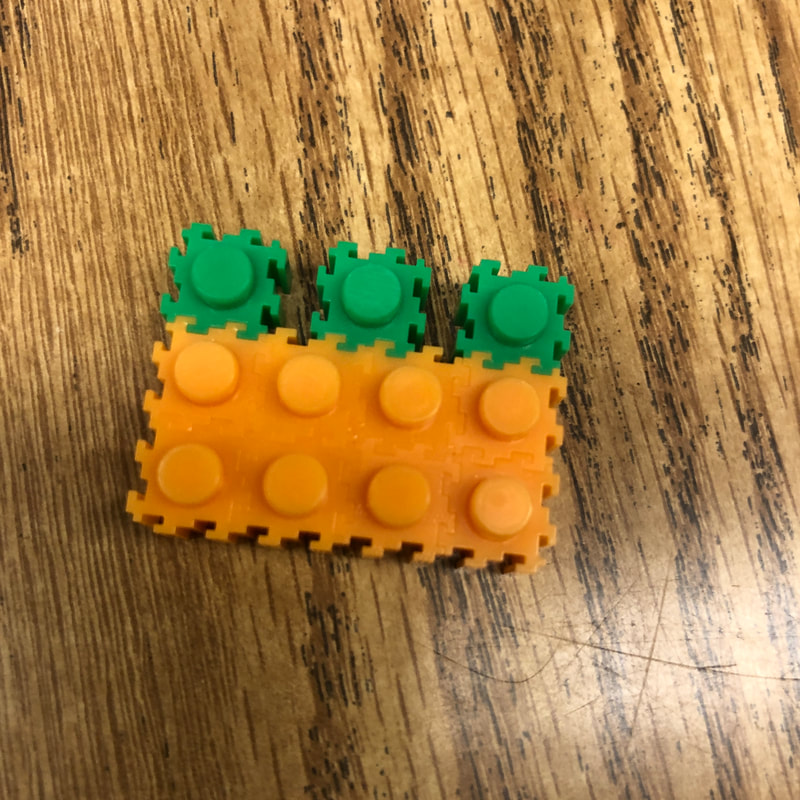
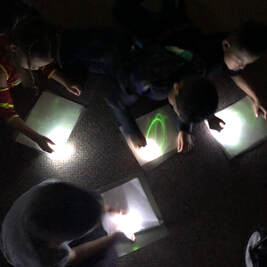
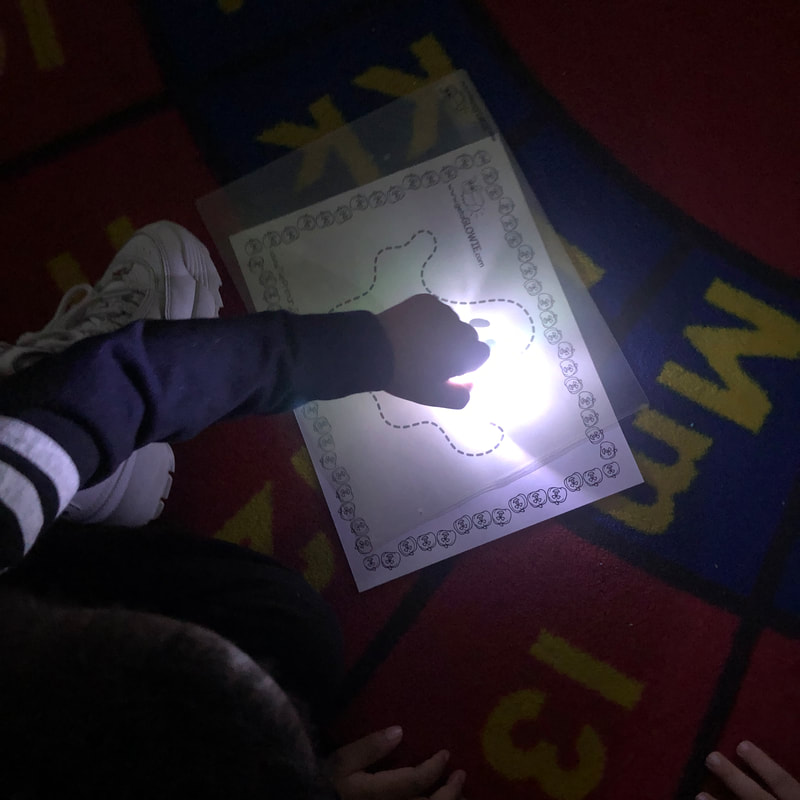
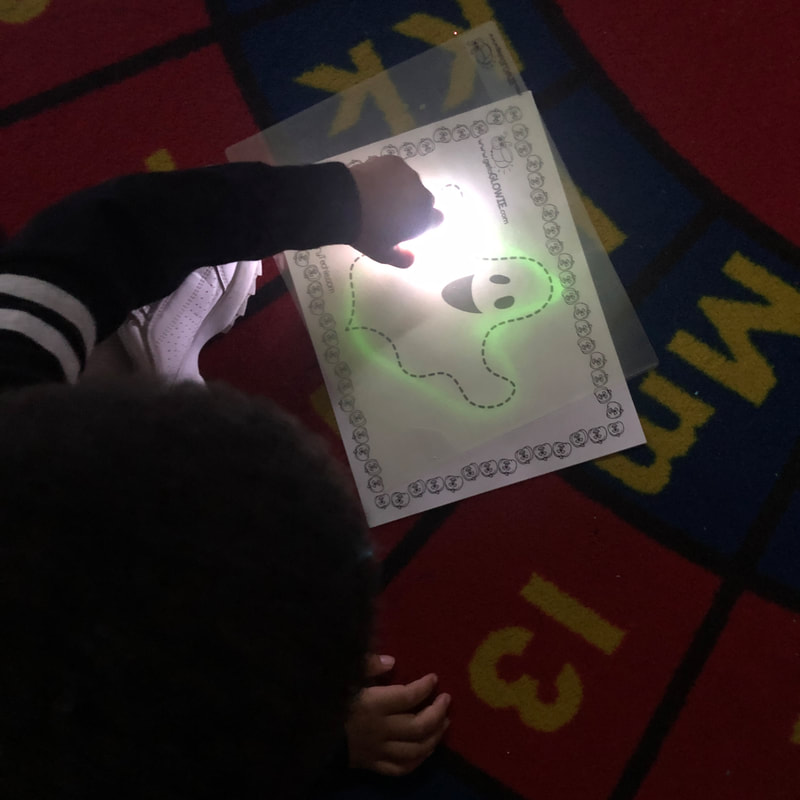
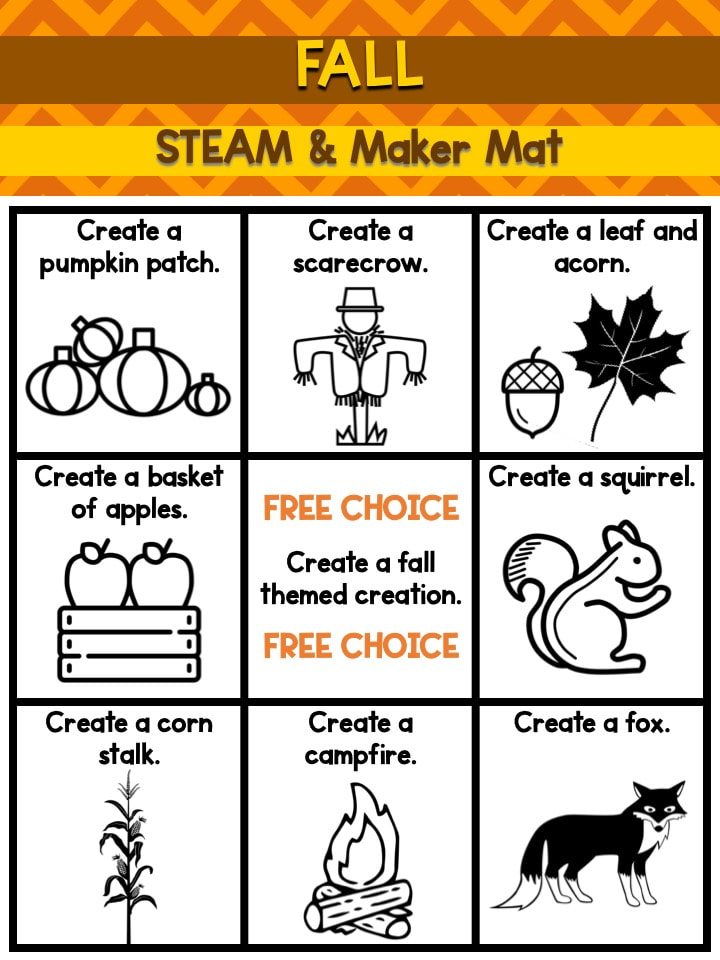
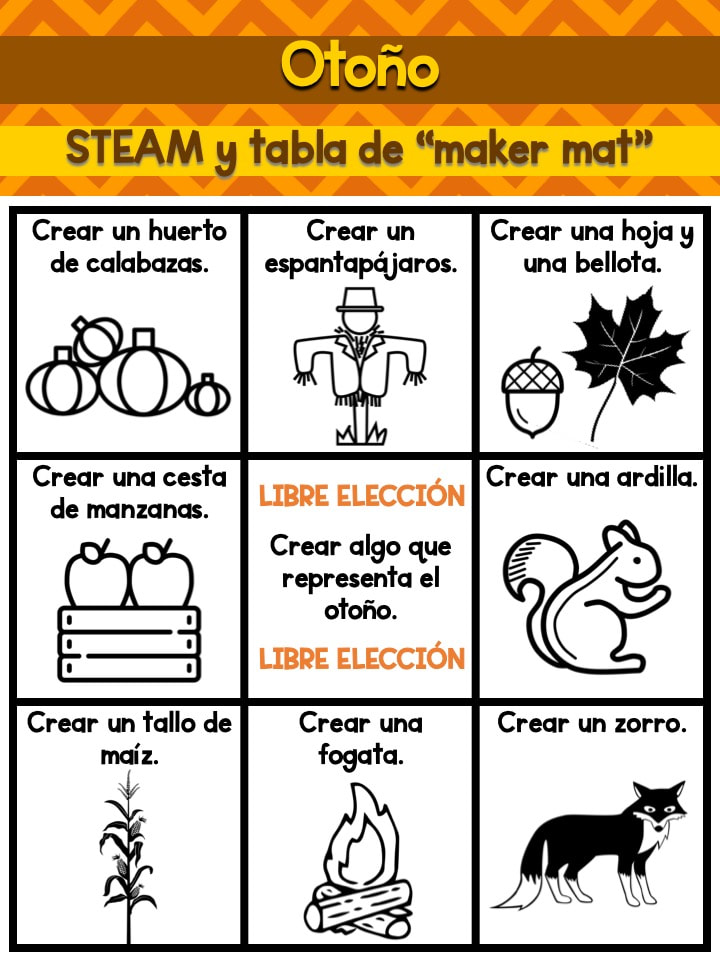
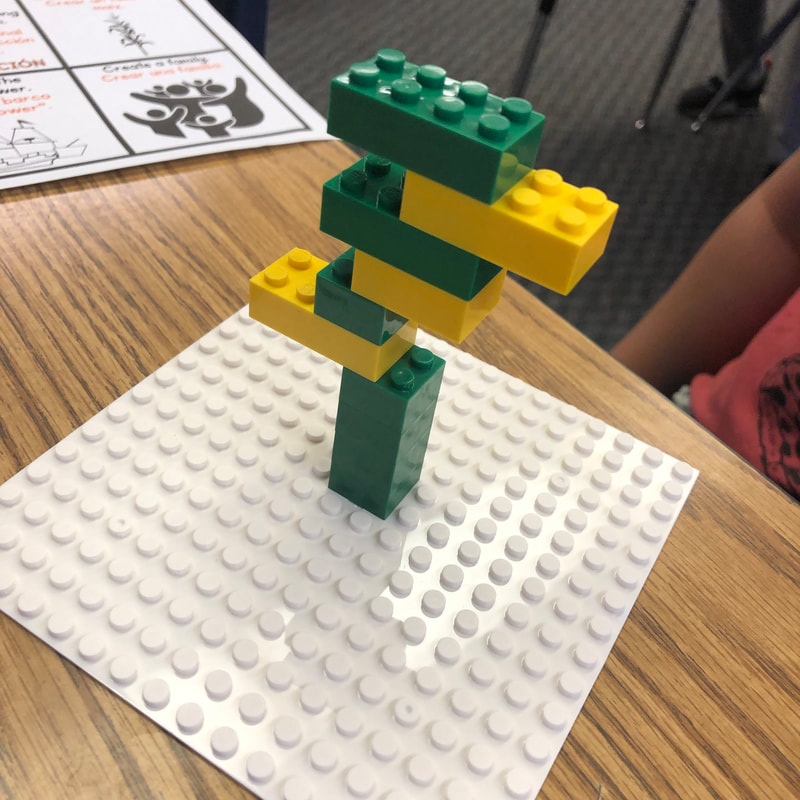
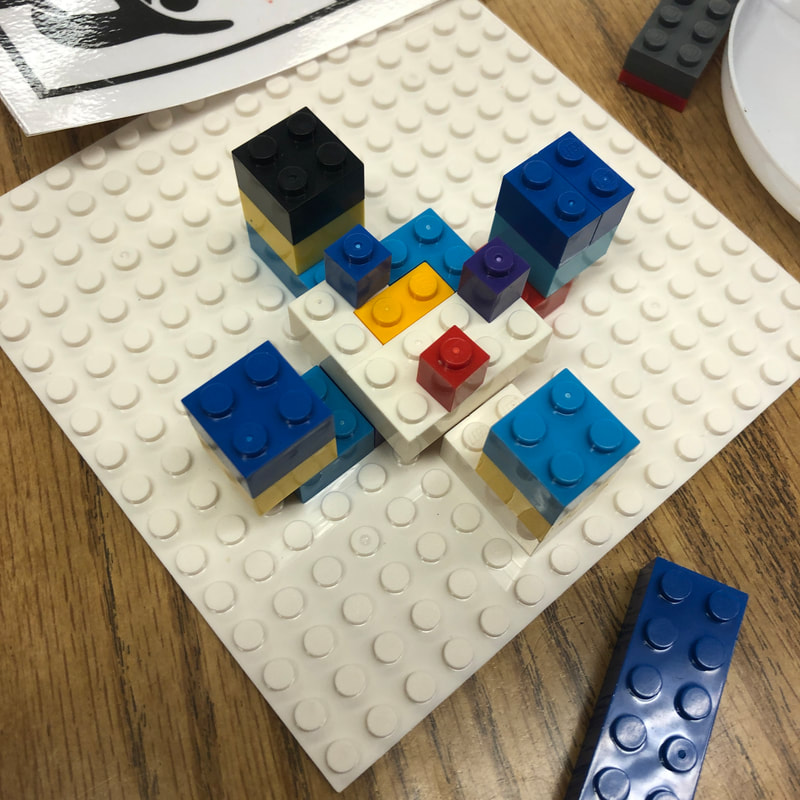
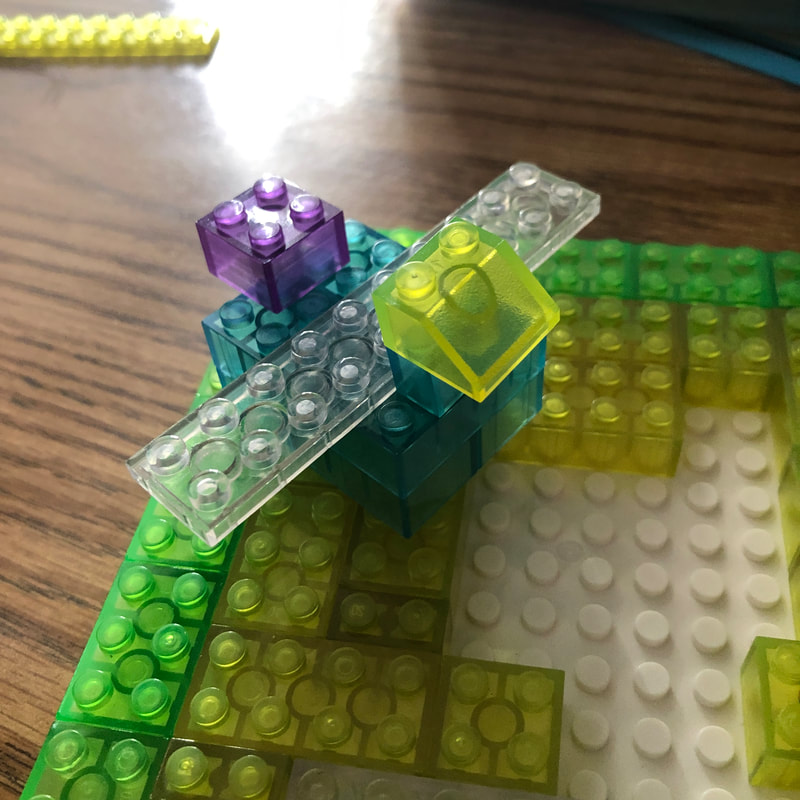
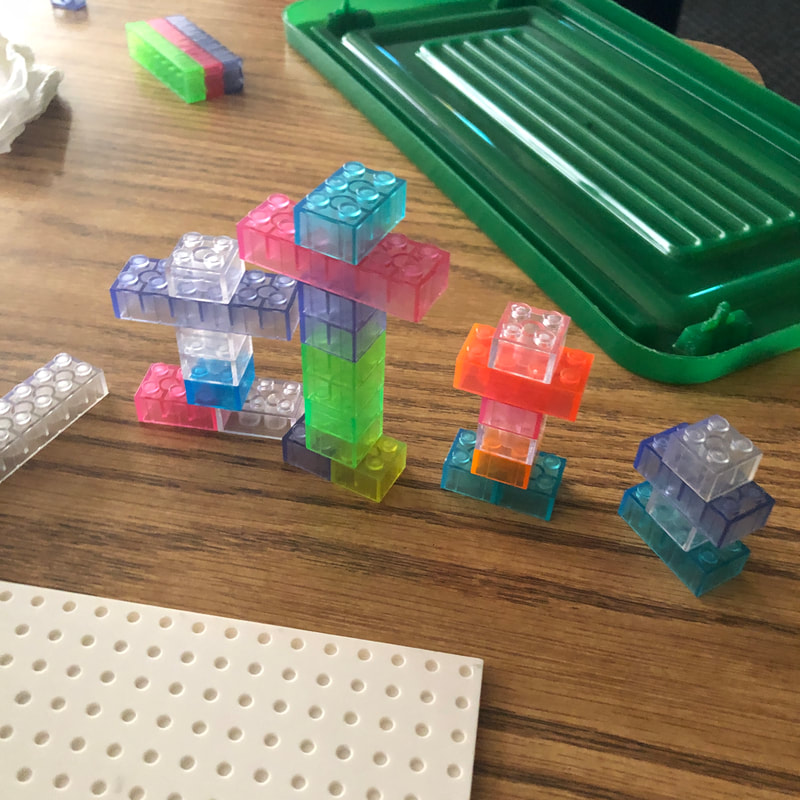
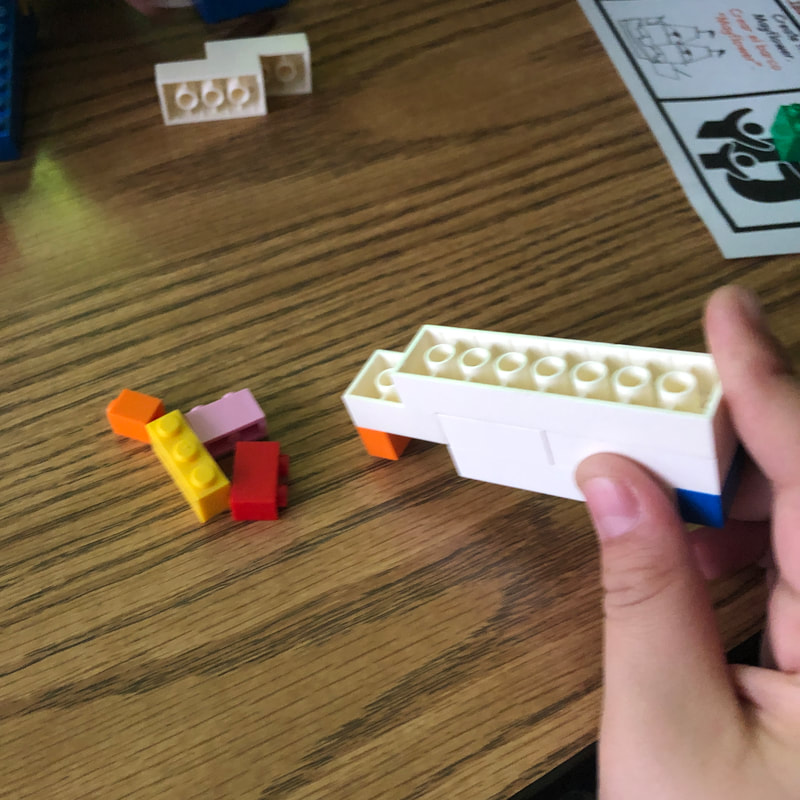
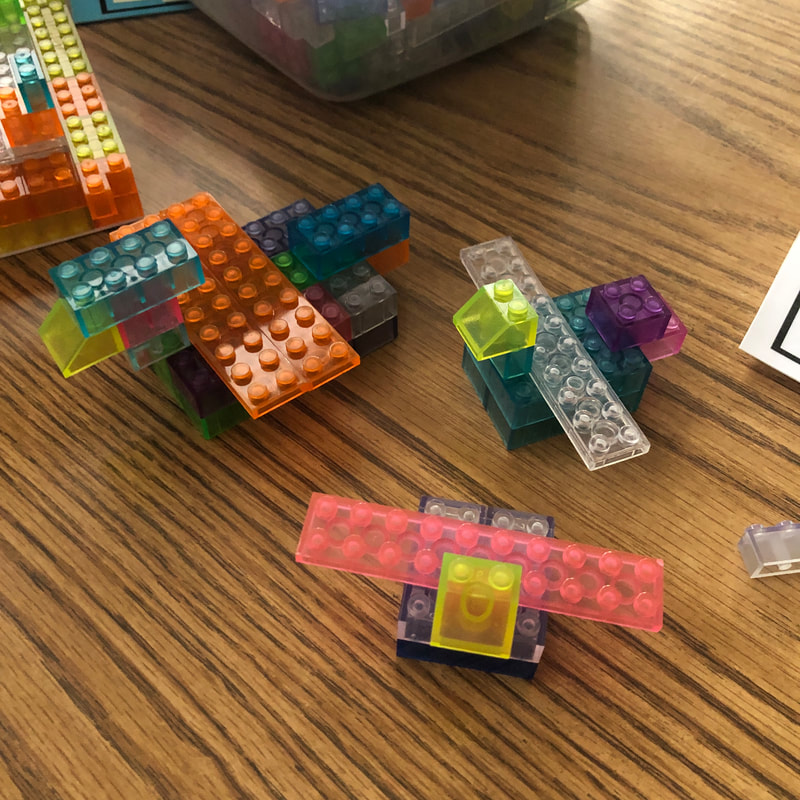
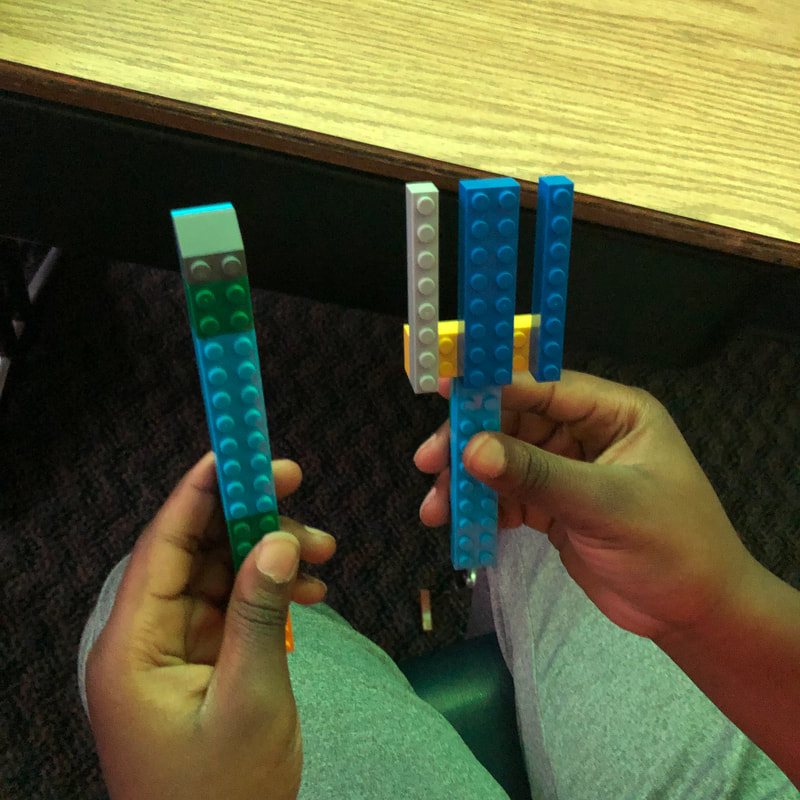
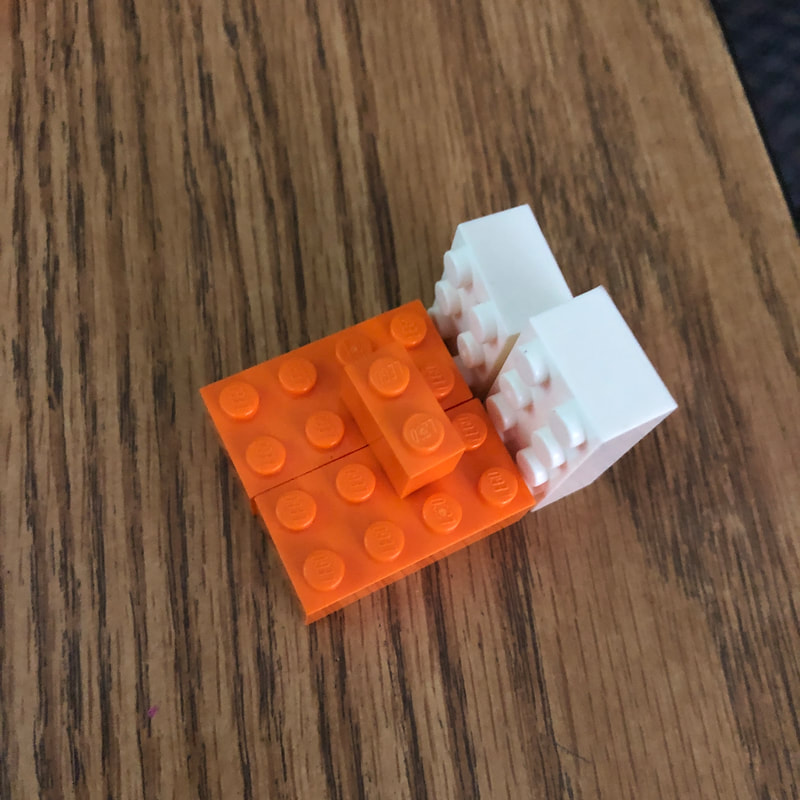
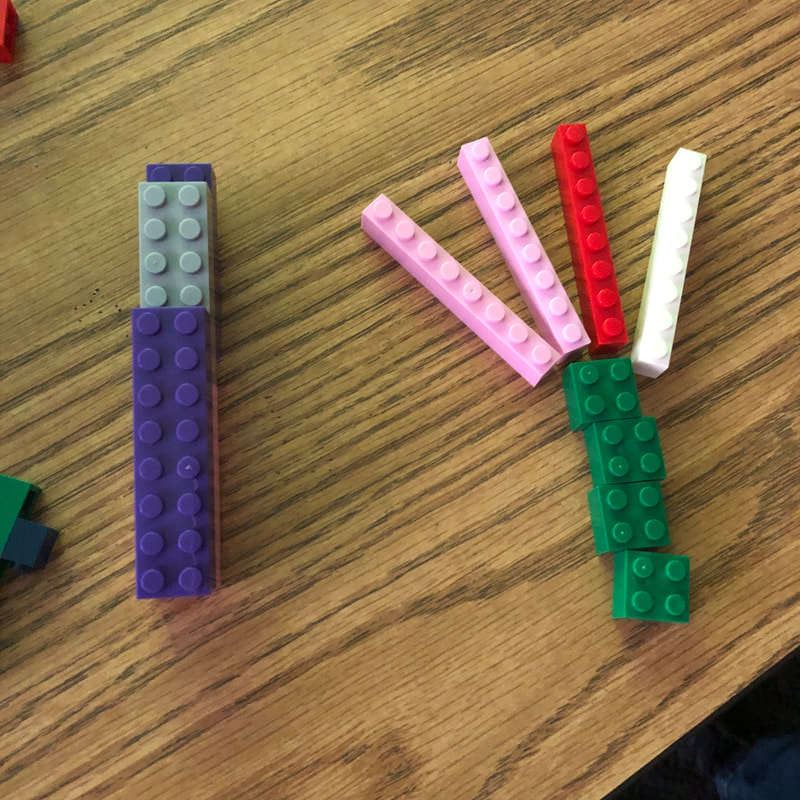
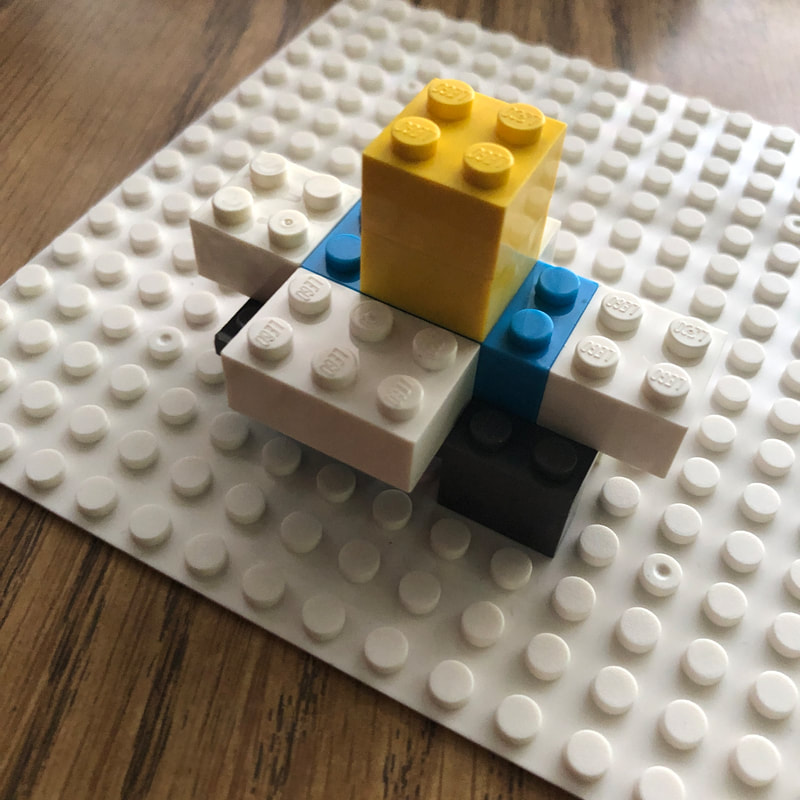
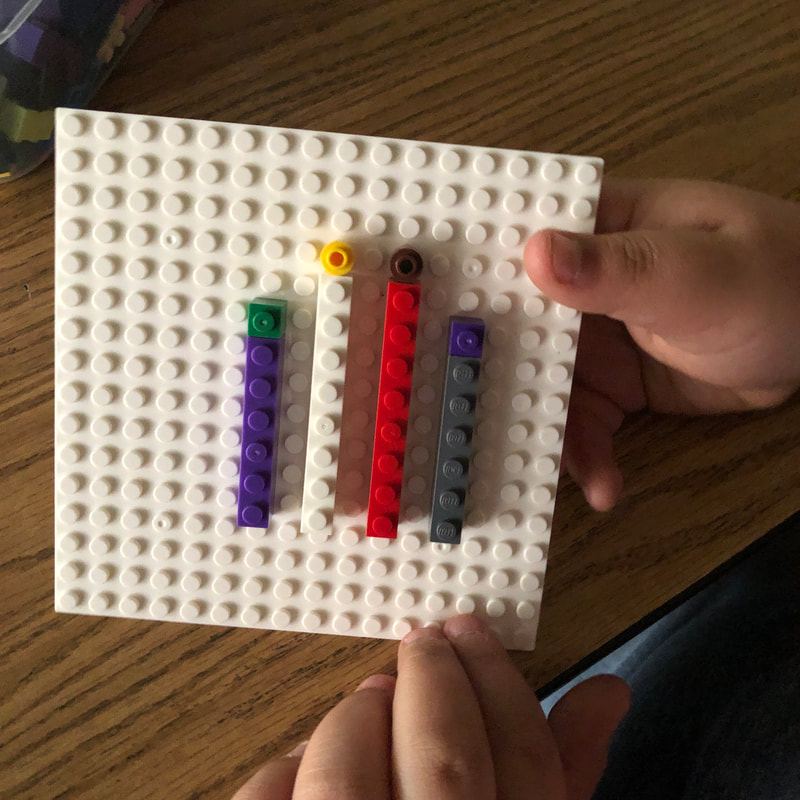
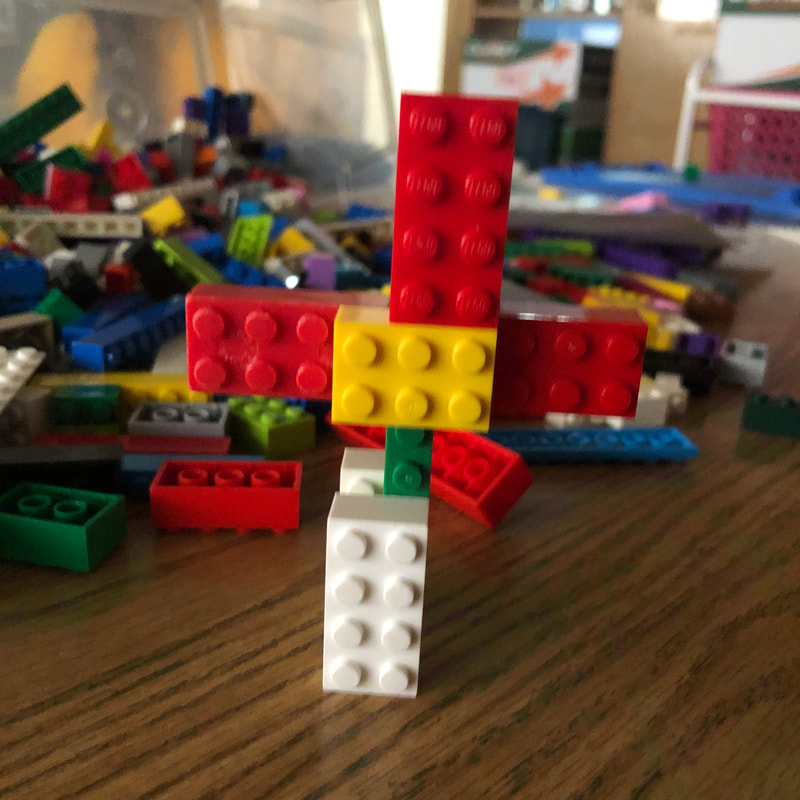
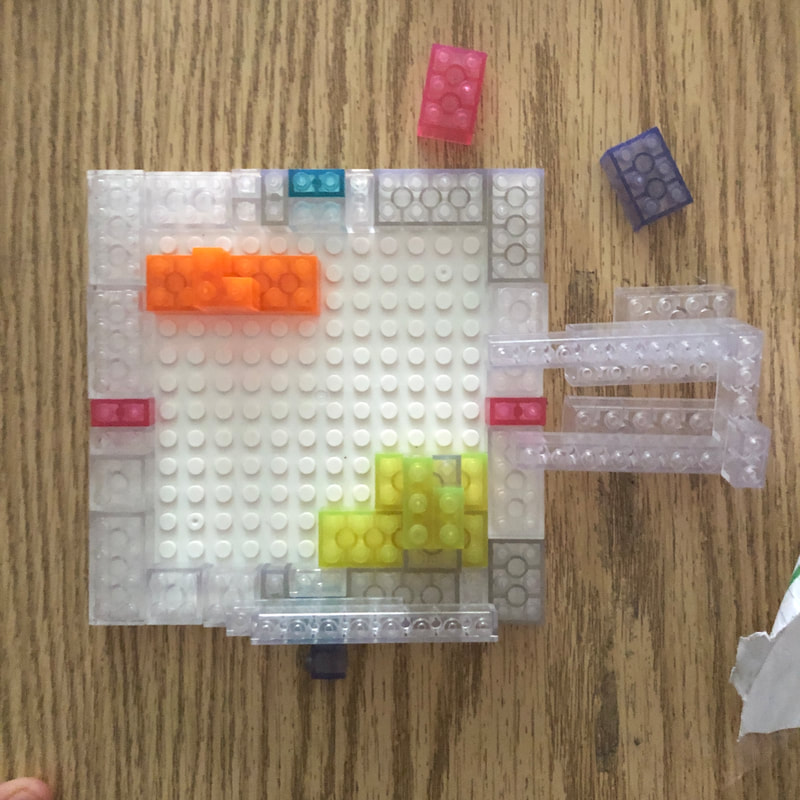
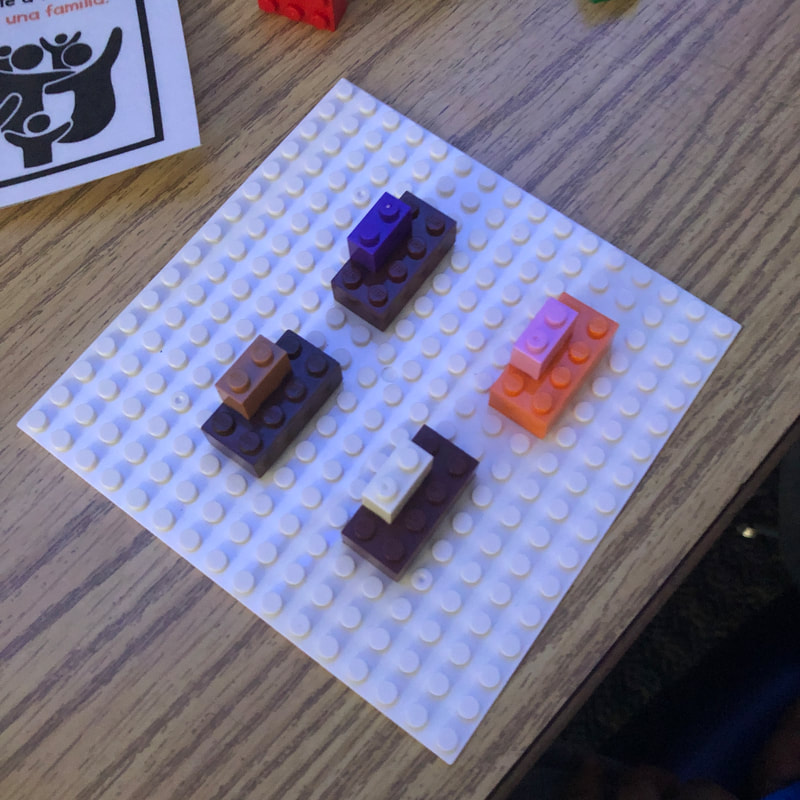
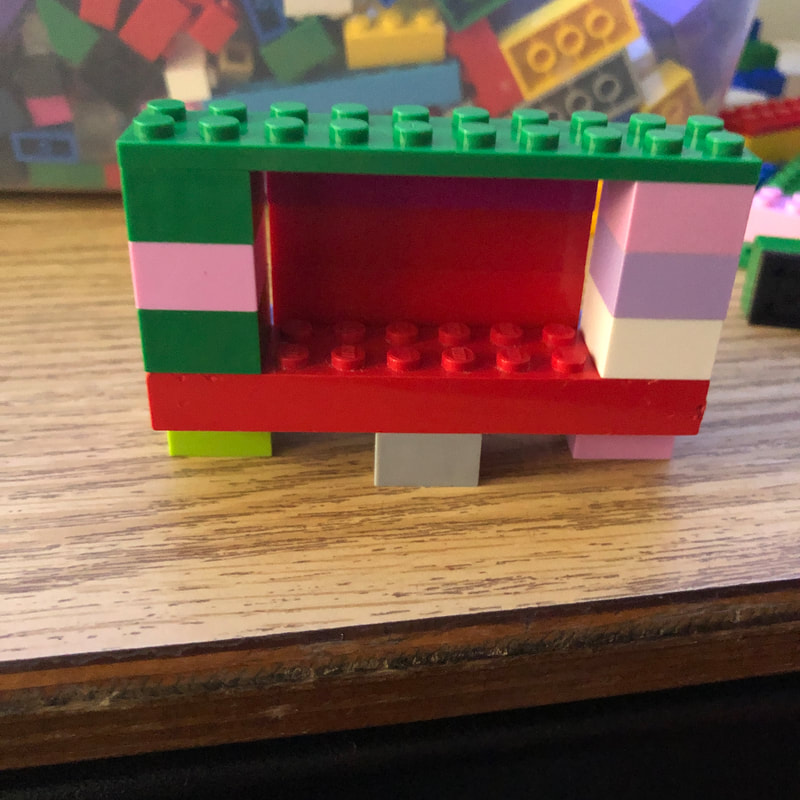
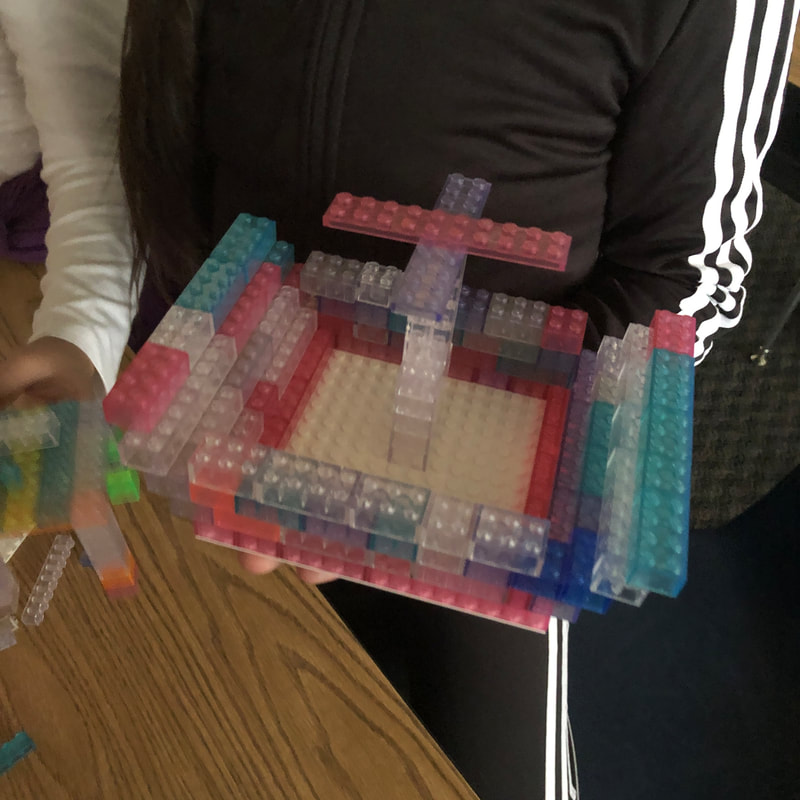
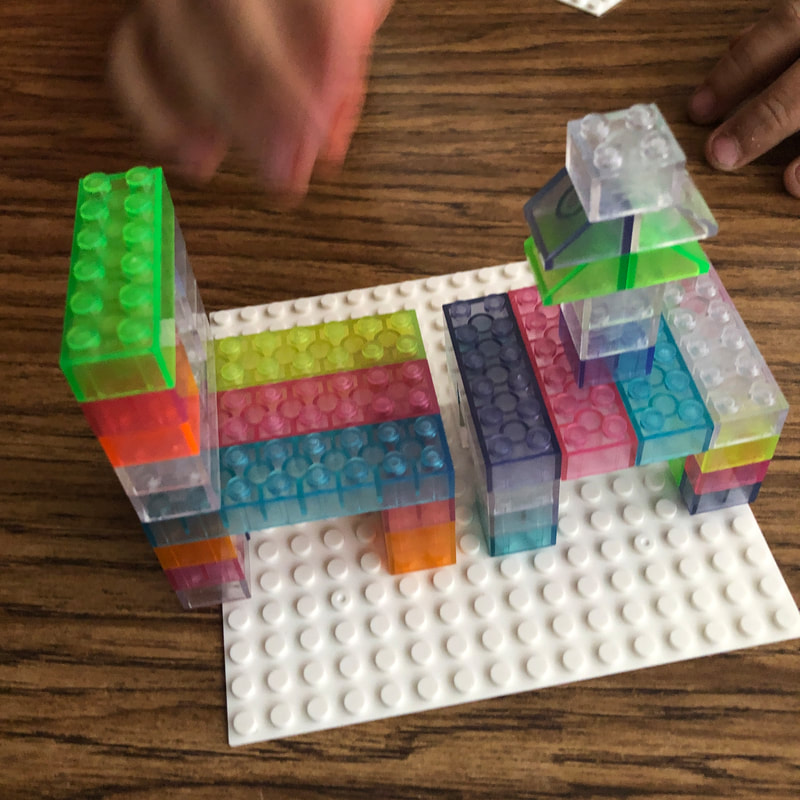
In Y5, we read the story, "The Night Before Thanksgiving." I had pre-select six different items from the book and put them on a Maker Mat. This was their first experience with me and using a Maker Mat, so I wasn't sure how it was going to go. Usually I have students work on building collaboratively, but for introducing Maker Mats, I wanted to see what they could create individually. I gave each student their own Maker Mat and they showed me their item they created before moving on to the next one.