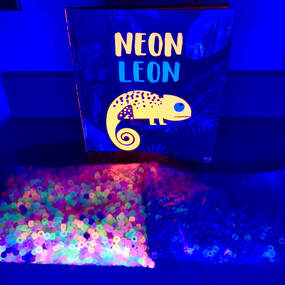
My little students have been showing some responsibility with using materials as well as taking care of them, so I thought I would try something that I know they would find super exciting. A book, a black light, a chameleon, and some fun glow in the dark/black light reactive activities for the win! We started out by reading the story Neon Leon by Jane Clarke. This is such a fun story about a chameleon trying to fit in despite being so bright. The students were fascinated by the black light ("but Mrs. Wood, why is the black light purple?") and how their clothes changed color when they were by the light.
Main Activities
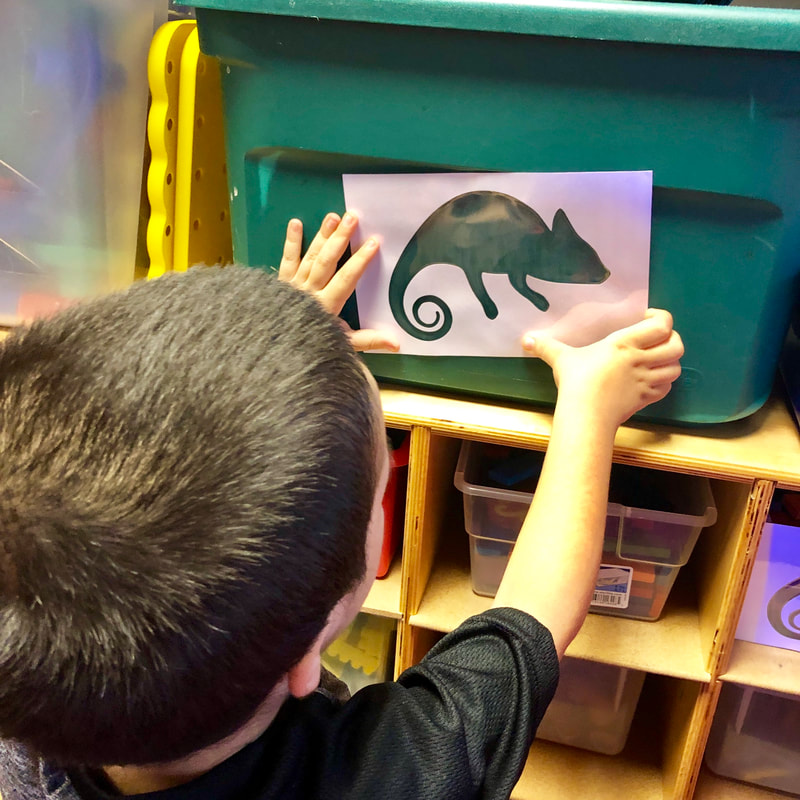
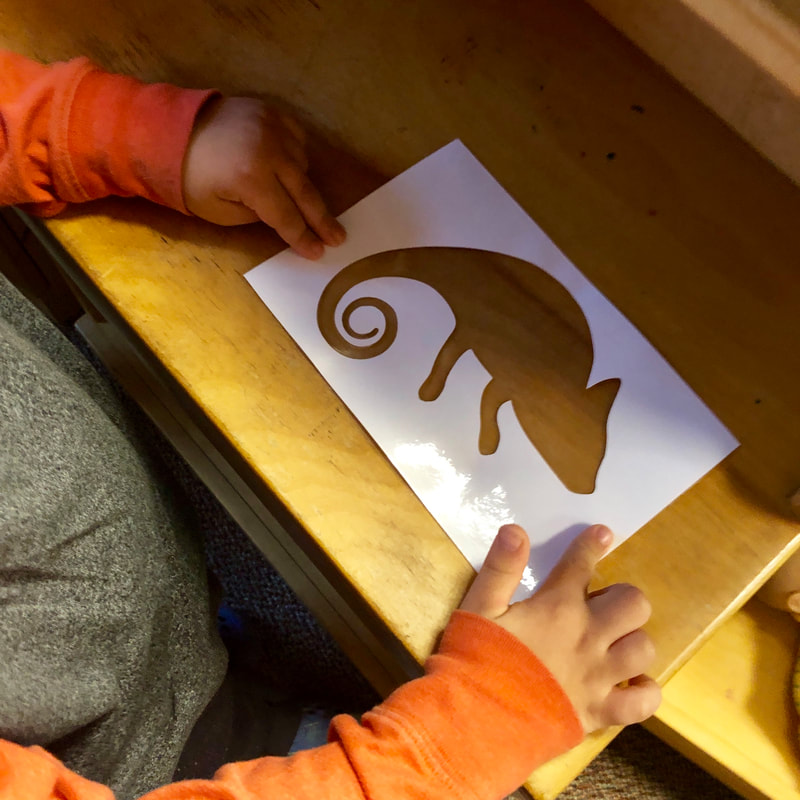
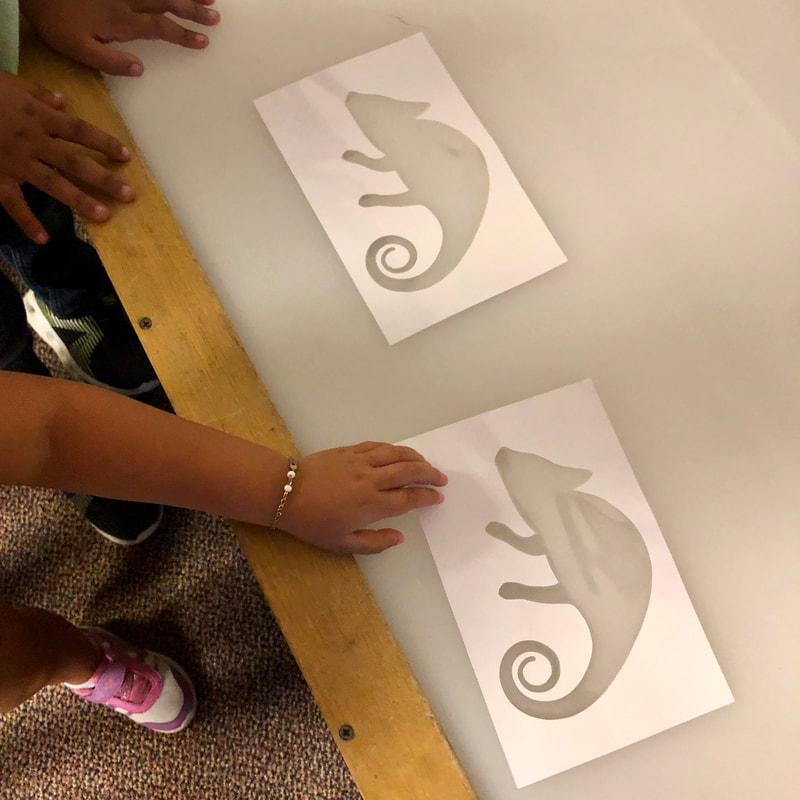
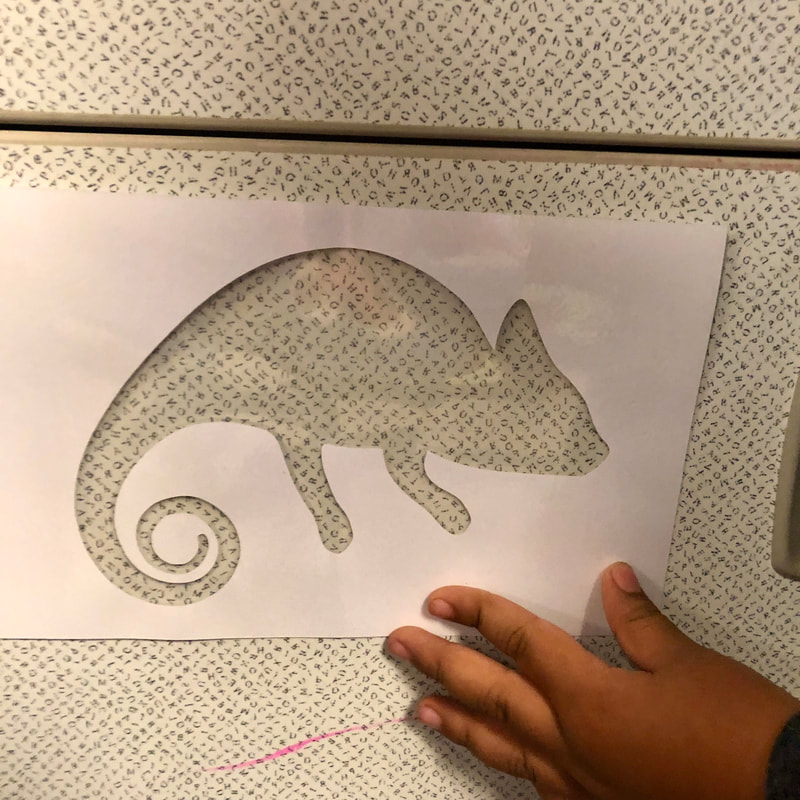
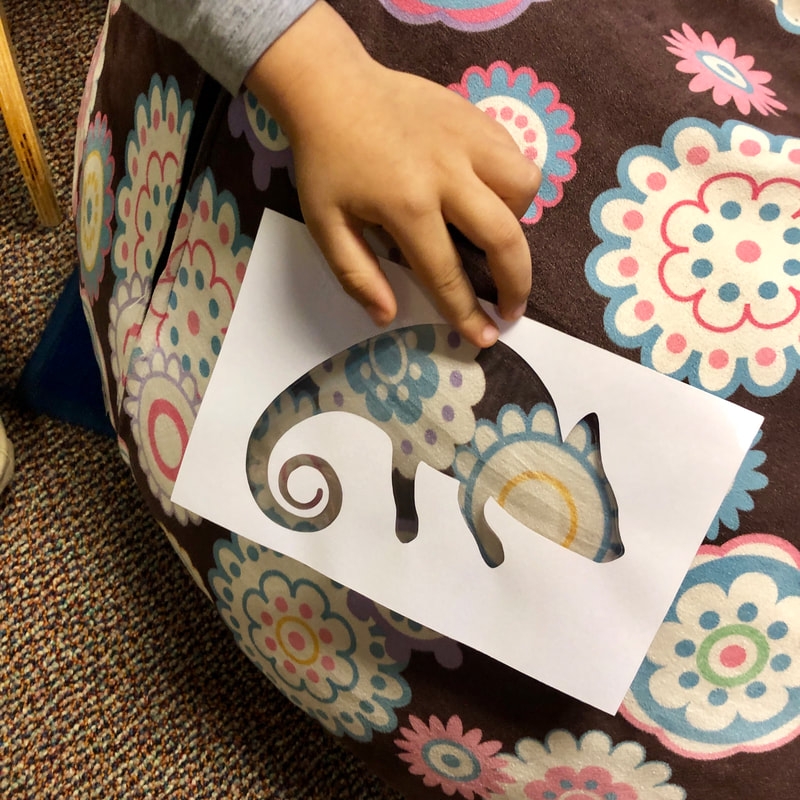
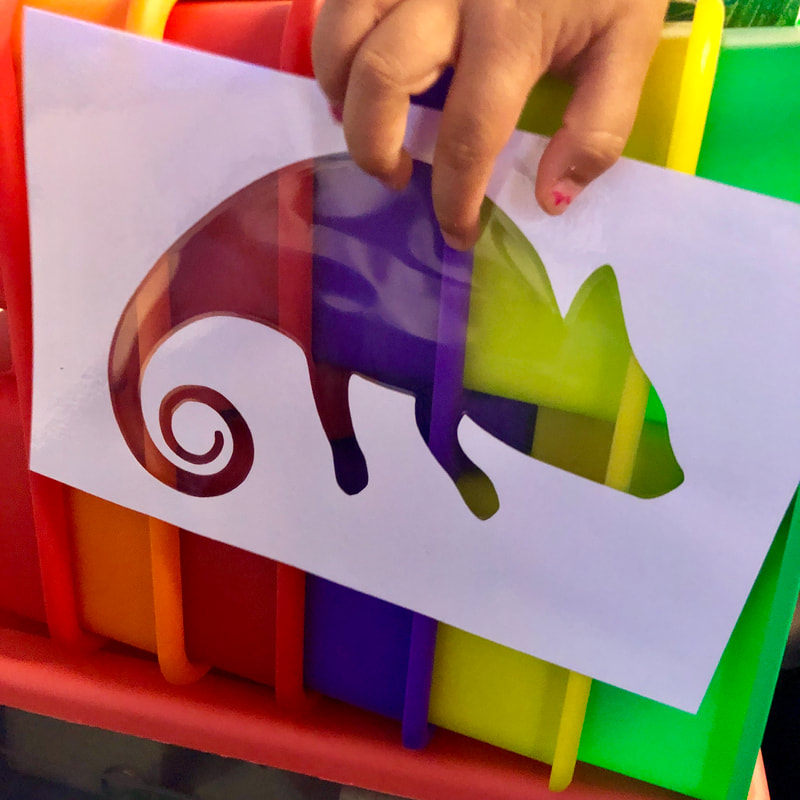
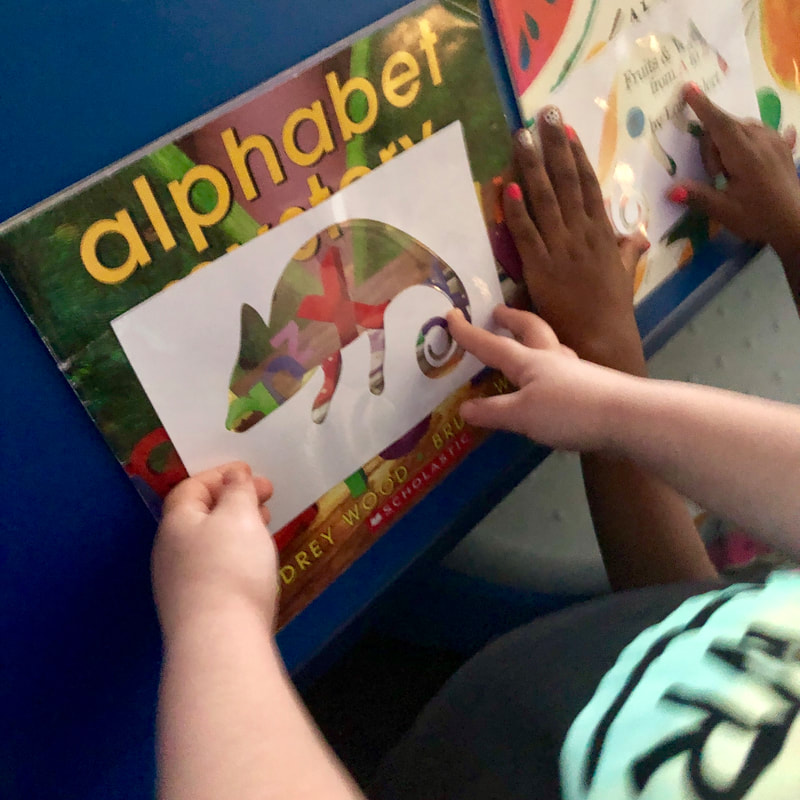
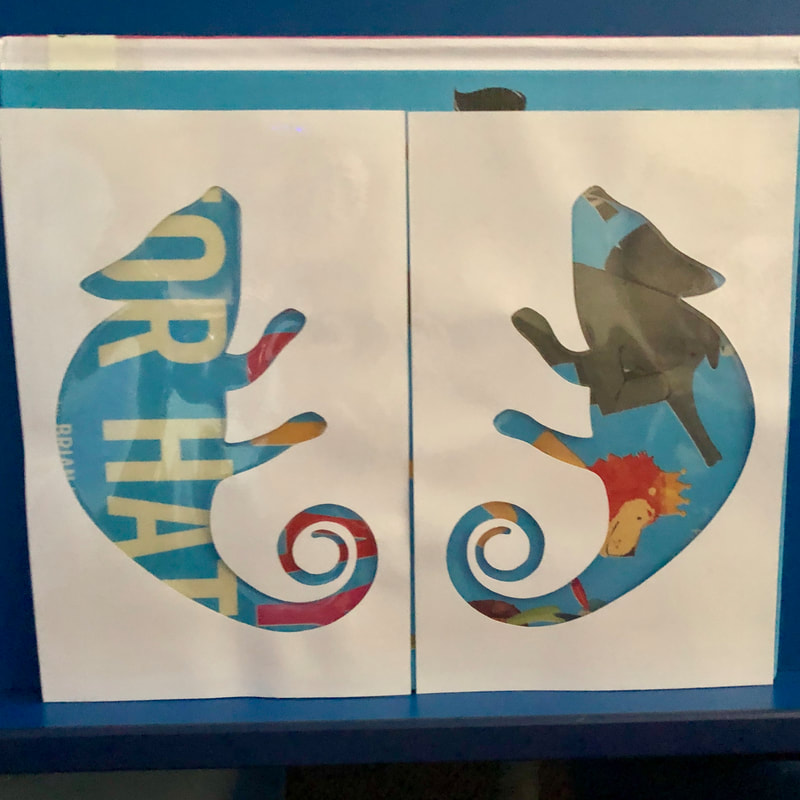
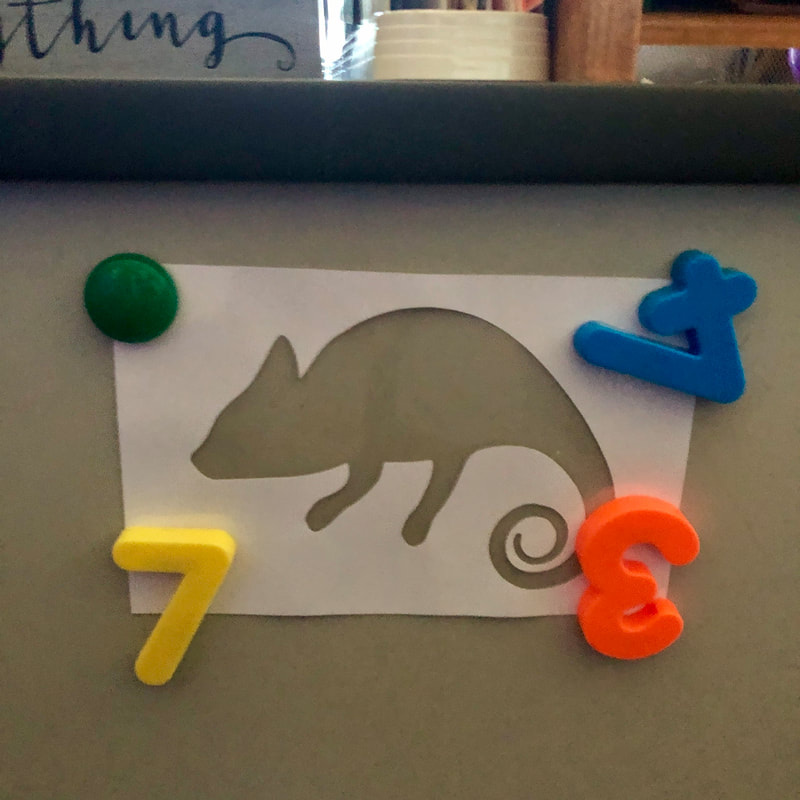
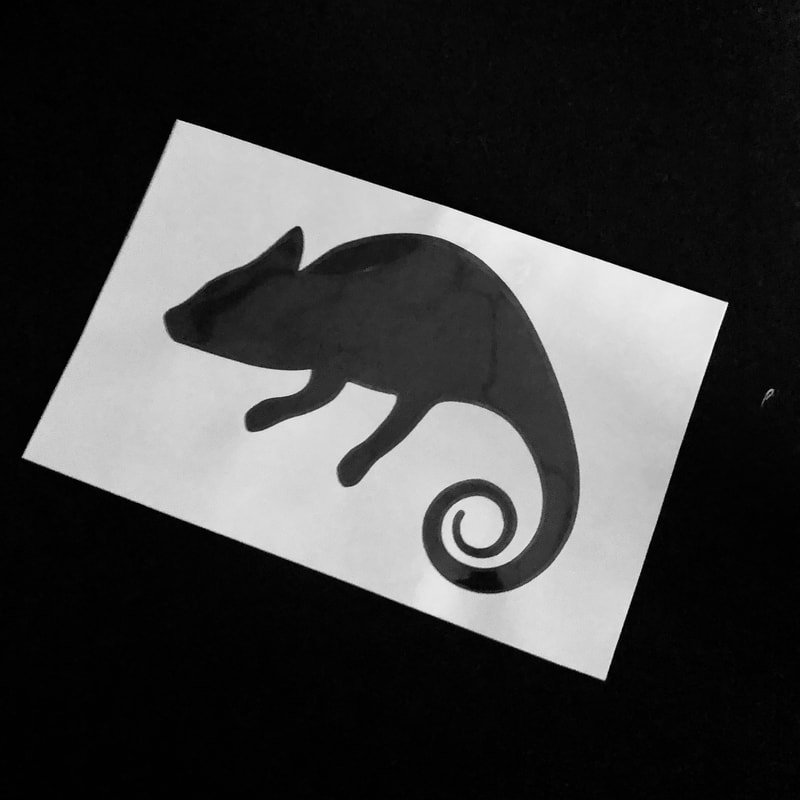
Chameleon Cut Outs
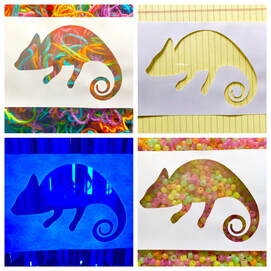
After reading the story, the first thing we did was a little scavenger hunt. I gave each student a chameleon card and asked them to walk around the room holding their chameleon up to different things in the room. Our chameleons blended in to everything! To make the chameleon for students to explore their surroundings with, I found an image of a chameleon on The Noun Project (my go-to for simple images!). I then made a template using Cricut Design Space to cut out the rectangles and chameleons. With a quick lamination and cut, they were ready to go!


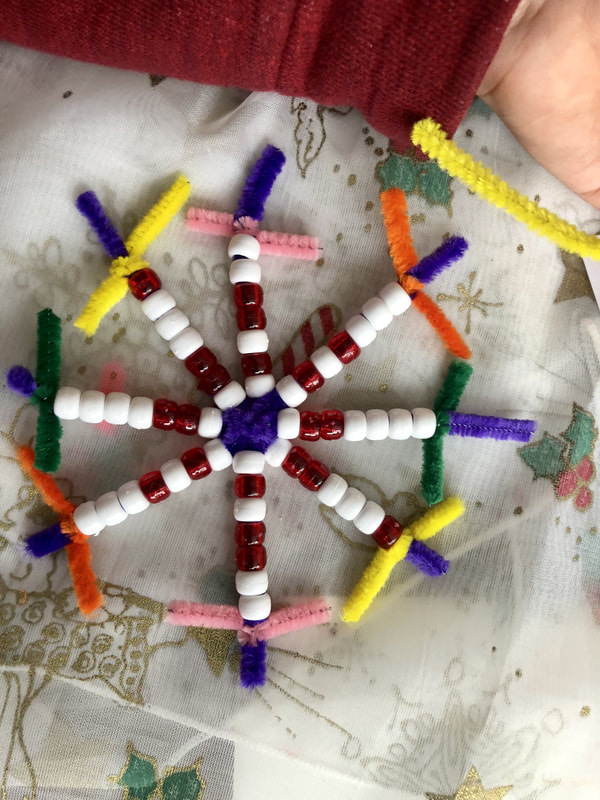
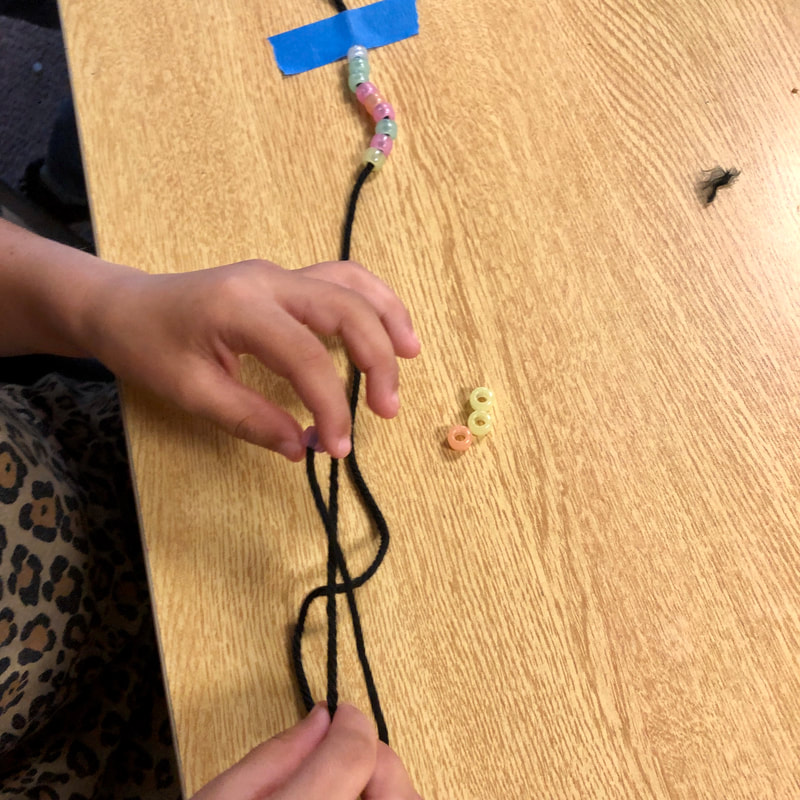
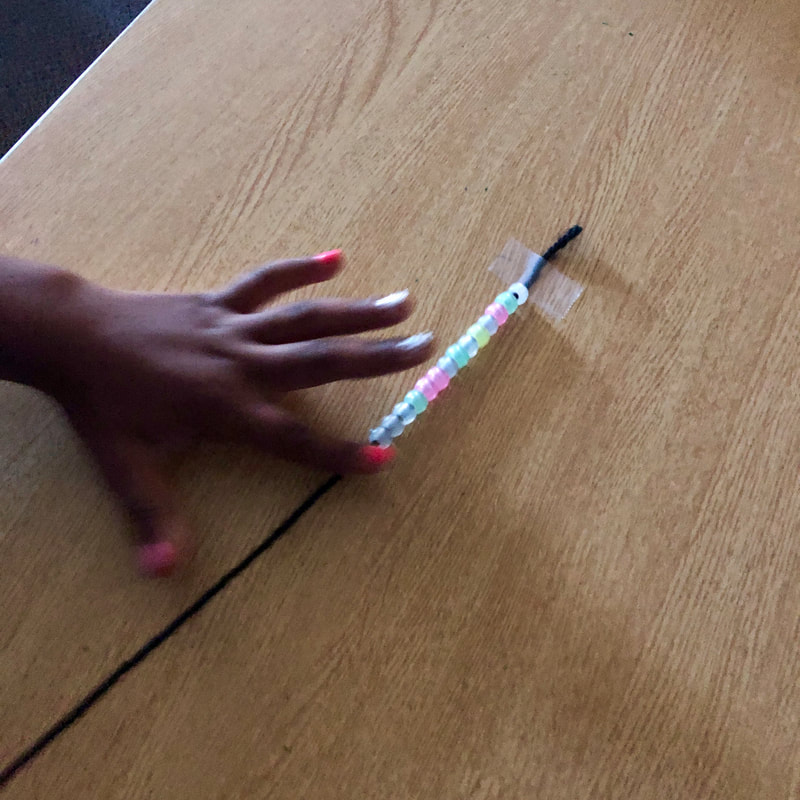
Glow in the Dark Necklaces
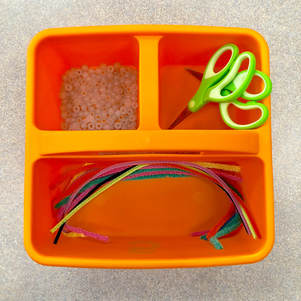
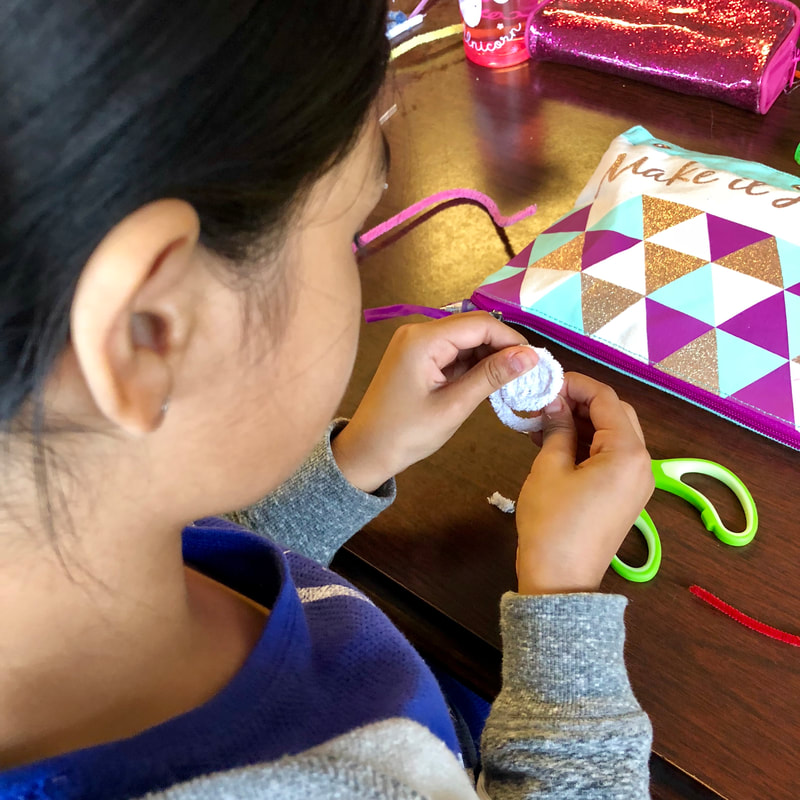
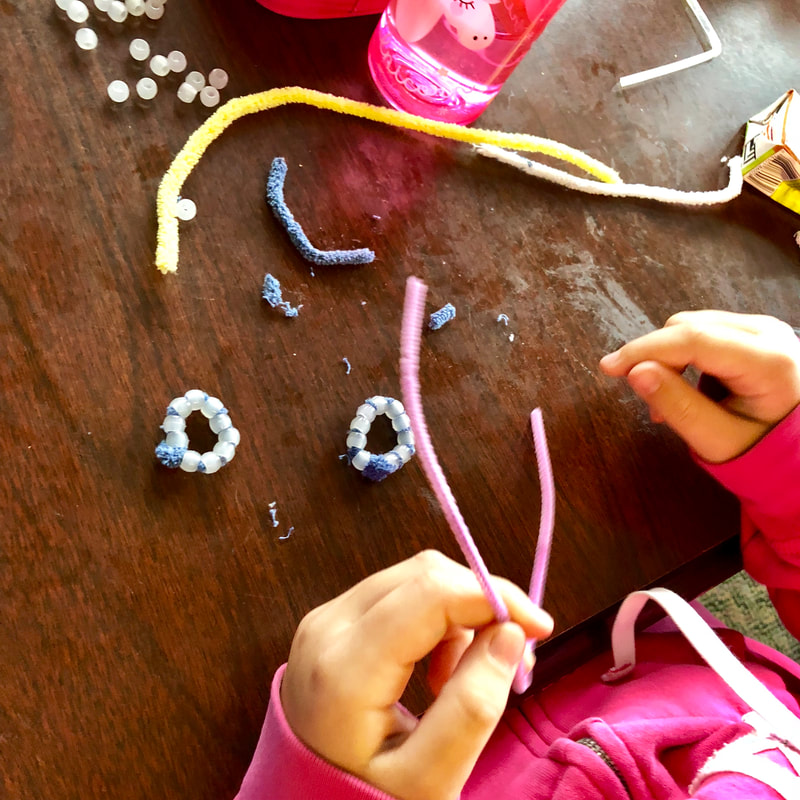
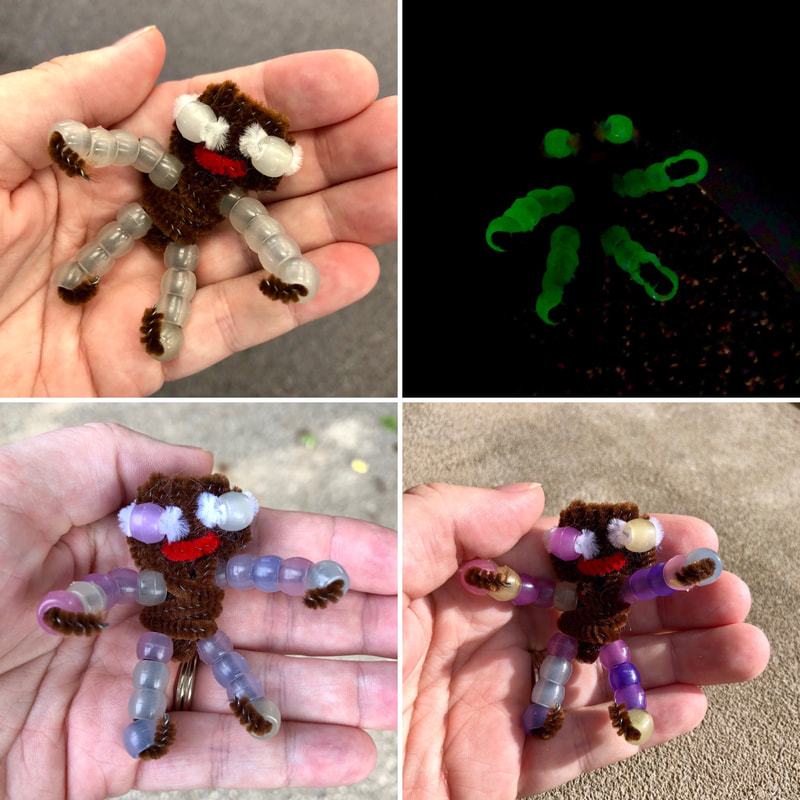
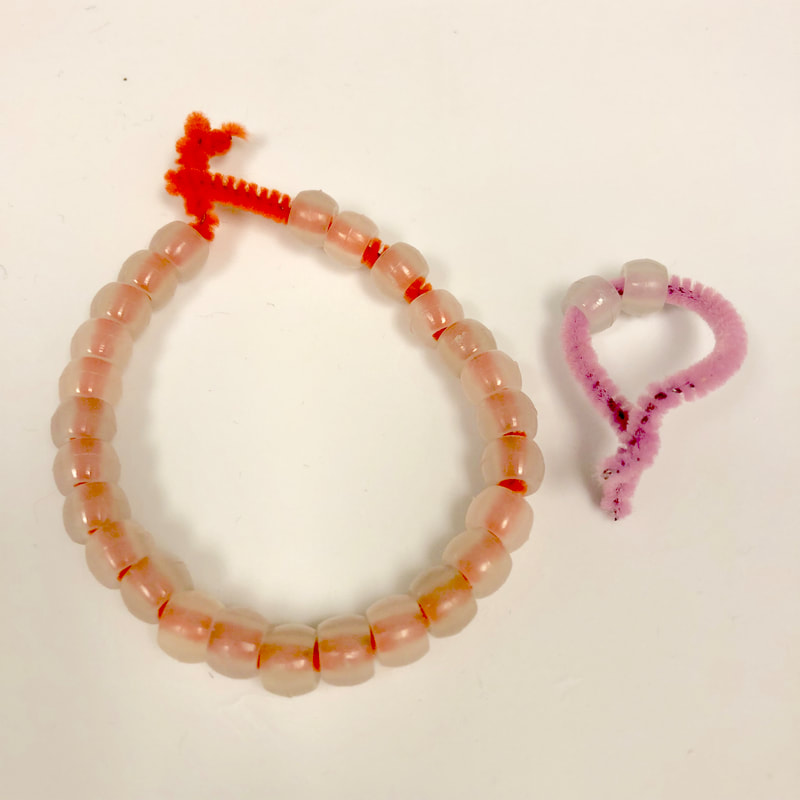
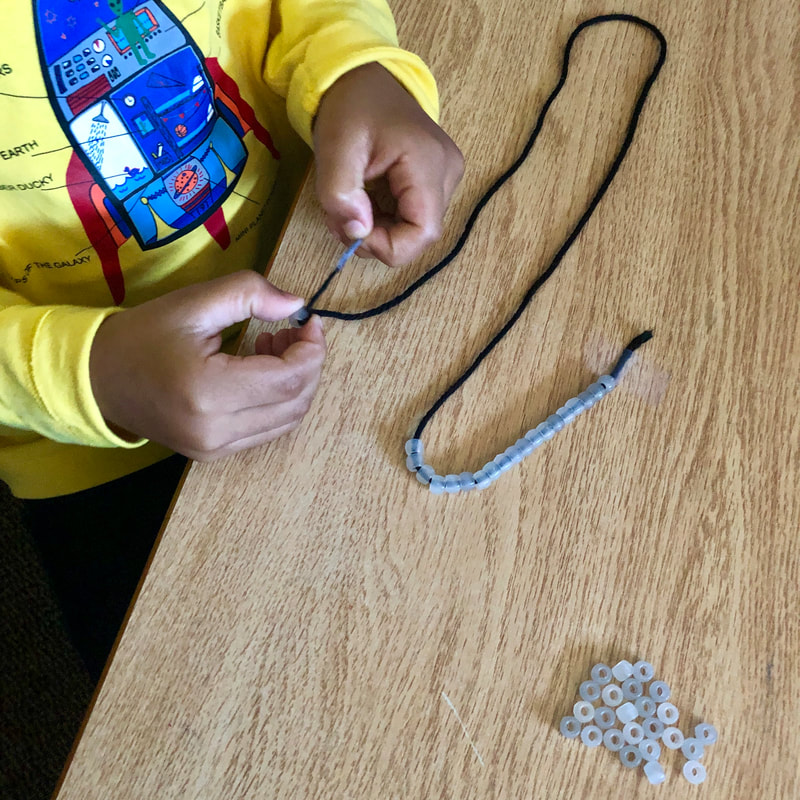
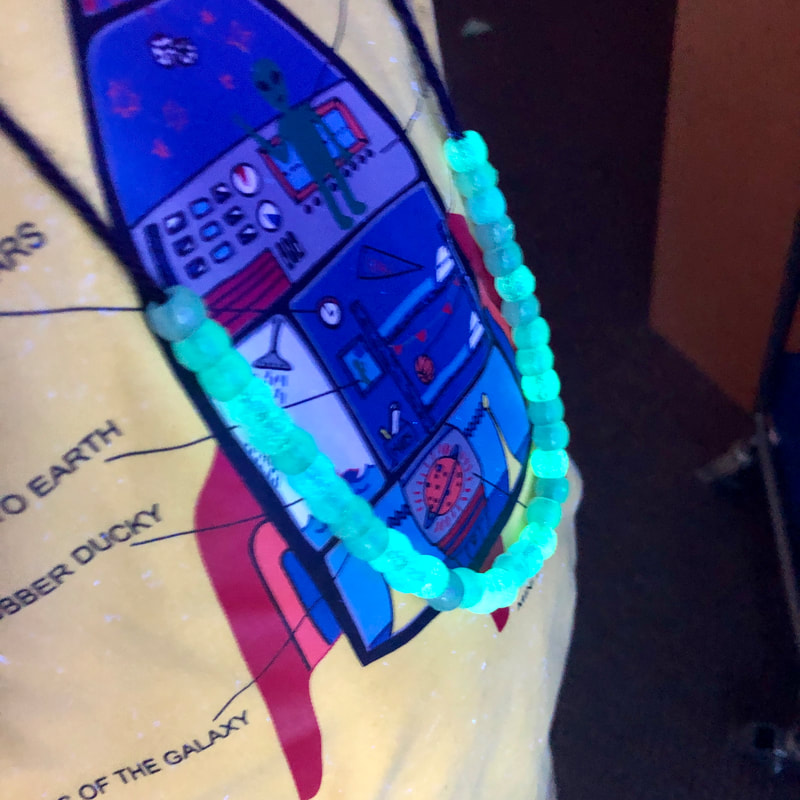
After our little scavenger hunt, student made a necklace that had neon beads as well as UV reactive beads. These beads were just like chameleons - they change based on the lighting around them! This was a great fine motor activity for the students and they had something to walk away with to share with their parents at home.

Free Play Activities
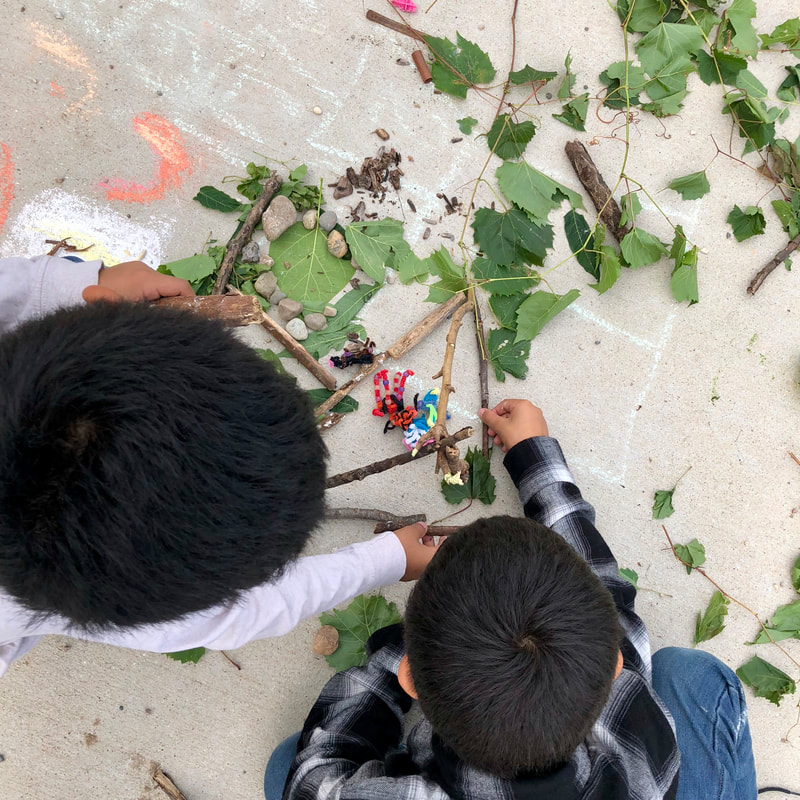
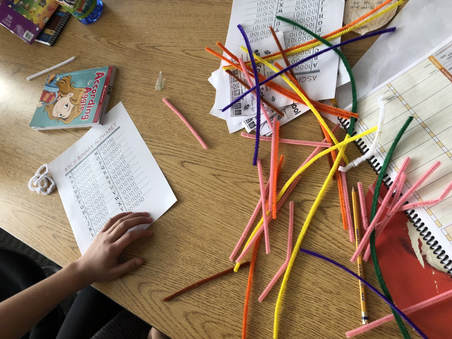
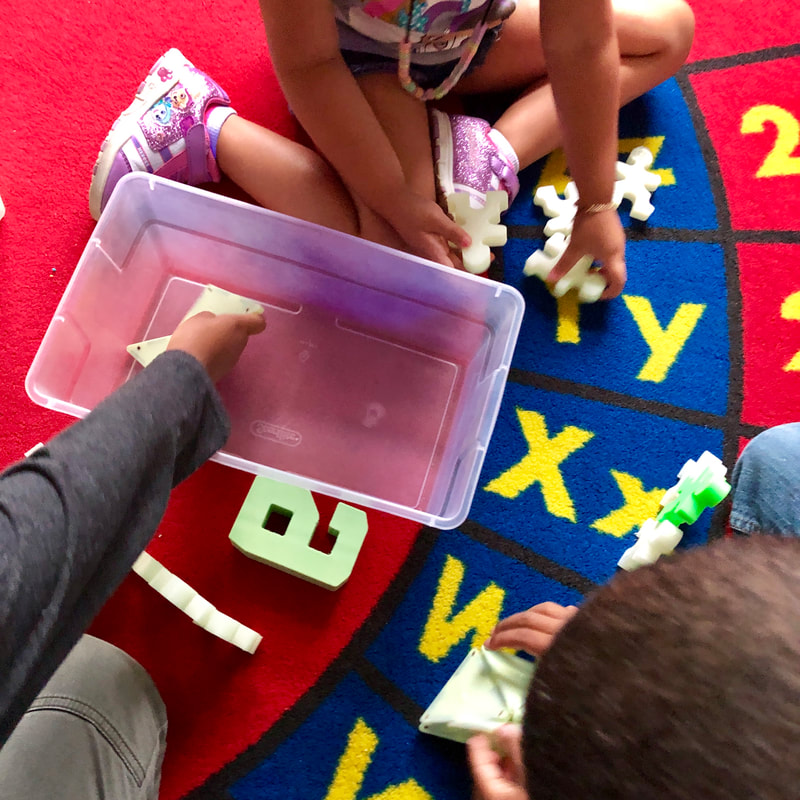
As I am still learning about this group of young students, I am trying to incorporate some free play time at the end of all of our activities. This allows them to use the materials we had as part of our lesson in a way that is meaningful and creative in their own way. This also gives them opportunities to communicate and collaborate together to build new things. For the free play time this week, I wanted to introduce some resources that interact with the black light. The kiddos had a blast!
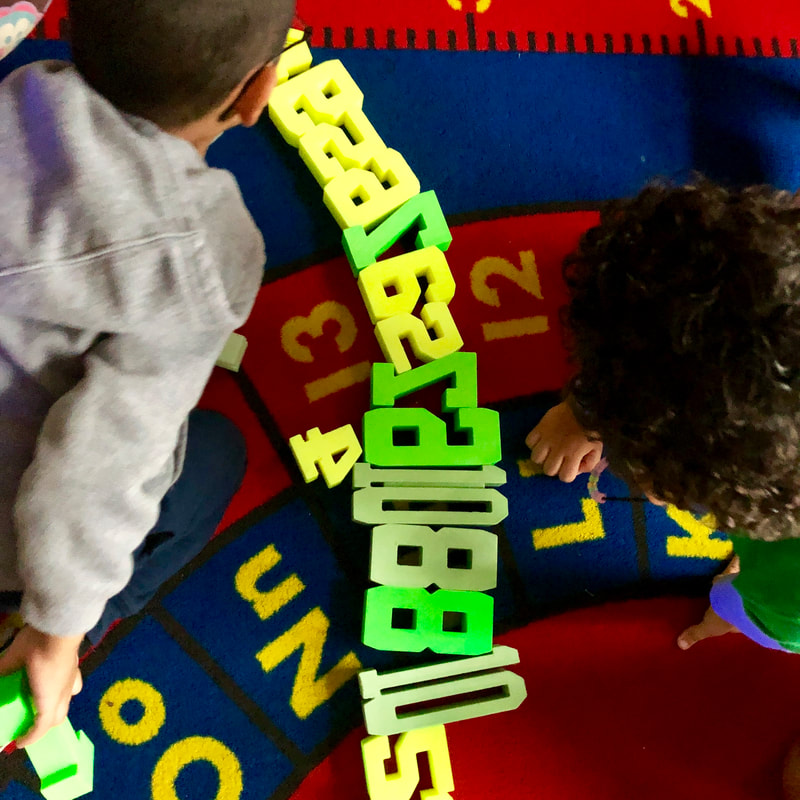

Stacking Number Blocks
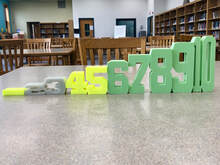
These blocks are not the traditional wooden SumBlox. I have some and students really like them, but often are frustrated with the number 4 in particular. I looked on Thingiverse and actually found some Stacking Numbers, resized them so they are a bit larger (for the little hands and big thinkers!) and could work interchangeably (for the most part) with the wooden numbers. I love how these numbers help students make visual connections between numbers! These can be downloaded from Thingiverse if you would like to print your own!
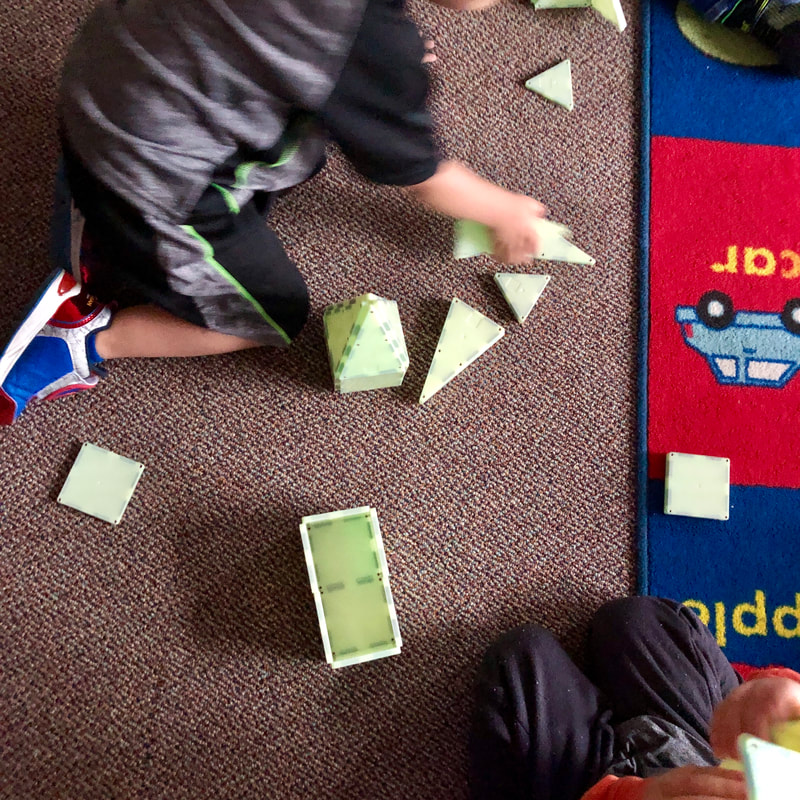
Glow in the Dark Magnet Tiles
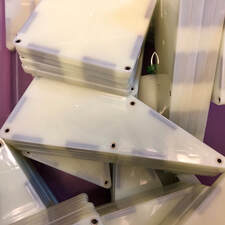
Last week I used the Magnet Tiles with this group of students and to say they enjoyed them would be an understatement. I only have a small set of the glow in the dark Magnet Tiles, but know what a hit they are for students (especially under the lights) makes me want to get a few more sets so more students can experience them.
Stacking People
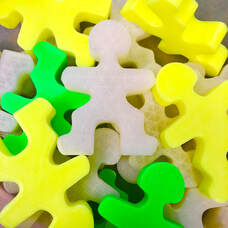
I have seen the amazing wooden Flockmen before and love the open-ended play that they provide. I do not have any of the wooden ones, but found the dimensions on their website, so I 3D printed some. I opted to print them in glow in the dark or neon filament so that they can be used in regular classroom lighting as well as Glow Days. Are they perfect? No. Did the students love them? Yes! These can be downloaded from Thingiverse if you would like to print your own!