Although I live a state that generally receives it's fair share of snow in the winter, at the time of this activity, we had only had one brief snowfall that stayed on the ground for all of two days. Sooo...time to get creative!
In looking for ideas for other ways to incorporate winter sports into learning activities, I came across this blog post from Ridgetop Ramblings, Cub Scouts Learn About Hockey. I thought it was a fun and cool idea to build a hockey rink, that I decided to use the idea to build a fun math activity to do with my own 1st grader.
In looking for ideas for other ways to incorporate winter sports into learning activities, I came across this blog post from Ridgetop Ramblings, Cub Scouts Learn About Hockey. I thought it was a fun and cool idea to build a hockey rink, that I decided to use the idea to build a fun math activity to do with my own 1st grader.
Materials Used for Activities
These are the materials I ended up using for my activity. The great thing about this was, I already had everything on hand at home, so the only thing I needed was a hockey rink, and I was able to create that!
- Cookie Sheet (the one I used was 10"x14.5")
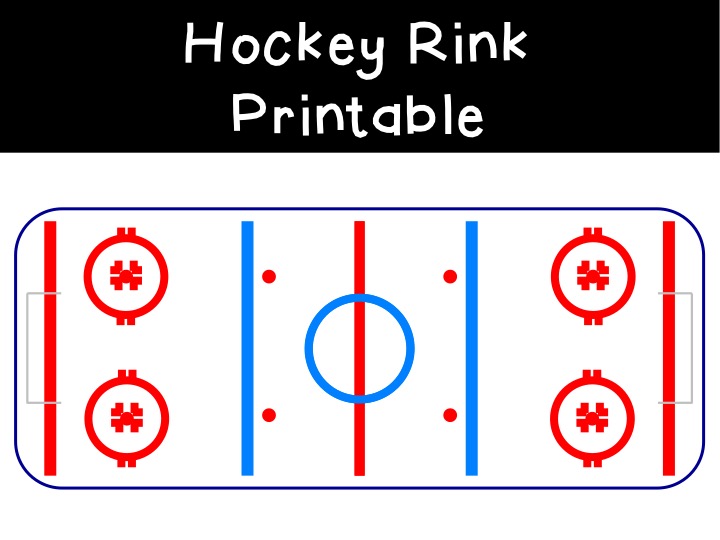
- Hockey Rink Printable (from link below - I printed mine at 70% to fit my cookie sheet)
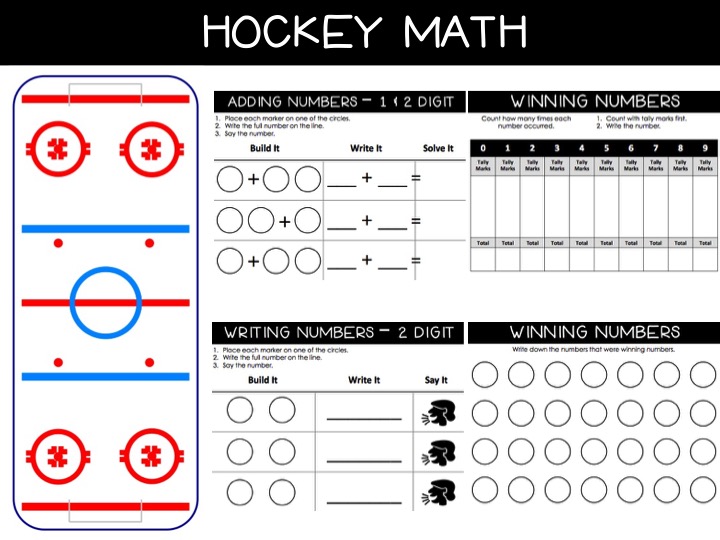
- Hockey Math Printable (from link below)
- Clear Contact Paper
- Pipe Cleaners
- Popsicle Sticks
- Tape
- Water
- Plastic Circle Markers/"Pucks"
- Hockey Jersey Template
- Markers/Crayons
- Page Protectors/Lamination
- Sharpie Marker
- Dry Erase Markers
Building the Hockey Rink
In the slideshow below, you can follow my process for how I created my hockey rink. Once having the hockey rink template made and printed, the rest was easy!
Things I Learned From My First Attempt
1. The Rules of the Game
I know the general rules of the game of hockey...namely, the objective is to get the puck in the net. This activity was simple enough where I didn't have to know many of the rules (I constantly joke with my husband that my favorite "play" in hockey is "icing" - this being about the only thing I know about hockey and it is actually a penalty!). I did tell my daughter the basics of hockey, aka, scoring. We made up some of our own rules along the way as we played and learned, such as:
I know the general rules of the game of hockey...namely, the objective is to get the puck in the net. This activity was simple enough where I didn't have to know many of the rules (I constantly joke with my husband that my favorite "play" in hockey is "icing" - this being about the only thing I know about hockey and it is actually a penalty!). I did tell my daughter the basics of hockey, aka, scoring. We made up some of our own rules along the way as we played and learned, such as:
- If you fling it off the rink (which will happen!), you have to place the puck in the center and whoever didn't fling it off, they get to go first.
- Limit to only one hit/pass/attempt (like I said, I don't know much about the game!), at a time until it is the other person's turn.
- Playing for a bit ahead of time will help you figure out how long it takes for students to score a goal. You might need to put a time or puck limit on the activity.
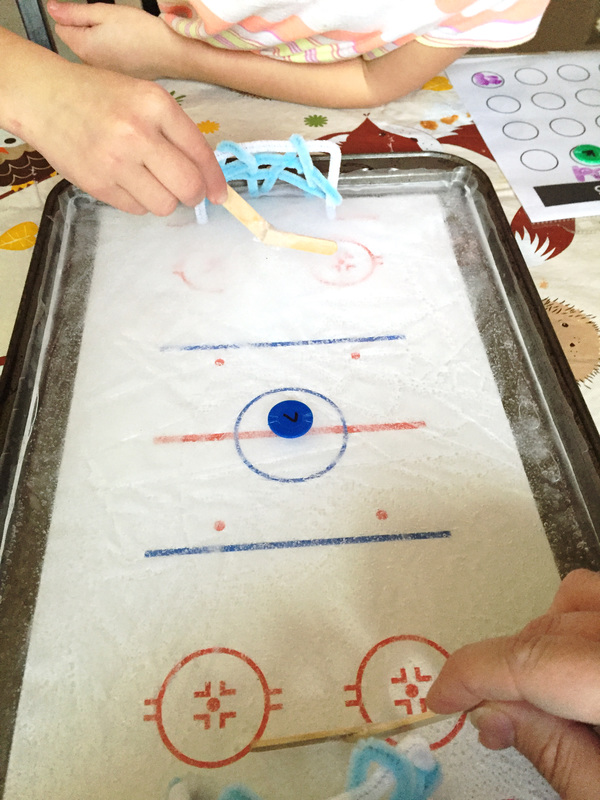
2. My Pan Was Not Level in the Freezer
When I placed my pan in the freezer, I assumed it was placed in there level, but should have known better as I placed it on top of another container. Next time, I would double check to make sure it was level before closing the freezer door to avoid the large mound (indicated below) that ended up forming in front of one of the goals.
When I placed my pan in the freezer, I assumed it was placed in there level, but should have known better as I placed it on top of another container. Next time, I would double check to make sure it was level before closing the freezer door to avoid the large mound (indicated below) that ended up forming in front of one of the goals.

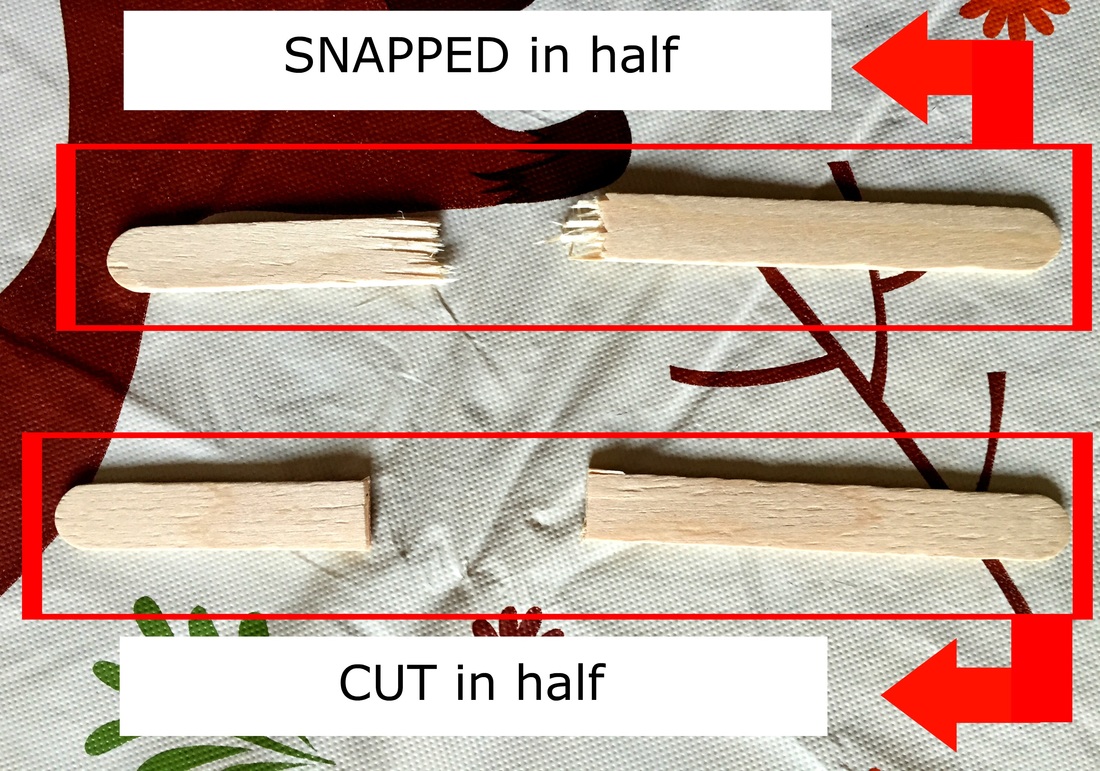
3. Cutting My Popsicle Stick
Here I thought this was going to be the easiest part! I did find that when getting my hockey sticks ready, that cutting them with scissors worked better than just snapping them in half. This was just a minor thing I learned, but thought I would share it so you don't waste popsicle sticks!
Here I thought this was going to be the easiest part! I did find that when getting my hockey sticks ready, that cutting them with scissors worked better than just snapping them in half. This was just a minor thing I learned, but thought I would share it so you don't waste popsicle sticks!
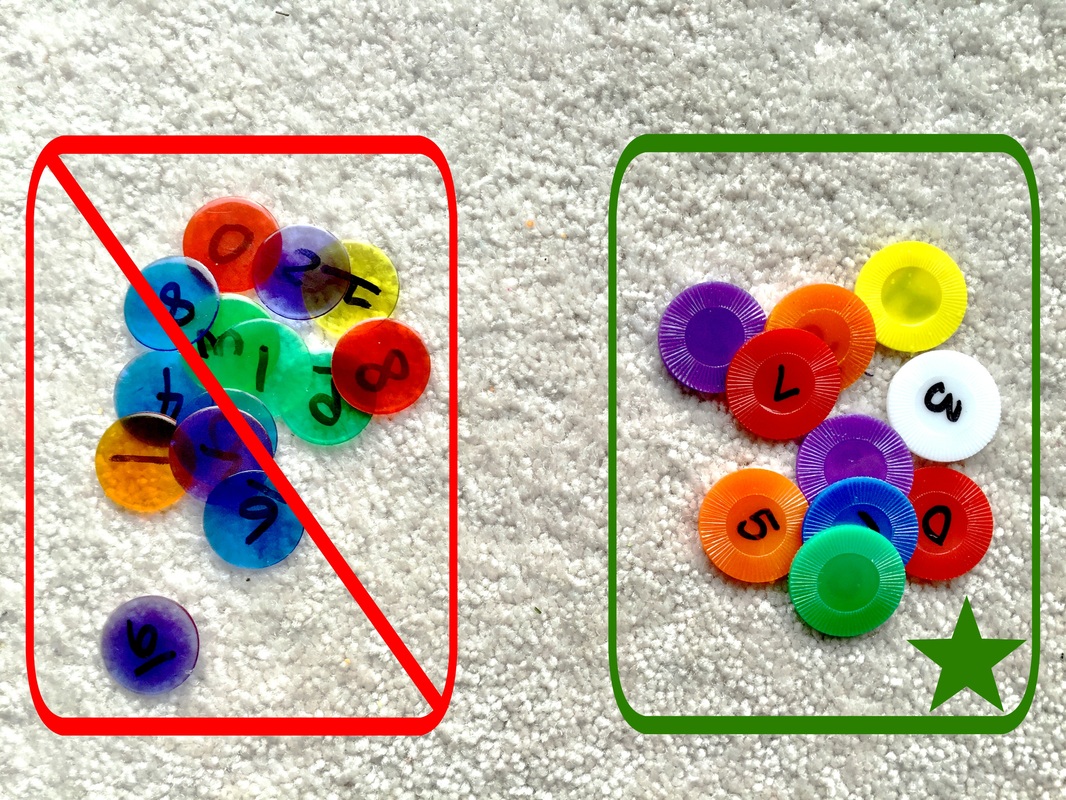
4. Choosing the Right Marker/"Puck"
I happened to have both of these kinds of markers/"pucks" on hand. I honestly didn't really care which ones we used at first, but after about 2 minutes playing, I started to care! The smooth ones worked really great for the first couple of minutes out of the freezer, but as the ice started to melt a little bit, they were really a terrible choice. They would stick and there was absolutely no shooting them towards the goal. Then experimenting with the ones with the ridged edges, we found they were a perfect choice! You could shoot easily, they wouldn't fly off the rink as much, and they wouldn't stick when they ice started to melt a little bit.
I happened to have both of these kinds of markers/"pucks" on hand. I honestly didn't really care which ones we used at first, but after about 2 minutes playing, I started to care! The smooth ones worked really great for the first couple of minutes out of the freezer, but as the ice started to melt a little bit, they were really a terrible choice. They would stick and there was absolutely no shooting them towards the goal. Then experimenting with the ones with the ridged edges, we found they were a perfect choice! You could shoot easily, they wouldn't fly off the rink as much, and they wouldn't stick when they ice started to melt a little bit.
Activities in Action
So, I have shared some resources and insight as to what worked and what didn't, but what exactly did we do with all of this? A fun math activity! This could really be adapted in any way depending on what level of math students are learning. My daughter is in first grade and we recently had our fall conference with her teacher and she gave us some areas in which we could reinforce with her at home. My daughter takes after my husband and I and enjoys math, so this was something that was really fun for her. The part that made putting this together worthwhile was when we were cleaning up our things at the end and I commented to her about how this was a really fun math activity that we were able to do together. She looked at me and said, "That was math? I didn't even notice! That was so fun!". <Insert beaming parent moment here.>
I included a variety of activities in the Hockey Math printable above. We only did a couple of these activities on this day, but wanted some other ones that we could pull out to do on other days.
I included a variety of activities in the Hockey Math printable above. We only did a couple of these activities on this day, but wanted some other ones that we could pull out to do on other days.
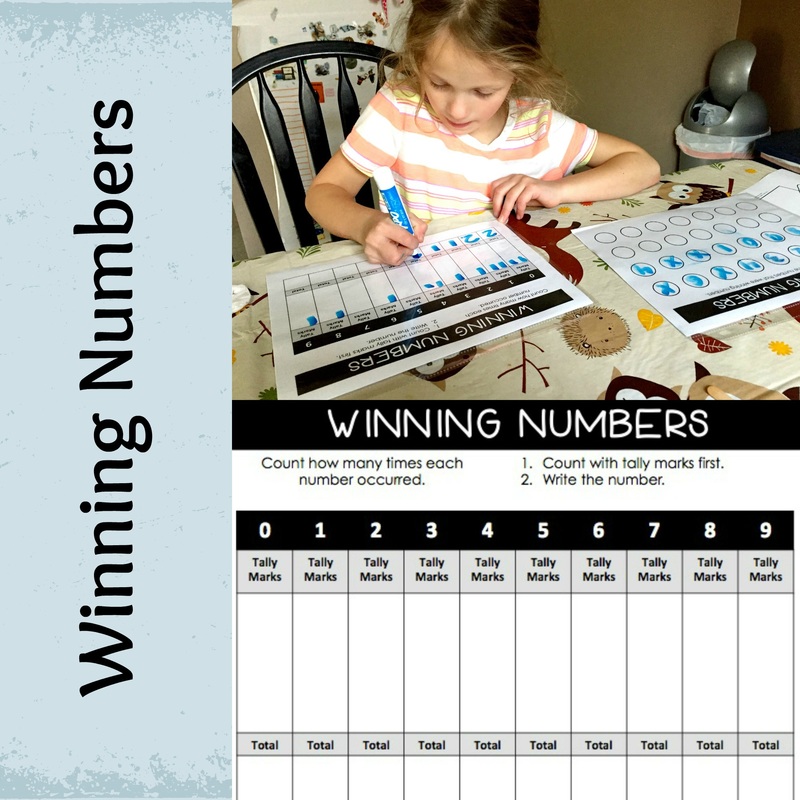
Activity #1 - "Winning Numbers"
This could be adapted in so many different ways. The way we did was we played our hockey game and then every time someone scored, we placed our winning "puck" on our "Winning Numbers" mat (we each had one). Once we went scored our way through the pucks we had set out, we removed our pucks from our Winning Numbers sheet and wrote them down. I had put all of my printed activity sheets in page protectors so we could use them with dry erase markers. When then did a tally count for the number of occurrences of each number. Next time we would do this activity, I would extend it a bit further and have her create a graph using Create A Graph.
This could be adapted in so many different ways. The way we did was we played our hockey game and then every time someone scored, we placed our winning "puck" on our "Winning Numbers" mat (we each had one). Once we went scored our way through the pucks we had set out, we removed our pucks from our Winning Numbers sheet and wrote them down. I had put all of my printed activity sheets in page protectors so we could use them with dry erase markers. When then did a tally count for the number of occurrences of each number. Next time we would do this activity, I would extend it a bit further and have her create a graph using Create A Graph.
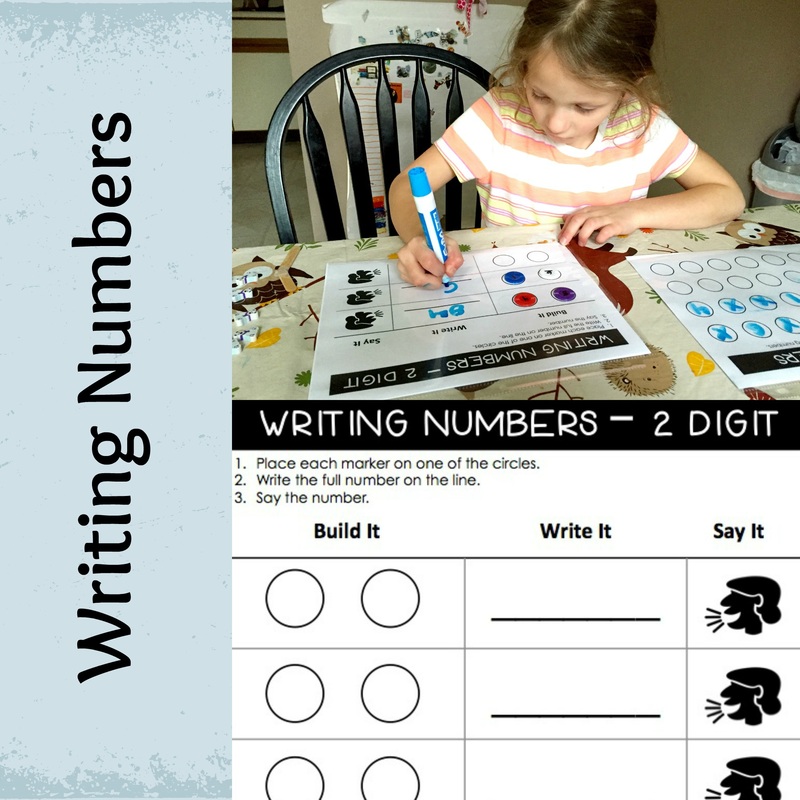
Activity #2 - Writing Numbers
This may seem like a simple activity for a 1st grader, but my daughter is in a Spanish Immersion school, and so I wanted to make an activity where we create numbers and then say them in Spanish and English. We ended up doing this with 2-digit and 3-digit numbers. We had simply placed all of our winning pucks in a pile in front of us, number side down. We would draw a puck at a time and place it on one of the circles. After we had built our number, we would write it and then say it. I had placed these sheets in page protectors as well so we could reuse them over and over.
This may seem like a simple activity for a 1st grader, but my daughter is in a Spanish Immersion school, and so I wanted to make an activity where we create numbers and then say them in Spanish and English. We ended up doing this with 2-digit and 3-digit numbers. We had simply placed all of our winning pucks in a pile in front of us, number side down. We would draw a puck at a time and place it on one of the circles. After we had built our number, we would write it and then say it. I had placed these sheets in page protectors as well so we could reuse them over and over.
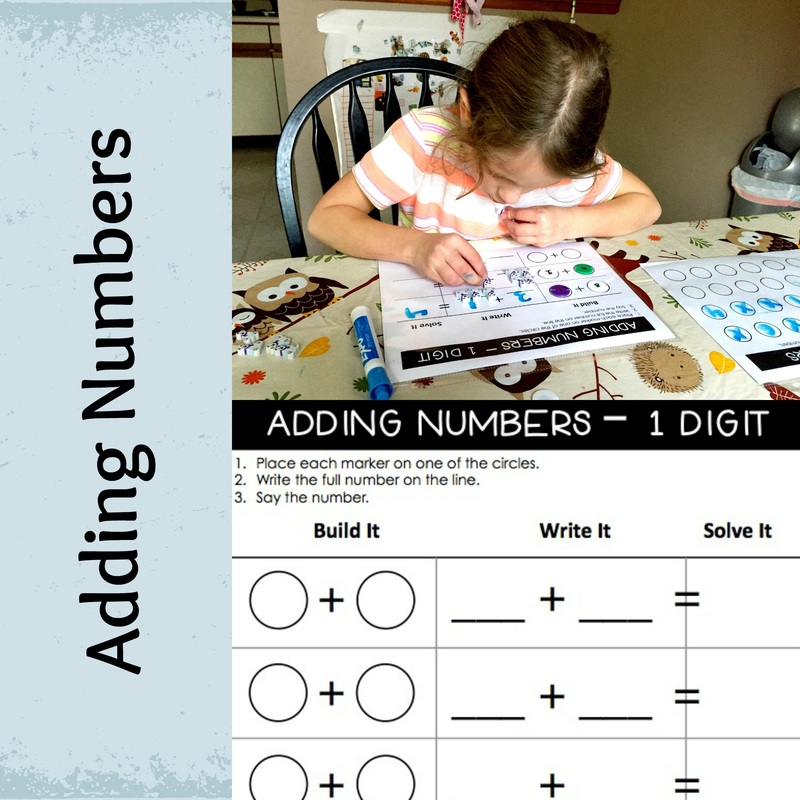
Activity #3 - Adding Numbers
Similar to that of the Writing Numbers activity, we would place all of our winning pucks in a pile in front of us, number side down. We would draw a puck at a time and place it on one of the circles, write out our number sentence, and then solve. We had some little erasers on hand that she used as counting manipulatives when she got stuck.
Similar to that of the Writing Numbers activity, we would place all of our winning pucks in a pile in front of us, number side down. We would draw a puck at a time and place it on one of the circles, write out our number sentence, and then solve. We had some little erasers on hand that she used as counting manipulatives when she got stuck.
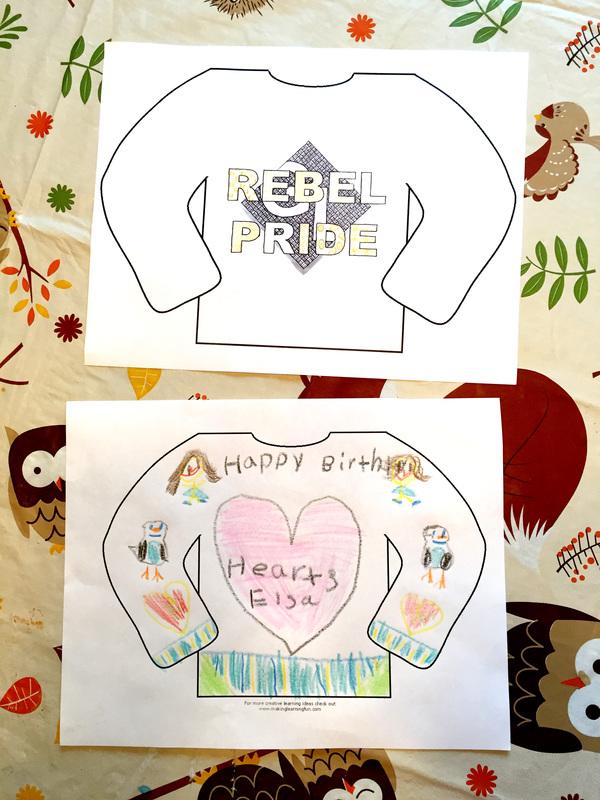
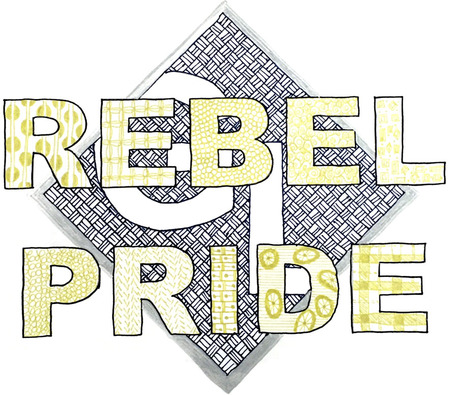
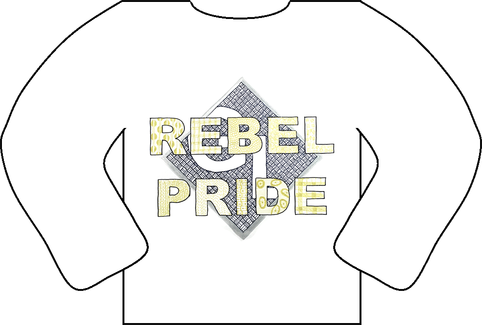
Based on everything I included above, this may seem like a very intense activity to do with students, but it was actually very simple. Students could construct their rinks in class or the teacher could prep them ahead of time. You could have students create their own nets and figure out which ones were the most effective in containing the pucks (ours frequently went through the net). This could even be the ground work for some kind of other activity other than math! The possibilities are endless and I know that I had a 1st grader who continued to ask to play hockey for several days AND voluntarily got out the activity sheets to use with the game. I consider it a winning activity! We even made some team jerseys (sweaters?) for our team. Is that something I see from Day 1 of EdTech Cheer? :)