My Ed Tech World
  • Home
  • Blog
  • Resources
    • Learning Landscapes EDU
    • PD >
      • Rebel U
      • 12 Days of (Ed Tech) Cheer
    • Web Resources
    • iPad Resources
    • SIOP Resources >
      • Preparation
      • Building Background
      • Comprehensible Input
      • Strategies
      • Interaction
      • Practice-Application
      • Lesson Delivery
      • Review/Assessment
    • My Zazzle Store
    • Accomplishments
  • Conferences
    • 2018-2019 >
      • Fire Up (Spring 2019)
      • MACUL 2019
    • 2017-2018 >
      • Podstock 2017
      • Rebel U 2018
      • Fire Up (Fall 2017)
    • 2016-2017 >
      • Podstock 2016
      • Rebel U 2016
      • COETC16
      • Fire Up (Fall 2016)
      • MACUL 2017
      • Fire Up (Spring 2017)
    • 2009-2015 >
      • 2015-2016 >
        • Fire Up (Fall 2015)
        • Rebel U 2015
        • KISD Tech Camp 2015
        • Fire Up (Spring 2015)
      • 2014-2015 >
        • Fire Up (Spring) 2014
        • Rebel U - Cooperative Learning & Technology
        • Fire Up (Fall) 2014
      • 2013 >
        • Rebel U {Virtual Edition} - Sustainability
        • Fire Up (Spring) 2013
        • MACUL 2013
        • Rebel U - Teaching & Learning Like a Superhero
        • Fire Up (Fall) 2013
      • 2012 >
        • Fire Up (Spring) - Get Inspired with Technology
        • Rebel U - iSpy an iPad
        • MACUL - Personalized Learning Conference
        • Fire Up (Fall) - Bringing Learning Outside the Classroom
      • 2011 >
        • MACUL - Google Sites
        • Fire Up Spring
        • Rebel U - Test Taking Tools & Strategies
        • Rebel U - 40 in 40
        • Teaching & Learning in the Cloud - Building a Tech Leader's Toolbox
        • Fire Up Fall - Building a Tech Leader's Toolbox
      • 2010 >
        • KISD TechKnow - Google Sites
        • Rebel U - Google Docs
        • Rebel U - Picnik
        • Teaching & Learning in the Cloud - Google Sites
        • Fire Up (Fall) - Cool Web Tools
        • Fire Up (Spring) - Google Sites
      • 2009 >
        • Fire Up Fall - PP in the Classroom
  • Contact
  • Disclaimer

Summer STEAM Calendar of Activities

5/20/2019

0 Comments

 
Picture
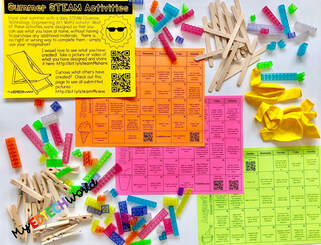
Summer is almost here!  With that often comes the dread whining of "I'm bored!" from kiddos all over.  Are you looking for ways to help the parents of your students beat the summer boredom?  No fear, a summer STEAM calendar of activities is here!

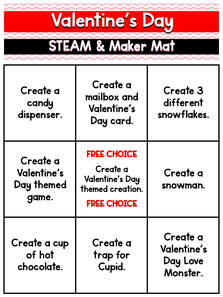
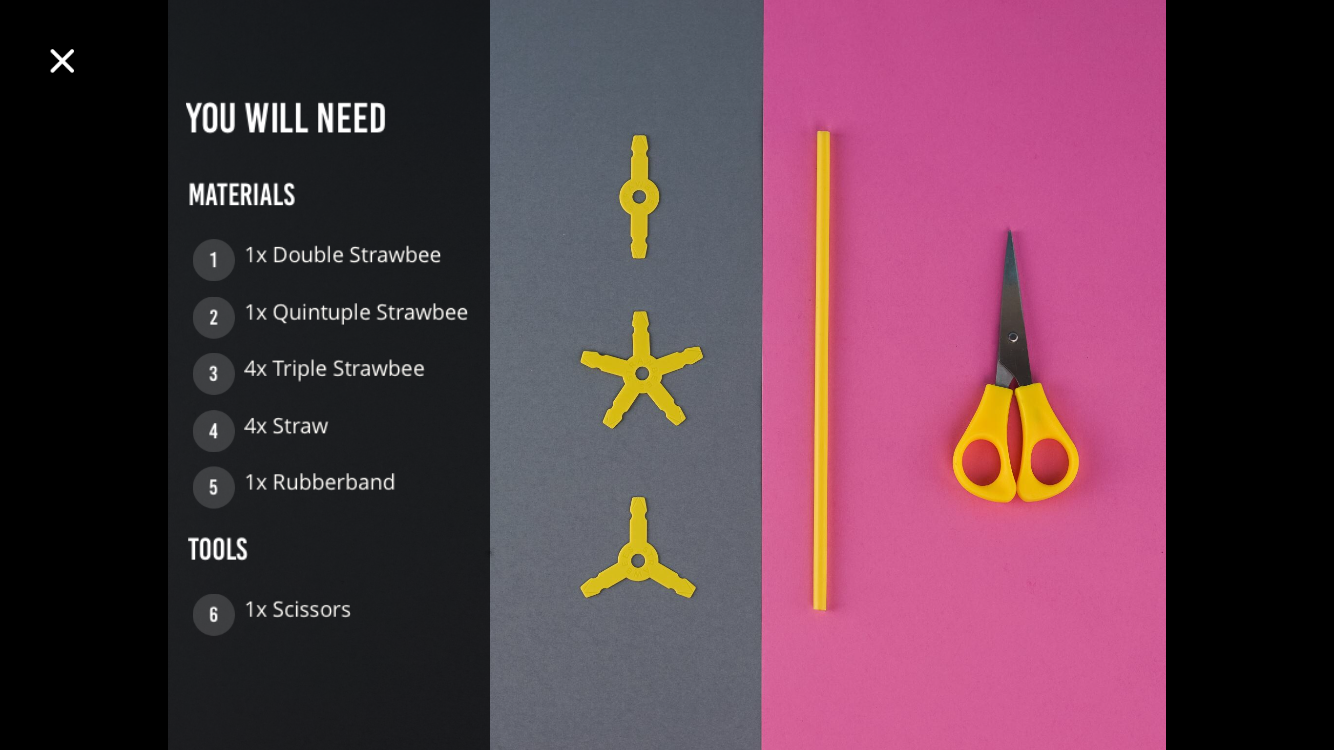
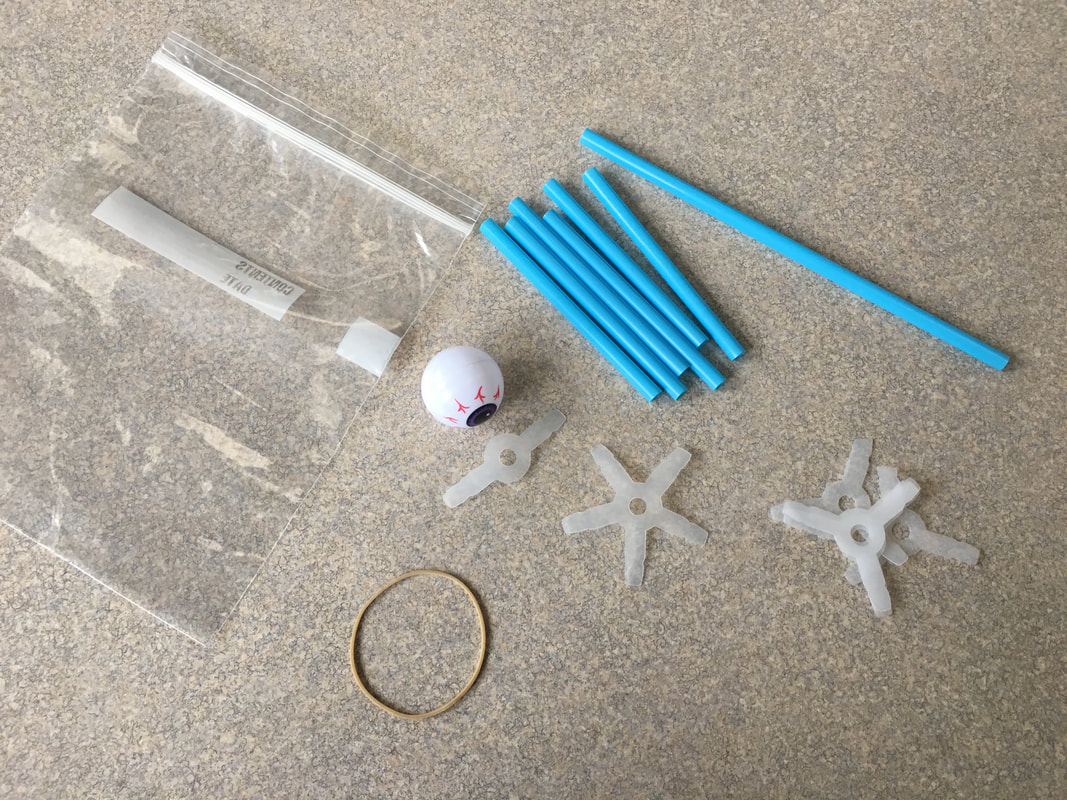
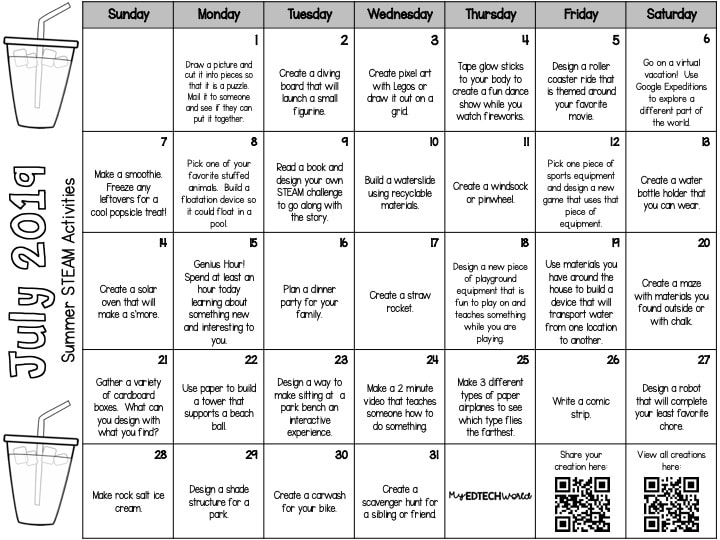
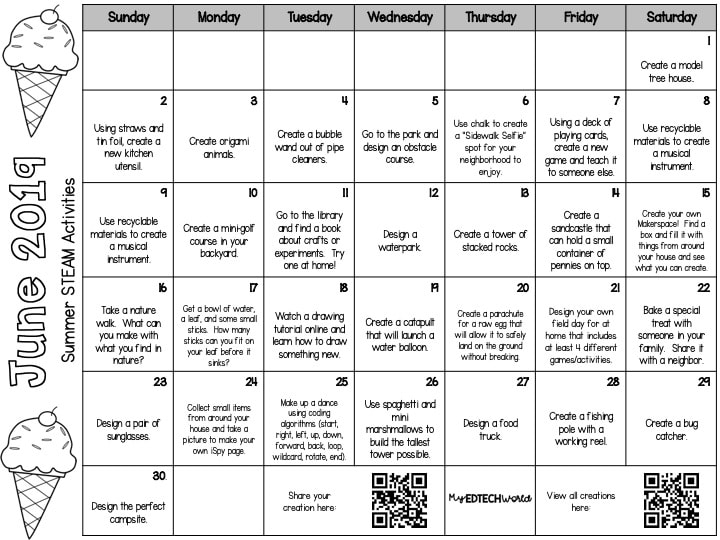
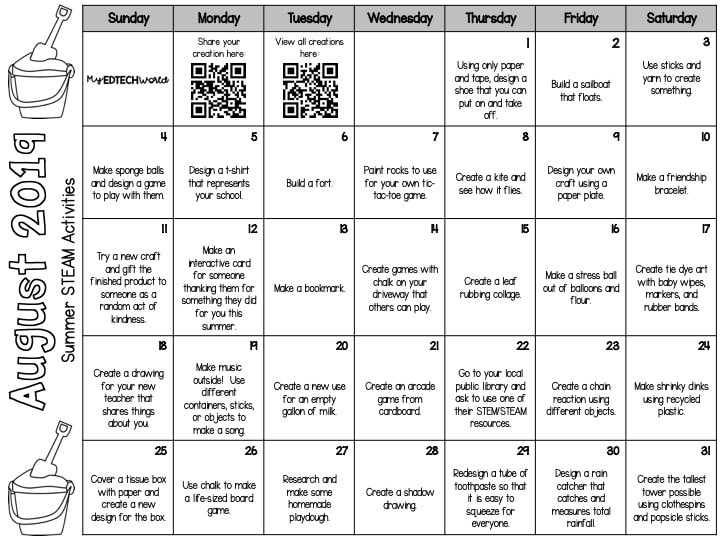
Each day for the months of June, July, and August, I have put together some simple activities that can be done at home.  In efforts of making these activities accessible, I tried to keep any additional materials that might be needed to a minimum, but hopefully most can be found at home, outside, or through a family member or neighbor.  A few simple items from the dollar store could spark some imagination, but is not necessary.  Also, as I do have children of my own and encourage as much outside time as possible during the summer with minimal screen time, the "T" of the STEAM is not emphasized.  Technology can be used at any time to enhance any of the activities or be used for research, inspiration, or documentation, but will not be a significant focus.  You might also notice that there isn't any slime challenges.  That was intentional because I am out-slimed and I know I am not the only one!

Click on the green button below to download the calendars.

Summer STEAM Calendars
Picture
Picture
Picture
Picture

Sharing Time!

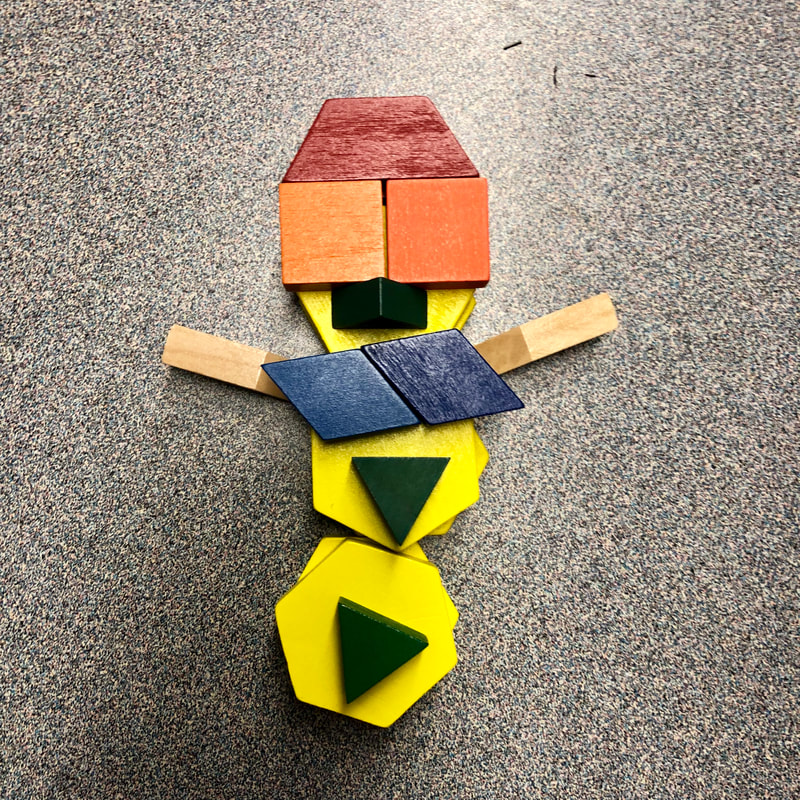
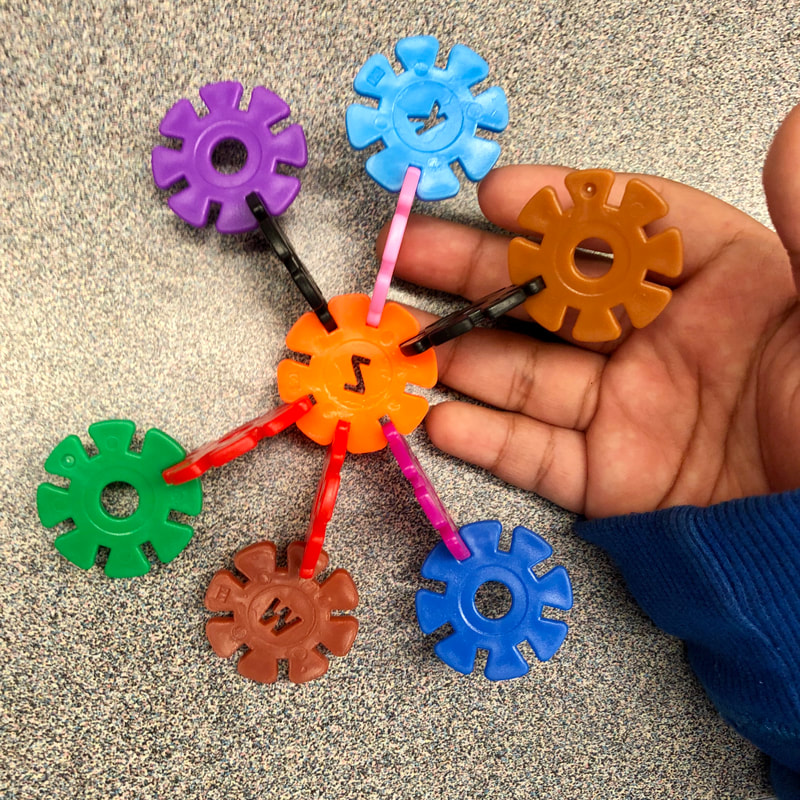
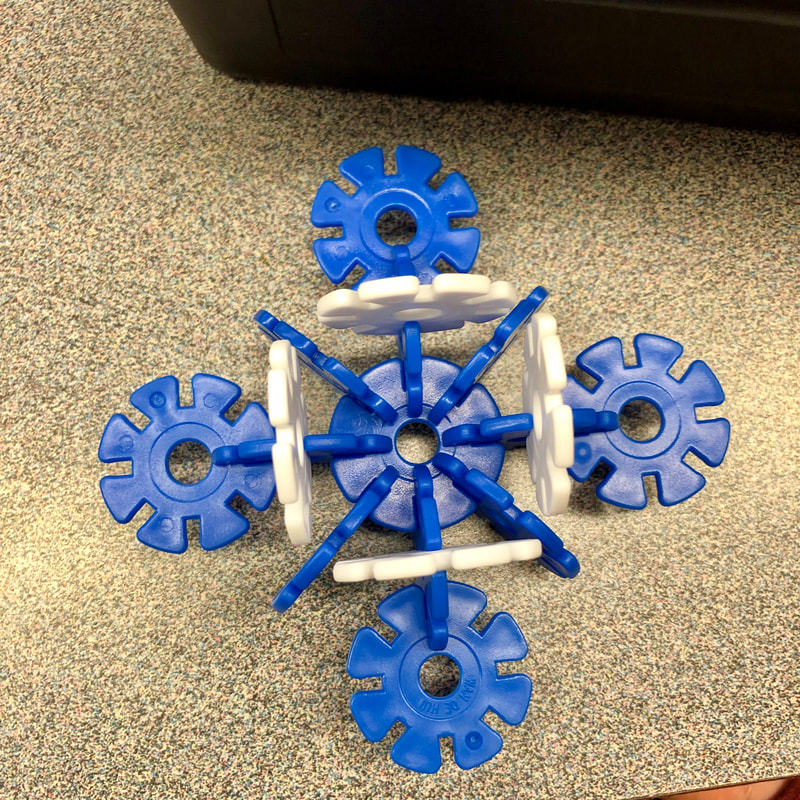
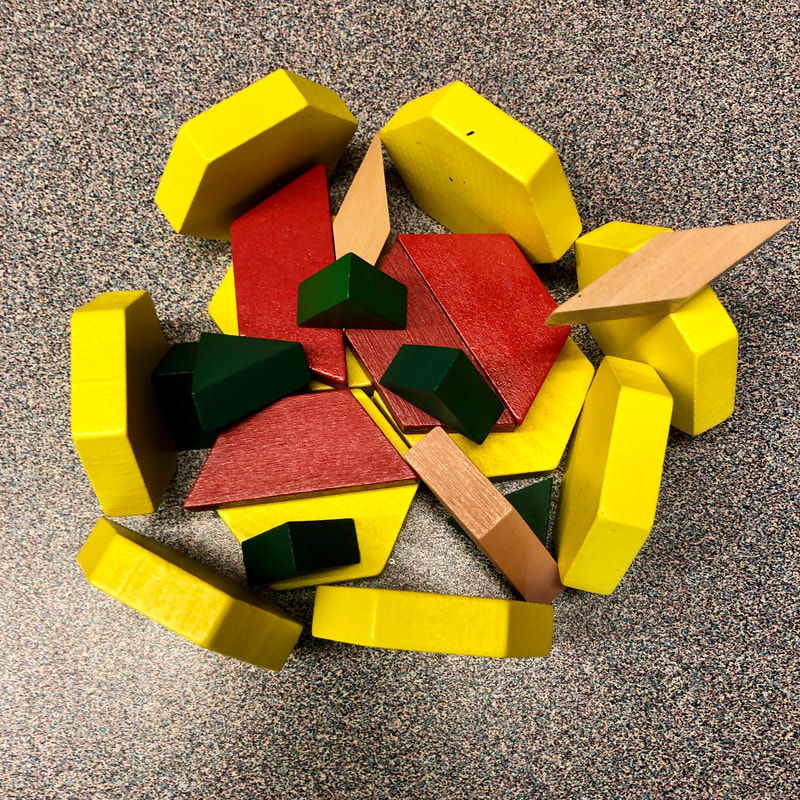
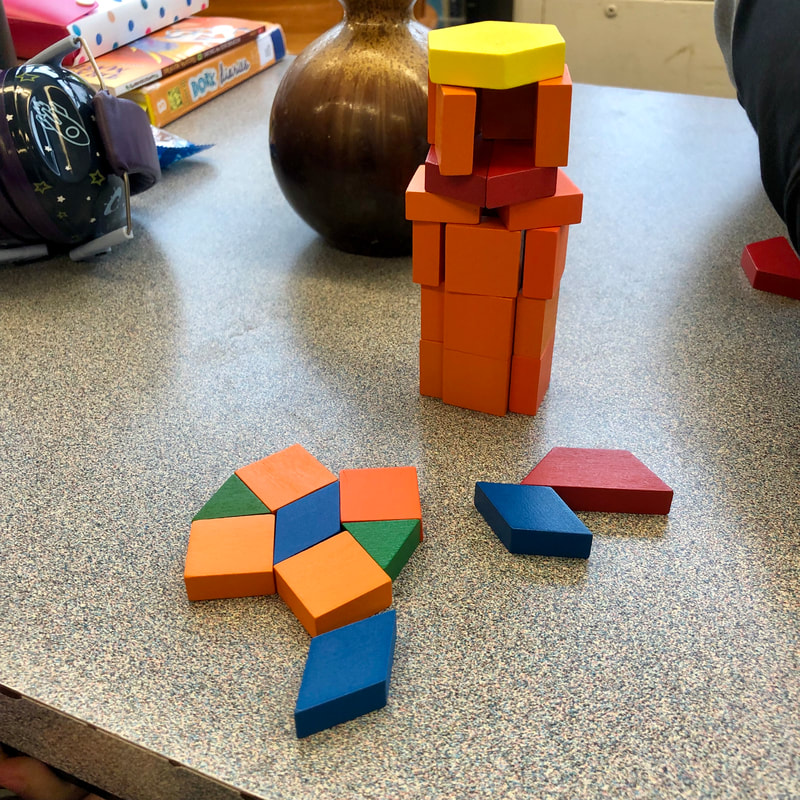
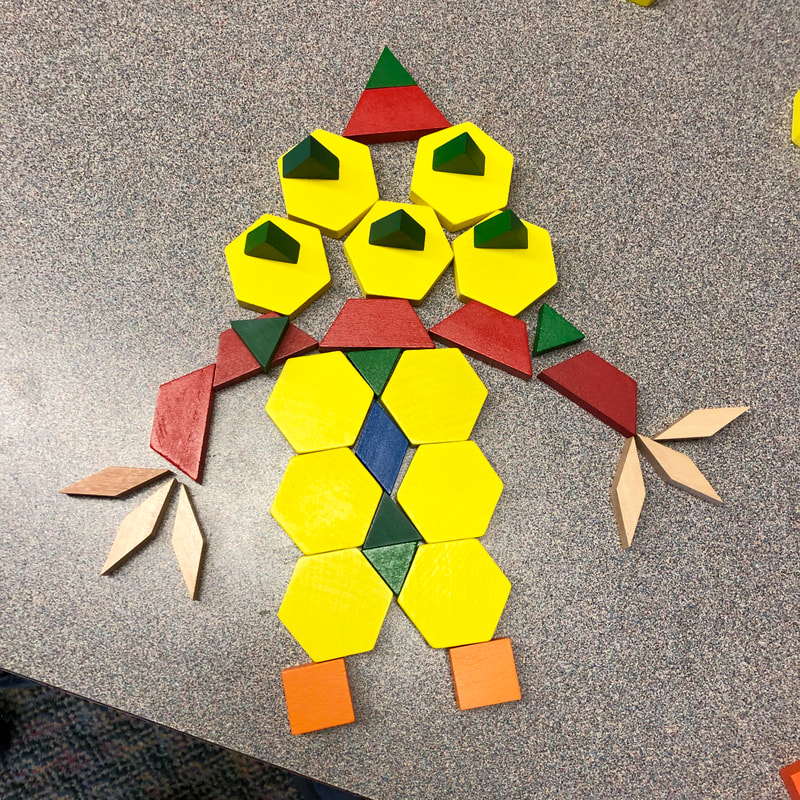
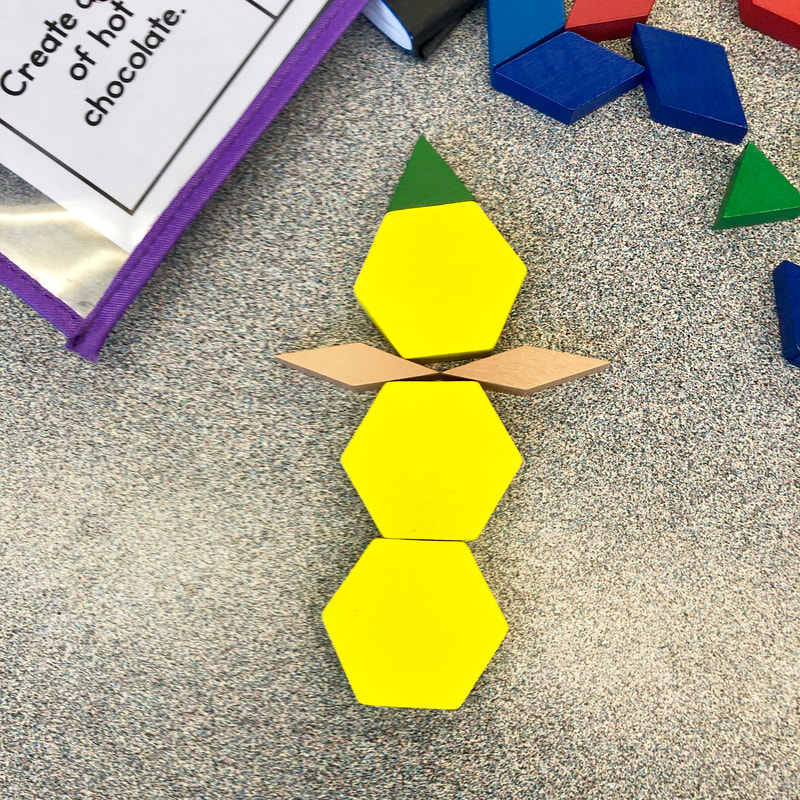
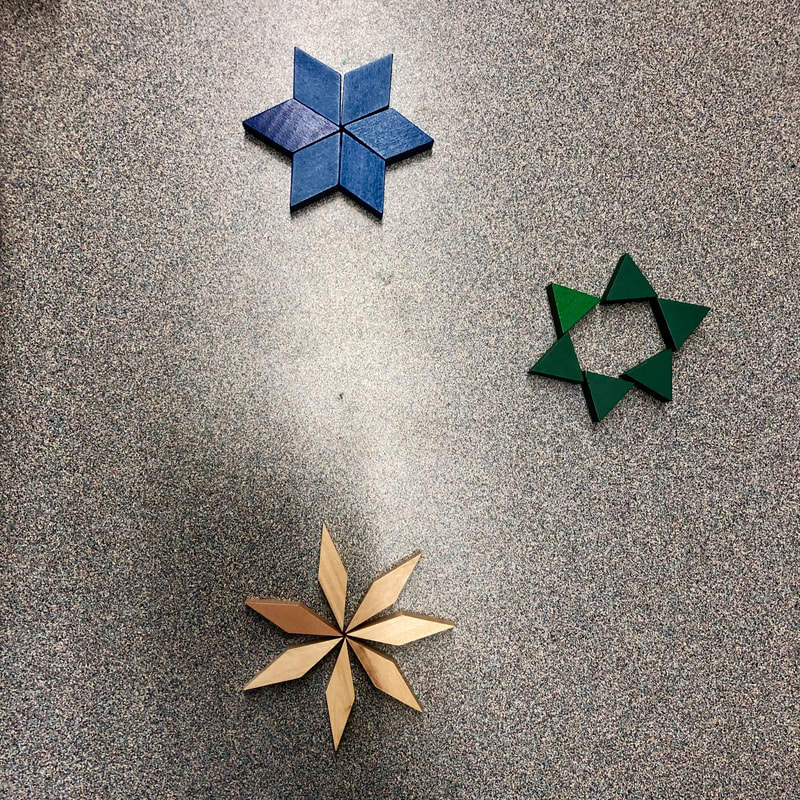
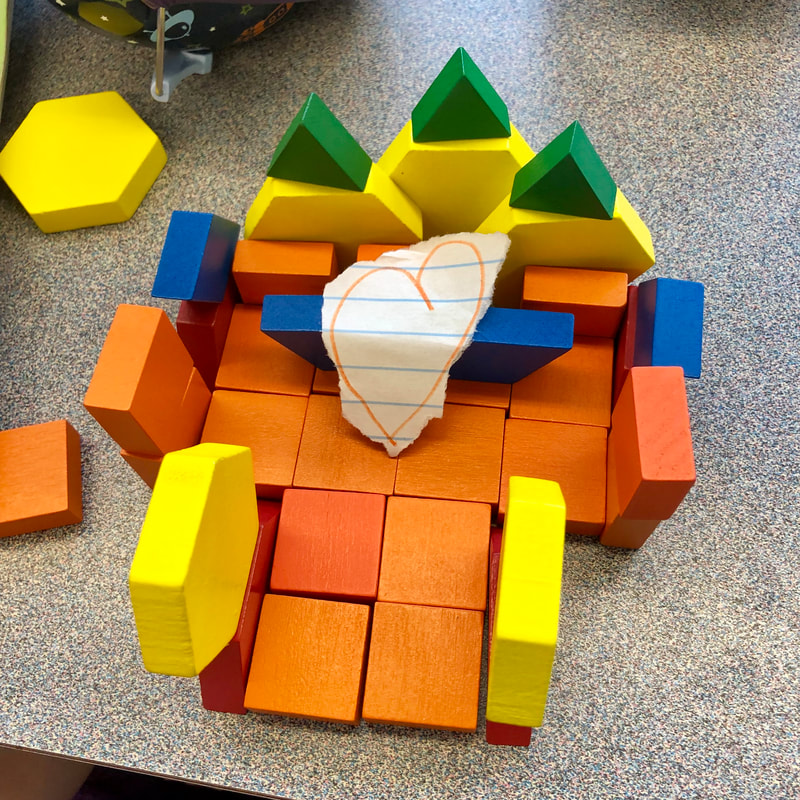
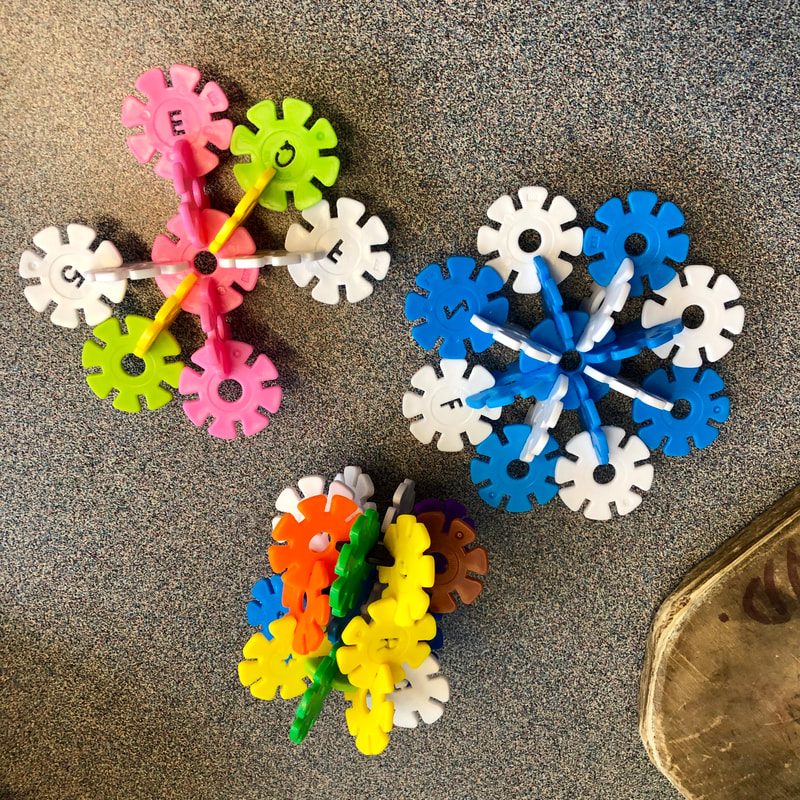
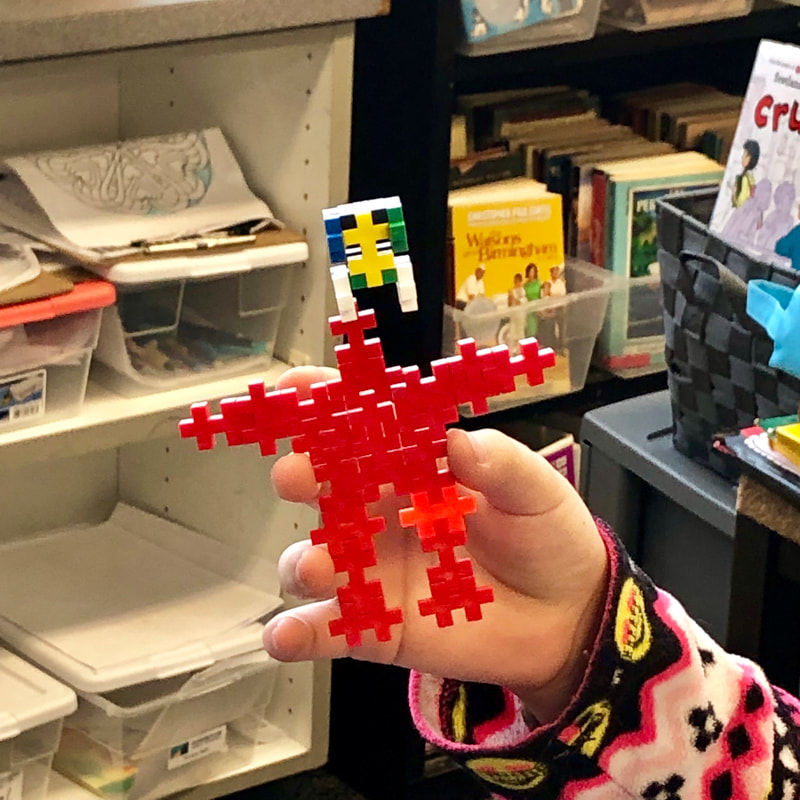
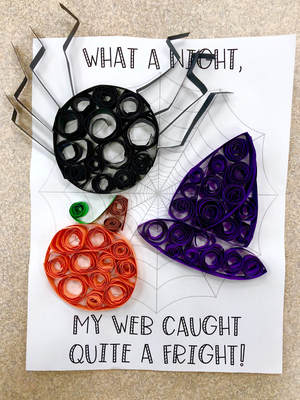
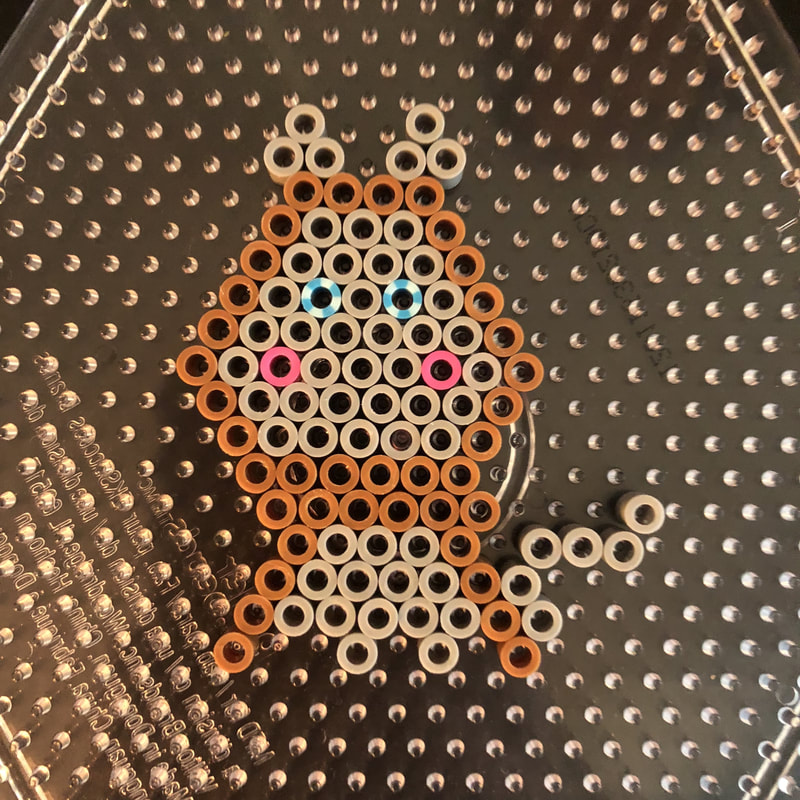
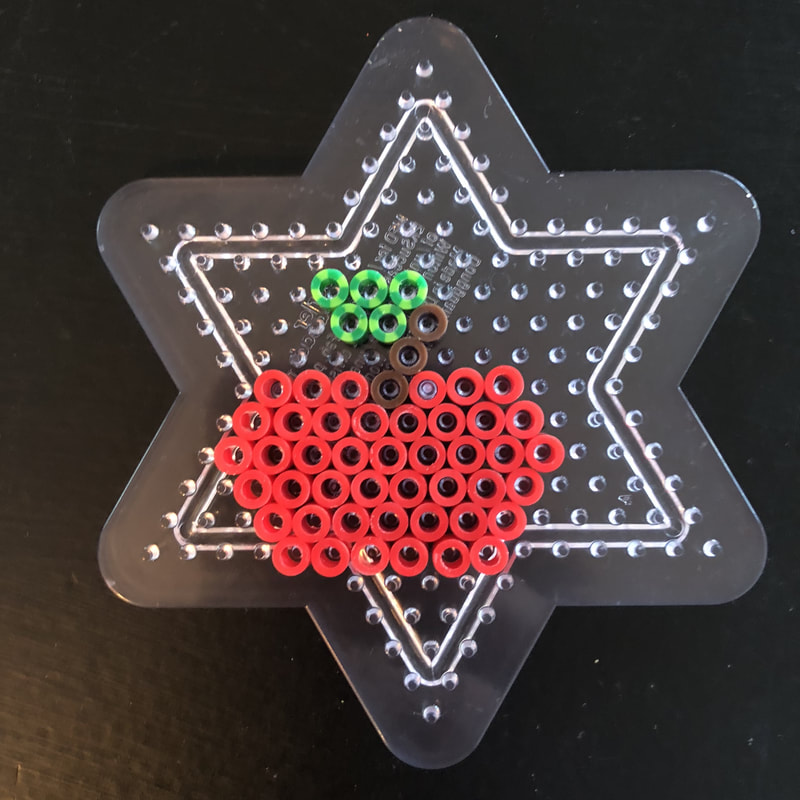
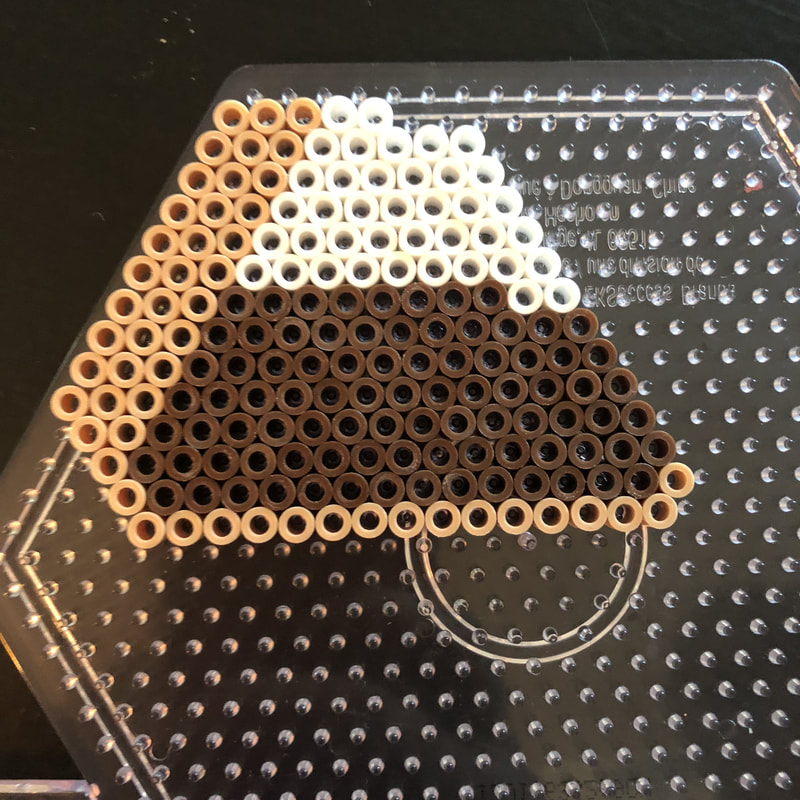
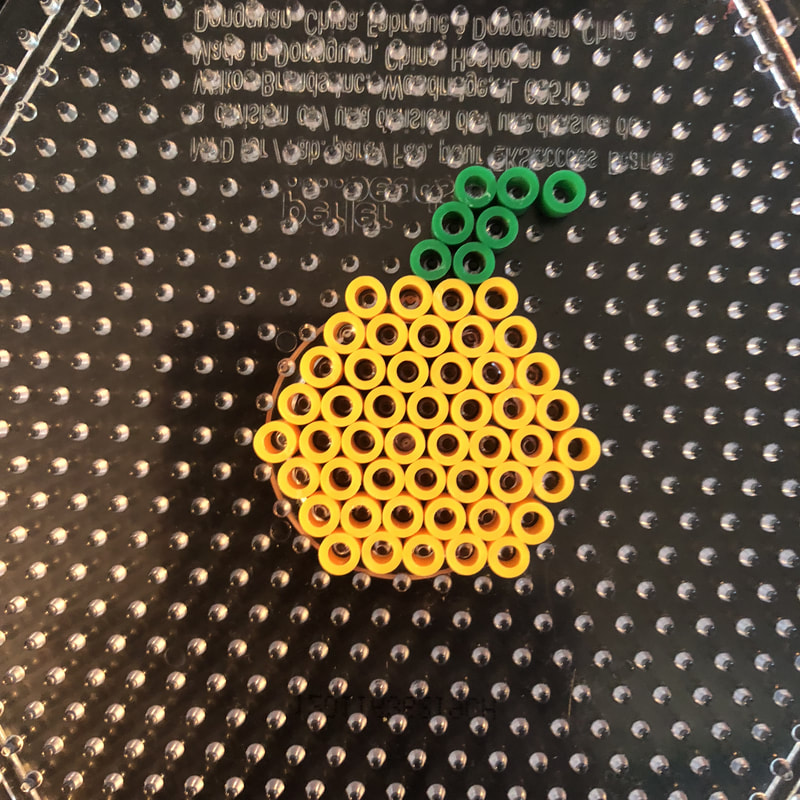
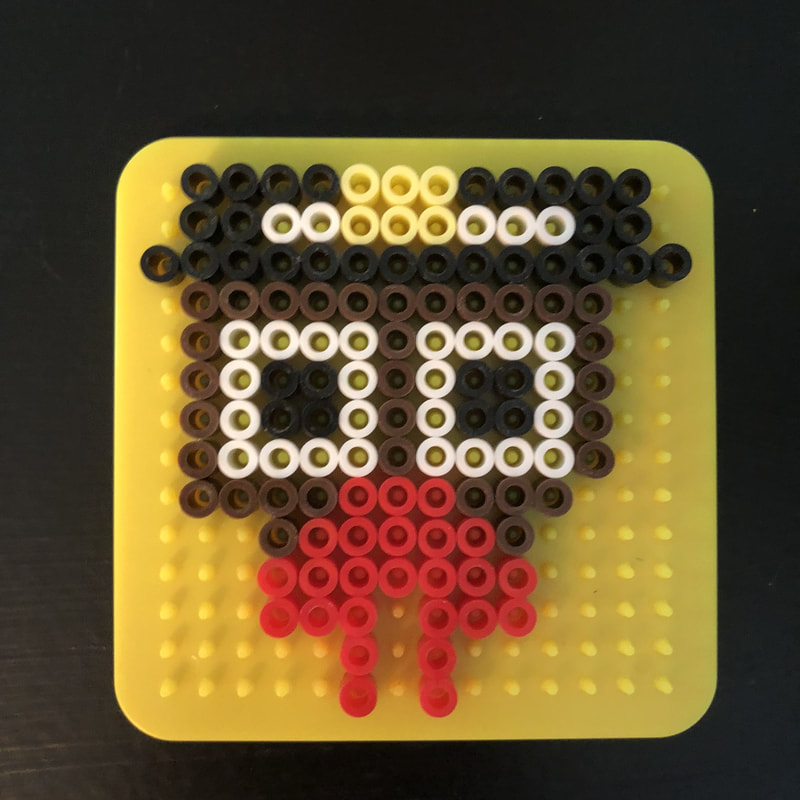
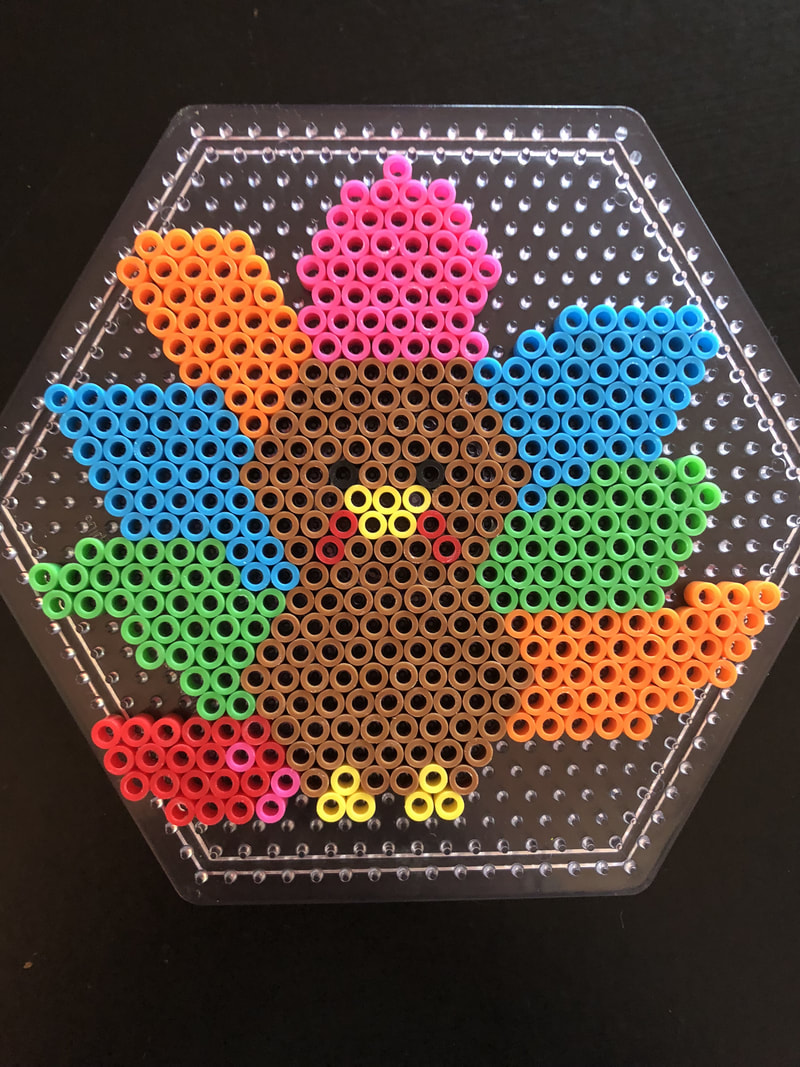
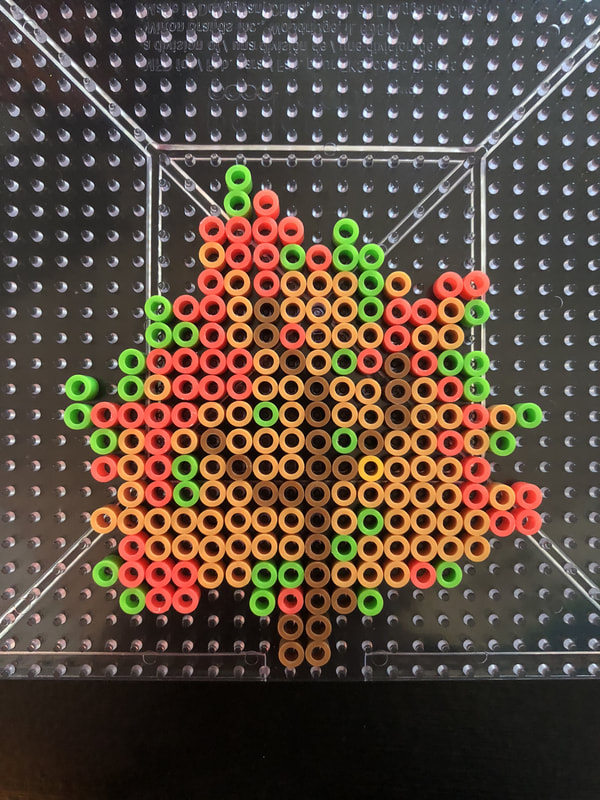
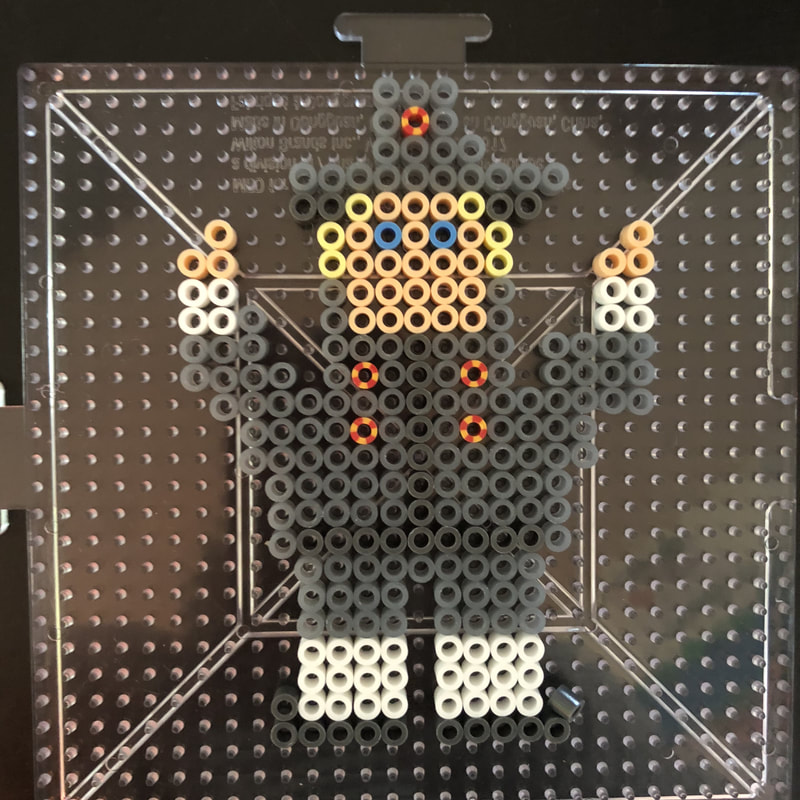
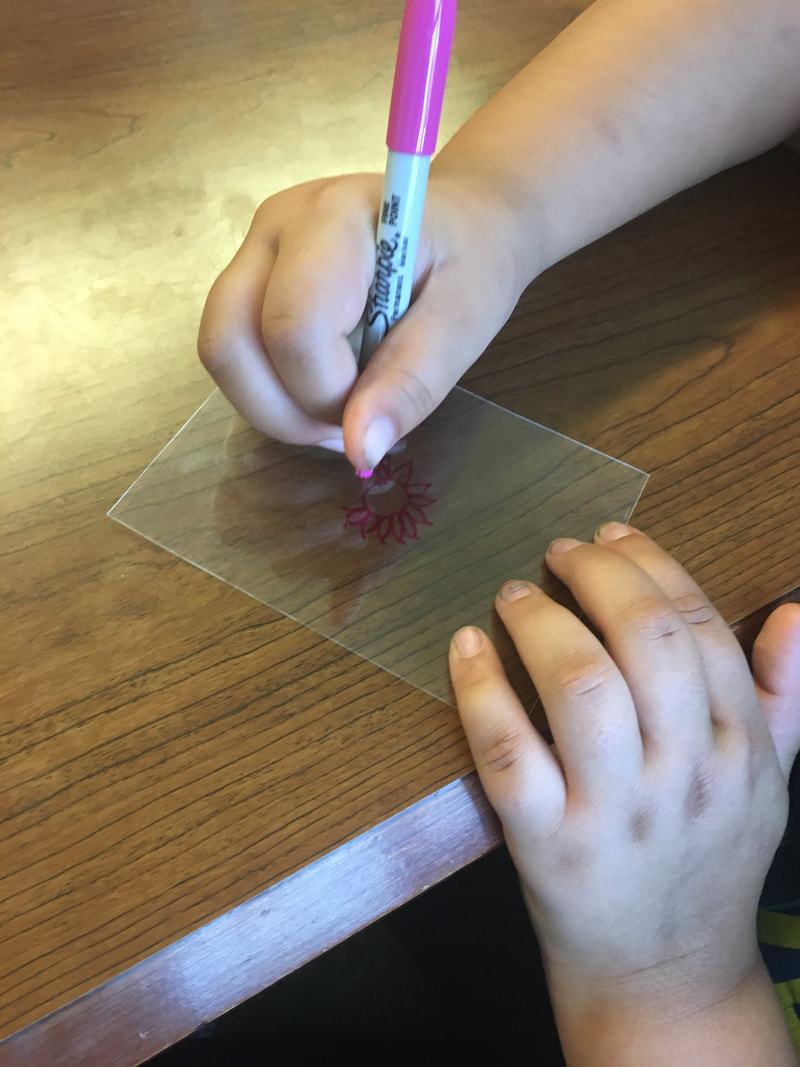
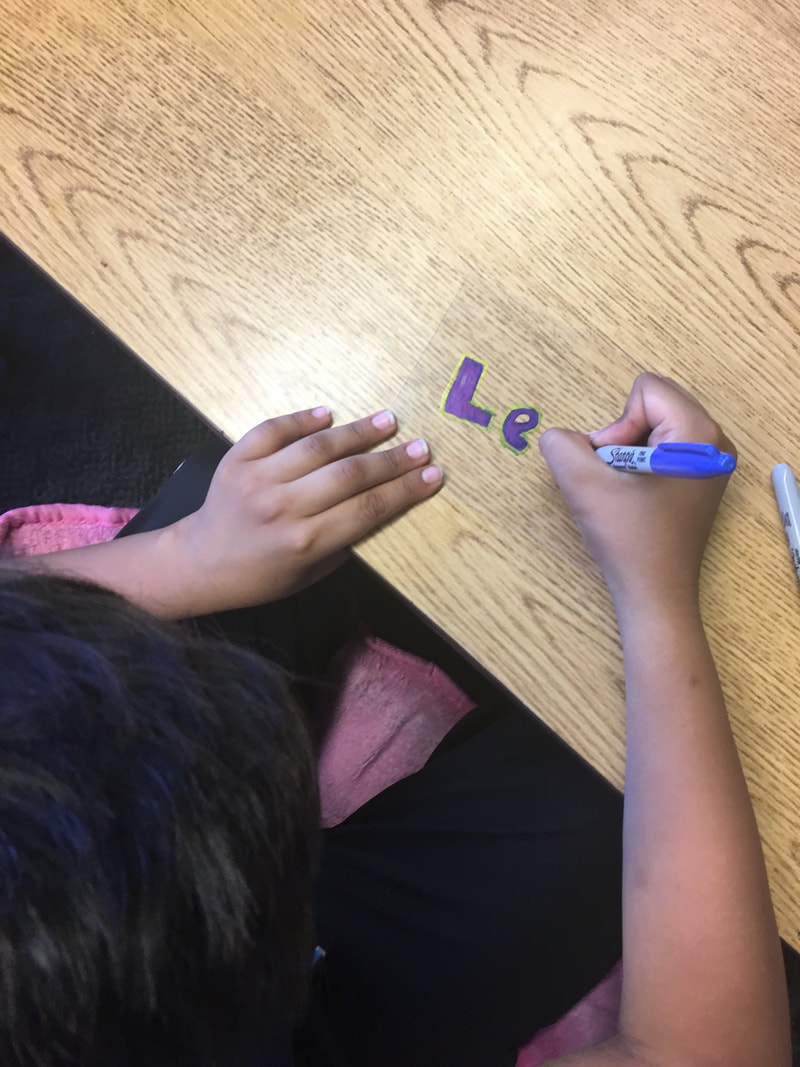
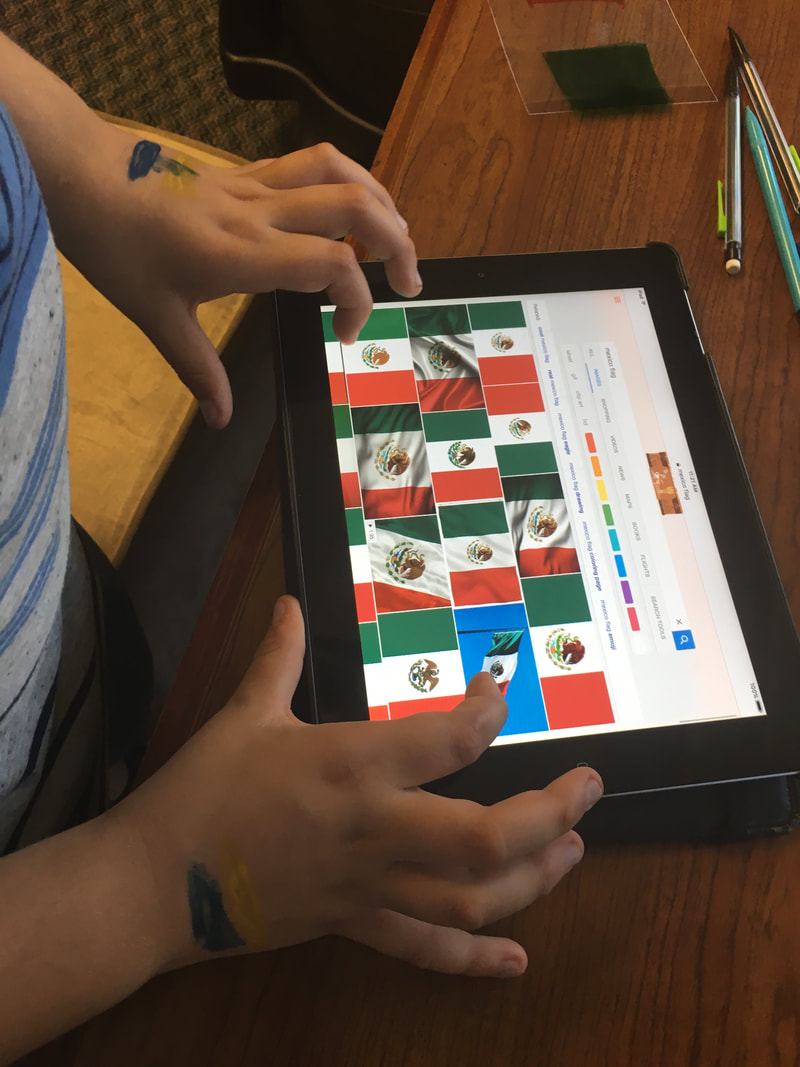
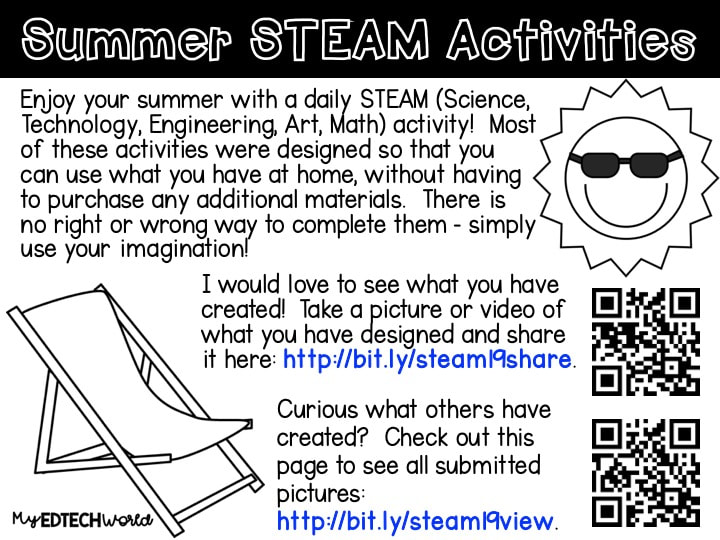
I would love to see what you have created this summer!  Use the button below to share images of your creations or links to any videos.  I often learn so much from students when doing activities and am constantly in awe of their creativity.  Feel free to share what you have created and be inspired by others!

Feel free to use the hashtag #SummerSTEAM19 too when sharing on social media!
Share Pictures of Your STEAM Creations!
Images will appear below after the form is submitted.  Please fill out the form for each individual day so that it can be shared in the gallery.  If you don't see the pictures, please wait a few seconds and refresh the page.
0 Comments

Finger Knitted Snakes

3/28/2019

0 Comments

 
Picture
Picture
During the week leading up to Spring Break, one of the 4th grade classes I regularly work with was doing a "Camp Read-A-Lot" learning experience for students.  She had lots of fun activities to celebrate Reading Month in an engaging way that centered around camping and being outdoors.  She previously had worked as a camp counselor and so at the end of her Camp Read-A-Lot she likes to incorporate some fun camp-type activities to give students depth to their camp learning experience.  She had previously created God's Eye weaving craft with her students, but wanted to incorporate some some options this year and asked if I wanted to help and share any camp-type craft.  You bet!

Picture
Recently a donation had been made to one of our schools and someone passed along some yarn to me as I do a lot of STEAM activities with students.  I hadn't found a use for it yet, but knew it would just be a matter of time - and this was the time!  The teacher mentioned something about friendship bracelets and knitting, but we knew we wouldn't have a ton of time for them to work on them.  I thought finger knitting would be a fun and easy for the students to be successful and learn some basic knitting skills.  I found the video below with an easy to follow tutorial for finger knitting snakes and thought it was the perfect knitting project to appeal to all students.  The only thing I did differently was I had them do 2-finger knitting for the length of the snake.  If we had more time to practice, I would have had them try increasing the stitches for the head, but it worked great even with the 2-finger knit.  And they were able to successfully complete their snakes (with tongues and eyes!) in the short time we had for camp crafts.

Picture
While I was working on the finger knitting on one side of the room, the classroom teacher was on the other side with a different group creating the God's eyes.  I have seen these before and wish I had been able to see the students working on them.  To make things go a little smoother for our allotted time frame, the teacher hot-glued the popsicle sticks in a cross shape and then took a piece of yarn and hot glued one end to the back of the cross.  This way students could easily (and safely) get started with weaving their projects.  They had a blast and created so many neat ones!

I wish I had a chance to take more pictures as the students were working on their crafts, but I was pretty busy with the groups doing the finger knitting.  It was great though because once one student got the hang of it, they started helping one another.  It was so awesome to watch them learn something new and challenging in a short period of time and then be able to help others problem solve.  Our students are the best!
0 Comments

Valentine's STEAM & Maker Fun

2/16/2019

0 Comments

 
As Valentine's Day was approaching, I was trying to select a fun STEAM activity that would really get students working together and communicating.  We have had so many snow days recently and I know it takes a bit of time to get back into a regular routine.  So, no time like the present to revisit how we work together to create!  As I was looking for inspiration, I stumbled upon (through someone sharing on Instagram) of Brooke Brown's Maker Mats, so I knew that I had an activity - a Valentine STEAM/Maker challenge!  I really liked her mats, but knew that it wasn't quite what I was looking for the activity.  So, I took the concept and created my own mat.  We had recently done something similar with our Winter Brick Building task cards, so I knew the students would be up for the challenge.
Picture
Download Mat Here
For this activity, I gave each group a bin containing one type of resource.  They had to use only that resource to create their objects - they could not mix with the resources from other groups.  I had two bins of Plus Plus blocks, two of Brain Flakes, and two of pattern blocks.  Some groups appreciate having a bin of one resource to use, while others share that they feel the challenge would be much easier of they had one of the other resources.  With both groups that I did this activity with, I made a point to share that it might seem easier with one of the other resources, but each resource has it's highs and lows for the challenge - some of the tasks are easier and some are harder and it is not the same for each resource.
Picture
Picture
Picture
For this challenge, I told the students they could work as a group at their table (no more than 4), or they could choose to work in two groups at their table.  The students have done really well when given this option because they know that they cannot work by themselves, but they have choice in how they work.  Most times they actually choose to work as a whole table!  After they had selected how they would work, the students could choose any square on the mat to begin their work.  I told them it didn't matter to me which one they chose or which order they went in, but they had to decide as a group and they had to have a teacher sign off before they moved on to the next square.  I was a little nervous with how they would work together after several weeks of snow days here and there, but they did really well and created some great things!
Picture
Picture
PictureThis snowman was AMAZING! The students completed his look with a banana on his head, because, well, why not?
I love when students share their stories behind their creations.  When I do activities like this with a class, I tell the students that they need to check in with a teacher before they can move on to the next building task.  This has really helped them with thinking through their designs and not just throwing something together to move on to something else.  Sometimes it is so hard to capture the thinking and demonstration that goes in their designs with just a picture.  They each bring their talents and ideas to the table to work with their peers to create something new and there is such a special dynamic when you watch it all play out and see an object that has a fantastic story behind it.  These STEAM and Maker opportunities may not always be tied directly to the curriculum content, but the creativity opportunity it provides opens news ways of thinking and working with others when the content comes in to play.  I have to say, I am very lucky to work with amazing teachers who provide students with these learning opportunities!

0 Comments

Halloween Paper Quilling

10/19/2018

0 Comments

 
Picture
Picture
This week when I picked my own kiddos up from school, one of their teachers shared with me some Halloween-themed paper quilling projects they were working on and I thought it was so cool!  The detail that the kids were putting in to their creations were awesome and despite the general design of them (pumpkins, witch hats, spiders, ghosts), they were all very different.  I knew this was a project I was going to have to share with my 4th grade friends!

The great thing about this project is that it takes minimal resources - just paper and glue!  The not-so-desirable part (for me at least), was cutting out 1/4 inch strips of different colored paper for at least 2 classes.  Talk about tedious - but totally worth it. 

Picture
Picture
I created a little background sheet so that if they were only able to complete a smaller object, they wouldn't feel as though their paper was missing something with a bunch of whitespace.  Plus, it is Halloween, so why not be a little extra, right? :)

The activity was pretty straight forward, which gave students the majority of the time to actually work on their quilling.  I asked them to make the outline of their objects first so that it would keep their wound up quills together and not unravel all over the place.  The kids really enjoyed this new way to use paper to create art and really allowed me to walk around and sit at tables and have conversations with students.  It is all about relationships and that is something I felt I needed to revisit and build upon a bit more.  

Background Paper

Student Work

0 Comments

Paper Circuit Christmas Cards

11/29/2017

0 Comments

 
Picture
Now that Thanksgiving has passed, my mind travels towards holiday themed activities.  Christmas is my favorite time of year (and luckily I LOVE snow and live in a place where we get a decent amount!) so I was ready to jump into some fun learning activities.
Picture
For this Quickfire, I worked with high school seniors to make paper circuit Christmas cards which we would give to our local senior center.  The students could decorate their card however they wanted, but they were to include at least 1 LED light that when pressure was applied to one point of the card, the light would light up.  I had a DonorsChoose project funded in which I received lithium batteries, copper conductive tape, LED lights, and cardstock paper.  The only other resources I needed were tape and coloring resources!
Picture
Picture
If you haven't heard or seen paper circuits before - they are so awesome!  Below is a short video (or you can view it here) for how to make a paper circuit card.
It was amazing how quiet the room was as the students were working.  Students who made cards in the morning came back at lunch to show their friends their cards.  Students who weren't even in the classes I was working with today wanted to come and make a card because they heard what we were making.  I think everyone had a blast working on these and the senior center was blown away by the cards and were so excited to decorate with them where people could interact with the cards.  What a fun way to use learning about circuitry to give back to the community!
Picture
Picture

Some Student-Created Cards

0 Comments

Thanksgiving Perler Bead Challenge

11/10/2017

0 Comments

 
Picture
I can't remember where I read it, but I read once on someone's blog that every Makerspace should have Perler beads.  So when I had to return a defective item from my Donorschoose project, I replaced it with various Perler bead items (peg boards, beads, iron, tweezers).  My daughter has been OBSESSED with these since about the age of 3, so I have ironed my fair share (and then some!) of bead creations. 

As my daughter is obsessed with these, she is usually scoping out the displays at craft stores and I help her look on Pinterest for seasonal designs.  As fall and Thanksgiving were approaching, she wanted to look for some designs for Thanksgiving in particular.  We were able to find some, but were surprised at how few user-created designs were shared on the popular social-sharing platform.  The lack of shared inspiration sparked an idea with me and I decided to bring the problem to my trusty 4th grade problem solvers.
Picture
I shared the story of how my daughter and I looked for Thanksgiving Perler bead designs and were not able to find very many.  I asked them to complete the sheet on the right before I came to their classroom the next week.  When I came to the classroom for our regular weekly Maker/STEM time, the teacher shared with me that this actually was harder for them than either of us had anticipated.  Many of the students had not heard of these kind of fuse bead designs, had a hard time wrapping their heads around how the beads could be used to create pixel art, and then actually transferring design ideas to the peg boards.  Those who needed some help and inspiration could grab a Chromebook and do some research and look up designs.  Those who knew what they wanted to do could get started right away.  After the first couple of kiddos started building, the rest followed quickly!
Picture
Challenge Sheet
As any well prepared educator, I forgot something <insert face palm>.  I had prepared some designs to share with them in case they had some designers block, but conveniently left them on my desk.  As it turns out, they didn't need them, but I thought I would share them here anyways!
Thanksgiving Perler Bead Designs

Thanksgiving Designs

Below are some of my favorite Thanksgiving designs that students created.  They had so much fun and couldn't wait to create another design after their first was ironed!
Picture
Picture
Picture
Picture
Picture
Picture
Picture
Picture
Picture

Other Designs

These were some of the other designs that students created.  I told everyone that their designs were so amazing, that I had to get a picture of each so that I could share them with others!
What was surprising to me was how quiet the room was when they were working on their designs.  Each of them had something to work on, but they were able to quietly chat with their neighbors and still keep on task.  It was amazing how focused some of the students were while working!  Some removed themselves from the larger tables and worked by themselves an others gathered at a table and shared their containers of beads.  Either way, it was a win!
0 Comments

Quickfire: Personal Expression with Shrinky Dinks

9/22/2017

0 Comments

 
Picture
I am not sure if this would technically be a Quickfire or more of a STEAM/Maker activity, but I am going to call it a Quickfire (we gave students a task, limited time frame, and limited resources, so I that is why I am calling it that!).

This week is Homecoming Week in my district as well as having 90*(+) and humid days (in schools without air conditioning in classrooms), which can make everything a bit challenging.  But that doesn't mean the fun (I mean learning!) stops!  In my weekly adventure with a 4th grade classroom, we decided to have a more laid back day and gave the students the opportunity to create a shrinky dink of their choice.  We did not give them a theme other that it could be whatever they want as long as it was meaningful to them.  This was a great activity because it allowed individuals to express themselves however they want and turn their creation into whatever they wanted.  It also provided a product that they could take home and be proud of with a story to share as to why they created what they did.
Picture
The materials needed for this Quickfire are pretty simple - Sharpie markers, shrink film, and a toaster oven.  I pre-cut the 8.5x11 film sheets into quarters so that the students would know that their design couldn't be any larger than that size (if they wanted it shrunk, that is!).
Picture
Picture
As I was gathering materials at the beginning of the day, I decided to grab some yarn, beads, and hole punchers as well.  Who knows what they might decide to make after all, right?
Picture
The idea of shrinky dinks is something that many students have not heard of (can I get a high five for all the teachers who grew up making these!), so I figured I would create something and share a personal story about why I like shrinky dinks.  Being personal with students opens up opportunities to build relationships, trust, and respect and I think it is fascinating to them to hear that teachers actually have lives outside of school.  I shared about how my daughter is about their age and how she loves the Descendants movies.  So I decided to make her a bookmark using some shrinky dinks as charms.
Picture
The students were so excited to do something they have never done before, but they also had a lot of questions!  We tried to keep our answers simple so they would not only have as much time as possible to create, but that we would not come across as limiting or leading in our answers.  They were eager to get to work and after about a minute of quiet, personal think time, they were off and creating!
Picture
Picture
Picture
Many kids wanted to replicate something that was meaningful to them, so some traced images on book covers and others even got a classroom iPad out to search for images.  Something that was unexpected to me was I noticed a student had got an iPad out and was trying to search for images of the Mexican flag.  He was becoming a little frustrated as he was doing a basic Google search and was only getting a preview of about 4 images of the flag and he wanted to see more.  I shared a quick little tip with him of clicking on the "Images" tab and how it would only show image results.  He was so excited because it made it much easier for him to look at images.  What started out as a creative activity led to an opportunity to share a tip that will make online research easier for him!
Picture
I was busy running the toast oven and showing the kids how their film creations transformed due to the heat of the toaster oven, so I didn't get that many pictures of their final creations.  As soon as I let them take them from the cooling station, they were off and building upon the shrinky dink base.  I saw many necklaces, bracelets, keychains, and designs such as cats and sporting equipment that could be used for general play.  At the end, they did exactly as I asked - created something that was meaningful to them.  Each student had a story to tell as to why they created what they did and they were also incredibly proud!
0 Comments

Quickfire: Ready, Set, Catapult!

9/12/2017

0 Comments

 
Picture
As I am working with teachers and implementing Quick​fires, it has got me thinking more and more about how many teachers have been doing Quickfires without really thinking about it.  Often times we provide learning opportunities for students that incorporates a set of materials as well as constraints.  I think the biggest constraint with the Quickfires is time.  I am pretty sure if we gave students all day to work on building or designing something with the expected outcome that they would have a product to share, they would do it.  I think the time aspect might be one of the things that I love about Quickfires - the time puts pressure on to create an outcome, and the outcomes get better with practice.

I think this would definitely be true of the activity I did with 4th graders today - building catapults.  I found the activity through the Strawbees app (and also online), and thought that it would be perfect for the 4th grade class that I will be working with throughout the year.  A couple of weeks ago, they did a spaghetti challenge where they were given 20 spaghetti noodles, 1 yard of tape, and 1 marshmallow.  They had to build the tallest free-standing structure that had a marshmallow at the top.  The teacher and her student teacher said the kids had a blast with it, so I was even more excited for the catapult challenge.
Picture

Ready, Set, Catapult!

For this activity, they used the materials below (screenshot from the Strawbees app!).  The only changes that we made were that I prepared the bags of materials for groups ahead of time with the materials pre-cut (to save time) and we allowed them to use masking tape (not realizing when I purchased the straws that they were a little larger than a standard straw, so tape was needed to hold the Strawbees connectors inside the straws).  I love hoarding materials that can be used for making things, so I have been collecting plastic milk gallon containers for several months and then used the Strawbees die cuts from my local ISD to make the connectors - a pretty cost-effective activity to do with students!  I created the catapult from the Strawbees app to see how the process would go and then created the targets that students could use to test their catapults.
Picture
Picture
Picture
Picture
Picture

HOW MIGHT WE engineer functional catapults to complete tasks?

Goals:
  • Construct a working with limited resources catapult
  • Employ engineering and design concepts
  • Experiment and test throughout the design process
When introducing the activity, I intentionally did not show them the one I built or even a picture of a catapult.  As a class, we talked about what a catapult was and what it could do, but let the imaginations go from there.  About halfway through, the teacher stopped to show a short clarifying video of a catapult as there were several conversations that were overheard about catapults and slingshots.  The students stopped, watched, and then went back to modifying their catapults without missing a beat!

It was so fascinating to watch the students build their catapults, but was even more fascinating was the conversations that could be overheard as they were working.  One group had 1 girl and 2 boys, and at one point, the girl in the group commented to the teacher that this was the first time she had worked in a group with boys where they actually listened to her thoughts and let her show ideas she had. <Insert teacher heart melting here!>  The teacher also noticed for the second week in a row (during our activity) that a student who has had some difficulties connecting with other students was able to work successfully with the others in the group and the group respected him as a part of the team.  <Again, insert teacher heart melting here!>

At the end of the activity, we had the students gather together on the floor and we gave them the opportunity to launch their (eye)balls at the Mountain Climber target.  We gave each group 2 attempts and marked each one with masking tape to show their accomplishments.  Well, except for 1 group whose ball launched further than the target - HUGE congrats to them because I personally shot mine backwards more often than forwards!

Although we gave them a bag of resources to use, it was so fascinating to see that every catapult/slingshot was different.  Those kiddos worked hard and you could tell from their involvement and conversation that they enjoyed it!
Ready, Set, Catapult! Lesson Plan
0 Comments

Quickfire: Sidewalk Selfie

8/21/2017

0 Comments

 
Picture
Last year I was introduced to the concept of Quickfires by Mary Wever and the MAET program at Michigan State University.  It seemed like a great way to engage students with new tools, ideas, and concepts - I was hooked!

A Quickfire is a challenge that is presented to an students that has constraints and a time frame (think about the TV show Top Chef!).  These activities are meant to be a time to learn new tools and push student thinking. Therefore, students should feel comfortable trying out a new tool rather than going with the same old tool they may be really good at already. As part of the Quickfire process, teachers should NOT take a grade on these activities - they should encourage students to think outside the box and be quick about their thinking. The Quickfire activities that I created to do with teachers are rooted in the design thinking process and were intended to be completed within 45-60 minutes (roughly 1 class period).  Each time, students will produce a product (although some may not consider their products as “complete” and that is completely acceptable - the purpose is to begin designing a solution to something that you had not previously conceived of before).

As part of my approach to implementing Quickfires, I created a leveled chart that show how the students are connecting to the project.  This helps me to see where we are in our scaffolding process and ways we can push our students to think outside of themselves.
Picture

Sidewalk Selfie

For the first Quickfire of the school year, I worked with a 12th grade ELA teacher.  She and I started planning last year focusing in on skills that would benefit students for their culminating Senior Capstone project.  Our goal was to scaffold the Quickfire projects throughout the year and make the activities fun, while the students are learning through collaboration, communication, content, critical thinking, creative innovation, and building confidence (as this aligns to our district's 6C Learner Profile).

HOW MIGHT WE promote school spirit among the student population?

Goals:
  • Students will be introduced to the concept of Quickfires
  • Promote school spirit through visual displays
  • Encourage a welcoming community for our new superintendent
So, for our first Quickfire, we started simple and fun with a Quickfire I designed called, "Sidewalk Selfie" (a level 2 Quickfire).  We started the lesson out by giving the students a brief overview what what a Quickfire was and how we were going to be using them throughout the year.  We asked them what it meant to be a student at our high school or what were things that represent our high school.  After some individual brainstorming, we then shared what we were going to be creating and then separated them into small groups.  Together, they shared their individual ideas and then came to a collective idea for what their selfie station was going to look like.  After heading outside and letting them create for a while, we asked them to do a gallery walk of the other stations and fill out the "Design Thinking Prototype Feedback Form", providing other groups with feedback before completing their designs.  Groups then had a chance to refine their designs before students were able to walk around taking selfies at the stations.  We had students email their pictures to a Lensmob email address so that we could easily collect pictures and be able to view and share them.  The pictures were shared with our new superintendent as welcome and sharing a student-view of what it means to be a student at our high school.

(Side Note: When I set this up, Lensmob was working properly.  Today when we went to send the pictures, it appears that Lensmob might be having a glitch or no longer supported.  Next time I think I will use the 'File Upload' feature of Google Forms for submitting pictures.)
Sidewalk Selfie Lesson Plan
In the end, what did we accomplish?
  1. A sense of belonging to community through collaboration, communication, and creative innovation.
  2. A sense of confidence in creating something that is on public display.
  3. Experienced a new resource.
  4. A sense of understanding of what it means to be a student at our high school and how to build school spirit (the "why" of this Quickfire).
  5. Welcomed our new superintendent to the district!
0 Comments
    My Amazon Wish List
    My DonorsChoose

    Follow Me

     Subscribe in a reader

    Would you like e-mail notifications?  Enter your e-mail address below to subscribe.

    Enter your email address:


    Categories

    All
    100th Day
    10 Minute Tech Tools
    1:1 Program
    2012 Edtechcheer
    21stcenturylearning
    3D Pens
    3D Printing
    6C Learner Profile
    Activators
    Aliens
    Alphabet Practice
    Angles
    App Review
    Arduino
    Army Men
    Assessments
    Augmented Reality
    Beads
    Book Spin
    Botley
    Brain Flakes
    Breakout EDU
    Bridge Builders
    Button Making
    Careers
    Cars
    Chalk
    Chopsticks
    Christmas
    Cinco De Mayo
    Circuitry
    Clear/Neon Building Bricks
    Clothespins
    Coding
    Coffee Filters
    Comics
    Computational Thinking
    Conductive Play-Dough
    Conferences
    Crack The Code
    Creation Cubes
    Creative Writing
    Culturally Responsive Teaching
    Dash
    Debate
    Design Thinking
    Dia De Los Muertos
    Dice
    Digital Citizenship
    Dot Day
    Earth Day
    Easter
    EdTech Cheer
    Edtech Cheer 2013
    EdTech Cheer 2014
    EdTech Cheer 2015
    Egged On
    Election
    Engagement
    Fall
    Fire Safety
    Fireup
    Flockmen
    Forces
    Four In A Row
    Glow Day
    Glow Games
    Glowie Mats
    Glow STEAM
    Glps Tech Blog
    Godfrey-Lee
    Googledocs
    Google Sites
    Graphic Recording
    Groundhog Day
    Guest Speaker
    Guided Practice
    Halloween
    Hour Of Code
    House Builders
    Imaginative Play
    Improv
    Index Cards
    Instructional Strategies
    Ipad
    ISTE
    KEVA Planks
    Knitting
    LearningLandscapesEDU
    Lego
    Legos
    Lesson Plans
    Lesson Preparation
    Listening Center
    Literacy
    LittleBits
    Lunch & Learn
    MACUL
    Macul11
    Macul12
    Macul13
    Mad Libs
    Magic Nuudles
    Magna Tiles
    Magnets
    Magnet Tiles
    Maker
    Maker Mat
    Marbles
    Math
    Memory
    Micro:bit
    Mini Erasers
    Mini-Erasers
    Monthly Integration Idea
    Multiplication
    National Unplugged Play Day
    Optical Illusion
    Outdoor Learning
    Ozobots
    Paper Circuits
    Paper Craft
    Paper Quilling
    Paper Rolls
    Passion Project
    Pattern Blocks
    PBIS
    Perler Beads
    Physical Education
    Pipe Cleaner Circuits
    Pipe Cleaners
    Pipettes
    Pix Brix
    Pixel Art
    Plastic Cups
    Plus Plus
    Podstock
    Pom Poms
    Popsicle Sticks
    Potato Head
    Powerpoint
    Power Tiles Circuits
    Professional Development
    QR Codes
    Qubits
    Quickfires
    Reading Month
    Rebelnet
    Rebelu
    Rebel U 2018
    Robotics
    Room Transformation
    School Spirit
    Senior Capstone
    Sewing
    Shrinky Dinks
    SIOP
    Sketchnotes
    Slinky Dog
    Sloths
    Snap Circuits
    Snowflakes
    Spanish
    Spanish Market
    Spelling
    Spiders
    Sports
    Spring
    Stamps
    Star Wars
    STEAM Night
    STEM/STEAM
    Stoneware
    Storybook STEAM
    Story On A Stick
    St. Patrick's Day
    Strawbees
    Straw Builders
    Straws
    STREAM
    Student Engagement Games
    Student Portfolios
    Sum Blox
    Summarizers
    Summer
    Task Cards
    Teacher Website
    Techintegration
    Tech Integration
    Thanksgiving
    Thaumatropes
    Thematic Learning
    Tinker Toys
    Toy Story STEAM Mania
    Unplugged Coding
    Valentine's Day
    Vehicle Builders
    Videostreaming
    Water Activity
    Wikki Stix
    Winter
    Winter Olympics
    Wooden Blocks
    Wooden Planks
    Yarn
    Zentangles


    Archives

    December 2019
    November 2019
    October 2019
    September 2019
    August 2019
    May 2019
    April 2019
    March 2019
    February 2019
    January 2019
    December 2018
    November 2018
    October 2018
    September 2018
    August 2018
    June 2018
    May 2018
    April 2018
    March 2018
    February 2018
    January 2018
    December 2017
    November 2017
    October 2017
    September 2017
    August 2017
    March 2017
    September 2016
    July 2016
    April 2016
    March 2016
    February 2016
    January 2016
    December 2015
    November 2015
    October 2015
    September 2015
    April 2015
    February 2015
    January 2015
    November 2014
    October 2014
    September 2014
    March 2014
    January 2014
    December 2013
    November 2013
    October 2013
    September 2013
    May 2013
    April 2013
    March 2013
    February 2013
    January 2013
    December 2012
    November 2012
    October 2012
    September 2012
    March 2012
    December 2011
    November 2011
    October 2011
    July 2011
    June 2011
    April 2011
    March 2011
    January 2011
    December 2010
    November 2010
    October 2010
    September 2010
    March 2010
    December 2009
    November 2009
    October 2009

Powered by Create your own unique website with customizable templates.