After spending some time in Scratch recently while working on some projects, I realized that having digital pop its could offer endless possibilities beyond use as a fidget. If using physical Pop Its, teachers could write numbers or letters on the bubbles (and some come with them on them already), but it can become costly to have enough for stations or a whole class. Not to mention having to clean, erase numbers/letters, and rewriting characters for the next activity. So why not have digital versions on hand, ready to use at any time?
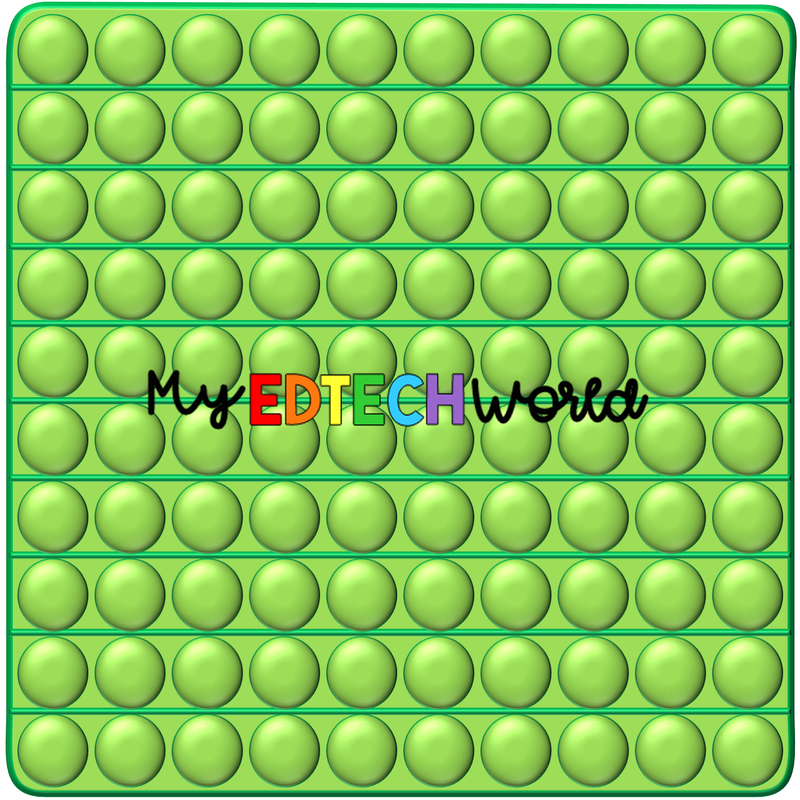
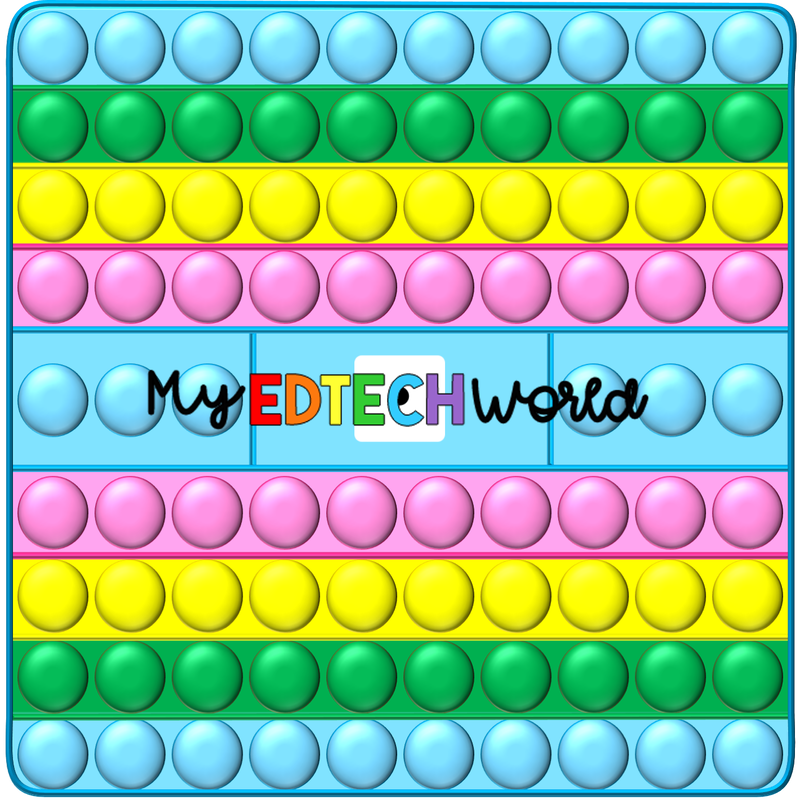
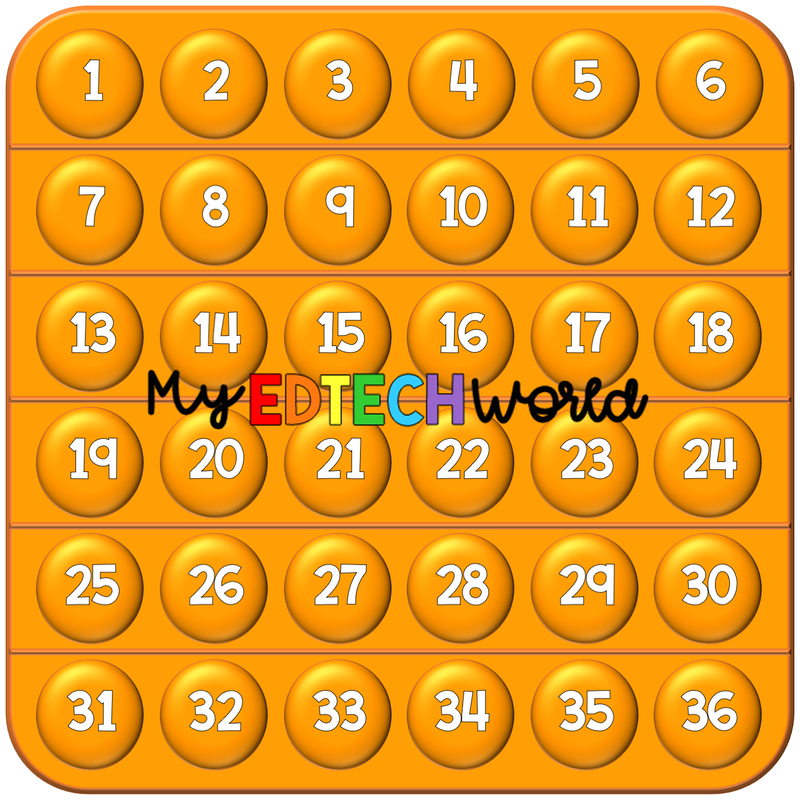
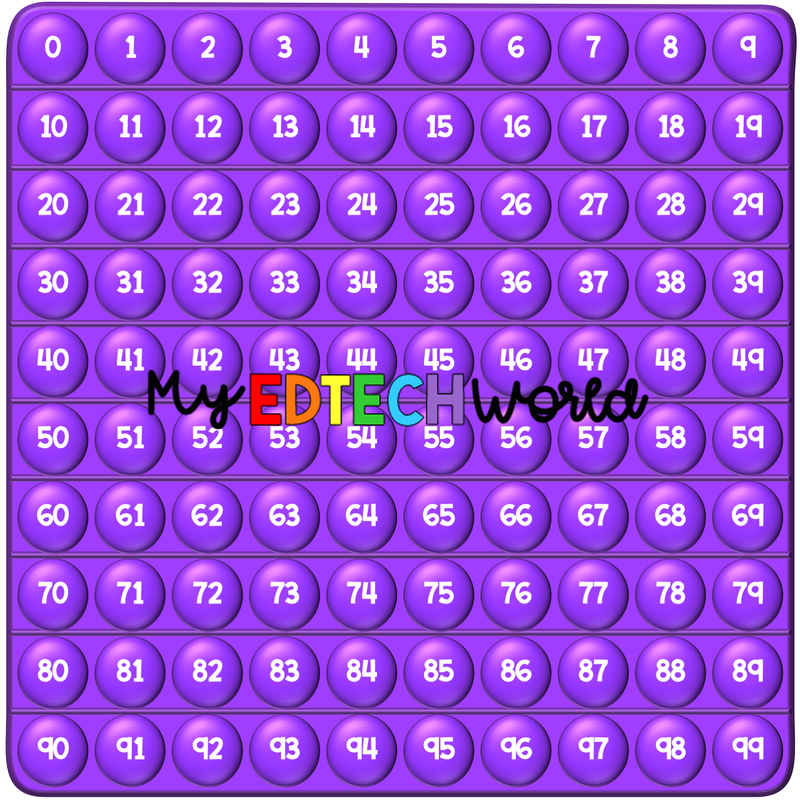
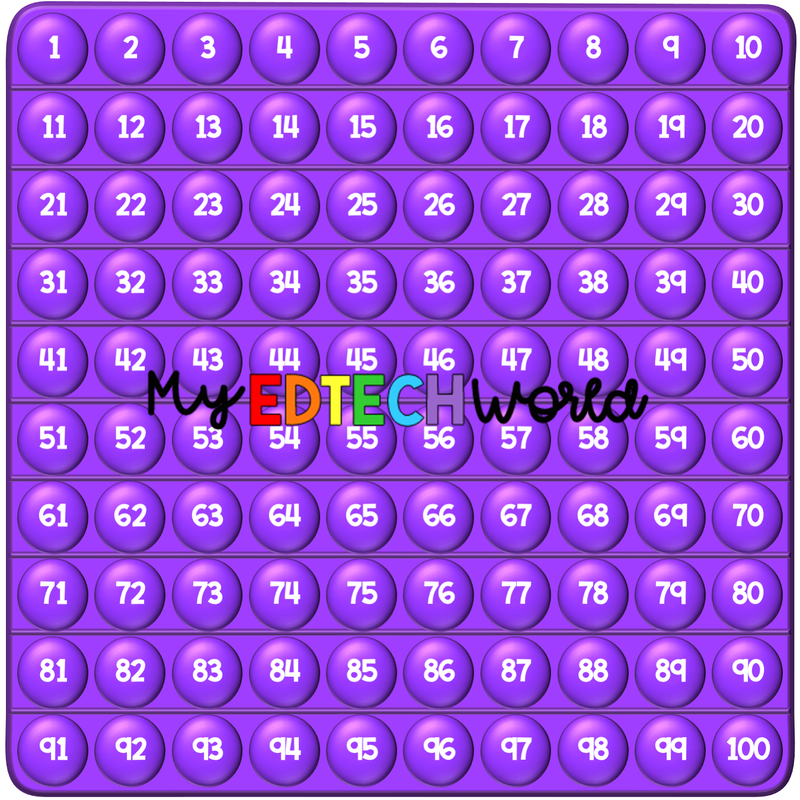
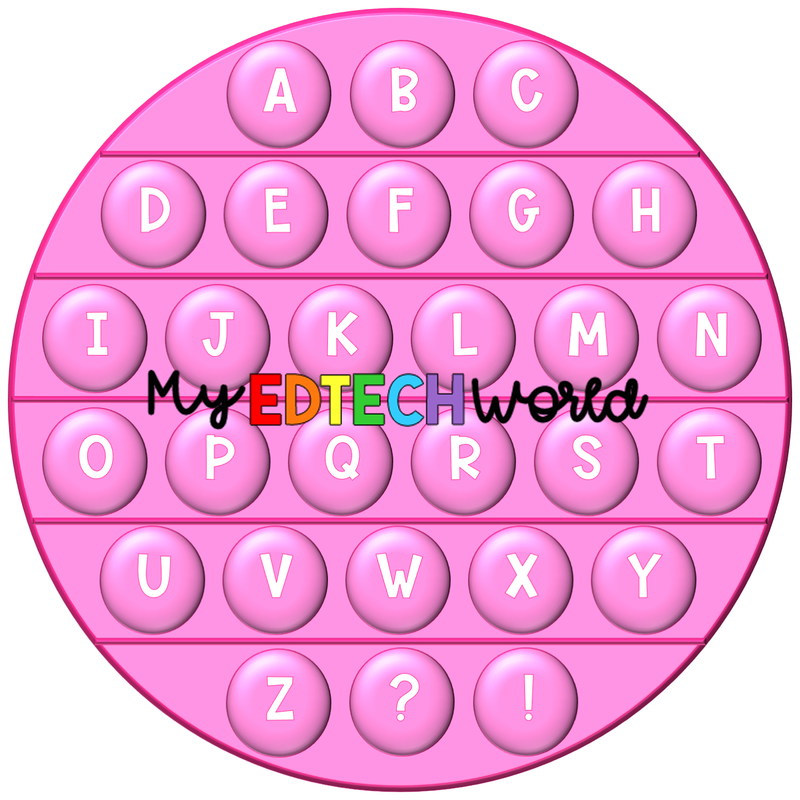
I created some basic (plain) versions of the Pop Its as well as some with numbers and letters. Being honest, if I never create a 10x10 digital pop it again, it is totally ok with me! Just kidding, I would, but it sure was a lot of work! ;)
I created some basic (plain) versions of the Pop Its as well as some with numbers and letters. Being honest, if I never create a 10x10 digital pop it again, it is totally ok with me! Just kidding, I would, but it sure was a lot of work! ;)
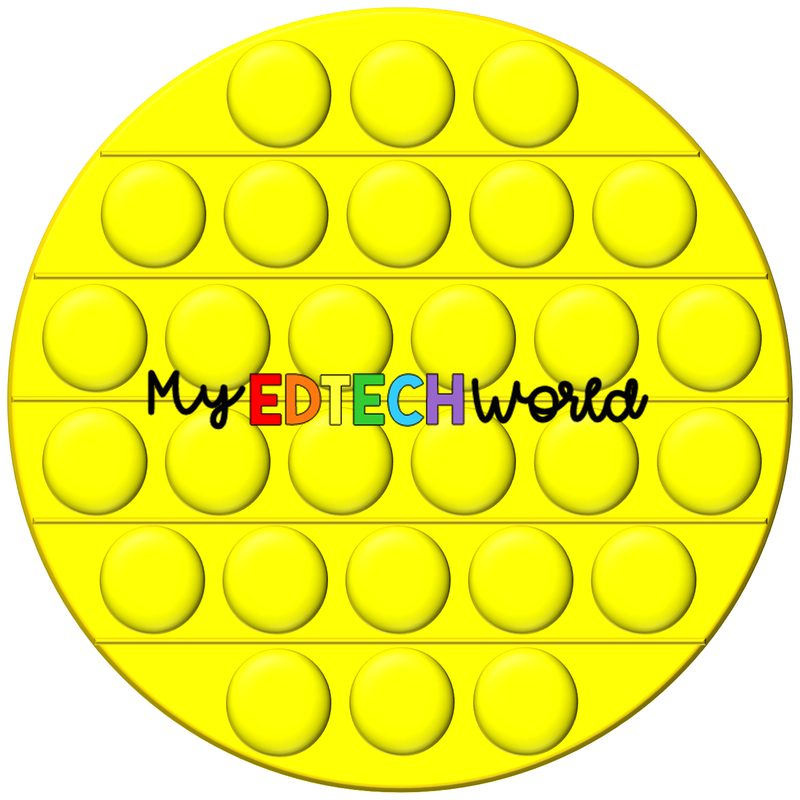
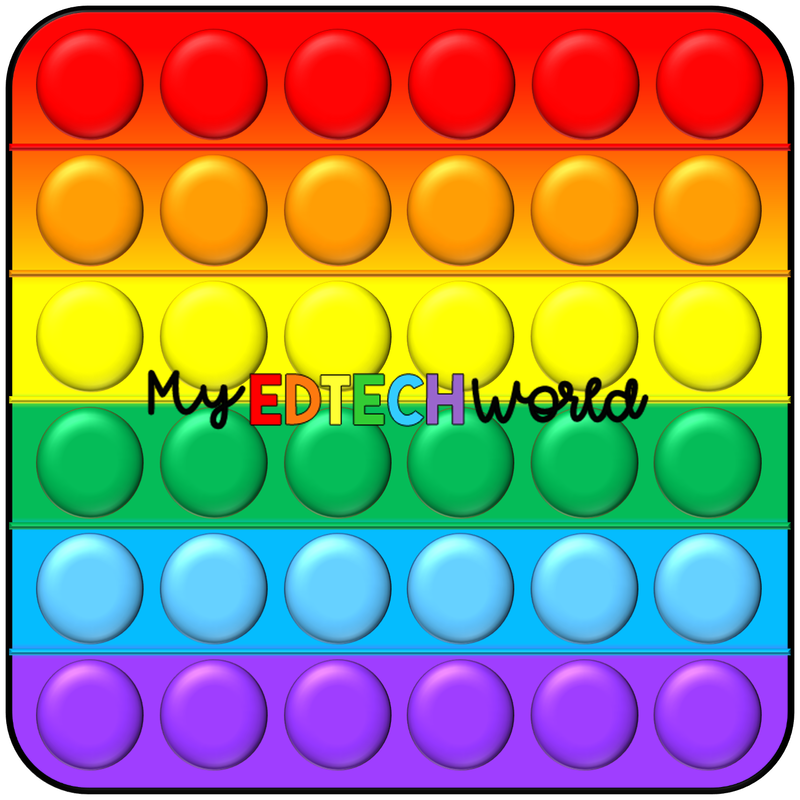
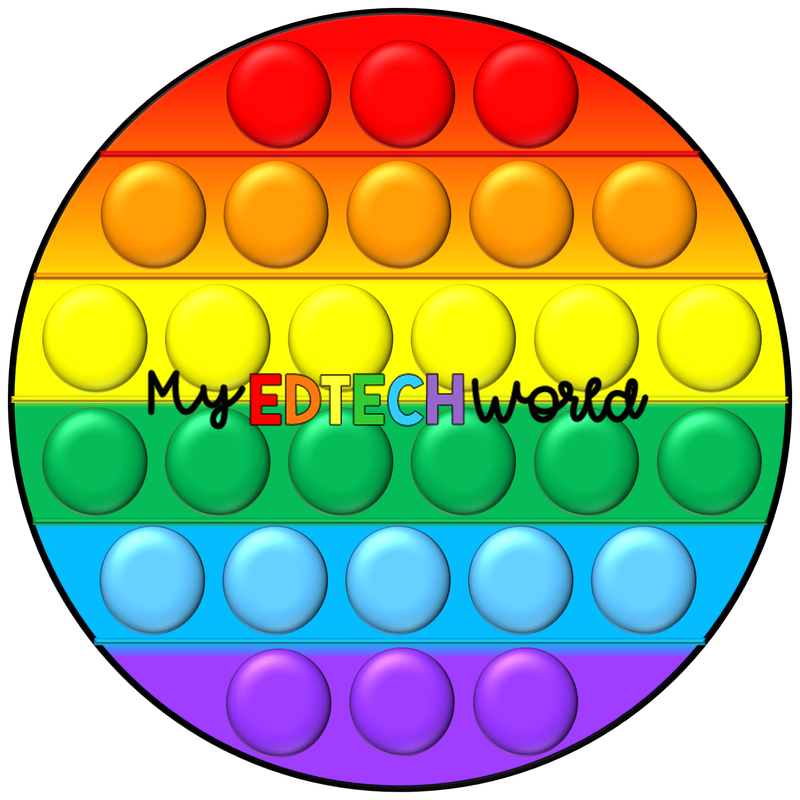
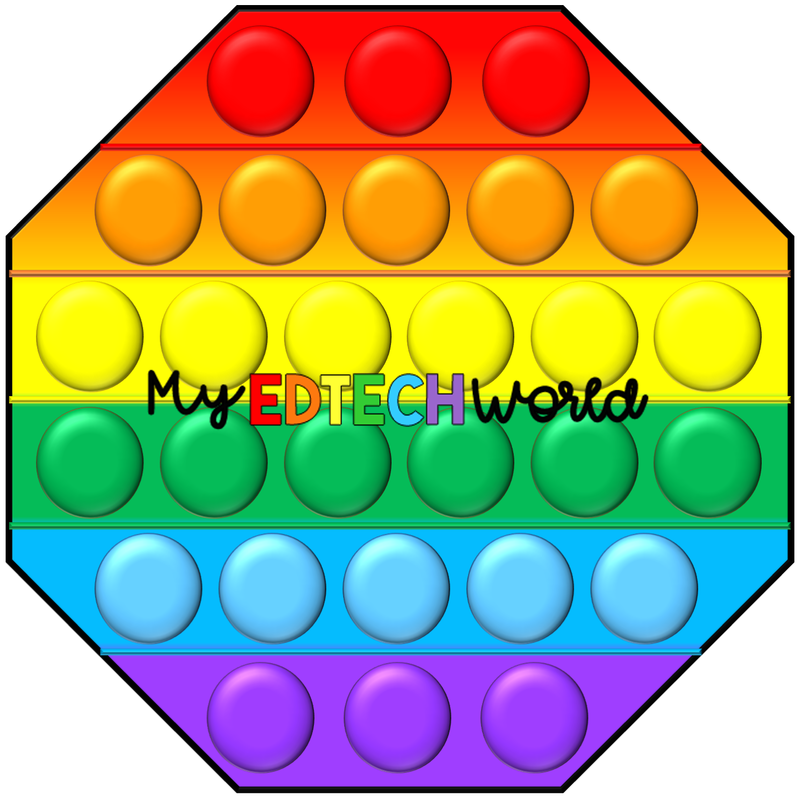
Basic Pop Its
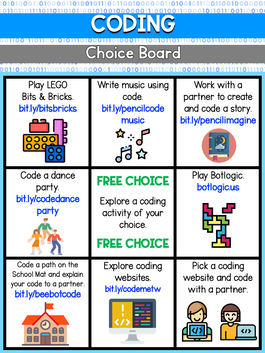
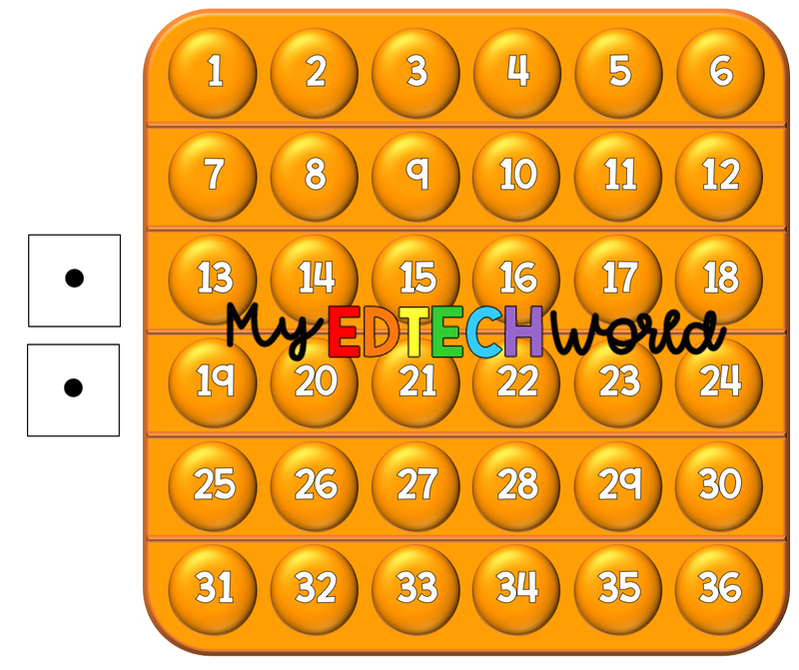
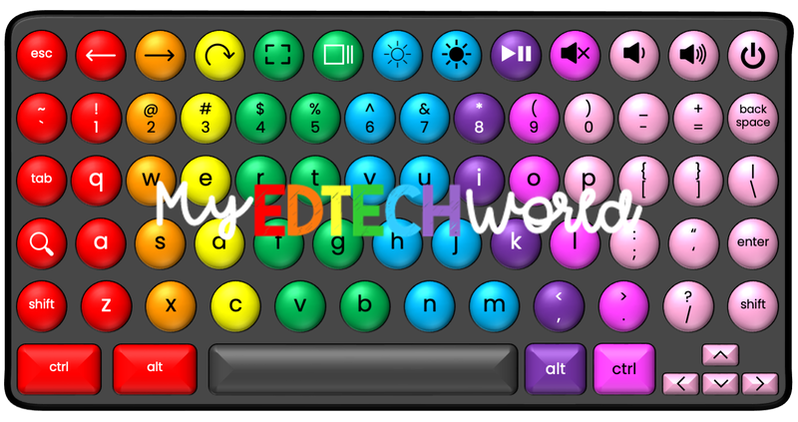
Games
Math Pop Its
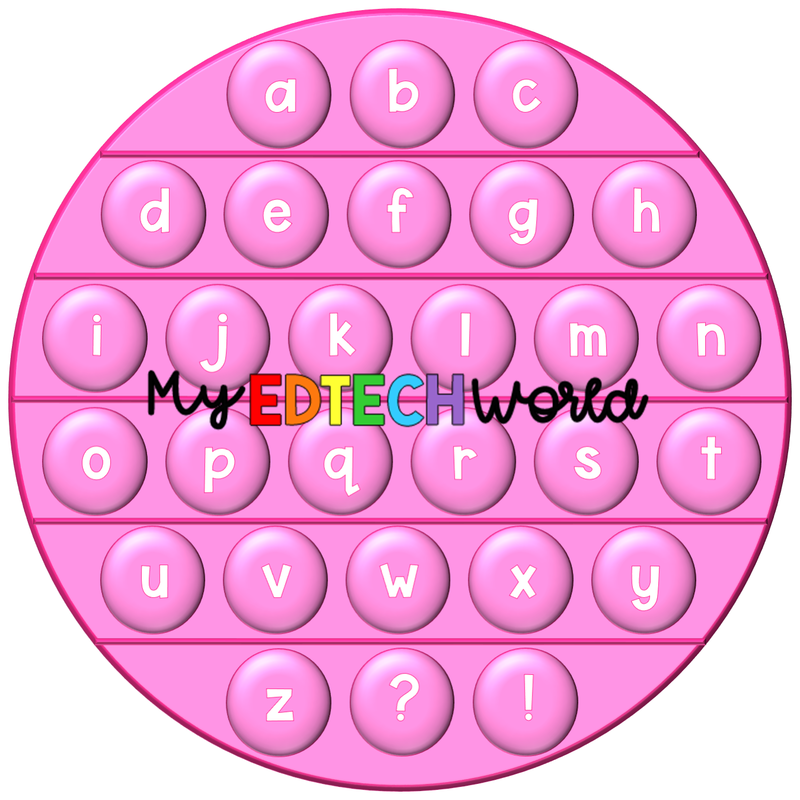
ELA Pop Its
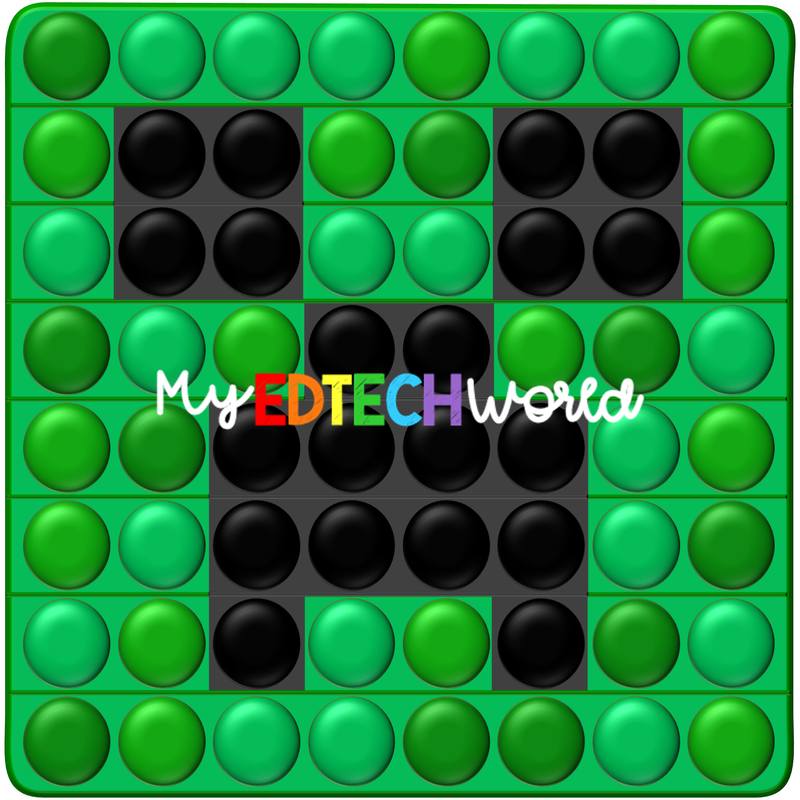
Theme/Character Pop Its

How Would You Use Pop Its?
Students (and adults) have been OBSESSED with Pop Its lately for the fidget benefits. Teachers are always looking for ways to capitalize on student interests, hence leveraging something that might be a distraction for some into a way to incorporate content. Which makes me curious...how might you use Pop Its in your classroom (basic/plain or custom digital ones)?